Disclaimer – This is a sponsored post brought to you by Canon. All opinions are 100% my own.
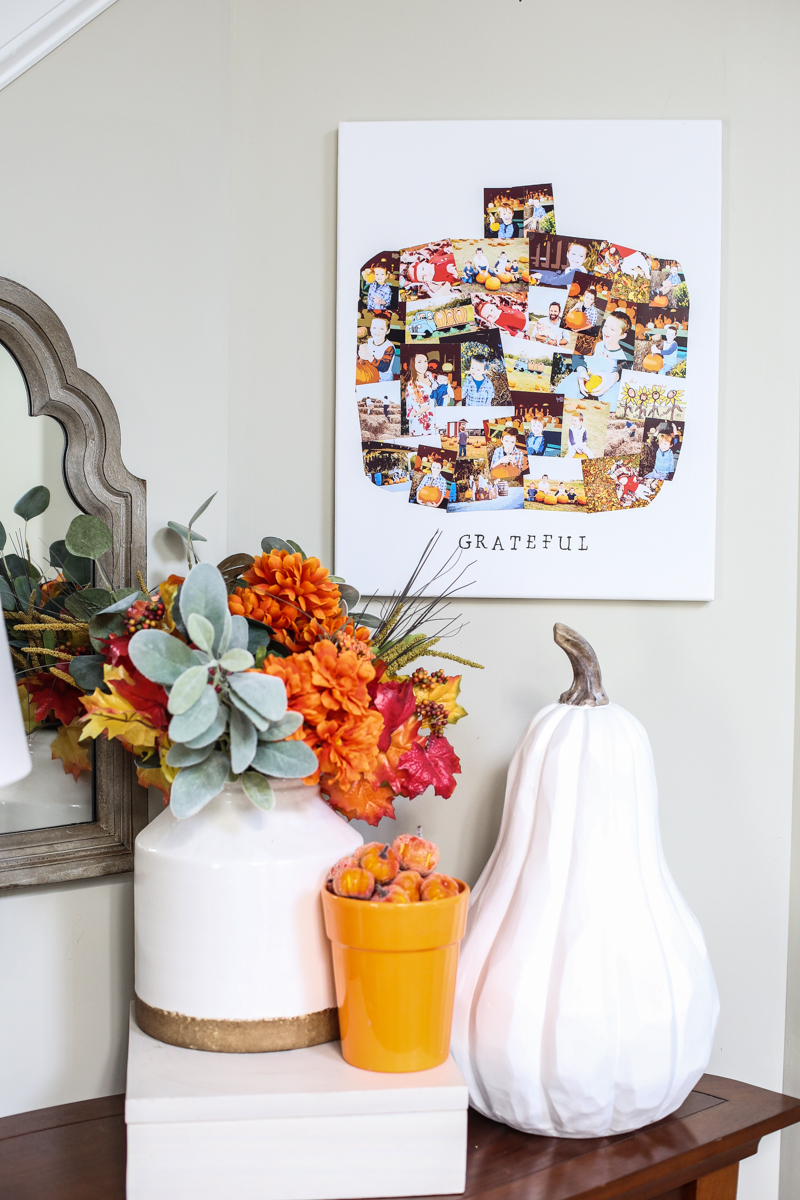
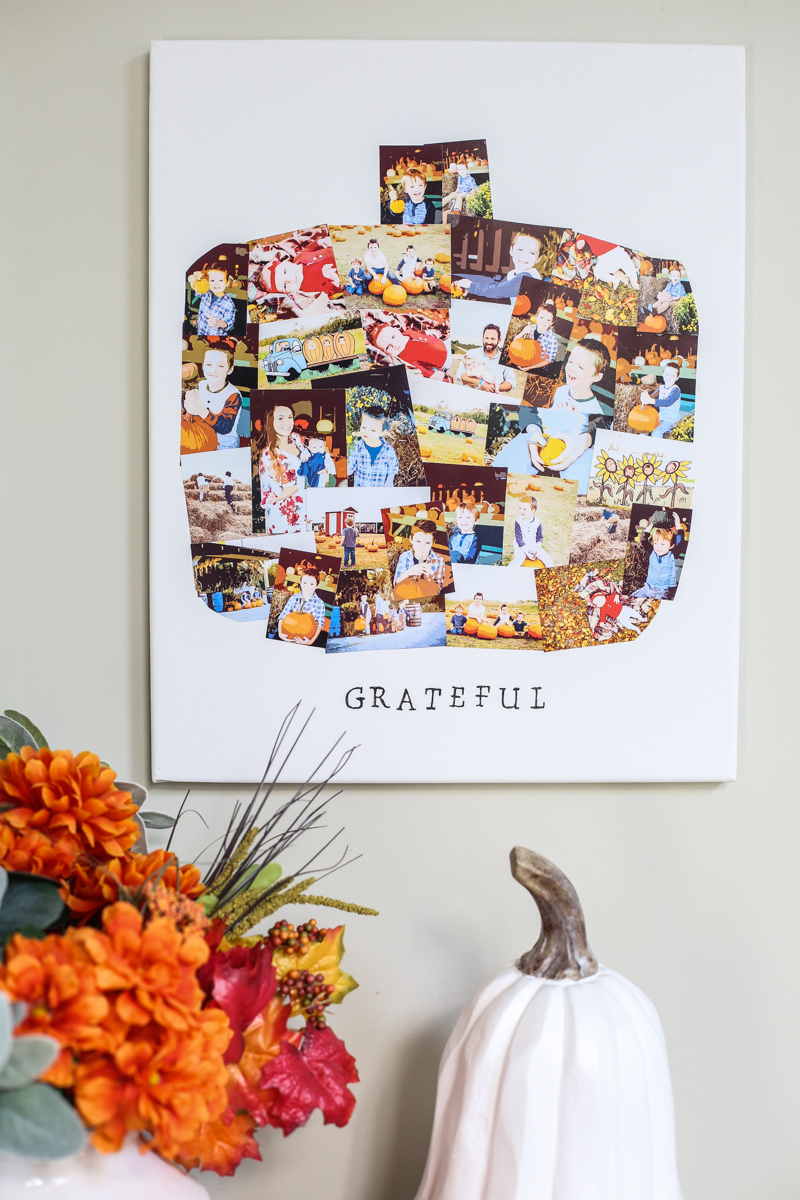
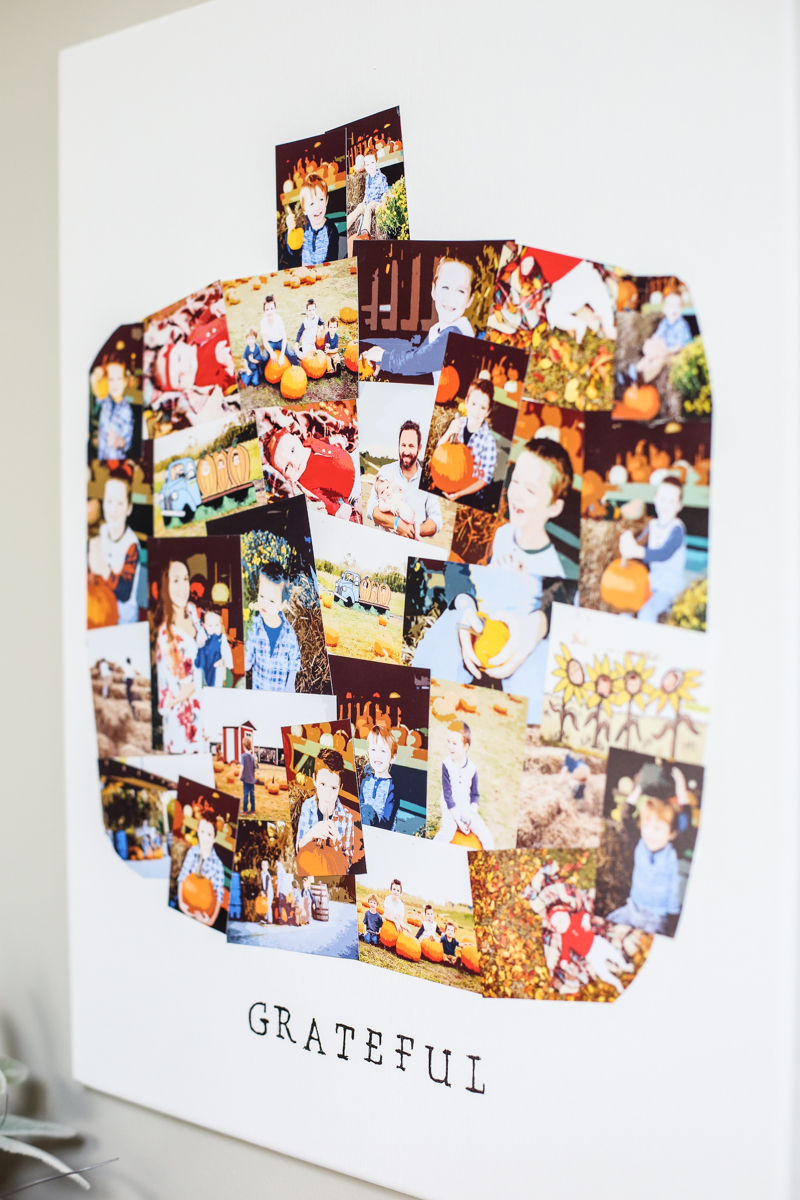
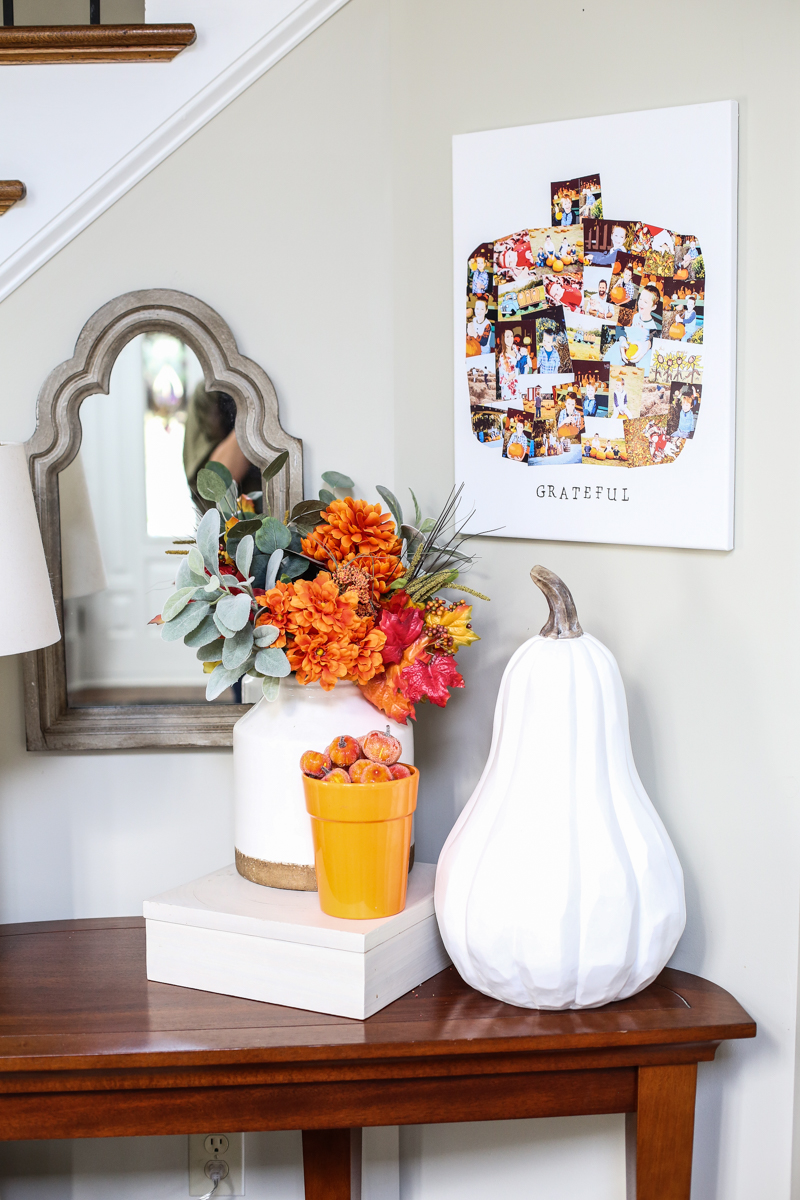
It’s one more week till Turkey Day and I put together a quick photo project to commemorate our year and all that I am grateful for! This would be great for you to do with kids and as a gift for teachers! This is our grateful photo canvas and I love how it looks in our foyer….but more than that, I love how the kids smile so big when they see themselves!
This is our grateful photo canvas and here is how we did it….
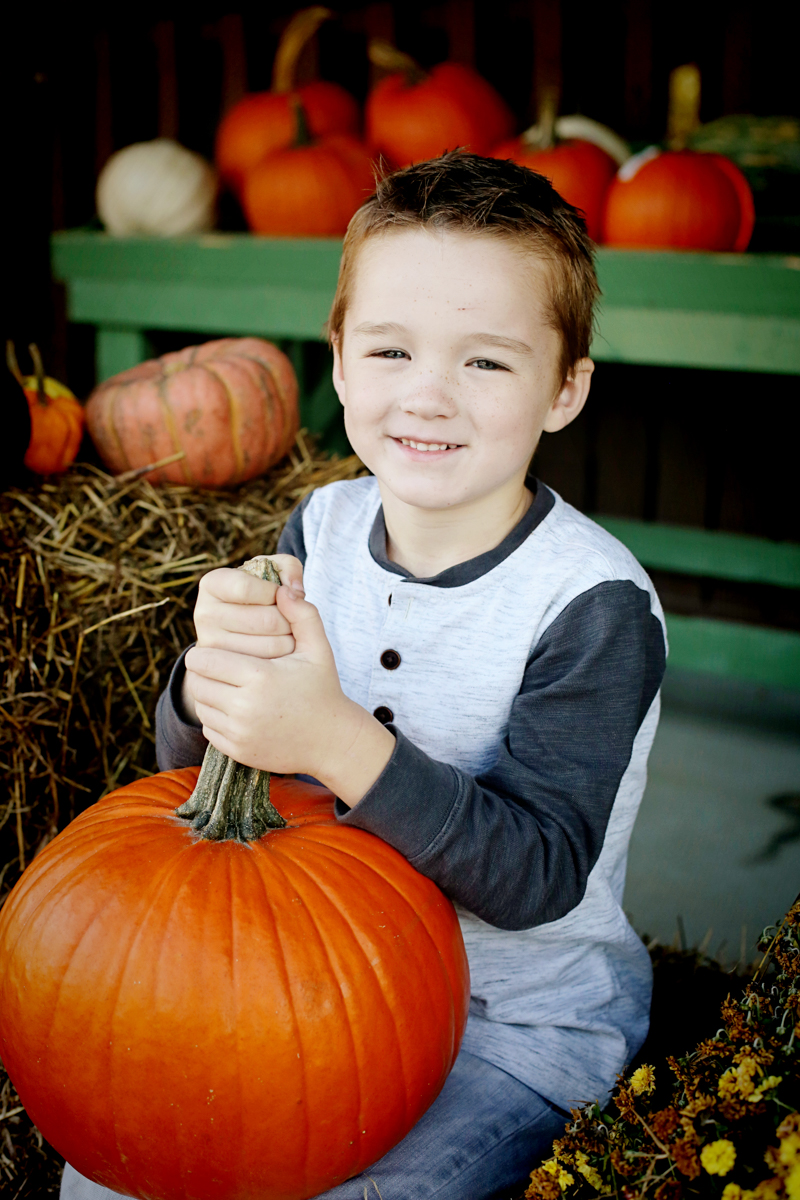
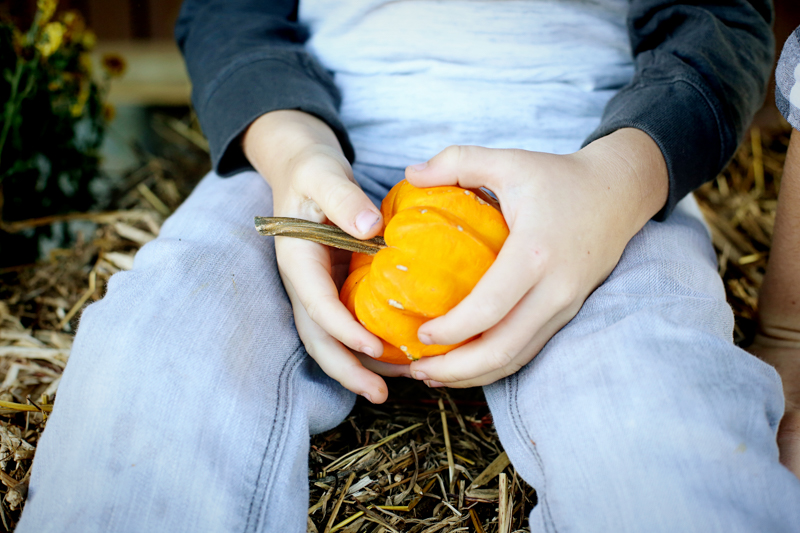
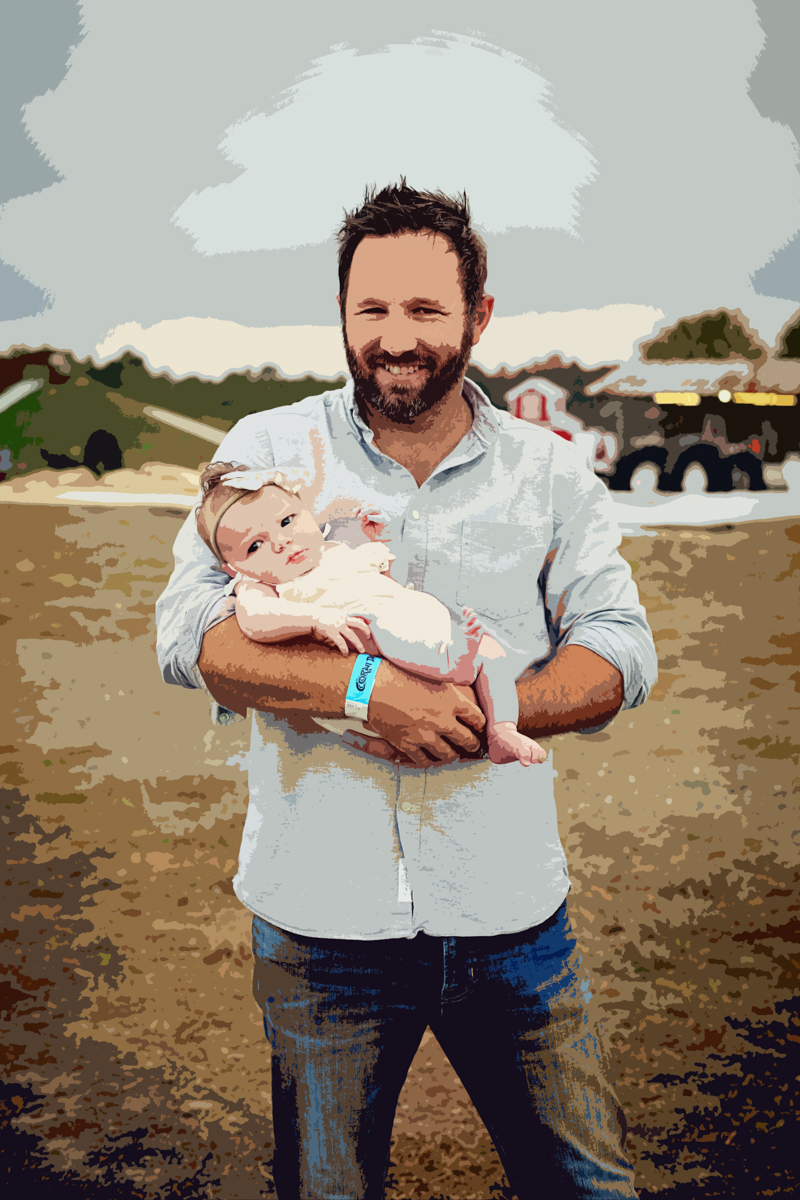
First you will need all your photos. I used the pictures that we took of the kids when we did fall photos with pumpkins. I wanted them to be a little more abstract (since the pumpkin shape is also abstract) so I used a filter on photoshop. I also chose some similar ones from a visit to a corn maze because they were similar in feel and subject (my kids, pumpkins, fall, etc.). The filter helped tie them all together and also is really fun effect…
Let me walk you through that process. First you will need your edited photo….
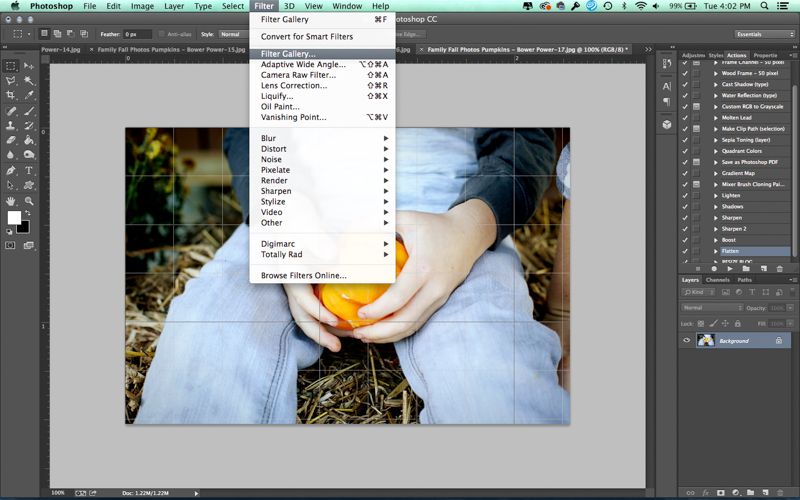
Open it in photoshop and then go to Filter/Filter Gallery.
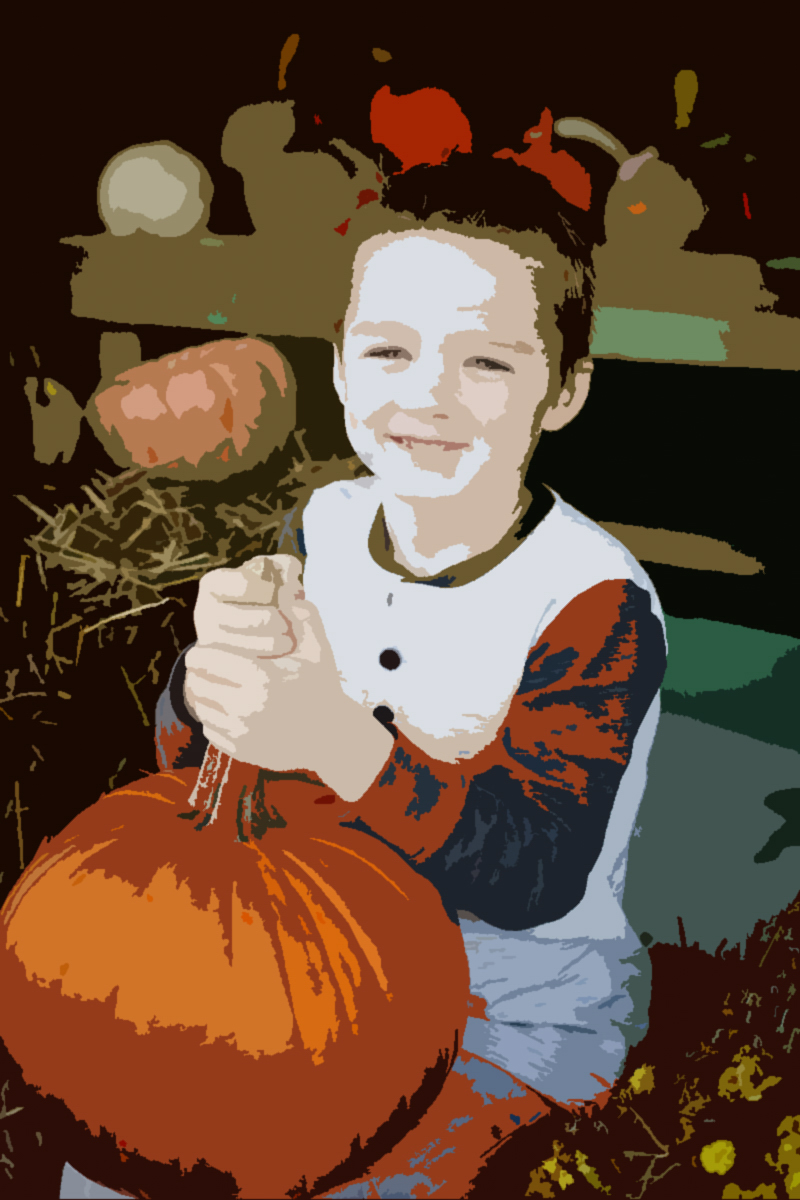
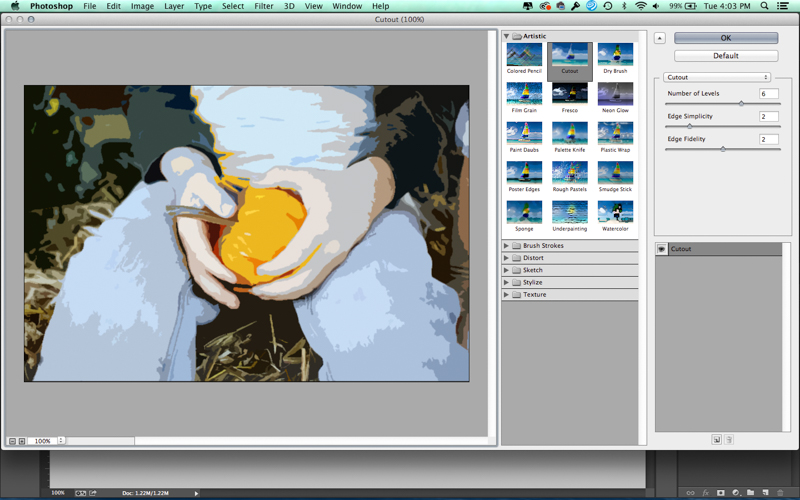
In the Filter window, select Cutout. I adjusted the sliders to be on a 5 or 6 for Number of levels, the edge simplicity was a 2 and the edge fidelity was a 2.
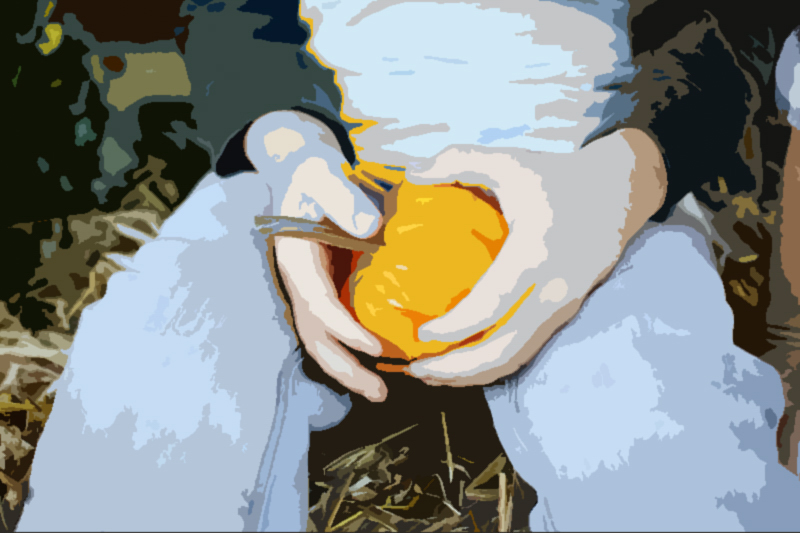
The end result is an abstract version of the photo. It’s really fun!
My favorites are seeing the pictures with faces transform. This filter draws so much attention to expression.
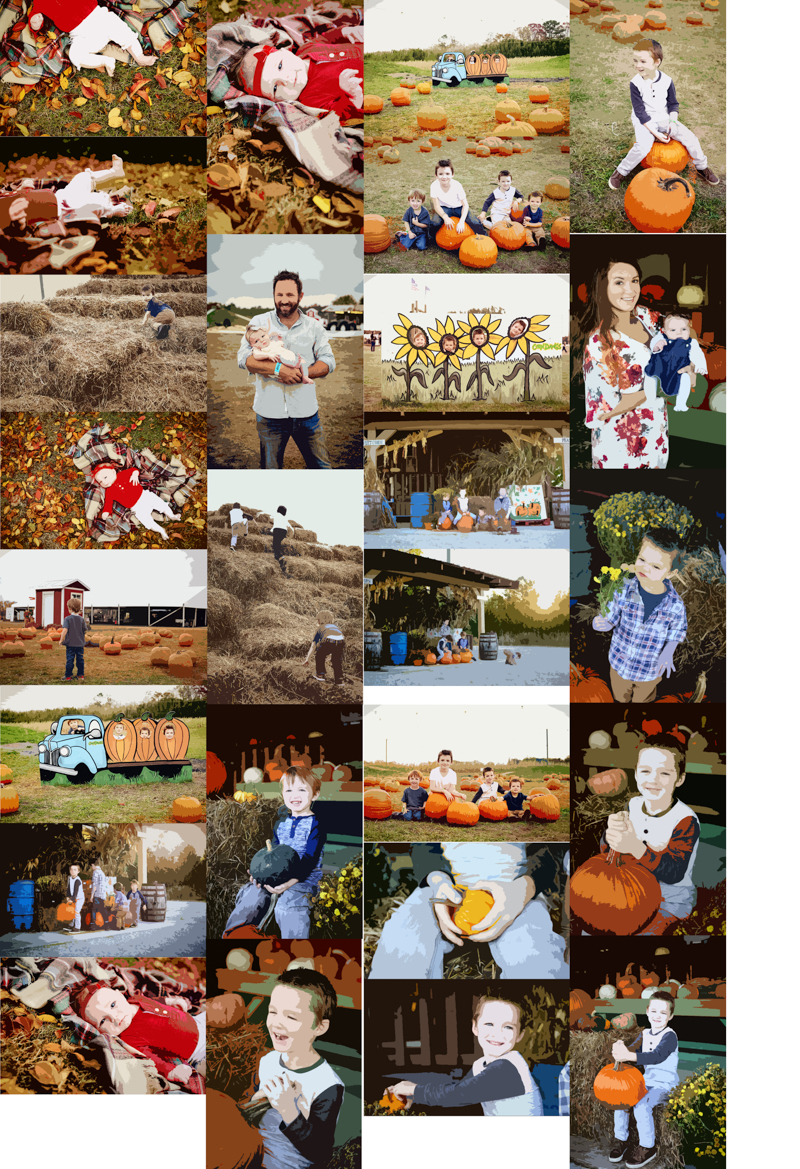
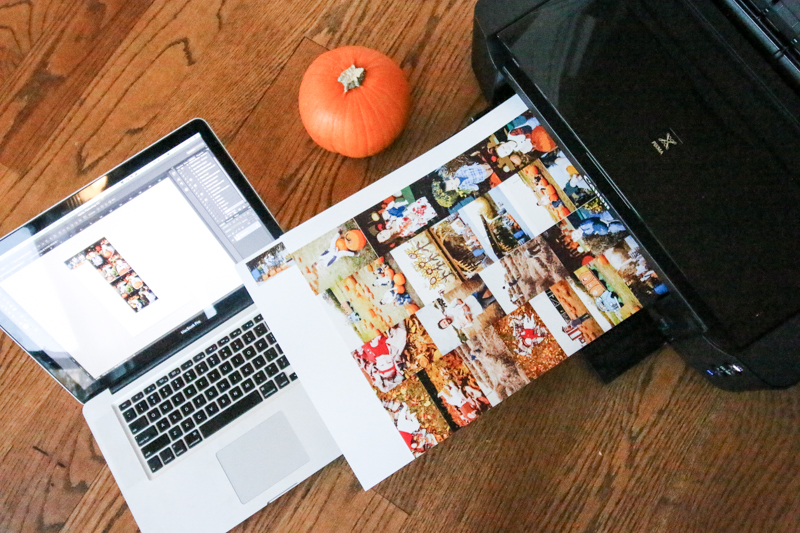
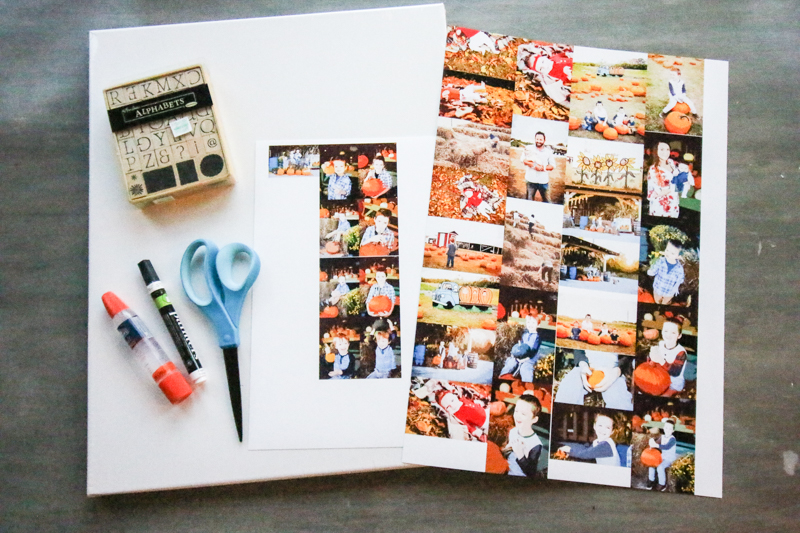
I resized all the pictures so that I could print them on a large 13×19 sheet using my Canon PIXMA iP8720 printer. Since I was going to cut them all down, combining them onto one sheet helped save me time instead of making a bunch of individual prints. I printed onto a nice semi-gloss paper which made all the colors of the fall leaves and pumpkins pop.
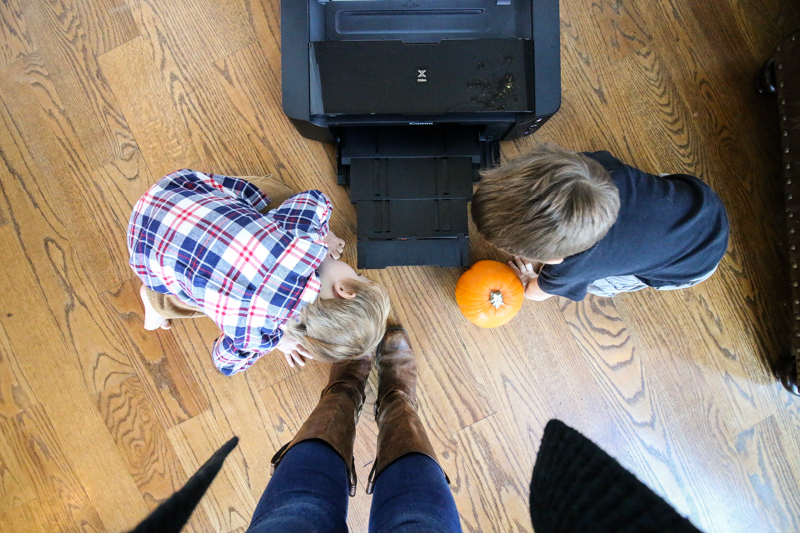
Watching the printer is a main event over here so we all sit on the floor and patiently watch the different faces appear.
The kids thought seeing all their pictures on one page was so fun….kinda like a Where’s Waldo of their own faces.
For the craft itself, I used a regular canvas, scissors, a glue pen, some letter stamps and a bit of paint (I like paint better on canvas vs. ink that tends to not pop as much and can bleed) and of course my variety of photos.
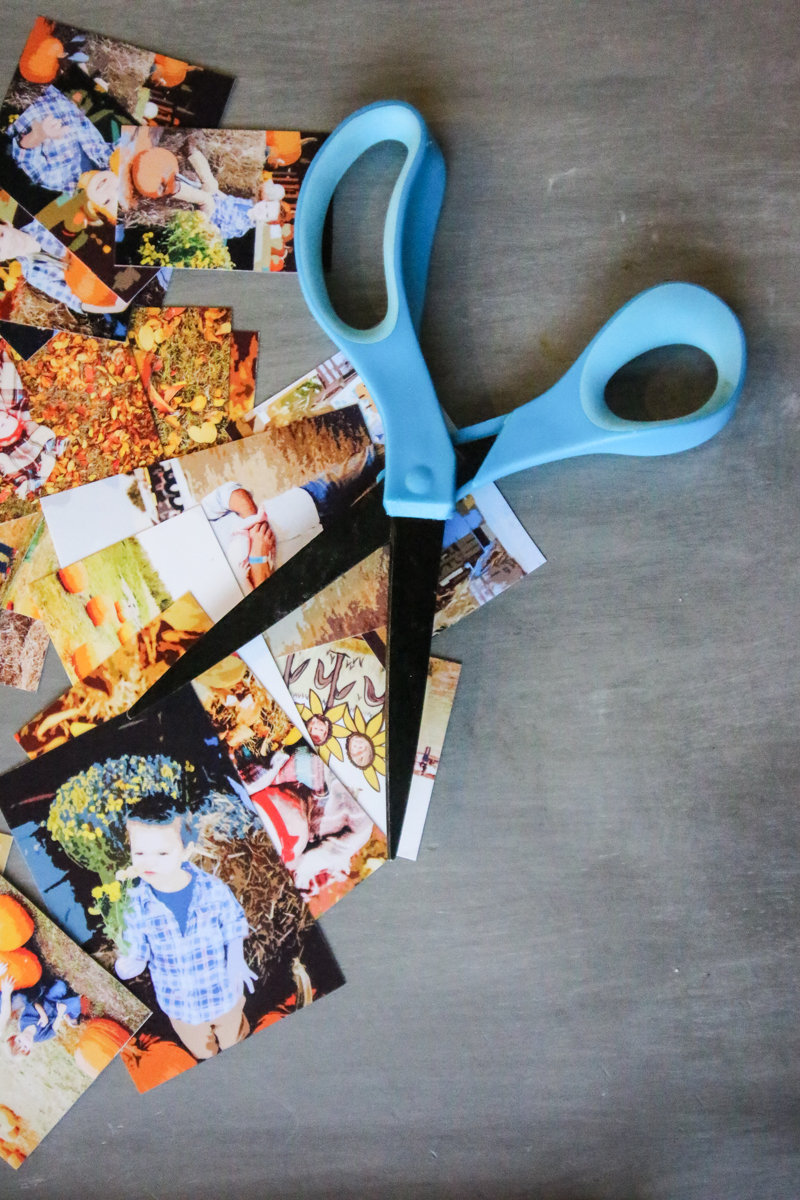
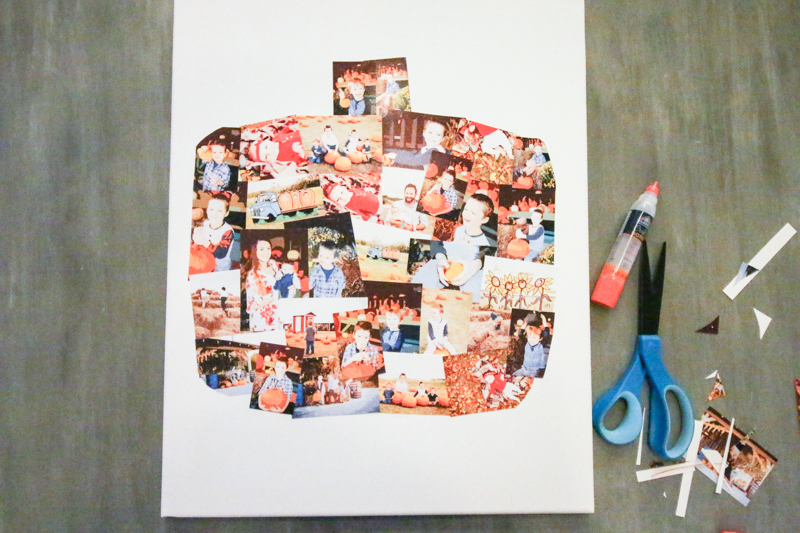
I cut all the individual shots of the kiddos…
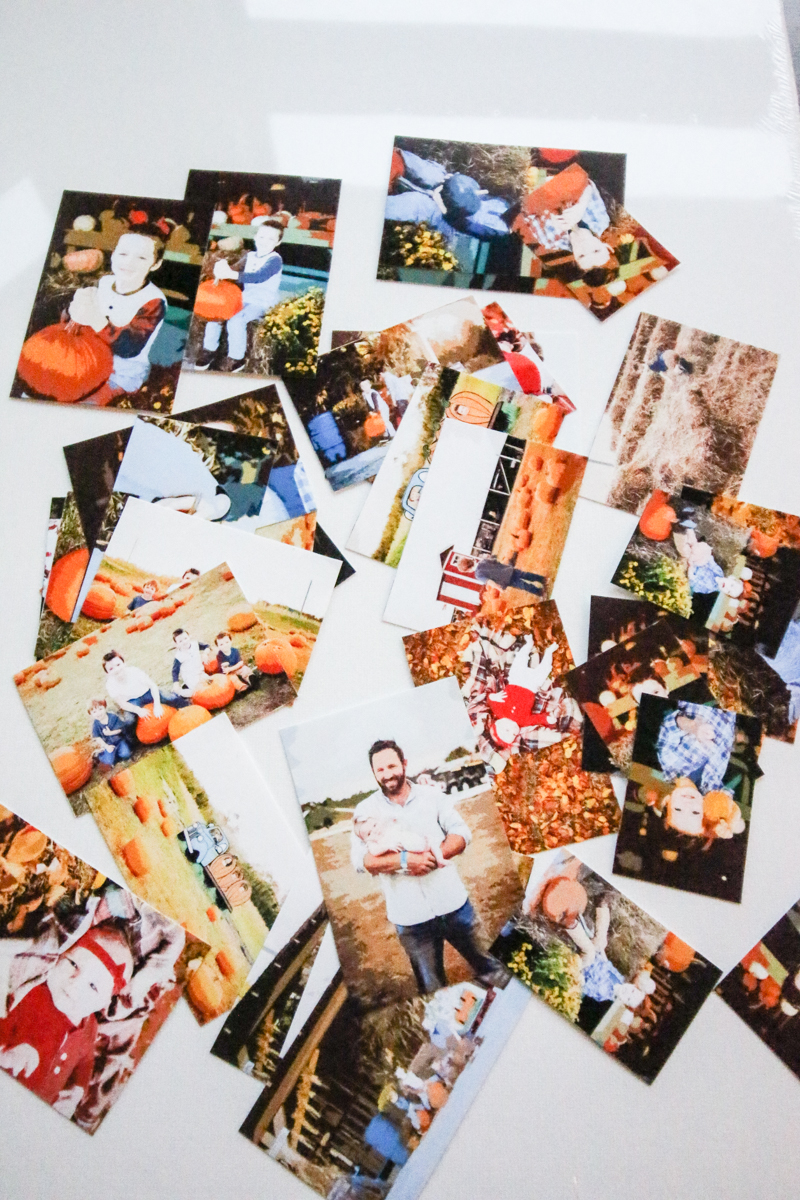
Then started sorting them out according to child. I didn’t want all the Weston’s to be grouped together so this way I could create a variety of interest.
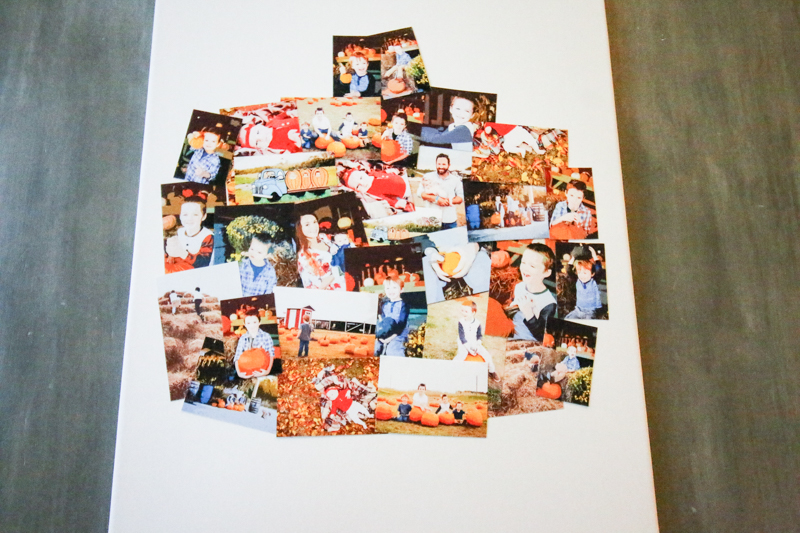
I did a rough dry fit of the basic pumpkin shape by laying them down and taking a photo. Sometimes you see something more clearly when it’s in picture form.
Then I trimmed the corners of the outer shape of the pumpkin to be a bit more rounded. The key to a pumpkin vs. an apple shape is making the stem chunky and squarish and then not making the body of the pumpkin too round. I simply added a bit of glue on each of the backs of the photos and it was ready for the word at the bottom.
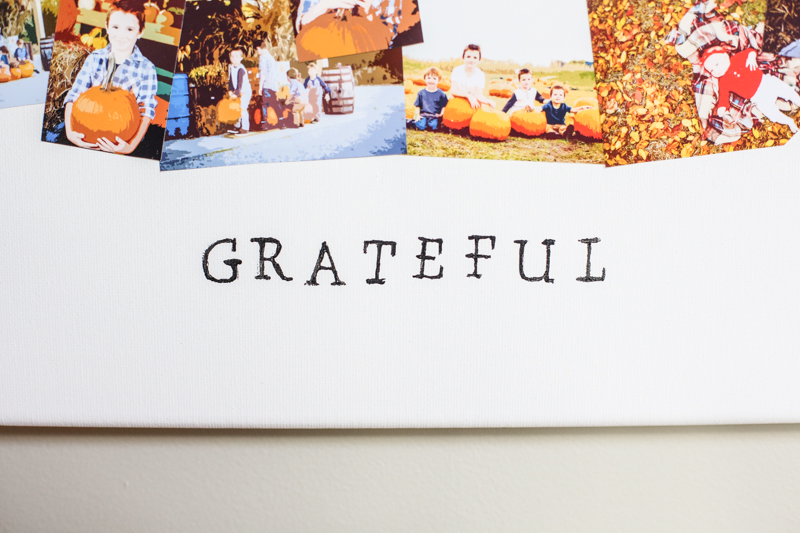
I chose the word grateful to go at the bottom because it means more to me than just thankful. Being grateful is an action vs a feeling. It’s when we show appreciation…not just FEEL appreciation. And that is something I want for my life….to be someone that shows others how happy I am with them and their presence.
I love the finished product. The grateful photo canvas has a warm fuzzy homemade feel about it….like those ornaments that you treasure from your preschooler…and it has all my favorite people!
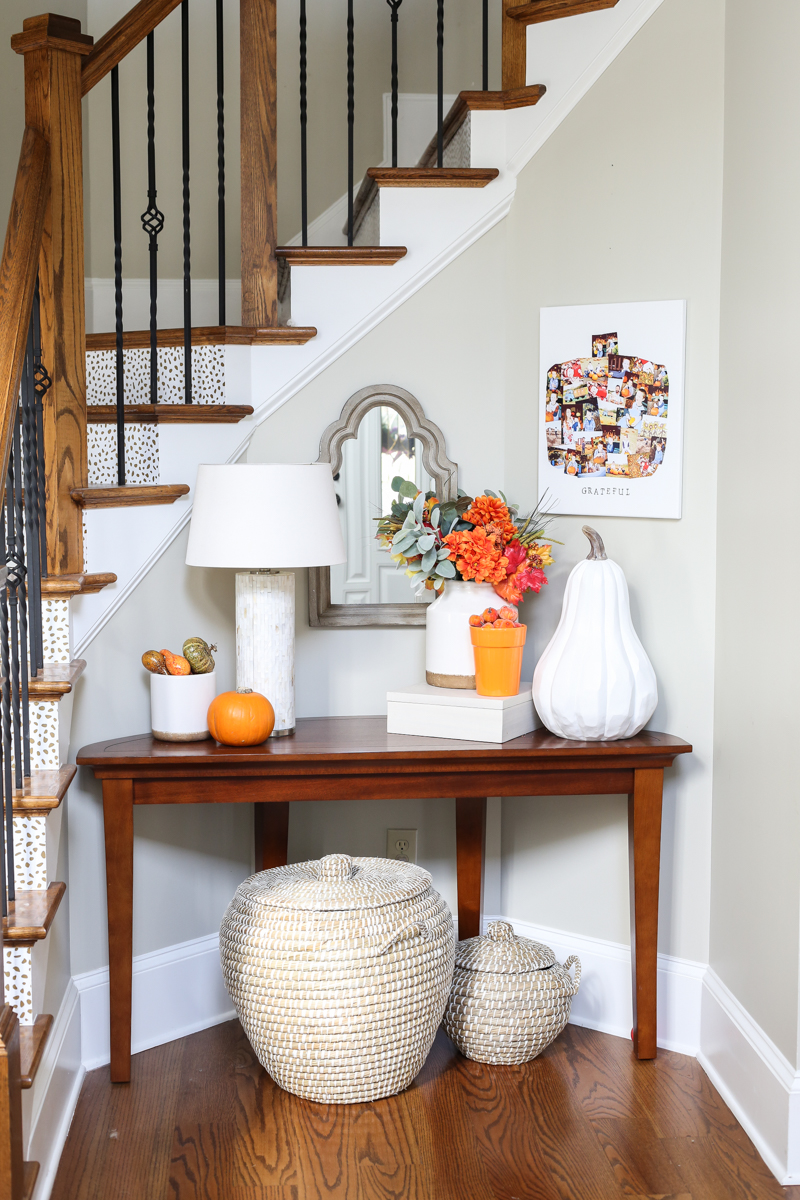
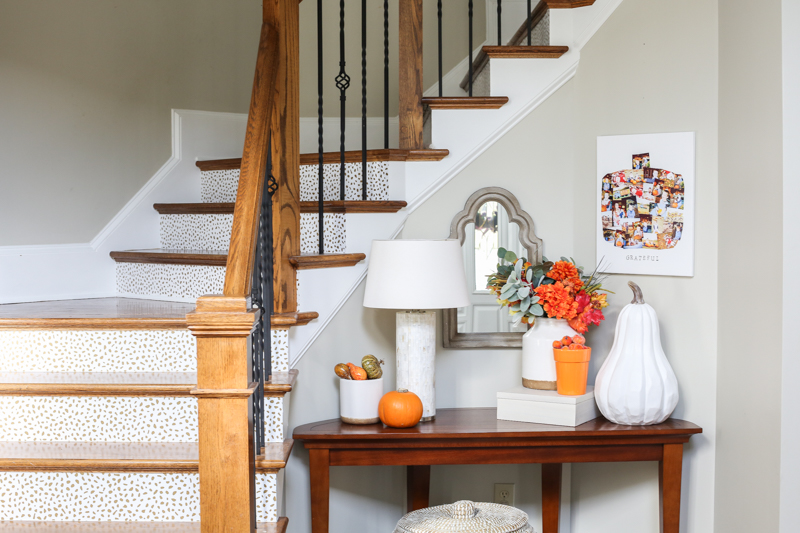
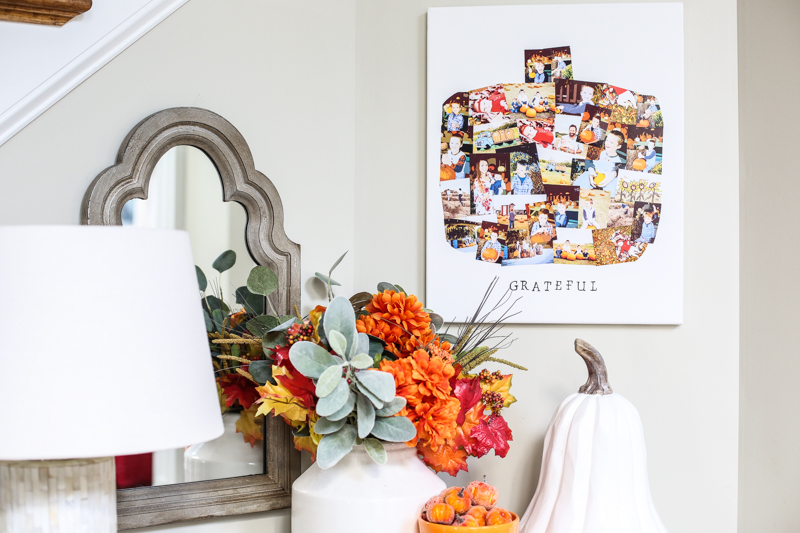
I put it in a place of honor – our foyer so that everyone can celebrate the fall feeling.
I always joke that Thanksgiving is like the middle child….being sandwiched between Halloween and Christmas, it doesn’t get enough attention 🙂
But I like to make sure my dining room is decked out for the big meal and doing a small space like this foyer area isn’t hard to redecorate later so Thanksgiving can have it’s glory days too.
I can think of a million different ways to put a twist on this project….Valentines day make a heart with the word LOVE….Halloween as a giant spider with the word BOO….Christmas as a tree with the word Joy. It can even be a teachers collage and have the word be the year! It would be a really fun way to commemorate any holiday or person!
And it totally draws you in. I love how friends have been naturally attracted to looking at it. It’s just a fun collage of my kids that nobody else would make for me since I’m not a teacher! ha!
Plus, it packs a huge picture punch….so many pictures in one glance is always a win-win for me. I have so many kids now, it’s hard to make something that they all love and celebrates them each individually.
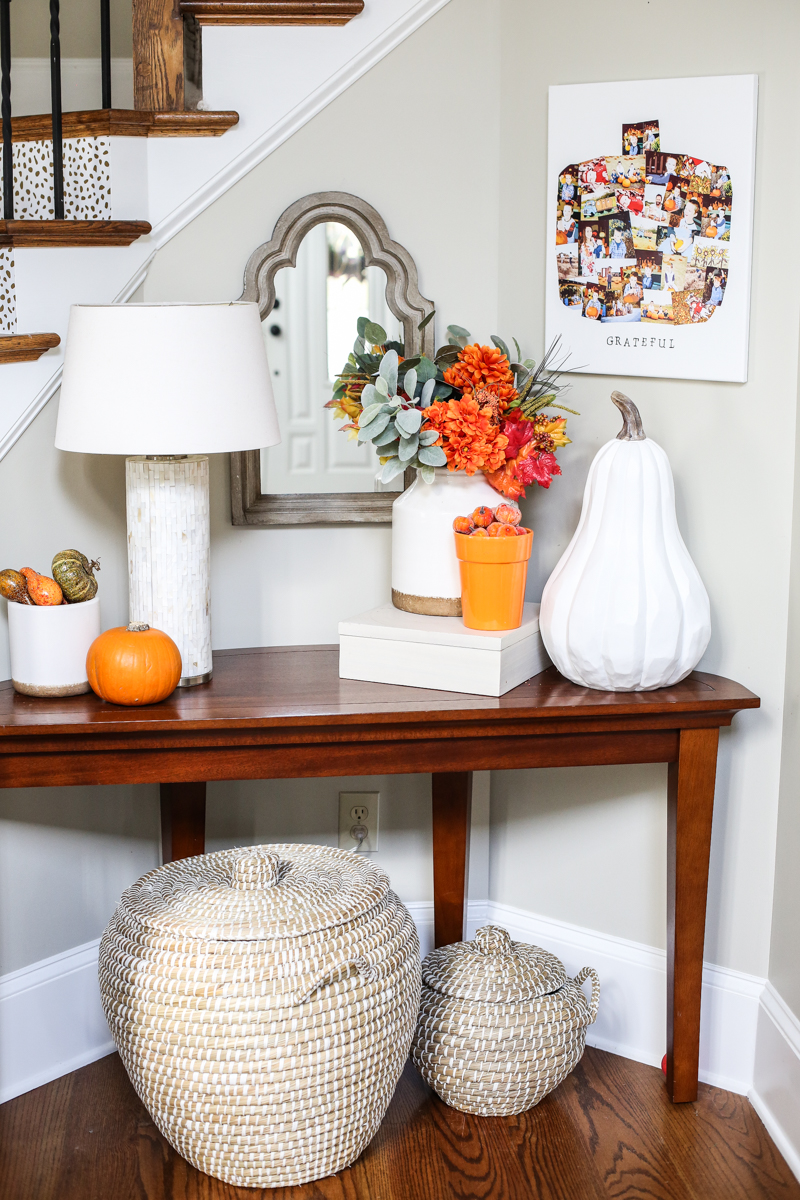
Very creative! I like how the finished project turned out. On another note, could you source the baskets you have sitting under the table?
Cute idea! Can I just say I have no idea how you manage to be so on top of everything. With five kids I would be a ball of crazy wrapped chaos. Haha but for you to be so organized to to blog, which we all know is a job in itself, says so much about you.
Thank you for posting a fall project. From back to school, fall colors, Halloween and Thanksgiving, Fall is my favorite. It always seems like retailers are pushing us so hard and fast into Christmas, we forget our fall holidays. Be grateful and enjoy. #saveNovember
Wow, amazing process and end result!
Great idea!!! Did you repaint the alcove? Wasn’t it blue or did I imagine that?!?! The table decorations look really nice!
Oh the plan is to paint it! I haven’t done it yet!
xo – kb
They are from World Market 🙂
xo – kb