I fully realize that this garden fence is like a sixth child to us and we have more fence posts on the blog than Ella posts. I see the insanity in that. It’s clearly weird. Buuuuuuut…..this fence is just so darn pretty. Not that Ella isn’t. Am I digging a deeper hole? Maybe I should just stop.
The point is….we really are super proud of this thing and we love seeing a good project actually come to an end. So let’s get to that end, right?! A final reveal is so close I can taste it….and it tastes like a garden veggie…specifically a tomato….on a sandwich with mayo and bacon and avocado…sprinkle of salt and pepper. Who is ready for lunch?!
So if you are just joining the party – you can read about the fence progress in these past posts.
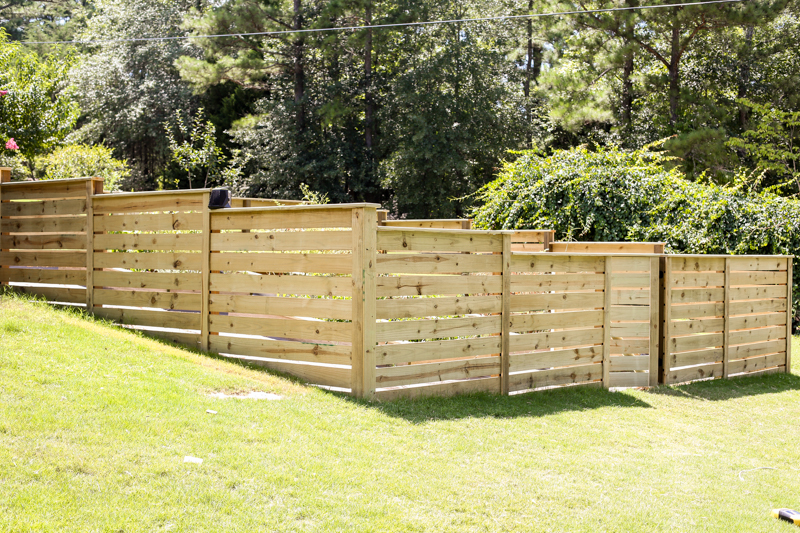
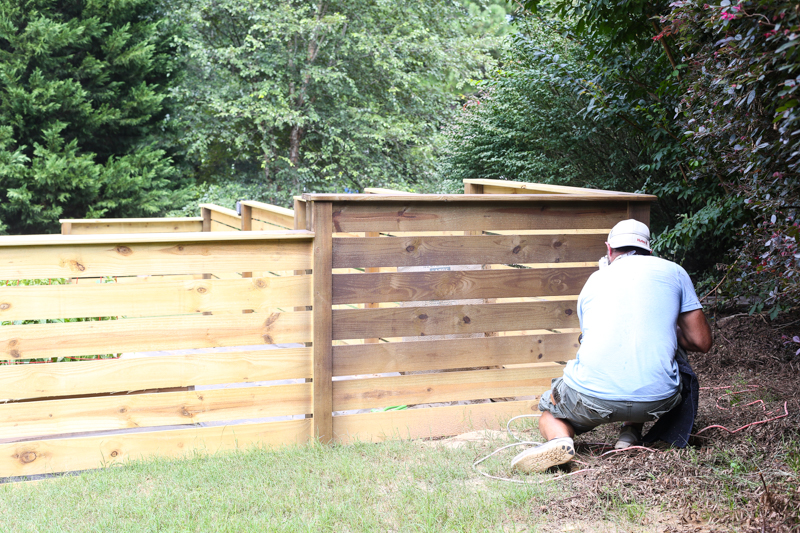
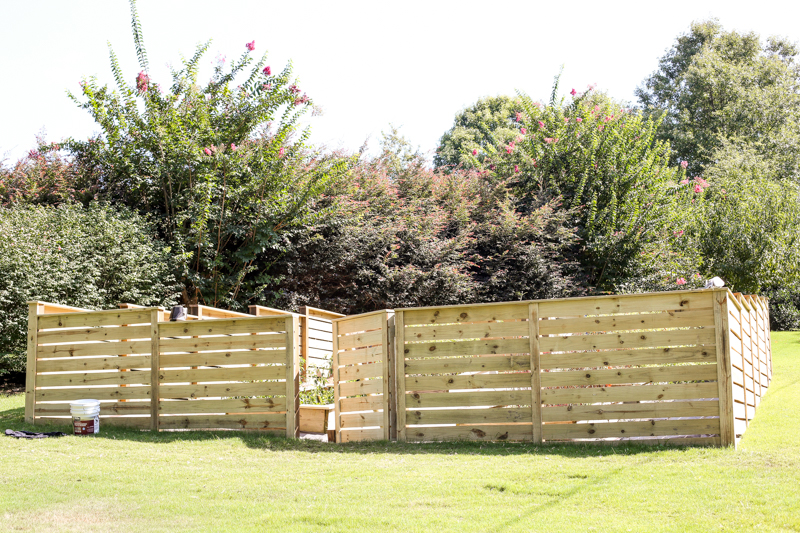
And today we are staining the whole dang thing! It’s gonna completely change the look from this….
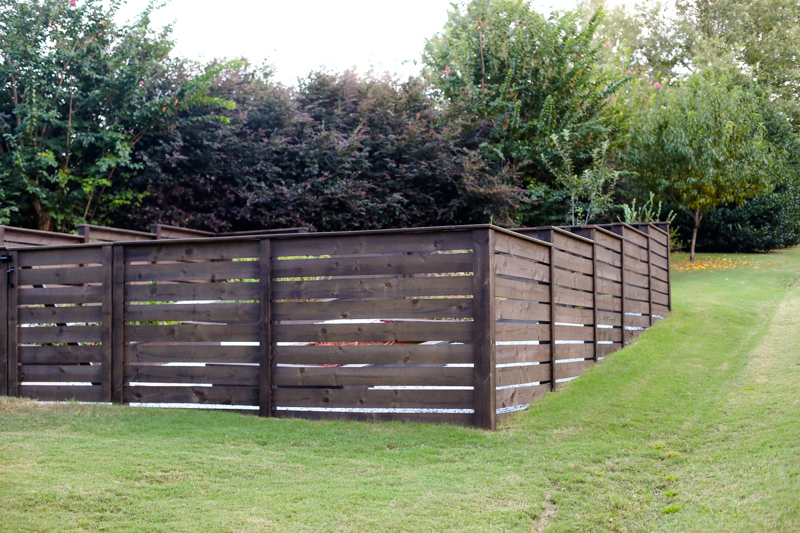
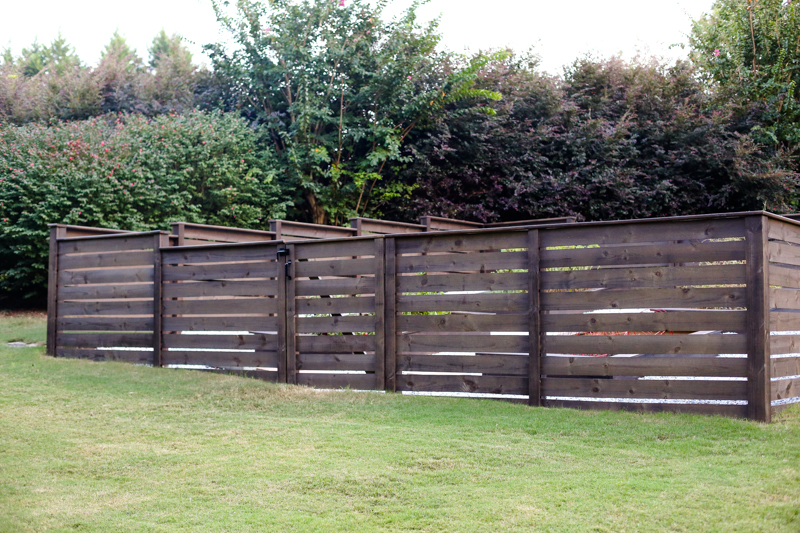
To this….
Gotta love a dark dramatic hue on those modern clean lines!
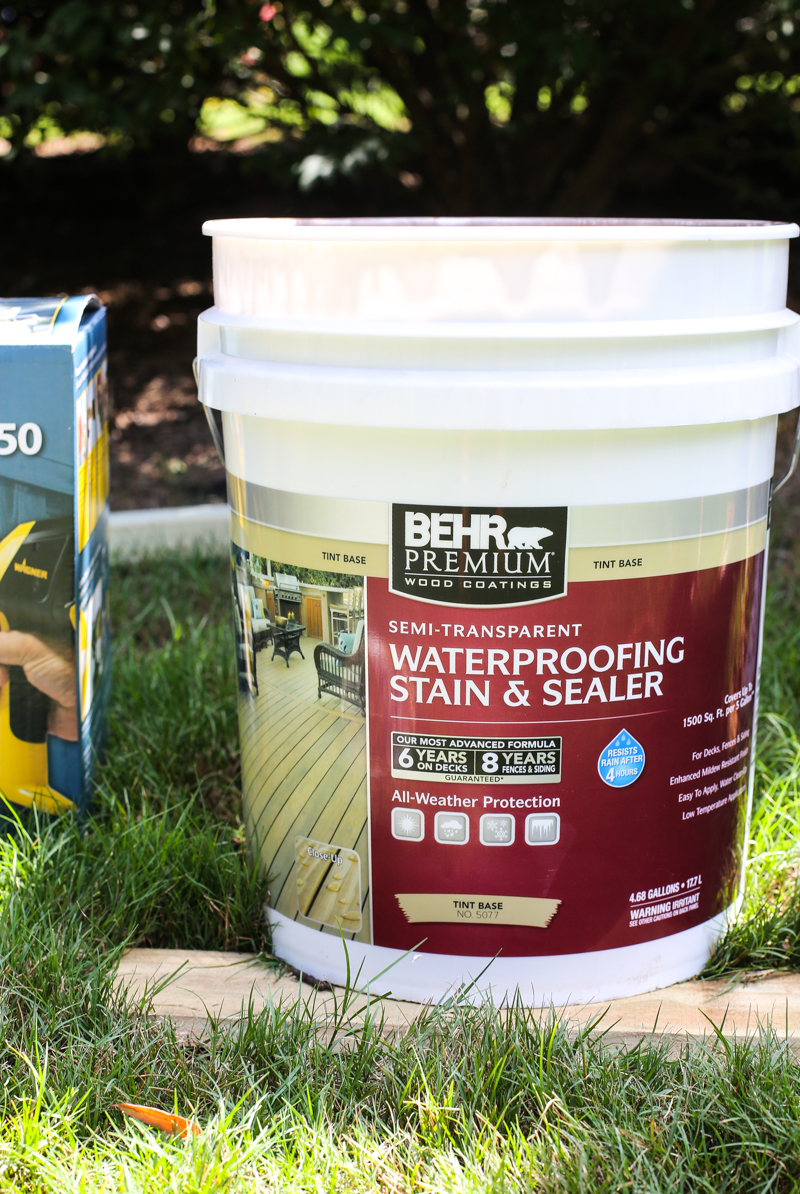
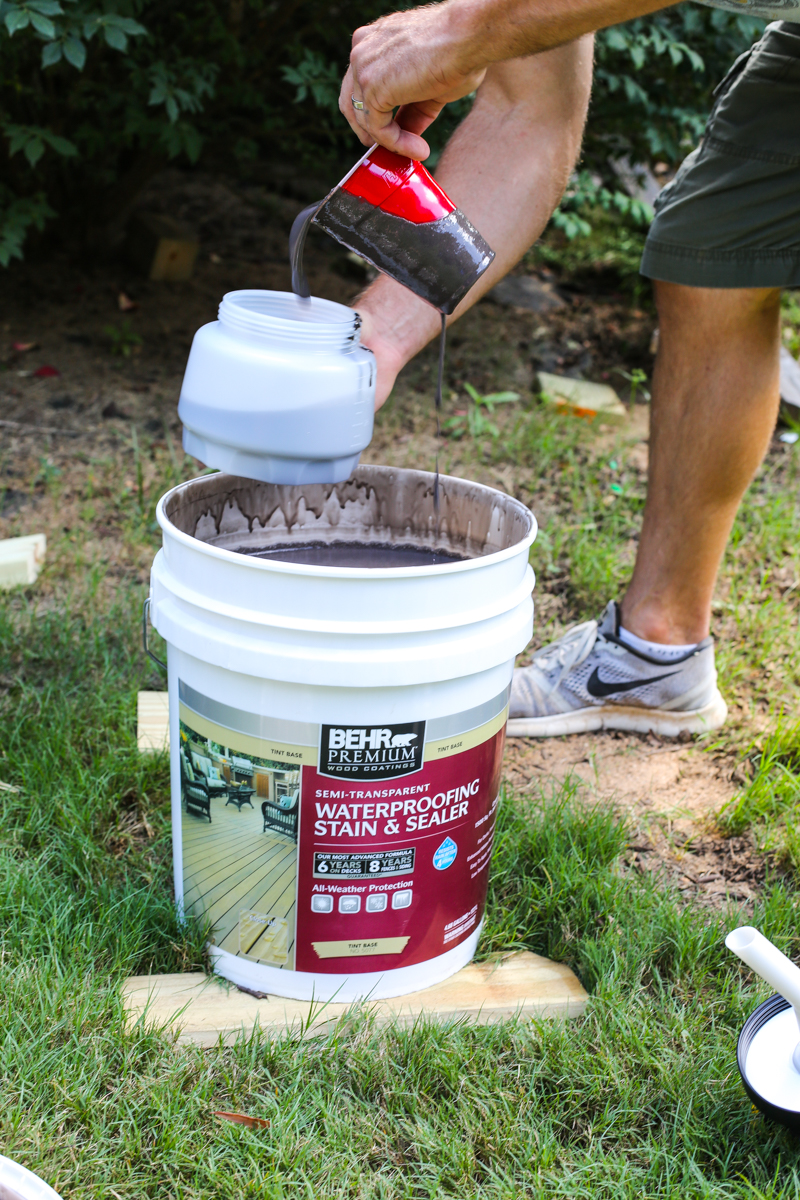
Okay, so let me tell you what we did and why. First – we went with Behr semi-transparent stain tinted to Cordovan Brown. This is the color that we stained our deck so we knew exactly what color it would look like. From some angles, you can see both the fence and the deck so we thought it would be best to be consistent. Honestly, we wanted to try something new….ya know…because part of our gig is to share new products with you but practicality won out here. We did buy two of these 5 gallon buckets but didn’t use all of it.
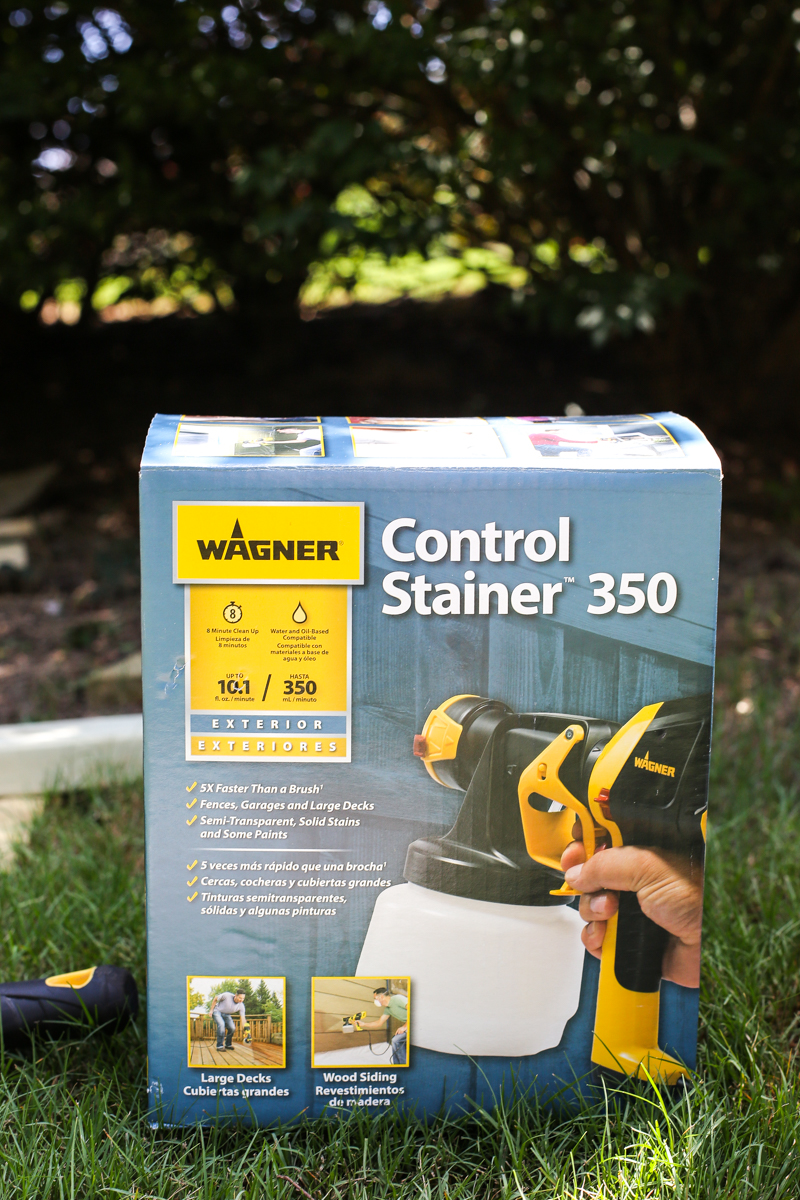
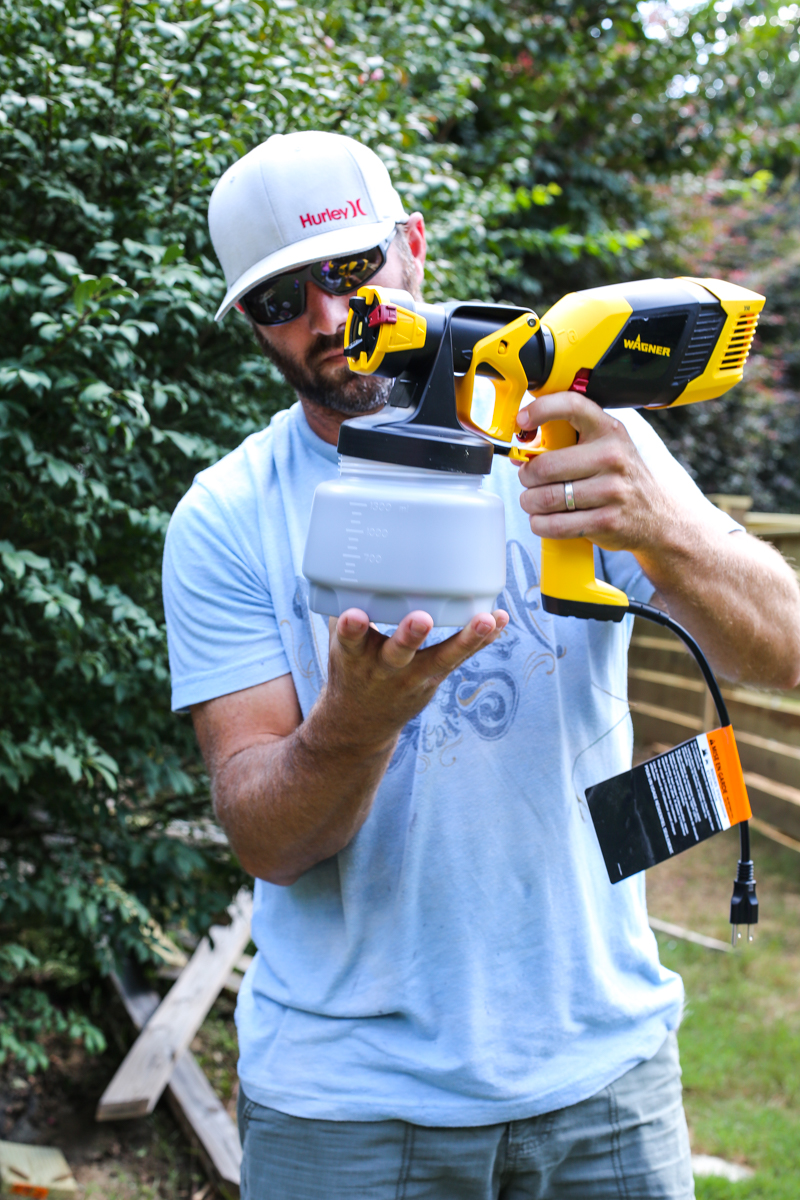
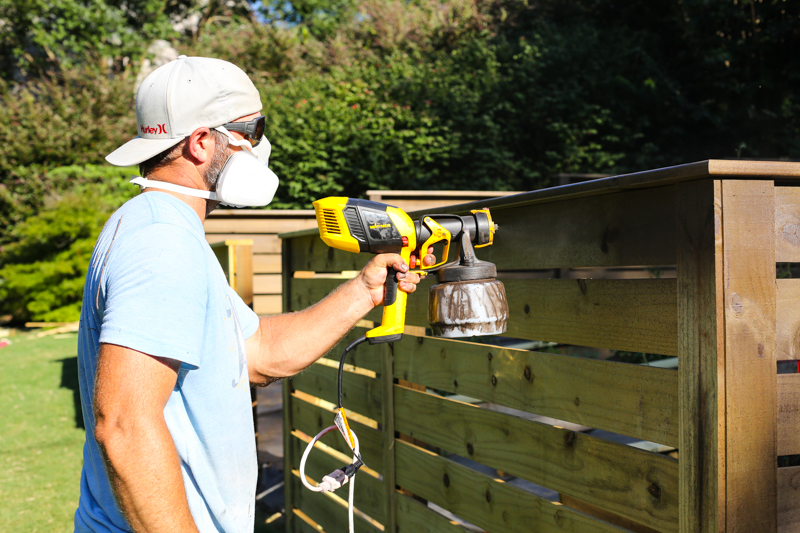
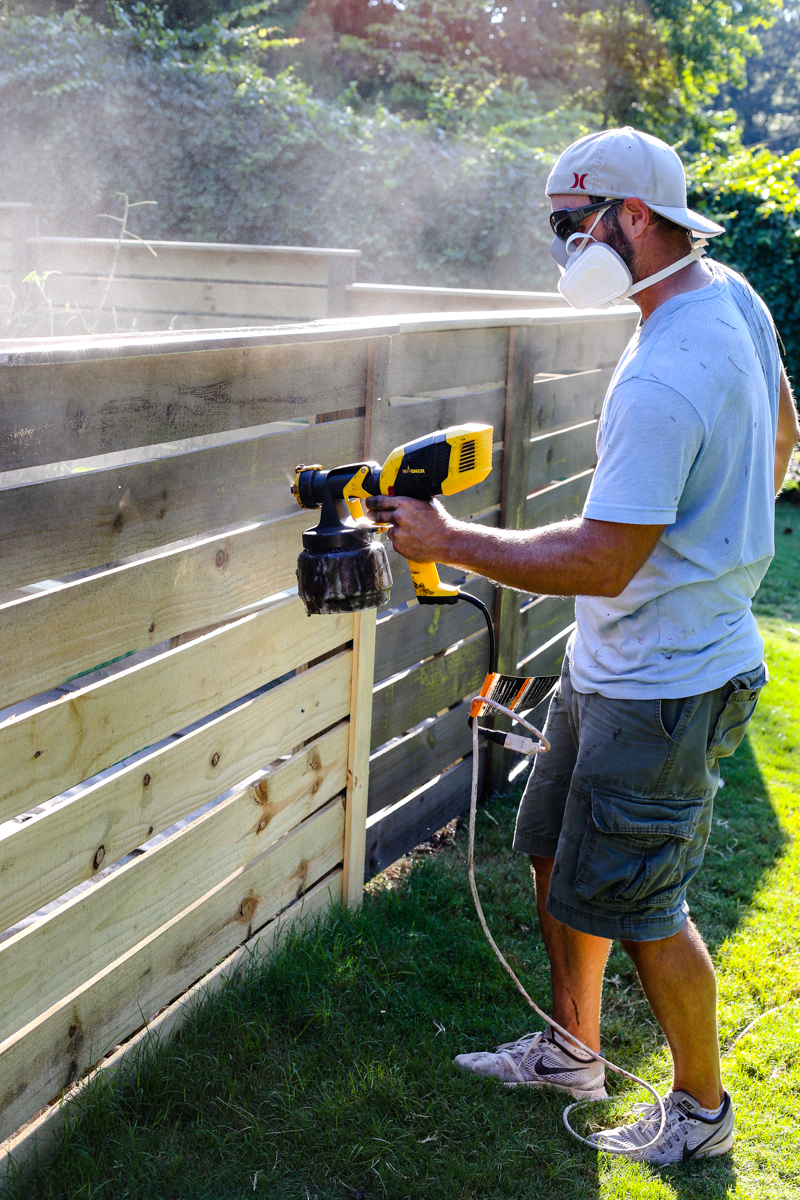
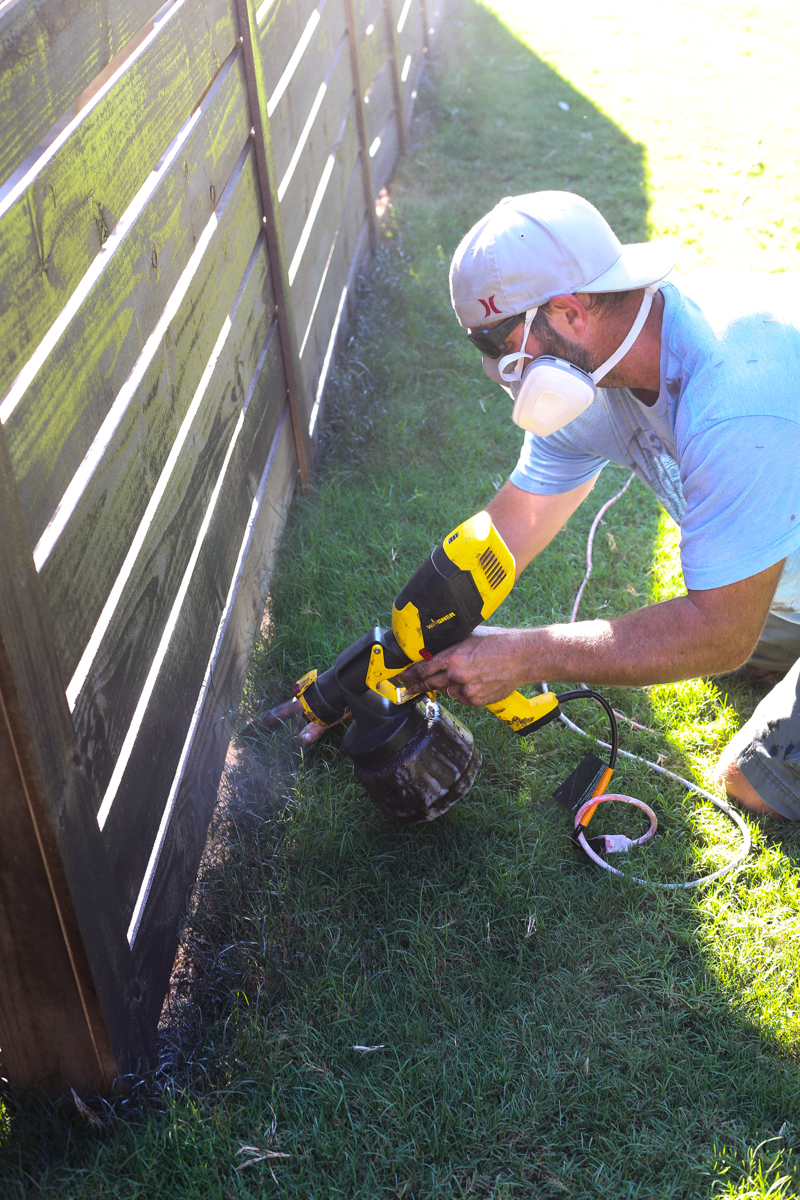
Since our staining debacle on the deck (think worst day ever), we hesitated to try spraying stain again…..but OH DUDE….so glad we pulled the trigger on this guy. (literally and figuratively!) This is the Wagner Control Stainer 350 (here is the link).
Jeremy did a little research and you can see the hesitation on his face….would it work or would it explode rendering him malformed for the rest of his life? We had no idea.
Jeremy threw caution to the wind….and $100 to the Home Depot checkout person and got to work. The best part of this sprayer is that it’s ready to go….just pour your stain in the reservoir bucket…..
and twist it on. Done and done. Well…not technically – technically you still have to stain
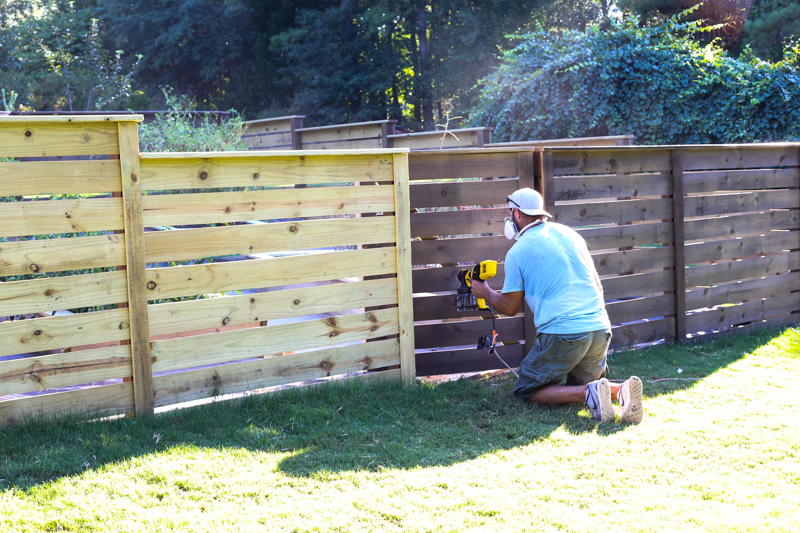
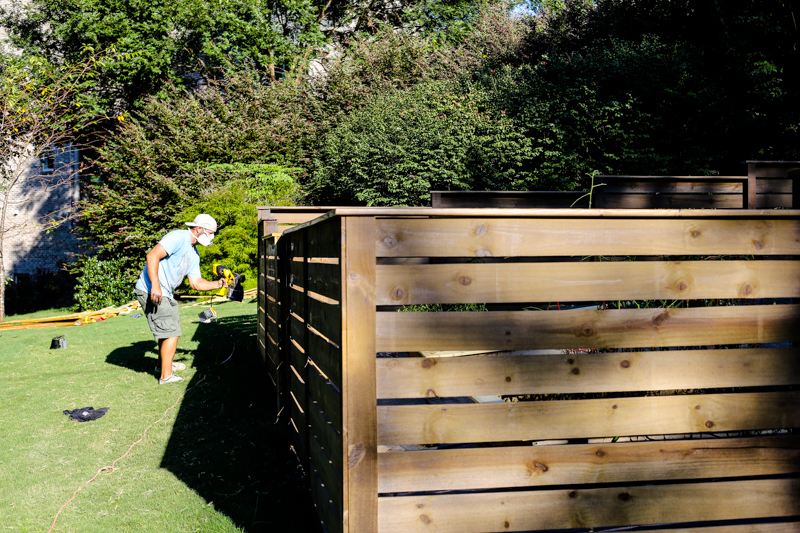
We literally crossed all our fingers and toes….I still can feel the cramping in my hands….and Jeremy started on the least seen corner just in case the stain decided to burst out in sputters and globs….
We both were SO excited that it worked….like Jeremy wasn’t gonna stop because he didn’t want to jinx it.
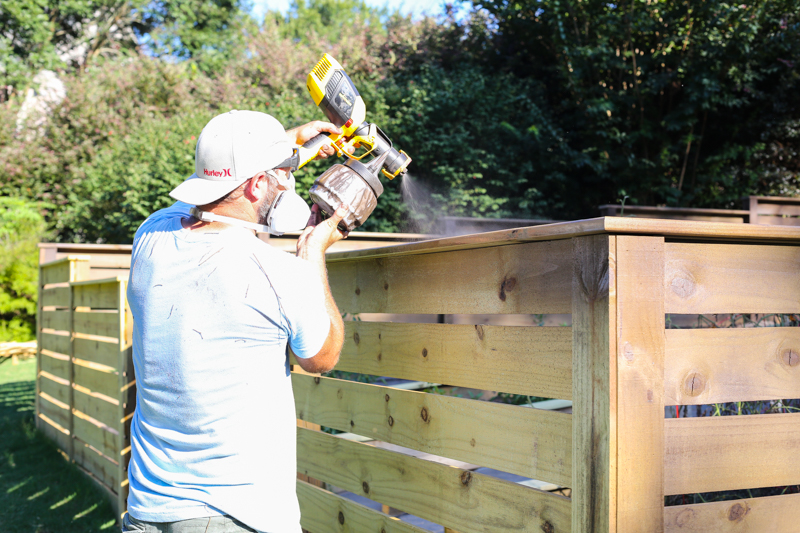
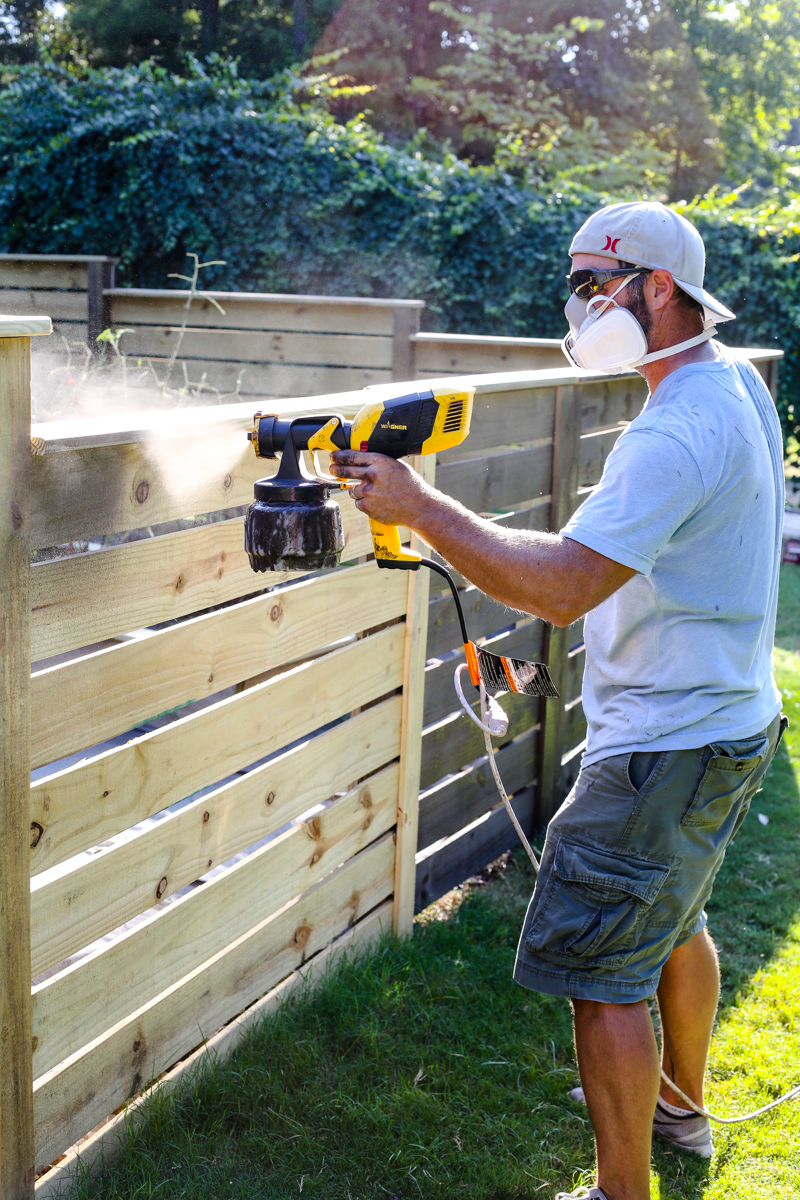
The key for even spraying was to do the top cap board first and then move to the sides…
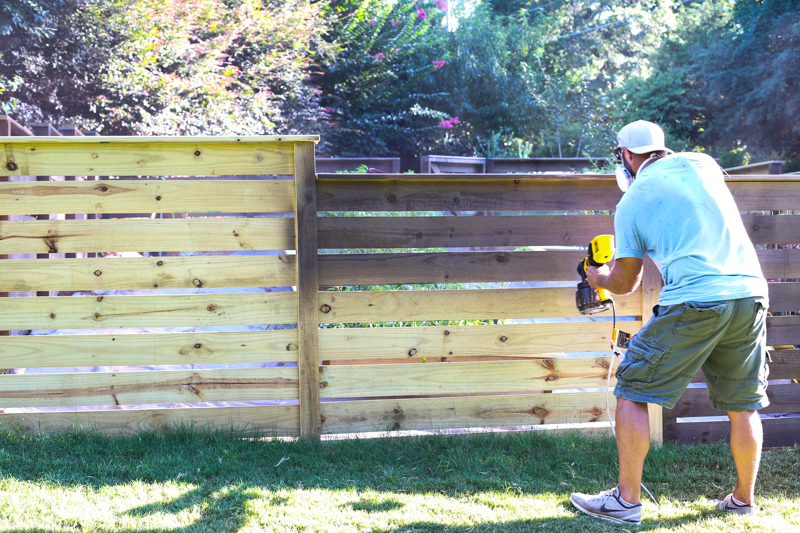
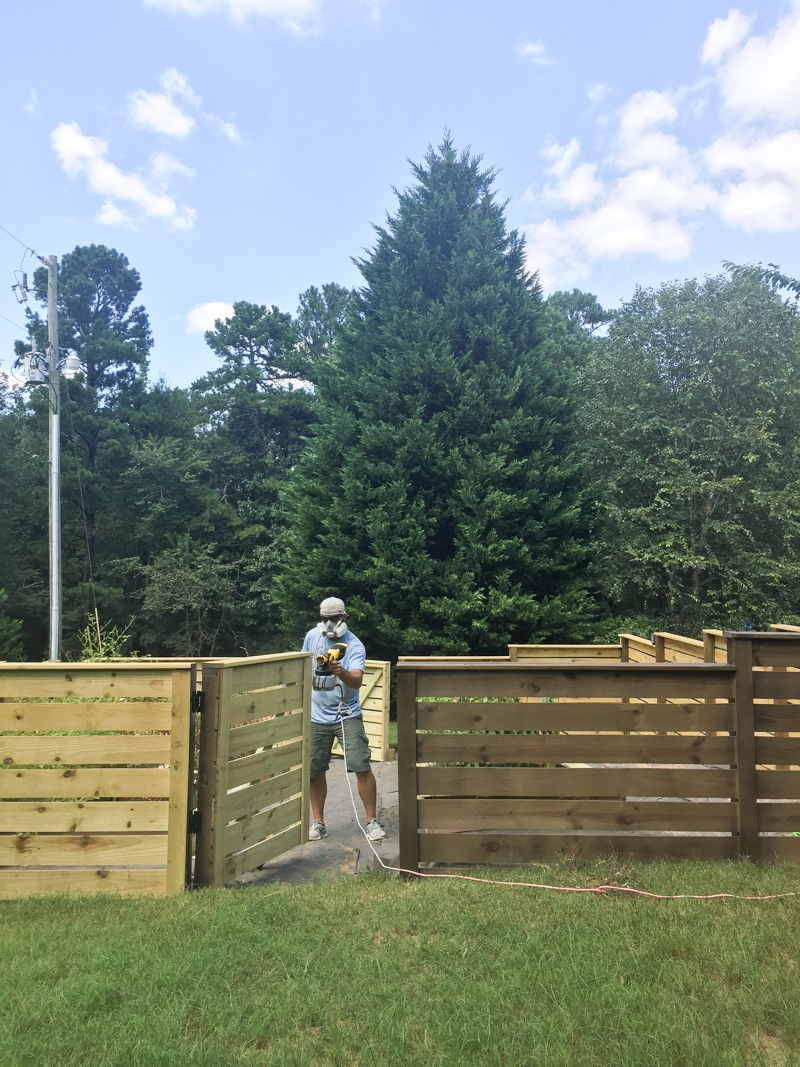
The gates he did while they were partially open so that he could get the inside parts too.
Overall….it worked EXACTLY how it promised….which is what we all want but sometimes it doesn’t happen and you loose your ability to blow your nose without stain chunks coming out. Thankfully this time the Wagner pulled through and we loved it.
The application was even and if there was any drips (from Jeremy pausing too long on one area) then he just took a brush and evened those out before they dried.
According to the manual, you should spray a couple coats for the best coverage (especially if the wood was unfinished).
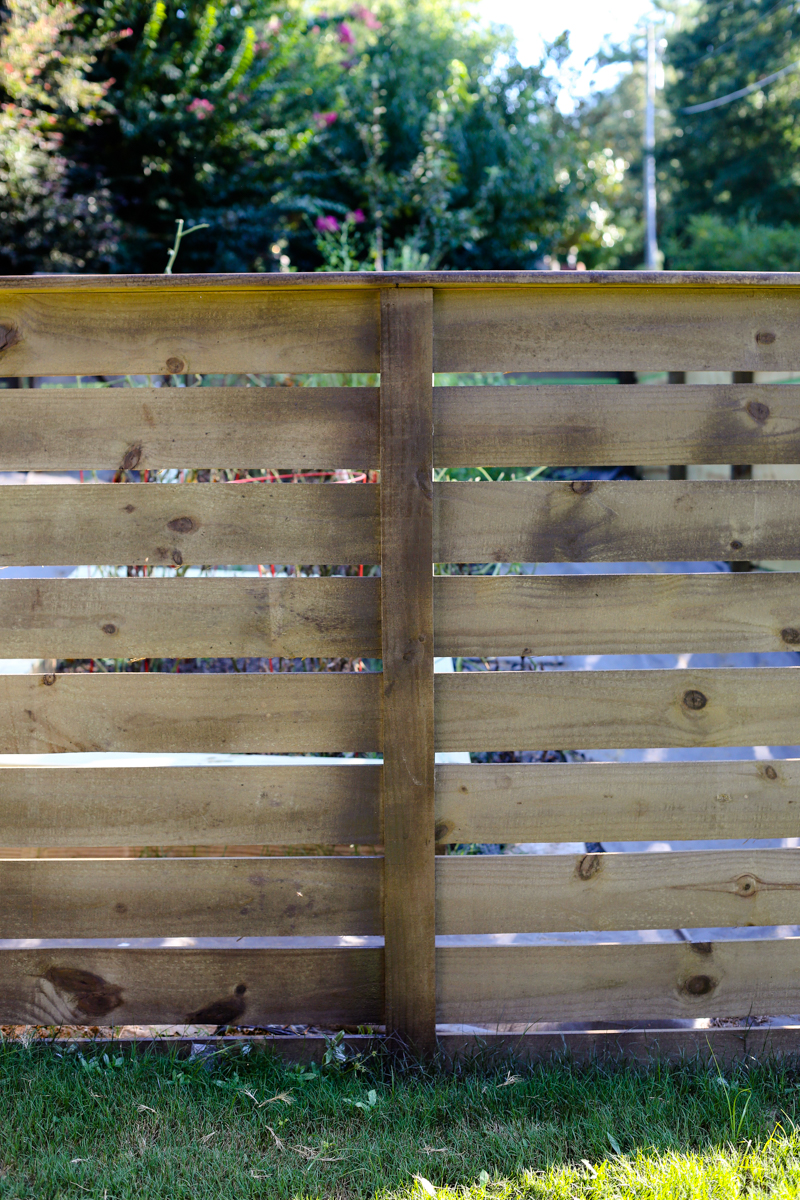
This is how it looked after one coat…..not too shabby! The center post is definitely darker because it was sprayed a little more from overlap.
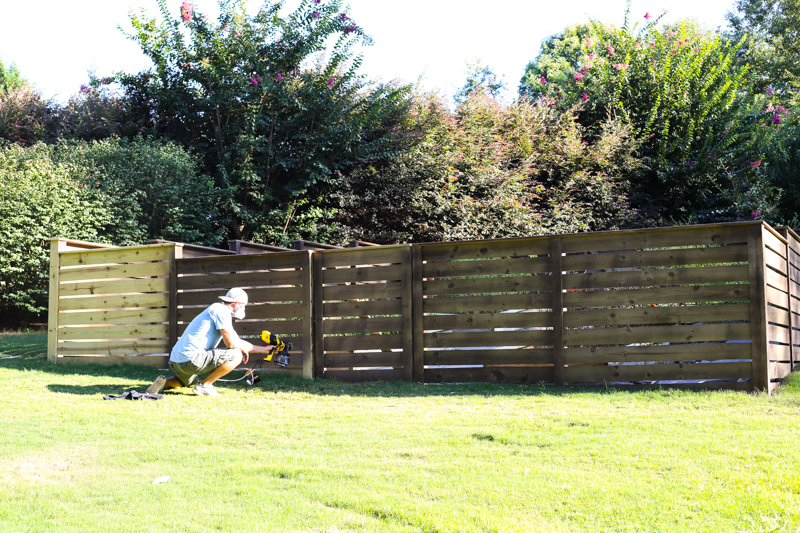
Each side of each panel took about 5-8 minutes depending on how thin that first coat was. So for the entire fence it took about 5 hours for one coat on both sides. That isn’t bad because it would have taken a week if he hand painted it!
This is definitely a weekend project but in the future, we think it might take only one coat every 2-3 years so it’s not that bad for maintenance.
Jeremy alternated between doing one side on the interior and then a neighboring side on the exterior. This allowed there to be not a ton of excess wet stain anywhere….that is what causes drips so it was really smart to alternate.
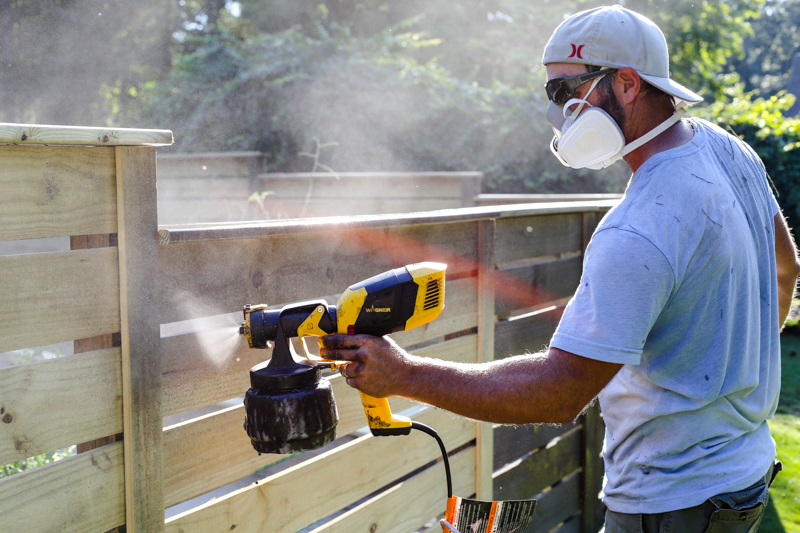
He also made sure to wear safety equipment….although next time I told him we should have gotten the weed whacker out first and maybe a pair of gloves
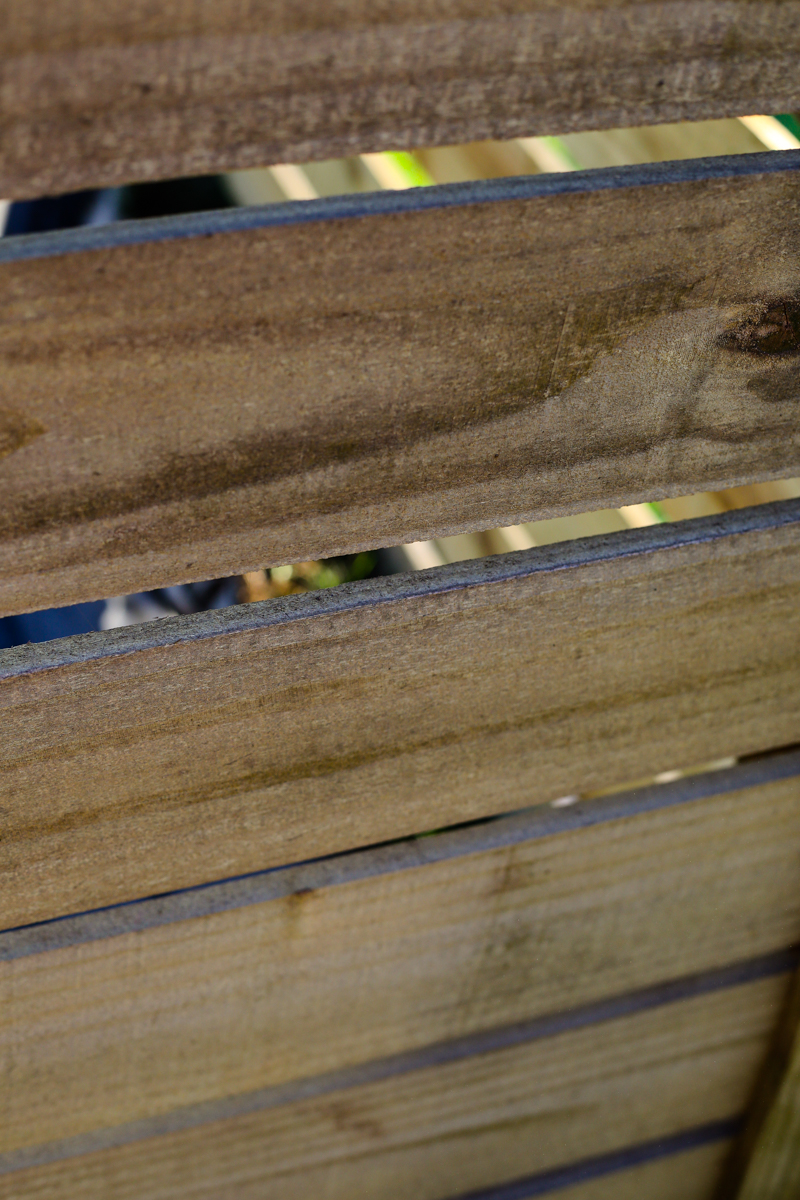
The sprayer did a really consistent job overall….it got in between of the slats which is the one thing I was worried about….but overall, job well done.
I just wanted to post this photo because sometimes with safety equipment Jeremy looks like someone from E.T. doing DIY jobs in our yard.
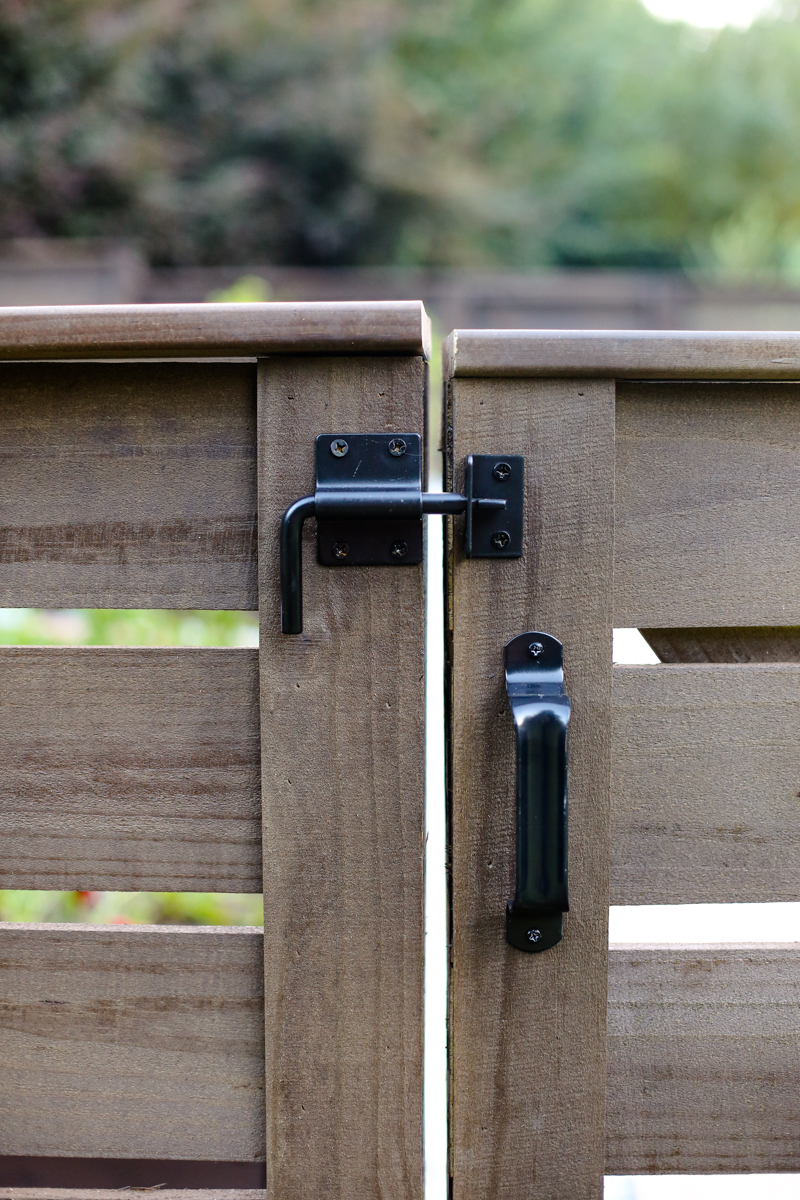
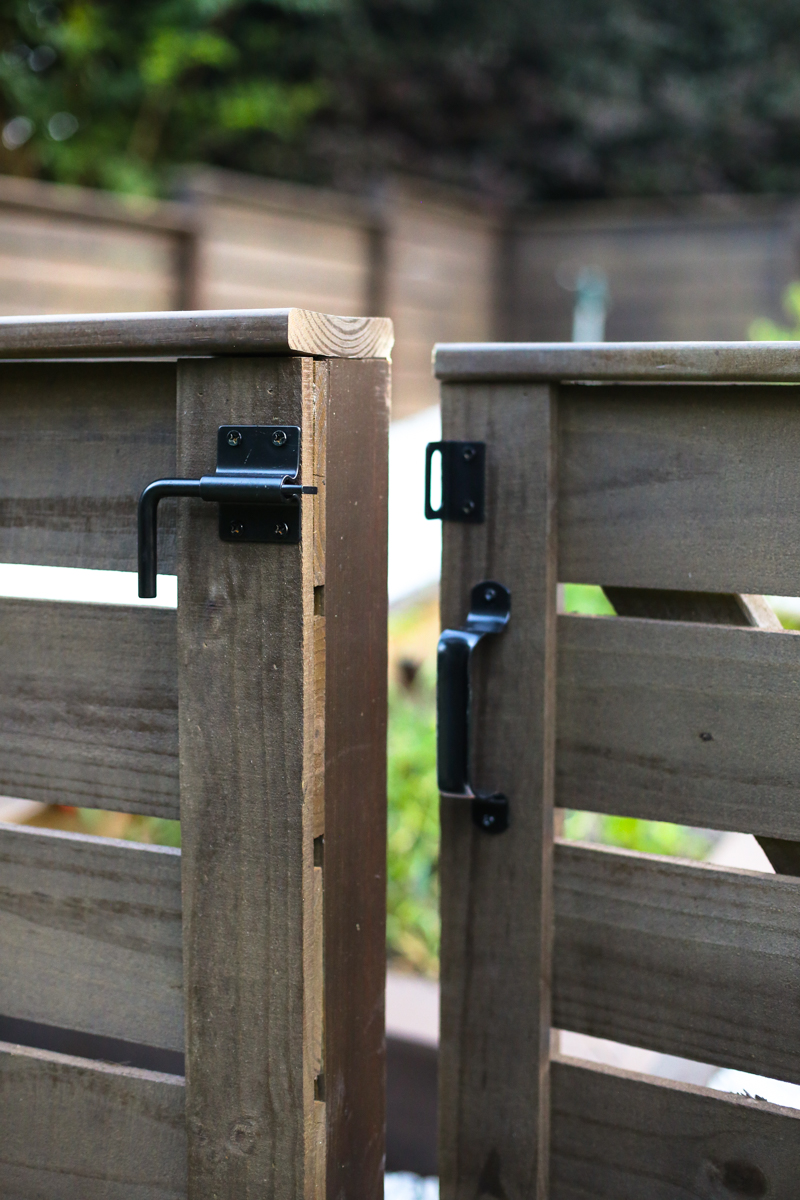
As for hardware, we kept it really simple and clean. We went with the generic handle and sliding lock on the gate after trying out a bunch of different options.
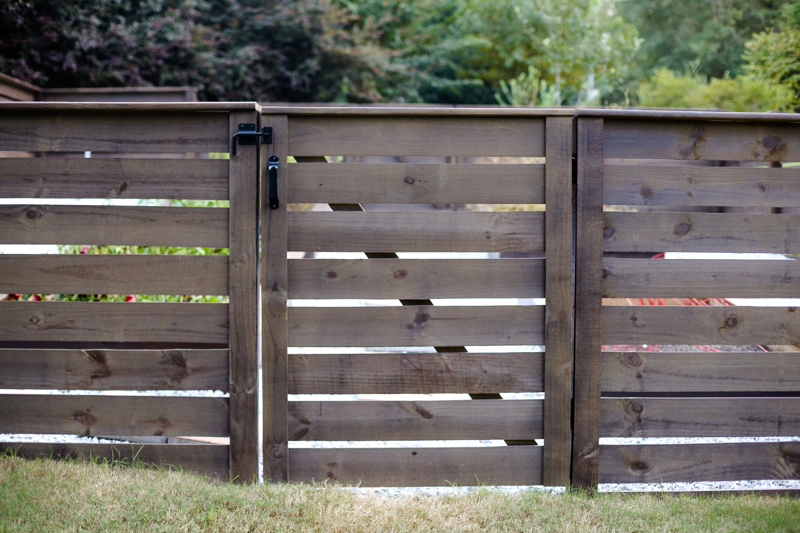
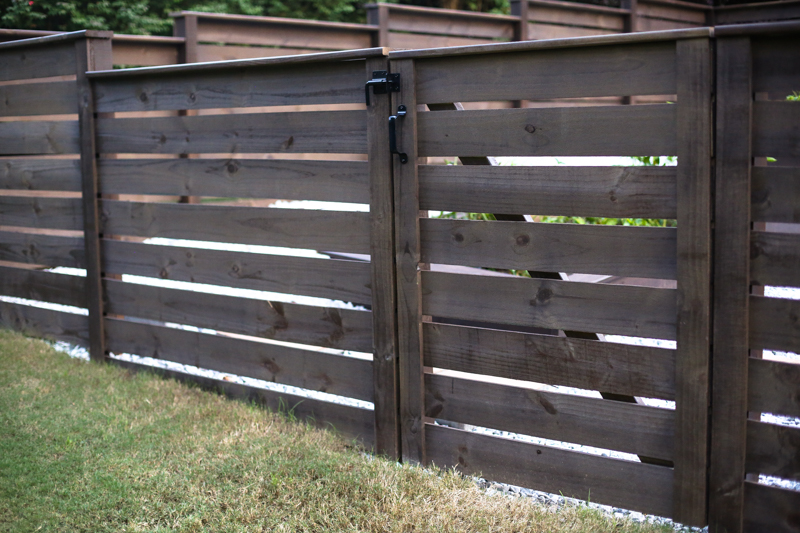
But just look at how good it looks with those two coats of stain….
I mean….like if you could put a double mocha hot chocolate in fence form….I would drink this 
And it does swing in….so I can’t wait to throw open this gate and share the next step in our garden transformation – the stones and finishing touches and then comes the reveal!
If you are the type that likes to watch pressure washing…here is a time lapse just for you….
It’s amazing how stain took the good looking fence from standard….
to spectacular! Doesn’t it look so good?!
And I did have several people ask me why we did such a fancy fence for our garden. The answer is easy – this is in our front yard. Weird right?! Well, it’s not visible from our front porch or our driveway (blocked by those giant bushes that you see above) but it is visible from our neighbors and the road. We wanted to make sure that it wasn’t going to be an eyesore. We live in our dream home and we wanted to make sure that any improvements we made didn’t distract from the curb appeal! So yes, maybe this style or investment isn’t ideal for everyone but it made sense for us.
So what do you think?! Do you love it as much as I do? Have you had any experience with a stain sprayer? Good, bad or ugly? Anyone else obsessed with time lapses? I seriously could watch them all day!

Looks great, but I really hope you aren’t planning on eating any of those vegetables.
It’s gorgeous! And much better looking than any less “fancy” options out there. I dream of a fancy garden like yours some day!
Wowee, it looks grand. It looks like your husband was enjoying that staining. Now all you guys need are some barnyard animals, ha! Just kidding. Your trees are gorgeous back there. Congratulations on your new baby girl, happy for you Bowers!
Wow!! The fence looks fantastic– and so professional! I’m always blown away by how polished your final results are, it really shows how well you plan everything out and work as a team (although I do love the posts about things that didn’t quite go according to plan; they reassure me that I’m not the only one :p). Congratulations on the great results and on your beautiful new baby!
That is soooo… beautiful!!!! Fabulous job! And E.T. is looking pretty awesome, your husband is “out of this world”!
hee-hee Love how you guys love!!
Our garden was done for the season at this point. If you plan on doing this, I definitely recommend covering up the beds!
xo – kb
OH what I wouldn’t do for chickens!!!
xo – kb