When it comes to building, I am no Ana White or Jen Woodhouse or the Shanty Girls or Jamie Costigilio or Corey Decker or one of the other BALLER BUILDERS out there. I’m just learning how to do things like the rest of the rookie builders. But I do pay attention. And the one thing I noticed with all of the table building plans is that the majority of the cost comes from the legs. Legs for a table can cost about $30-$40 a pop. A solid wood table from the store is about $600 to $1000. A solid wood table that you build with turned legs is about $200 – $300. But if you can salvage legs from an old table and just build the top and apron, you can only pay about $50 – $100. And that means you can turn an old table into a BIGGER, BETTER table. Boom. You win. You win everything.
And that my friends is exactly what we did to the Pedraza’s old table.
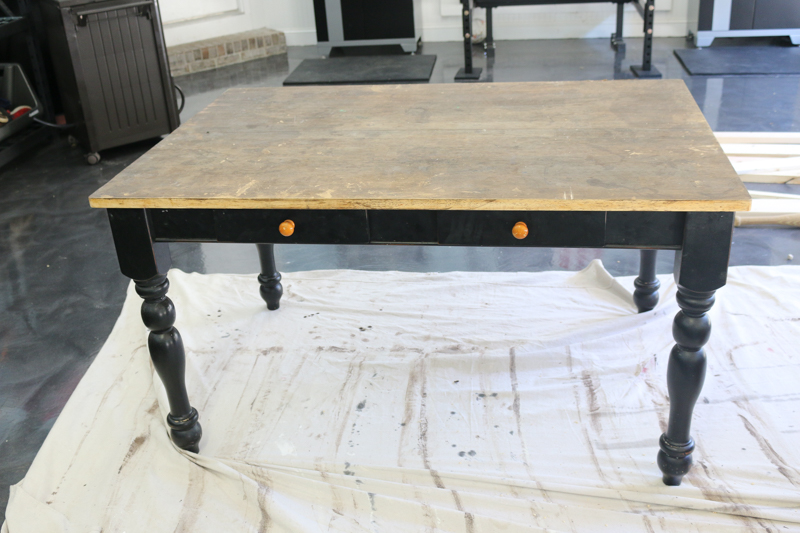
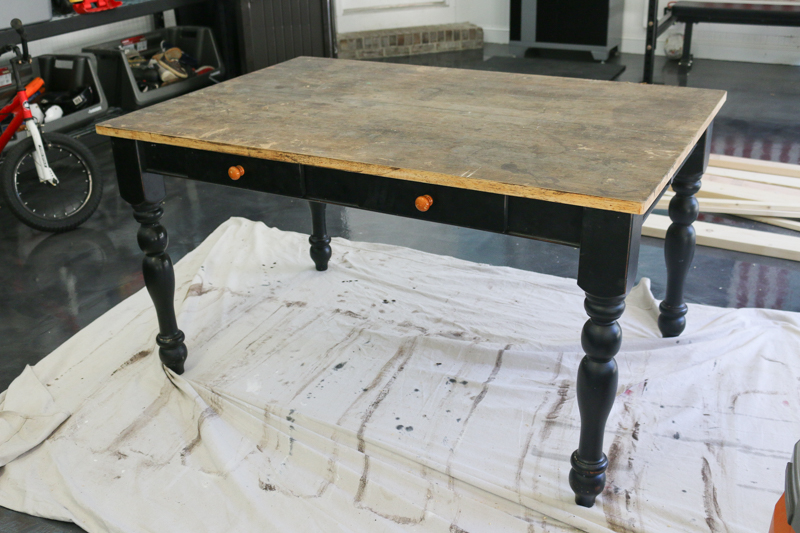
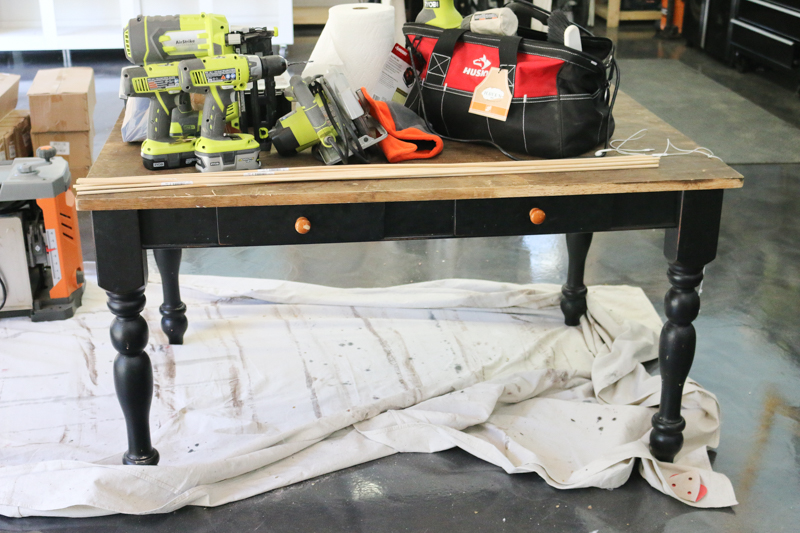
Before the table that they had was a solid table that fit four comfortably. The longer sides were long enough to squeeze in a couple more but it would be hope-they-wore-deodorant-close. We felt like it was necessary for function to get them a longer table but our budget was super tight. That’s when I decided that I could deconstruct their existing table and use the legs (which were in great shape) to build them a table that could comfortably seat six.
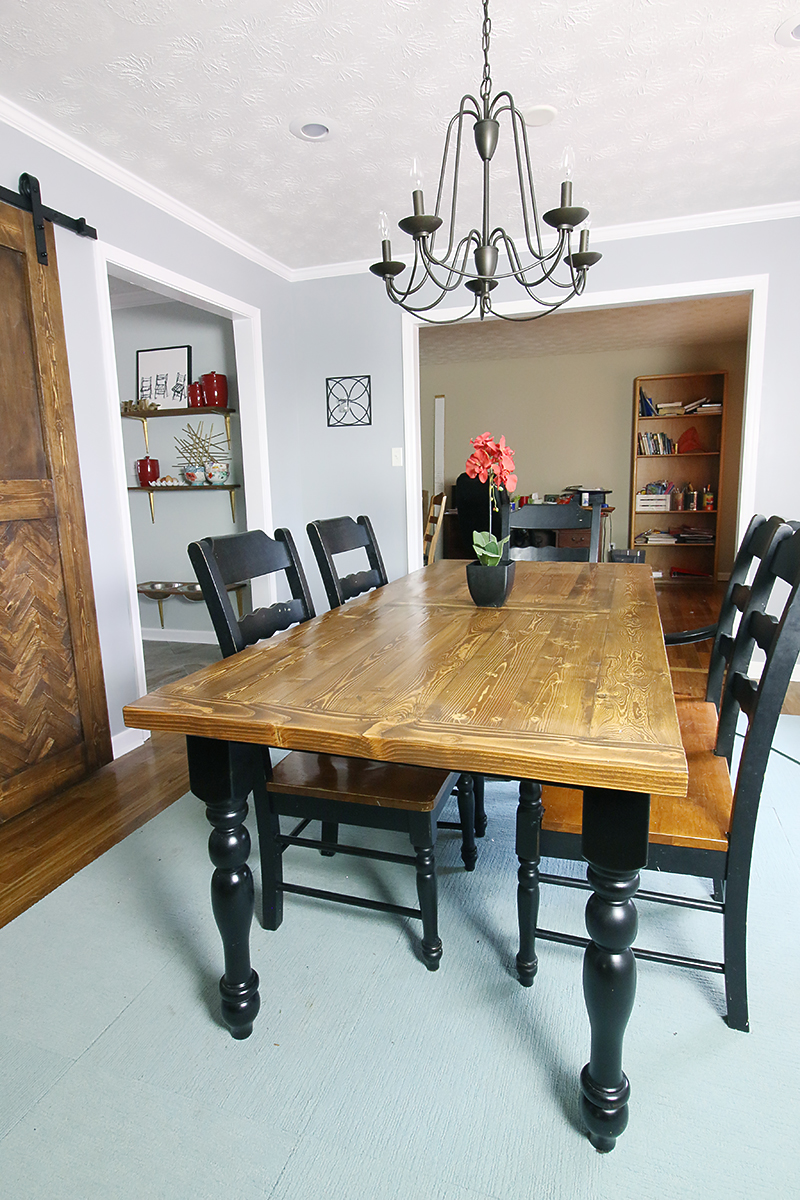
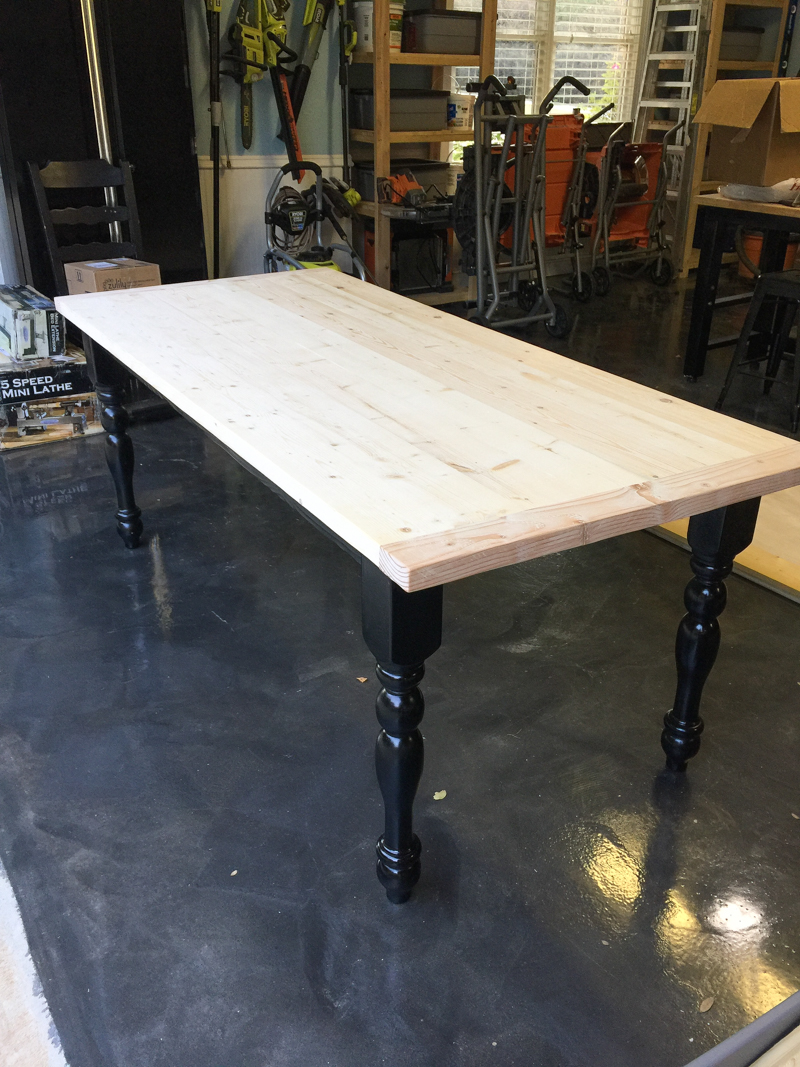
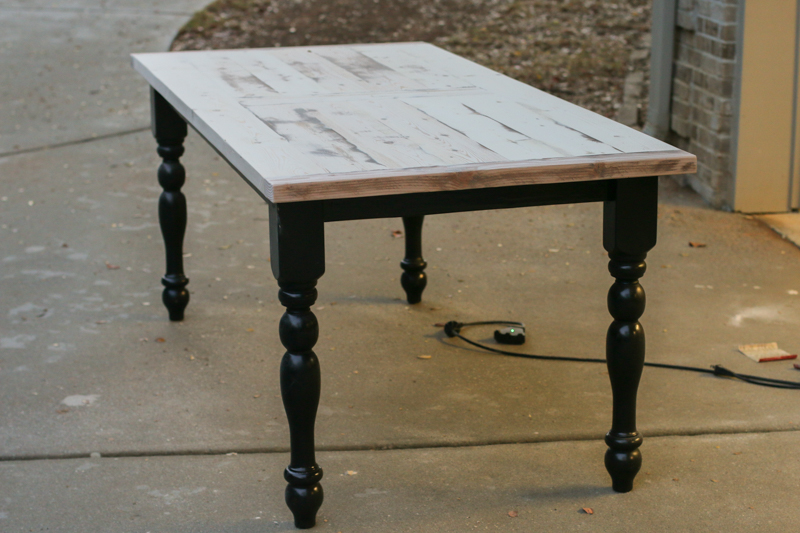
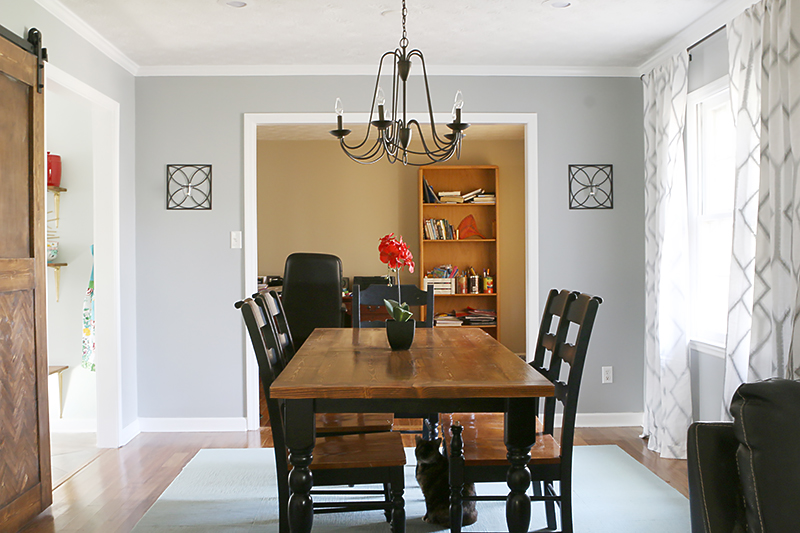
Spoiler alert…this is what we ended up with!
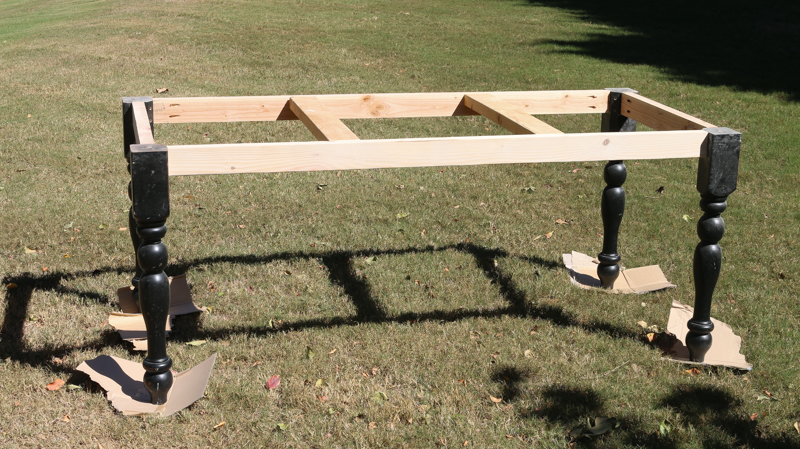
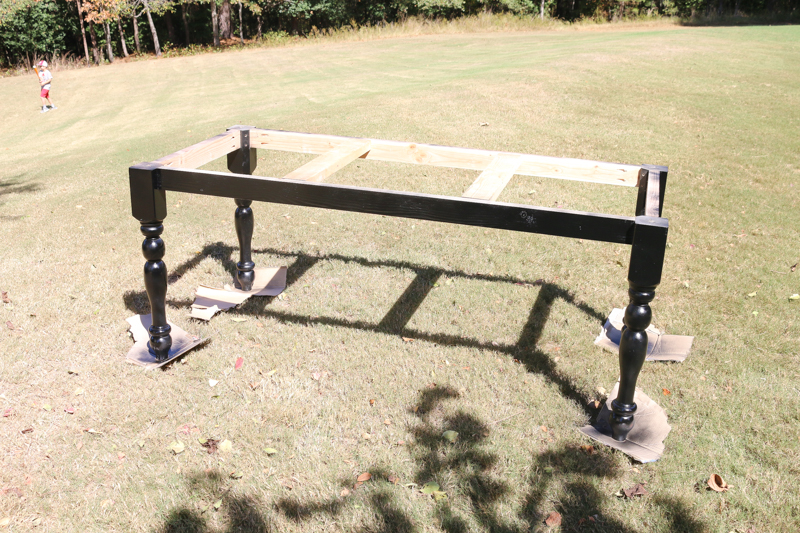
The first thing I did was remove the legs and scrap the rest of the table. I wasn’t going to reuse the top or the sides for this build. And then I built an apron from 2×4’s. The apron is pocket holed to the legs and the support structure is pocket holed to the apron so that all the screws are hidden.
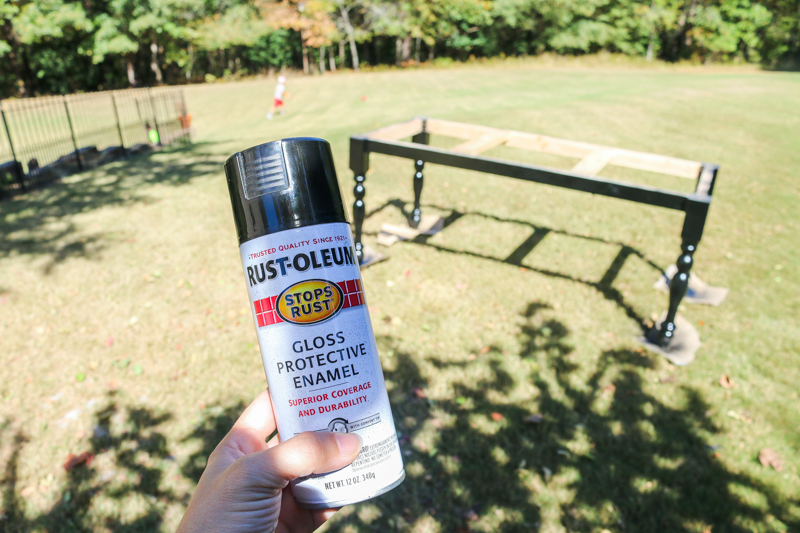
Once it was sanded I painted it all black. Charity had liked her black base and so I just went with it 🙂
For projects like this, a single can of spray paint is plenty for coating the legs fully. I used the high gloss enamel and it will be super durable.
On my first attempt for building the table top, I didn’t plane the wood or check well enough for warping. Rookie mistake. Now I know better.
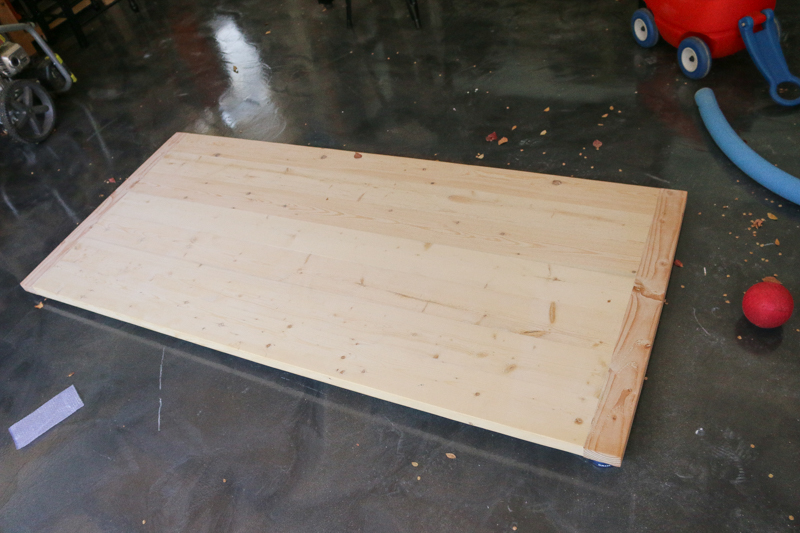
I built the top and it was really simple. I used seven 2×6’s for the planks and 2×4’s for the bread boards. Everything was pocket holed together.
So basically in a royal idiot move, I built the entire table and two of the boards were warped. So that meant the entire thing was warped. In a even bigger idiot move, I decided that I could make it unwarp by finishing it and then screwing it to the base.
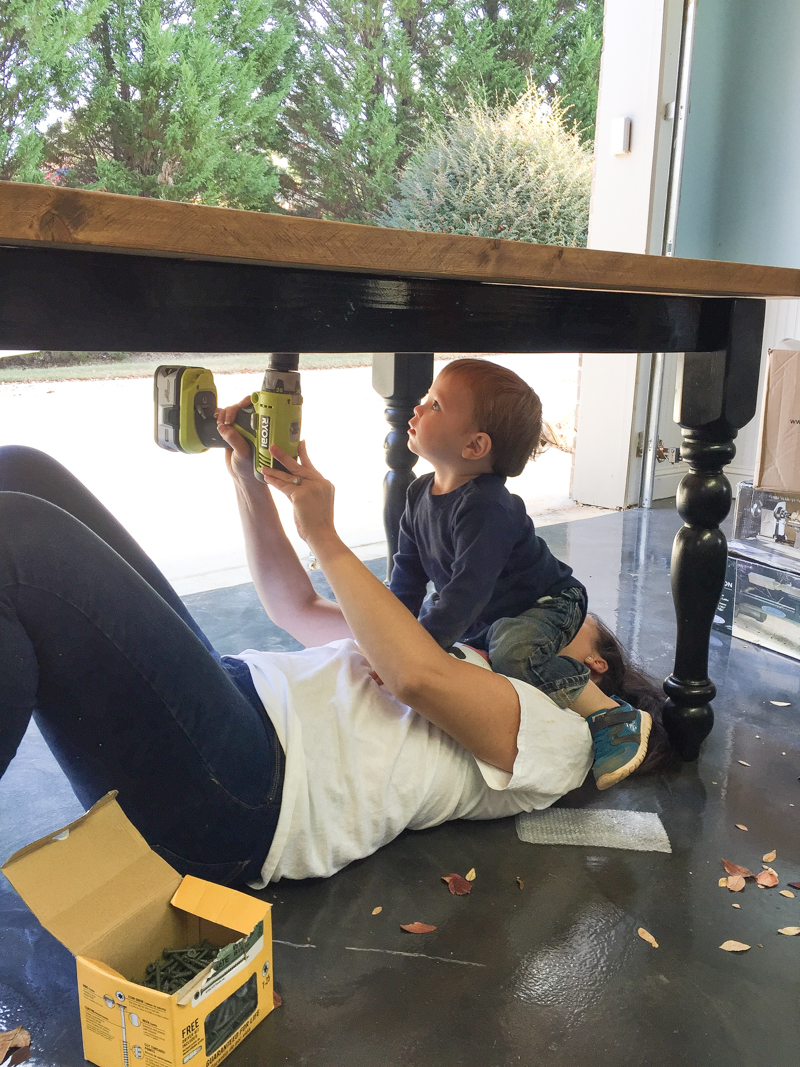
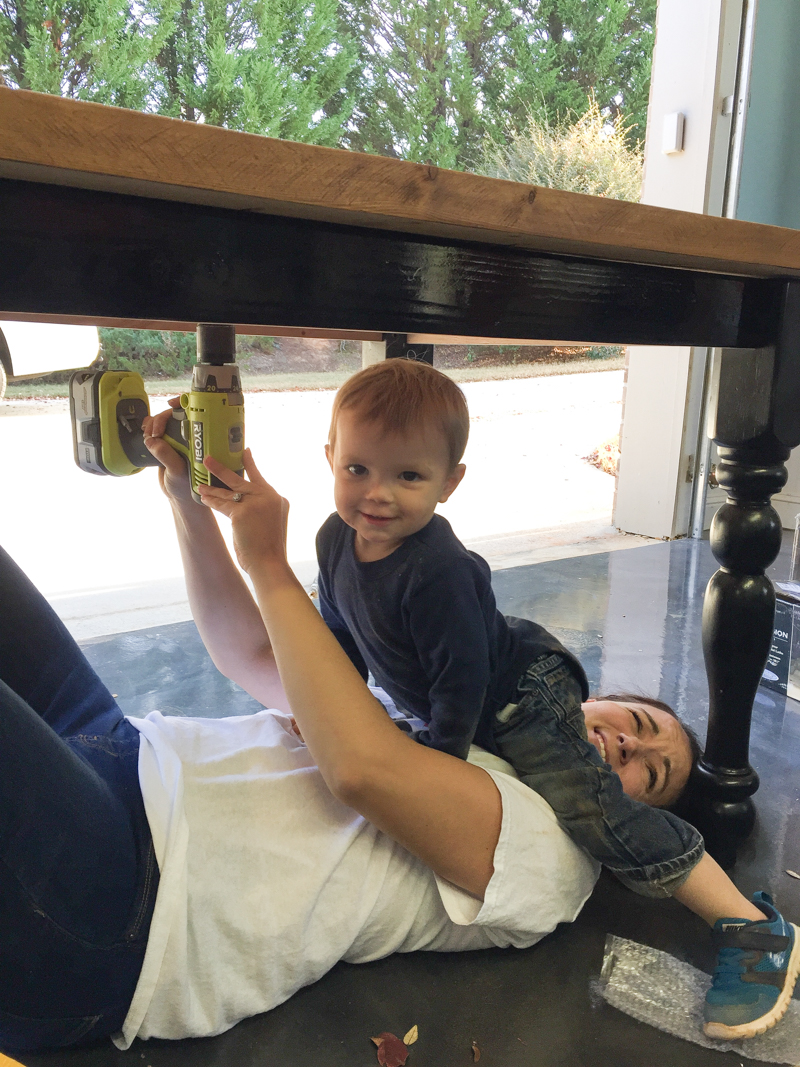
Yup. Trying to unwrap warped wood is basically like trying to screw a table top to a base with a toddler on your face. oh. right.
Life while trying to DIY with kids. This is a perfect example of what it’s like.
After I realized that the table would be super wobbly and never be stable without me chopping two inches from one leg which would lead to a very slanted table….I took off the table top and decided to salvage what I could.
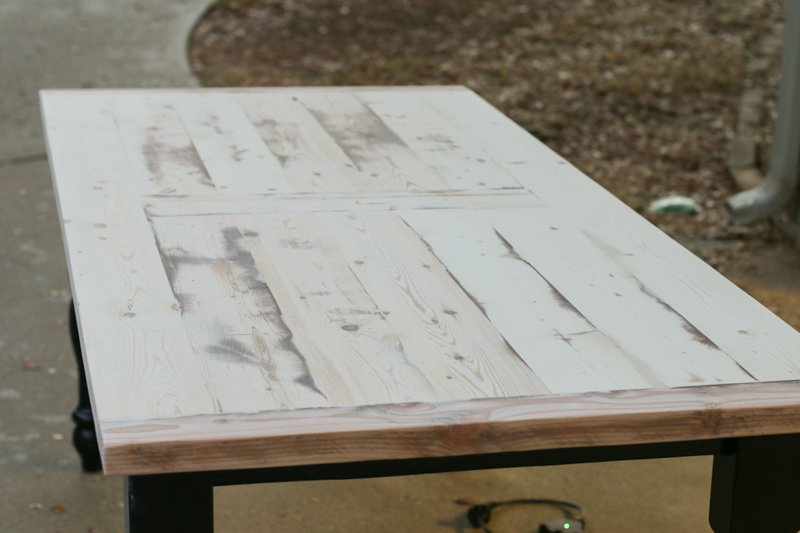
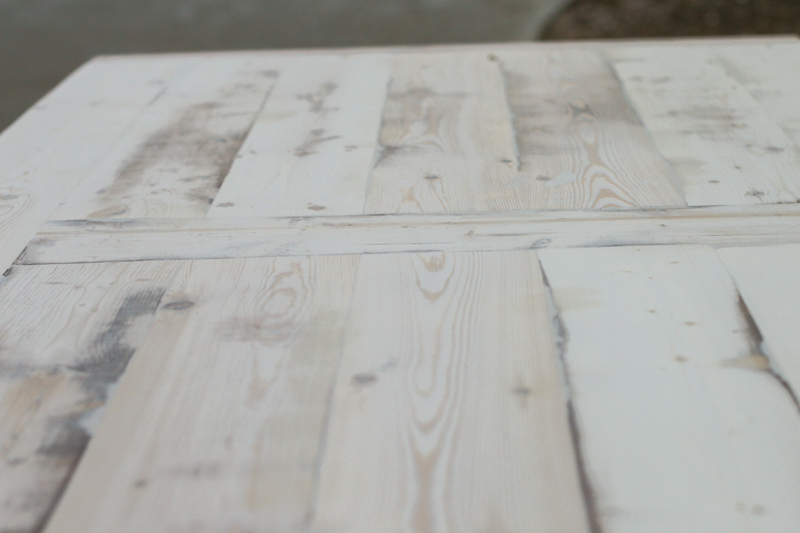
I took apart the entire top, removed the warped boards and decided to add a single board on the middle to make a lot of the boards needed shorter. Using shorter boards meant that I could use only the straightest board sections. And I only had to scrap one 2×6. It was a loss for sure. But way better than scraping the entire thing.
After I built the table, I sanded down the entire thing so that I could fill the cracks and holes and hand plane it.
I’m glad in the end I had made such a big mistake because I really love the detail of the cross board in the middle.
When it was all stained and poly’ed, I was able to turn this….
into this….
and now they have a table to fit their family and guests! So if you are in the market for a new table, I would highly recommend looking at thrift stores and yard sales to score your table legs and so you can build your own table. And just think….it will probably only take you half the time it took me because you know to not use warped boards 🙂
I love how you grew your table! It looks great! I love that you showed how because I would have never thought of expanding a piece of furniture like this!
Looks great! I built the Ana White farm house table before I bought a Kreg jig to make pocket holes – Now I feel like I want to take the table apart and do it again. The pocket holes make such a difference! Maybe taking it apart and re-doing it is a necessary step!!! lol
Love the table! I hope you will be letting us know how you finished it (planing, sanding, staining, etc..). I have a table top that I need to finish but I am not sure how to go about planing it. Thank you for sharing your life with us!
Katie,this table is beautiful. You make it look so easy,of course you had some great help. Any more projects for this house? Hint,hint
It looks so great! I’m working on learning how to build more, and you’re one of my inspirations…so I’d definitely consider you a baller builder! 😉
Love this new table! And yeah, that’s what DIY projects look like around here too. Or exercise. At least it builds extra muscles when you do pushups or situps with a baby or two hanging on for a ride.
What a great idea!!!! Thanks so much for sharing!
Wow, genius! And hello… I love the crossbar in the tabletop – what a smart move! Shorter boards = less chance of warp. Brilliant. Thanks for the shoutout, friend
Katie… HAHAHAHA. I FEEL YOUR PAIN. Warped wood is THE WORST. Freaking pesky things. Nobody ever mentions “hey, buying straight wood is super duper important” .. they all just gloss over that little detail. I’m so impressed with your creative solution. And I maybe snorted some water by accident when I was those pictures of you drilling with your baby. LOL.
Genius idea- thanks for sharing! Loved the “trying to screw a table top to a base with a toddler on your face,” comment and then seeing that that really occurred. Hilarious!!!