Guys, I never in a million years thought that I ever would build a door. Much less a SECOND door. But I gotta tell you. It’s surprisingly easy the second time around.
This time I went with a completely different method and it was SO much easier and faster and I truly believe that anyone could do this one. Yes mom. I’m looking at you.
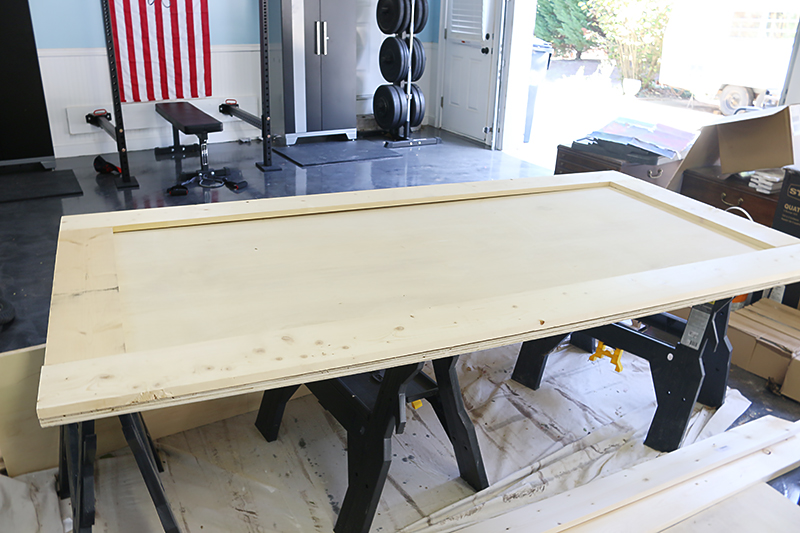
Last time I built a door, I used 2x’s and pocket holed them together and then filled all the holes. It was kind of a huge pain in the you-know-what. This time I went with a plywood door base and trimmed it out to make it unique. If you are gonna make a door for your own space…this is the way to do it.
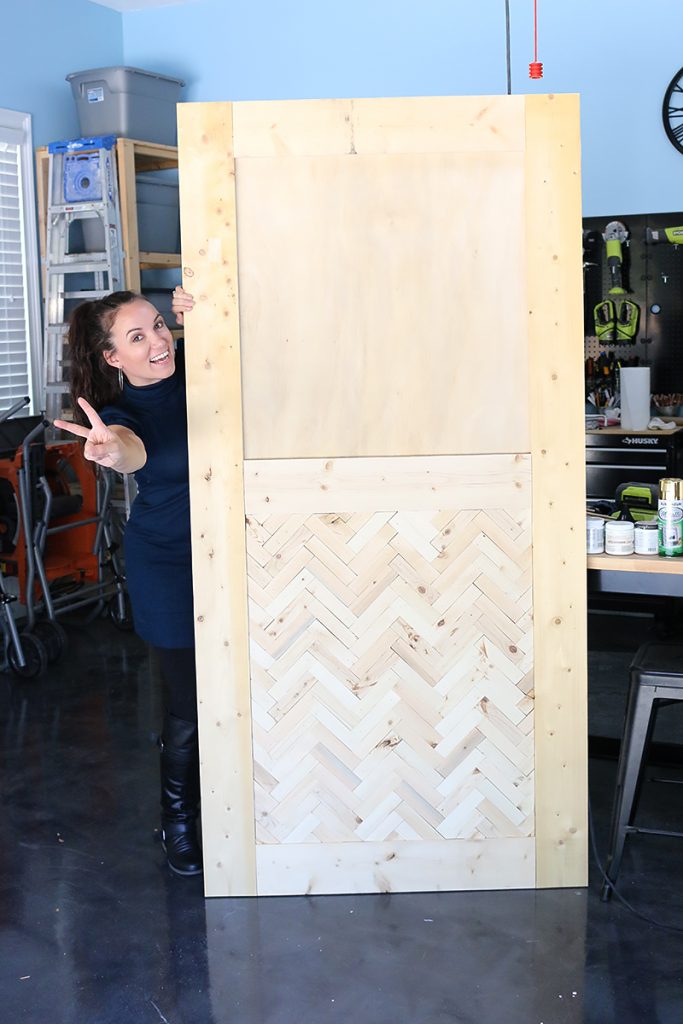
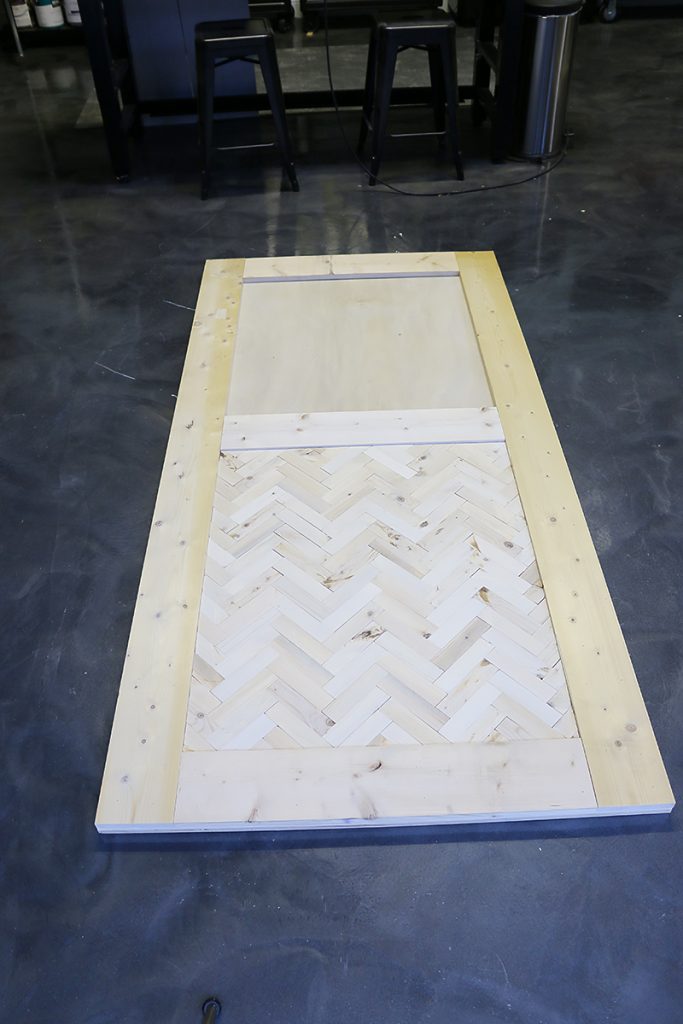
Just simply measure the size door you need and have a sheet of 3/4″ plywood cut to size. Then you are gonna need some 1×6’s to trim out the edges and create details.
For this particular project, I wanted to fancy it up just a little. It’s like adding the sequins on Gaga’s Super Bowl outfit. Without it, it’s just a long sleeved body suit with shoulder pads. And we all know how boring that is. #wheredidallthepantsgo
If you recall our crosscut countertop project, Jeremy made about 3.7 million cuts to trim down the wood. And we had a lot of scraps left over that I did not want to waste.
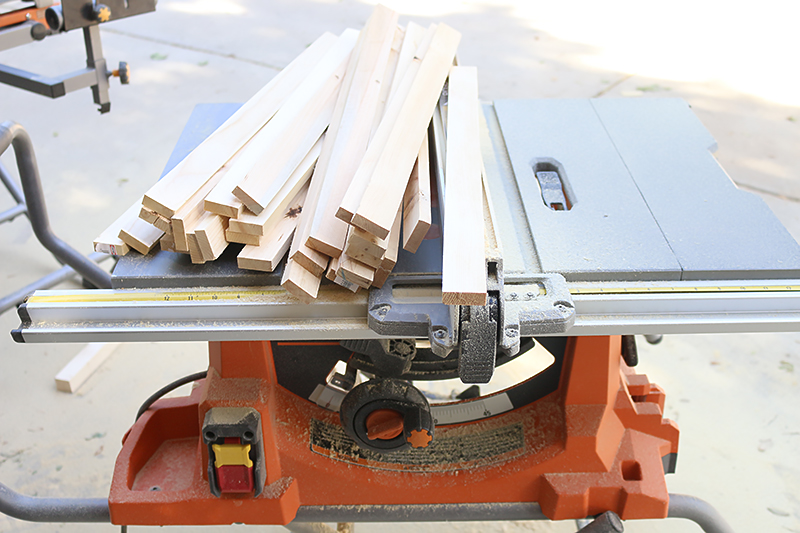
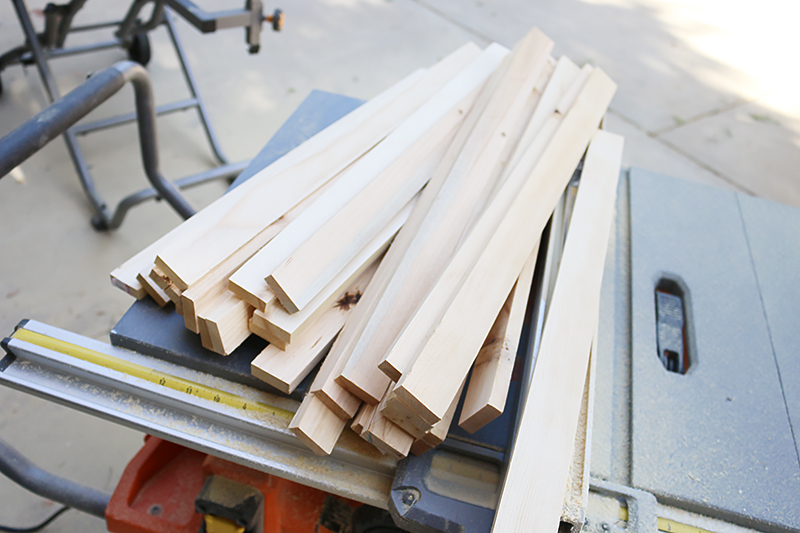
So I pulled out the wood that we trimmed off the 2×4’s – they are basically 1 1/2″ by 1/2″ if you want to replicate this at home.
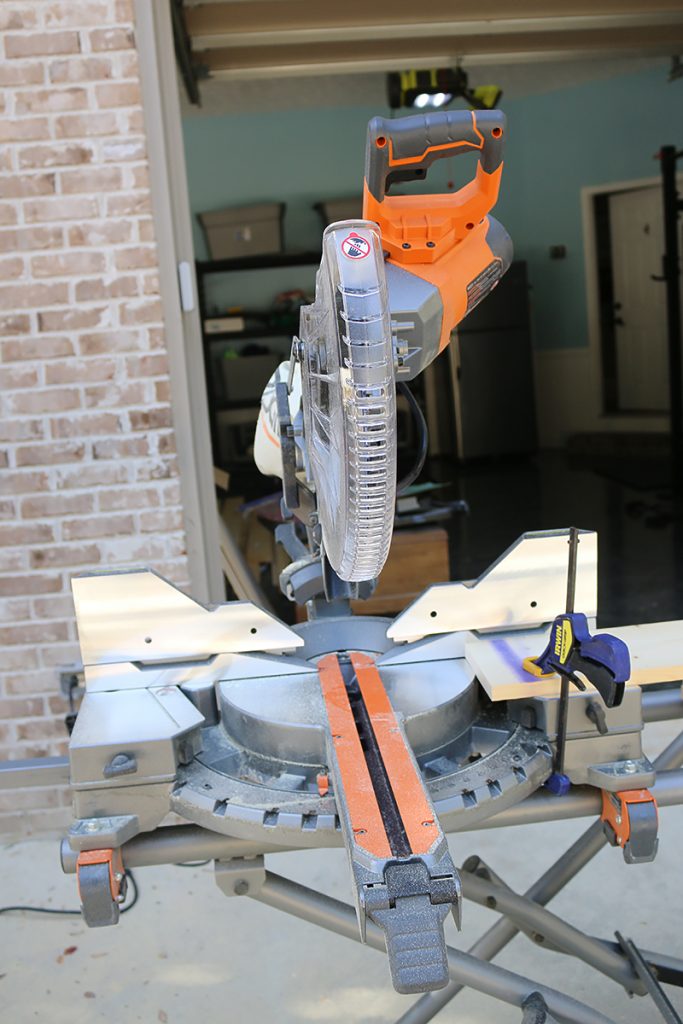
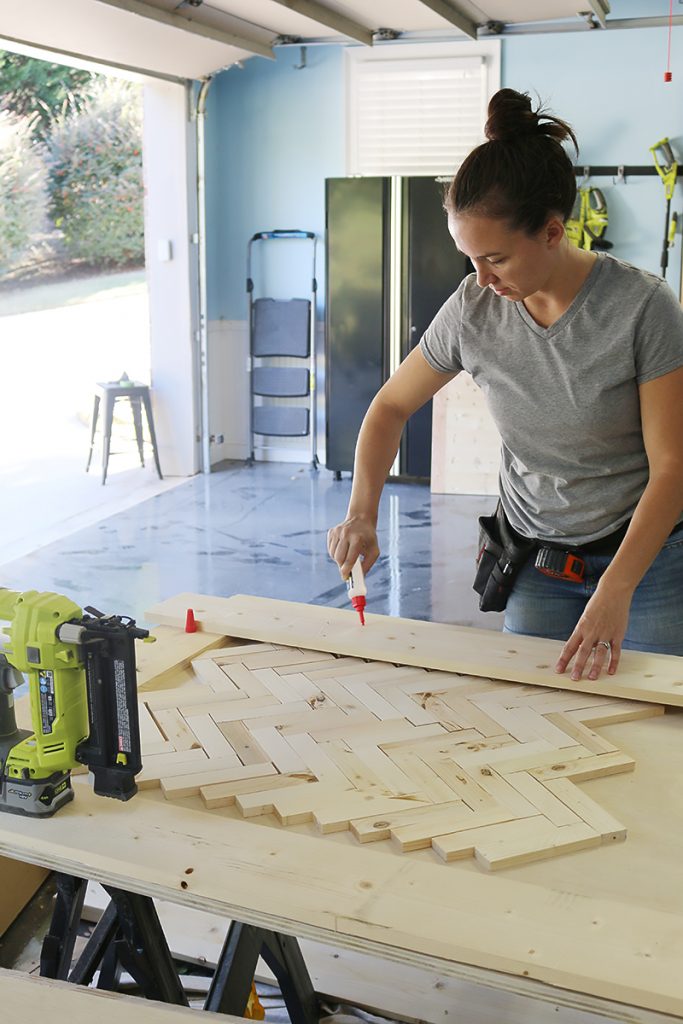
Then I went to work to cut them up into a million 4″ long pieces. I call them wood tiles at this point because that is basically what I am creating….little wood subway tiles.
**Note that I clamped down a stop block on my saw….it helps so much to make multiples of the same cut.
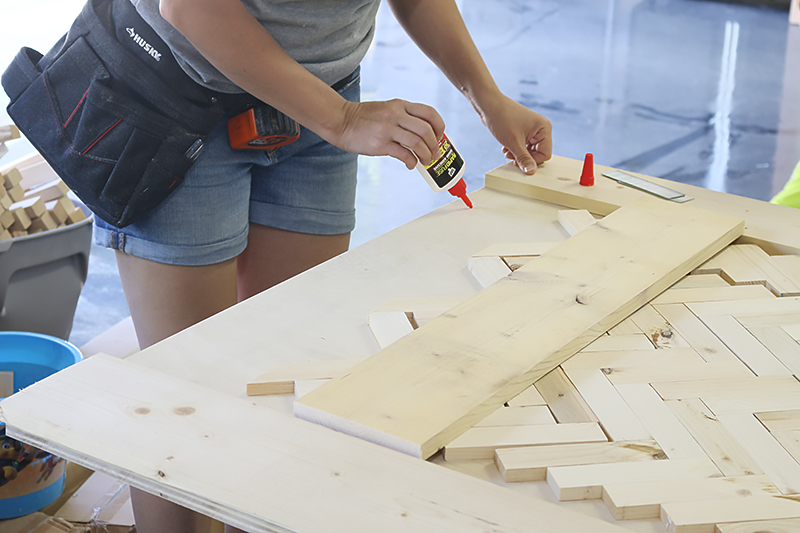
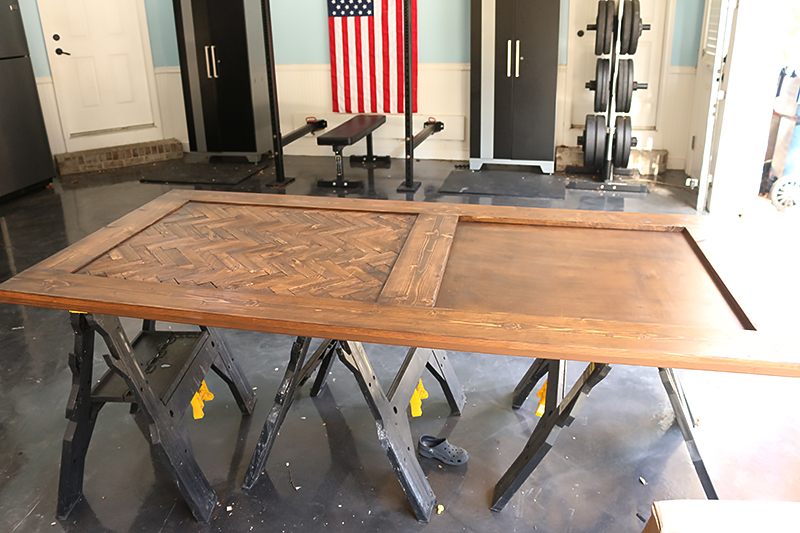
After all my wood was cut, I decided that before I do all the weird corner cuts, I would need to glue and nail my trim pieces.
I have been using this DAP RapidFuse lately and I have had really good results. I don’t do a whole lot of glue ups and I like the fact that it works fast. For projects like this, it’s a great option.
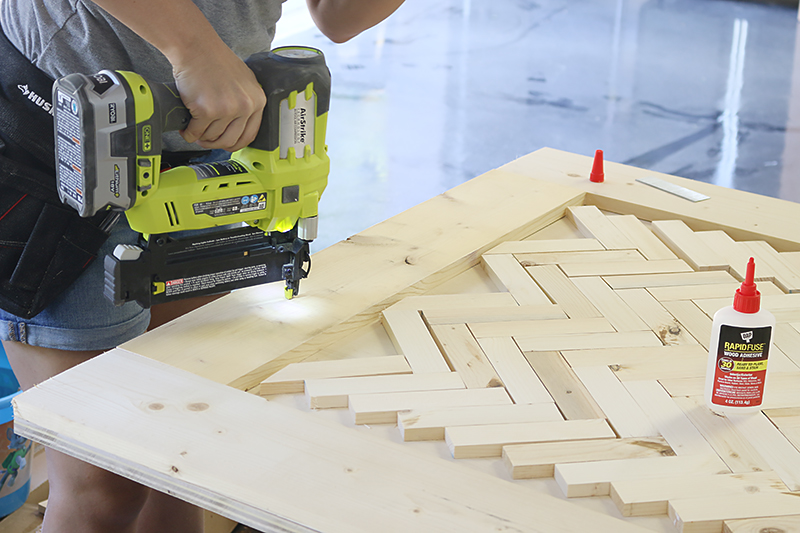
Then I used my Ryobi brad nailer to fasten the trim pieces down. If you don’t have this tool yet….I really think you should consider asking for it for Valentines day…or give it to your spouse. I know that sounds weird….but just imagine how much you can build with it!
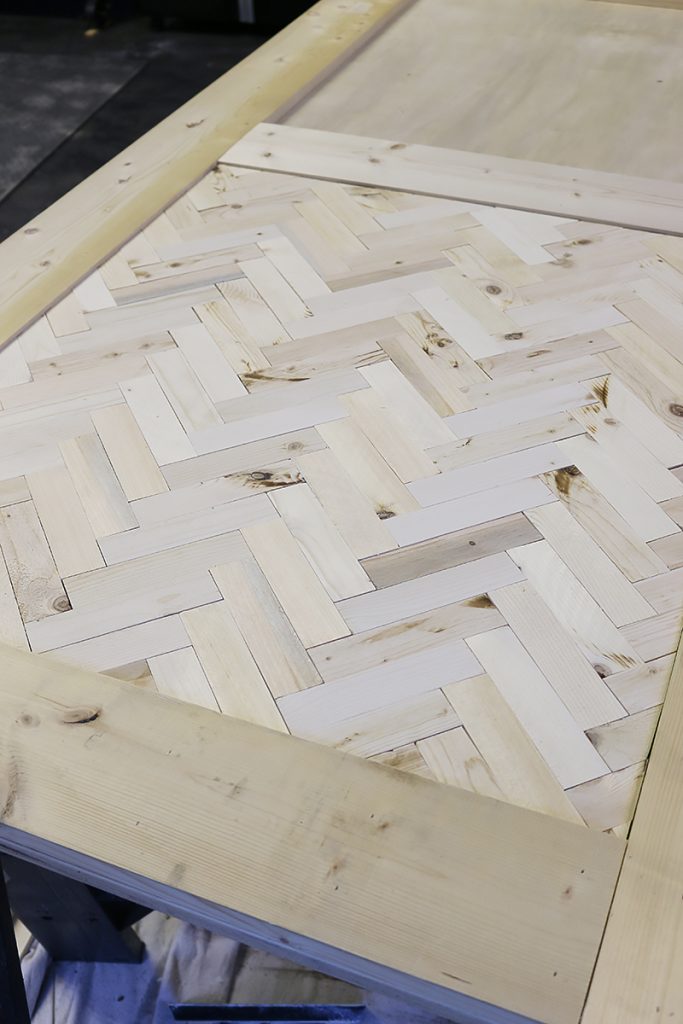
After doing all my outer trim, I went to work cutting all the rest of my tiles.
At the end of the day, I felt really good about this thing. It’s like that moment when you realize that you actually know how to put on eyeliner. It’s empowering. Each of the tiles was put in a spot with the glue and LOVE 🙂
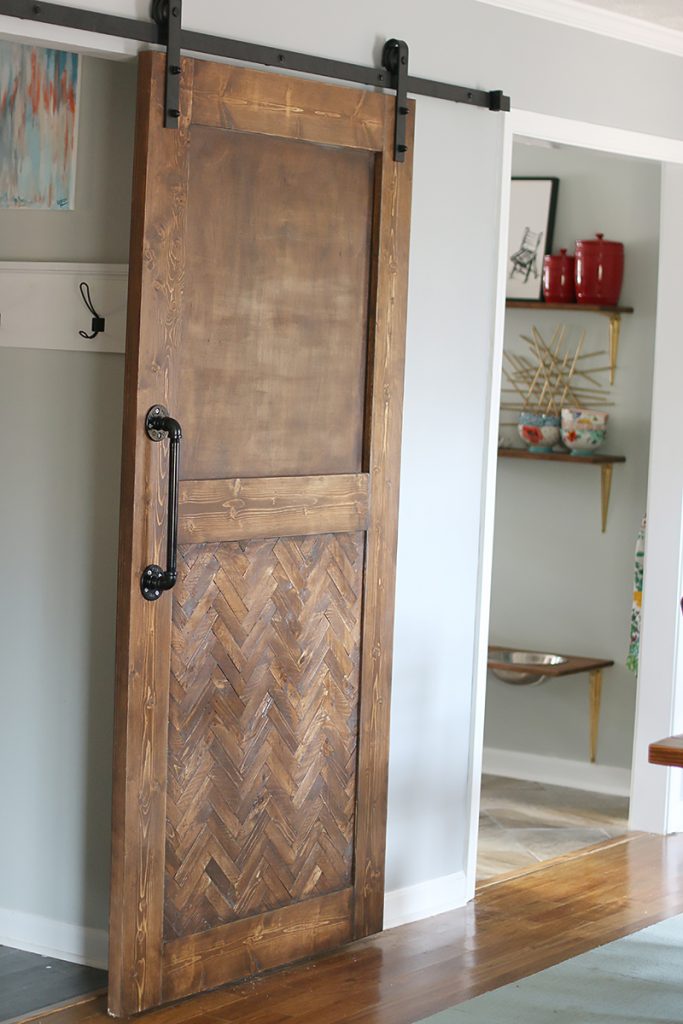
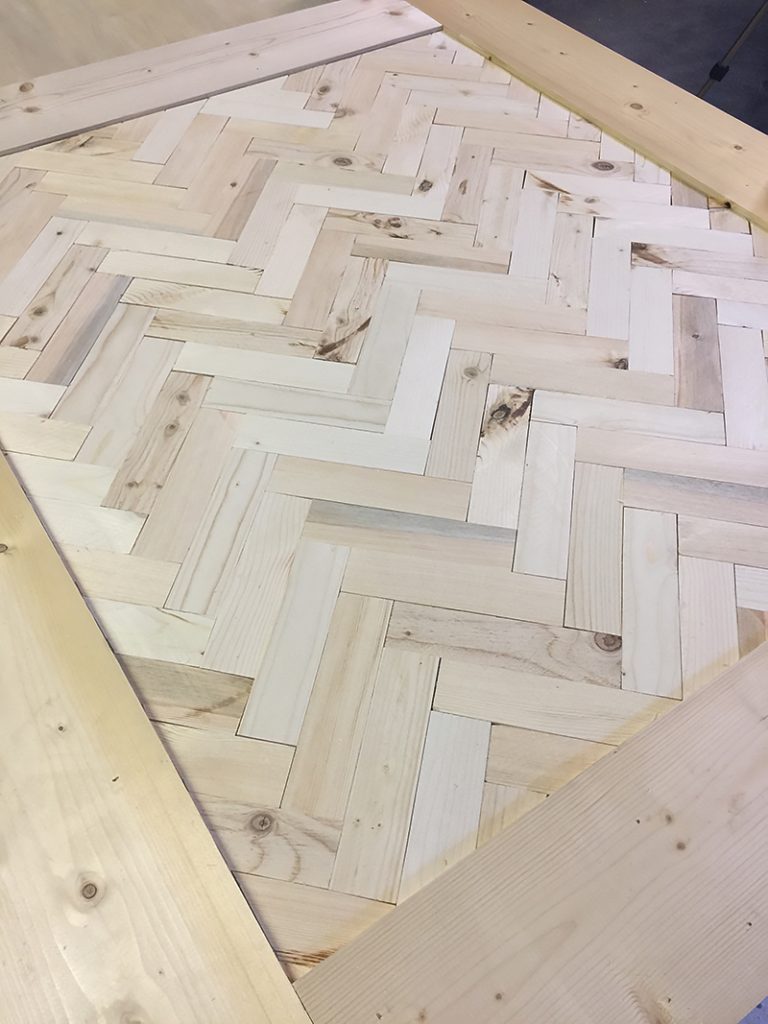
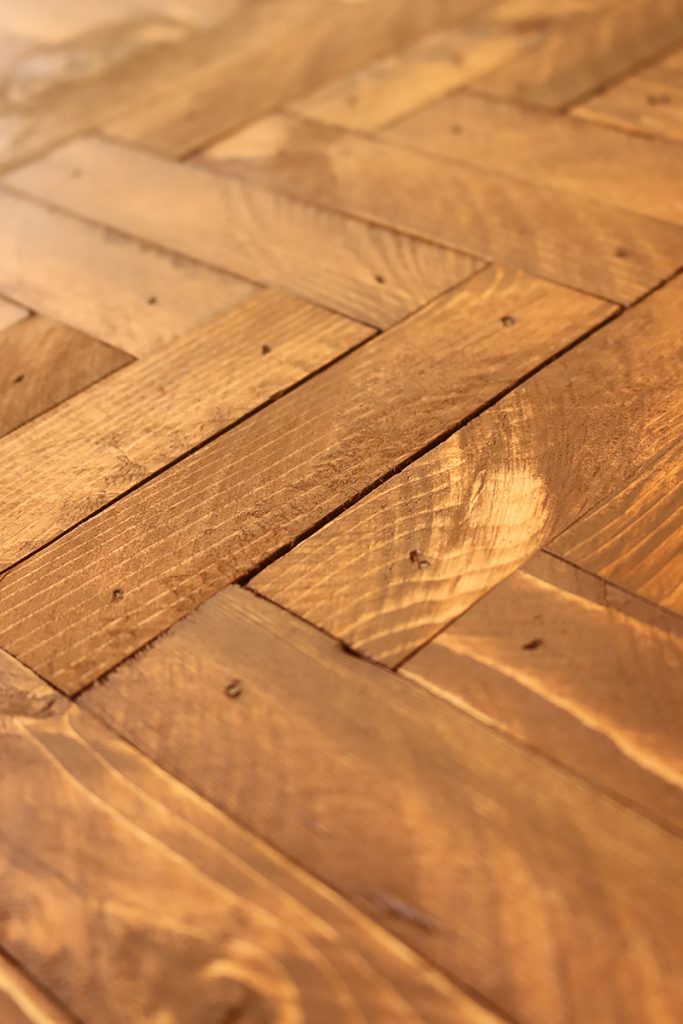
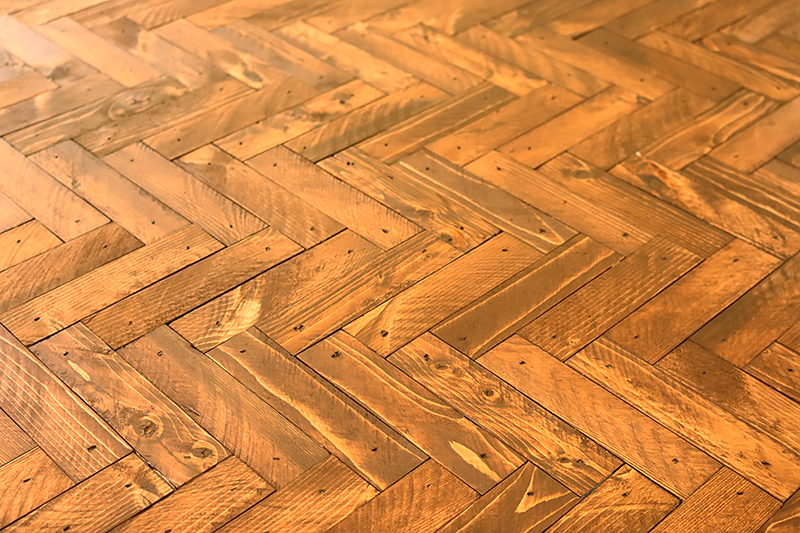
More closeups of this beauty….because it’s gonna be my only herringbone door ever 🙂
I did have to go back through with the brad nailer to fasten all the wood tiles. I also took wood filler and did the sides of the seams of where the trim pieces met up and the edges of the plywood. It helped the entire thing look more finished and intentional.
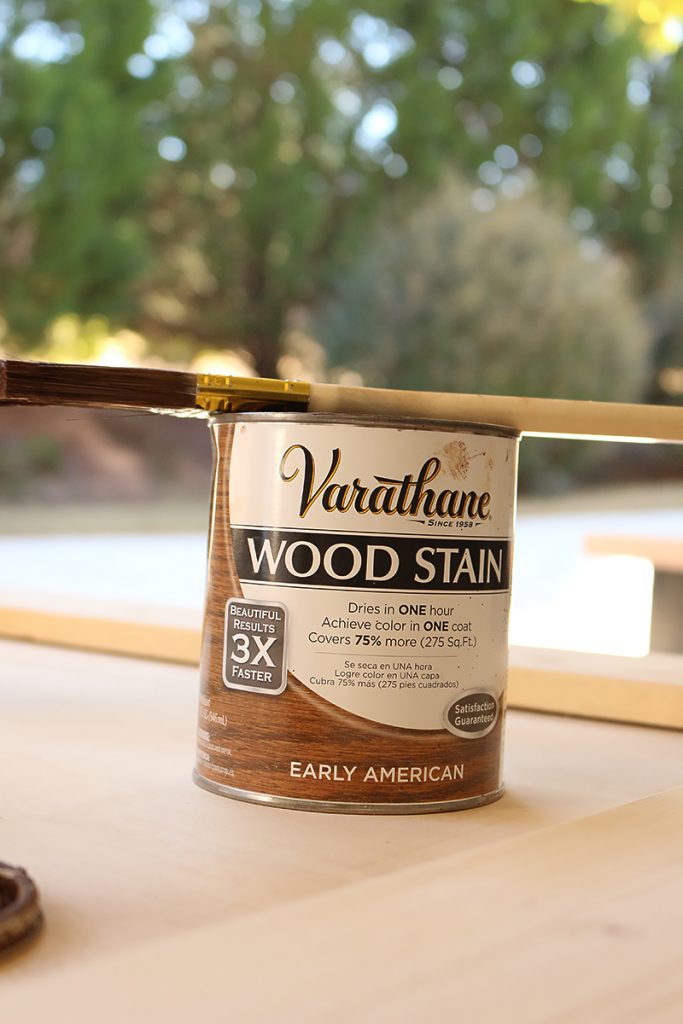
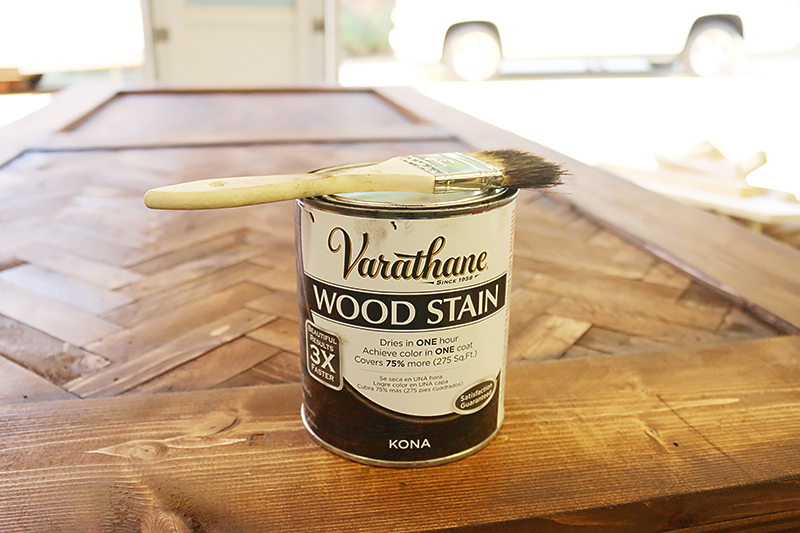
As far as stain goes, I went with Early American as my base. We had already decided to try to get close to the color of the Pedraza’s existing dining chairs.
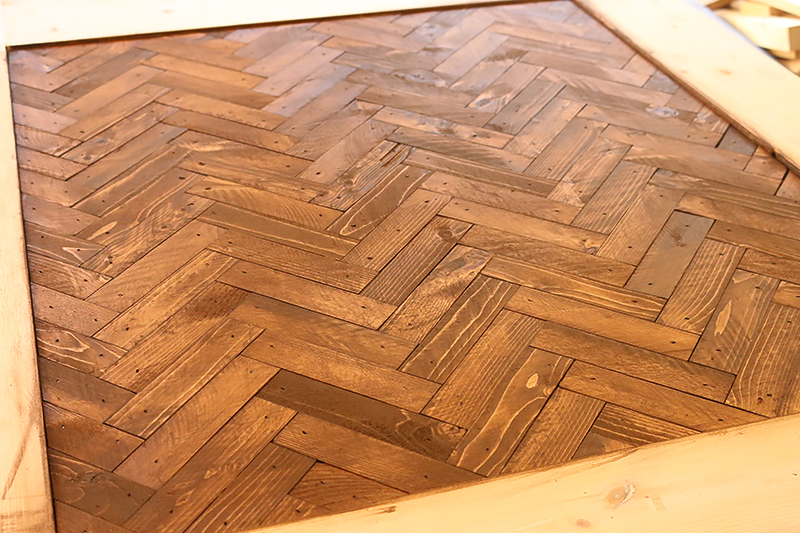
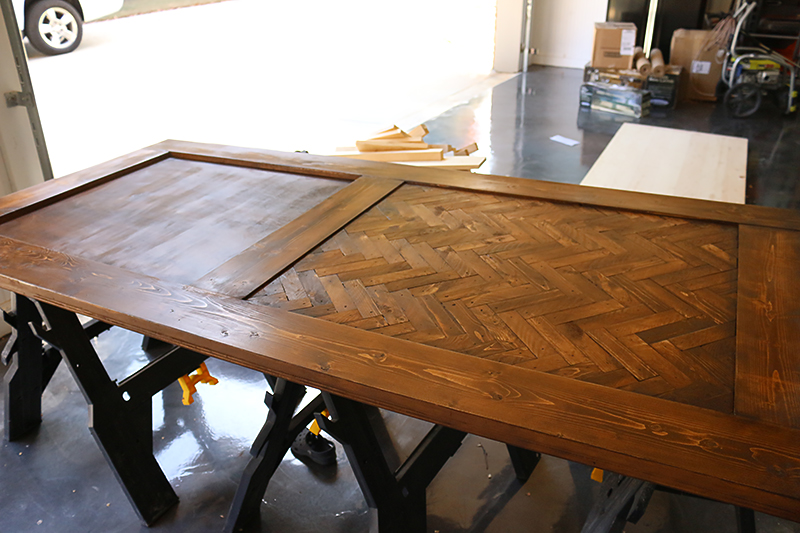
This is after the first coat…
It definitely is a warmer stain in a mid tone.
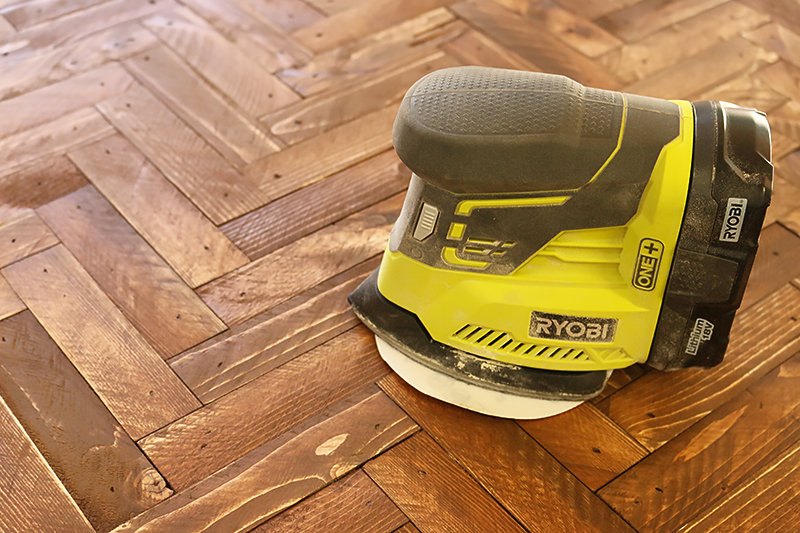
I like this color when it is sanded down just a bit and then dry brushed. I used the Ryobi corner cat with a cheap hack – I use loop back sandpaper meant for a circular sander…it’s cheaper than the ones cut for this bad boy and perfect for the non-corner moments 🙂
Then to make things really pop, I dry brushed the corners and edges and anywhere I want to add a little contrast. I did a tutorial on this technique and literally will never go back. It makes any furniture look SO much more high end.
After that it was a couple coats of the Triple Thick Poly and we were in bow-town. As in bow down to this door because it is so awesome 😉
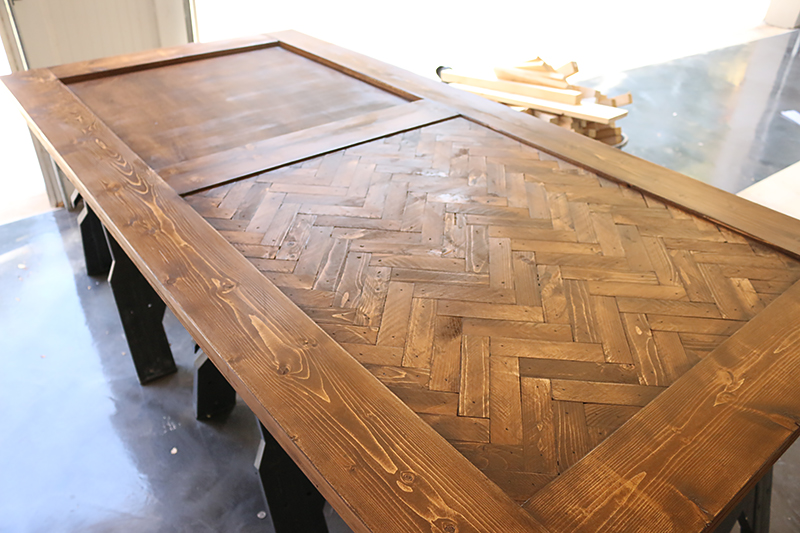
I love how the color variation even helps that herringbone look so freaking good. Sorry mom. I know you hate the word freaking 🙂
And here you go from the other angle.
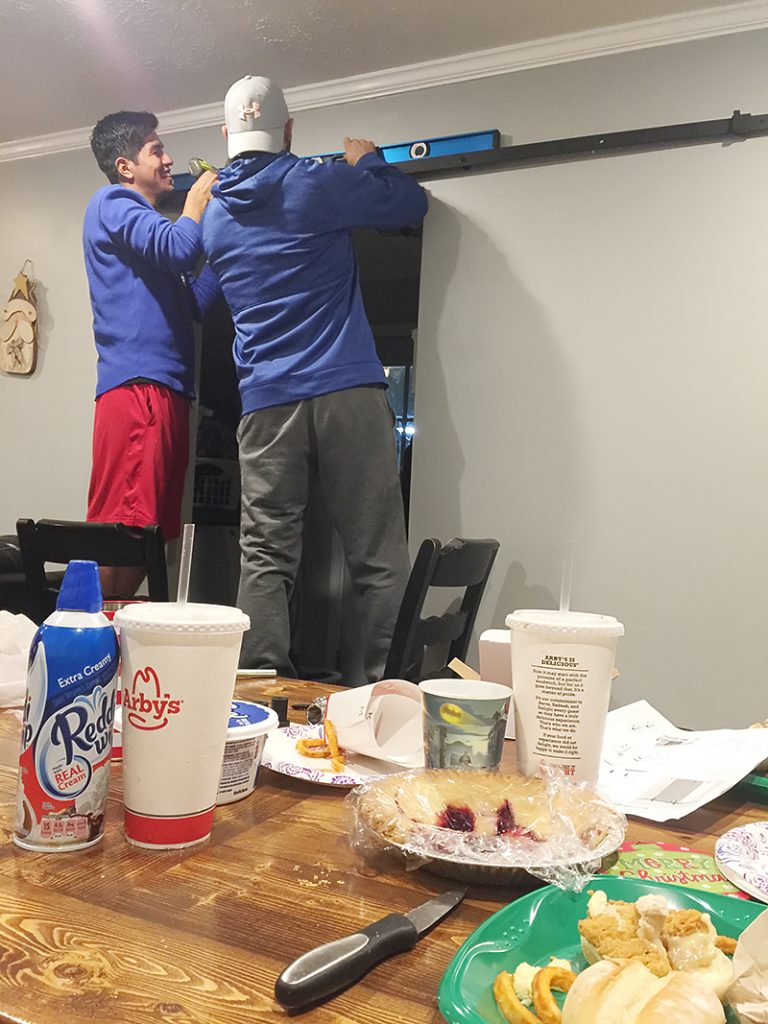
The door hardware was a little tricky. We actually ordered a barn door hardware set that was in stock and shipped right away. When we went to install…it was too short. Oops! My bad. I guess I measured the door opening instead of the door plus margin for the door to cover the opening. It’s frustrating because it set us back in our time but we soon found another option. AND it is now back in stock in all it’s sizes! Here is the link.
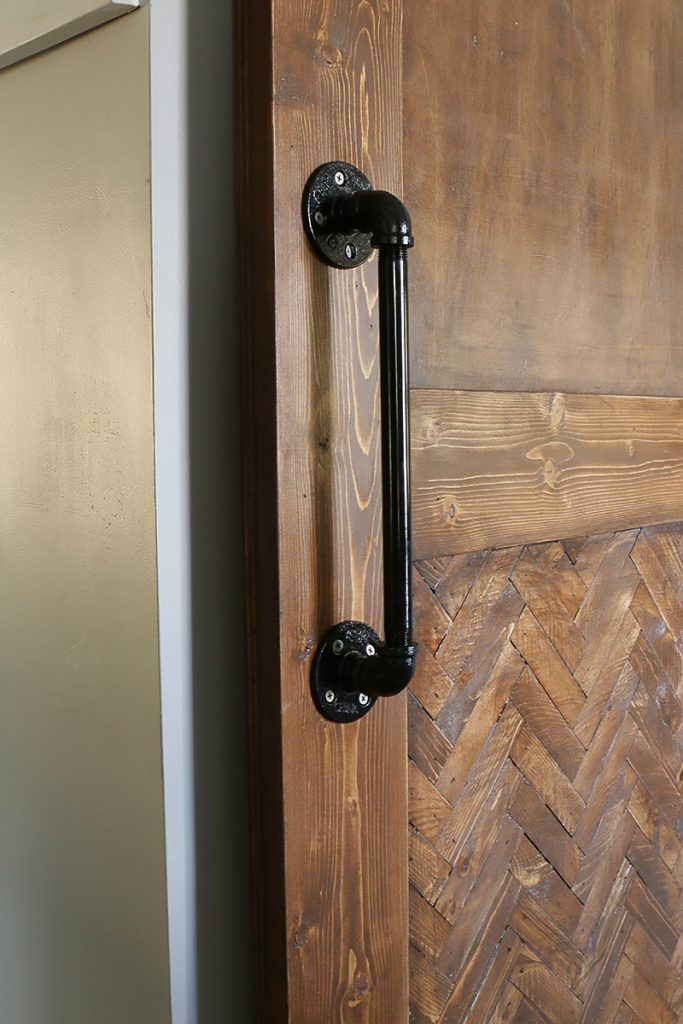
We also DIYed this handle from the plumbing section at Home Depot. It cost us right around $30 which is probably about the same as what we would have paid in other situations.
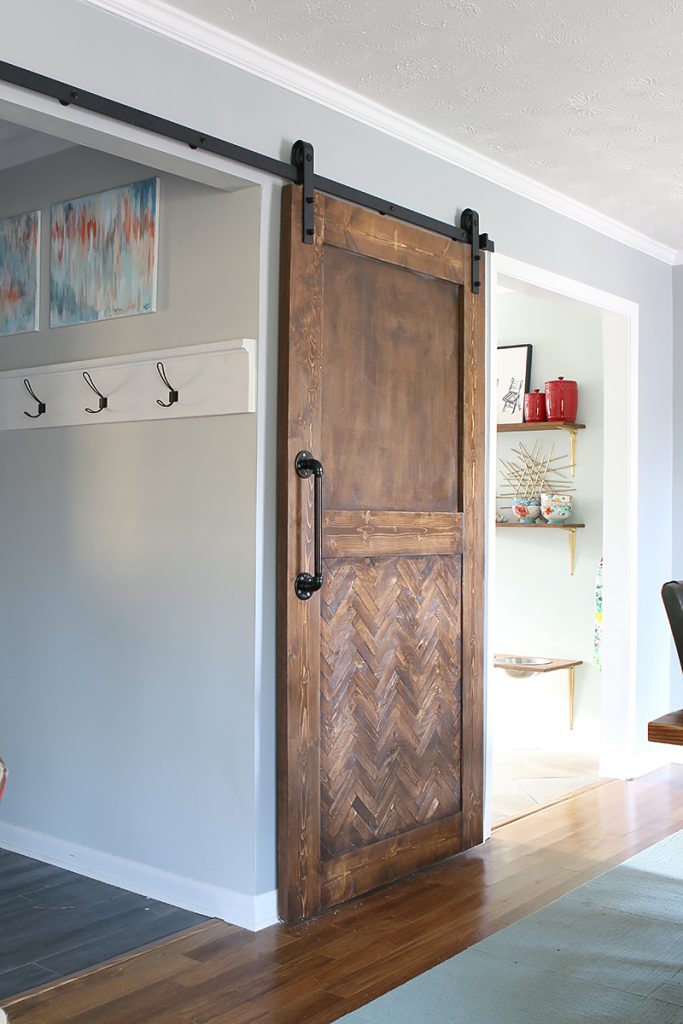
And after we hung it all up, it worked great. It is the perfect way to tie in a little more warmth into this space and to include wood elements. PLUS we are confident when we say that this is a one of a kind door….which is the best part of DIY….that we get to make things that we won’t find anywhere else.
Okay…so there are only about four other build projects in this space…the table built from their old table legs, the wall mounted broom closet, the DIY range hood and that sweet little dog bowl. Which one is the one you want to see as our next DIY recap? I’m thinking the range hood or broom closet….but I’m sure you can change my mind 🙂 Leave it in the comments and I’ll do whatever y’all vote!
It looks so cool! How did you cover the raw edge of the plywood base? Do the trim pieces around the edge just stick out further than the plywood? Thanks!
I vote broom closet next.
My only request is that you make me a door like that! It’s so pretty! Good job 🙂
Do you use a pre-stain wood conditioner? It would help the stain be more even. I know you like rustic but rustic can still be slightly more even, just a thought.
DIY range hood!!!!!!!!!!!!!!
The table! I need a new dining room table and have been trying to convince the hubs to build me one…
The trim edge aligns with the plywood edge and we left the edge – I guess we could have used iron-on veneer but instead I just filled the crack and any little plywood holes with wood filler and then stained.
xo – kb
So Rust-Oleum stains have a preconditioned built in. If you want to even it out more (sometimes ill staining is from our application), you can actually use water as a base “layer”. It won’t effect the strength of the stain (you can still use one coat of Rust-Oleum stain vs. the others) and it’s FREE 🙂 I have used pre-conditioner in the past but the water trick works just as well!
xo – kb
Wow! Love that door!!
This is amazing! Great tutorial! Love it 🙂
Beautiful
Katie,this door is amazing. Thank you for the details,you make it look doable. I’m voting for a tutorial for a broom closet. (Everybody has a broom)
This was so inspirational. Not sure if I could do it but your tutorial sure made me feel like I can:) I would love to see the table!
The door is beautiful and makes me think I can do it myself. Almost. I would love to see the broom closet.
Looks amazing! I have plans of making a door soon and have considered a herringbone pattern. Love your take on it! Can we see a picture of the other side? I’m assuming you didn’t trim this out. Correct? Our door may get closed and I’m curious if you’re ok with the solid look!
HA! I asked my husband for a table saw for Valentine’s Day 🙂
I love barn doors, and yours is a beauty! You post makes it seem like even I could do that with help, lol! As for the vote, how about the table? Everybody needs a table 🙂
Just a thought, but the top portion of the door would look really cool as a chalkboard. Then they could write lists on it or do chalk signs, etc. Otherwise this is pretty neat!
I vote for the table. I have a table with beautiful legs but the top needs to be redone (too many art projects done on it).
That is a good thought! I know Charity reads the comments so hope she sees this one 🙂
xo – kb
It’s just flat. And we got a cup handle meant for a pocket door for the handle. I don’t have a picture though 🙁
xo – kb
Love the title of the post. Your completed door is stunning. That detail in the herringbone makes for a wonderful accent. Thank you for sharing your tutorial.
Absolutely fantastic Katie! I vote range hood!
That was a very ambitious project! It was worth every single cut… looks awesome.
I have a barn door I bought as a kit years ago but I have trouble with it not sliding back to open. The level shows the hardware is level but I didn’t use a bottom ‘guide’. Looks like you didn’t use a guide either…any problems with it not feeling super secure?
I also vote for the broom closet next!
This door is amazing! Just wow!! We are about to hang one and are having trouble installing a sof close piece, it came without directions and it seems a bit tricky. How do yours function if you don’t have the soft close mechanism? We have a child so slamming might happen. Thanks
Katie, this door is amazing! My husband made us a barn door a few years ago, which I love. Don’t tell him, but seeing this makes me want to redo the design of ours!
We didn’t use one but I’m sure it wouldn’t make the slide easier. On our laundry room door, we added a magnet door stop to the opposing trim because it was always open and we wanted to secure it better.
xo – kb
Ours doesn’t have a soft close – that is a great question. We have the bar that comes with the bumpers…so when you have a child opening it, the concern is that it will pull off the track if they pull it OUT and UP off the top of the track (our kids can’t do it but if you had a rowdy strong child, the possibility exists)…not so much the slamming. If it is closed forcefully, it will bounce back.
xo – kb
This door is totes amazing!! Another one by BP for my ever-growing “wouldn’t this be fun?!” list.
However… my favorite thing about this post is that you just slipped these pictures in of you wearing a tool belt, as if these aren’t the greatest pictures ever! You’re such a cool mom. (At least that’s my definition of a cool mom!)
I love my tool belt! I just wish I also had one in a fun color like vintage aqua or navy polka dot 🙂
xo – kb
I want to live next door to you and make things all day long!!!! BEAUTIFUL door!
Soooo beautiful!! Way to go! I’d like to see the hood!
Did you build the door the exact measurements of the opening or slightly larger?
Slightly bigger. I wanted the door to overlap the edges when closed so I made it bigger 🙂
xo = kb
Amazing post Katie! I think I will vote range hood!
This is awesome, I am very impressed!!!
Hi, Katie,
Can you link to the dry-brush stain contrast tutorial mentioned above, please? I’ve tried digging for it, to no avail. Thank you!
Sure! Here you go! CLICK HERE.
xo – kb
Wow, a nice job. Should you haven’t already, google Hyezmar’s book, it’s a draft of one great woodworking book full of plans.
Katie have you ever done a “Stable Door” you know the type. In two halves.?
I have not but I want to!
xo – kb
Absolutely love your project! I found you while searching for a way to make EXterior Herring bone barn doors. So a couple of ?’s…
I understand the staining, but what would YOU recommend for an exterior finish?
I vote for the table, since one would see it more often than a broom 😉
Thanks!, Mark
An exterior finish for staining? Or any exterior finish? What application would it be used in?
xo – kb
What does the back look like? Just plywood?
yes stained plywood.
xo – kb