Disclaimer – This is a sponsored post brought to you by Canon. All opinions are 100% my own.
Anyone can do this. It’s true. It’s pretty much the easiest crafty picture frame that anyone made ever. And if you have hands…you can make it yourself. Even if you don’t have hands, I’m pretty sure that your heightened foot skills will also enable you to master it. It’s that easy. Just make sure you work with gloves…err…shoes on.
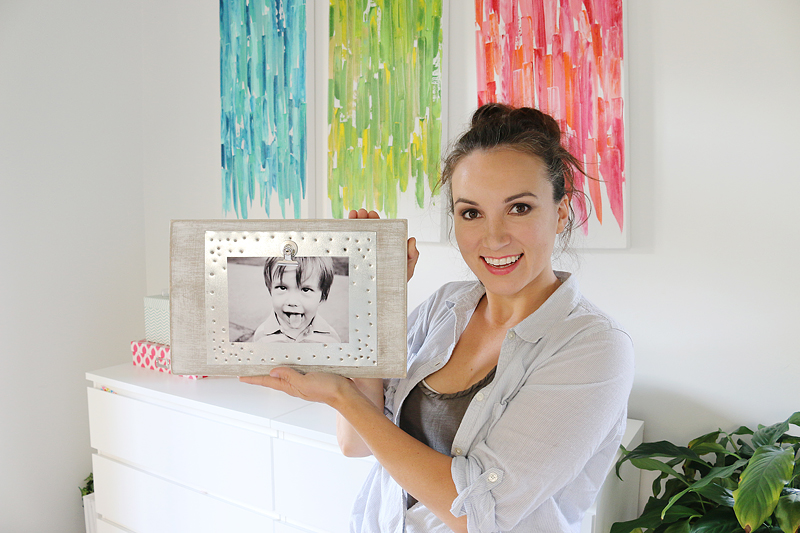
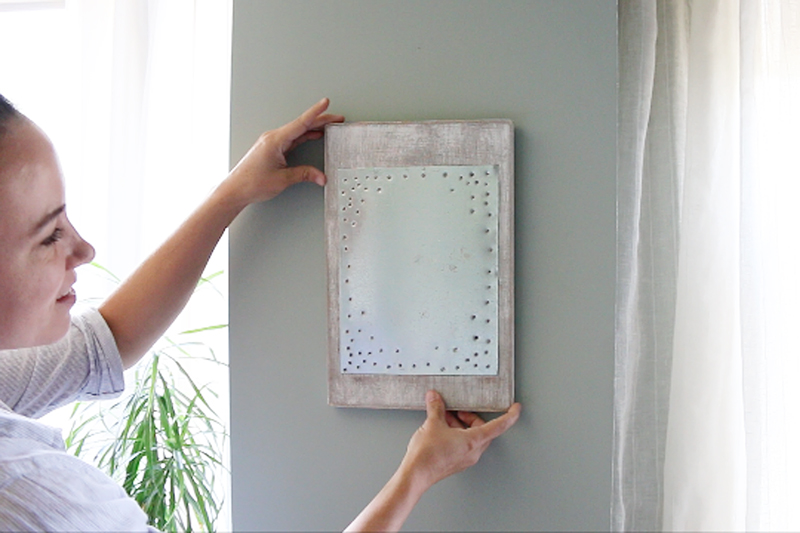
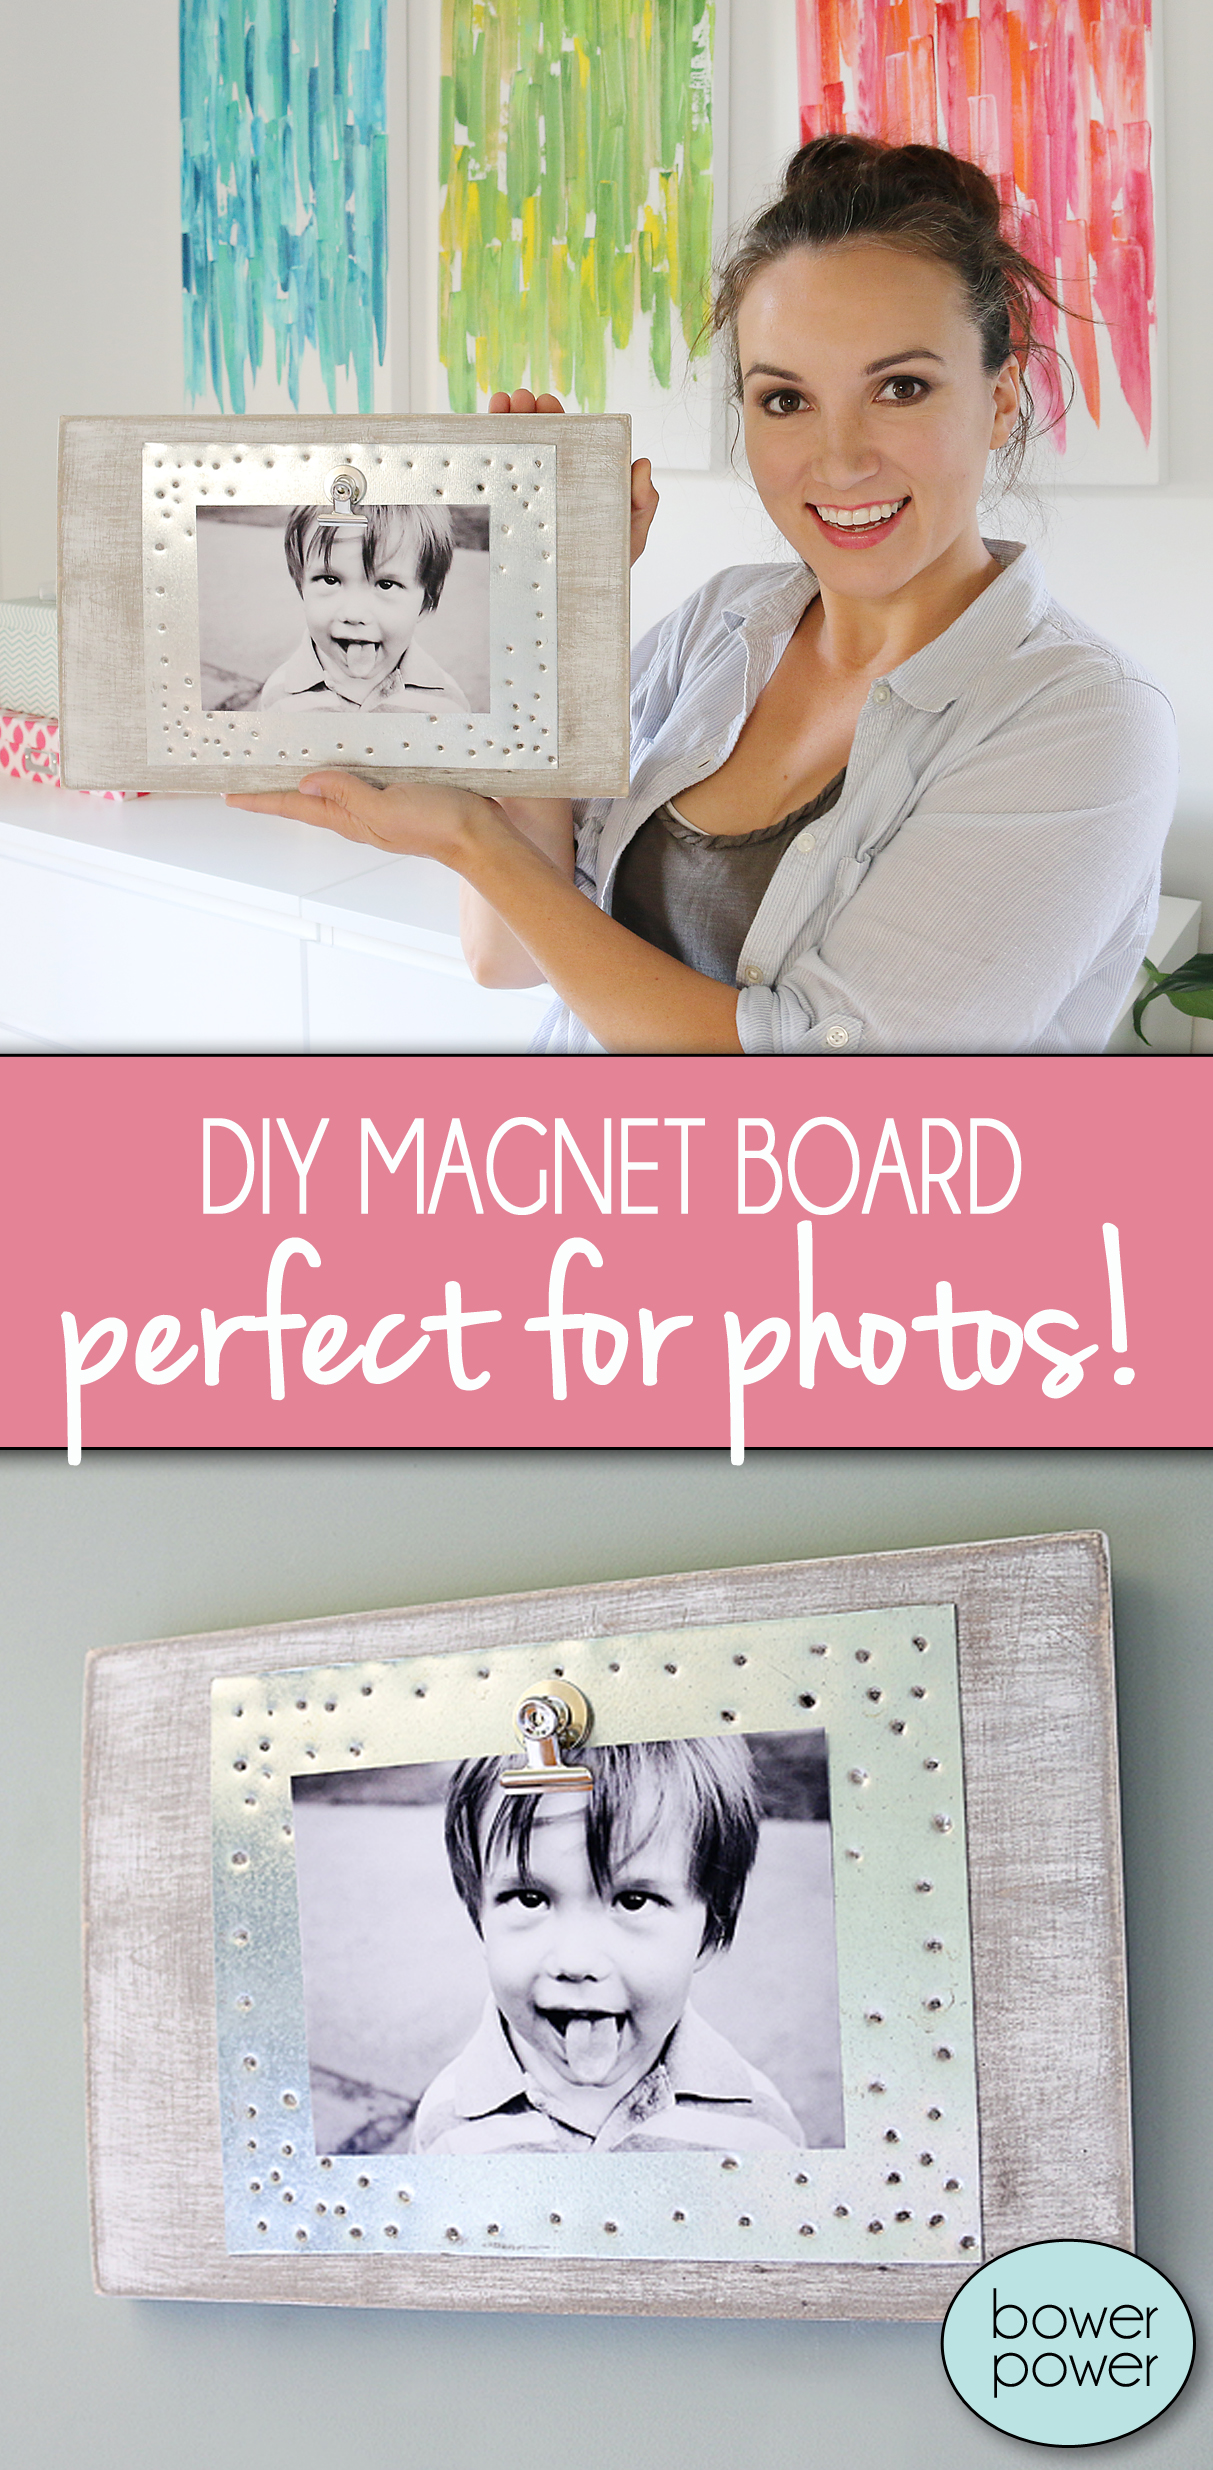
So what is this amazingly easy crafty picture frame? It’s a magnet board and it was inspired by a technique I saw on TV from metal welders. They used nail guns to fasten metal to wood and it created this cool texture that made me wonder how I could incorporate it in my house. I love this worn but industrial look that still looks clean. I’m a clean industrialist 🙂
Also – that may be the best photo of myself I’ve ever taken. I don’t even look like a zombie. Even with crazy hair. Let’s slow clap for that later.
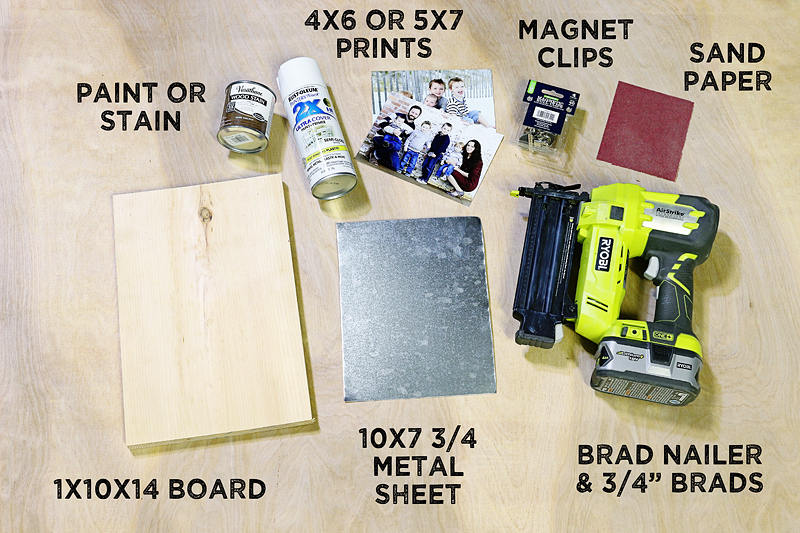
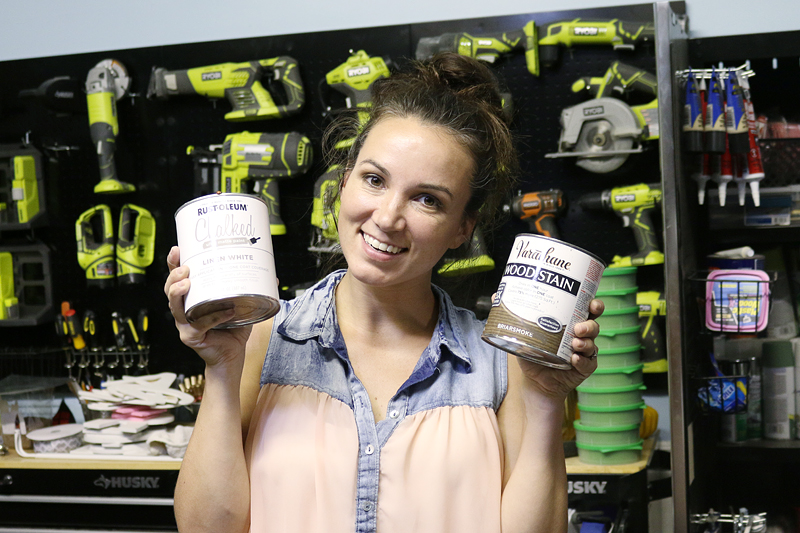
If you want to make this at home, it’s super easy….just gather your supplies.
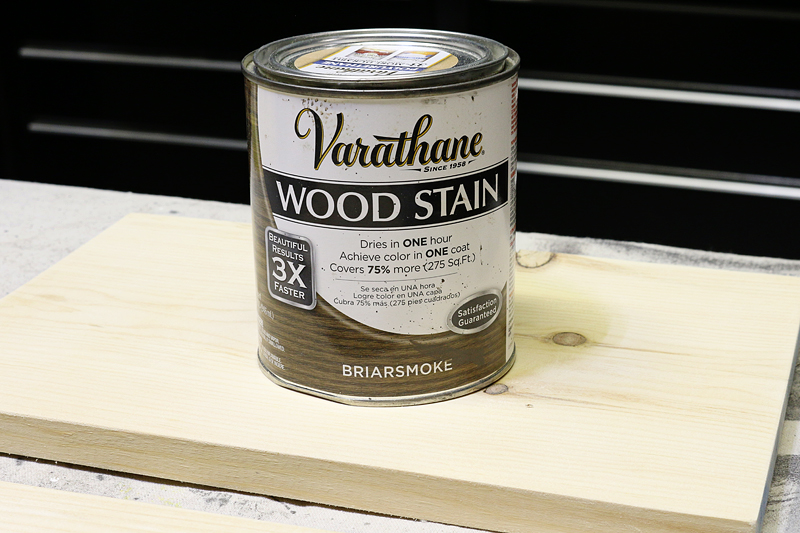
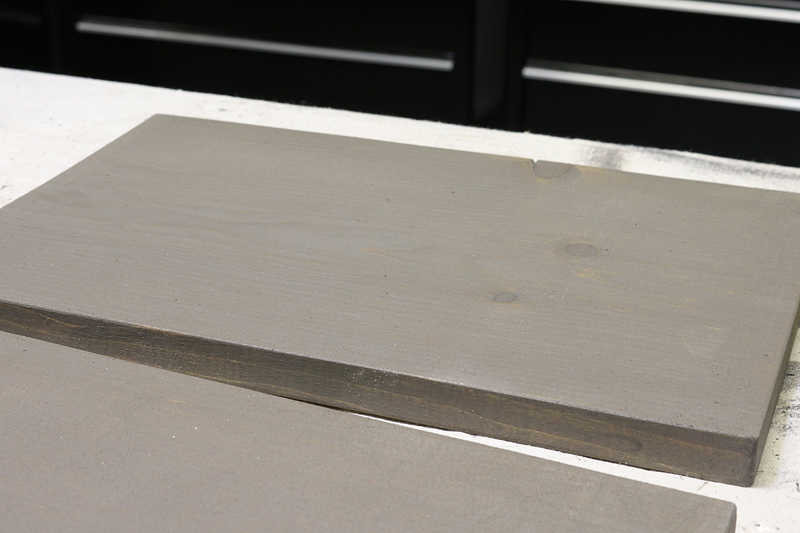
If you want, you can modify the wood and the metal into any shape or size you want. I cut my 1×10 board to 14″ long but you can have them do this at the store if you don’t have a saw. Make sure you sand your wood before finishing. I used 80 grit for everything here. Nothing too fancy. The next step is to apply your stain. I used Briarsmoke for the base color. It’s by Varathane and I applied with a paper towel because I am fancy like that.
I know…it doesn’t look anything like the end result. yet.
But here is what I want to share….when you layer Briarsmoke with white chalk paint….it’s magical. It’s literally like watching a newborn infant walk on water. It’s so mindblowingly good. This might be my new favorite finish.
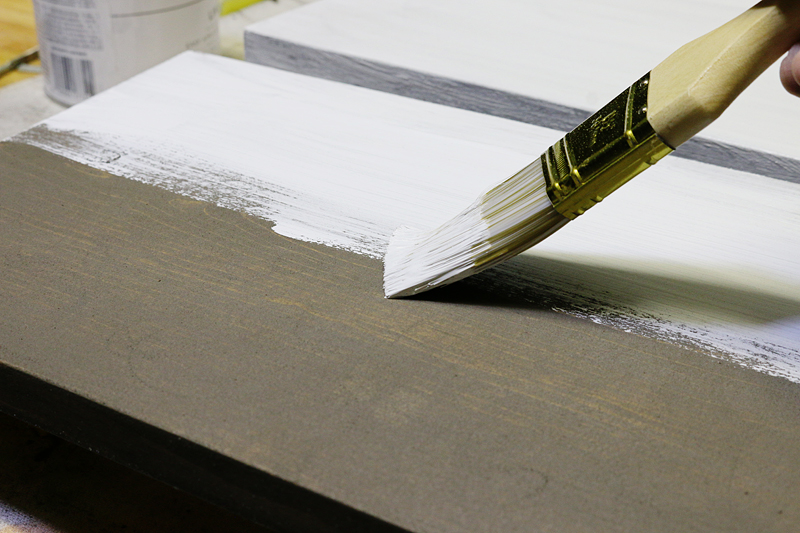
After your stain is dry….paint on the chalk paint. Thin. One coat. Let dry.
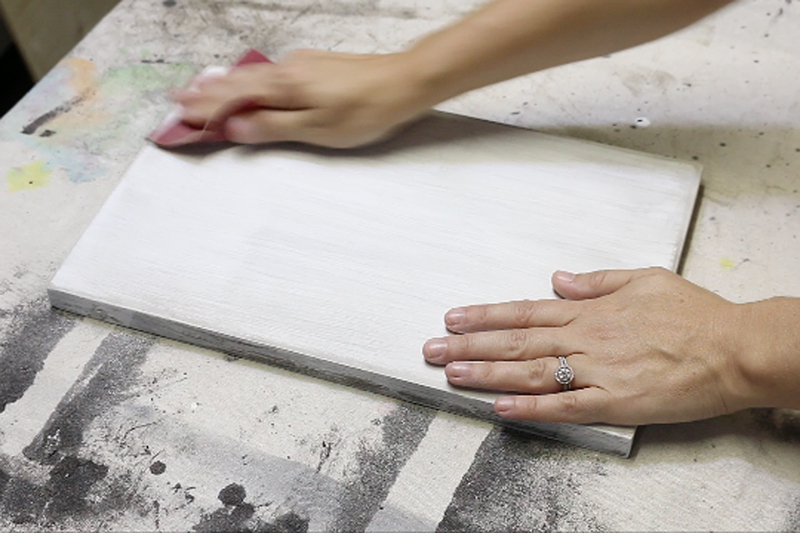
Then use your sand paper to remove the finish to give it a distressed look. I did all the corners and edges and sanded with the grain till it had a good texture going on and then I did it against the grain to add to the dimension. It looks linen and feels like velvet. Told you. Miracle wood.
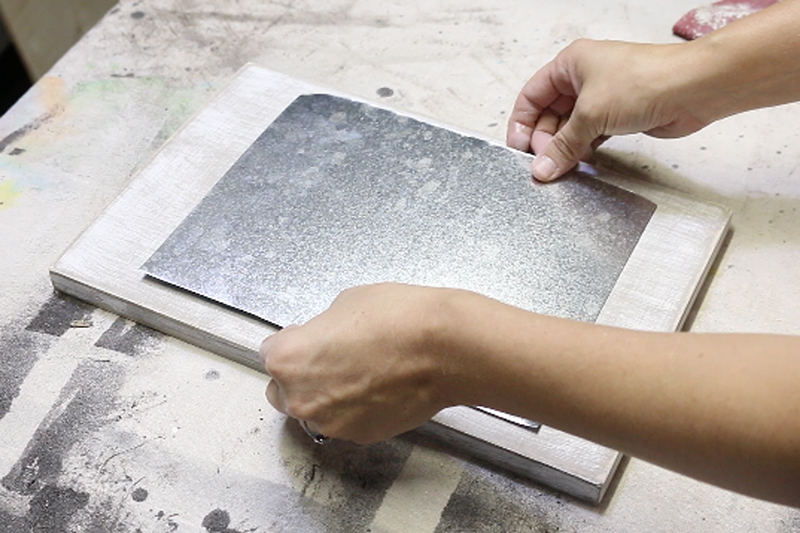
Once that is done, you want to add your sheet metal. We had leftover sheet metal from a different project but you can purchase it in the roofing section of the home improvement store. Cut it to size with tin snips….make sure you wear gloves. Only idiots don’t wear gloves 🙂
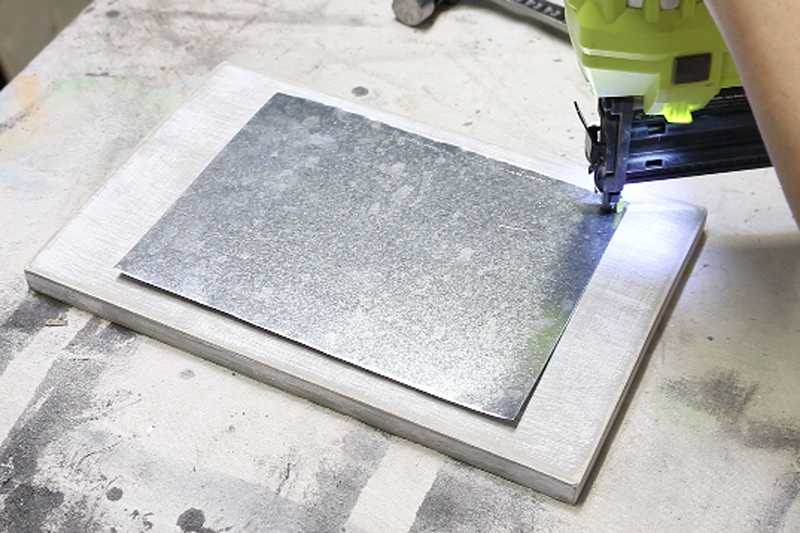
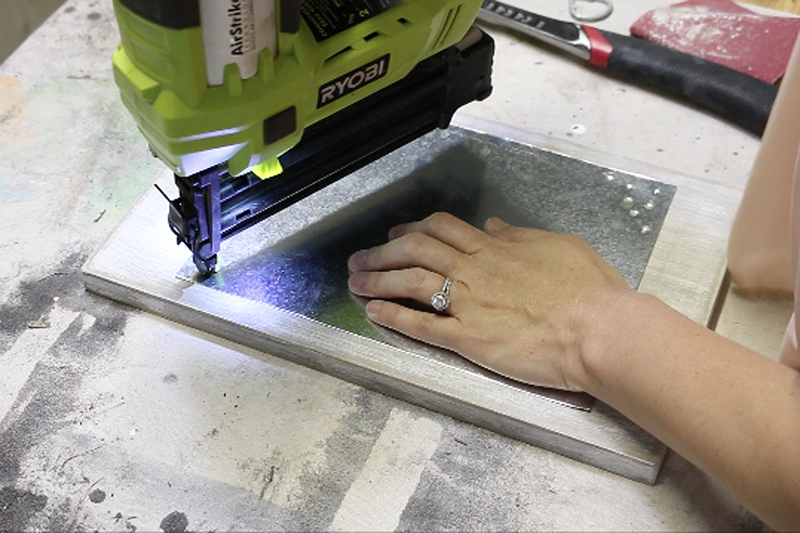
Then attach the metal to the wood with your brad nailer. You may have to adjust the depth of your brad nails so that they don’t go all the way through or sit up high on the wood. I used 3/4″ nails and it worked great.
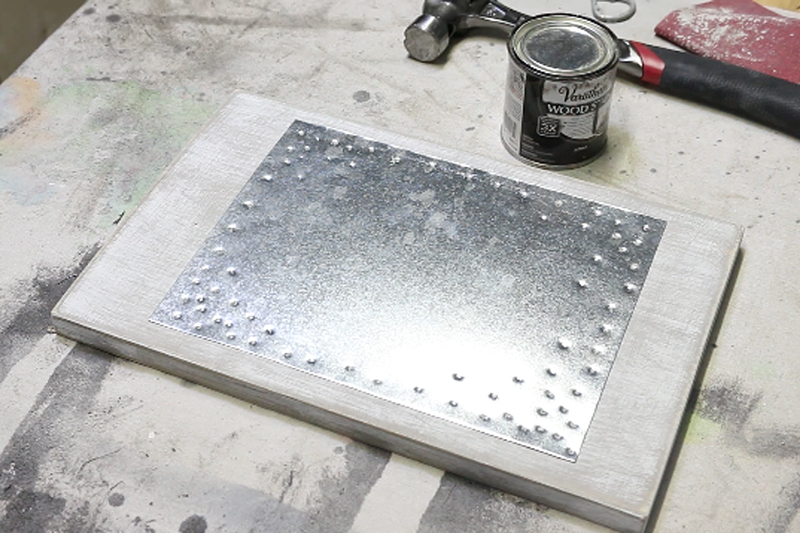
The pattern I used was random like a Sunday morning. Just anywhere you like. If you are a strict pattern person, then you can mark your nail spots on the metal before attaching.
Look at all that patternless goodness…(say that five times fast)…
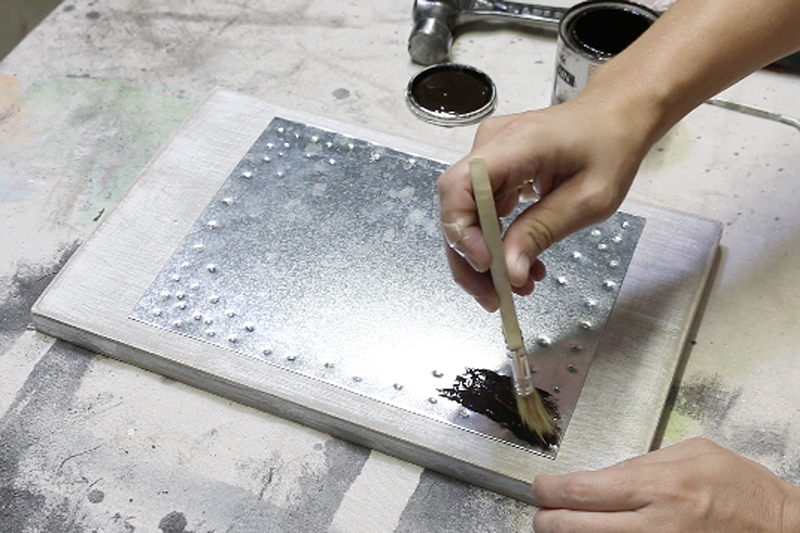
I was testing to see what it would look like if I added some stain to the finished product and it basically just makes the nail holes look a smidge darker. Brush it on, wipe it off. Be careful to not get it on your magical board.
Then just add a tooth bracket to the back to hang on the wall. The board can be hung vertically….
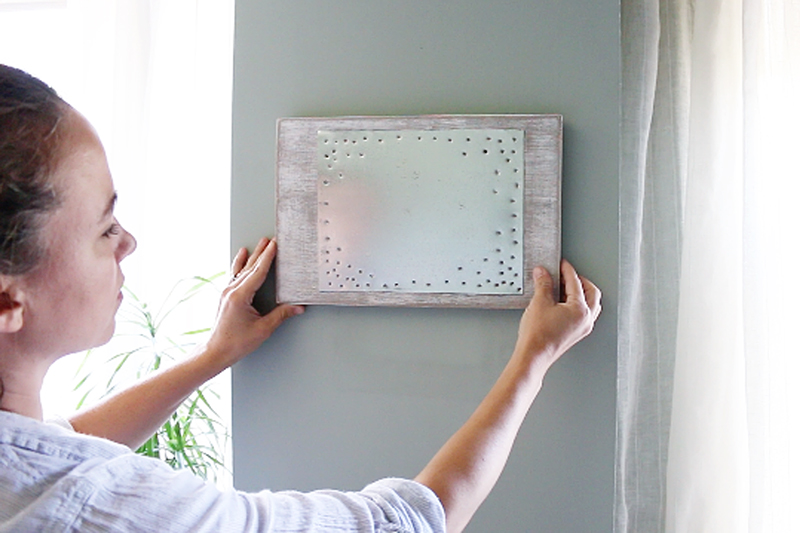
Or horizontally and it can fit a 4×6 or 5×7 print.
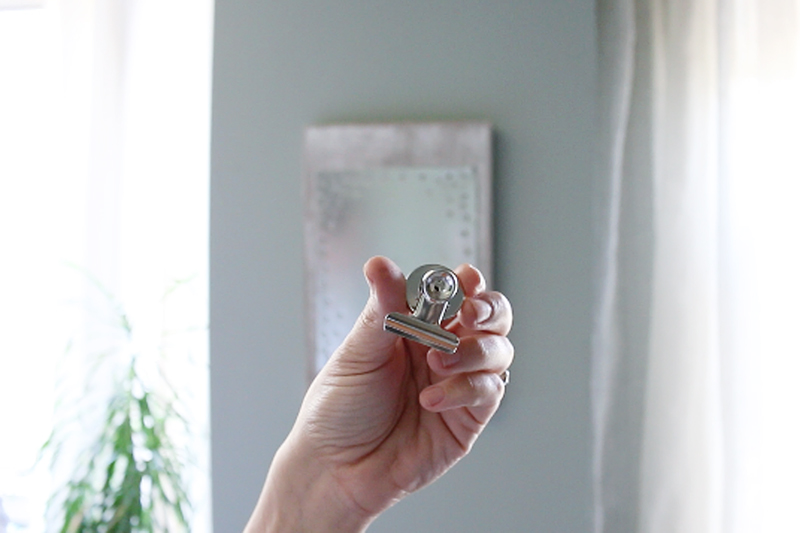
The print will be held up with one of these metal magnet clips. They were under $2 for 4 at Walmart.
Make sure you don’t hang up just anything….you want to be sure that your photo is deserving of such honor 🙂
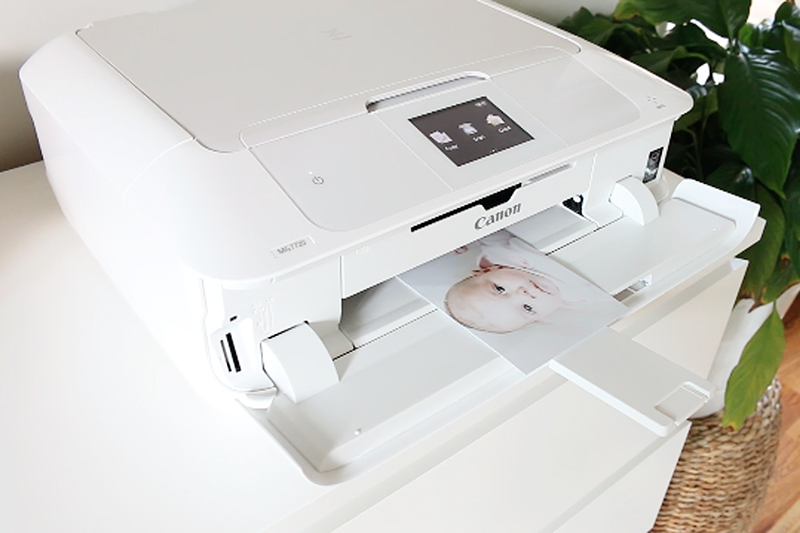
I always make sure to use my Canon crafting printers to produce gorgeous prints of my photos. I love that there is no waiting in lines, no wires, no fussing kids 🙂
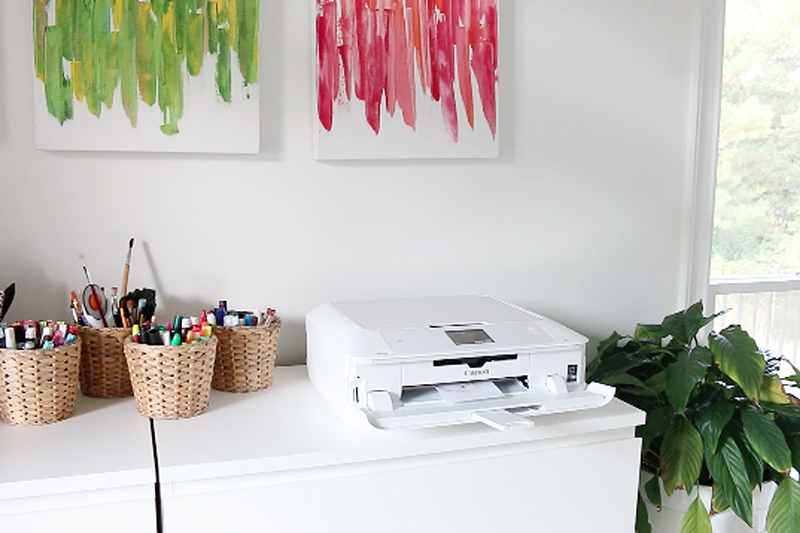
Also – I set up this guy – the Canon Pixma MG7720 in my office, and the white finish is like humminahummina. In 99% of situations I would say to never have your printer out and about…it’s like a home decorating nightmare….but not this beauty. She can be the center of office attention.
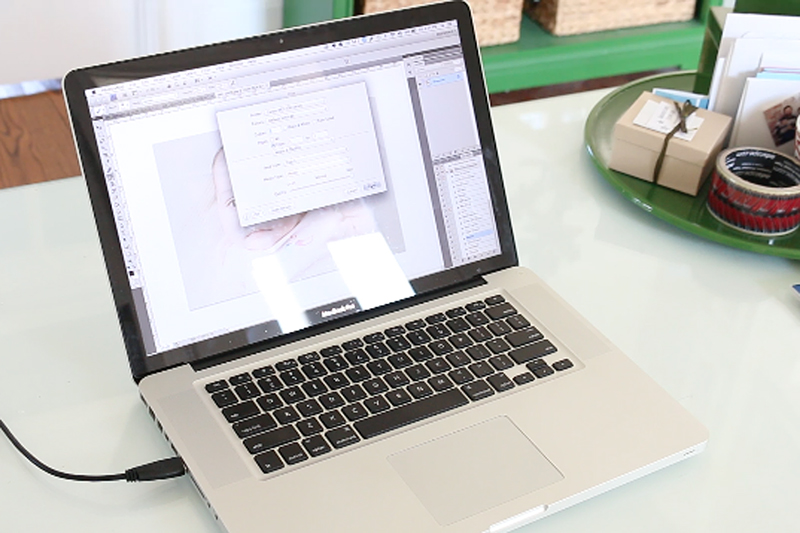
I simply chose my photo and clicked print.
And my wireless printer delivers the beautiful goodness to my fingertips. (If you don’t want to bust out your computer, you can print photos from your phone or tablet too! Basically wireless printers are my new BFF.) In full disclosure, I printed about twenty photos before deciding. And then I had to go back out to the garage to make more magnet boards. These are just too good not to make in multiples 🙂
This is where the real hard part is – just grab a magnet clip and stick it on the sheet metal. Whew. You might need a nap now. If you want to really challenge yourself….put the photo in first and then attach it to the board. Seriously. You must have carb-loaded for that one.
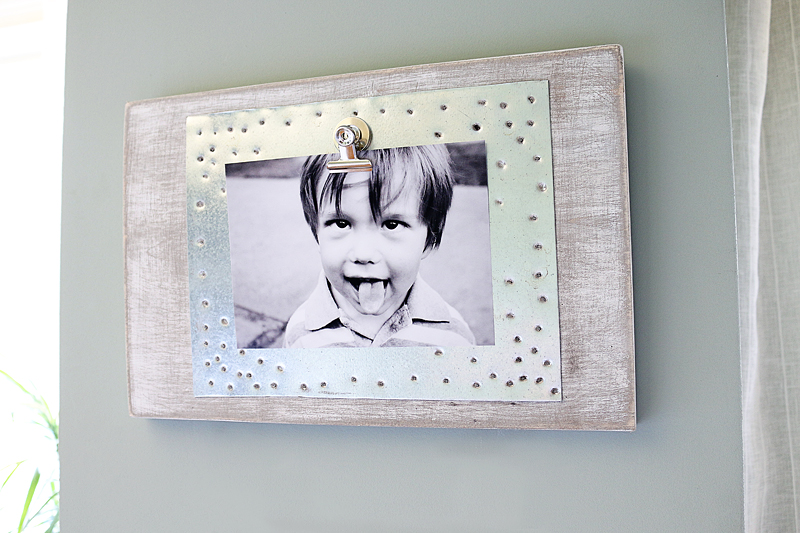
Isn’t it so cute?! I love love love this one. And that finish the metal board and the texture and the print quality – it’s all soooo gooood.
That’s my nephew Clay and he is an Olympic champion when it comes to funny faces. He got the 2016 bronze in 5 second cross eyed combo 🙂
And if you are more of a I’d-rather-watch-than-read person….I made something special for you when it comes to this project….a little video tutorial with ME! Here you guys go….
Thank you so much for subscribing. You guys know that you get sneak peeks at videos if you subscribe and I’d love if you commented on something you would love to see next. Love ya! Mean it!
And for more Canon crafting printers projects, check out these past posts…….(CLICK ON ANY PHOTO TO GO TO THAT PROJECT)
Happy crafting y’all!



Cute photo board! It turned out great, I love the tin!
Still not getting any words with your last two posts. I don’t see the comments either.
So I’ve scoured your website for a tutorial or any mention of the artwork you have on the wall above your printer to no avail! I assume you made it yourself? A part of me is hoping you bought it from an artist or something – because an artist I am NOT! I love the technique and colors and something abstract like that is just what I’m looking for to complete my built-in bookcases.
The text is apparently white on the white background. If I highlight, I can see it, but otherwise the page is just photos and emojis…
I love this, Katie! It reminds me of the vintage punched tin items that my parents have displayed in their home. So cute!
This is a neat idea and boy that printer IS a beauty!!!
i wonder if you can just make fake nail holes instead of actually nailing it. But with that nailer, I’m like, “what else can I nail?”
It’s seriously the best thing ever. I HIGHLY recommend it.
xo – kb
great video bowers!!!! i would love to do music for your videos. noble form the childrens place
Yes, only seeing the words when I highlight. But highlighted and read it that way. So cute! Great, textured frame.
i LOVE THIS!! Also, totally pinned it to bookmark for Christmas gifts this year. We try to DIY something every year, and this year may be almost all DIY. Thank you!
I did make it. I will see if I can find the post about it 🙂
xo – kb