Disclaimer – This post is sponsored by HANDy Paint Products. All opinions are 100% my own.
When it comes to painting, nobody knows accessories like I do. I have tried EVERYTHING. And I consistently come back to certain tools because they out-perform their peers. And the one tool that has been super versatile for the Pedraza project is the HANDy Paint Pail. I know. It’s a tiny bucket. How exciting can it really be?
Well…this little red pail is like the Tom Hanks of buckets. It can do action. It can do drama. It can make you cry over a conversation with a deflated volleyball. Well, maybe not that last one….but it is super versatile. It’s been helpful in so many ways when it comes to all the different home improvement projects we have on the to-do list. I wanted to give this little pot a shout-out because of it’s big jobs.
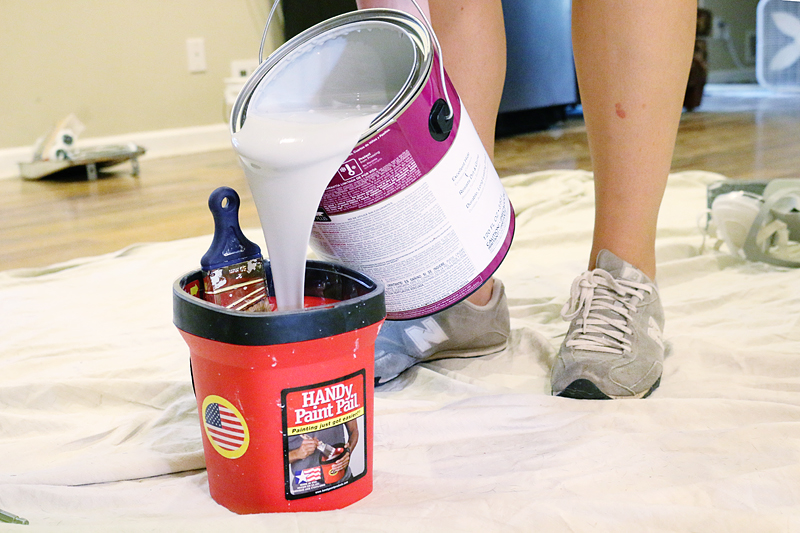
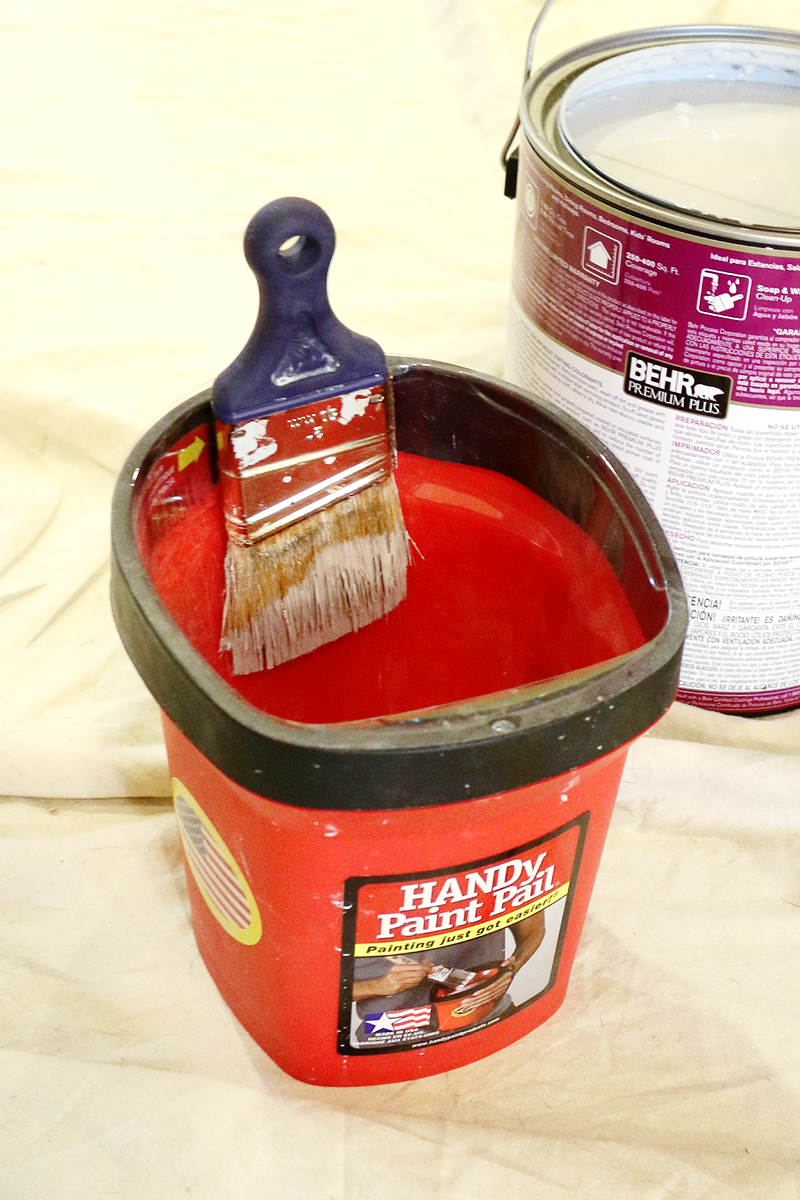
So obviously – it is a paint pail. Says so right on the label. And we have been using it with the paint liners to save time and energy when it comes to clean up.
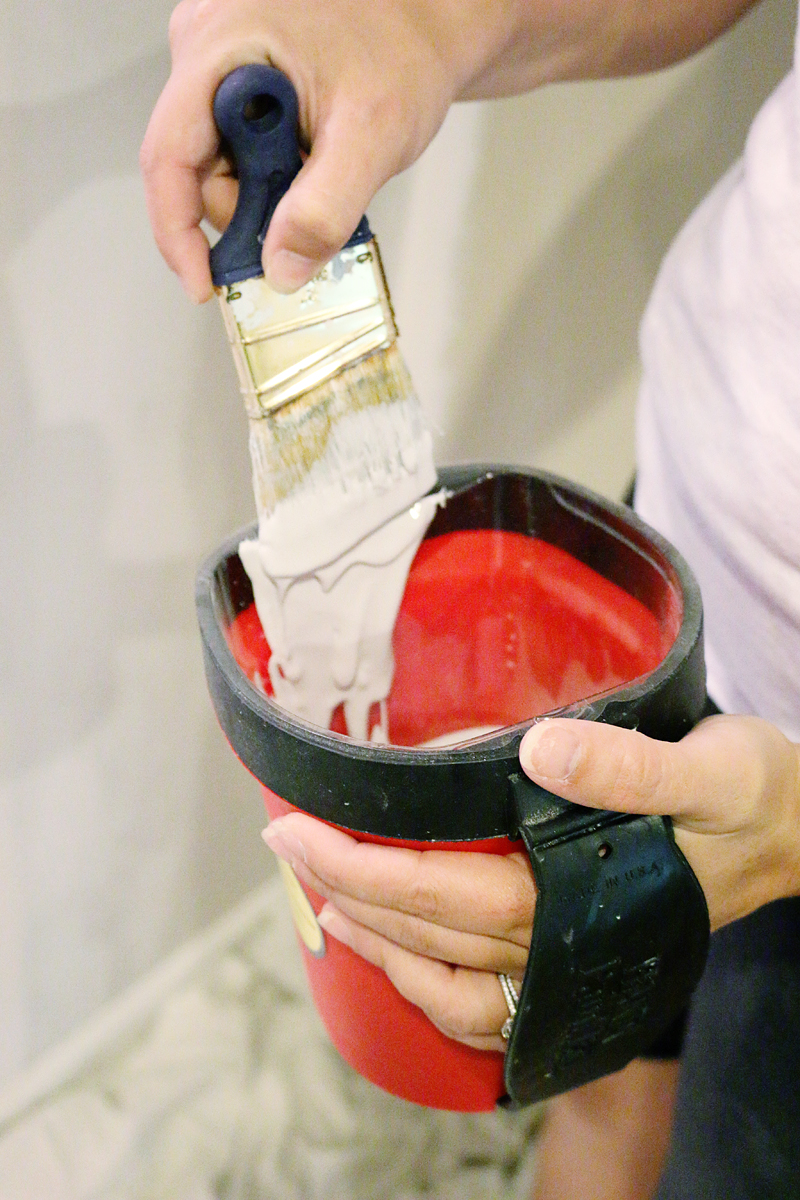
It has a little lip on the front edge so that you can wipe your brush and get the crisp bead of paint on your brush to make cutting in a breeze. And then when you are done, the front corners make pouring it back into the paint can easy. Then you can toss your liner or let it dry for the next time.
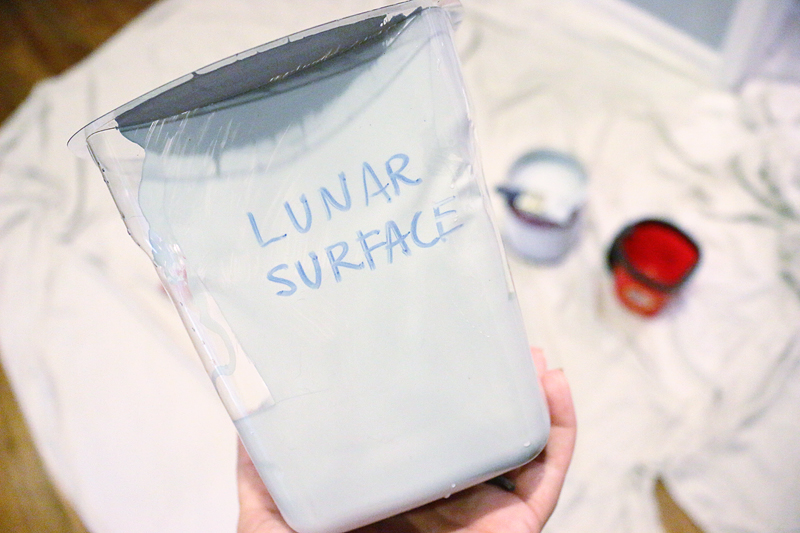
What we like to do is write directly onto the outside so that the color is always clearly labeled. Then that liner can be reused.
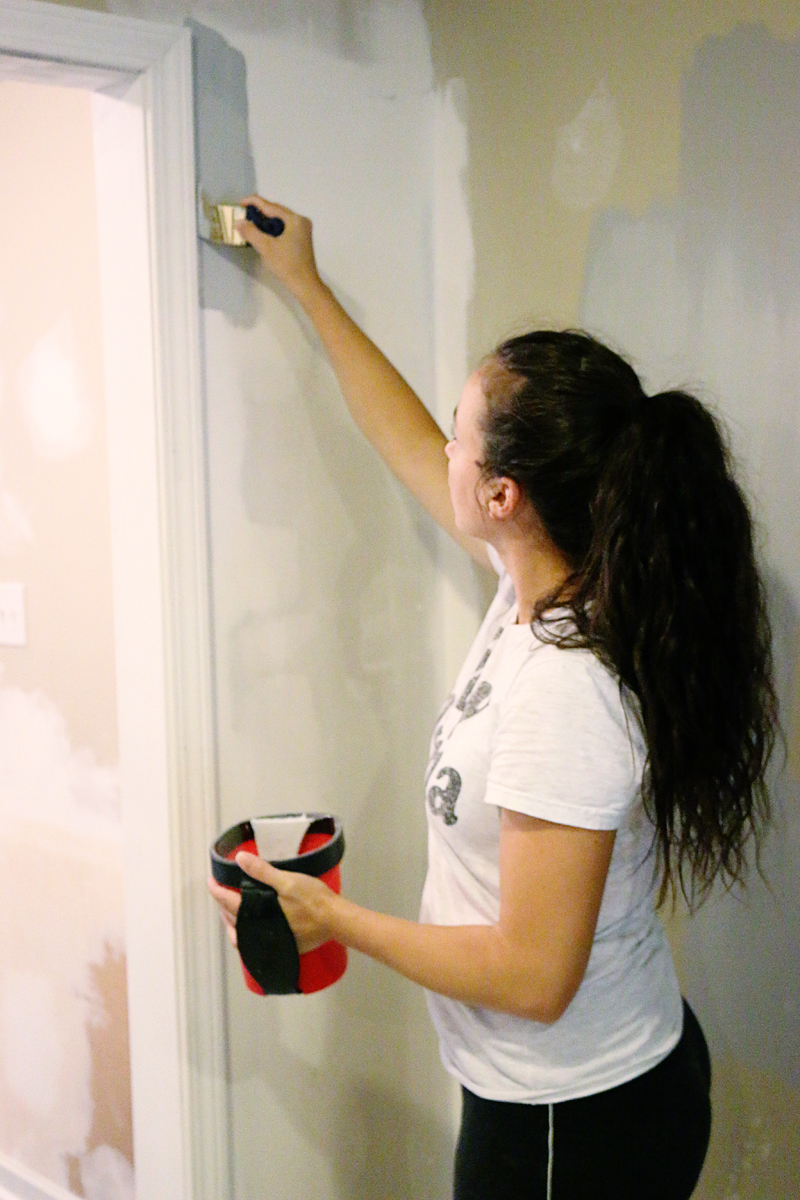
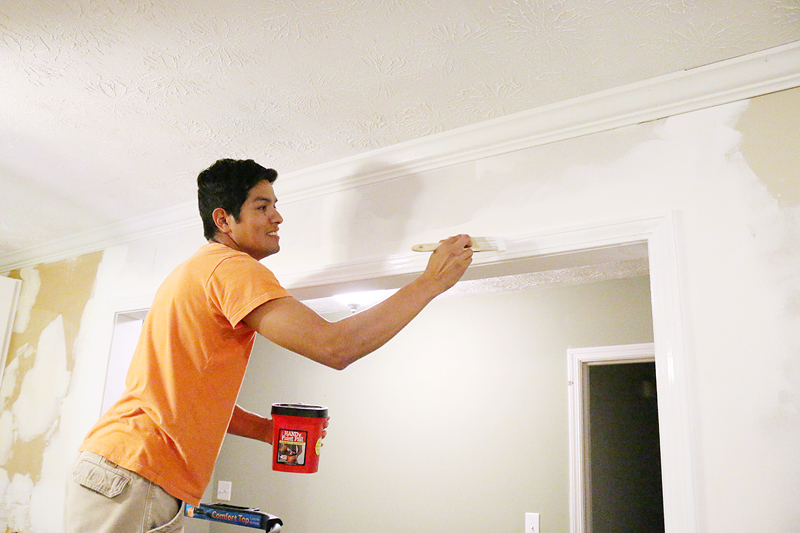
The biggest safety factor with painting is ladders. And this little pail has a easy slip in handle so that you can stand on a ladder easily while holding your paint. No more finger cramps! See how happy Danny is? Like he was experiencing a mini hand massage 🙂
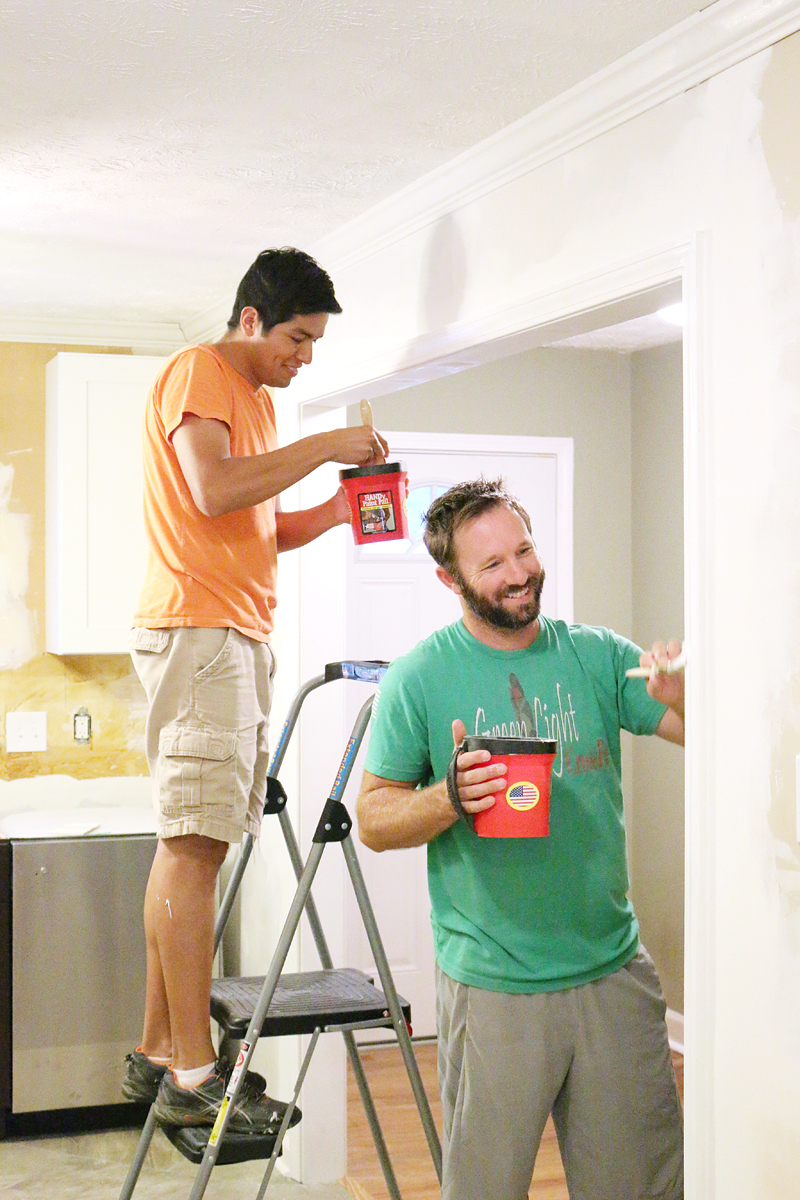
Obviously trim is the one area that you probably only need one bucket of paint but you want multiple people to tackle. HANDy makes it easy for multiple people to share that bucket. Just make sure you keep them on task 🙂
See ladies? Just tell your guys that using the paint pail will make the job go faster and see how quickly they are to comply?! 🙂
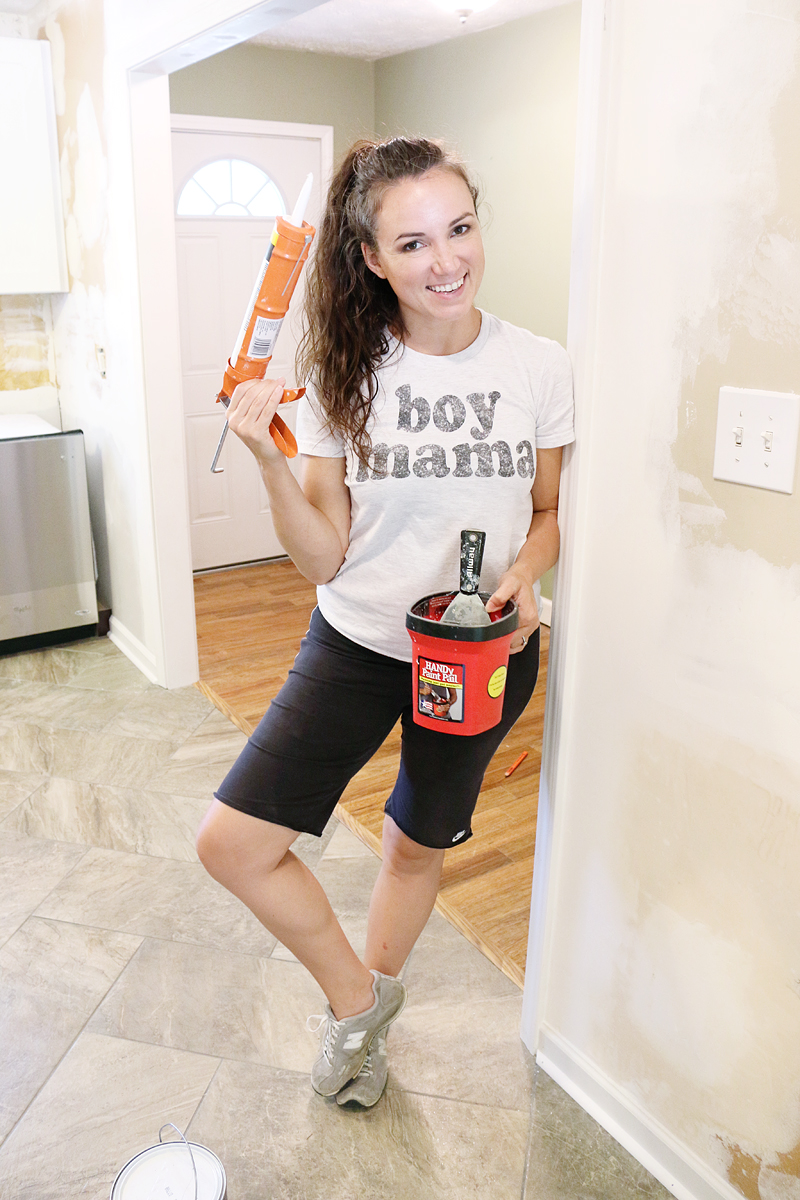
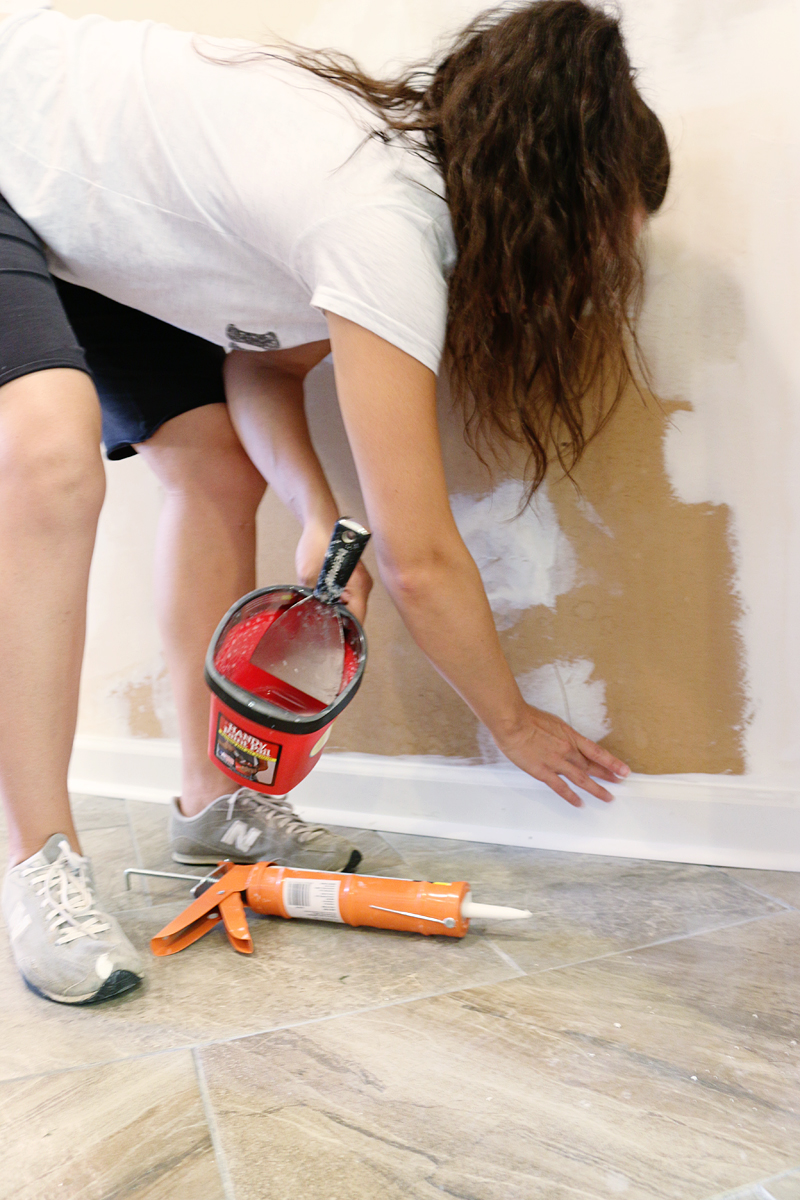
Now this might be crazy but I actually like to think of this tool as more than just for paint. I really love to use it when tackling caulk. It holds my knife for flat surfaces and provides more water for my finger tips. I hate using paper towels for wiping excess caulk off my hands and I prefer using a REALLY wet finger to make sure things are smooth and seamless.
The inside of the bucket has a magnet which holds most tools in place and it helps me keep my knife out of the water.
Speaking of the magnet, it’s really the perfect spot to keep brushes – both when in use and when you are done with them. When you are in the middle of the paint job, make sure that the end of your brush bristles are in the paint so that they don’t dry out and you can take short ice cream breaks. And when you are done with your brushes, make sure you use the magnet to hold the brushes while they dry. This ensures your brushes will stay in perfect form and no drips on your counters!
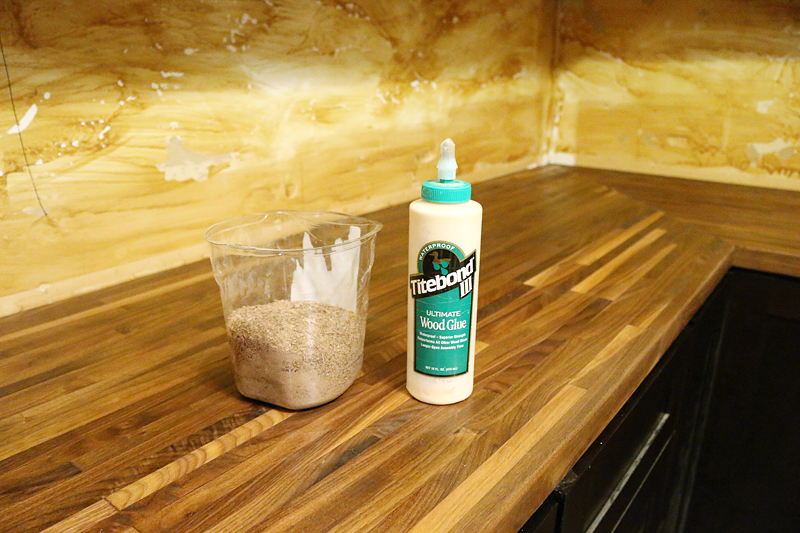
During this project, I have also used those liners at random times….like when I needed to gather up sawdust to make the wood filler for the countertop seam. I simply brushed the dust from routing into the bucket and saved it till the counters were ready. I labeled the other side WALNUT to make sure it was the right species of wood and would seal with uniform color.
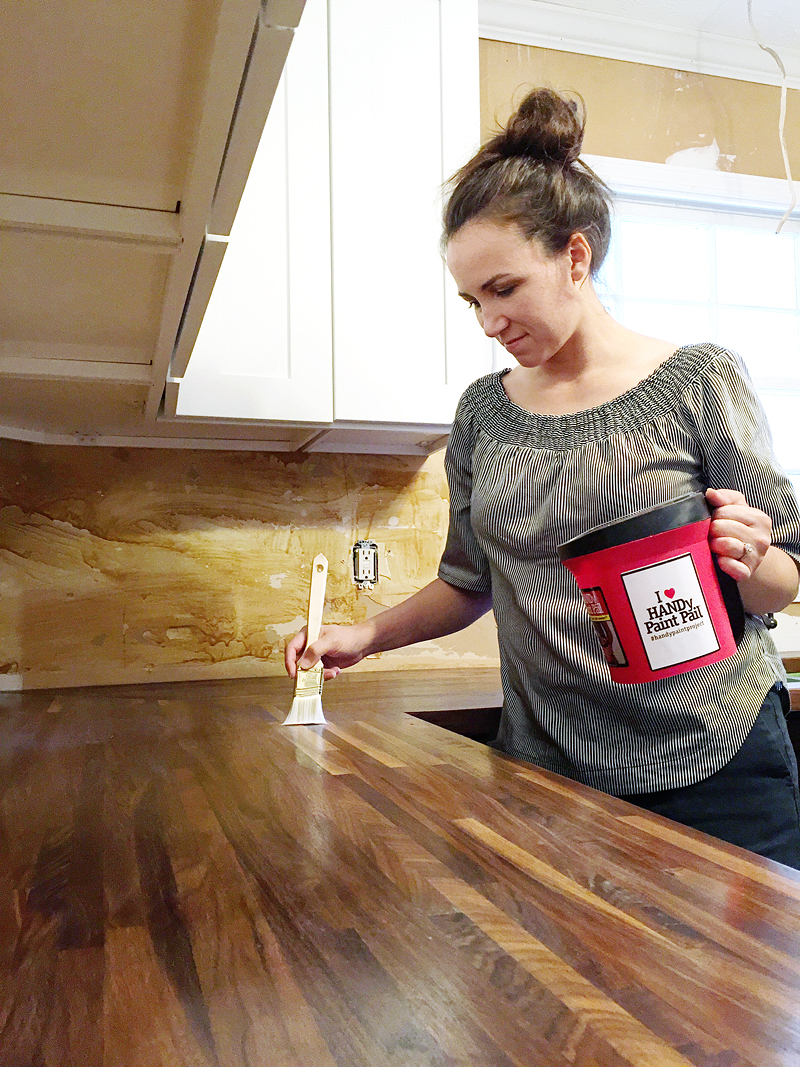
And the countertops wouldn’t be the same without my painting buddy. We finished these countertops with WaterLox and that stuff is expensive and worth every penny. But it has to be poured into a pail for application (since the bottle has a tiny little spout) and this helps me save money because I pour only the amount I need for each coat. And after 3 coats on the bottom and 6 coats on the top…I have only used ONE HANDy Paint Pail liner. Sweet!
So yeah….now that you are fully educated on all things HANDy…who is going to be painting this whole weekend? With this little helper in tow, you’d be surprised how much you get done. Now if you pick the wrong color, you’ll have energy to repaint 🙂 And if anyone at HANDy is listening….can you please make a snap on lid for the pails? I would totally keep them in my fridge between coats! please please please?! Until then – if you find me painting gas station bathrooms, you will understand why. Now let the painting party begin!
Hey fellow tool junkies – to check out the full HANDy Paint Product lineup CLICK HERE.
And to see a past roundup of all our favorite painting tools – CLICK HERE.

Best simple post ever. The few times I have tried painting, I instantly regret it and you make it look so easy. I would love a post on how you paint a room (including clean up). I know it probably seems simple to you, but to me it feels like a monumental task. You probably have a series of steps you go through that breaks it down into small easy steps but when I think about it, it seems like a huge undertaking. Also, a simple post on how you get good at painting (and cutting in).
I love your shirt!! Where did you find it?
I have this pail and love it. Some of the best $$ I’ve ever spent. My favorite part is the magnet for the brush. No need to figure out where to put it. 🙂
Can’t wait to see the reveal! 🙂
I discovered the Handy pail awhile ago, and I love it too! It really is a surprisingly helpful device.
Where did you get your “boy mama” t-shirt?! I need one of those!!
I have one and love it! Thanks for the tips!
Until they make a cover, try using plastic wrap to cover your paint pail between coats. I wrap my brushes in it, too!
That’s what I do too!
xo – kb
That’s a great idea! I will put it on my list 🙂
xo – kb
Here you go 🙂
xo – kb
Here is the link 🙂
xo – kb
I agree! Best painting accessory. So much better than the old cottage cheese container I used to use. I also can’t live without my short-handled brush. And you’re right about the kid, that would be sweet. But mine (which I think is exactly the same one) fits all the way inside a gallon zip bag. I pop it in there and it keeps the paint fresh and ready until I have time for the second coat.
I guess I will have to do that then…until they make the lid…because dang it, I am too lazy for anything else 🙂
xo – kb
“I hate using paper towels for wiping excess caulk off my hands…”
I just need to say OF CAUSE YOU DO! Paper towels is the worst for caulk (and all the other stuff you find in those kind of tubes)! Use baby wipes instead. Works like a charm! Every Time! For everything build related that has a sticky consistency. It is magic 🙂
We just finished a quick, two room paint job at our house and the Handy Pail was with us all the way. It’s a great product.
I love to use mine, makes the job so much easier. But I don’t buy the liners, instead I use a gallon ziplock bag as a liner. The magnet still works through the bag and it makes clean-up easy. When I need to put it away or switch colors, I just seal the bag and label it and all is done! Sometimes if it sits for a while I may pour the paint into a fresh new bag just to avoid the dried up edges that may have happened.
What a smart idea!
xo – kb