It’s kitchen table makeover time!
Yup. I did it five years ago and it’s high time for a revamp. a do-over. a fixer-upper.
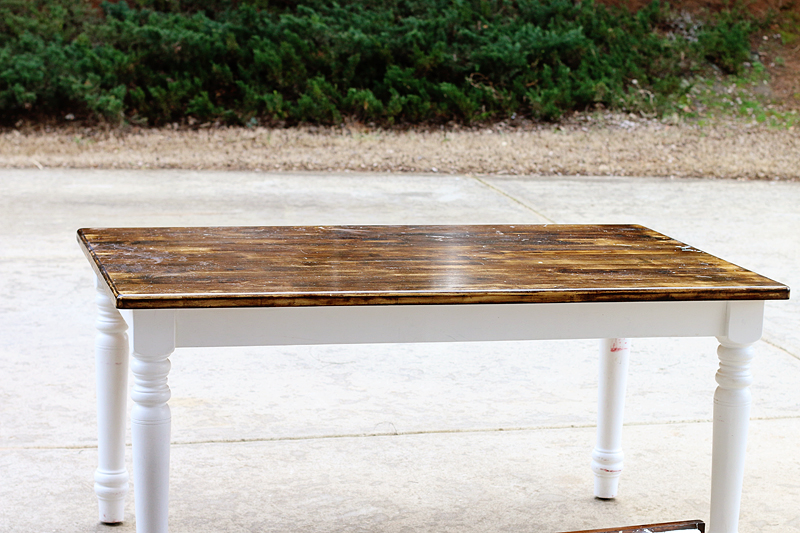
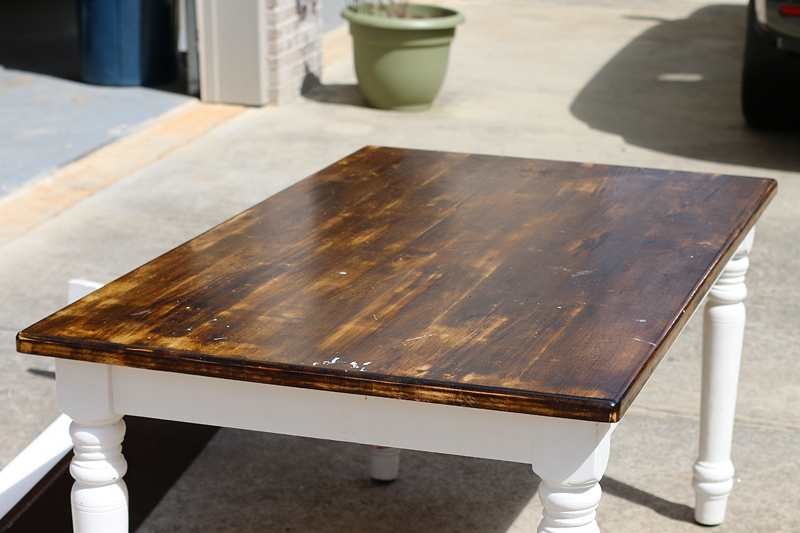
Apparently five years is the life span of a table finish when up against a team of polyurethane super-destroyer vessels named William, Weston and LJ…..bonus point for the world’s messiest baby ever. They gathered together with the single mission of marring my table’s finish till it was just not food acceptable. Now you may be very far away from my table and think…that doesn’t look like it warrants a makeover….
You might even think…it looks ok by me.
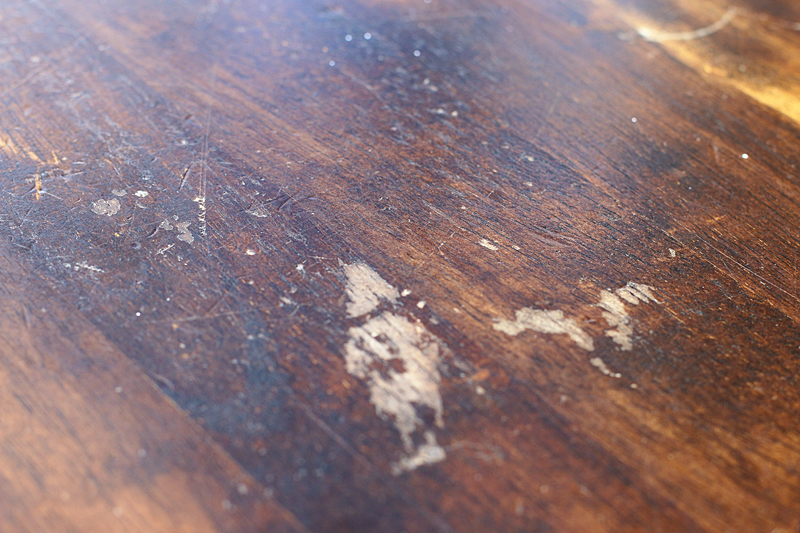
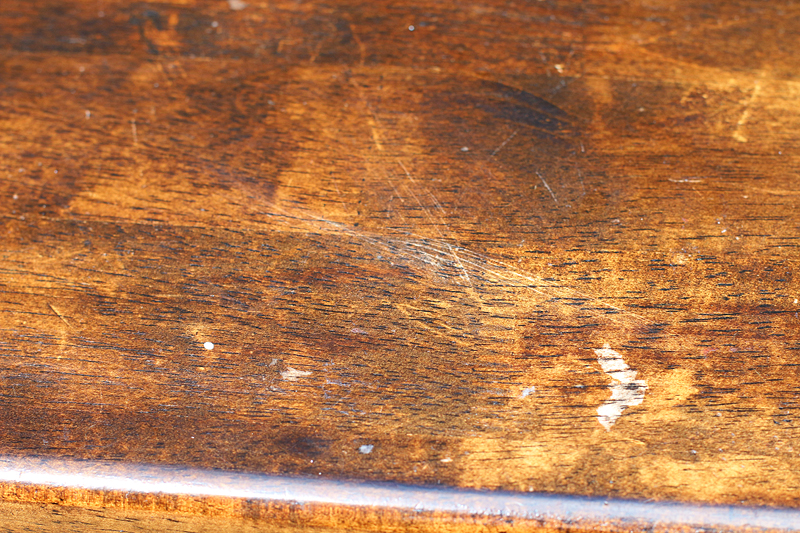
But the fact of the matter is….once polyurethane is cut or flaking or chipped….that is a slippery downhill slope that you my friend can not beat. It is the Everest of poly problems. And once it starts to happen, your table top is no longer food safe. Yup. It’s true. Polyurethane is considered food safe if it is dried and intact. But once it is cut, chipping or flaking – the FDA rips the food safe badge away and sends the finish to timeout with all the other finish losers.
Our table had several areas that had a bunch of tiny little areas that were chipping and I wasn’t about to wait till Maxi Knight’s corner of the table had nicks and cuts too. I mean…he eats directly off this table and the last thing I would want him to consume is some poly chips. (No that’s not true….the last thing would be animal feces….or rotting dead diseased animal…I’ve seen the YouTube videos and they are HORRIFYING.)
Last time I did several coats and I am grateful it survived this long. I do believe that my table has withstand more punishment than most. Not only is it the place we use for Play-doh and homework but it’s also been a workstation where I assemble furniture, a playspace for crashing monster trucks and heck, I even had a baby on that thing.
No I didn’t….but I wanted to spice things up 🙂
So the fact is – it was ready for a change and so was I.
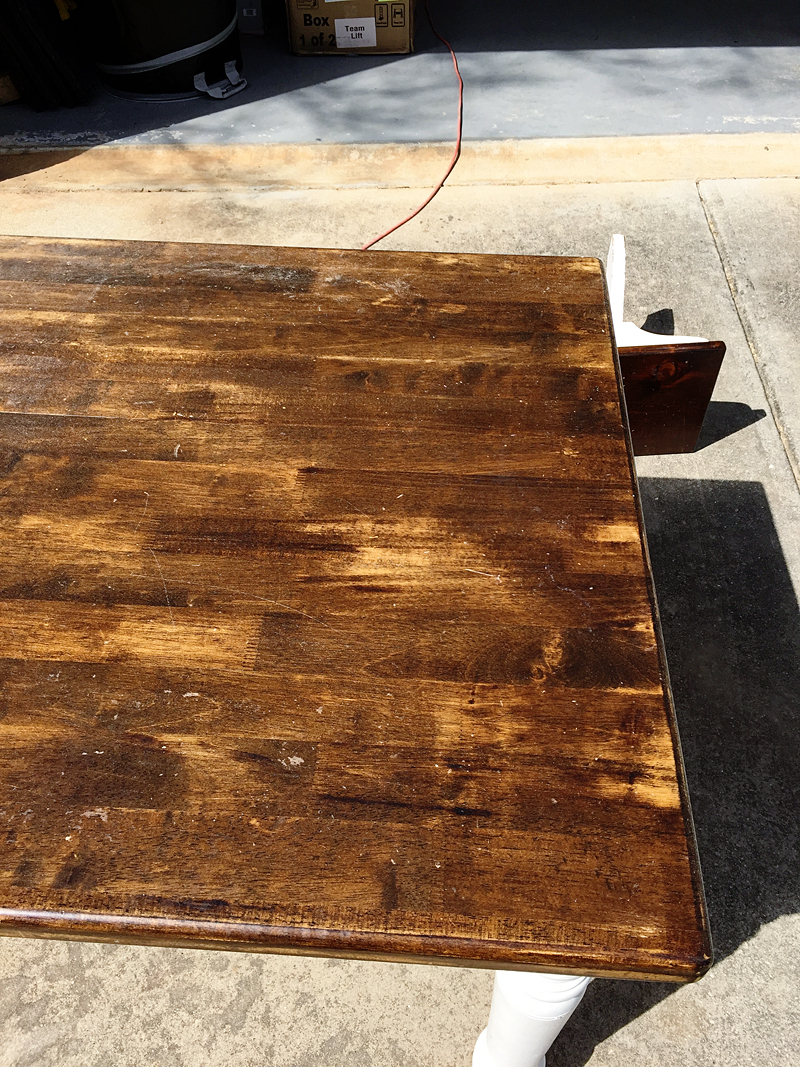
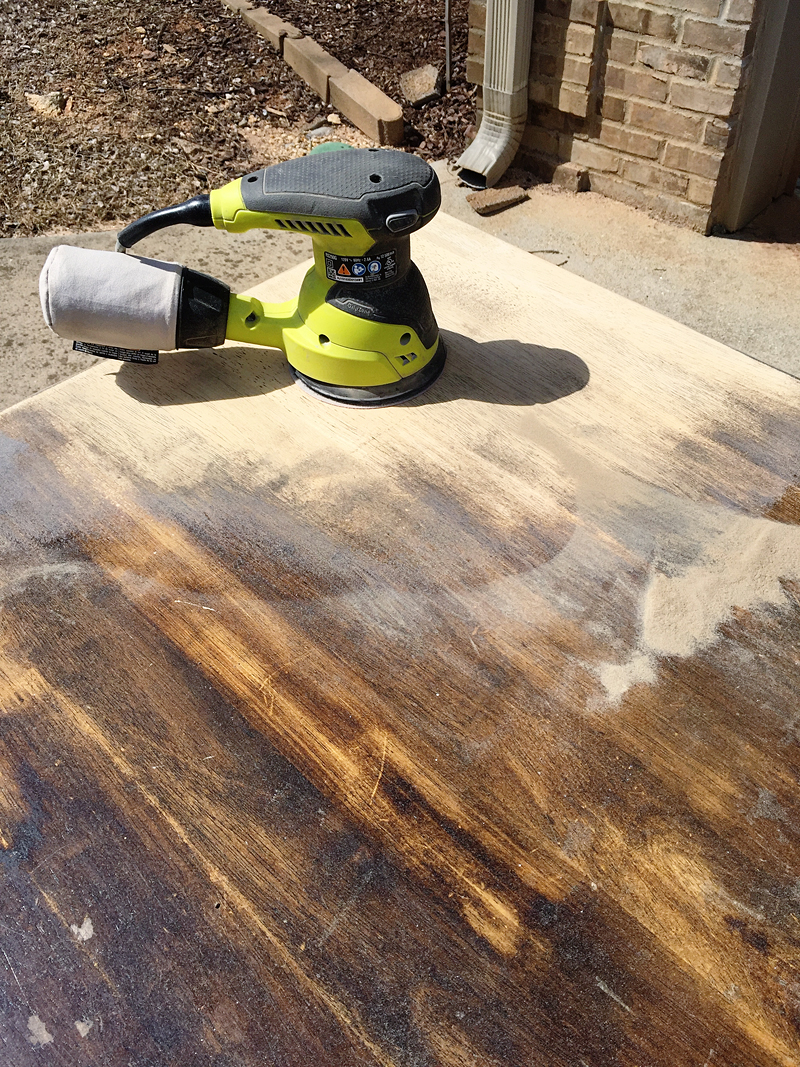
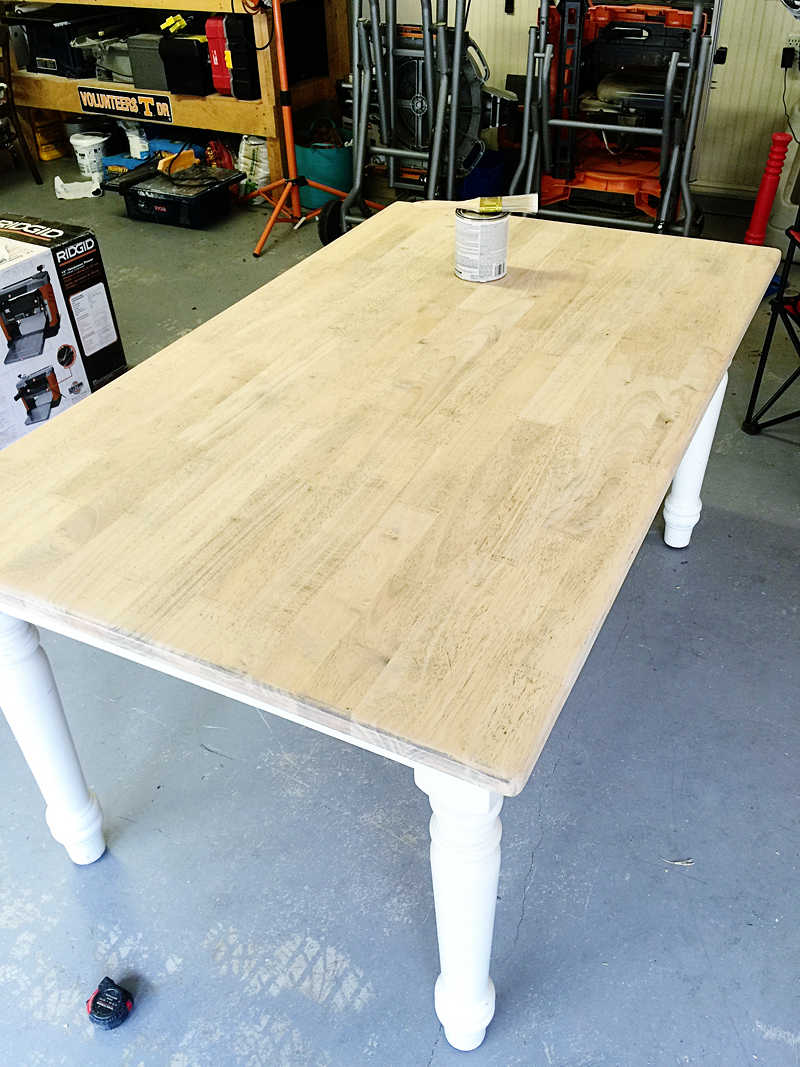
The first thing I did was sand down about a quarter of it with 60 grit.
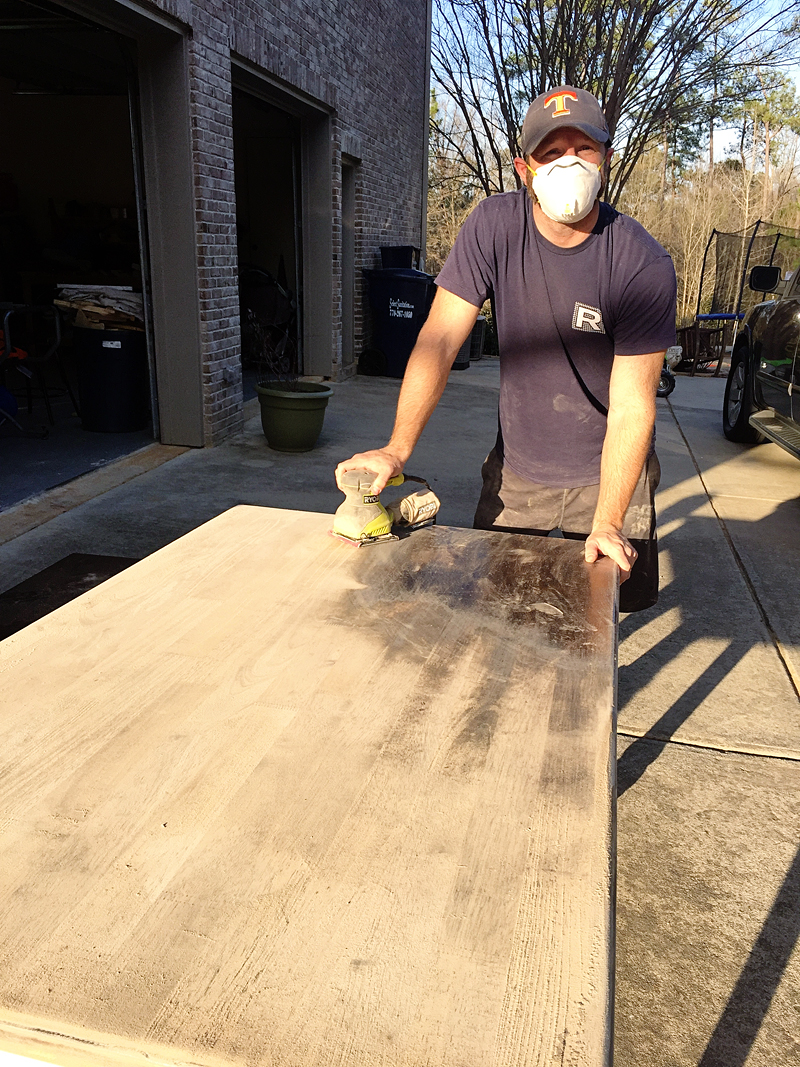
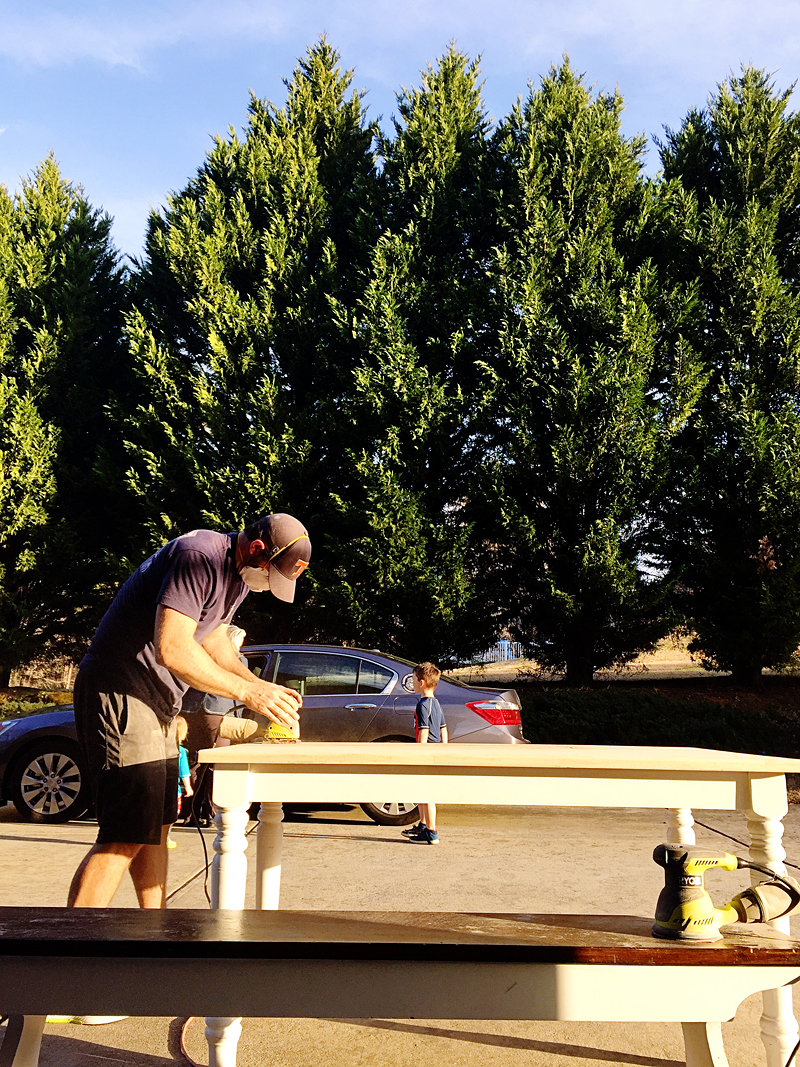
Then I got the sand-master to do the rest.
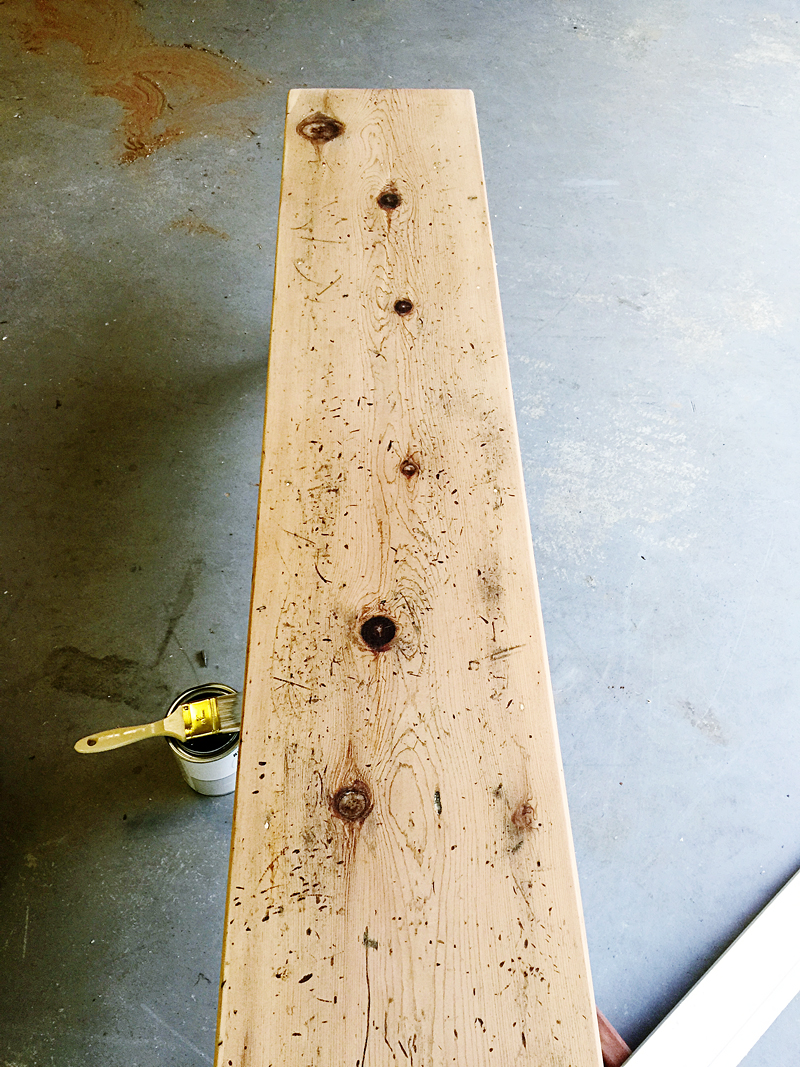
We also have a ‘matching’ bench to do. You may remember that I got the bench at Goodwill and the table at a yard sale for $18. It was a regular ole craft table and the wood isn’t super high quality or anything like that.
When it was sanded completely (60 grit, 120 grit, 200 grit) it was time to decide on the finish.
The real decision maker was this bench though. After we got it stripped down, I noticed the knots and the dents (the little marks with stain still in them) would need to be covered up somehow to mask the fact that it was different species of wood than the table. My options were to stain the whole thing dark again….or to paint it. I decided to go the road less traveled 🙂
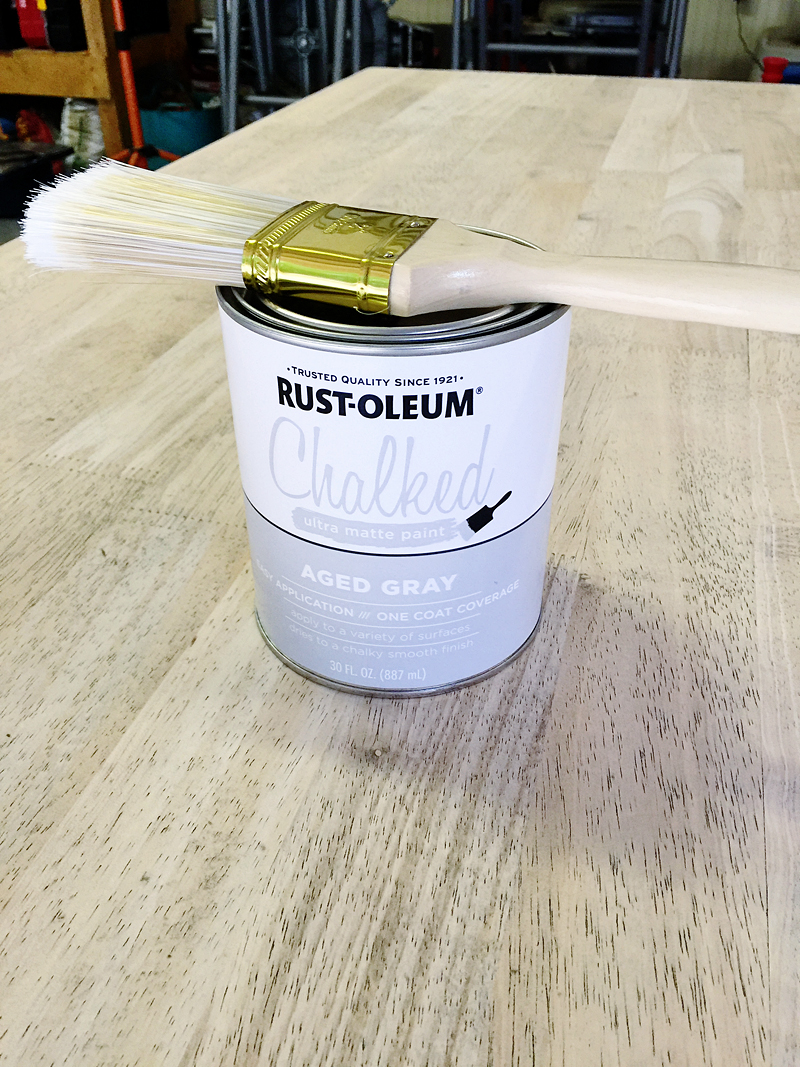
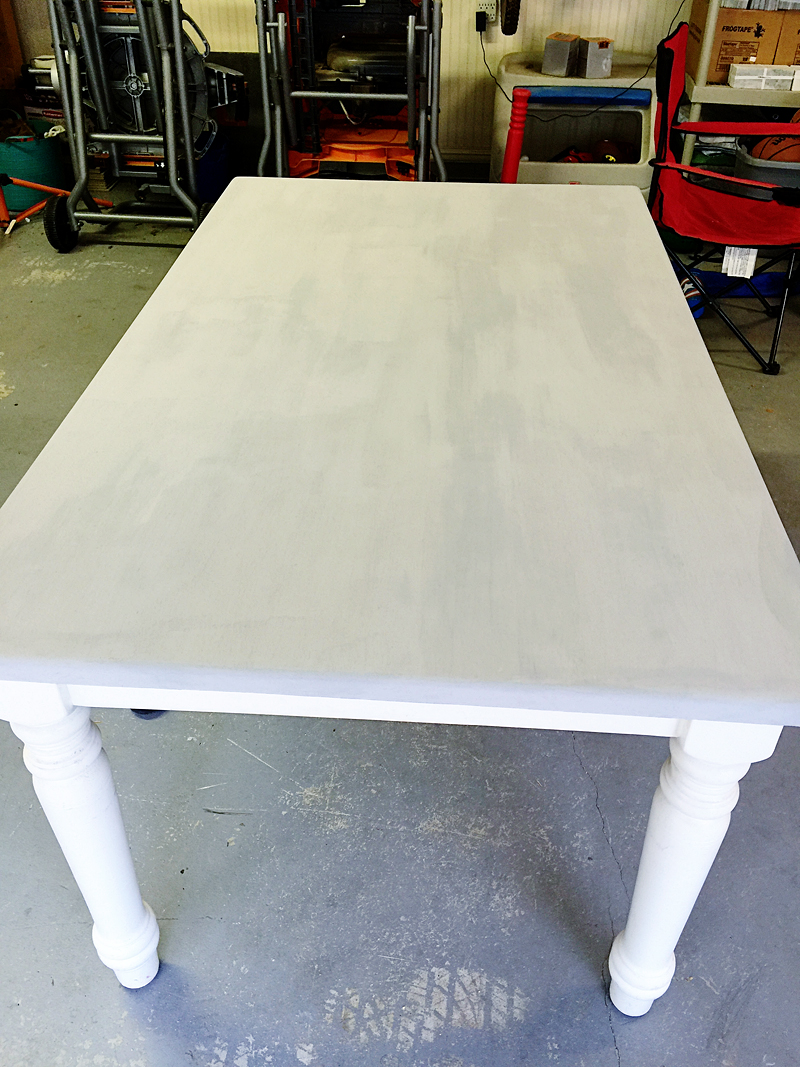
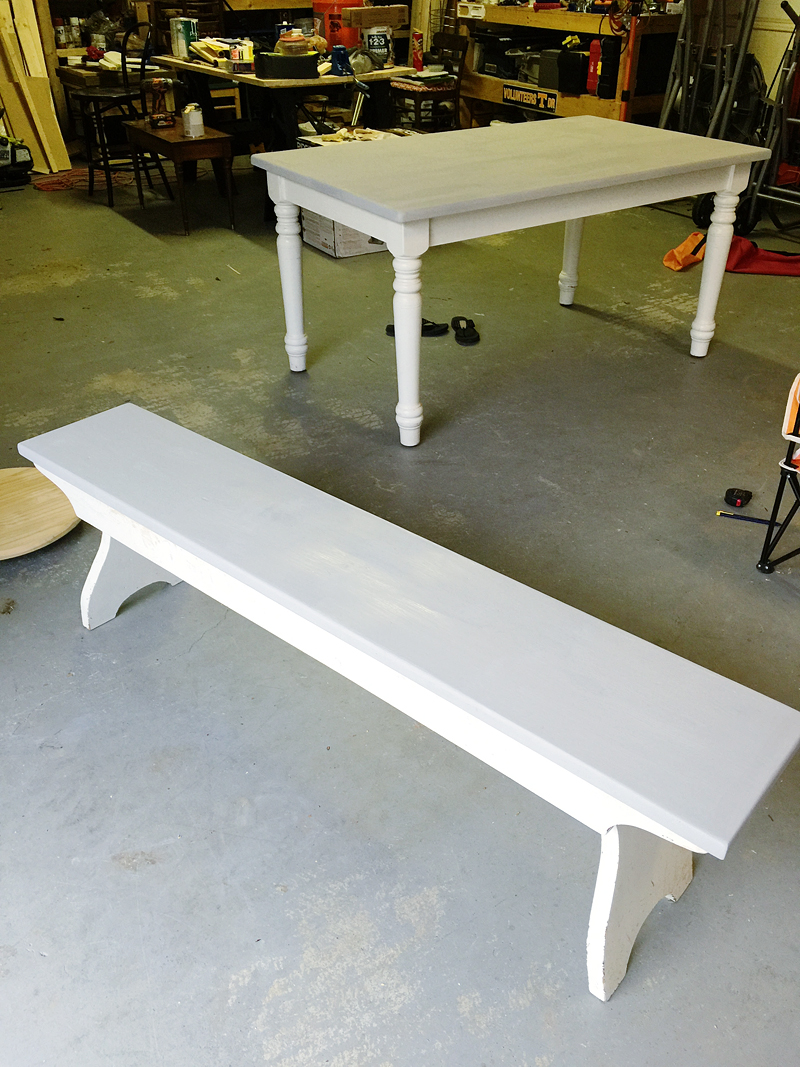
This is my first attempt at using chalk paint on a heavily used surface so this is definitely an experiment of sorts. I decided to go with a light base – Aged Gray by Rust-Oleum looked like the perfect color so the table and the bench both received one regular coat.
Afterward, it looks like this….
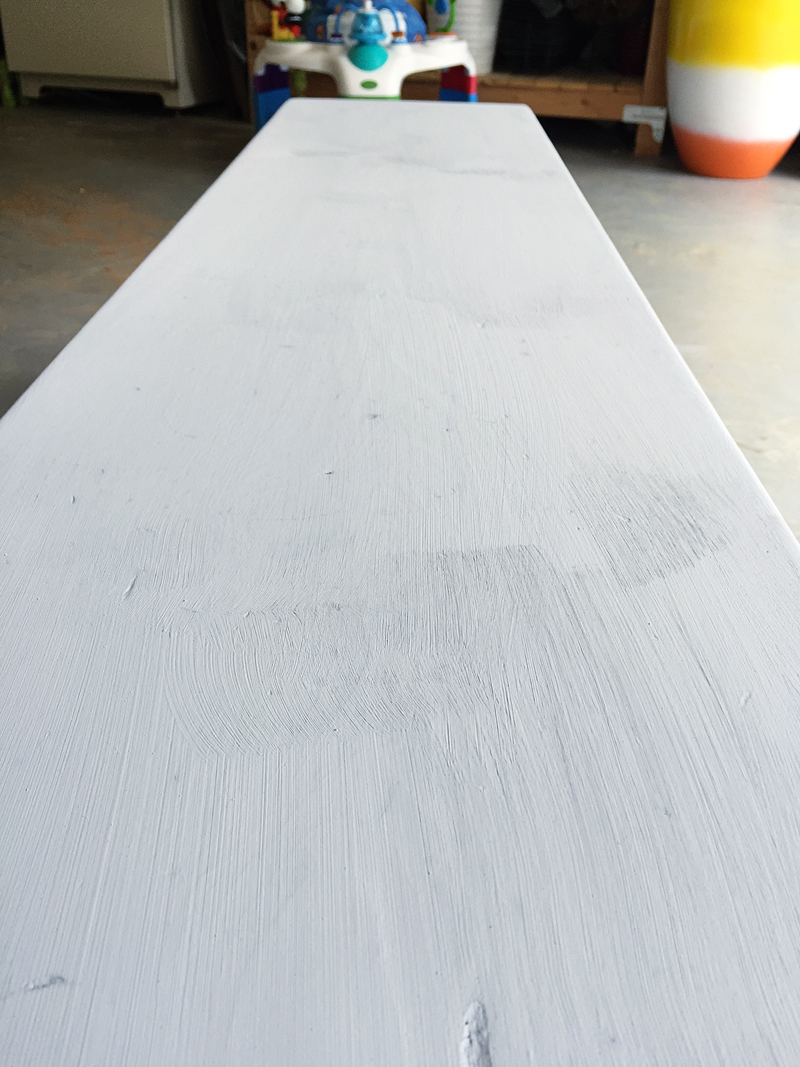
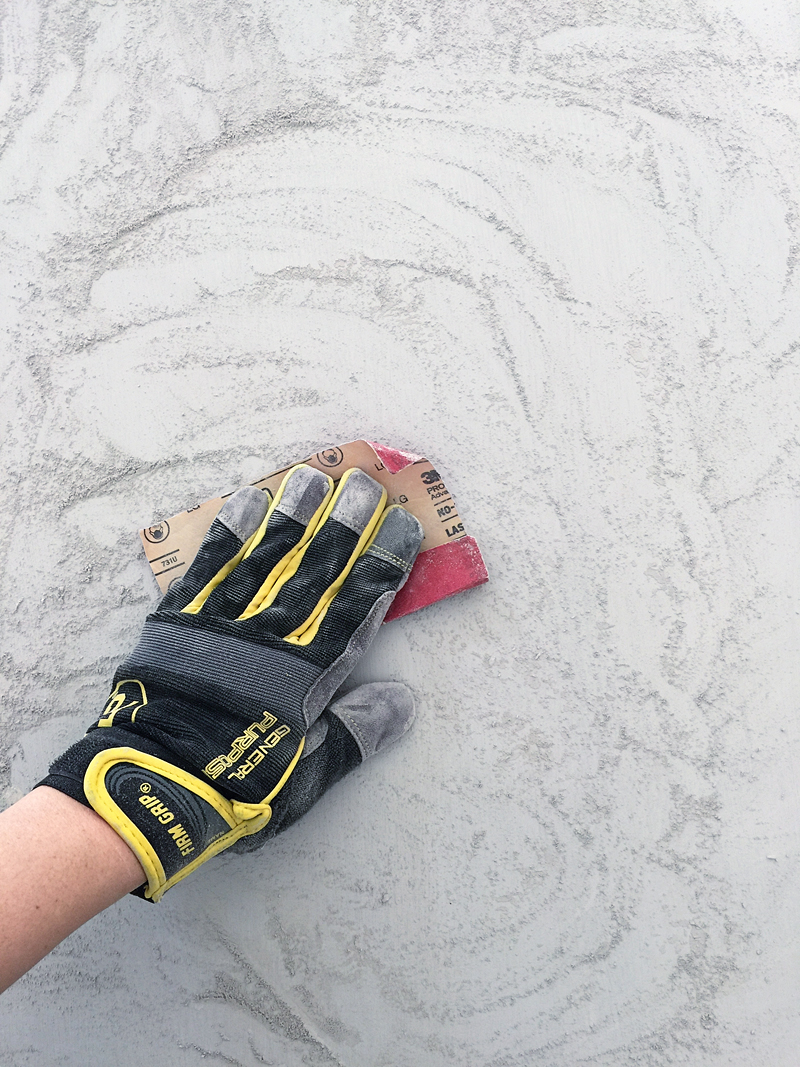
Now if you were used to regular paint and never used chalk paint before, this might worry you a bit. But chalk paint is meant to go on, dry and then be lightly sanded. Sanding removes all the irregularities like brush strokes and makes the finish feel like VELVET.
See those marks? You can make them disappear and the paint will feel so so smooth and rich.
It does produce a lot of chalky dust though 🙂
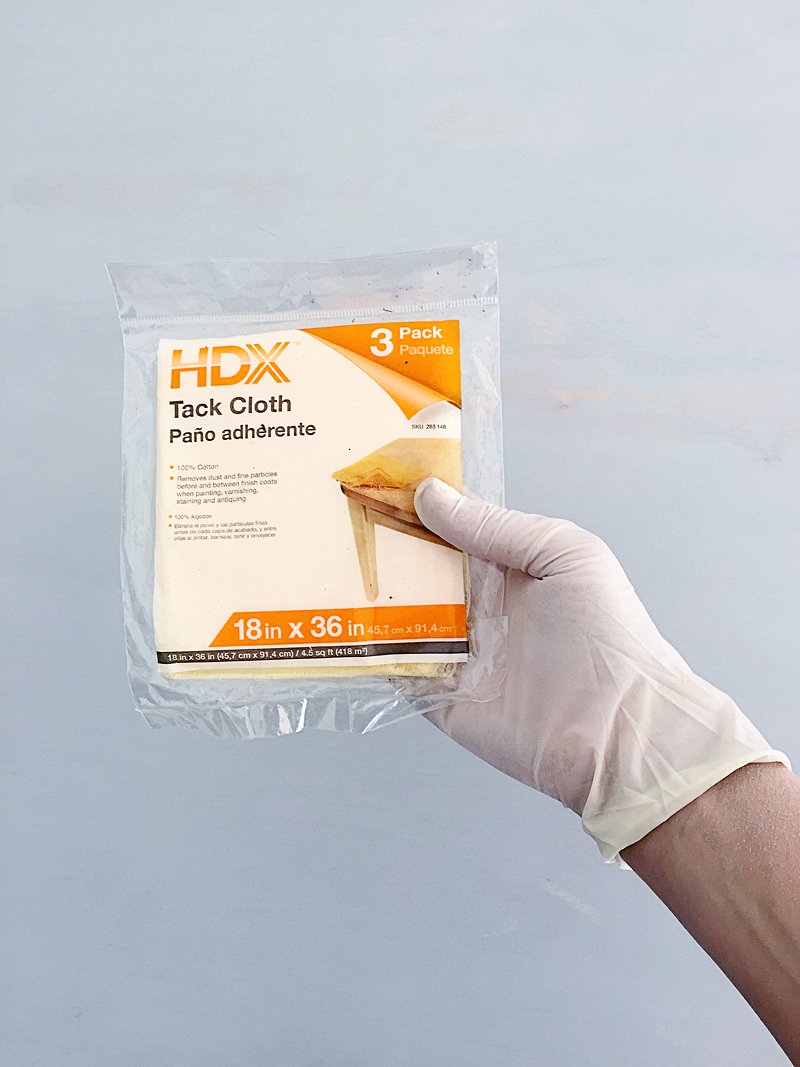
After you are done, you will need to remove all the dust….it helps to brush it off and or wipe it down with an ever so slightly damp rag and then remove all the dust particles with a tack cloth.
Now the chalk paint needs to be sealed. You can use a wax or a poly or a finish specially formulated for chalk paint. But in my case, I felt like the gray would look too stark in my kitchen. So I decided to apply a couple more layers to make it look more like old wood.
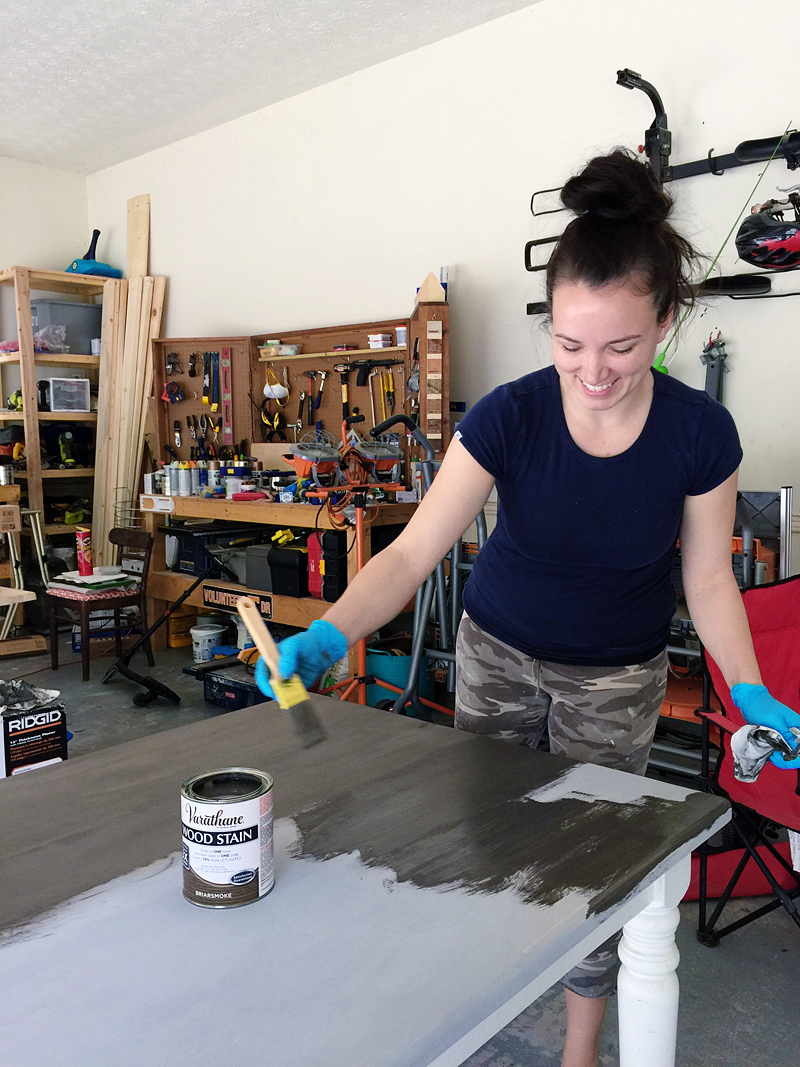
I did this by adding one layer of Rust-Oleum’s Briarsmoke stain. OH SWEET JALEPANOS – this color is SO pretty.
One coat did the trick. I was sure to quickly apply it with a bristle brush and then blend it REALLY well with a rag.
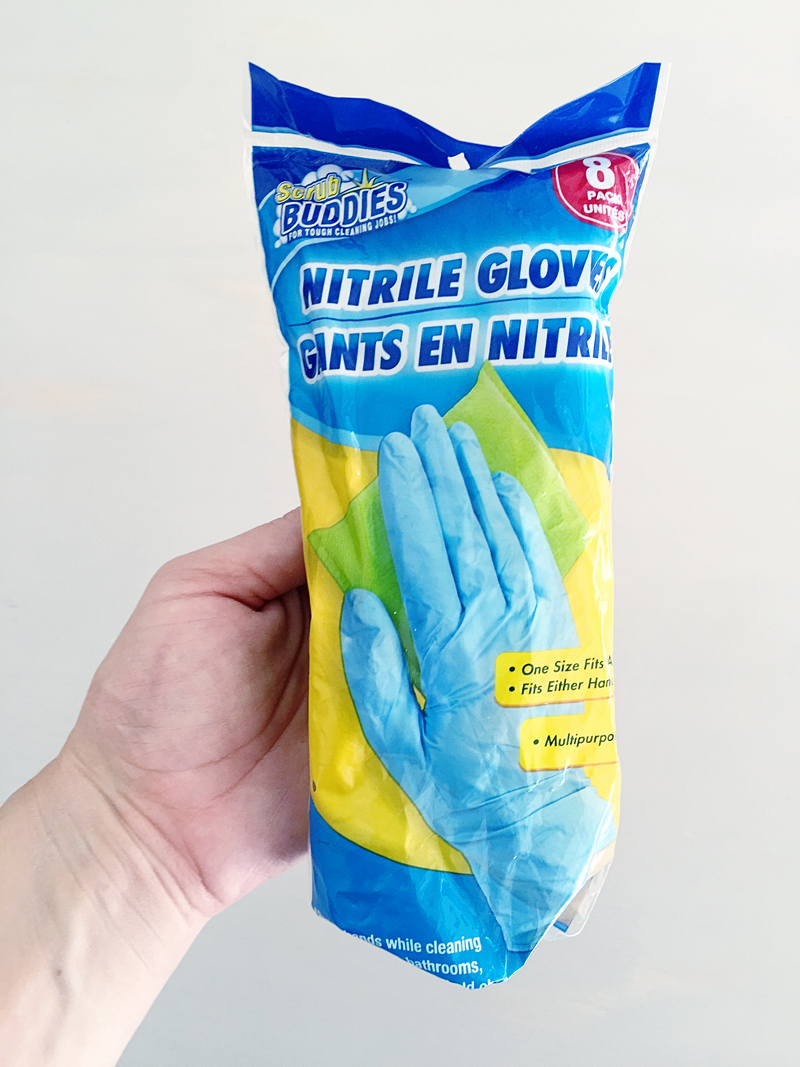
Here is my tip for the day – make sure you use these Nitrile Gloves when you are staining….don’t waste your money on latex or whatever….the NITRILE is the best and thickest gloves and will actually save your manicure. I got a pack of 8 at the Dollar Tree.
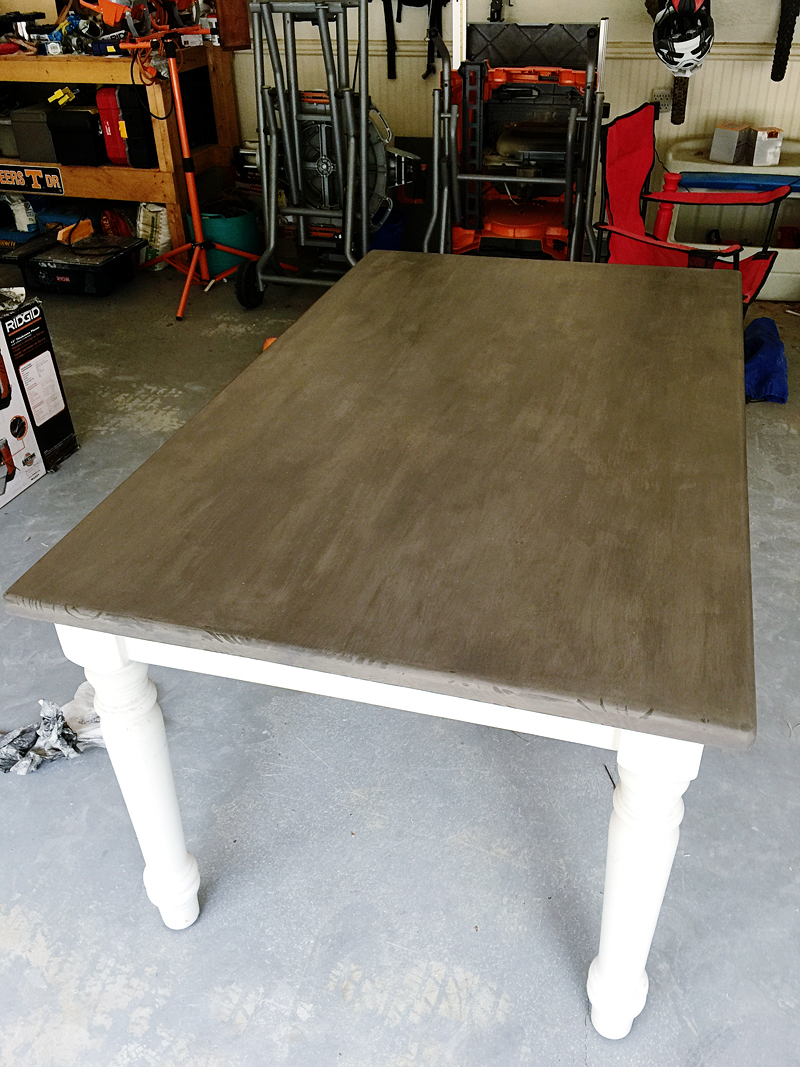
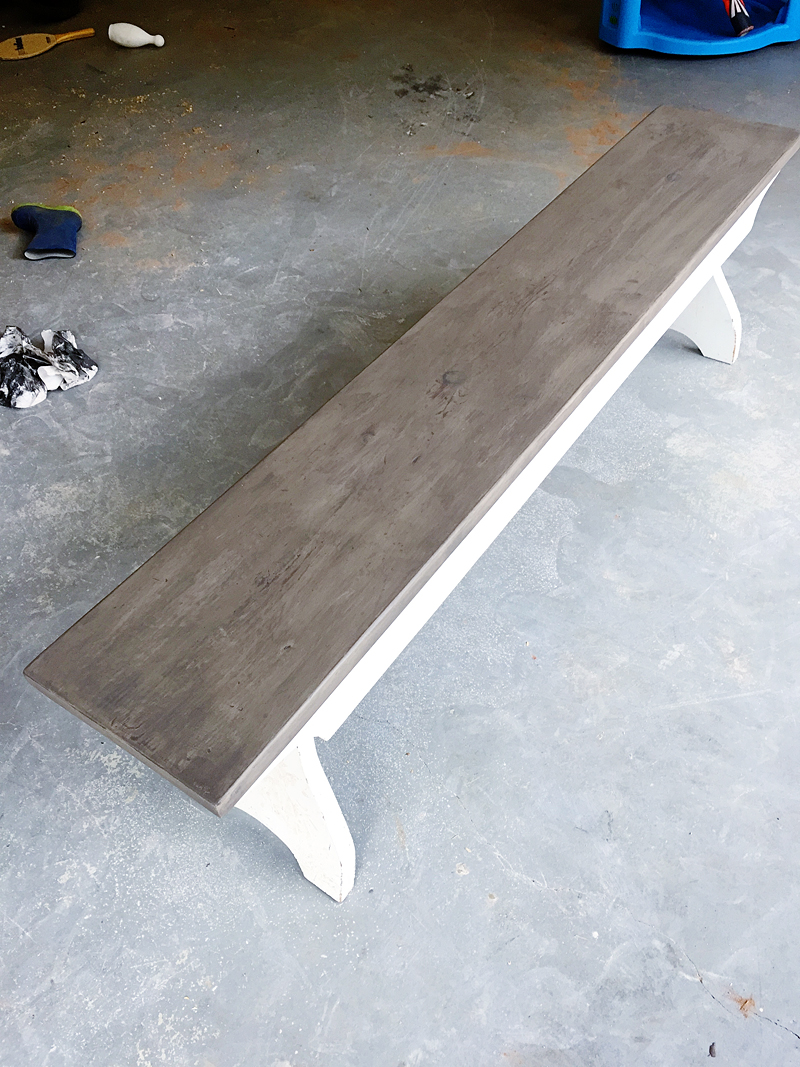
Post paint and post stain…
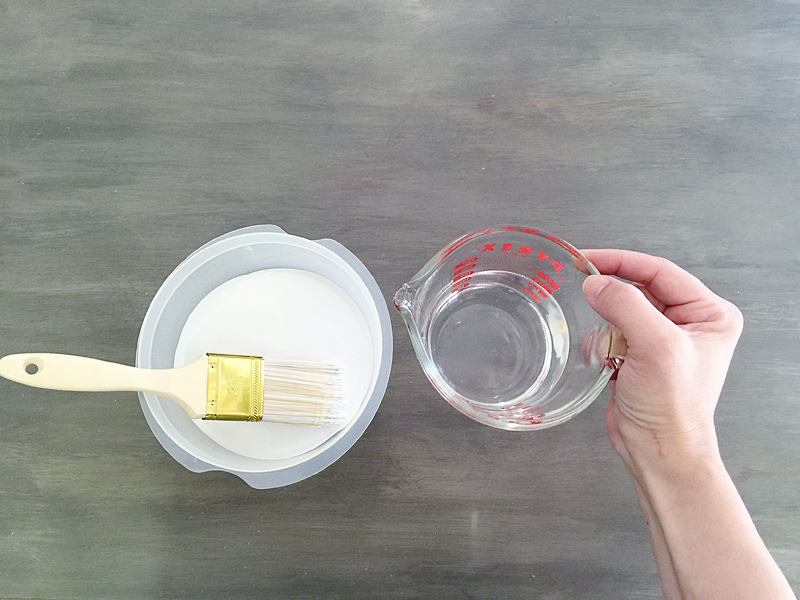
Now call me crazy but I wanted to add a little more dimension to the table. It was looking so dark and we just went away from the dark finish so I decided to white wash the whole thing. I mixed up equal parts white chalk paint and water in a small bowl.
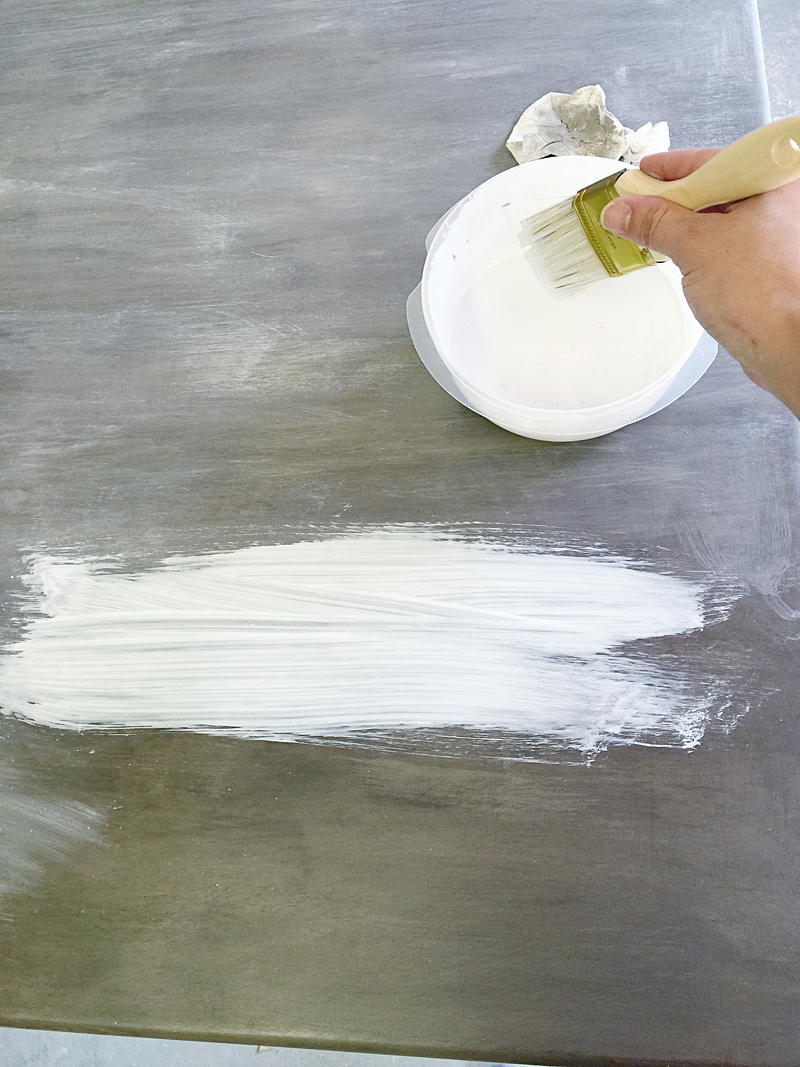
Then I would quickly apply some to the table with a brush, moving the bristles WITH the grain.
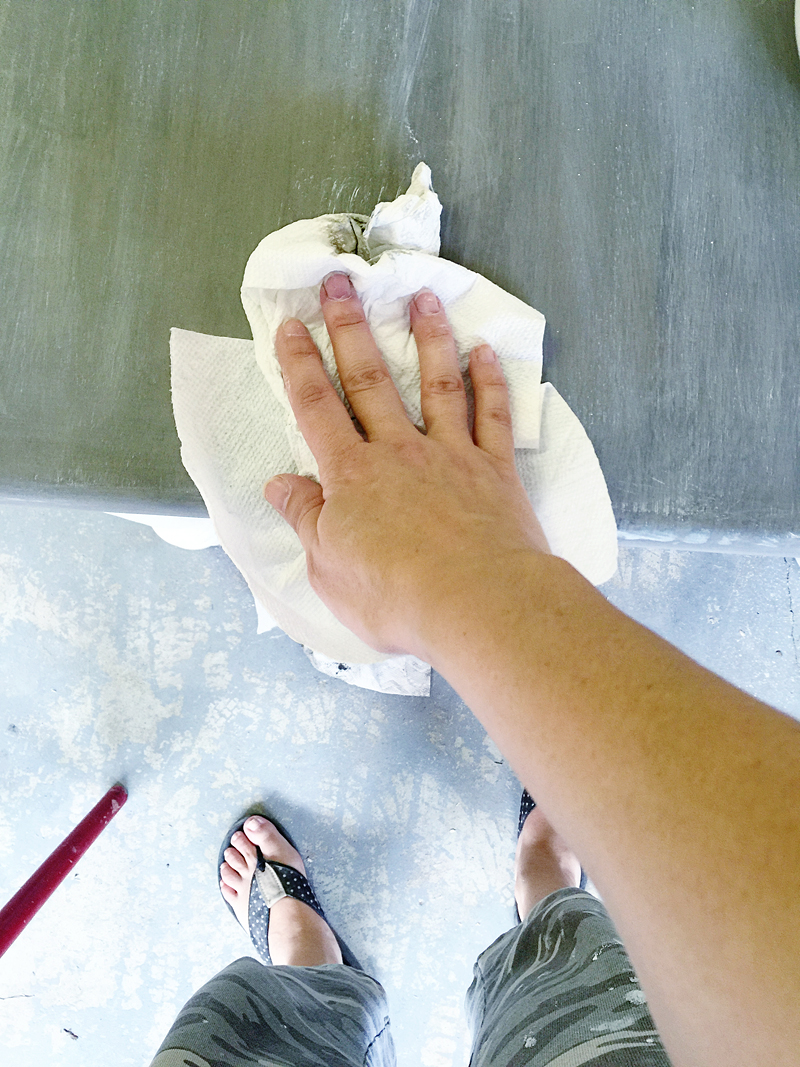
Then I would rub off any excess quickly to give it this worn beachy vibe.
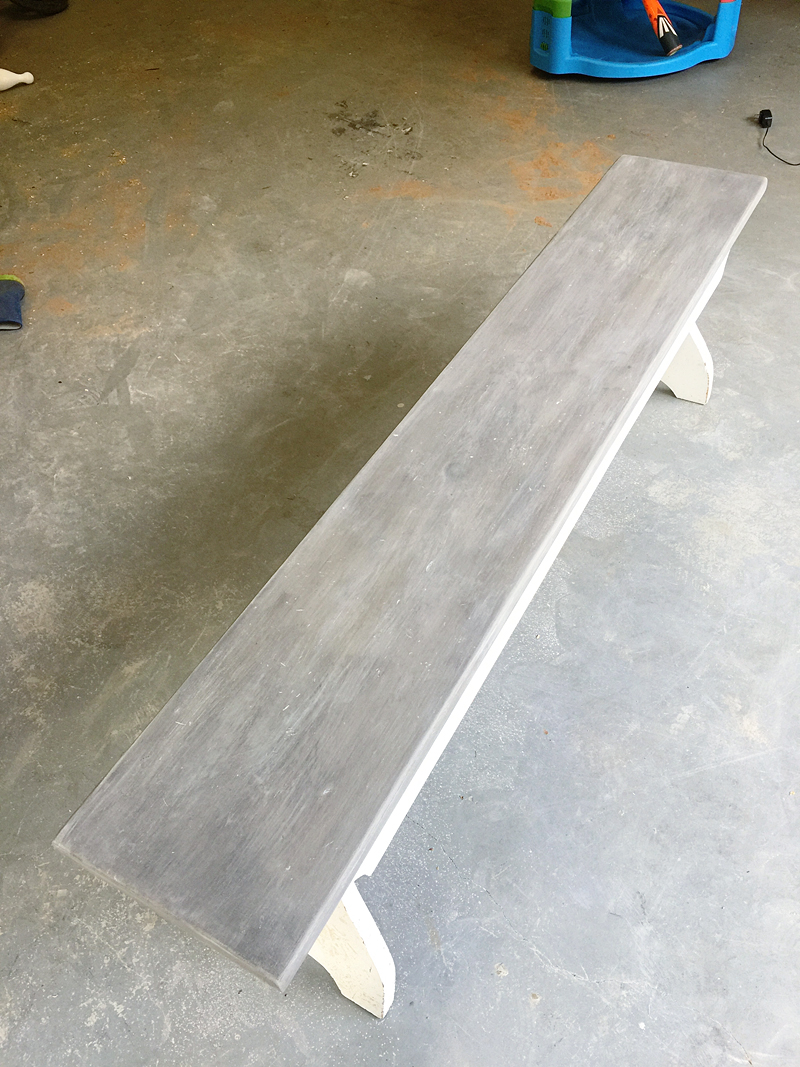
Look how pretty….
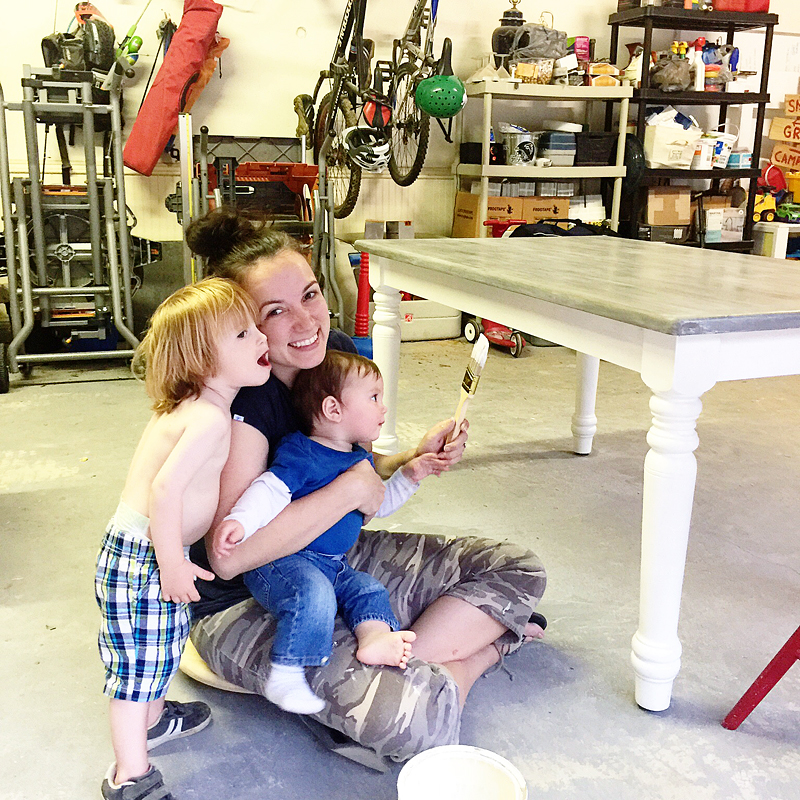
My little partners in white washing crime….(yes LJ is trying to give me a kiss with the wide open mouth!)
After a light sanding with 400 grit sandpaper and about five coats of poly with sanding in between, the table and bench were moved back into their old home.
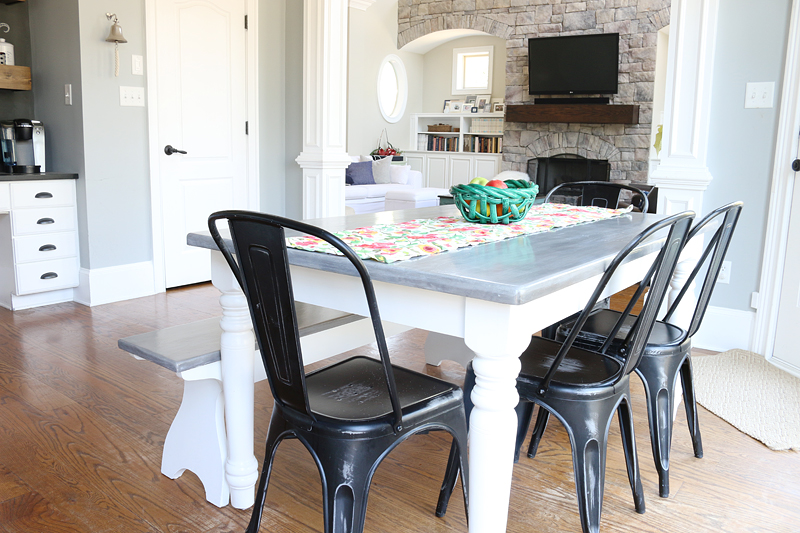
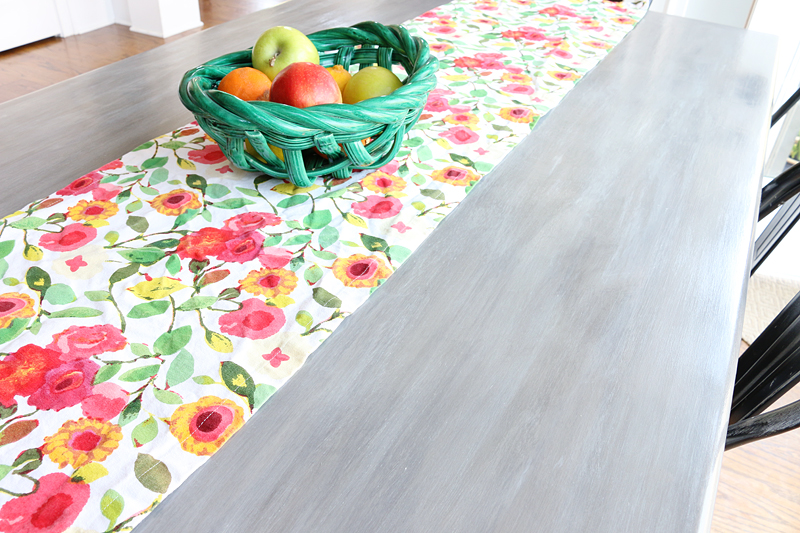
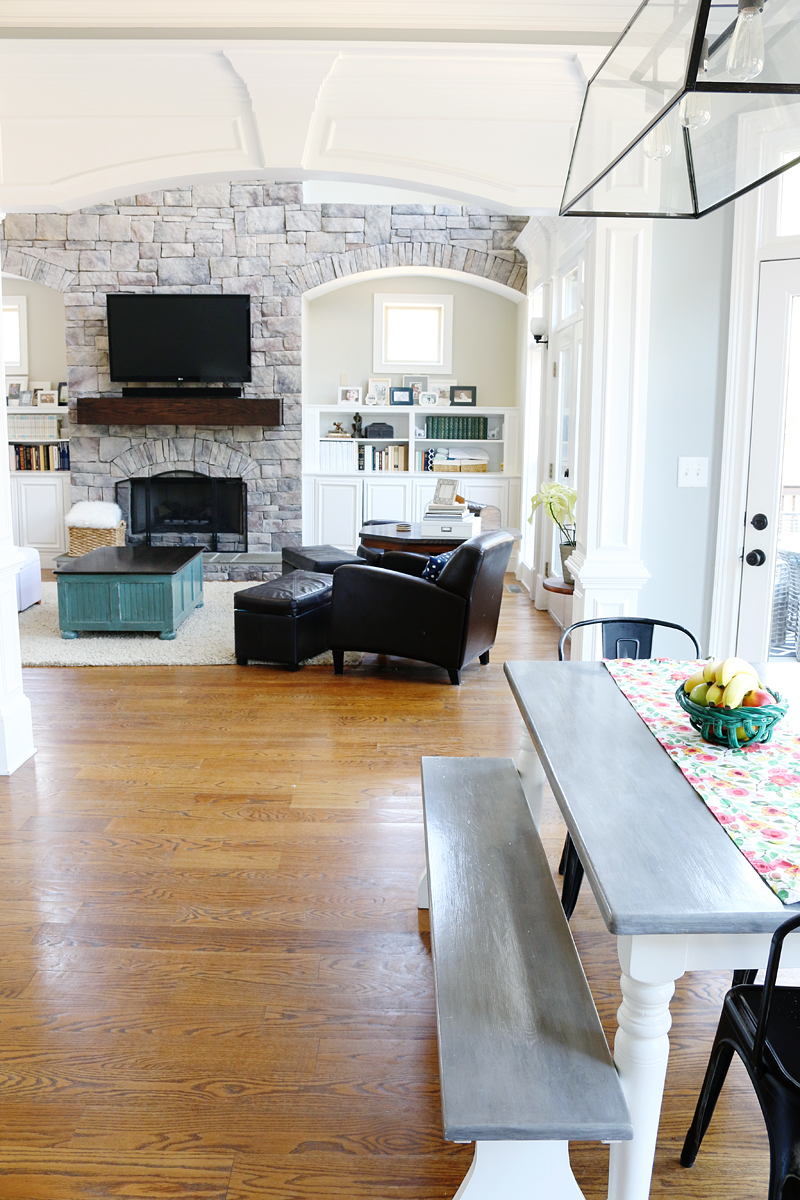
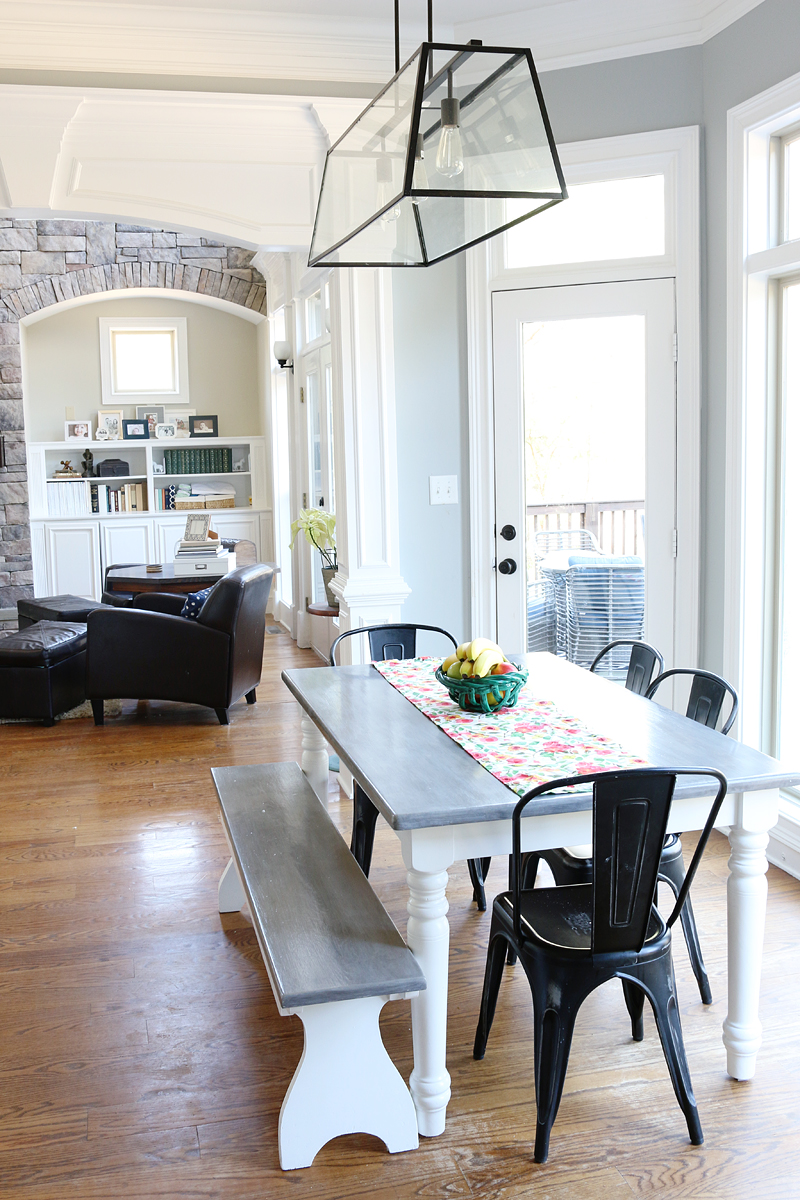
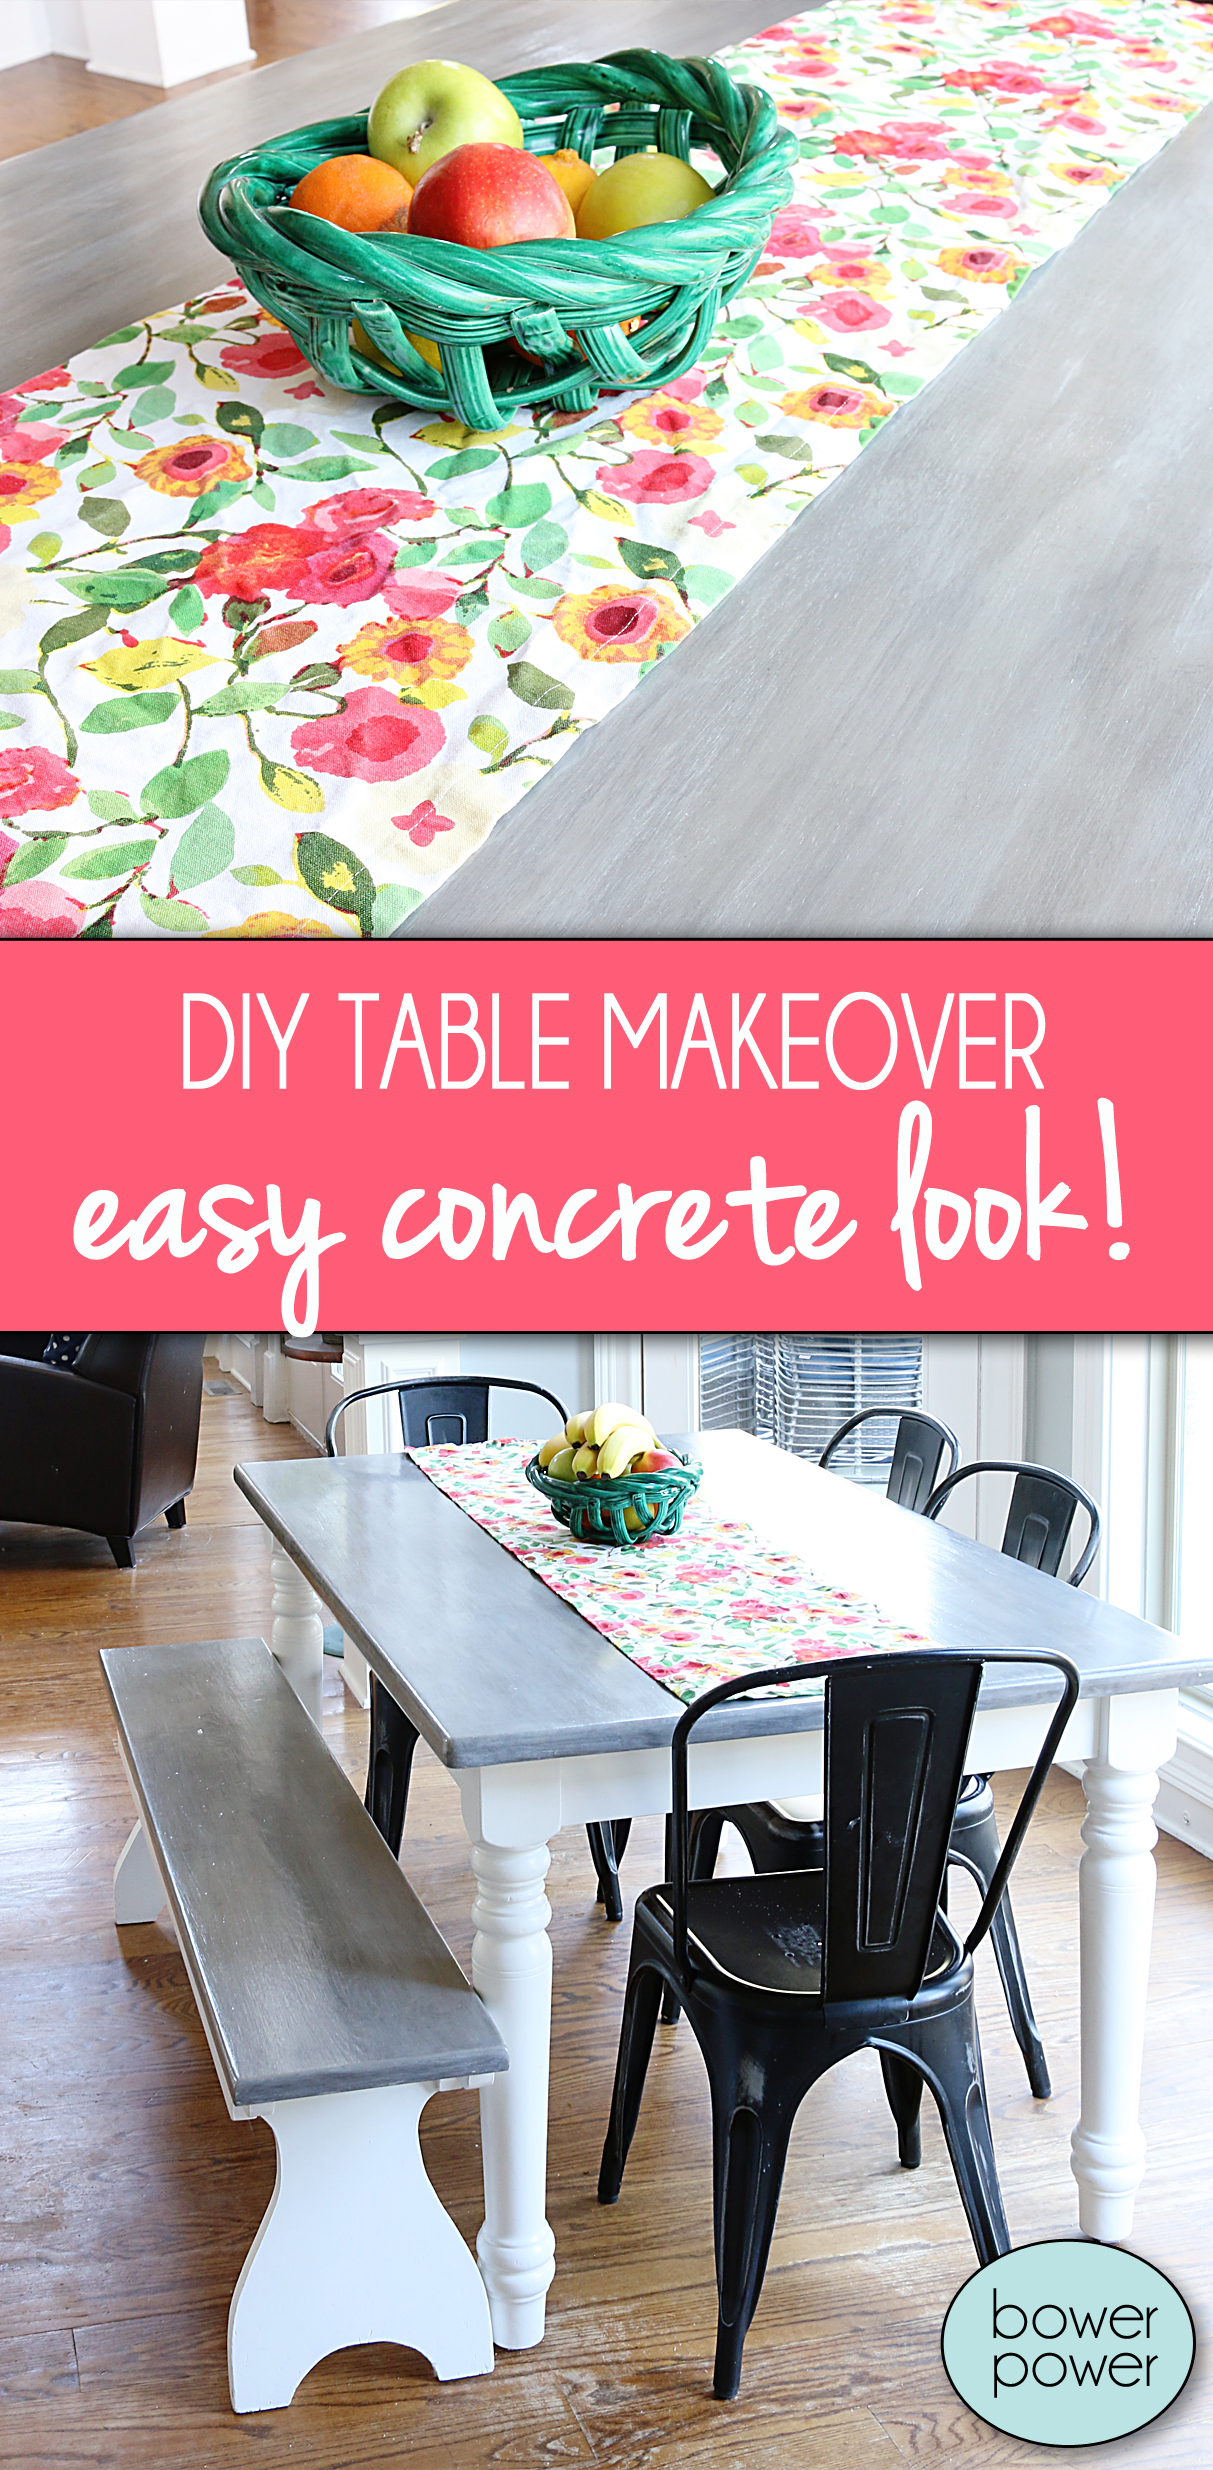
This finish is PERFECT for me. I needed something lighter and the medium tones on this finish were exactly what I wanted. It is like a cross between concrete and driftwood.
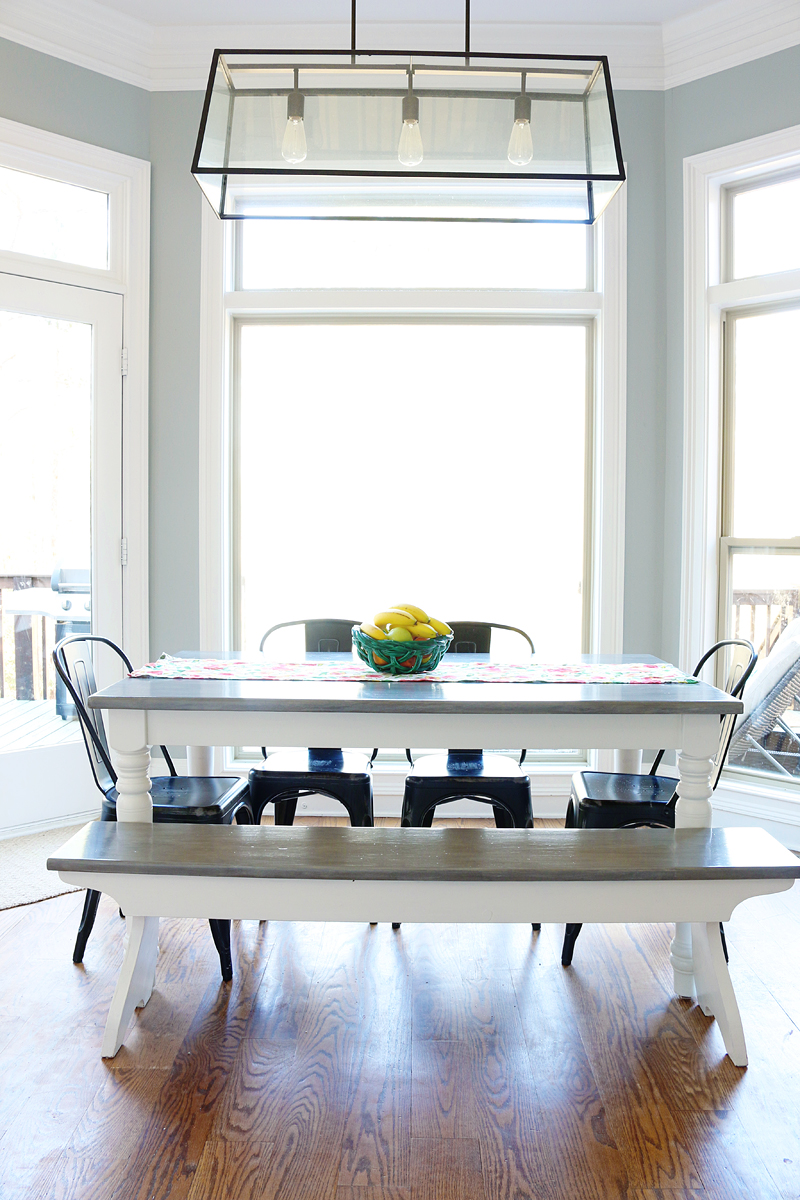
And the bench and table do match perfectly – so the chalk paint base really did work wonders!
I think that in general, I am finding out what works in this house and what doesn’t. It’s only taking five years to get there 🙂
Visually, the new finish helps the table kinda fade into the kitchen nook and I am perfectly okay with that. We have big open spaces and a lot visually interesting with the moldings, stone work and large rooms….so having this piece be the more shy little sister actually helps it feel more intentional.
I also touched up the base on both the table and the bench with regular white paint…the same as I had used before. It feels like a brand new table and I love that it is now food safe again! #dontpoisonyourkids
So that’s what I have been up to! What pieces have you guys been refinishing lately?! I’d love to hear about your different techniques! Oh and to see the original makeover of this table – CLICK HERE!

I love it! I am currently scouring thrift stores and flea market for a table and bench just like this. I’m definitely saving this post for when i (finally!) find what I’m looking for!
oh goodness those floors are taking a beating under the table! do you plan to work on those – and if so what do you plan to do?
I used a product called Minwax Antique Oil Finish on a completely stripped table and buffet – 2-3 coats on table. Water marks show but dry completely normally. I have had the table for at least 10 years with heavy use and no updates. My oak table looks oak color:) This is a more natural finish with no stain color but sure holds up well!
Love the chalk paint. Do you like having a bench? I’m trying to convince the hubs that it would work for our three boys, but he’s not sold.
Also, the light fixture over the table. Where a bouts is that from? Didn’t see it on the shop your house page!
I know! They are getting rough and I think that my scrubbing is getting to them but honestly the food from the boys is ridiculously hard to get off!! I hope that maybe in the next two years we can refinish them. We shall see!
xo kb
Thanks for the heads up! I will add it! And yes we like having the bench (at least with adults and kids over 3) because visually it opens things up and because I have friends and family that are quite large and they don’t sit anywhere but on that thing!
xo kb
LOVE IT!!! It really blends in nice with your stone fireplace and brings those tones to the kitchen!
Your table looks great!! What kind of poly do you recommend for finishing the table? Our dining table also needs an update but I have been trying to figure out the best way to seal it and make it food safe.
it came out great! I never would have thought to do all of those steps…. but I’ve always been a hasty painter. So great to actually learn the right way to do something!
-Stefanie
http://www.thestylesafari.com
Looks so good! Love the finish.
Looks awesome! Do you think it was necessary to sand everything down originally? Since you used the chalk paint couldn’t you have just painted over the old stain, then proceeded with your process? I’m tempted to redo a table but wondering if I really need to strip it down first.
Looks amazing! I actually started reading your blog because I saw your original table makeover and it looked very similar to how I redid my table. I used polycrylic and other than where my daughter accidentally pulled finish off from duct tape crafts it still looks good. I have a bench but it doesn’t match and this inspires me to get on it. I’ve never used polyurethane. Do you mind sharing why you prefer that to other finishes? Is it more durable than say polycrylic? Thanks!
Love!! We desperately need to do this to our kitchen island (it’s like a tall table). I hadn’t even consider the safety of the poly chipping. That bumps the project up a few tick marks on my list…
On a side note, where did you get the club chairs and storage ottomans in the background of the last picture? I am wanting to do the same thing in our living room
Thanks!
I prefer the interior Rust-Oleum poly in semi-gloss – not triple thick for this project. I like thin stuff because this surface needs to be super smooth and it will need between-coat sanding. It will take LOTS of thin coats and very light sanding between.
xo – kb
I could have but it is always a good idea to remove any chipping poly or you risk the poly chipping under the chalk paint. I probably would have skipped it if this wasn’t a vital eating surface for us. We eat directly off the table and I didn’t want to risk it.
xo – kb
That is beautiful. Last year for my birthday my husband made me my own farm table. I looked and looked and didn’t want to spend a lot of money. I will have to take a picture of it once we get back into our house. We are currently building a barndiminium!! Farm house look all over!
It just so happens I need to repaint our kitchen table. Ours is an old birch veneer that started rubbing through a few years ago (underneath is umm … some sort of particle board?). I painted it with semi gloss that matched the trim in the kitchen, let cure for days between four coats of paint and three coats of poly. It’s rubbing off after about two years.
Would floor paint be a better choice? And I will certainly up my poly coats to five.
Looks incredible. Have you considered doing something similar to the sides of your coffee table? I would look AMAZING with the stone in your fireplace!
Yes it is in my opinion. I have used both in the past and although the polycrylic is great for indoor finishing projects (because it is water based) such as side tables and bookcases, I would say that you want to use Polyurethane for tables like this because it is much more durable.
xo – kb
You know I found that exact table at a second hand store for $25. It was still the original blond top and someone had half-heartedly painted the base/legs a mint green. I sanded the top and put the same dark stain on like you did and then repainted the bottom back to white. And then I found it here on your blog and thought “Look at me, I have the same taste as Katie”! But alas we are no longer table twins. .
It turned out great! Very light and clean-looking – I look forward to hearing about how it holds up! I hadn’t read the actual process for using this type of finish anywhere, so it was good to get to see such a detailed write up!
http://danielleandco.com/blog/2016/4/10/design-around-vintage-pink-tile
hahaha! well maybe in five years we will be again 🙂
xo – kb
Actually yes! I want to build a different coffee table – that one has taken a beating and I’d love to have something with a little more rustic feel to it so it hides the dents better. Jeremy wants a concrete table! We shall see 🙂
xo – kb
hmm….sounds like an adhesion problem if it is rubbing off. It might be better to replace the top with a solid surface. Particle board is never really food safe as far as I know but veneer can be. The fact is – veneer is really not meant to be durable like a solid surface. Instead of investing in a floor paint which can be pricey, I would go to a thrift store or yard sales and see if you can find a solid table top for inexpensive and then replace yours. If you aren’t handy, consider a rough sand, then using a chalk paint (it definitely has a better adhesion record) and then those several coats of Polyurethane. I wouldn’t recommend a floor paint because they aren’t necessarily formulated for wood. You would just have to check the label. Hope this helps!
xo – kb
A BARNDIMINIUM!? THAT SOUNDS AMAZING.
xo – kb
I have never use chalk paint before but can’t wait to try it on a project one day. I love the color of the table now!
Thanks Katie! I’ll try the chalk paint for adhesion. Don’t want to replace the tabletop. Can I then paint regular semi gloss enamel over the chalk paint or do I stick (no pun intended) with the chalk paint? I kind of want it to match all the trim in the room.
The table & bench turned out great!
I wouldn’t. I would either color match your chalk paint or make your own. I personally have never made my own but I have heard that it’s not difficult.
xo – kb
How durable will this be? I have three bar stools with bars across them and want to do chalk paint but worry about the “foot traffic” on the bars will wear it down quick! Suggestions as to sealing it? Just poly?
This turned out beautiful! I love the light gray color, I am a big time coastal and beach style home decor fan an this soft gray perfectly with that. I have been wanting to redo some dining room chairs and this look would be perfect. The process seems detailed, but this fellow DIYer is up for the challenge!
It will be only as durable as your poly coats. It doesn’t change the wood or material or anything underneath. So I do recommend that you make sure to use the regular ole stinky polyurethane and several coats. If you think you want to go ahead and embrace the ‘shabby chic’ then you can distress with sandpaper the edges where it would get normal wear and tear and then add a little dark stain to those areas of bare wood and seal it all up. It would hide any future foot traffic 🙂
xo – kb
It looks great! I have a table I refinished a few years ago, but right now it’s sitting in my basement because I don’t love it and want to do something different. It currently has a dark dark stained top and painted gray legs. I sort of hate the thought of sanding it down AGAIN, but yours looks lovely! I have dark wood floors, so I like the idea of a lighter table!
You could just get a cute rug in the meantime!
Can I ask you about your poly favorite brand and application technique?! Every time we do poly it is a mess and drips and we just can’t get a good clean finish. Any suggestions would be extremely helpful! All of your stuff turns out beautiful!! Loving all the new staining techniques I am learning a ton and getting the itch to zest up our furniture 🙂
This is exactly what I want to do to a garage sale coffee table. I already have the supplies, so thanks for the tutorial. I’ll be doing this this weekend!
This looks great! I recently painted my kitchen cabinets and finished it with polycrylic because the man at the paint store said polyurethane could yellow light colors. But it didn’t yellow yours at all? Now I am worried because it scratches so easily. Any thoughts?
Thanks!
Oh man I thought about that but the amount of food that gets on the floor is CRAZY at each meal. Like literally we could feed a small country with all the crumbs and discarded crackers and fruit and yogurt and applesauce and sandwich pieces. #toddlerprobs
xo – kb
My cabinets? Or a paint job? I guess I am not getting the question fully in my brain 🙂 Polyurethane can yellow but I think it also depends on the light exposure, air quality, etc. I didn’t use poly on our cabinetry – we used Benjamin Moore’s Advance paint. And yes – polycrylic is good for painted surfaces but not going to be as durable on a heavily used item. For cabinetry that is painted white – and not with a alkyd paint – I think the best bet for durability with no yellowing is a using an enamel paint – specifically an acrylic enamel waterborne finish. It would not require a poly. My recommendation for tables is go with a polyurethane because it is more durable and usually a kitchen table is the most heavily used area of the house. Or another approach if you are looking for a white table top – consider a white stain and then mix just the slightest amount of white stain into your poly and use it like a poly-stain. Hope this helps!
xo – kb
Do it! Don’t let it die! 🙂 SAVE THE FURNITURE!
xo – kb
Love!! We desperately need to do this to our kitchen island (it’s like a tall table). I hadn’t even consider the safety of the poly chipping. That bumps the project up a few tick marks on my list…
On a side note, where did you get the club chairs and storage ottomans in the background of the last picture? I am wanting to do the same thing in our living room
Thanks!
Love the table, but love the runner on the table more! Did you get the fabric at the store and make it, or purchase it already made?
The leather chairs are old from Ikea and the storage ottomans are from Target. They are both really inexpensive and held up fairly well to the boys!
xo – kb
I got it from Crate & Barrel a long time ago!
xo – kb
Oh so lovely! I love the light colors. They look stunning in your home! You’re inspiring me to make some necessary changes I my home. Thanks!
Love, love your chairs! I adore the distressing versus solid black. Can you share where you purchased them.
Thank you!
The table almost looks like pewter. I really like it, but I liked it before. Are you finding the metal chairs are scratching up your wood floors? If so they make small felt discs that stick to the feet of the chairs. The chairs seem to be very trendy and I wondered if they are comfortable. I’m sure they are great for little guys.
BEAUTIFUL job, Katie!! The table and bench are gorgeous! And how it coordinates with the stone in your fireplace is wonderful. I usually do not post comments, but how you are finding the right “feeling” for decorating your home and how great it is looking these days deserves a shout out for “Good job done!” 🙂
Thank you Anne! I feel like it’s a long time coming!
xo – kb
Nope it’s not the chairs or the table…it’s actually me scrubbing. I literally scrub that floor so much that I might have been a little vigorous 🙁 We actually have the felt on the table and bench and the chairs have rubber.
xo – kb
Sure – it’s Target! Here is the post about them.
xo – kb
You know how timely this is?! I’ve read your blog for awhile now but have the same exact table that I’m currently trying to use in my farmhouse style craft room/office makeover and it’s also been through hell and back (it was my college table so you can only imagine the things that have happened on it….wait,maybe you shouldn’t try to imagine that! Just forget I ever mentioned anything……) Anyways, the other day I was searching for ideas on how to refinish the top of it and came across your original table makeover. It was darker than what I was looking for BUT this transformation may be just what I need for mine!! It turned out so pretty!
Thanks!!
The club chairs are old from Ikea and the ottomans are from Target! You can click on the Shop Our House page to see more details!
xo – kb
Oh how I love your green basket against the pretty new table top! Thrifted find? Did you paint it green yourself?
So it’s a thrift store find and it was hand made pottery! I have this special spot in my heart for anything that is personal pottery – hand made and slightly imperfect! They made it green and glazed it and I didn’t do a thing except buy the fruit 🙂
xo – kb
Can you tell me where that light fixture is from? I’m sure you mentioned it in another post but I can’t find it! I’ve been searching high and low for something similar…
It’s from Ballard Designs 🙂
xo – kb
Before whitewashing, did the chalk paint with stain on top have the strong gray tone as it does with the whitewash?