Disclaimer – This post has been brought to you by Canon. All opinions are 100% my own.
Do you ever ask yourself….what is the perfect centerpiece?
Or maybe you say….how can I use this scrap wood?
Or perhaps it’s more along the lines of…..I wish I could have all the gold bars in the world!
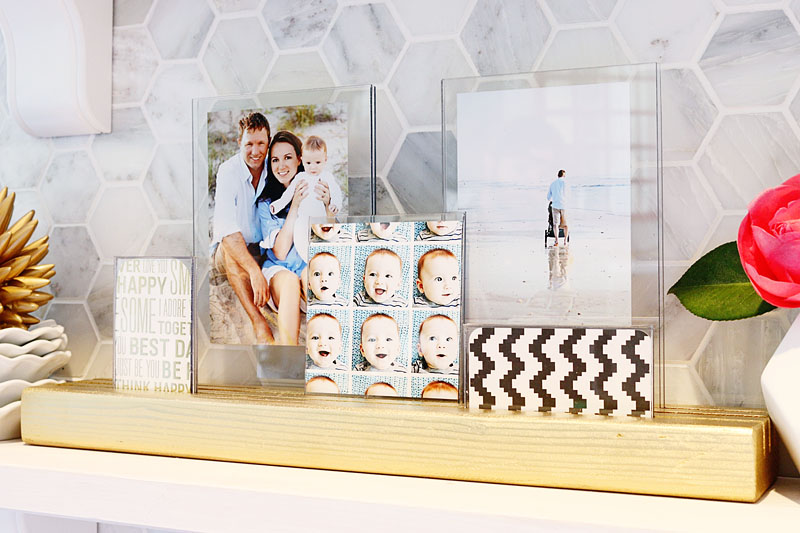
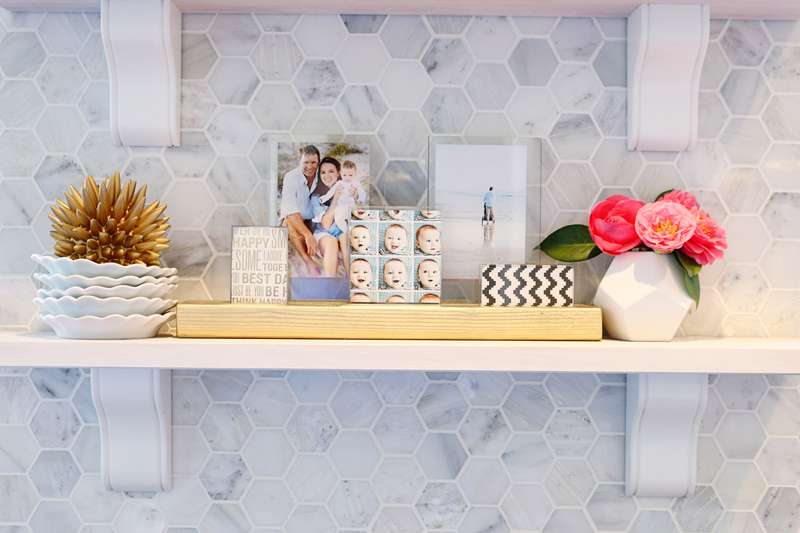
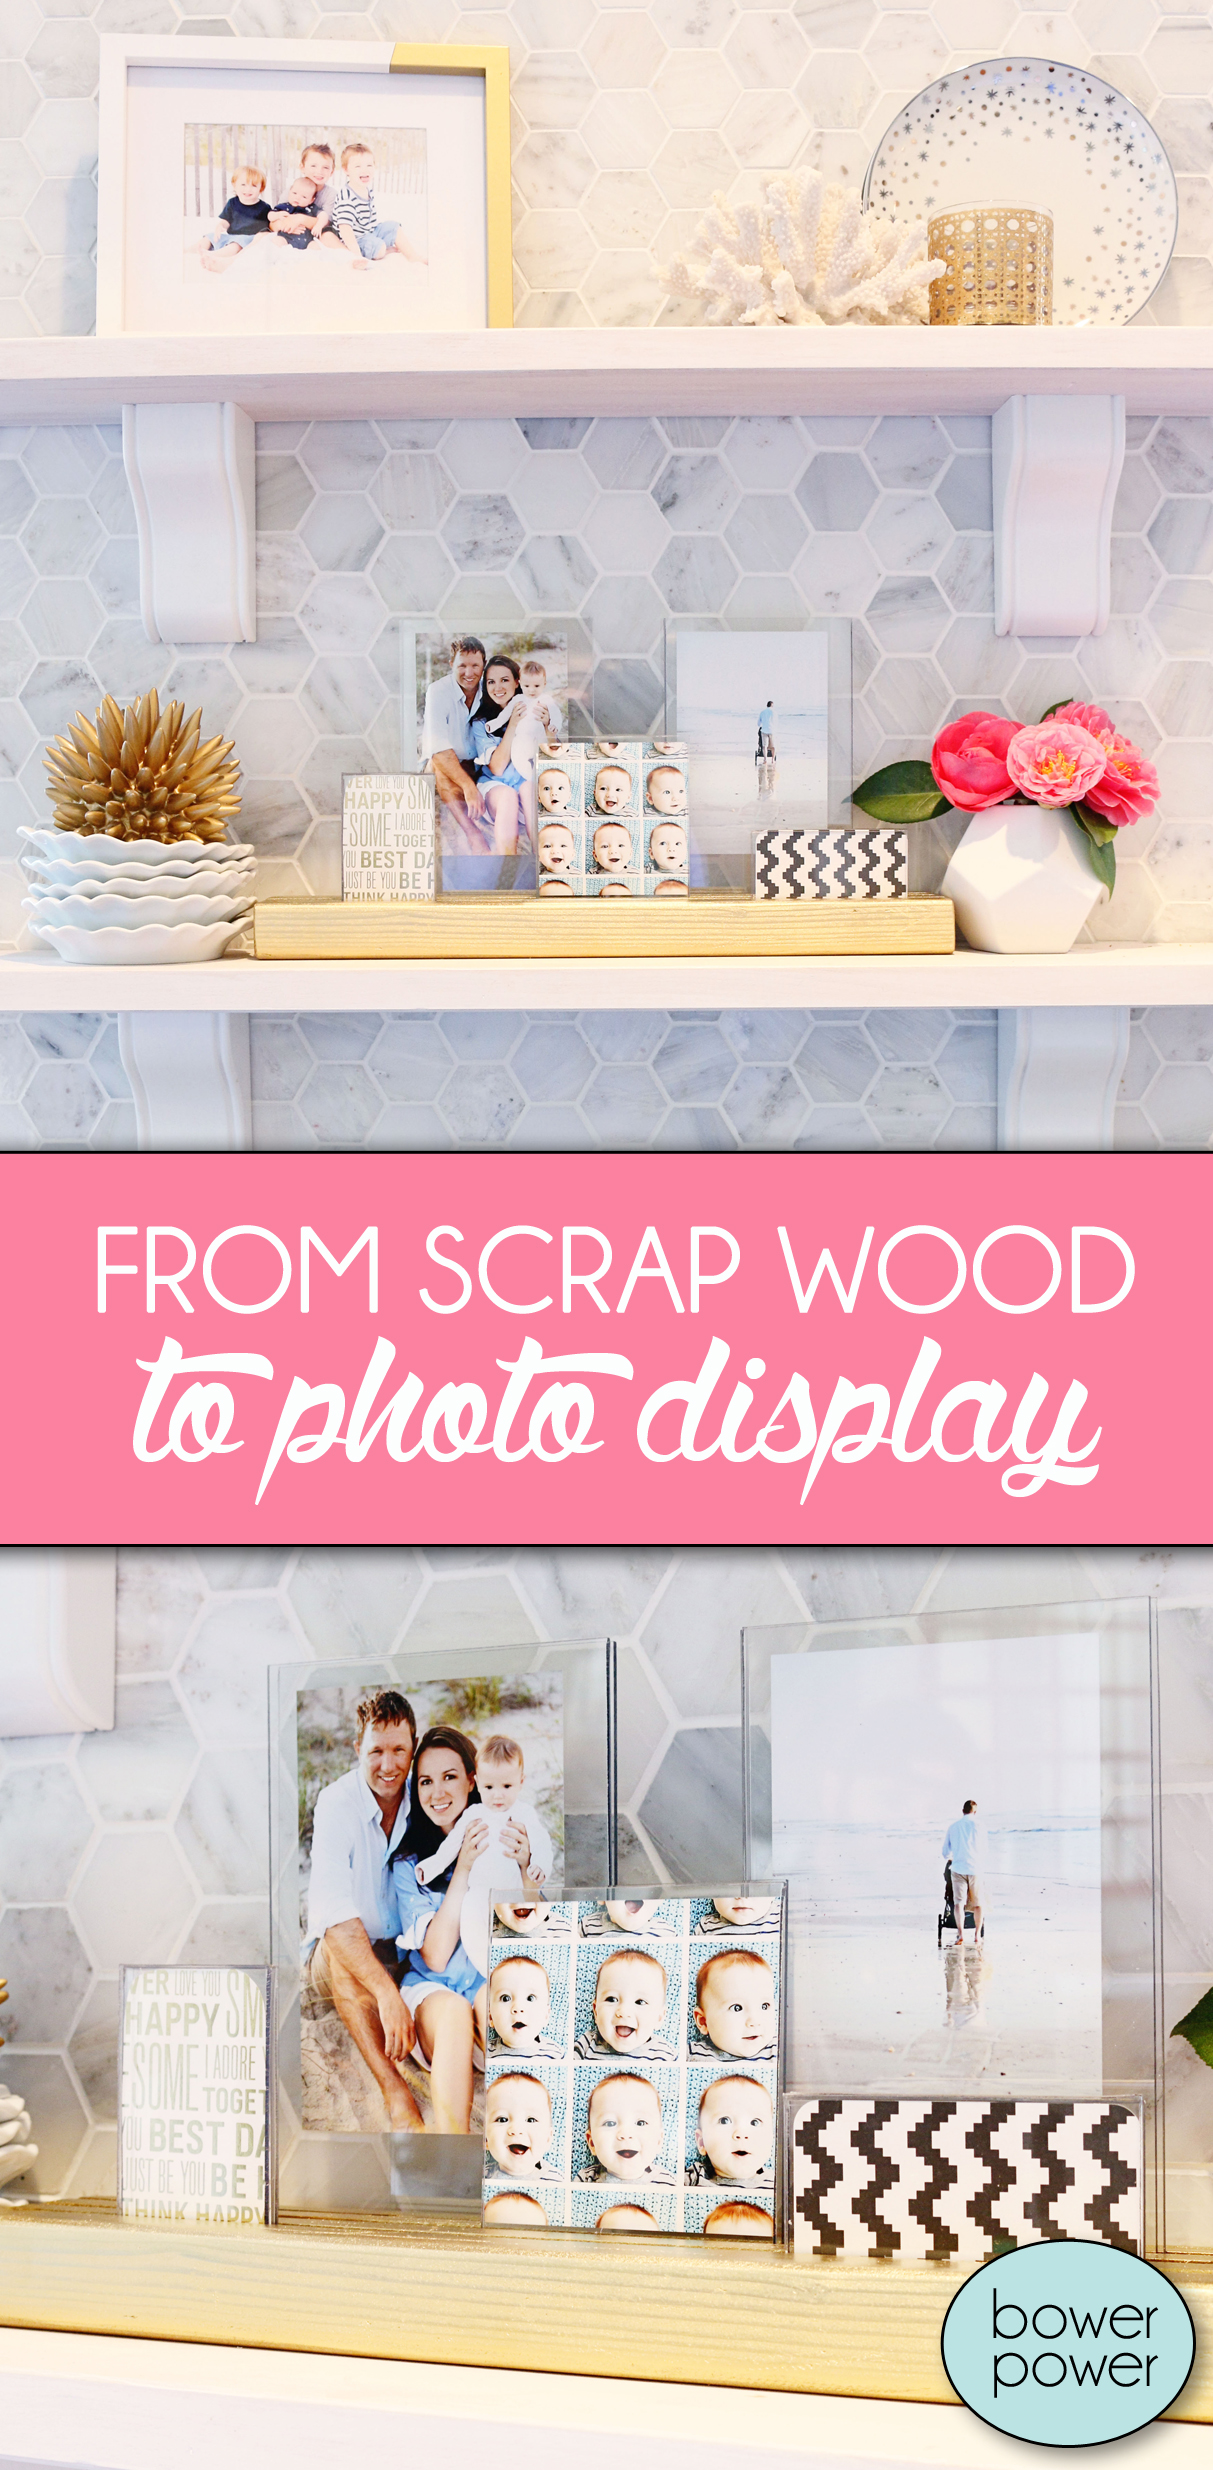
Well…your day is here my friends. The day that gold bars literally grow on trees. I made this adorable gold bar photo holder centerpiece and it is gonna be my favorite thing all year long! It’s a photographers dream because it displays tons of photos for very little real estate. Here’s the tutorial on how to make your own!
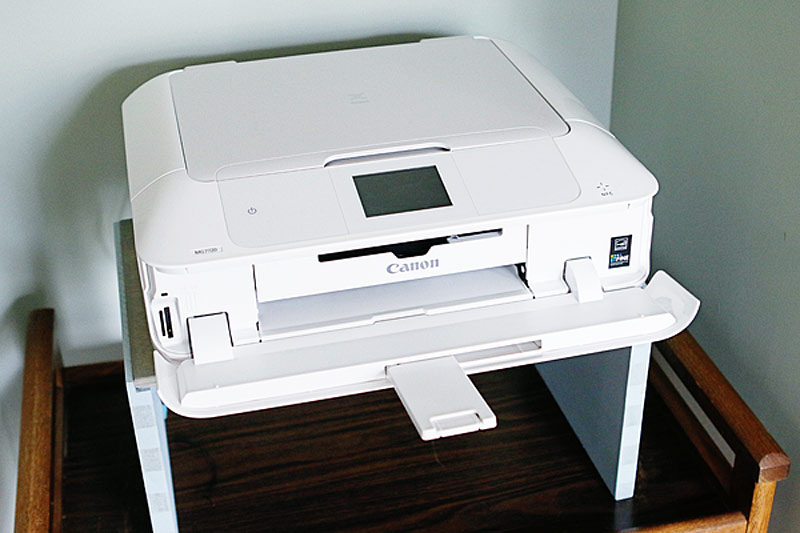
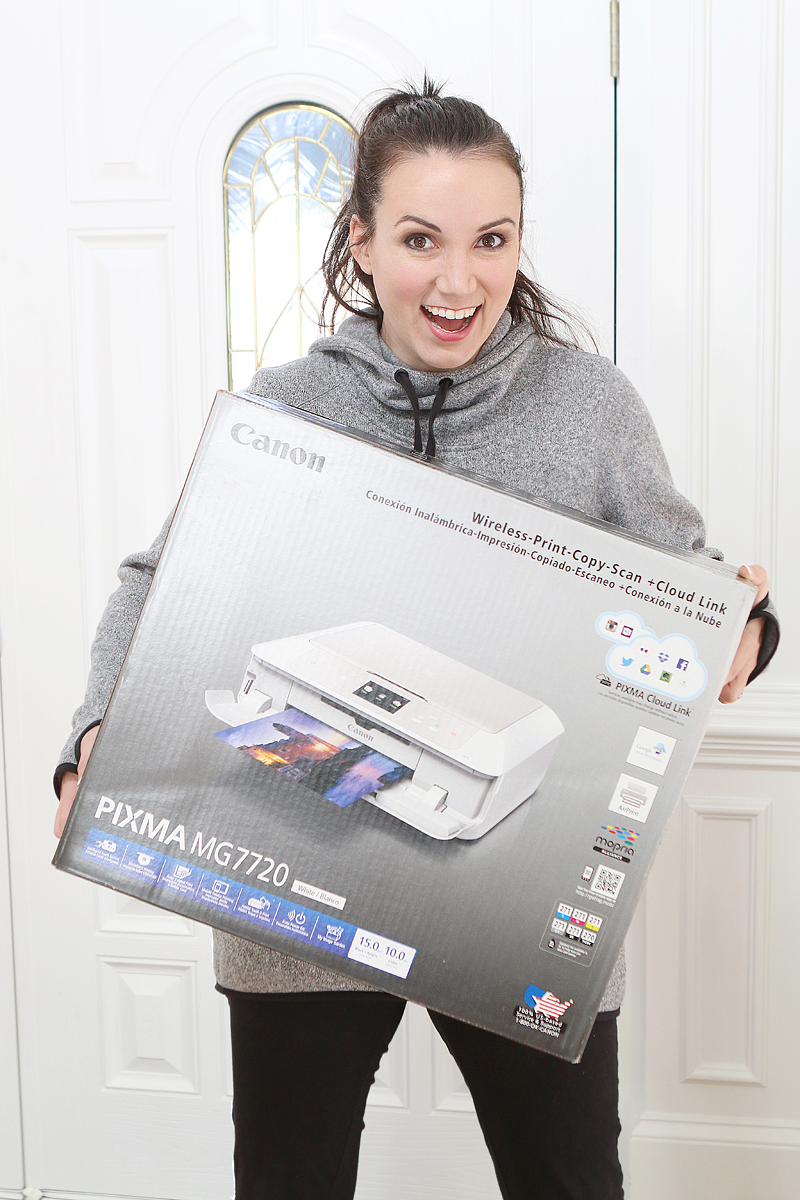
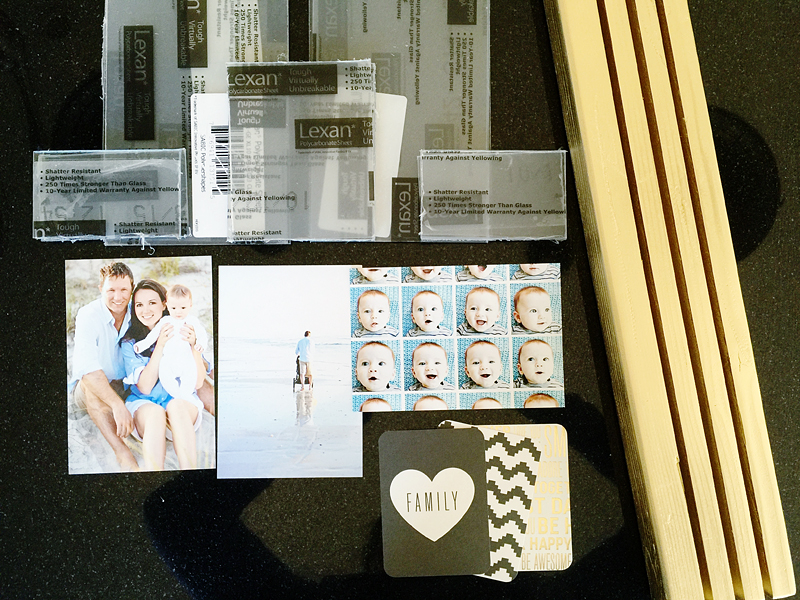
First – gather your supplies….make sure you print out your photos first so that you can plan out the perfect arrangement. I am the world’s biggest fan of Canon printers and I used my DIY workhorse printer – the PIXMA MG7720 (seriously, I have bought other brands in the past and this one is my favorite) to get some 4x6s.
Life is short people….take pictures with your printers 🙂
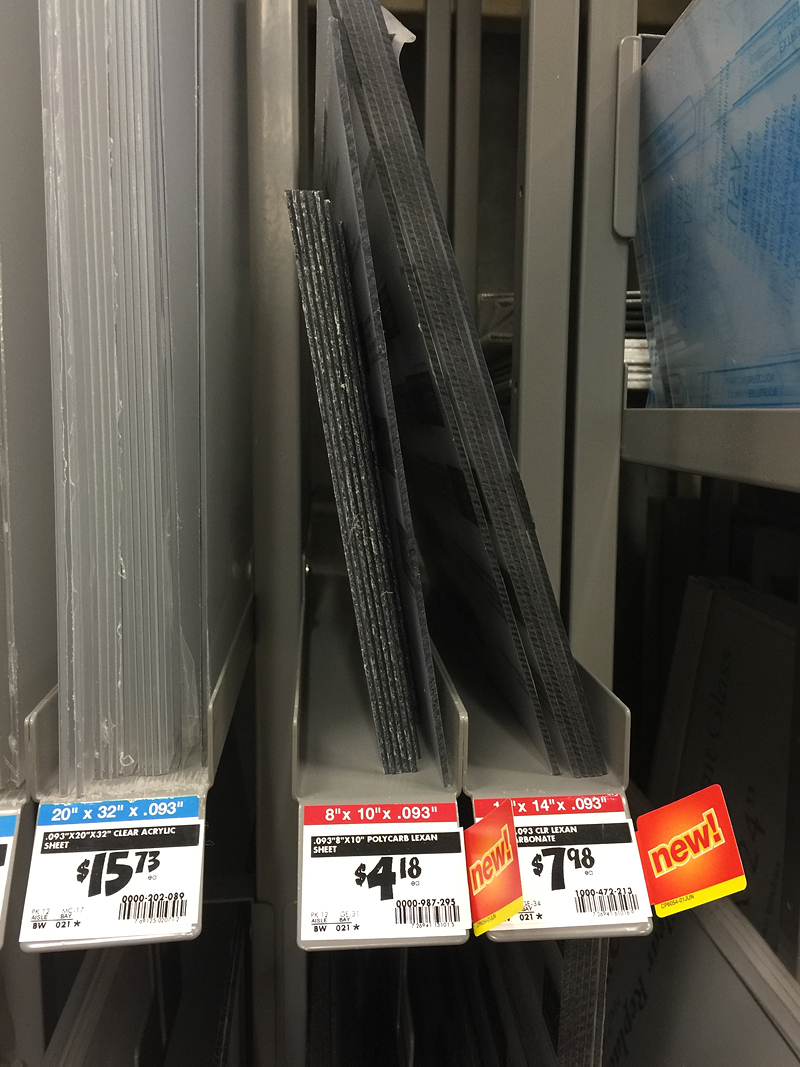
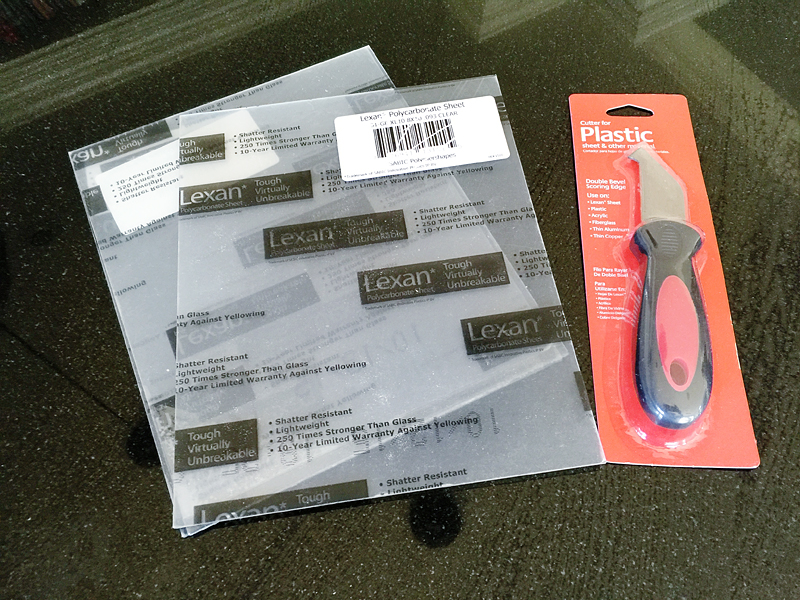
You will also need some plexiglass (acrylic sheets or polycarb)….this gives it that modern vibe and makes it unbreakable! HOLLA MAMA’s! You other mommies know exactly why plexi is our favorite thing ever…it’s virtually unbreakable. I bought three of the 8×10 sheets at Home Depot.
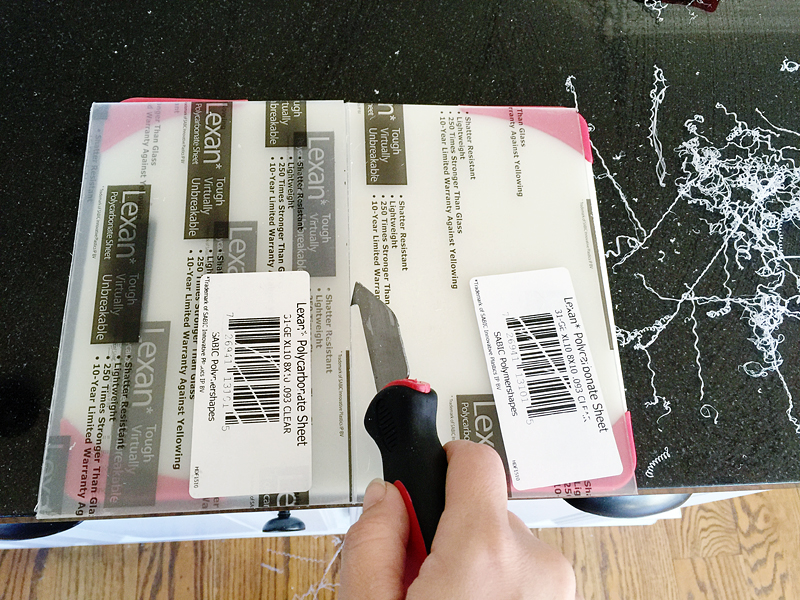
The sheets will have to be scored and cut to size. I used a plastic cutter to do this job.
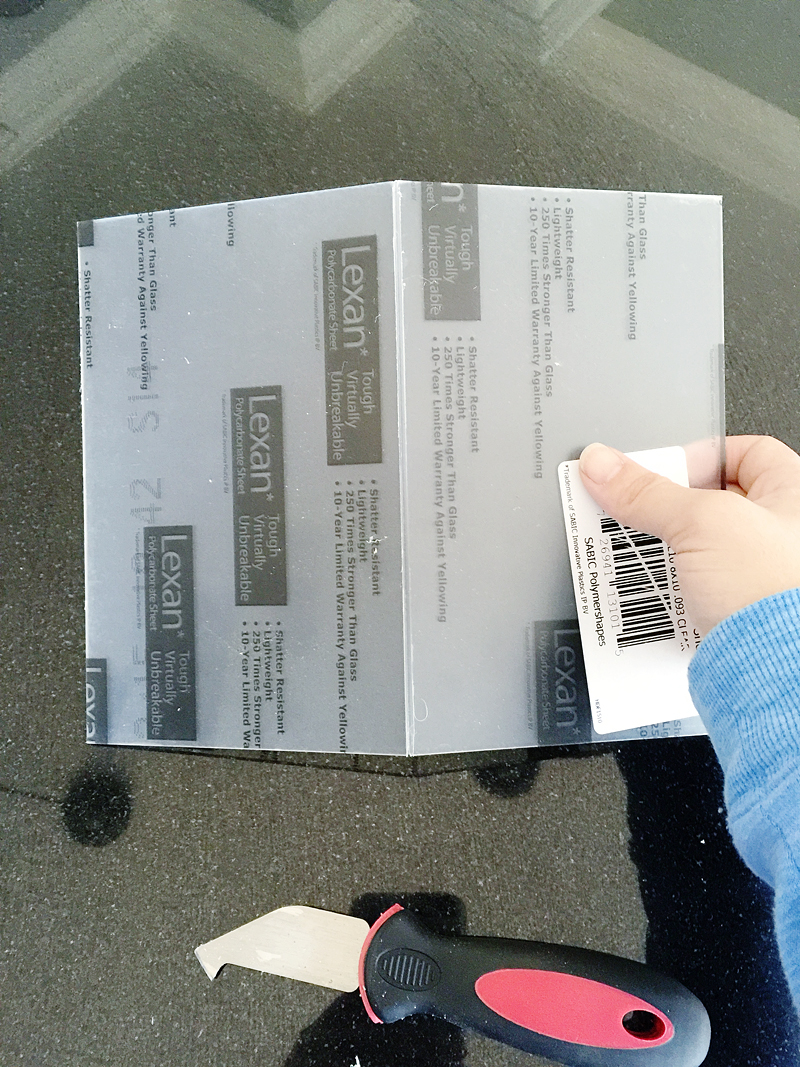
You will also need a straight edge. I used the edge of the other pieces of plexi and it worked just fine. The tip of the cutter will score the plexi over and over and over till you can snap it apart.
The snapping is terrifying by the way because your brain tells you that it is glass and will shatter and cut your hand to pieces but in actuality it is just plastic.
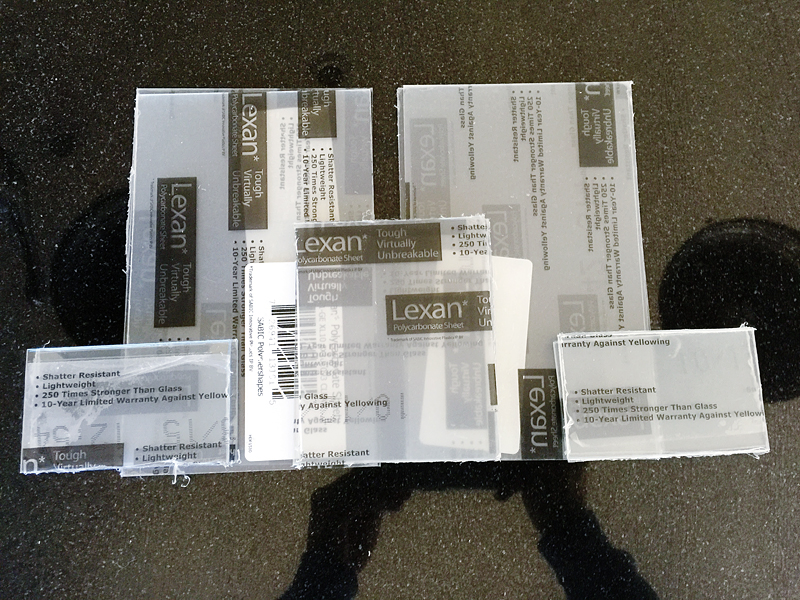
One of the 8×10’s you will want to cut into quarters. Then two of the quarters cut in half again. The other two 8×10’s you will cut in half. This will give you exactly the size plexi pieces I have shown below. Oh and those jagged edges are the plastic wrap that you peel off…not the edges.
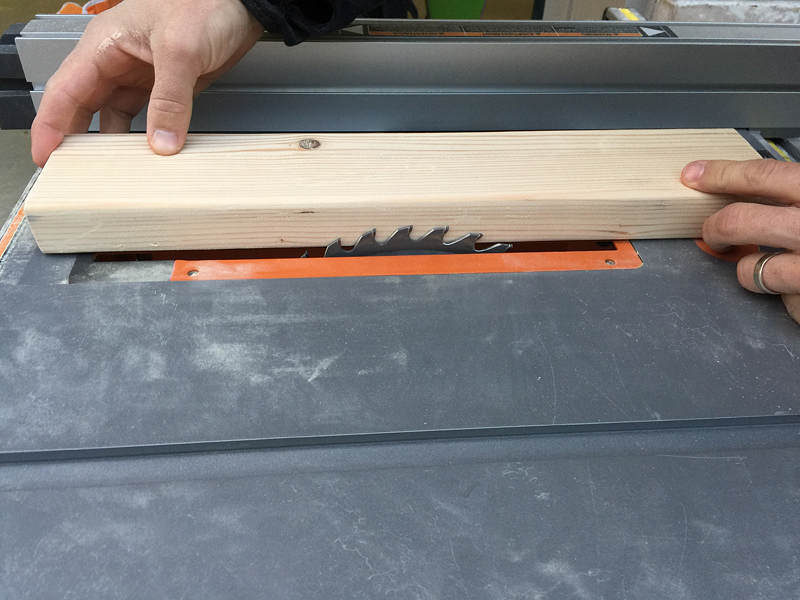
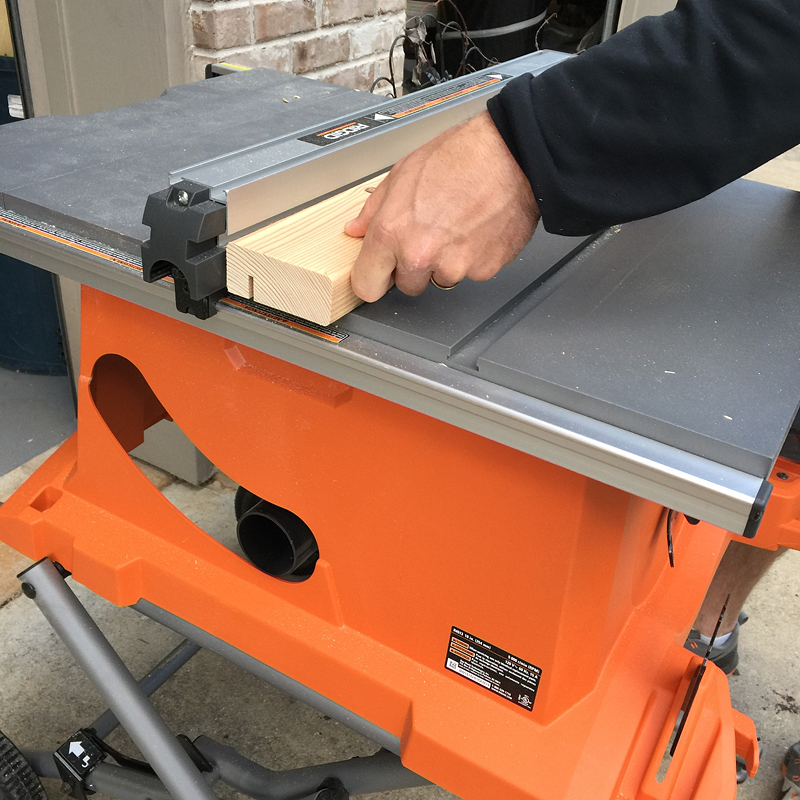
Then it is time to make your gold bar. I took an 18″ length of scrap 2×4 and had Jeremy cut three grooves in it on the table saw. The blade was set to cut about half way through the board.
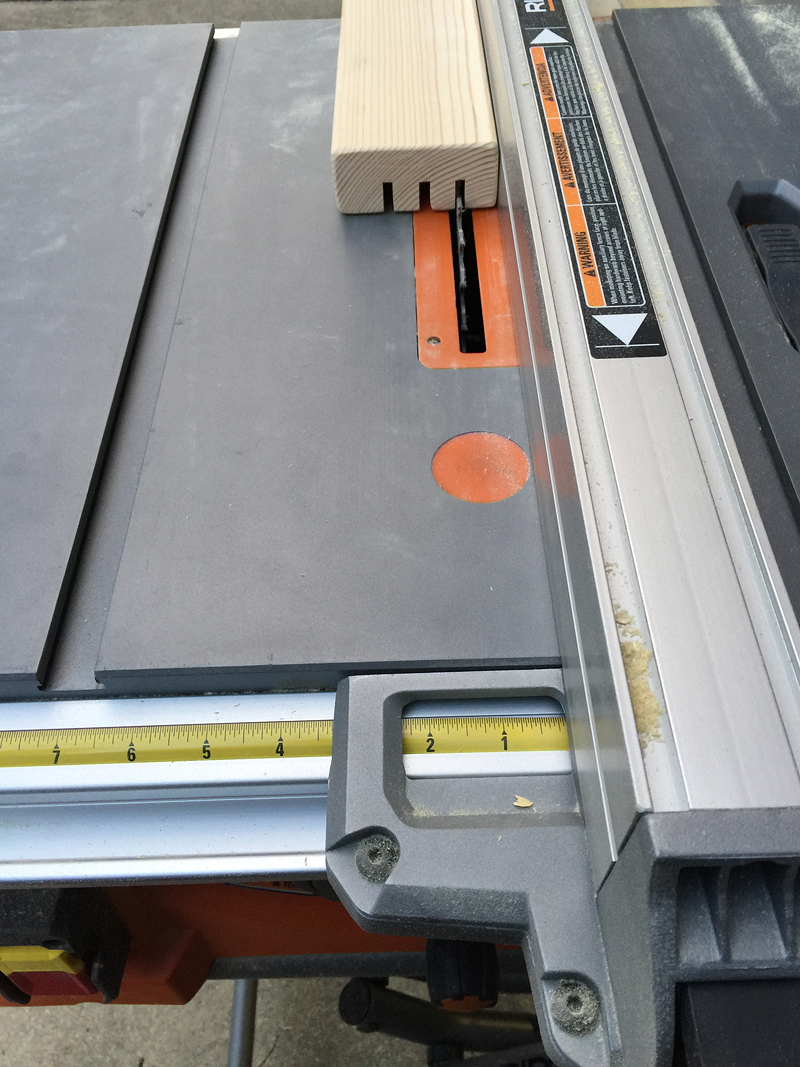
Then the first groove was cut 3/4″ from the edge.
The next pass was to make that groove two blade widths wide. It helps the plexi fit snuggly in and hold the photos inside.
The next groove was 3/4″ from the first…so on and so forth and safety first.
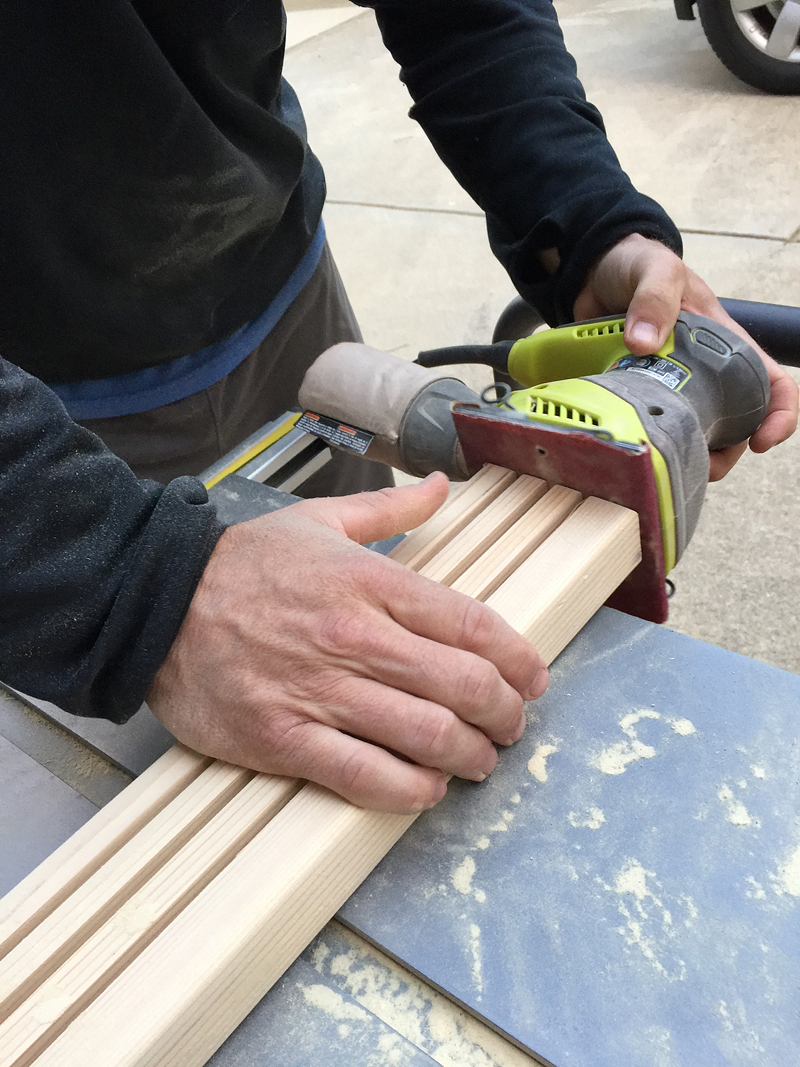
Then Jeremy sanded down the boards. Did I tell you that Jeremy lost a bet and now he has to do most of the sanding? It’s true. Best bet I ever made in my whole life. I still do a lot of the finishing sanding but all that low grit stuff? His domain.
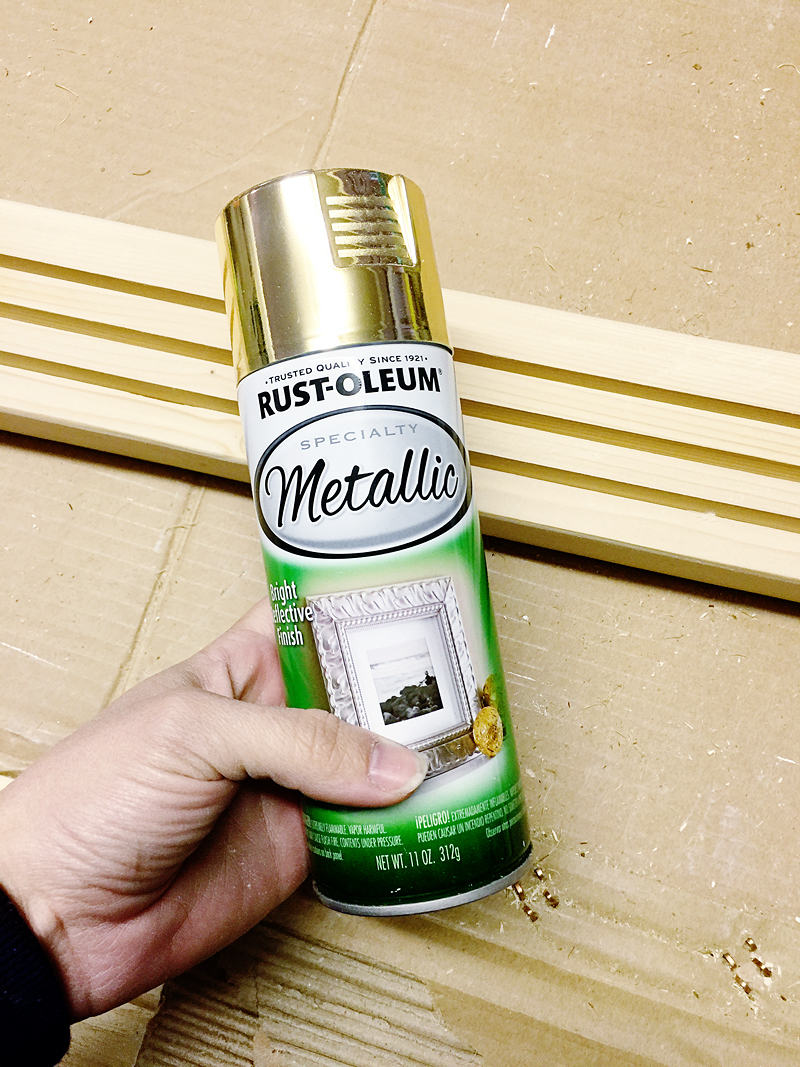
I used the Rust-Oleum gold spray paint and I am just SUCH A FAN. It looks amazing. And this is from someone who is a legitimate spray paint something every day kinda girl.
After about three coats and a little super fine sanding in between with one dried top coat, your gold bar is gonna look amazing.
Then gather your supplies. I gathered three pictures from my PIXMA MG7720 and a couple scrapbooking cards (or you can print out a fun design on your printer!), my gold bar and my plexi….and that is IT!
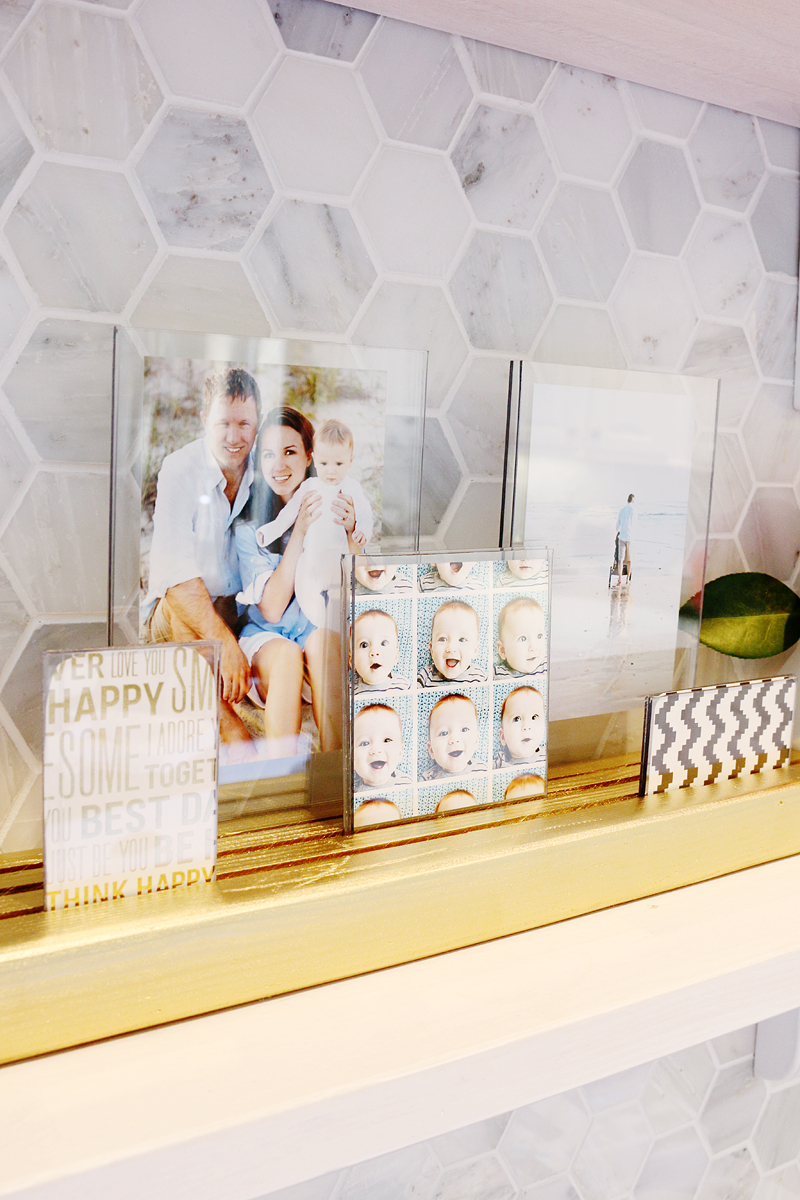
Slide everything into place by sandwiching the pictures in between the sheets of plexi and you are ready to go!
The absolute best part about this is that it is interchangeable and completely personalized. You can make one for your mantel for Christmas or change it out for every day! You can make it as a two-sided centerpiece for weddings! It’s low! It’s beautiful! It’s personal! Then you can give them to your loved ones as mementos or gifts!
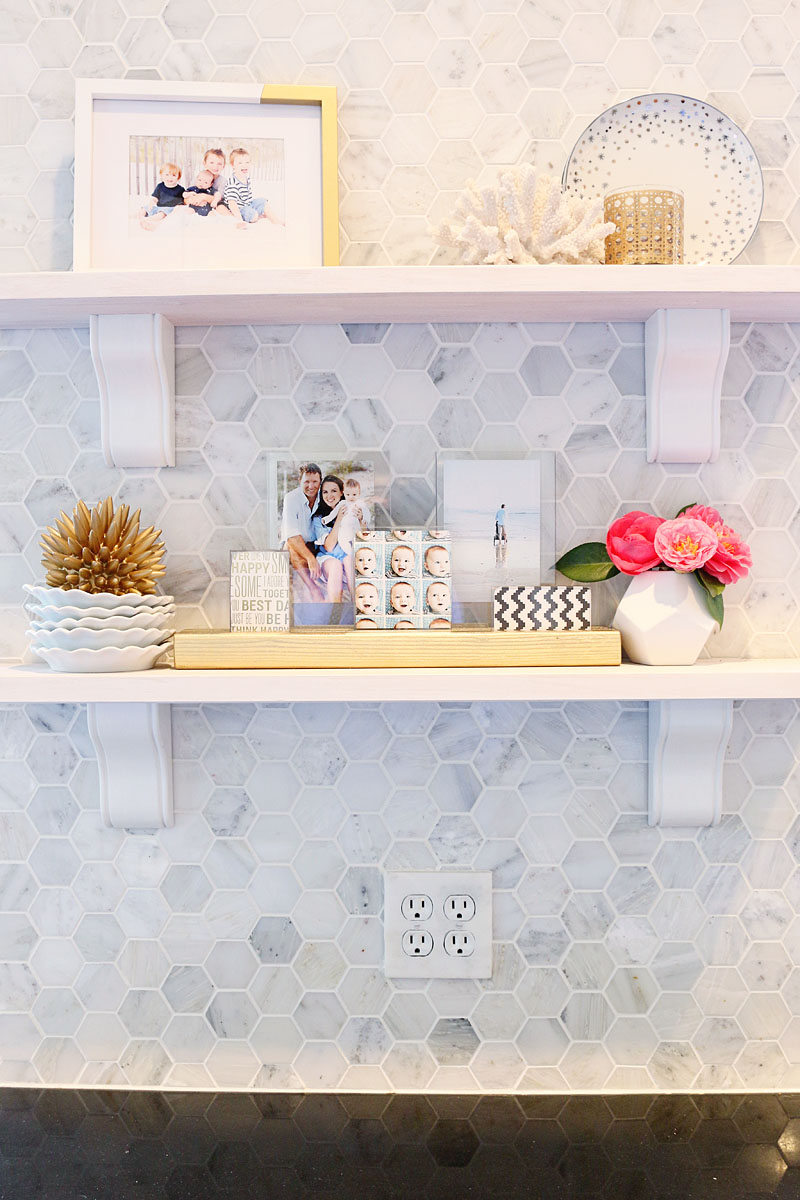
I currently have mine on my kitchen shelves and it is PERFECT because nothing can splatter on the pictures that can’t be easily cleaned and if the boys do knock it over somehow (both the coral and urchin seen below have been broken and glued back together!) then I know it will survive the fall and no shattered glass to worry about!
I think it’s the perfect way for us to really get the most out of little real estate too. That shelf below isn’t that big but I have lots of options for different photos – much better than trying to cram five different frames on that shelf!
Now go make your own gold photo bar and I really REALLY want you to share them with me if you do! Just tag me @bowerpowerblog and I will come celebrate your DIY masterpiece with you 🙂 And don’t forget to pin these to your boards for wedding/party/holiday table ideas!
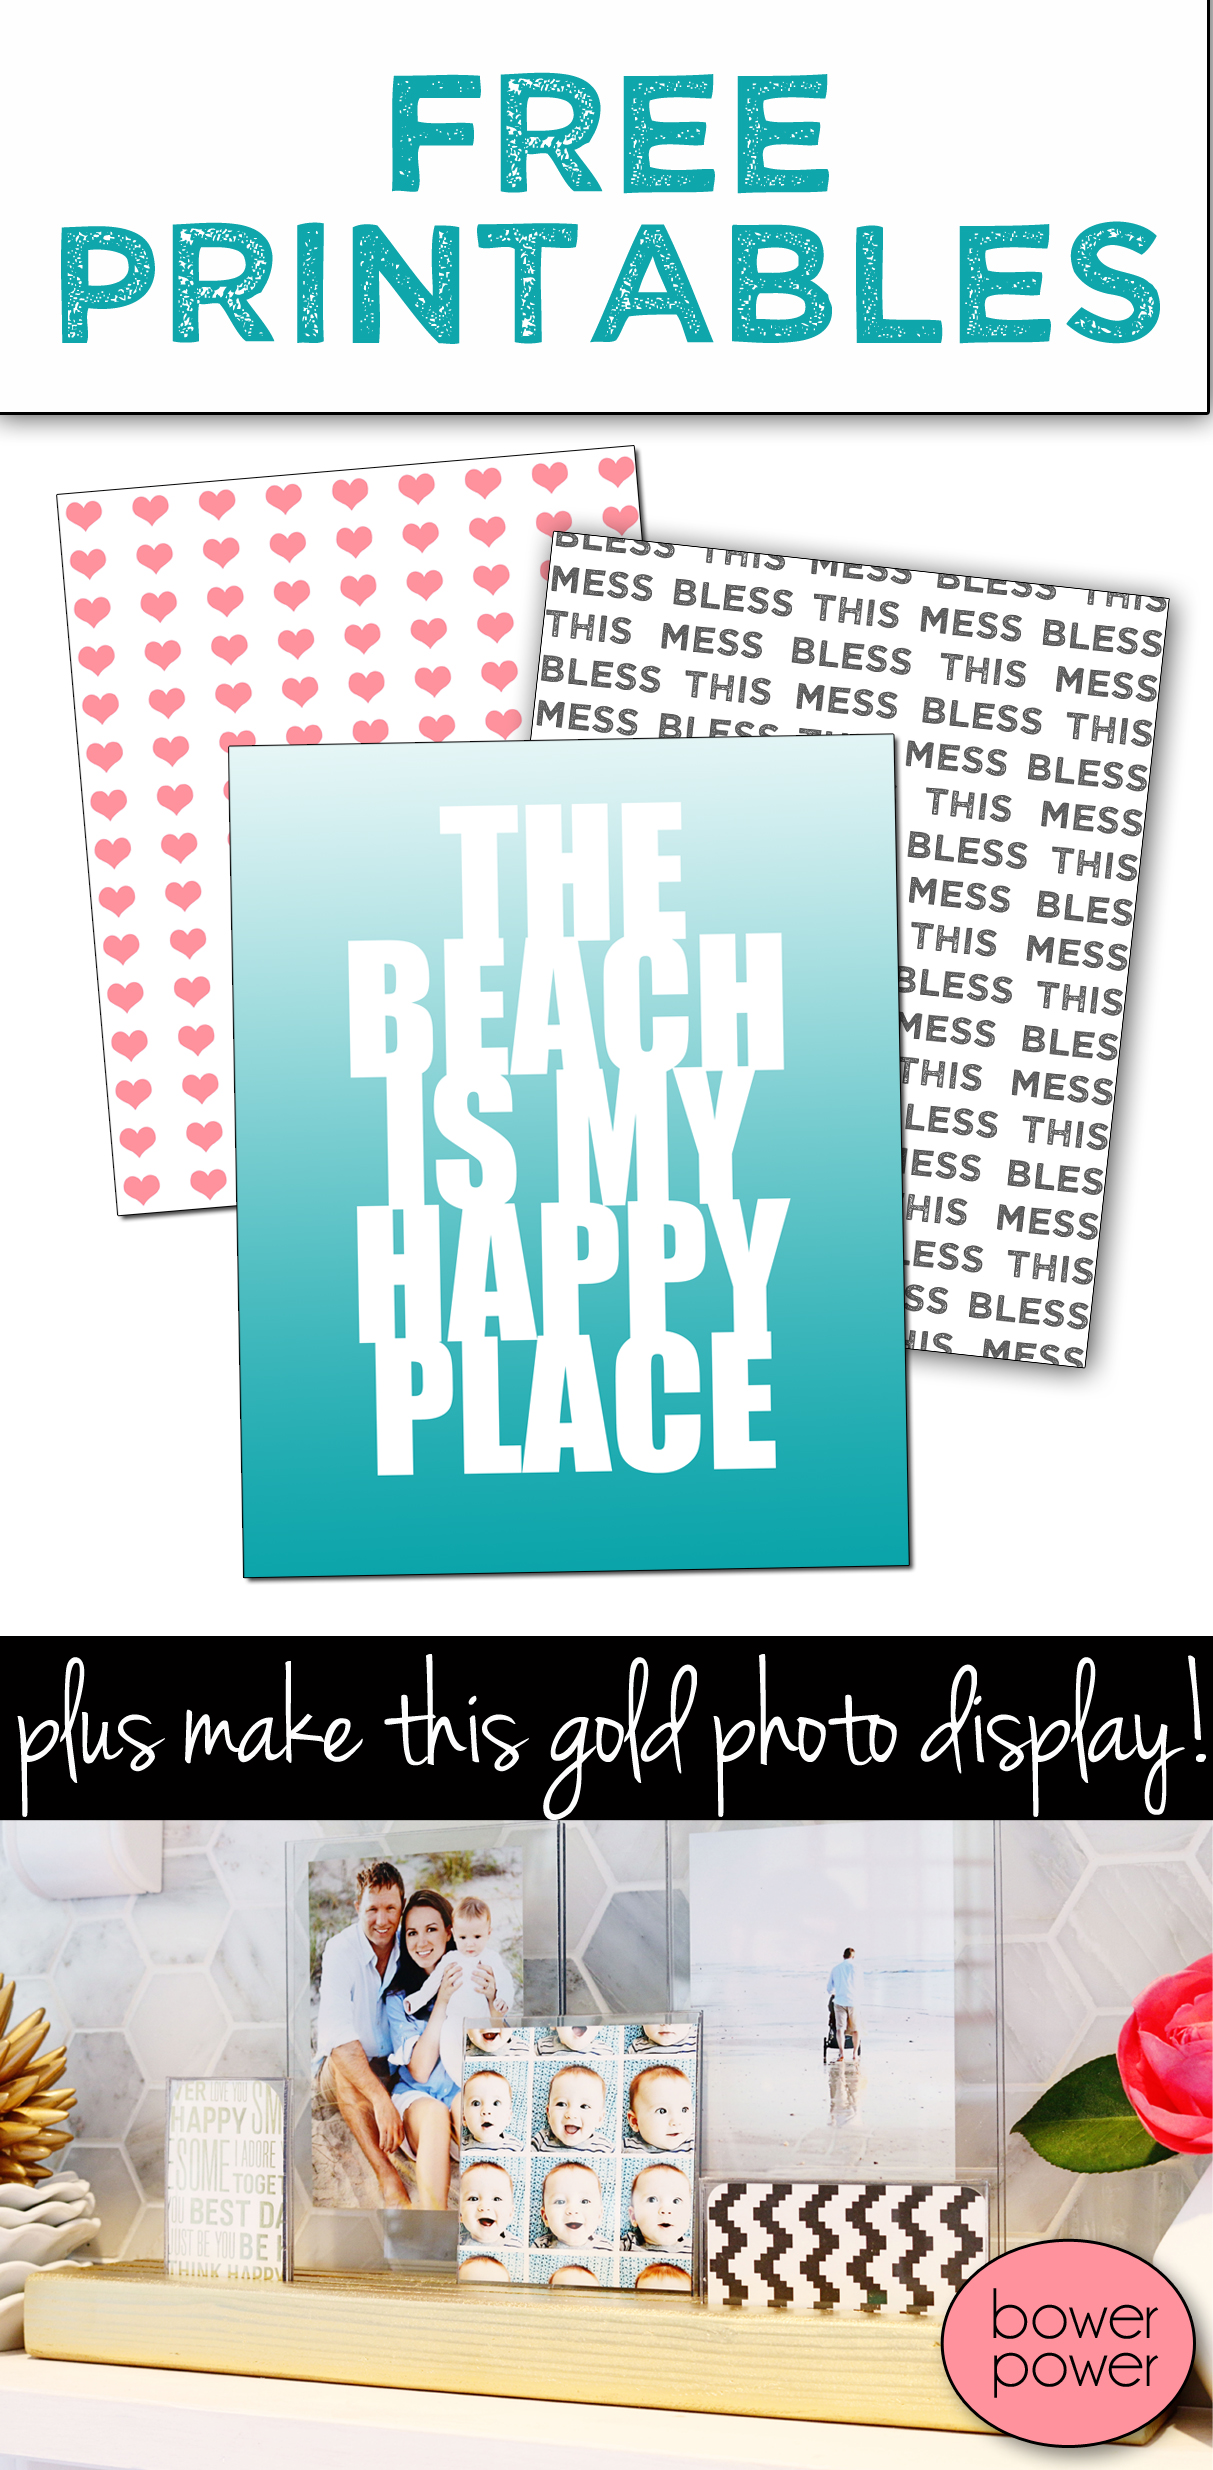
p.s. I made a couple printable pattern sheets for you in case you want to print a little 4×6 instead of using scrapbook paper. Click the patterns below to download! Have fun!




This is so cute! I love the way it turned out!
Awww this is so cute! Definitely trying it out in my dorm! Thanks!
Rabecca/ http://www.midnightburnout.com/
So simple yet so brilliant! Can’t wait to do this 🙂 🙂
So cute! I may need to have my dad make this (he has all the saws… and extra wood). And I didn’t realize plexiglass was so cheap. I have a few frames that need new “glass” and don’t want anything else that could break (again!). Thanks for the tutorial! 🙂
This looks great! I had no idea that you could buy plexiglass and cut it to fit whatever you need! Good to know for those frames I have that are missing a piece of glass!
Evelina @ Fortunate House
Oh my goodness, what an adorable idea. I absolutely love the plexiglass “frames” – it’s such a modern look but it’s not breakable AND it’s affordable. Win-win-win! Great job.
Very cute! Definitely a great use of scrapwood. Anything gold is also a win in my book! It’s nice that it could be painted different colors, though!
Yes it is super helpful for any thing that needs a new pane!
xo – kb
Oh my. I seriously read “I wish I could have all the gold BRAS in the world!” I was like, “OH, fancy!!!” Hahahaaha!!!
Any thoughts on turning this into a charging station for the many devices we seem to have accumulated? 3 cell phones, ipod, 2 kindles, 2 Fitbits, and laptop?
Well I do wish that too 🙂
xo – kb
You absolutely could!
xo – kb