Catchy title, huh?
Yeah. Well, I am a big believer in the fact that ANYONE can DIY….I truly could not build a bigger soapbox to preach that message. You can DIY. A child can DIY. DIY has no age limits, no gender preference, no mandatory requirements except one – the thing called ‘willingness’. You have to be willing to learn. You have to be willing to pick up a paint brush….even if the first time you paint a wall it incurs a response like this….
You have to be willing to touch tools….even if your reaction to the power looks like this…
You have to be willing to try. Even if you fail. Kinda like we did. We admit it. We tried our hand at concrete and the first time was a big giant fail. It was not pretty. But we learned what NOT to do….and like the great Tommy said (we are on a first name basis)…. “I have not failed. I’ve just found 10,000 ways that won’t work.” Oh that Thomas Edison was an epic DIYer. His Pinterest following would have been huge. That lightbulb of his would have had 1.3 billion repins.
But anyhoo….I hope this post is encouraging to you. Everyone fails. And sometimes you can get a beautiful result, save loads of money and have the sense of pride of ownership if you make something with your own hands. Here is the story of our concrete counters.
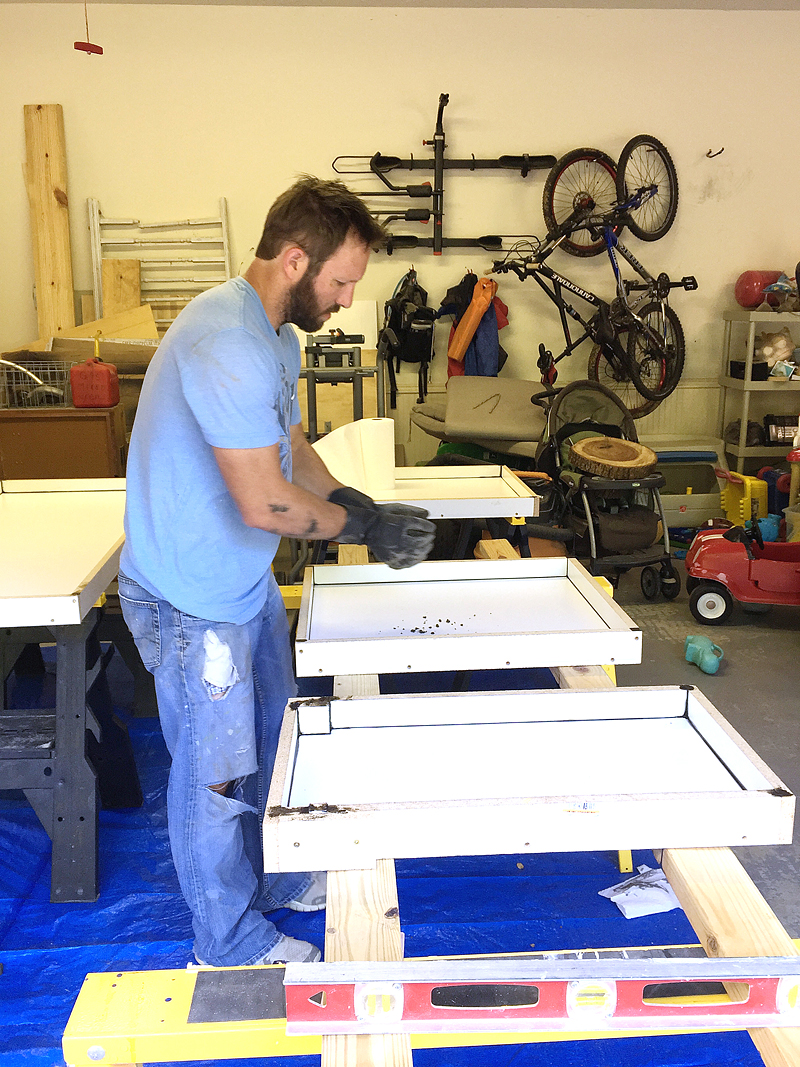
We built our concrete countertop forms and we were ready to rock the counters! We bought all our materials and got ready for concrete pouring when Quikrete reached out to us and offered to provide their countertop mix for us to try. Of course, we jumped at the chance (in full disclosure, we already did buy the regular concrete mix and fully love the results because we watched our friend and concrete master Scott do his clients counters with regular concrete so we know they are awesome. This is just a different product Quickrete makes and we did not get paid to post any positive review or even talk about it so consider yourself disclosed!)
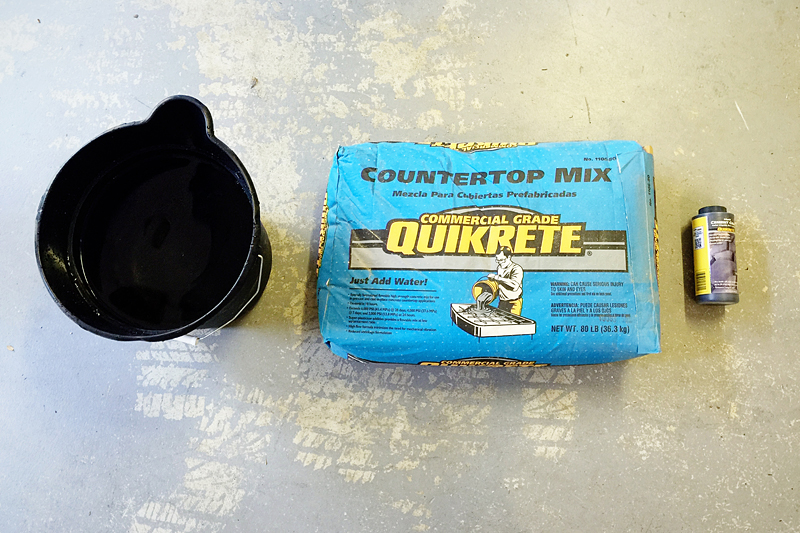
So basically after your forms are made, we attempted to mix the concrete. First you need water, your mix and any colorant.
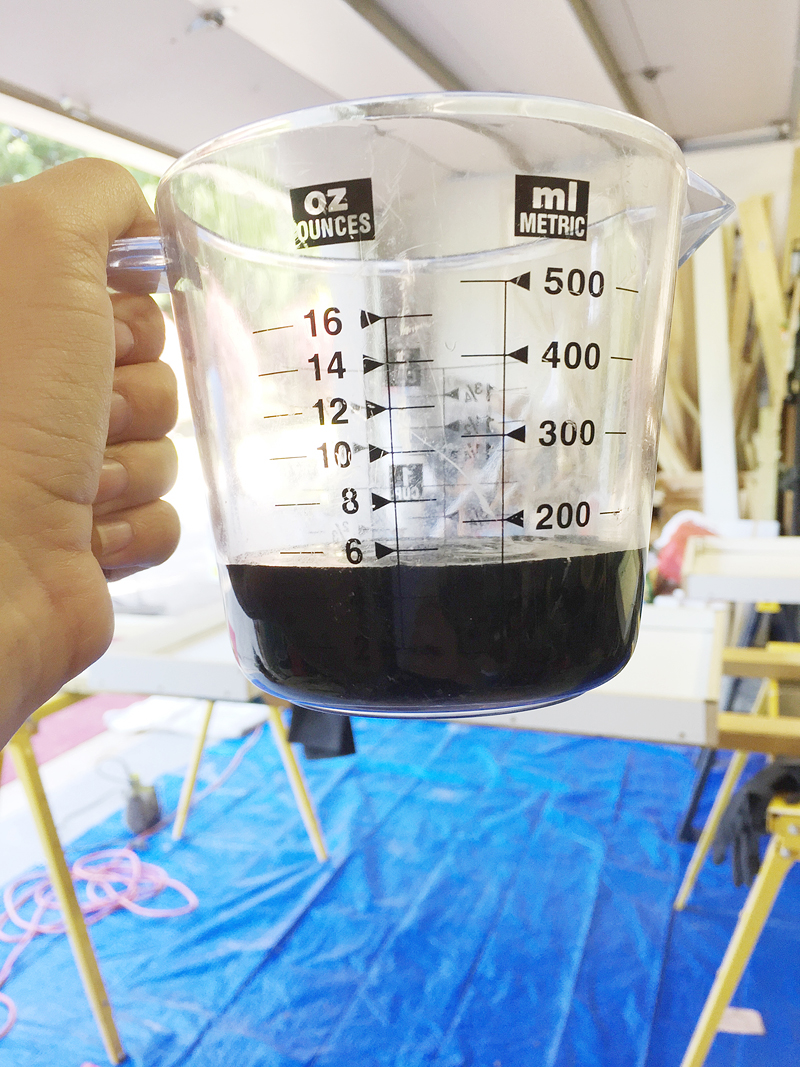
We wanted ours to be darker than a regular ole driveway color so we added half of what the colorant instructions said to add.
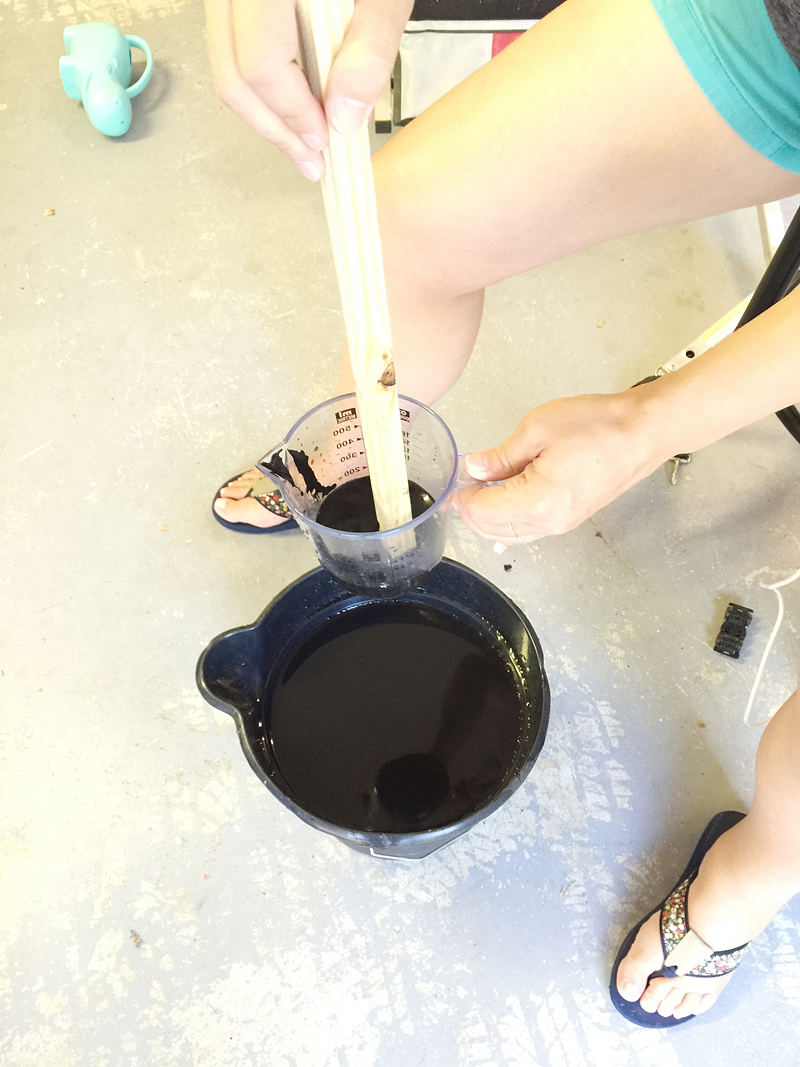
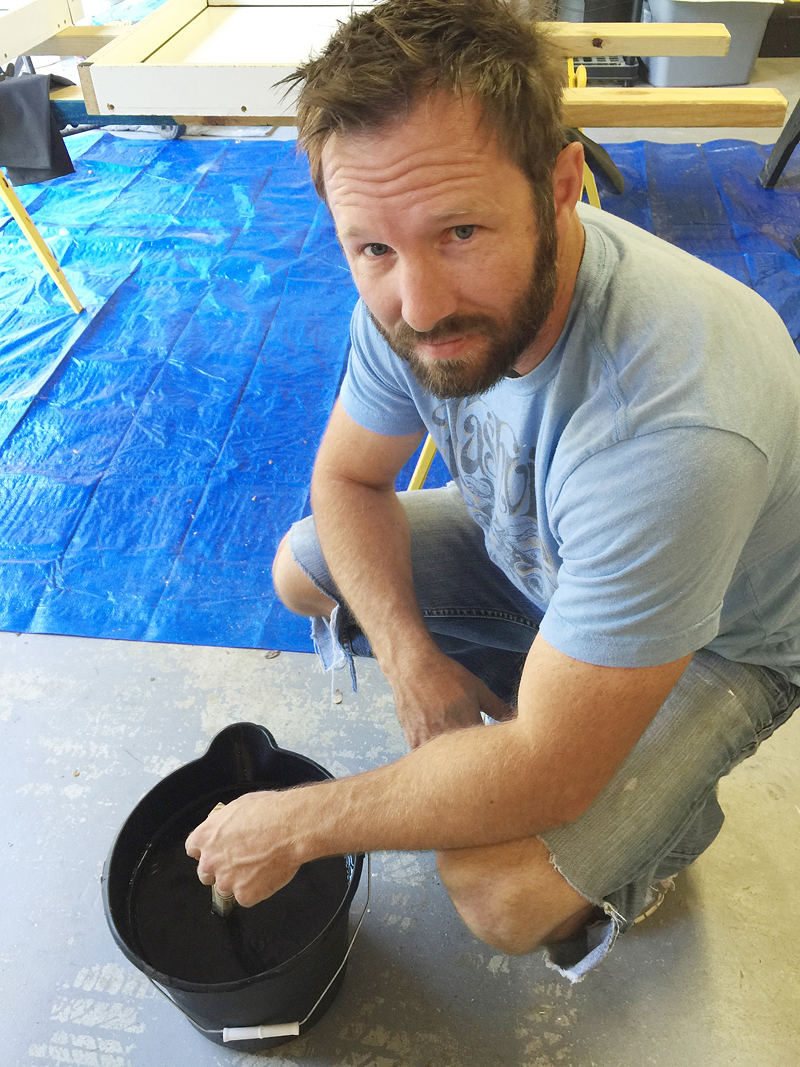
You need to measure it out in a cup and then mix with water….
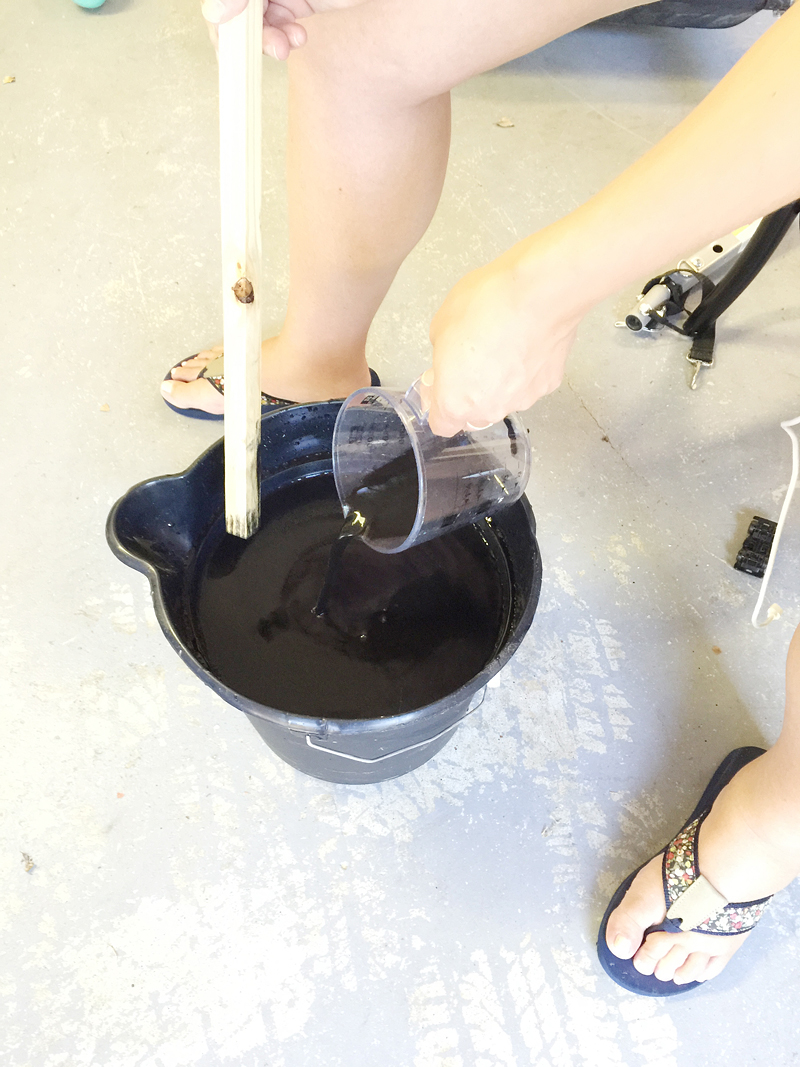
Then slowly pour it into your water and continue mixing.
We wanted to make sure we did this correctly (funny now looking back) so we stirred till we knew for sure that the color was fully dispersed with the water.
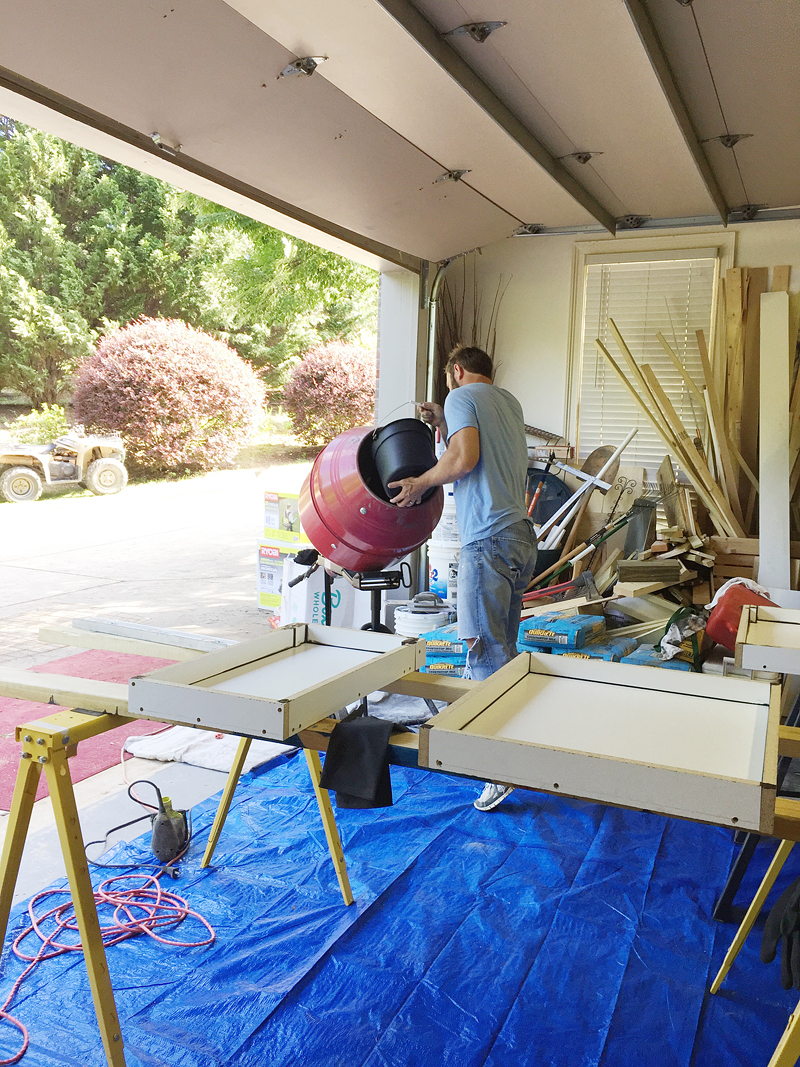
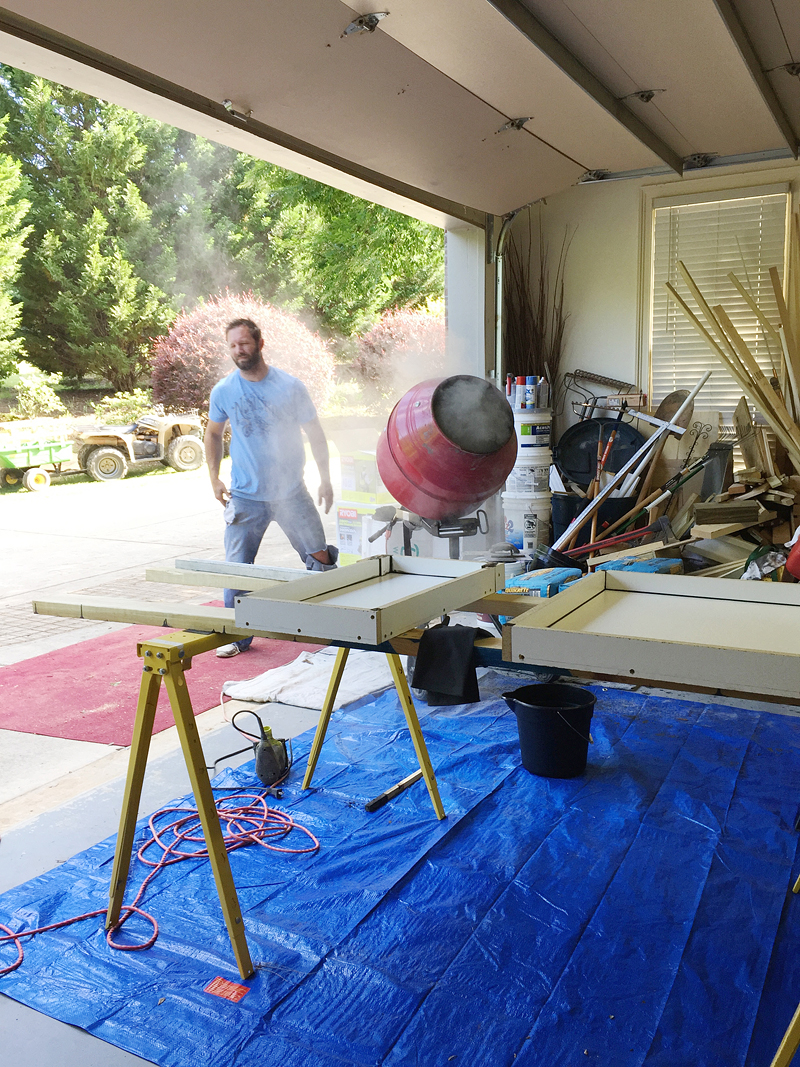
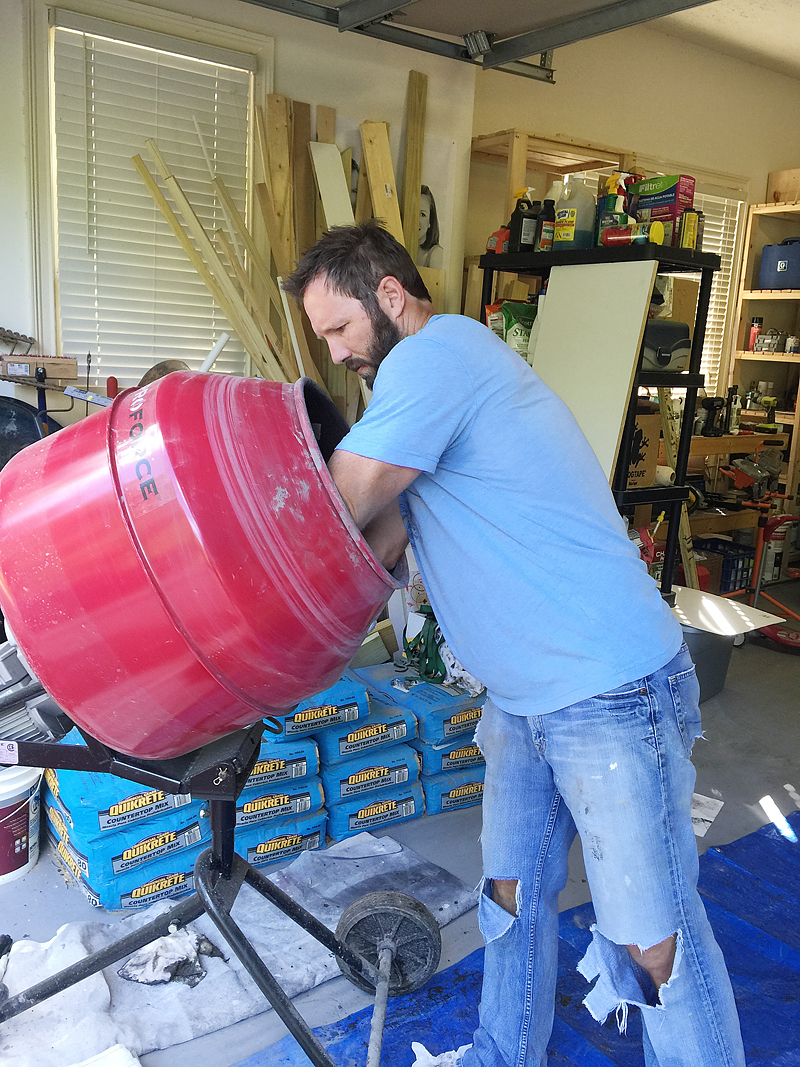
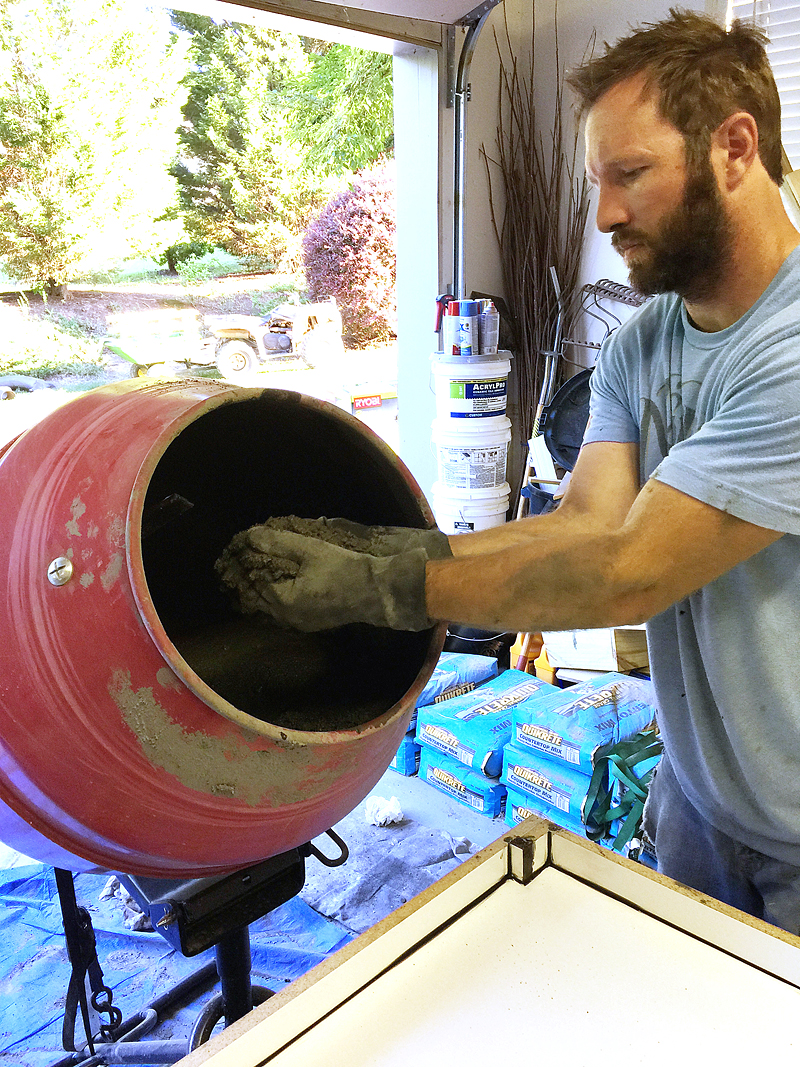
Then you add the water/color into the concrete mix. We borrowed Scott’s mixer for this but it really is not absolutely necessary. Please don’t look at our messy garage 🙂
Make sure to tease your boyfriend if he gets caught in a dust storm 🙂
Okay so this is where we made a mistake. Instead of going by what Scott told us….or what our gut said….we followed the instructions on the bag. We mixed it EXACTLY how the ratio said on the bag. EEHHHH. WRONG. That was a buzzer sound by the way….just in case you are reading this out loud.
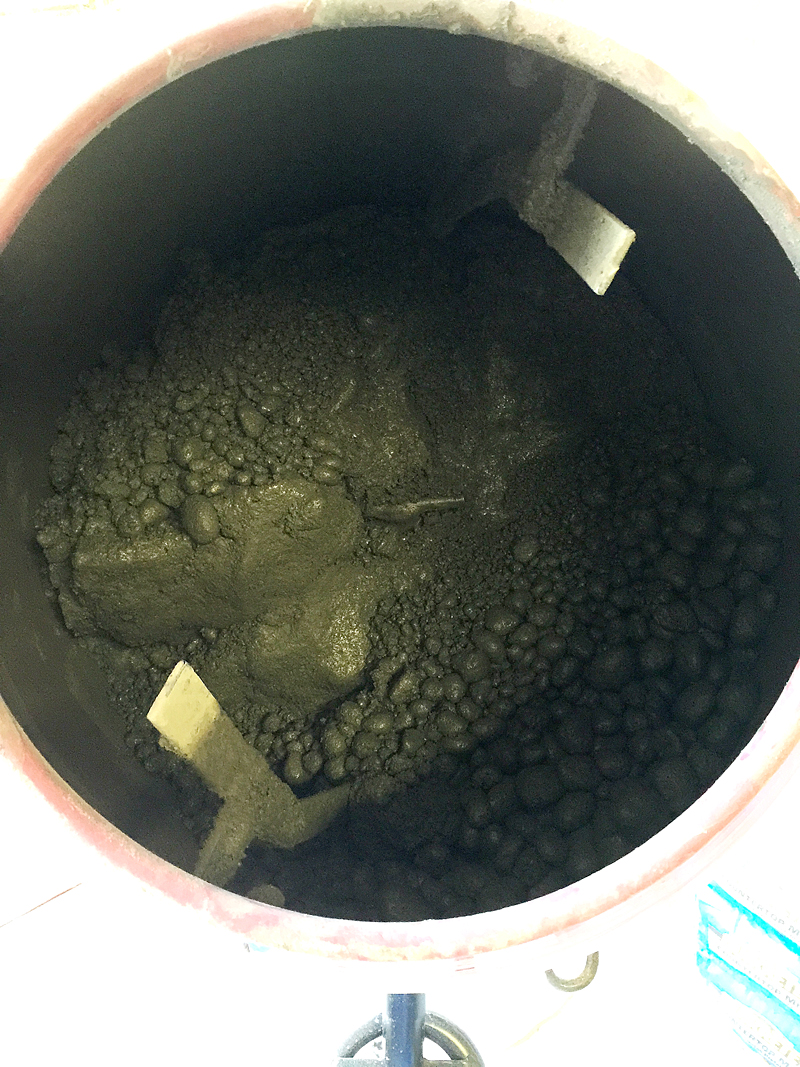
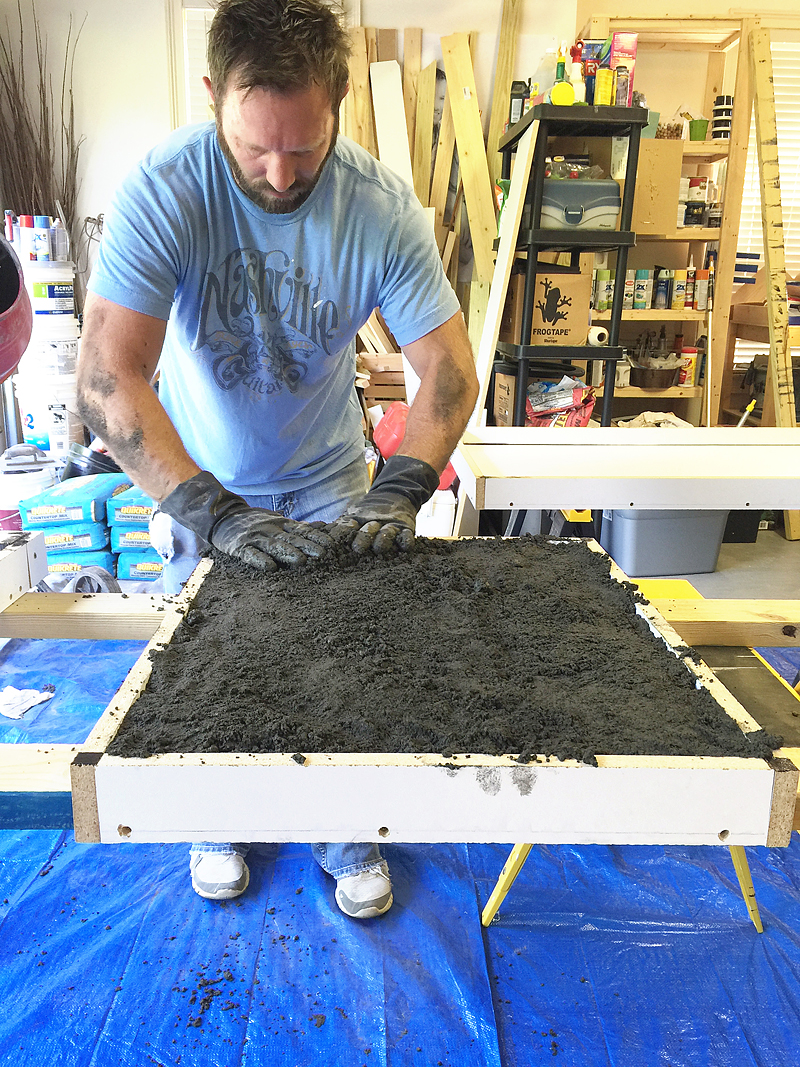
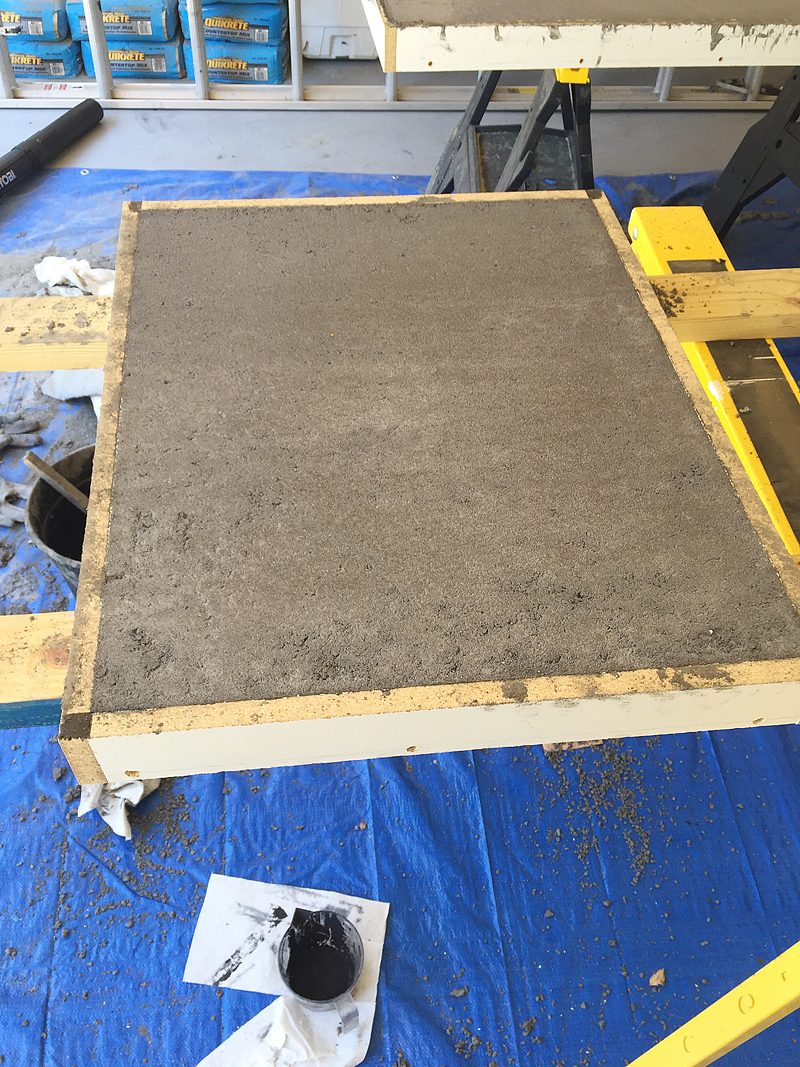
I think we got hung up because we knew what the consistency should be with regular concrete but we questioned whether this type of concrete (since it is countertop mix) would be different. So it was VERY dry.
Jeremy would scoop it out by hand and plop it into the first form and press it into the corners and all that but it didn’t have any ‘resting spread’.
You can see here how it was VERY dry….
After that, you take a vibrating sander on the sides and edges to get bubbles out….but ours didn’t have bubbles….and so we used a board as a screed and removed the excess (more on that later)….
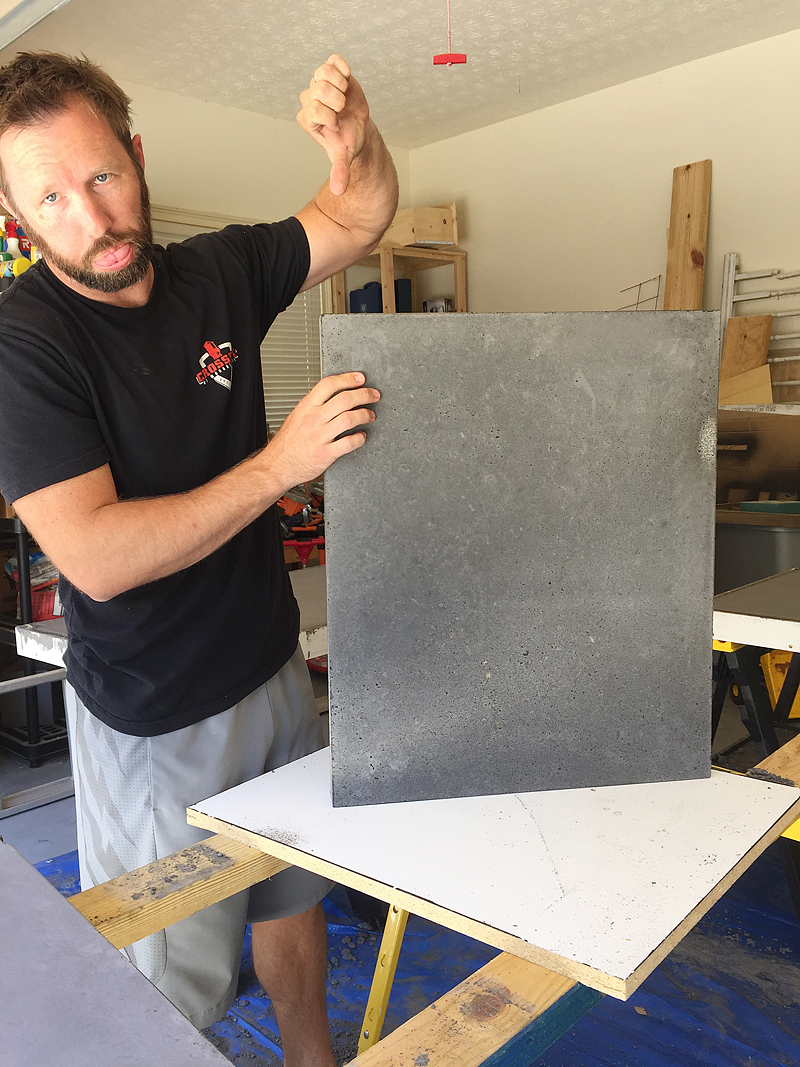
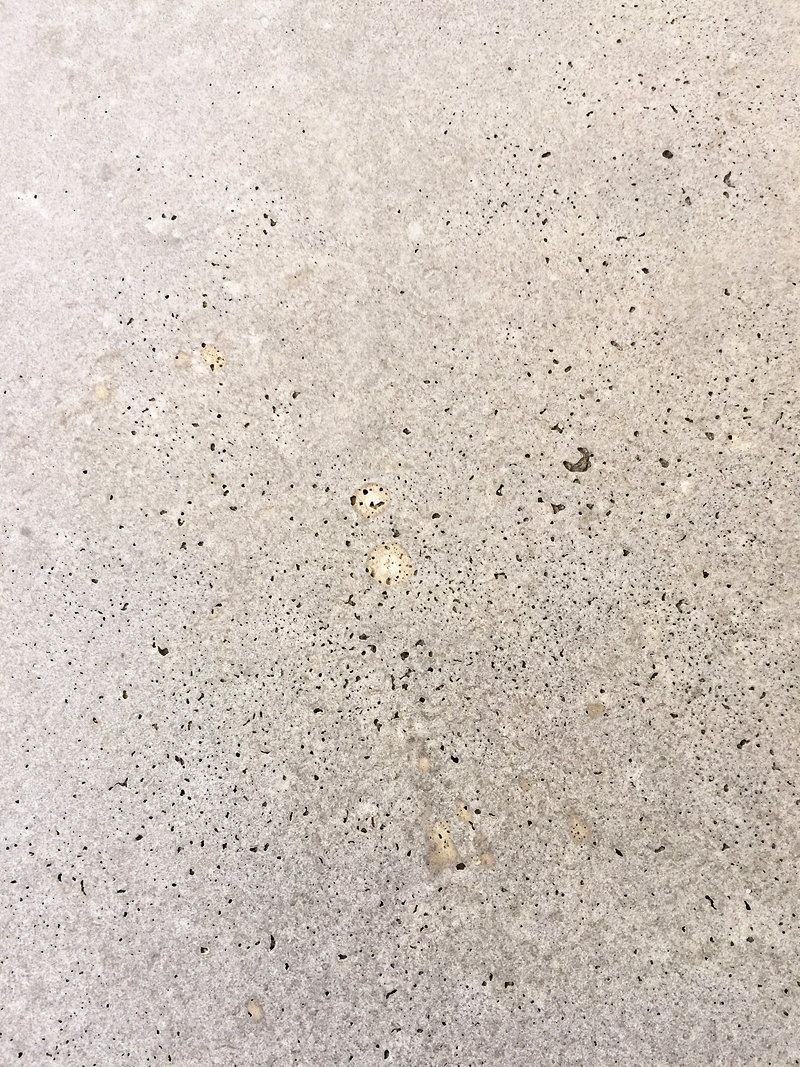
When it dried, it was full of holes and disclorations. womp-womp.
Not what we were expecting or wanting. The surface would have needed a slurry to finish it off but that is not what we were looking to do….we wanted a smooth surface that needed no additional concrete work. AND we wanted the color to be pretty consistent through out.
So we failed. And then we tried again. The next post will be all about how we actually did two more attempts (and got slightly different results) but we were MUCH happier. And special thanks to Quikrete for providing the mix….even if we are the idiots who don’t know the proper consistency of concrete…it is always fun to try new things out and this was definitely a great result in the end! Stay tuned y’all!
Wow…can’t wait to see what finally worked. I never dreamed this could be a DIY project….you are very brave!
But…but, why would the bag mislead us so badly?? Is this some elaborate concrete joke played on all us diy’ers?
It’s always nice to see when things don’t work out; it makes me feel better about my many “fails”! I’m repainting old veneer doors right now and have certainly learned some lessons…
http://danielleandco.com/blog/2016/design-around-bold-sheets
As disheartening as it may have been to go through that, thank you dearly for sharing with us! It’s always good for me to read that and reaffirm myself that I can do it! Now.. time…. hmm, where’d you go? Dangit.
Thanks for sharing an Oops post. Do you have plans for the counter tops that didn’t work out?
The ones that did work out? They are coming soon!
xo – kb
It did state clearly on the bag that there would be a 5-7″ inch slump…which we didn’t quite understand (like 5-7″ on all sides? 5-7″ slump on one side?) so I think that there was definitely user error involved….but thankfully we only did that one section and the others we did at a different consistency!
xo – kb
You could use those for an outside table!
Hey Katie, I was curious what was going to happen to the counter tops that did not turn out the right way? Will you throw them out or re-purpose them in a another way? Stepping stones, etc?
Well…we have a lot of woods and I told Jeremy that if I hated the way they turned out, I was gonna use some counters for stacking wood on! We have to chop up fallen trees a lot and having a flat and relatively dry surface is really nice for stacking logs!
xo – kb
A Vibrating table could have saved this project, exp>diy all day
I think it looks pretty cool actually. It resembles the lunar surface. Put sheet of glass on top and give it a couple of legs. 🙂