I am so excited to share this crazy easy finishing technique! It will literally change your DIY life. And I am not exaggerating like the time I told you that I followed guys in college and ate their pre-chewed gum. Or the time I said that my poots are literally deadly stealth bombers. That’s not literal. ALMOST literal. Technically very close to literal. Especially with the rounding up factor that plays into the definition of ‘literal’. But this is different. This will LITERALLY change the look of your DIY wood furniture and help you take your finish to a whole new level.
It’s called dry brushing and the one aspect and most basic of this technique we are talking about today is applying an oil based stain over a water based paint. I used this technique for my brother’s foyer makeover and I think it makes things look SO good. Like you will want to open mouth kiss it. You should wait on that though because the stain will not be dry 🙂
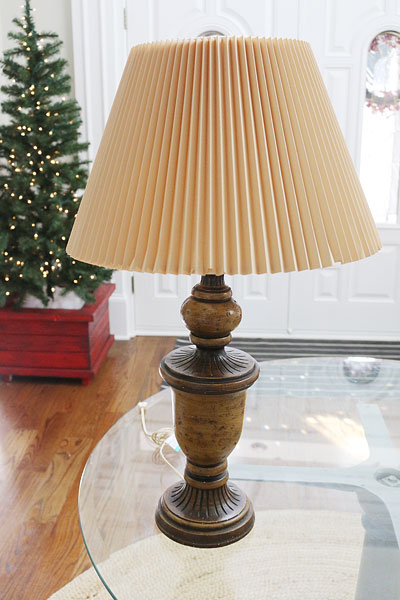
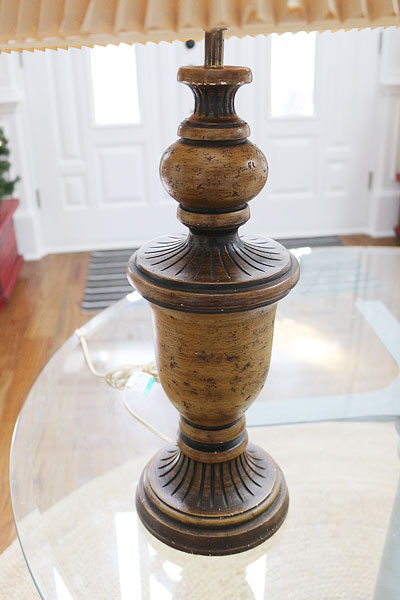
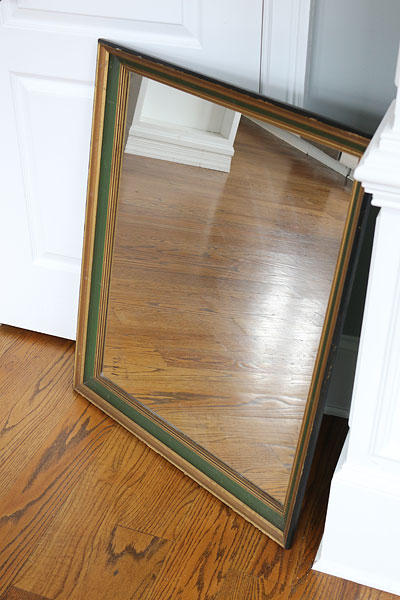
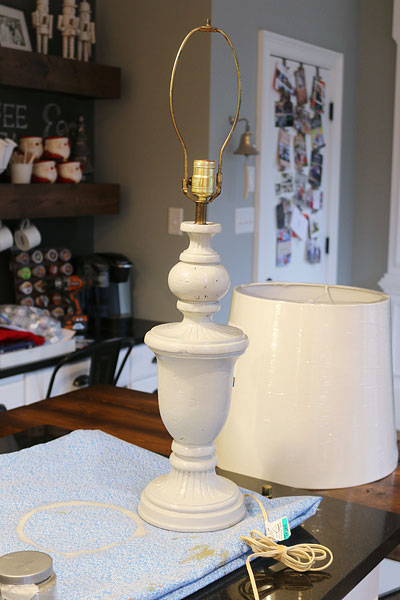
I also get to share two little makeovers with you! One lamp and one mirror and they turned out so much nicer than I expected. I picked up these two fixer uppers from my local Goodwill and the lamp cost $9 and came with an ill-suited shade (too short to feel balanced) and had a pleated look that I knew my brother would slightly terrified of. But the base was worthy of a mini makeover and I knew that I could replace the shade for cheap.
The mirror I found was a great size and the colors are straight outta 1976.
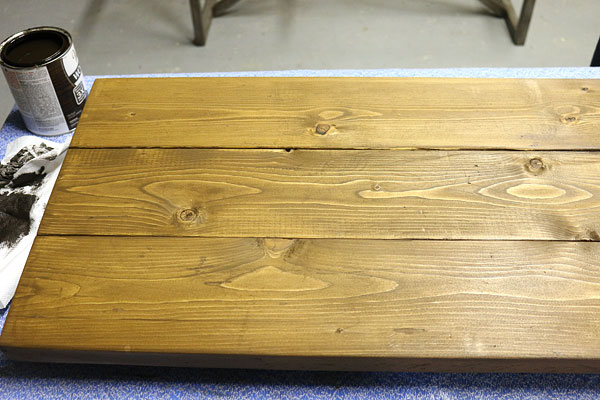
Before we dive into the makeovers, let me try to explain how to do this finish. It’s really great for planked table tops too (which is what we did here) and it will make plain ole stain or paint look 1000% more dynamic and more depth.
First you need to have a complete project pre-poly, post-stain or post-paint. This technique works best with lots of details…like seams and variations and details.
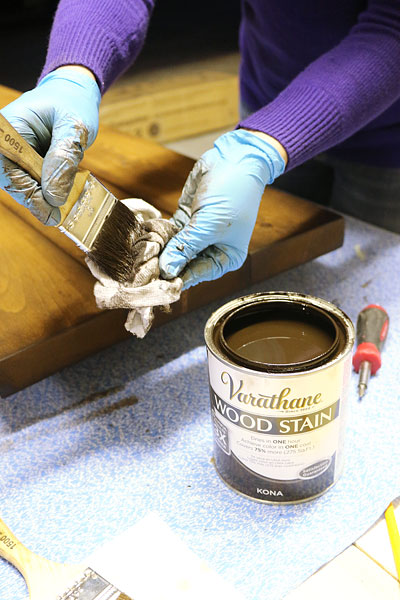
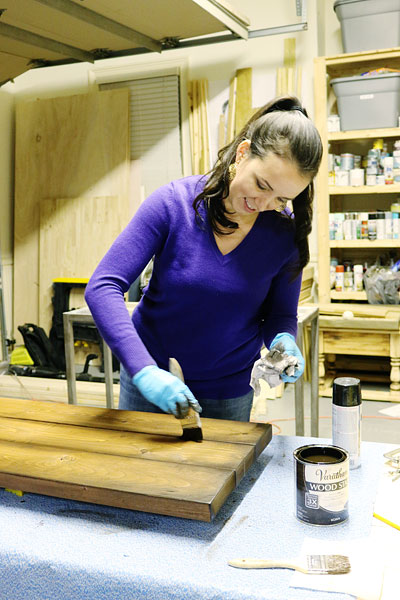
Then you take the darker stain (I used Rust-Oleum’s Kona) and dip a chip brush into it very lightly. Then you take 98% of the stain off the brush with a paper towel or scrap. Dab dab dab.
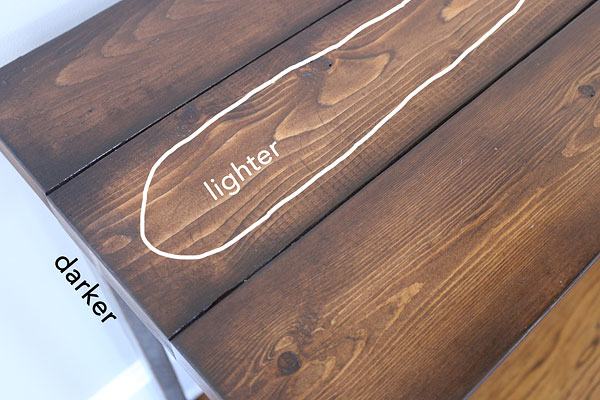
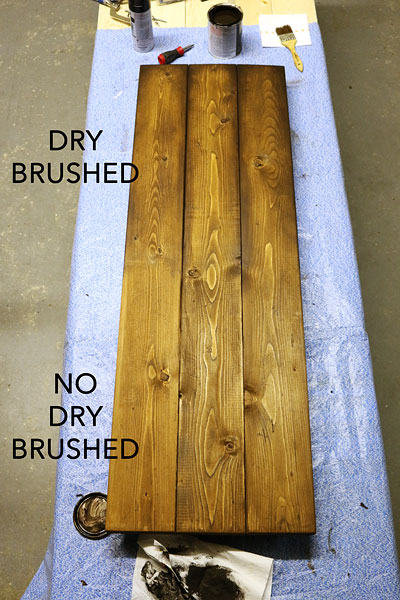
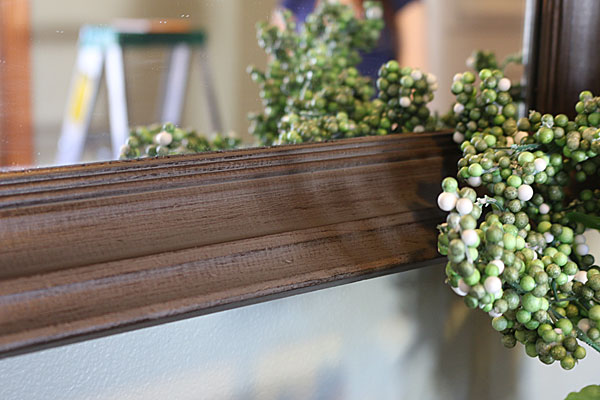
Then you have to brush it back and forth around edges. Here is a good idea of what you want to keep lighter and what needs to be darker.
You also do any protruding edges.
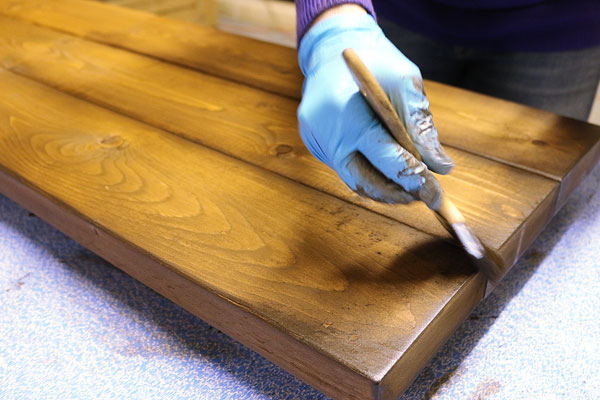
You brush it back and forth around all the edges quickly and it applies just a shadow of stain wherever you brush.
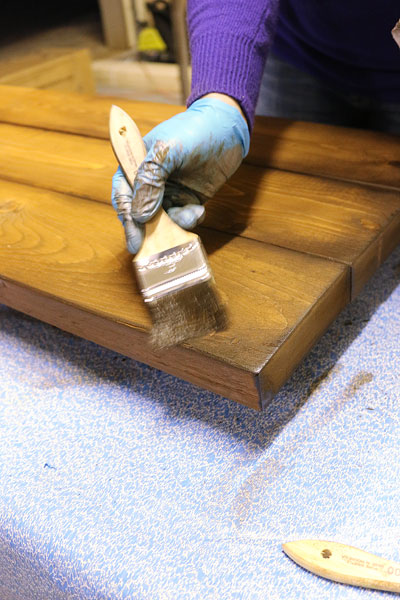
I like to hold the brush kinda sideways so that the bristles really apply the stain in broader strokes but sometimes – like with seams – I will hold it more vertically.
Here is the before and after…
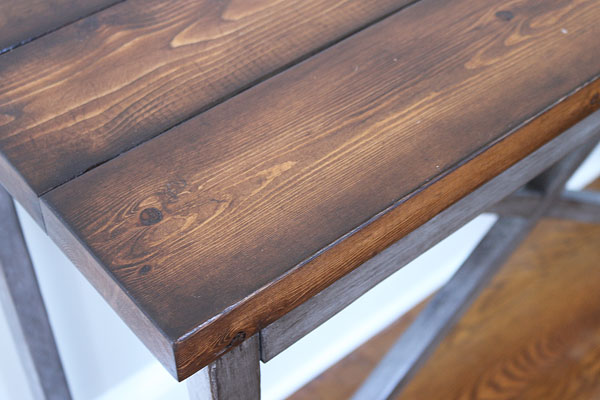
The end result is great….looks much more like a professional finish.
Isn’t it beautiful?
So good. It’s like chocolate vs. LOTS of chocolate 🙂
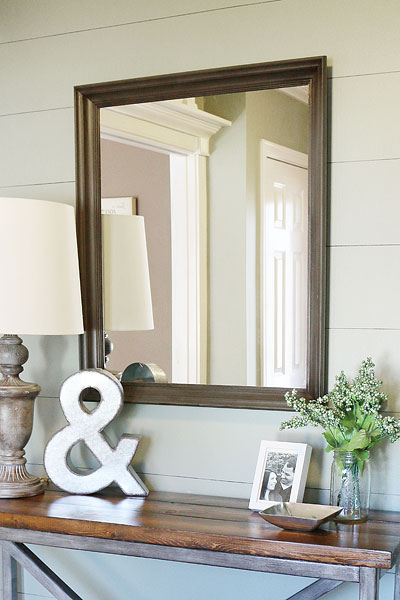
Okay…so makeover number 1….this mirror that had a whole lotta funk.
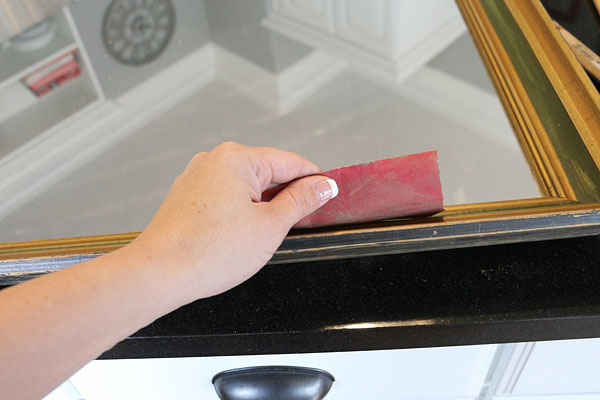
I started with sanding down the previous finish. This helps any paint stick.
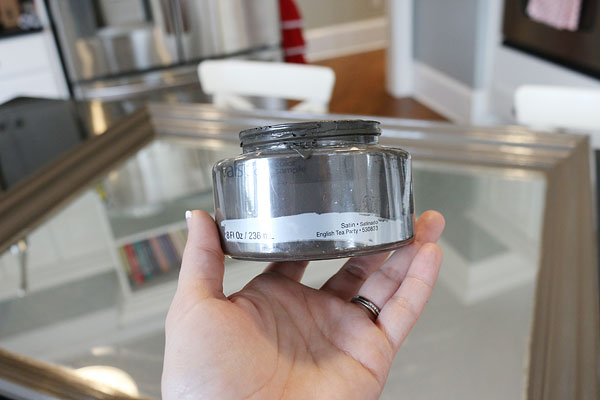
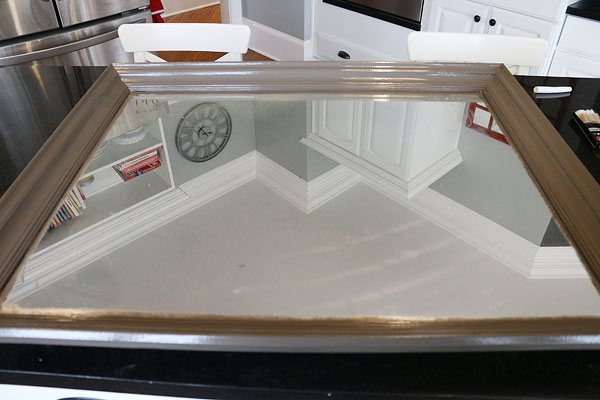
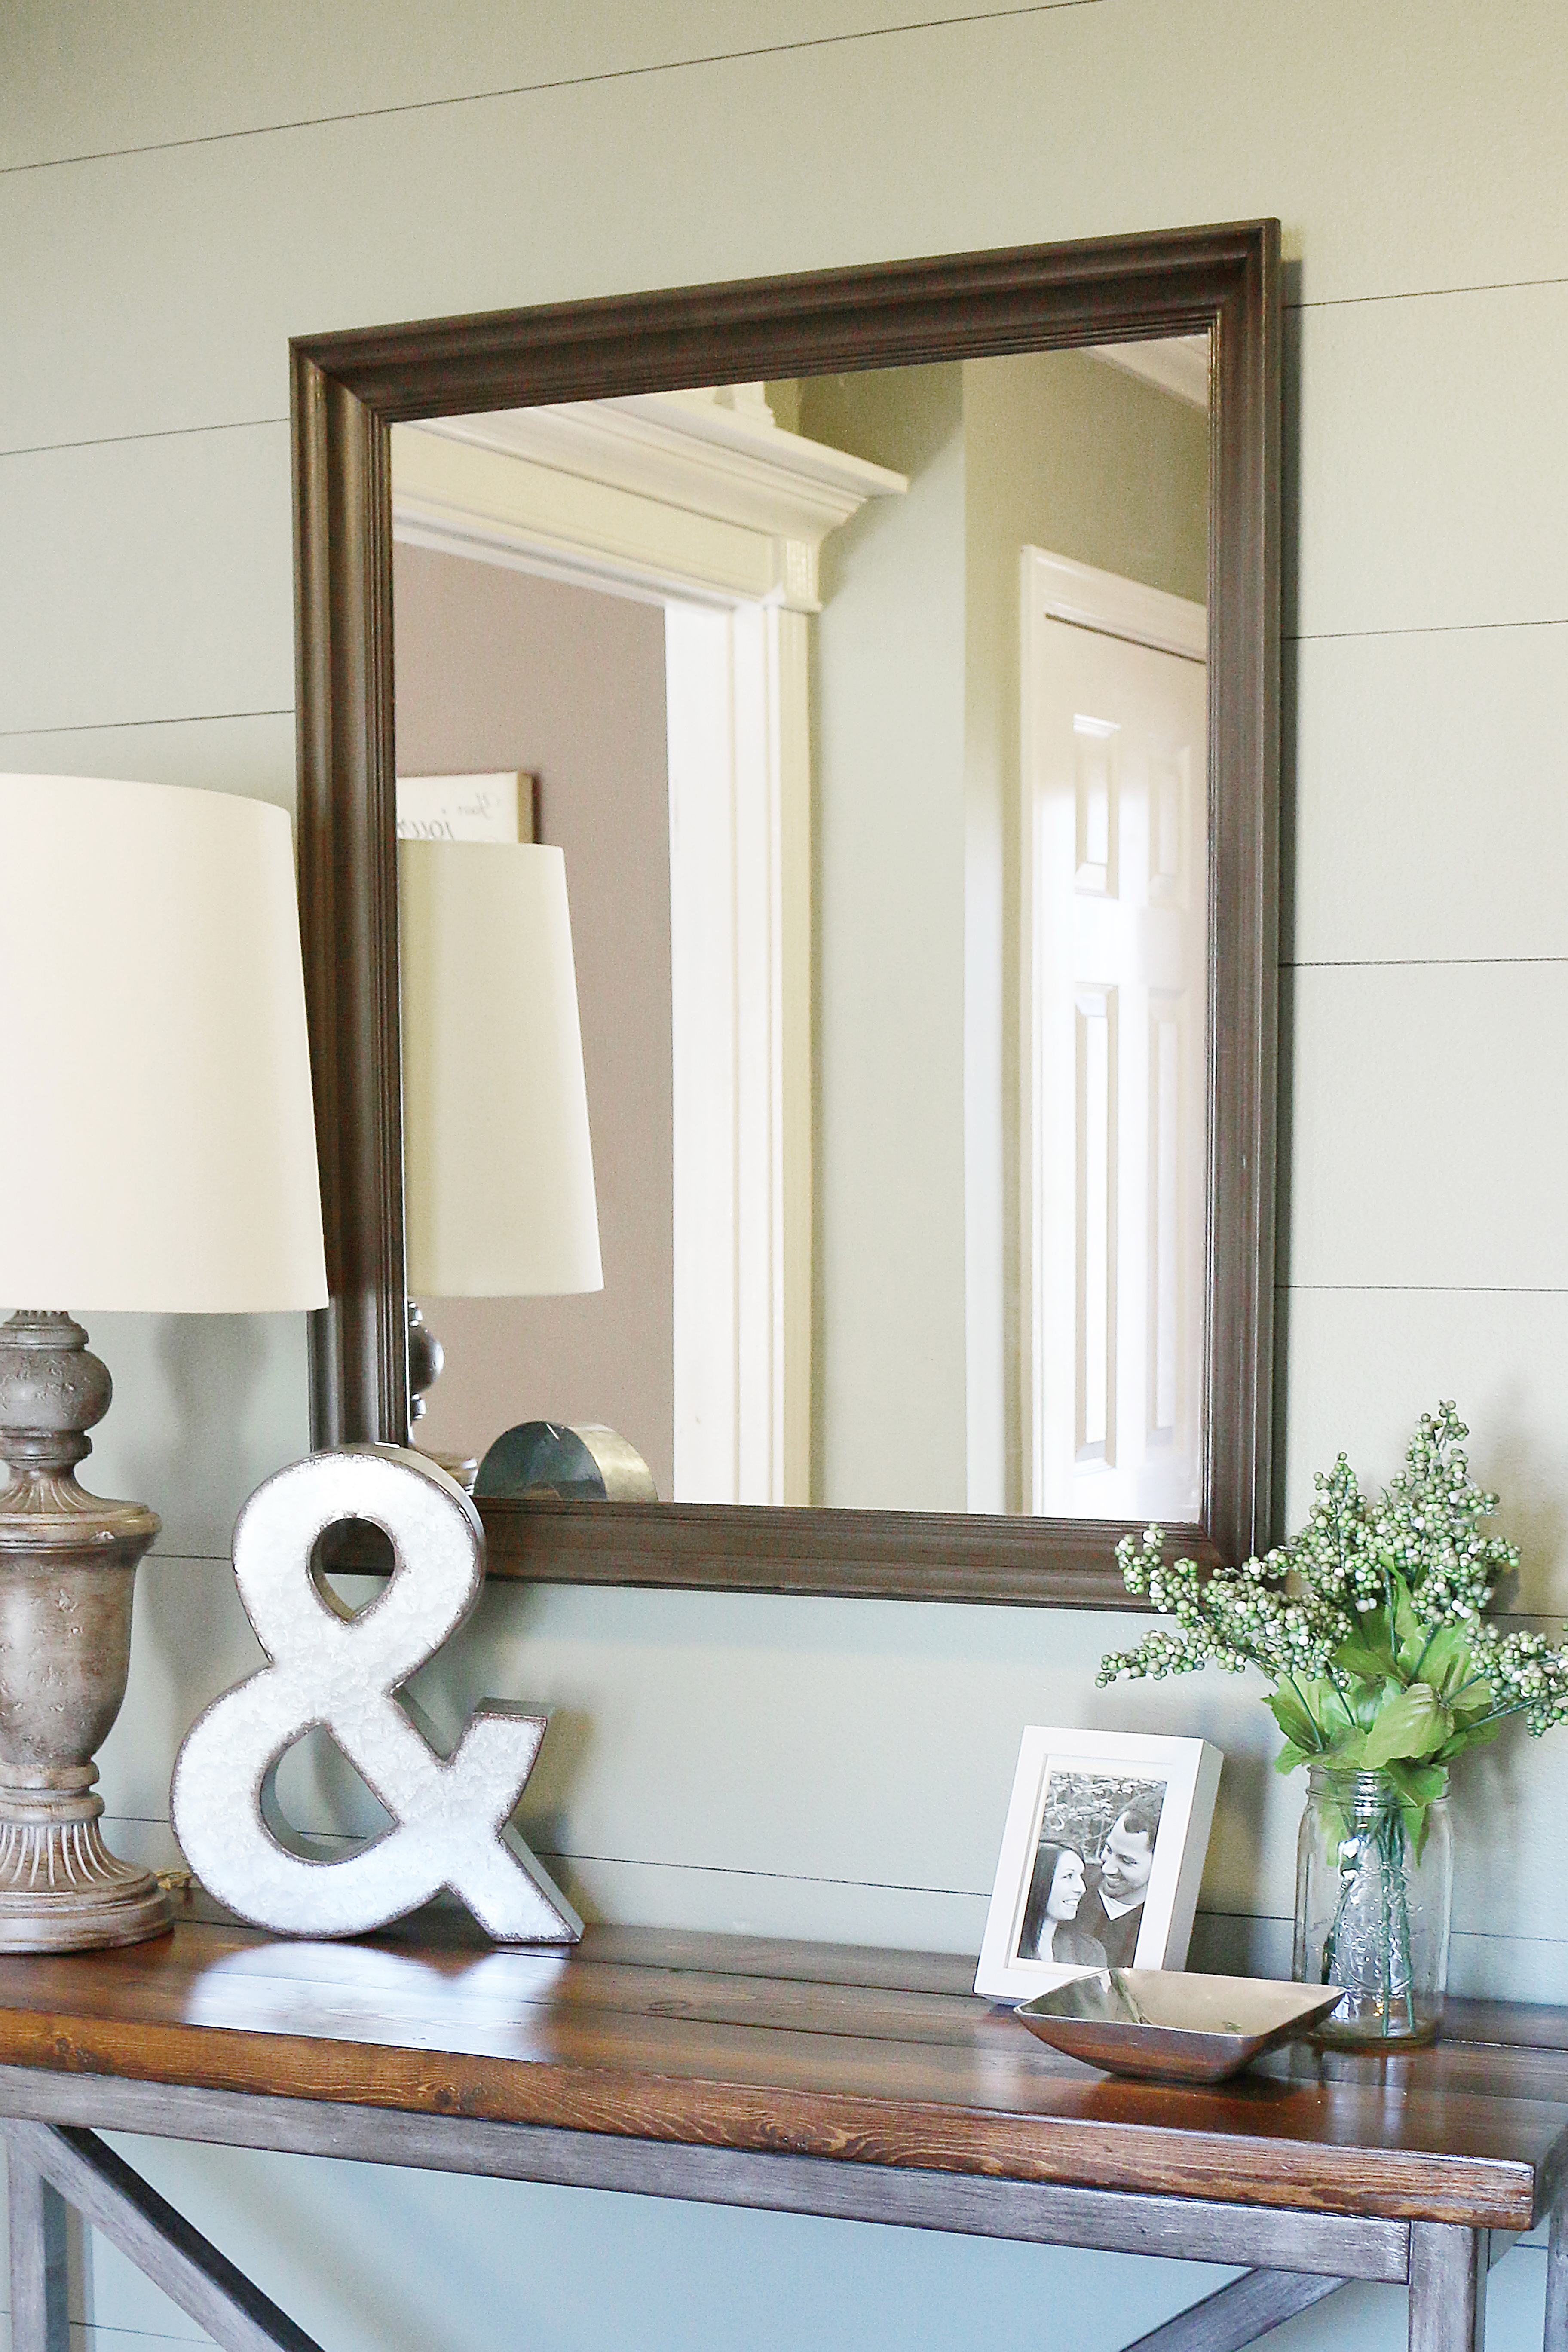
I used two coats of this old color sample that I had in my stash. It’s called English Tea Party by Valspar.
It took a couple coats to cover up all the gold.
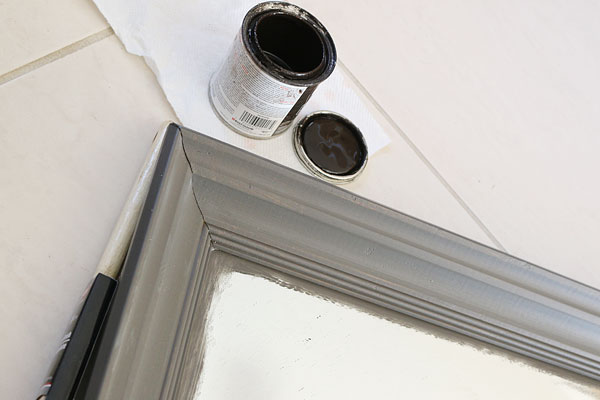
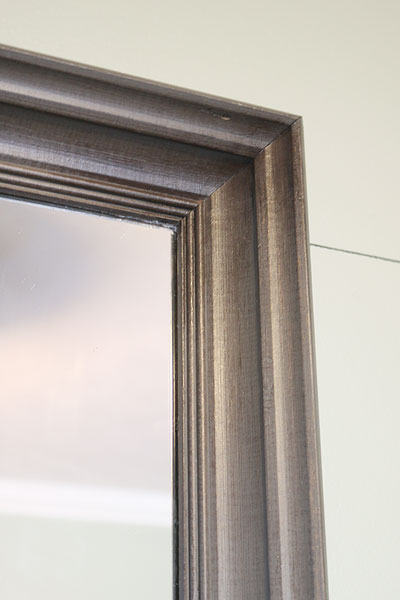
Then I whipped out the stain to apply via dry brushing.
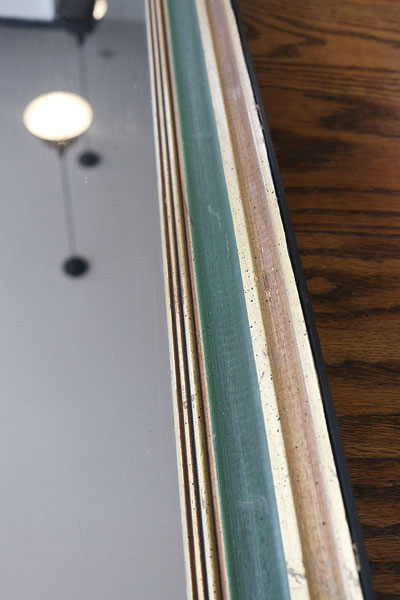
Do see how it makes those edges pop?!
Look at all that texture and detail!
Can you even handle!?
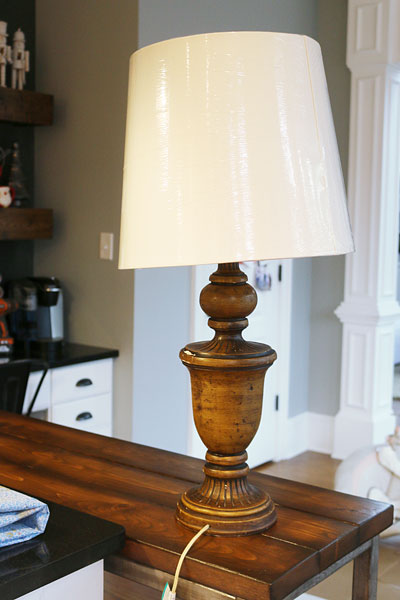
Okay so the other little makeover was this lamp.
The first thing I did was try to find a shade that would be a better fit. This one was $20 at Target and much better proportionally and had better lines. As you can see there was a chip on the side of the lamp base so I knew that I would have to paint it to make it blend away.
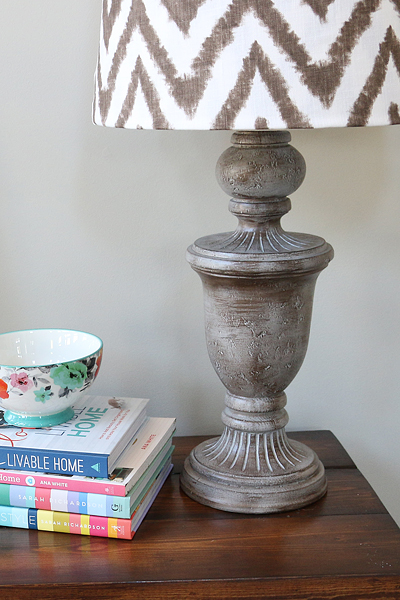
I used another sampler paint – Valspar Dove White to do the base coat and then used Kona to finish with the dry brushing.
I staged it with this chevron fabric on the shade just for fun 🙂
Isn’t it gorgeous with all that detail and color variance?! I love it.
So that is my super fast and quick tutorial on dry brushing. Just remember that less is more when it comes to your brush stain amount and layer layer layer till you have that perfect shadowing.
Really this is like contouring in makeup….but the brushes are much cheaper and you don’t have to wash it off at the end of the day!
Now go find something to dry brush! And if you do try this at home, snap a photo for Instagram and tag me! I’d love to see it!
Wow, turned out SO great! Will definitely be trying this! Thanks!
You did good! I am always amazed how you just turn out one project after another. How does she do it people? She has four kids!! Katie. Is. Amazing! Love you girl!!
I love the effect the dry brushing had on those planks of wood. So much warmer and richer looking!
Looks awesome! Completely off subject..but I notice you always have your nails done. Do you do them yourself or get them done? Just curious. 🙂
This is awesome. Love the way it turned out. You could seriously put that on a site somewhere and sell it for 400.00.
I go about every third month with my mom and get a gel manicure…it lasts forever and then when one nail breaks, I cut them all off and let them have a while to breathe 🙂
xo – kb
These look awesome.
Quick question, have you changed the resolution of the images you post? Bring back high res! The photos are the best part!
Yes I had to. I’m sorry and I am hoping to find a solution to this issue but right now the site is SUPER slow and it’s due mostly to the photos. If a post has LOTS of pics, then compressing them down will make the entire site faster. Put it this way…I have HUNDREDS of people that can’t see the photos at all because the load time. I am still sorting it out but in the mean time, lower resolution helps the masses.
xo – kb
Bummer. But I understand! Thanks.
Wow this is seriously so awesome!! I’m literally (literally) looking around the house right now for things I can dry brush. I think I need to run to GoodWill tomorrow!
I love the table! Can you tell me what stain you used for the lighter part? It’s very rich with the Kona.