I’m back with the tutorial on how to get that planked look!
And I’m not talking about the yoga move that is great for sculpting shoulders, abs and thighs…not that I would know but toned people make claims. I’m talking about the wall treatment that I did for my brother for about $1. Yup. Super easy. Super cheap. Just plain super. duper.
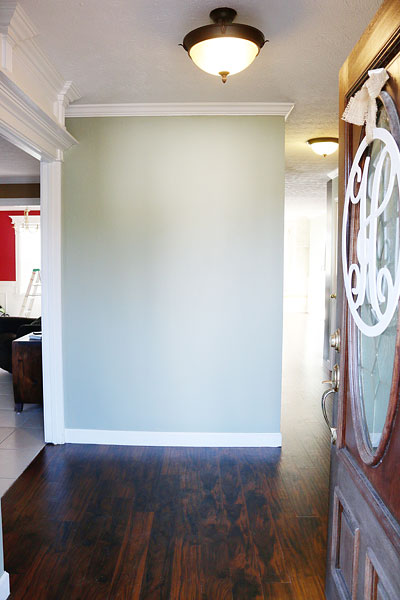
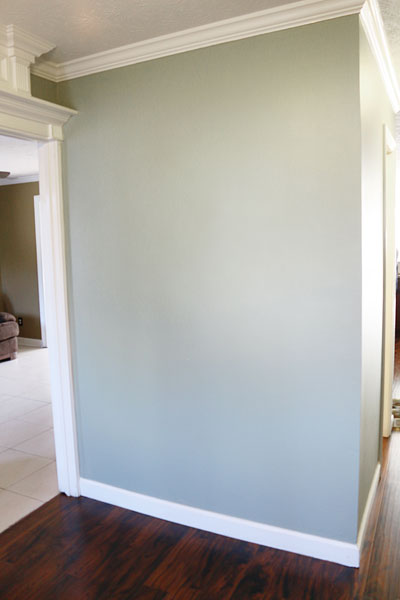
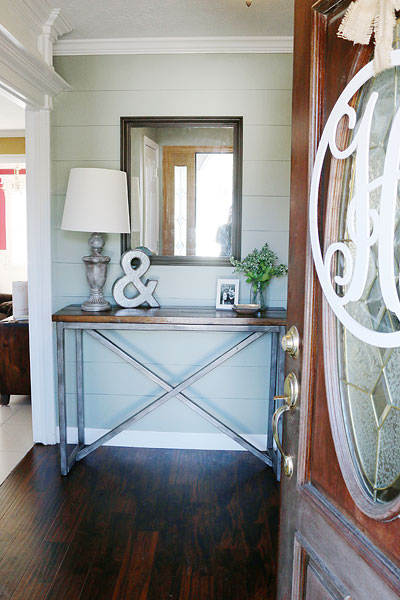
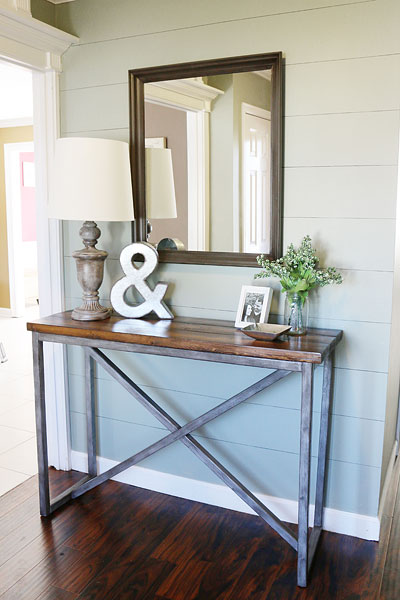
So his foyer wall was really plain and we jazzed it up as a 30th birthday present. You can see the before & afters in this post. I am gonna preface this tutorial as DUDE THIS IS THE OLDEST TRICK IN THE BOOK. Like seriously Gandolf probably did this same thing to his home in Middle Earth. (tricked you…Gandolf doesn’t have a house! Nerds unite!)
The point is….people have been painting stripes on their walls since forever. Nobody get their itty bitty panties in a wad and tell me what a hack I am because I am explaining it. As my mother says “not everybody knows how to make KoolAid, Katie” – it’s basically when she is telling me that just because someone doesn’t know how to do something, it doesn’t make them dumb, or less than, it just means that they haven’t been introduced to it yet….aka they haven’t made liquid flavored sugar in a cup. Some folks don’t need to be taught how to make KoolAid…some do….this tutorial is for them. Teaching it doesn’t make the fruit punch less addicting 🙂
So this planking is simply painting stripes on the wall. Very small stripes. Pin stripes.
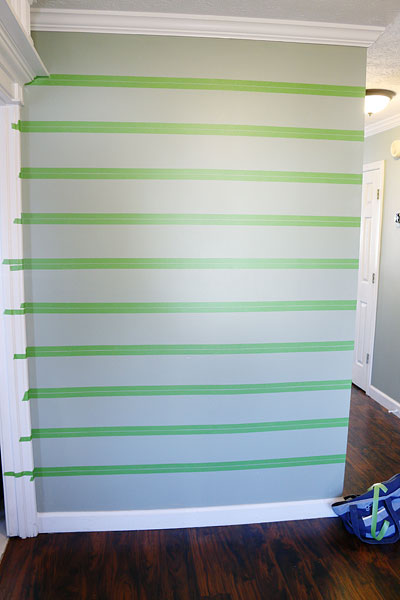
So the way I did it was I first measured eight inches from the bottom and marked with a pencil a dot. I marked eight inches every two feet or so….leaving me with three dots on each line and ten lines.
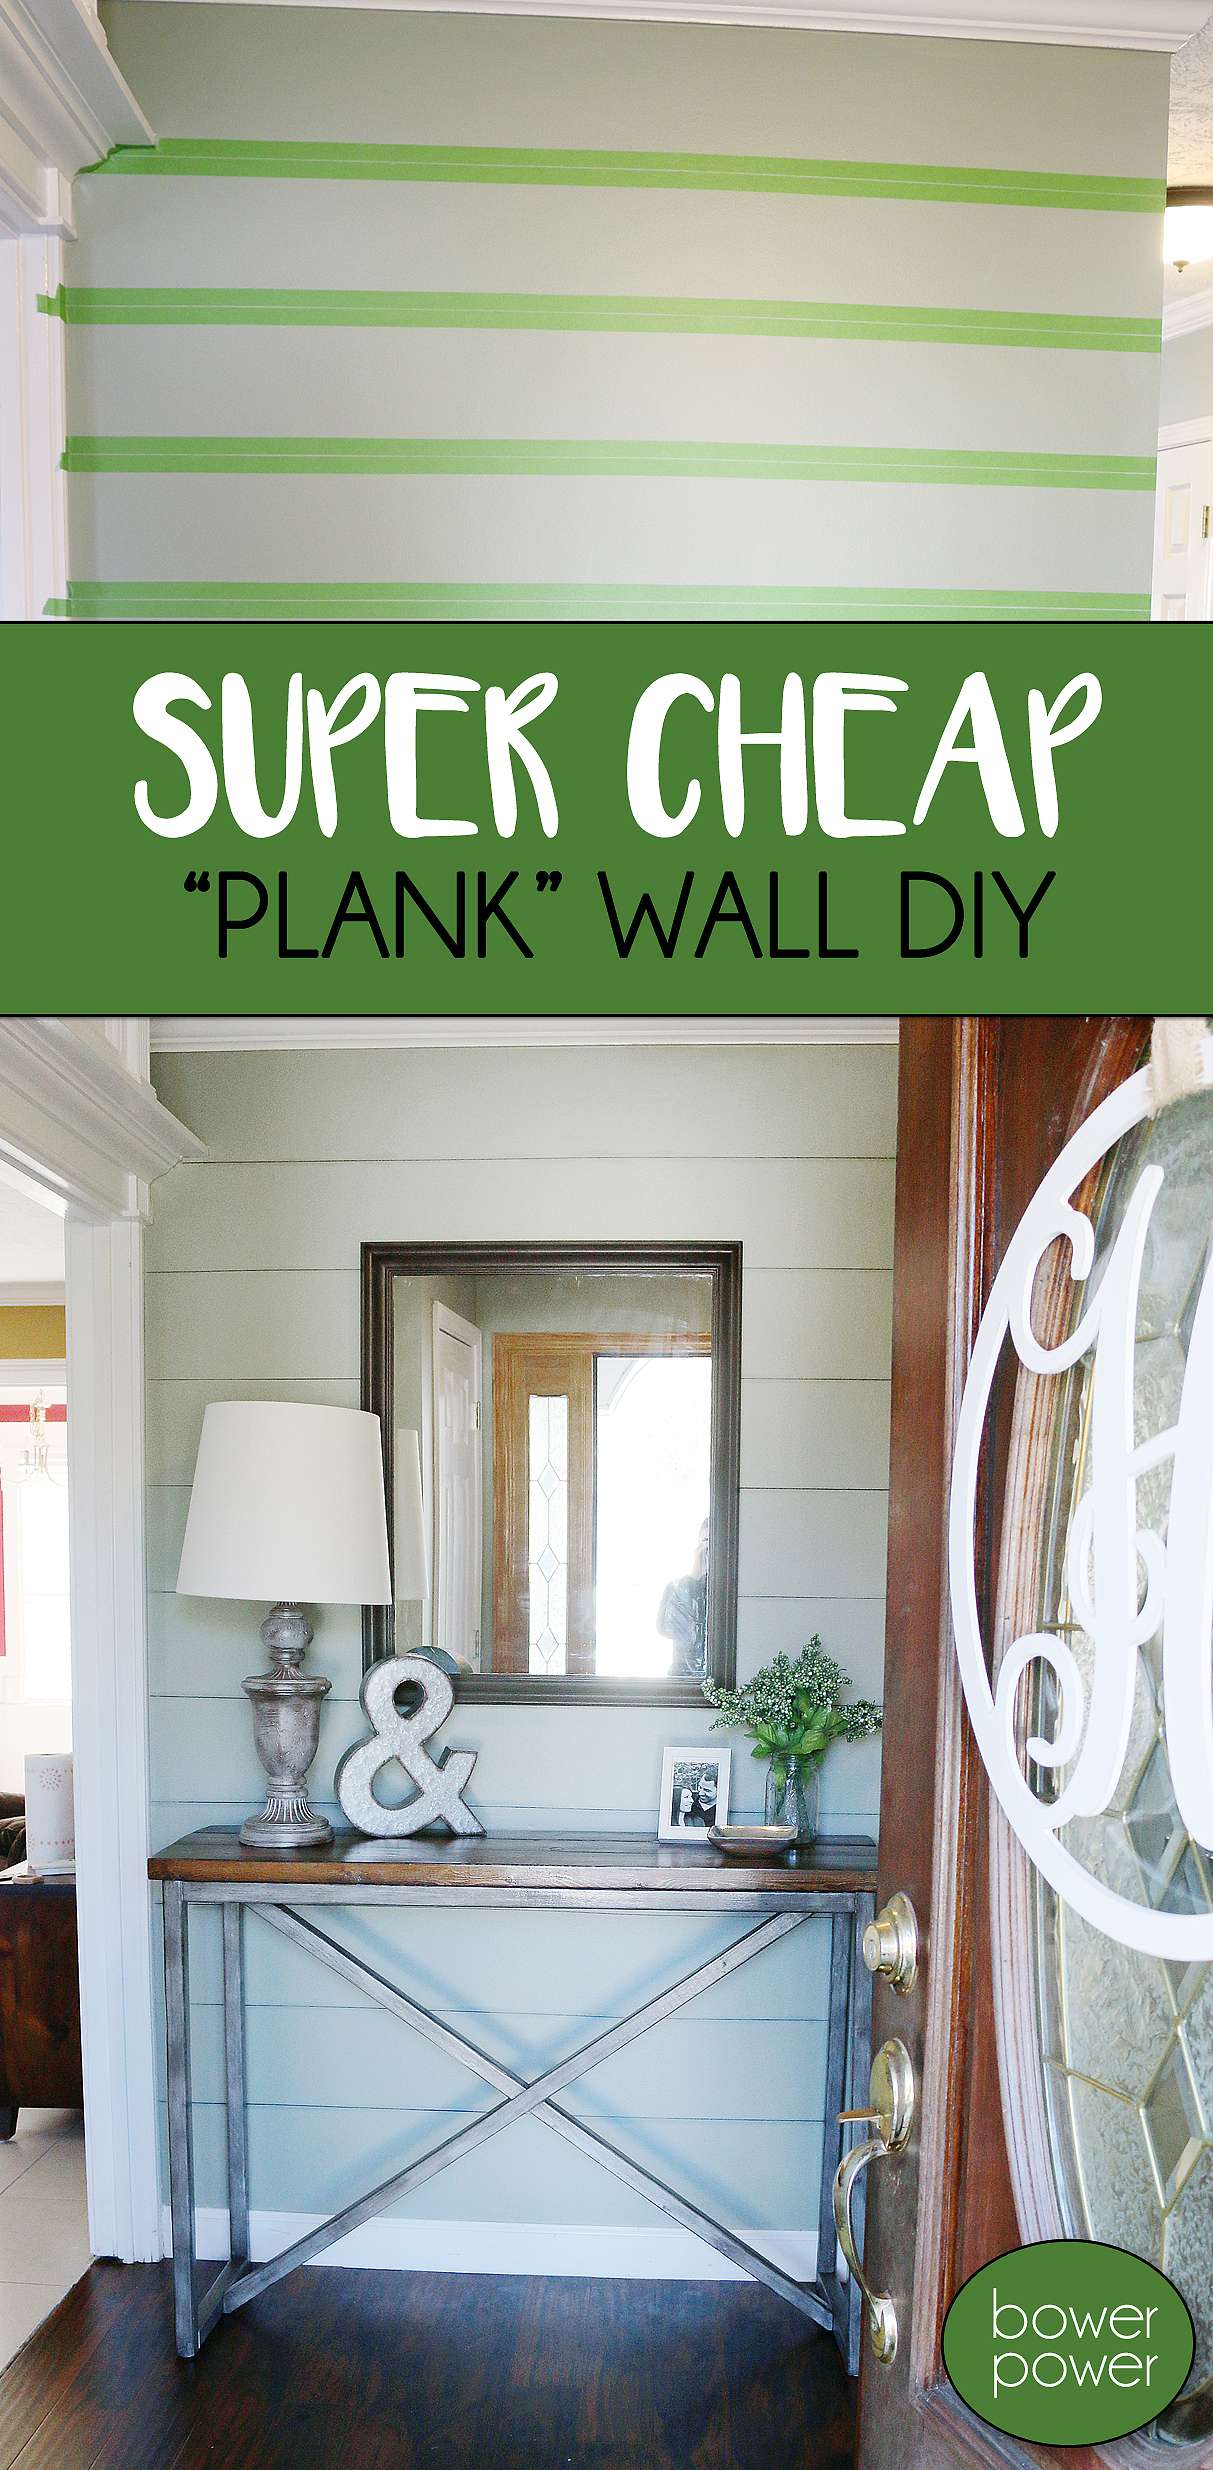
Then I used painters tape and applied it to the wall along those lines.
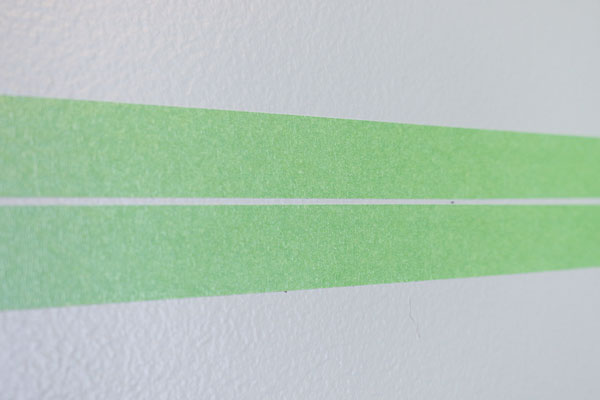
In between the painters tape, you leave about 1/8 of an inch. Make sure your lines are even and level. They might trick your eye in these photos because of lens vignette (look at the baseboard curve in the pic above) so just remember that if it doesn’t look level to your naked eye, then you might need to make slight adjustments.
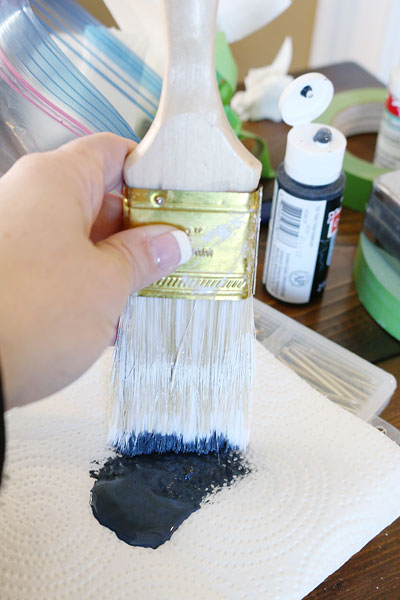
Then you want to seal the tape. I use a wet paper towel to push all my tape seams against the wall…the dampness activates that good seal and makes your lines a little more crisp. Then take some black acrylic paint….craft paint will work…and dab it on the paper towel or plate and then use a barely-paint-holding brush to brush on the paint into the line.
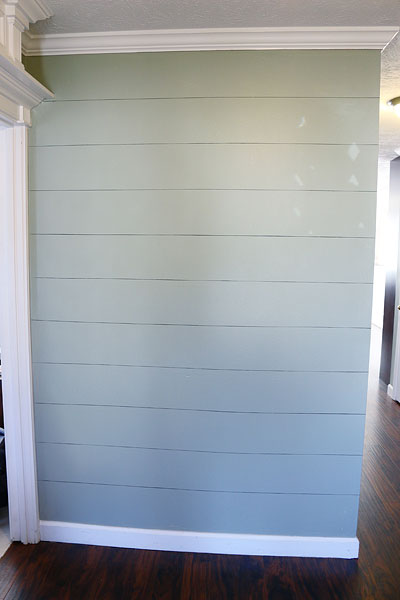
Some areas of your line will be more dark than others….some will look slightly thicker….that adds to the realism of the “planks” in my opinion.
Here is a closeup.
So the question that I am sure will pop up is “Why did you not use a Sharpie? Isn’t that faster and easier?”
The answer is….yes, it is faster and easier….but what if you want to repaint? Then what? Sharpie and other markers require LOTS more work to cover up whereas light paint requires no primer and just one coat to cover 🙂 I didn’t want to put that work on my brother if he decided that he really didn’t like this look. That’s the thing with taking over someone else’s space….you still want them to invite you over later if they hate what you did 🙂
So that is my ultra easy $1 for a bottle of craft paint solution for adding that planked look to any wall. Pretty groundbreaking stuff here folks! And stay tuned for tomorrow where I share the lamp and mirror makeovers. Now go plank something. Just don’t hurt yourself. Remember the words of Dwight Shrute…..”planking is dangerous” 🙂

I never would have thought to do this! Love it and I was one of those “learn how to make koolaid” people for this one so thanks:)
No way! Mind blown!!!!! I totally thought it was boards you had painted to match the original wall color! Way to go Katie!
Like my Moma always said…. I can’t draw a straight line with a ruler!! My lines would be so crooked. 😮
Love it! But it looks like your wall was the prefect height to have a full “plank” on the top and bottom? Is that why you used 8″? What happens if the wall doesn’t mathematically line up with 8″ planks? thank you!
This Kool Aid lover is now a fake plank wall lover! Excellent tutorial!
It’s amazing what some simple paint, accessories, and a killer table can do for any entryway!
I’ve heard about the Sharpie Paint Pens that are actually paint vs. permanent marker. I’ve never tried them, or more importantly, tried to paint over them but I wonder if they would work for this type of project to increase the ease factor?
It make look okay on the screen but I just don’t see this looking the best in person. Oh, and I think you mean GandAlf. 🙂
Love this! But the 1$ is stretching it for us regular people that don’t get frog tape for free. A roll is like 8$.
You definitely can use any tape you would like…even masking tape is $1 at the Dollar Tree and that will work too as long as you seal those edges with pressure and be very light handed with the paint!
xo – kb
I seriously will hurt someone if I misspelled it.
xo – kb
If your wall doesn’t perfectly line up then just measure from the middle out.
xo – kb
Cool idea! Just might have to do this to my living room wall…. Hmm.
One question where does the lamp plug in? I can’t see the cord and I always seem to have cords ruining my otherwise pulled together looks. :/ any ideas how to hide them, as you seem to have done?!
I use Painters paint pens all the time and they would probably allow too much paint to come out. I don’t know if the Sharpie brand you can control the flow easily but most painters pens just would dispense too much paint at once for this project in my opinion.
xo – kb
The cord is wrapped up behind the lamp…right now there isn’t a plug…we all thought there was one prior to me arriving with lamp in hand 🙂 My boyfriend or Tim is gonna put one in…and I think that the easiest way is to have the lamp on the side of the plug and then run the cord down the leg of the furniture (3M hooks work well for this) and then plug it in. You can also paint the cord and the plug plate to match the wall to disguise them even more.
xo – kb
I knew you’d have good tips! Paint the cord and the wall plate… Hadn’t paint the cords before but all my vent covers and wall plates end up whatever color the wall is. And 3m hooks for the win! Smart! Thanks ~b
I saw a blogger recently who painted her walls white and then just made pencil lines and sealed the pencil lines. 98% of the time when I see someone say how I faux planked a wall, they are talking about plywood. But it all really looks like tiny lines in pictures.
My question to you is how would you say it looks in real life? Does it fool the eye, but then once you get up close its obvious? I’ve got a big space I’d like to plank but I guess I’d hate it if it was terribly obvious to everyone who came into my house. What do you think?
Katie I love the idea!!! I never would have thought to use paint to get the look and I have planked two bathrooms. On another note I don’t know if it’s my iPad or something on the blogger end but the pictures are really low resolution and almost come across blurry. Any ideas??
Yeah I mean, I probably would think that if someone is gonna stand right next to it, they might be able to tell…this works here because there is a table separating you from the wall and the wall space is so little. I think if I were to do it in my own home, I would put something more permanent…like underlayment cut into strips and tacked up but this is a good solution for people who are like Tim and don’t like committing to ‘decorating’ or people that are renting. I think if you know you really like the planked look then I would just go for it.
xo – kb
Best get plotting then…
Faux planking?! I was totally fooled until half way through the post! Katie, you are a freaking genius! Love love love!!!!!
If you are talking about Gandalf from Lord of the Rings then yes….you definitely spelled it wrong. You spell it with an ‘A’ not an ‘O’. 🙂
I was also tricked into thinking the wall had been planked in the reveal photos!
You could also do this as an inexpensive, easy test run to see if it’s worth the time/energy/$ to put up actual planks. And, if it turns out well, you could just leave it as-is and not worry about doing the real thing. Three cheers for straightforward decor projects!
True! Kinda like a trial run!
xo – kb
Thanks Katie! Yea that’s kind of what I was thinking. We just moved into our new build home 7 weeks ago and I have a 5 yr old, 18 month old and I’m 36 weeks pregnant. And I homeschool my daughter. So realistically real planking has to wait a little while, especially since I’m in the middle of painting my cherry kitchen cabinets. Priorities. You know how it is. But I’m dying to just plank the whole kitchen-eating area living room which is all one big space. I need some patience! Thanks for the advice.
KATIE!!! This is stinking brilliant!! I really like the planked look but I think my husband would kill me if I started attaching them to our new drywall. Gotta give this a shot! Little bathroom here I come!! thank you thank you!
I would LOVE to know the paint colors used! When you did the plans, did you use a black, grey, or navy paint? It’s hard to tell…just want to know what would work best!
Katie – this is genius. I actually thought it was a plank wall and was skimming (sue me) and then saw that you just painted it. So maybe this is simple, but I’m simpler. 😉
Love this project!
It is just black 🙂
xo – kb
(True) nerds, unite! She not only misspelled Gandalf, she also misspelled Dwight Schrute.
Ok…I technically am not a nerd because they are smart. I guess that technically makes me a dork because I can never spell anything. Dorks unite.
xo – kb
Ok, the planking thing is really cool and all, but I ACTUALLY GOT THE GANDALF JOKE! I’m just reading the trilogy for the first time (never seen the movies), and I’m all “Wait, where does Gandalf live? Does he always travel? How does he not have a job and still afford to travel?” It makes me want to be like Gandalf, until I realize that he walked everywhere. Or rode his magic staff, but I ain’t got one of those.
But I really, really like the planking too. On the wall. 😉
Nice wall! I’ve been doing paint projects like this for over 20 years. I tried masking tape – once, in the early years, and one of my kids used masking tape (without my knowing) more recently. It can and likely will remove the top paper layer of the drywall/sheetrock – which will end up in a more costly project in the end. Invest in Frog tape or regular painter’s tape (half the cost) and don’t let it stay on the wall more than a few hours. I didn’t even need to press the edges down with actual Frog tape.
I suspect an actual paint marker from Michael’s or another craft store would work for the lines and not be a problem to remove like Sharpie markers.
Oh yeah…Sharpies are the worst on walls 🙁
xo – kb
I’ve been searching EVERYWHERE for this post. I had the same idea for my bedroom walls and in my head, this technique made more sense but I had to see someone else have the guts to do it before I did. Great tutorial. Thanks so much 🙂
I did this on my bathroom walls and love It! Thanks for the idea. I wish my tape would have sealed better, but I love it!
I think your faux plank tutorial just solved a really big issue for me, not to mention it will save me big bucks. Your are a genius!
I love the look and was trying to find out how to do it with paint when I found you on Pinterest.
Love the look of shiplap but not the cost in terms of materials or time, so I am going to use your ‘drawn lines’ idea. Because we live in a house that is 100+ years old, I will be using a level rather than just a ruler.
I love this and am currently trying to convince myself (and my parents) to let me do this in my bedroom. My only concern is that my walls are textured. Were your walls textured?
I’ve seen several posts like this one, but none of them have addressed wall texture…
Thank you!
These walls were not and it would make it a little more difficult. Sorry I can’t be more helpful!
xo – kb
No matter how well you try to seal tape on a textured wall it will always bleed. Frog tape isn’t worth the money either. Instead, after applying the tape, repaint the seams with the original wall color so any paint bleed will not be seen. This seals the tape. Then you can paint between the seams with the dark color.
That is true UNLESS you do a stencil method. You can use a small brush or paper towel and do a dappled effect to get the same clean lines.
xo – kb
If I was to do this on the wall in a master bedroom, would you suggest to make it look like the end of a board (like some vertical lines to give the illusion of a board ending and another beginning) since the wall is a larger space… just thinking it out before I actually try it!
Great suggestion!
xo – kb