Who likes gates?
Anyone?
Yeah. I figured the response would be anticlimactic. Kinda like how people aren’t surprised that Kylie is pregnant. I mean…I almost got pregnant just looking at her Instagram account. And yes I understand how reproductive biology works. But not everything in life has to be a shocker….they can still be super useful and in the case of my gate….keeps out little critters and looks great doing it.
So if you missed the part about building our fence, you may wanna go back and check those posts out first. For part one, we planned out the fence and put the posts in the ground (here is that link) and in the second post, we built the panels or sides of the fence. Here is that link.
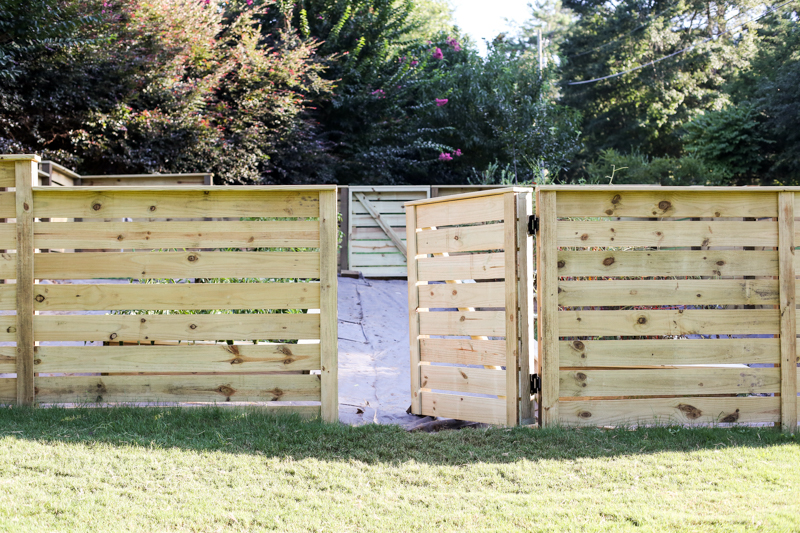
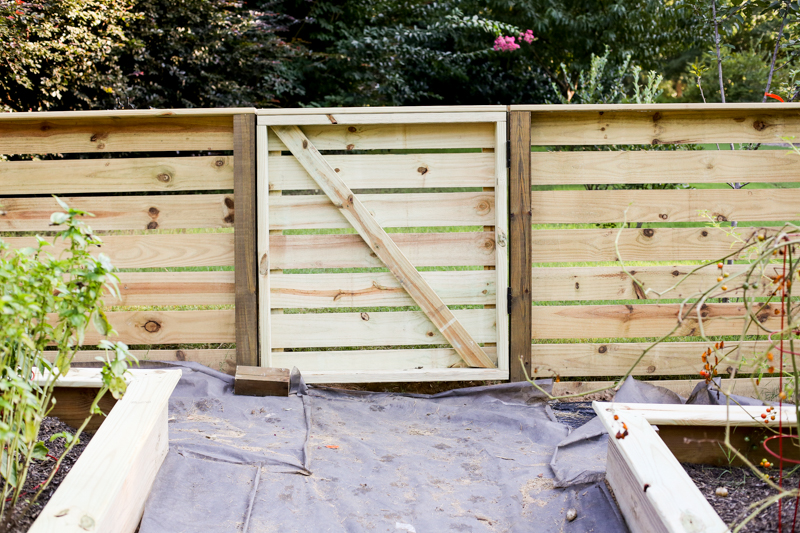
For the gate itself, Jeremy built them to custom fit our opening. We decided in the planning process that the opening had to be wide enough to accommodate a wheelbarrow going through it (when it comes to hauling plants in and out) and that they would blend almost seamlessly into the fence design.
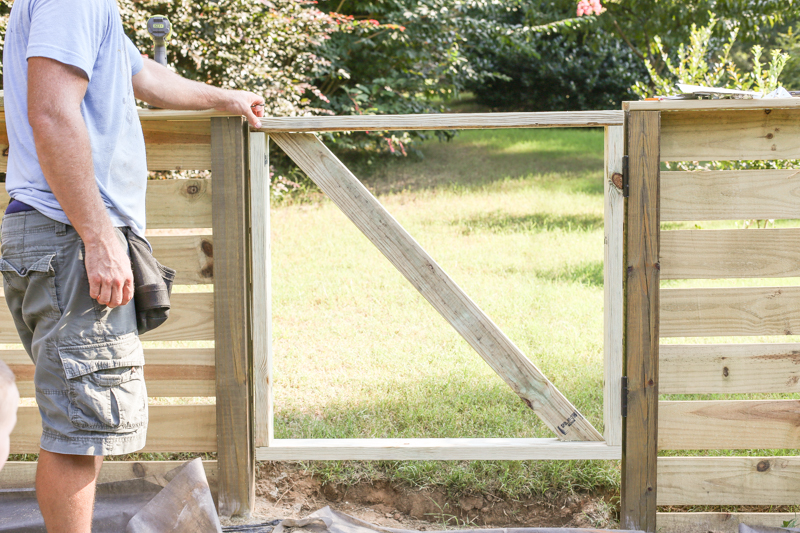
So the first thing that he did was build a square out of pressure treated 2×4’s. It was roughly one inch smaller than the opening itself so that it could accommodate the hinges and then freely swing open and closed.
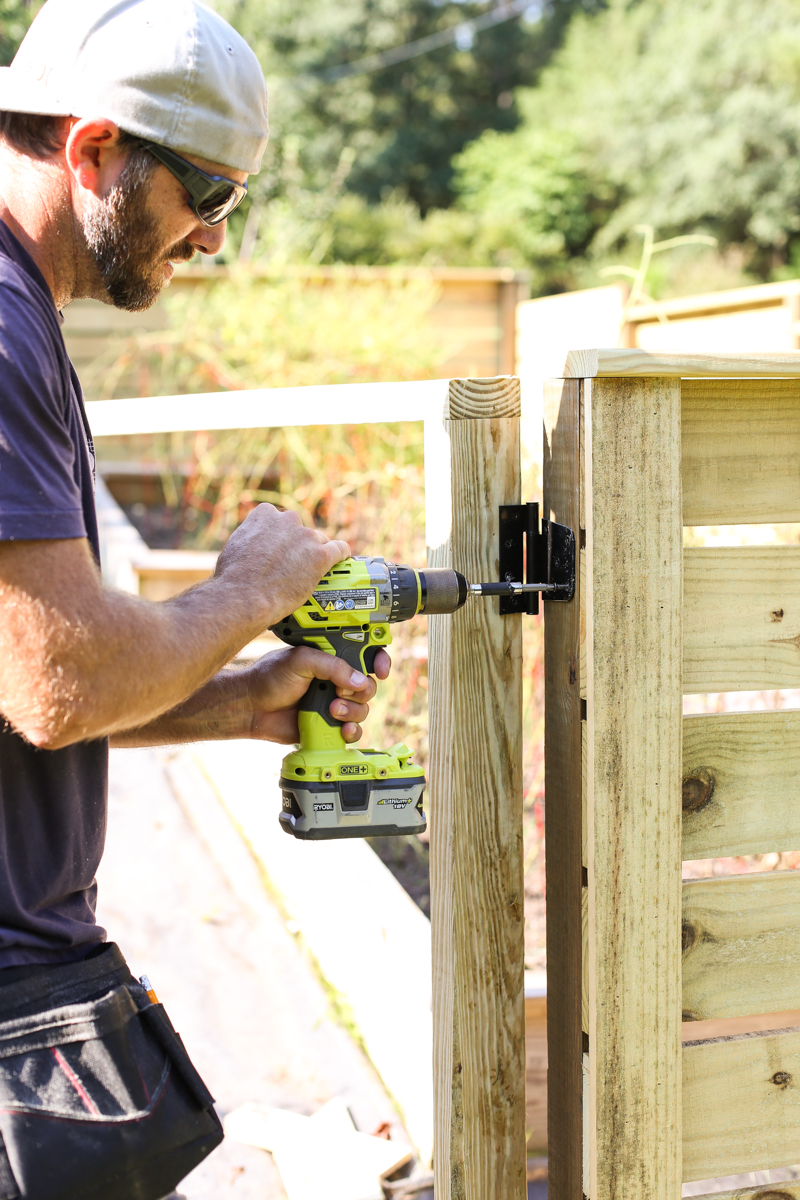
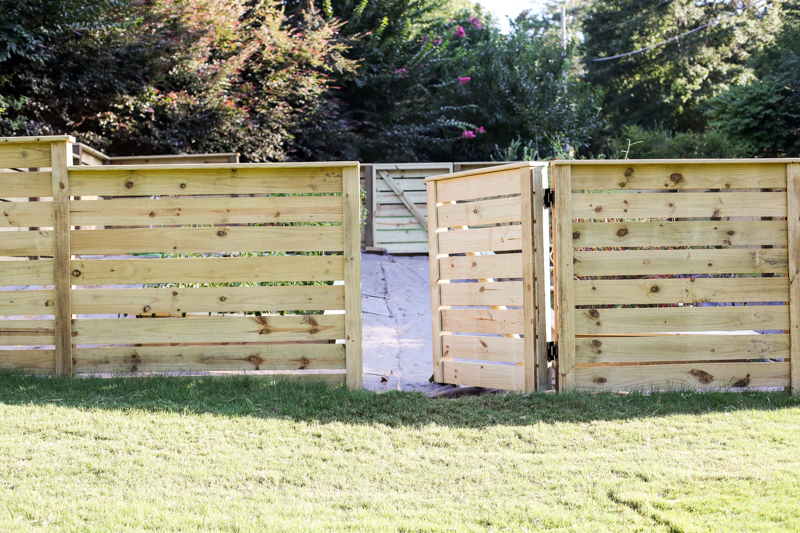
This was then that he attached it to the neighboring posts. The gate would swing toward the garden (swing IN) so this meant that the inside of the hinge went on the inside.
TIP – don’t buy self opening hinges. trust me on this. We picked up four packs of hinges and apparently two of them were self-opening….which we thought “Oh let’s make this work”….it doesn’t work. So tip of the day – check the packaging 🙂
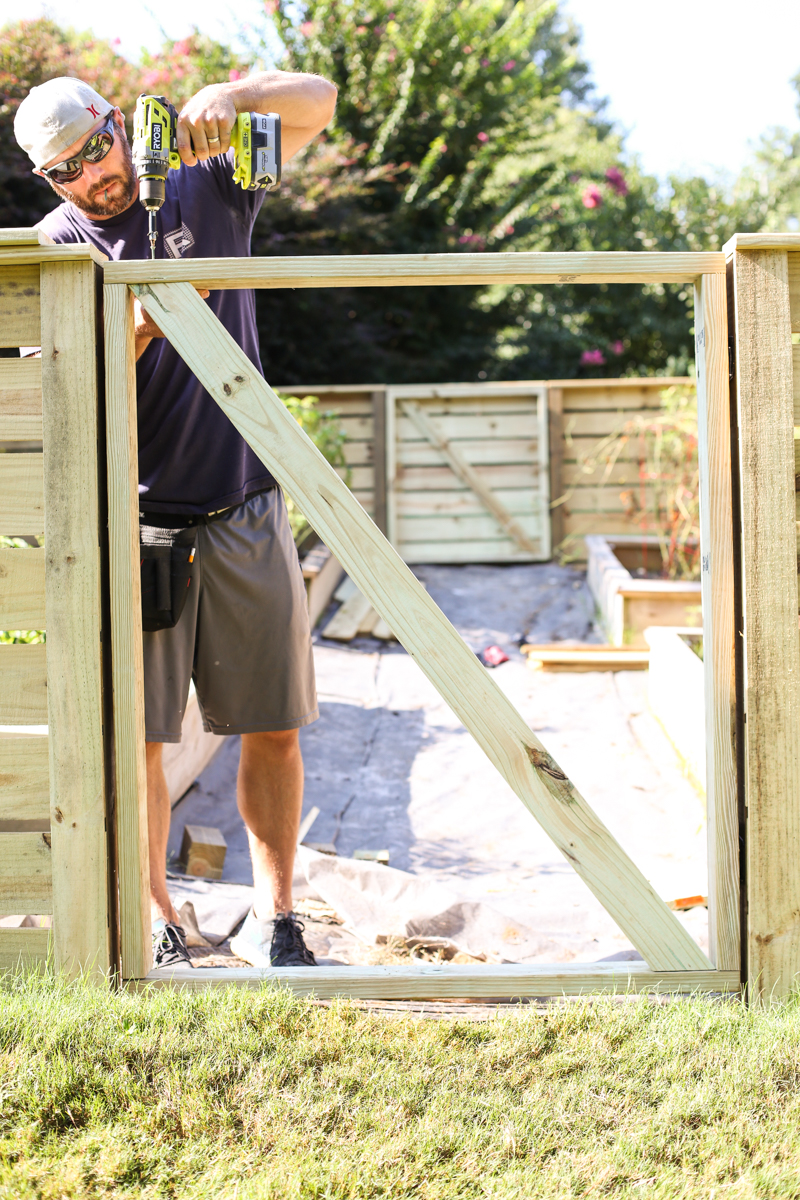
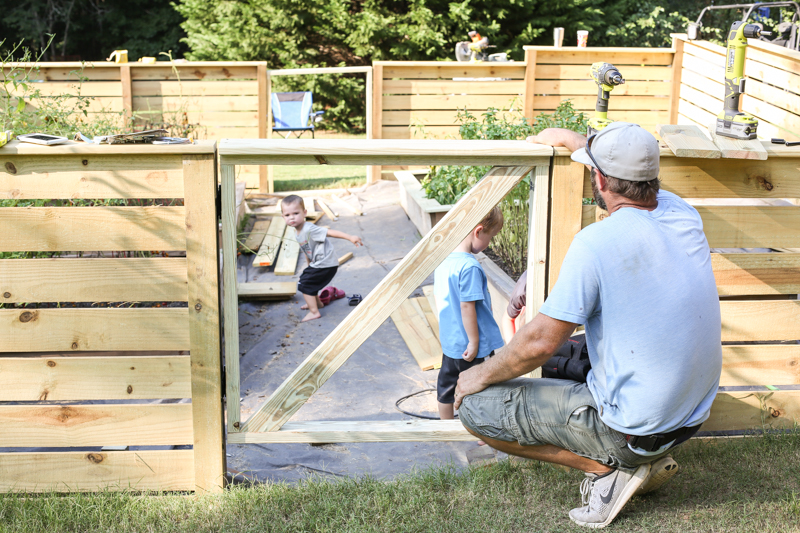
Then you want to attach your support brace. This brace allows the gate to be more stable and reduces sag. It goes from the top of the gate on the handle side to the bottom of the inside gate frame on the hinge side. Attach it with screws from down through the top 2×4 frame….
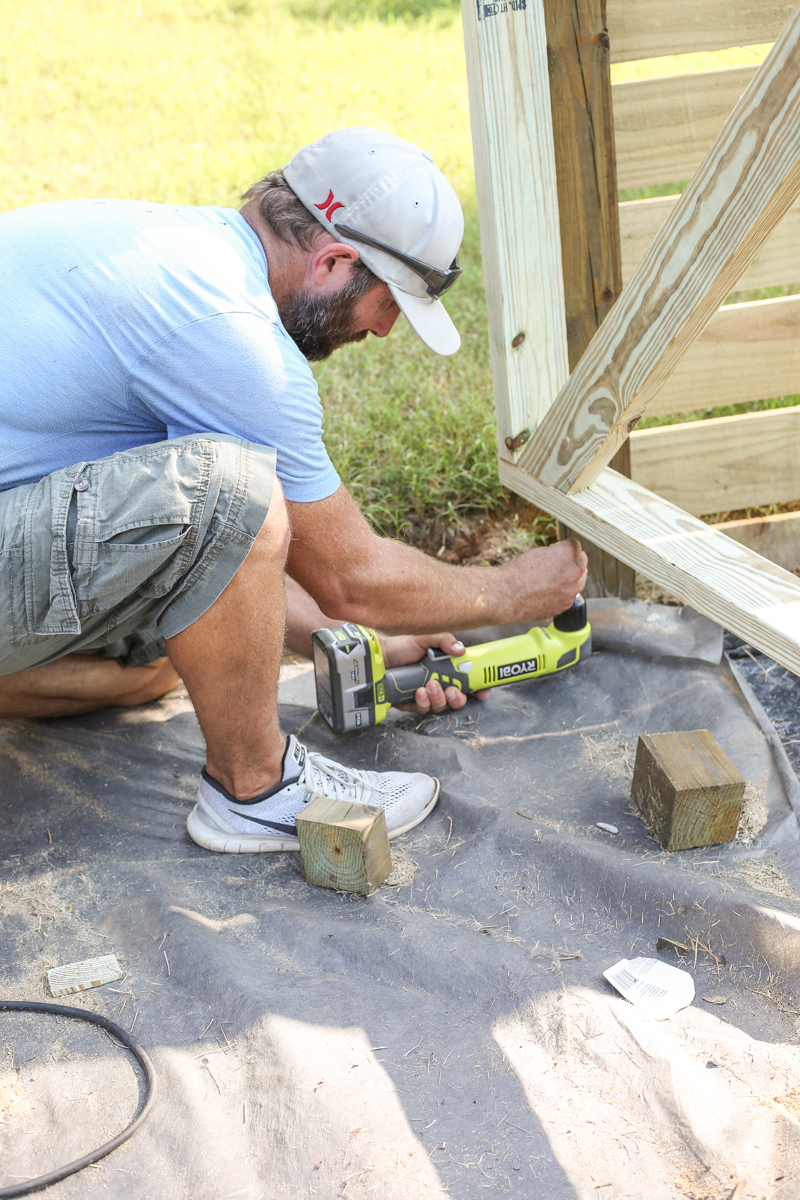
And also from the bottom. A right angle drill works great in this situation because the area will be tight.
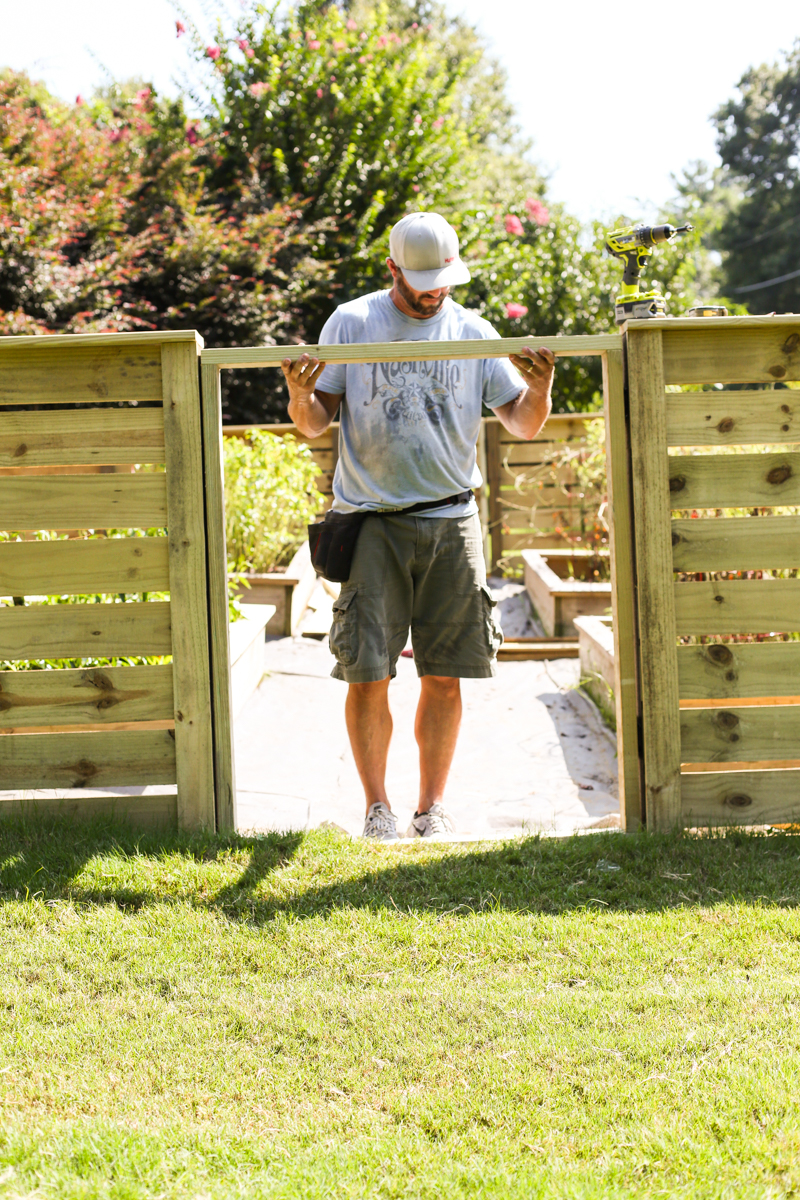
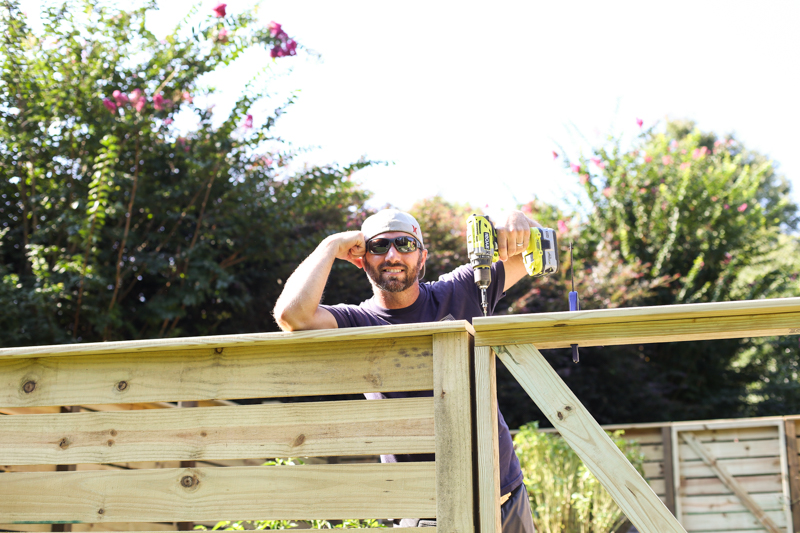
Then comes time to attach your finish board on the top. This is just a deck board cut to length and aligned with the neighboring top boards. Cheesy pose not required.
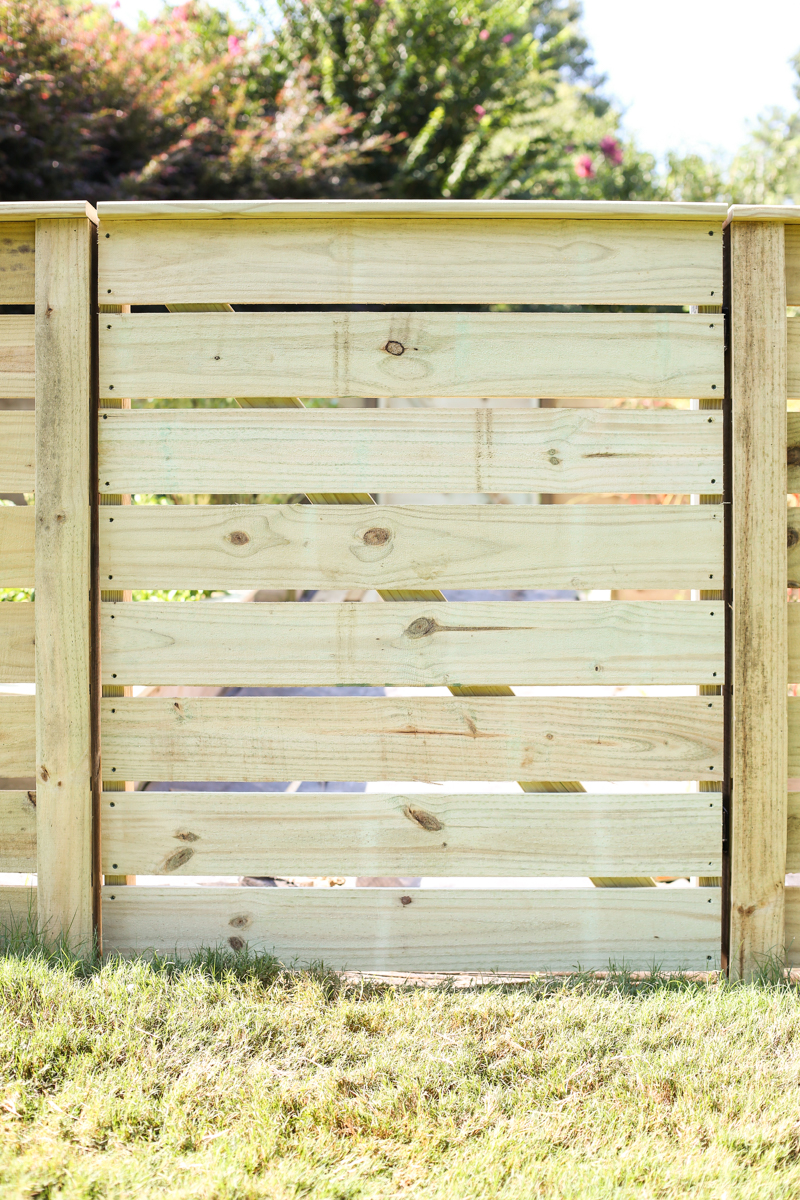
Then Jeremy attached the slats. This was actually the trickiest part because you want them to create a single continuous line with your eye from two different sides. It was most helpful when I stood back and told Jeremy to adjust the board up or down. Note….this was the only help that I was the whole time except for cat calling Jeremy 🙂
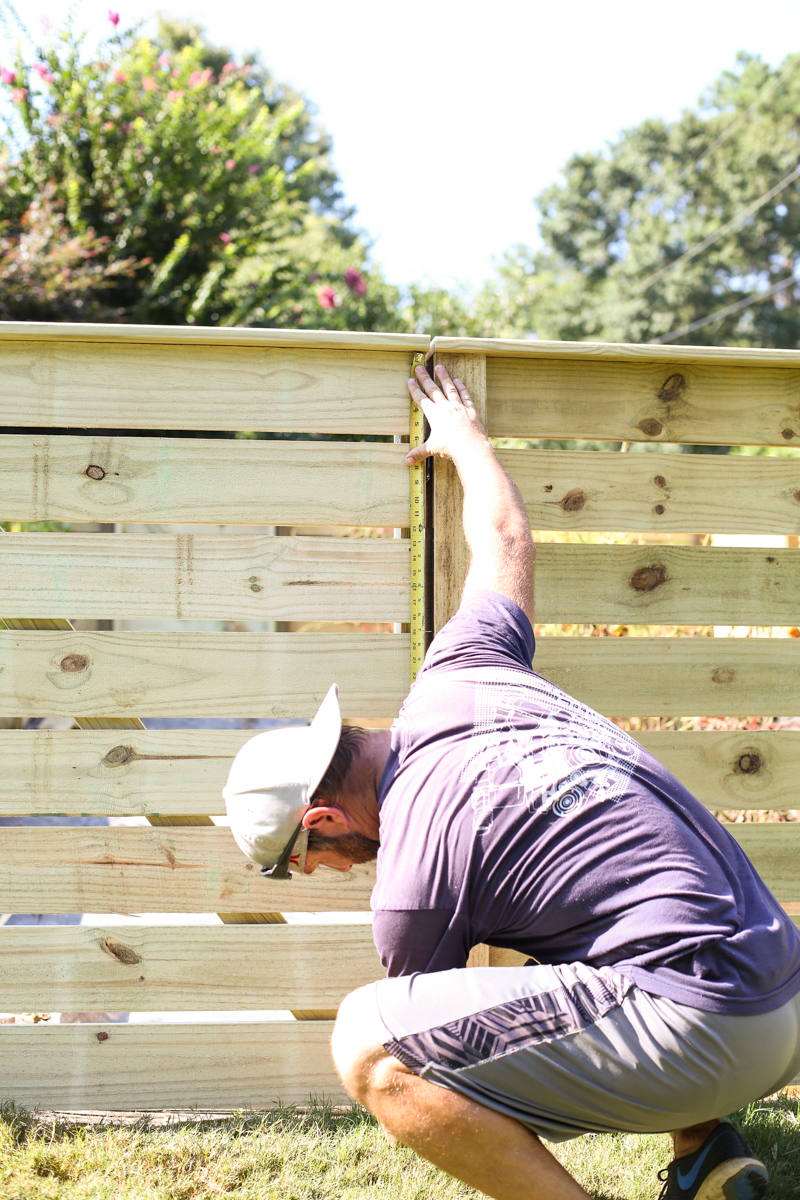
Then measure the sides for the upright slats….
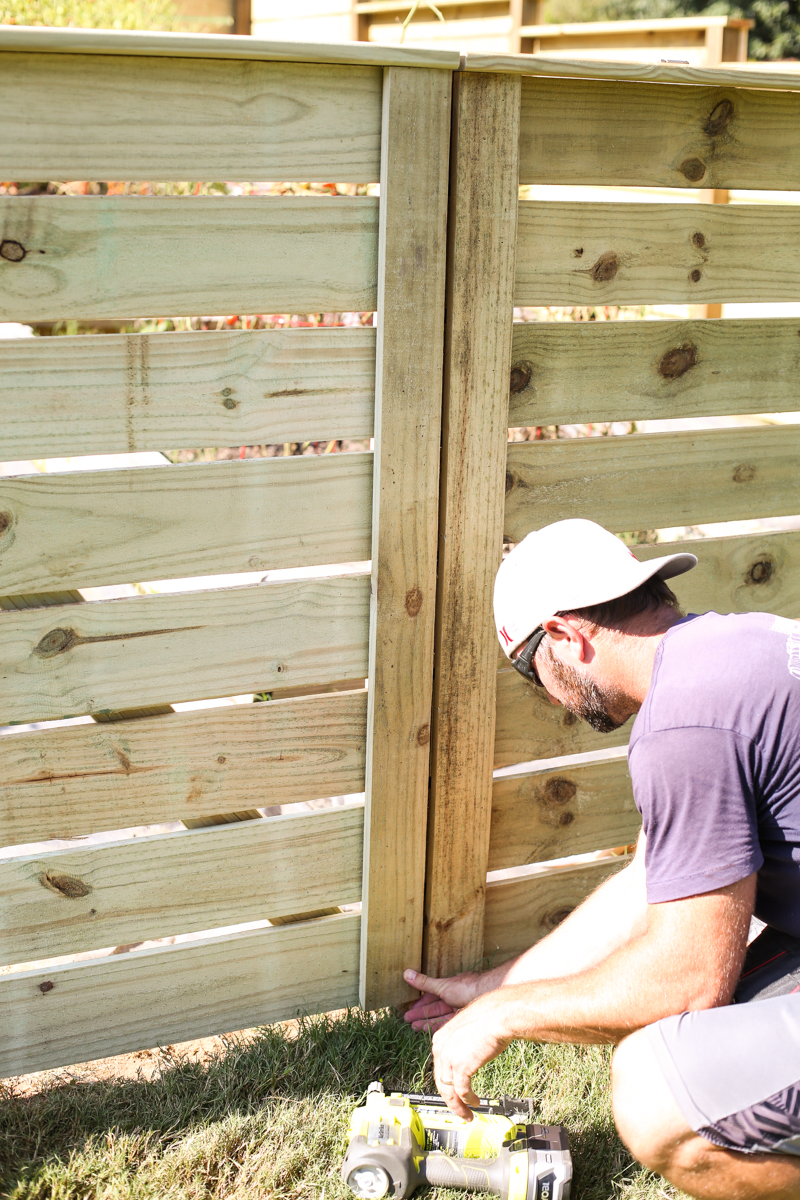
dry fit those bad boys….
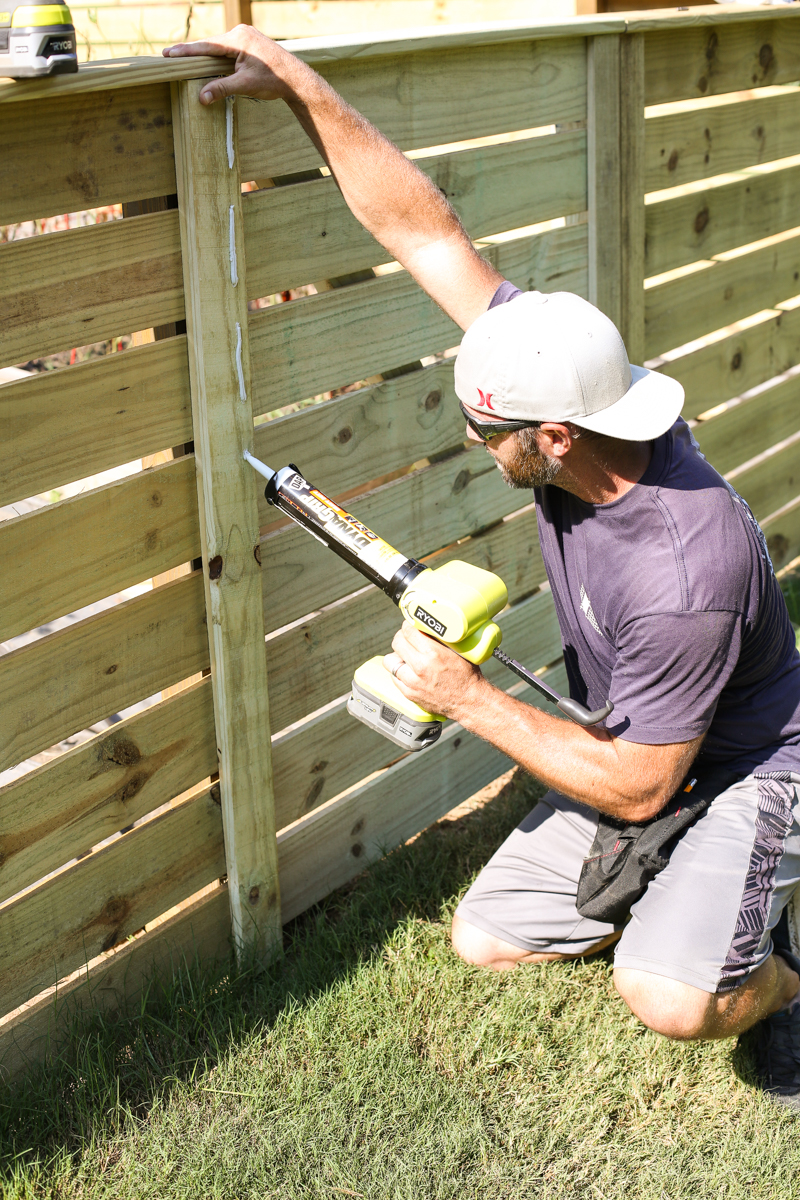
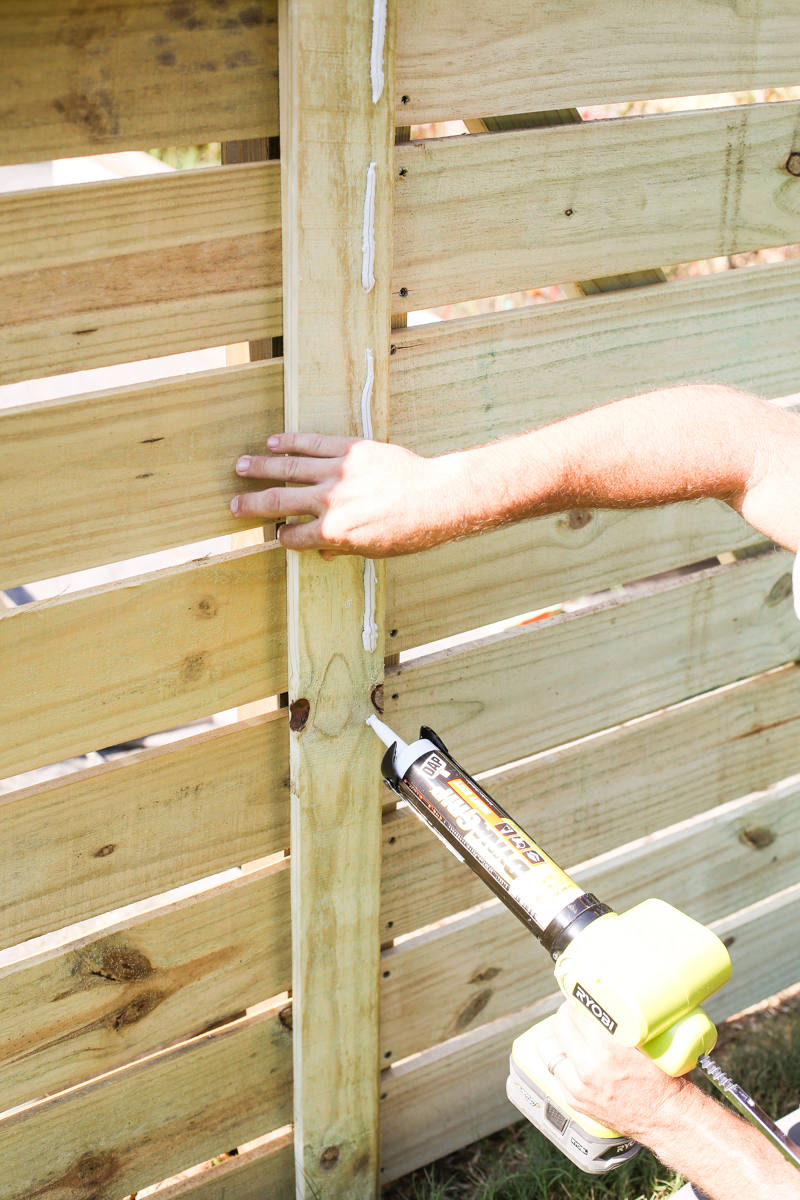
Add some adhesive….
we put it only where the boards would sandwich the adhesive together….vs a single straight line that would squish adhesive out the slats on the backside….
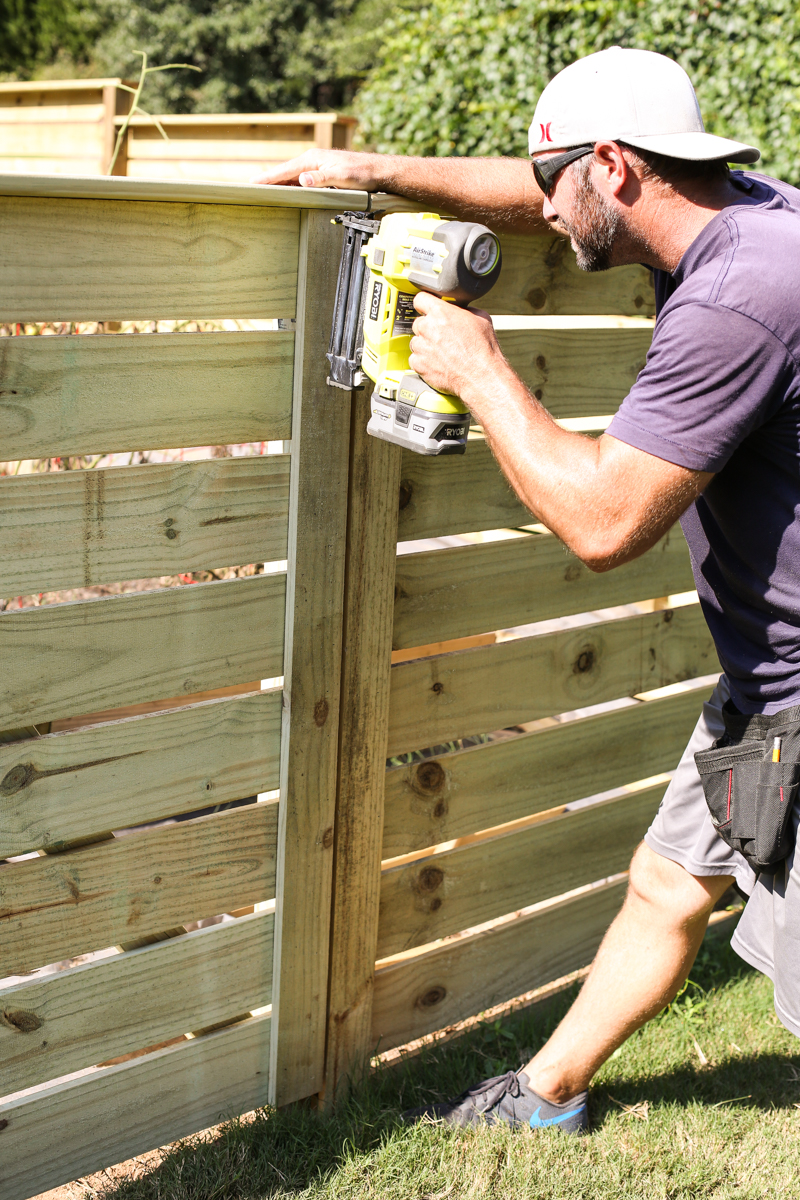
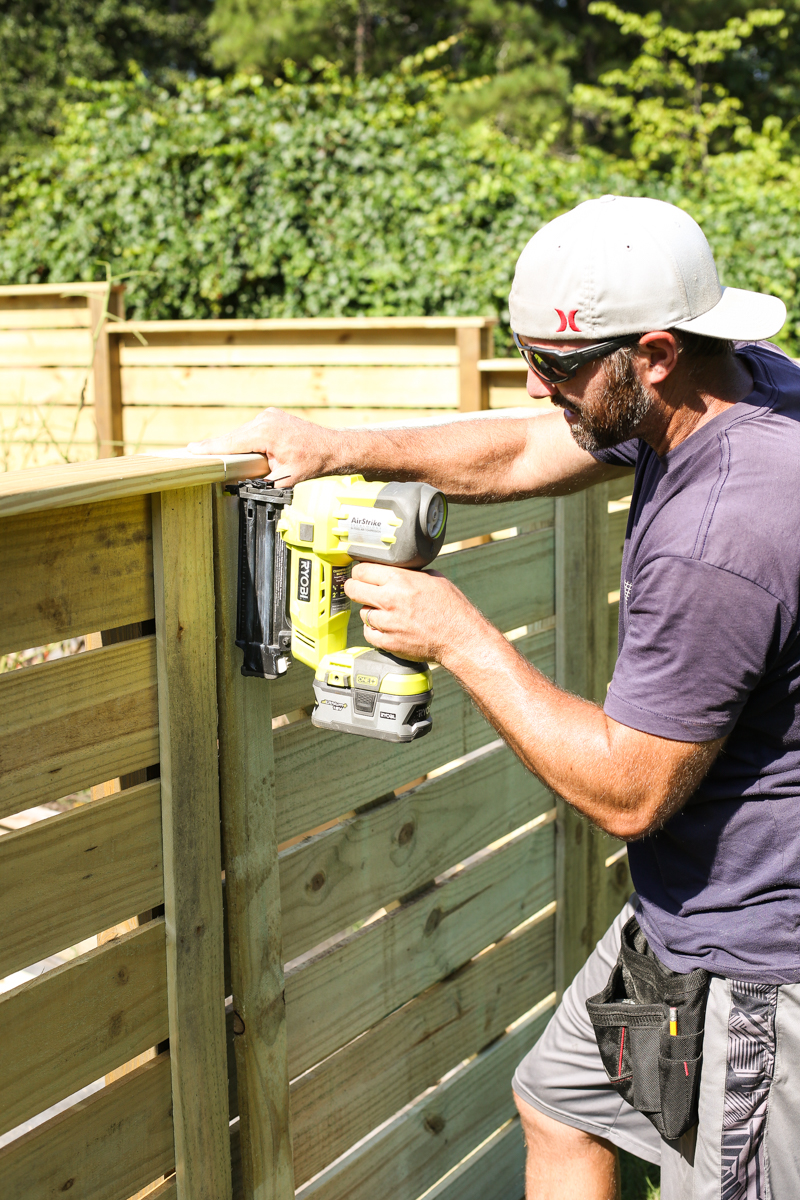
And brad nail in place.
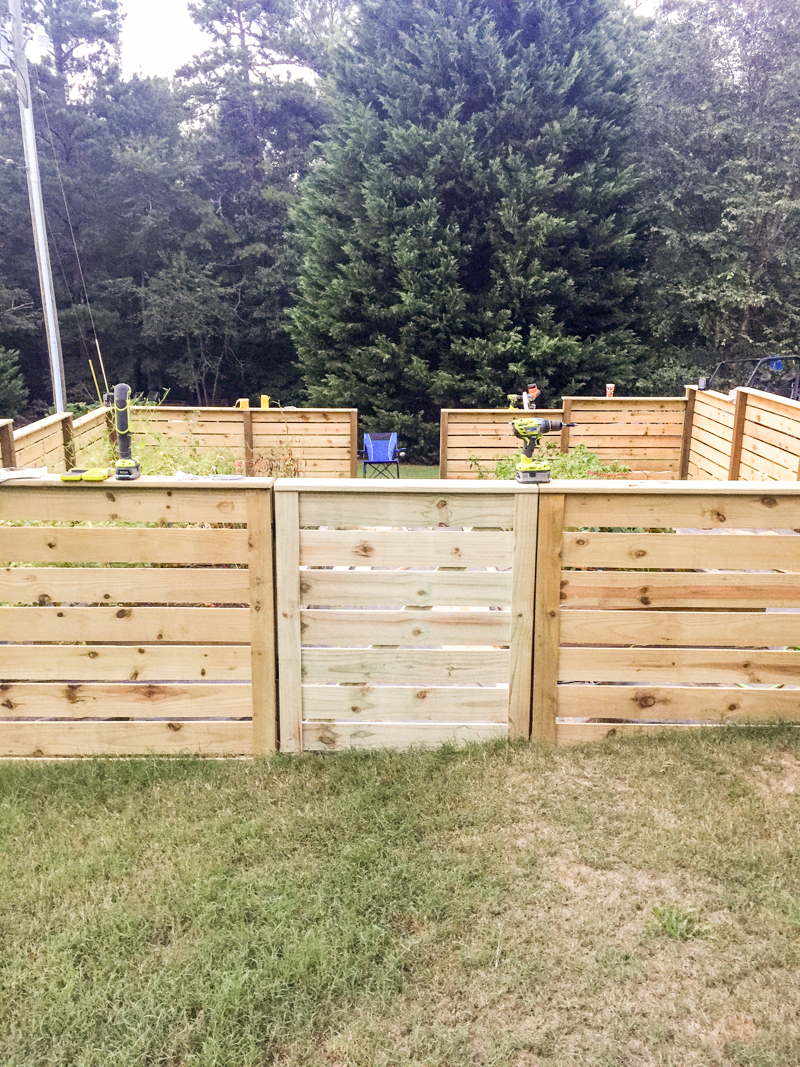
Repeat on the other side and BOOM you are DONE!!!
Now take a step back and admire your work….while putting out the vibe 🙂
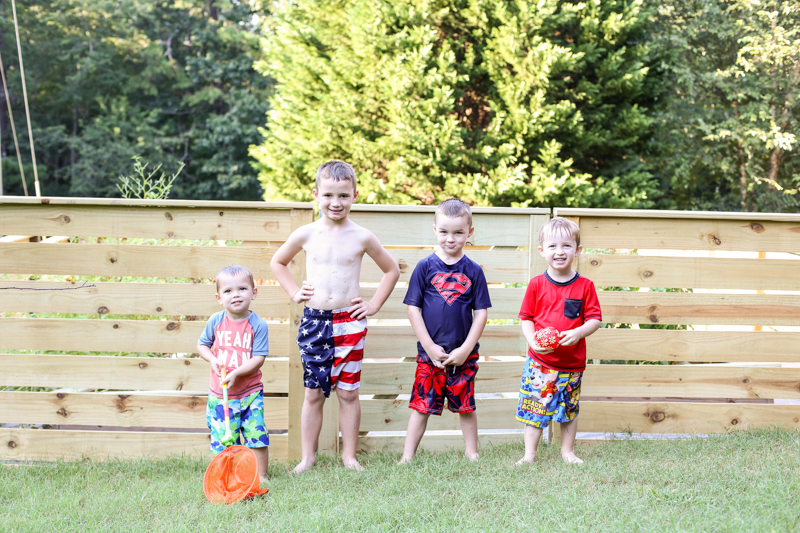
And also take pictures of your kids in front of the fence. Because one day they will be able to hurdle it.
Ugh they are so cute. They literally drive me nuts sometimes….but dang if they aren’t the reason I want to have ALL the babies.
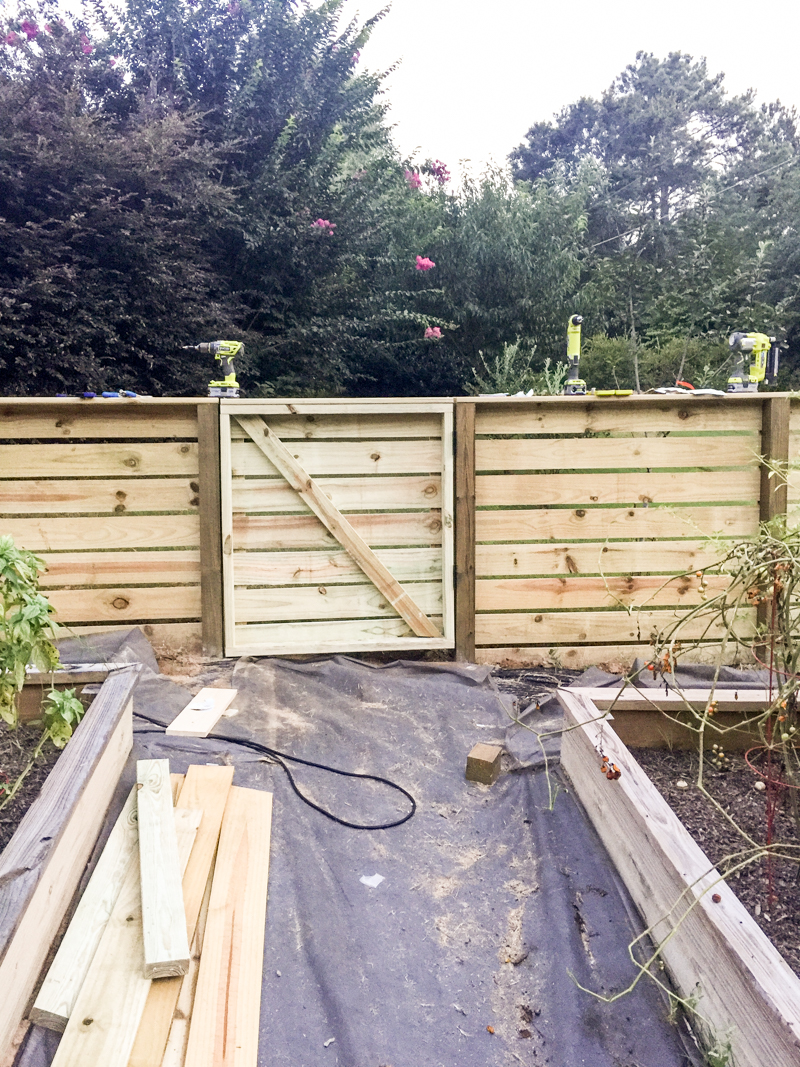
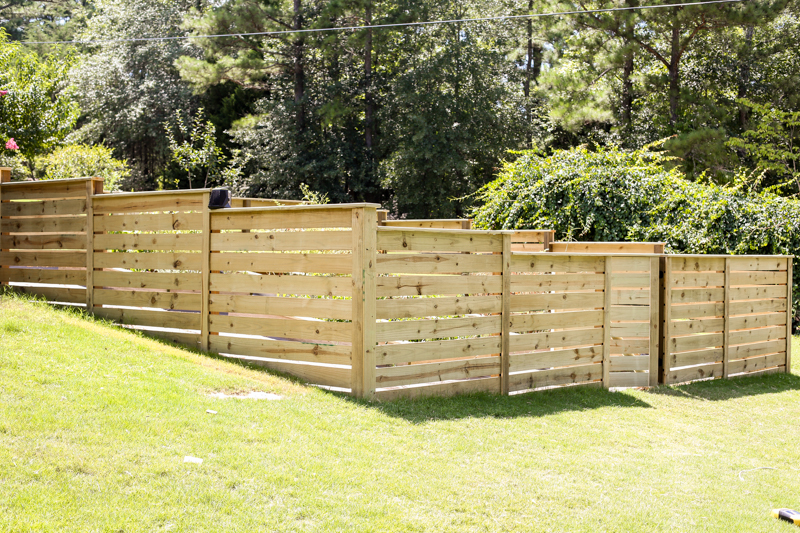
Okay…so this post outlined a way to make a garden gate and it all seemed super easy right?! Well, it wasn’t without some errors. We at first thought about making the fence swing out…before the last minute change of making it swing in. Why the change? And why does it matter? Well our fence is on a slope. If the gate swings out, it makes the gate a completely different size so that it can clear the higher ground. Jeremy originally built the fence to do just that but in the end, it meant that it would have a giant gap at the bottom and all those rabbits I want to keep out…well, they would definitely be in.
Here is the view from the other side. See that giant gap? So we hung it to swing in and then realized our error….it’s not the same size fence gate. So Jeremy rebuilt it.
Here it is with all it’s anti-rabbit length. See how the bottom now blocks that gap? Yeah. Thanks Jeremy Bower.
Another thing to keep in mind is the fact that these are wood doors….aka heavy doors….so if you need to add additional cross supports on the inside to keep them from sagging…just go for it. Wood always sags.
And yes, the entire fence will need to weather for the finishing step….staining. We had decided to stain our fence to match our existing deck…so that made the decision easy. But you should keep in mind that all wood stains are different and require different things….some may have longer weathering periods than others. Some are semitransparent. Some may need reapplying every couple years. All things to take into account before you do that first coat.
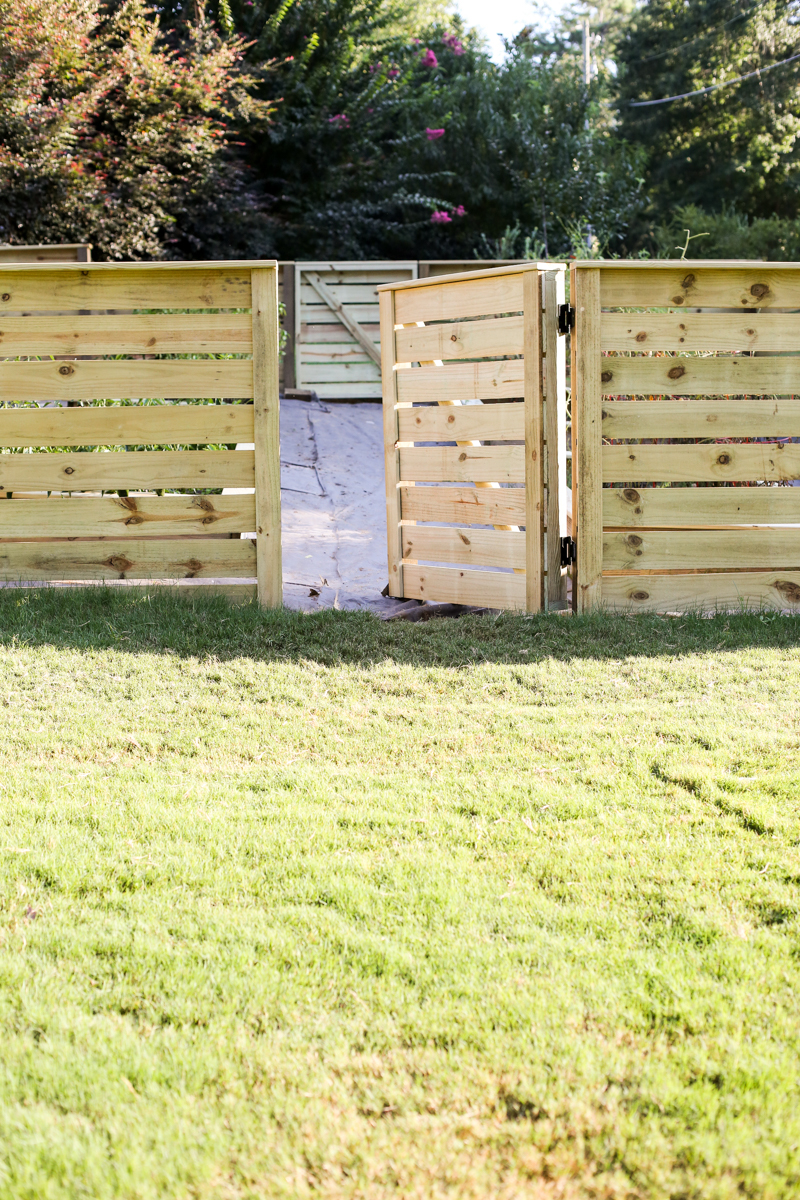
But HOORAY! Two gates fully finished and ready for their stain and handles/latches! It feels so good to have the building stuff DONE!
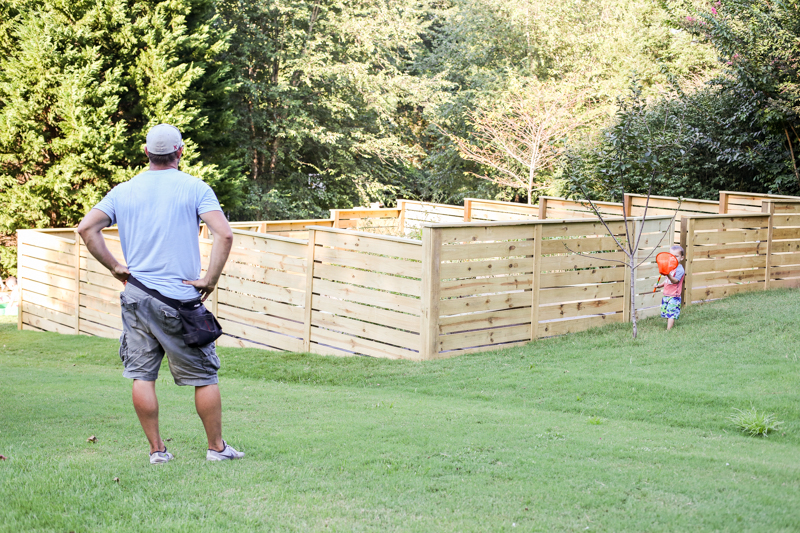
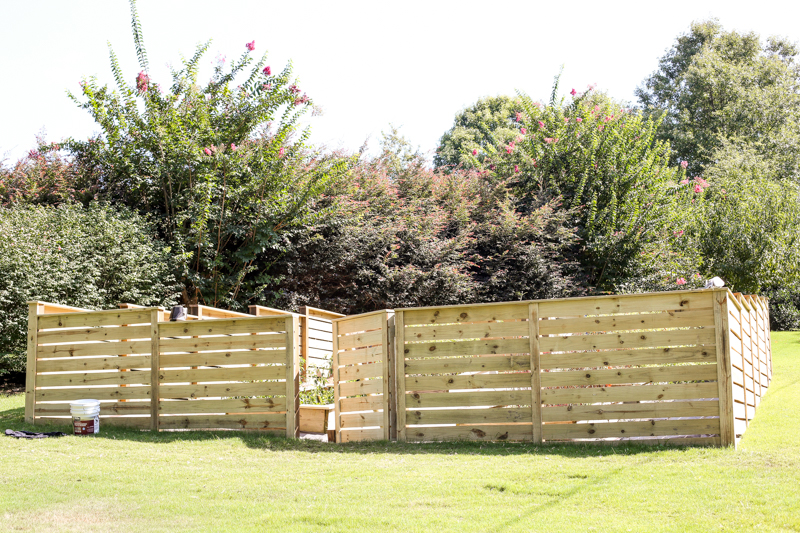
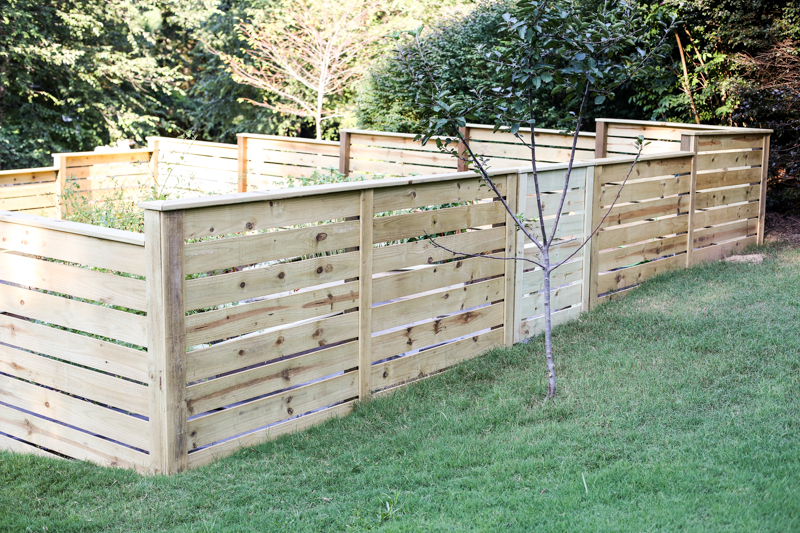
And now for more gratuitous fence shots….
So there you have it folks…our first fence and it looks AWESOME if I do say so myself. Now the next step is how we sprayed it – including a fun new-to-us tool and the hardware we picked to finish it off! Then the final reveal. It’s fence-mania up in here! OH and come back tomorrow….I tackled my sisters bathroom and it looks INCREDIBLE. Like I’m sort of ticked that I didn’t do it to my bathroom. But she did bring me cookies and flowers and dinner and baby gifts when I had Ella….so I guess she totally deserves it. OH THE PAIN OF ADMITTING THAT 🙂

I love the way you talk about Jeremy. Not enough girls praise their man – just complaints and grump vibes.
However – seems like it’s a good thing this fence came before you had Ella and not after. It could have gotten you pregnant again!
And your boys are soooo cute!
The fence is very modern and attractive but seems more like a privacy fence than a garden fence. Were you concerned at all about blocking the view of your blooms (or the sun from reaching them?) Just wondering why you chose that style of fence over something more open?
So part of the reason we chose this style is that this fence is visible from our neighbors house and from the street (it’s not directly visible from our house though because of some bushes which is weird). We wanted either a wire or wood fence to block the rabbits and deter deer. Of course, we realize that it is very fancy for a garden fence but we felt like this style matched our home the best. We spaced it so that it doesn’t block the sun from the beds at all.
xo – kb
I think you mentioned adding gravel on the inside over the landscape fabric. Pushing a wheel barrel over gravel can be, well, ridiculous, so considering a smaller pea size gravel to help you out a bit. It is a bit hefty for a garden fence, I agree, but still looks lovely. Nice job!
Oh Katie, cat-calling the hubs is the most important part of any project! And I have no doubt you made Jeremy blush more than a few times while “helping” with this one 😉
I totally agree…it would be quite the workout! We also plan on stepping stones so that it would make it easier and also I would only need to use something that big at the end of the season for clearing it out. I don’t wanna workout unnecessarily 🙂
xo – kb
You’re garden is looking so good! Way to go team Bower!