Prepare yourself peeps. This is a big ole fatty post with so much fence info that you will feel your brain inhale it’s own oxygen and then possibly explode in slow motion. BUT give it all the trust….because truly – if we did this, you can too! It’s actually easier than we thought….at least when both Bower brains were thinking about it 🙂 Figuring out the order of events was the trickiest part and the heat was the biggest obstacle….but now we have a great fence that is a beautiful and simple solution!
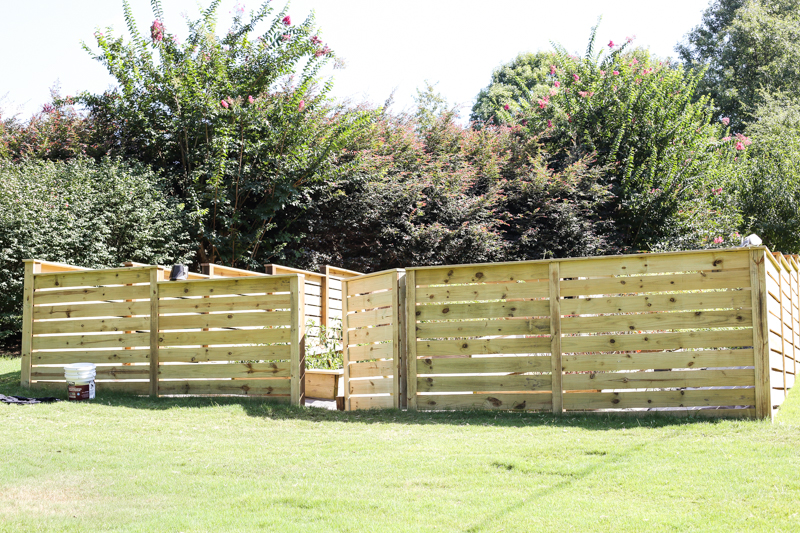
I am going to break it down into parts so that you can see how we built it and if you are interested in building one yourself, I think this would look awesome as a privacy fence or as a border fence much higher than our own. For reference, ours was four to five feet tall depending on the side. I won’t share measurements of all our boards because it wouldn’t apply to other people but in general, we used 6′ long pressure treated pine pickets and 1×6 deck boards.
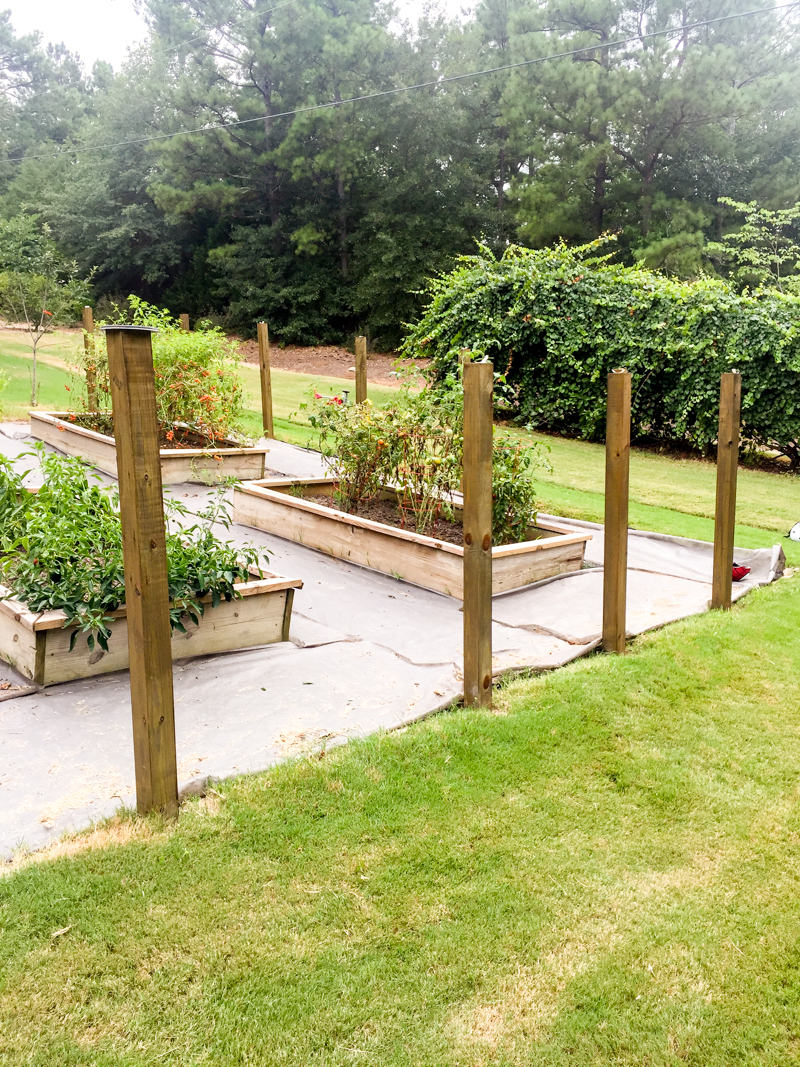
The very first step was finishing off our upright posts….read this past blog post to see how we did that.
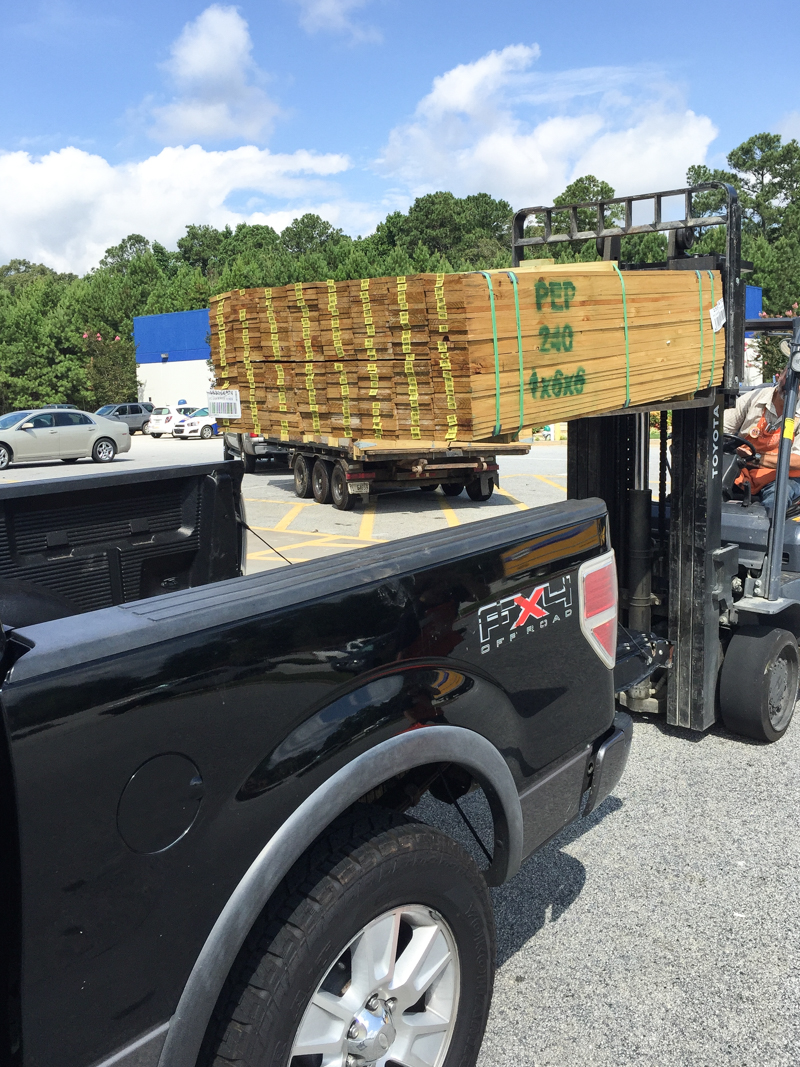
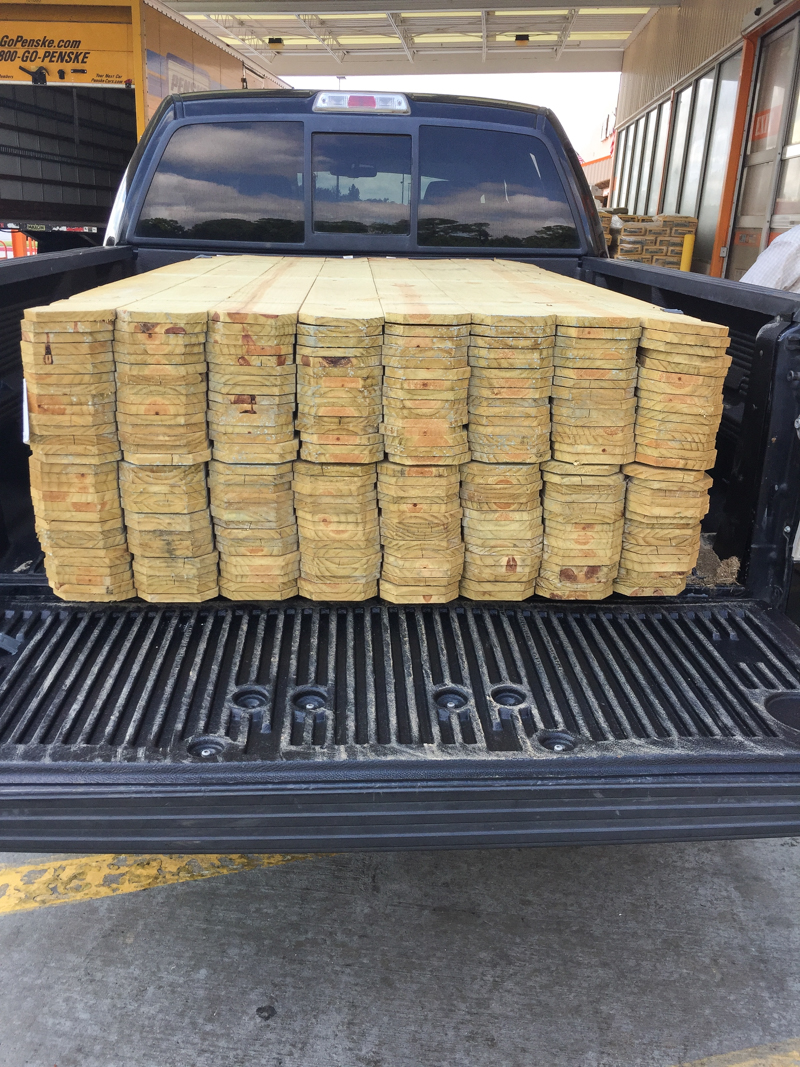
Then came time to purchase the pickets. We went back and forth about getting pine vs cedar and honestly I still question whether we should have gone with cedar and let it age naturally. But the pine was a better price and since we were fastening both ends of the picket to the upright posts, I felt confident that it would limit the amount of warping that would take place. Also since we decided that we would prefer the stained look (aka the matching the deck look) over the natural cedar look, it made more sense. Next year ask me if I still like it though….you never know 🙂
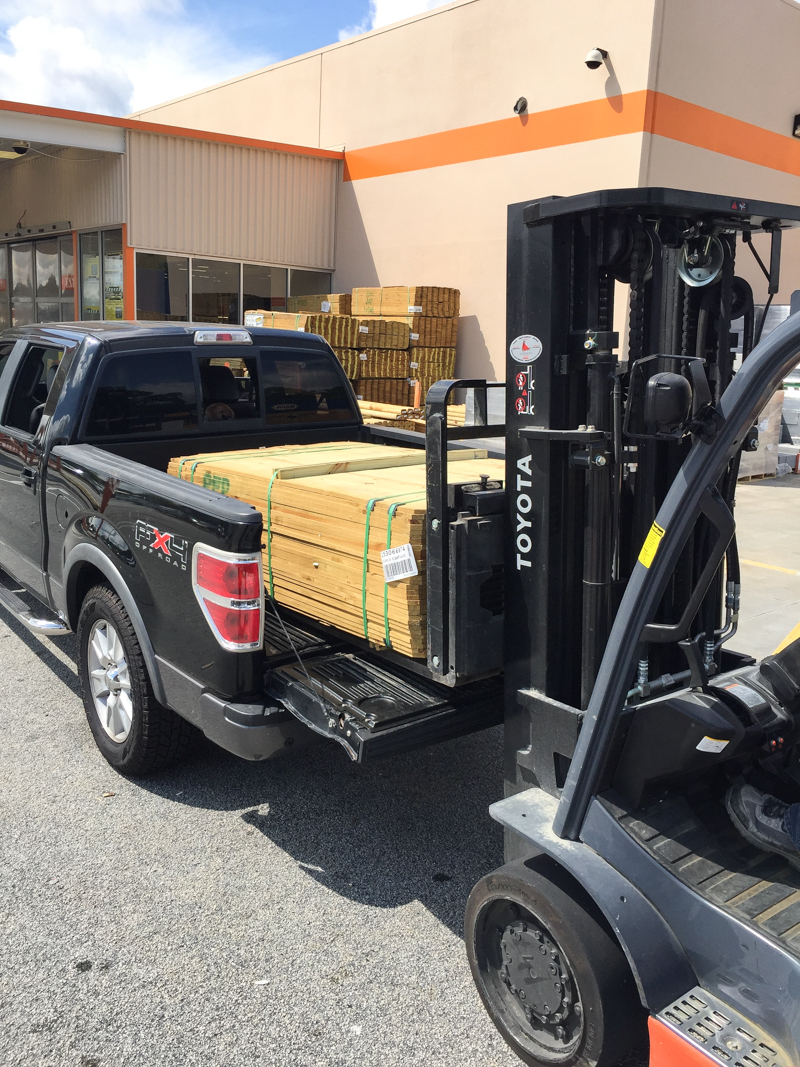
We had the Home Depot guys load the pallet of wood and I have never been so thankful to have a truck to haul stuff!
It’s always a good idea to buy more than you need – some of the boards will be warped already and you won’t want to use those. Having the extra means that you won’t have to stop building progress for shopping runs every few minutes.
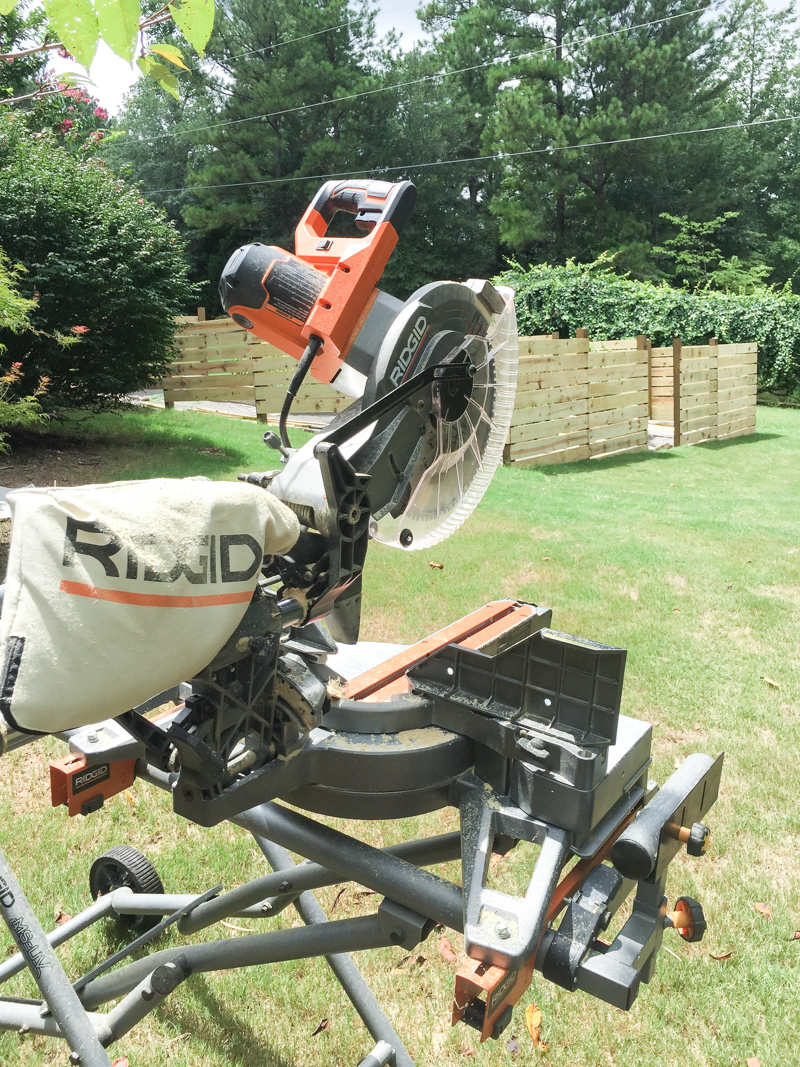
We used an extension cord to get everything out to the garden area including our saws. Thank goodness because it would be still a work in progress if we didnt. You will definitely need a miter saw, a level, a drill, exterior grade deck screws, outdoor heavy duty glue (we used DAP Dyna-grip heavy duty!) and a measuring tape with pencil. We kept saying that we need the new Ryobi battery operated miter saw (yes, you read that correctly!) for this kinda thing. If you need a new saw and are building a bunch of outdoor stuff….it’s not a terrible idea….especially if you have a two year old who wants to use any extension cord like a jumprope 🙂
PANELS
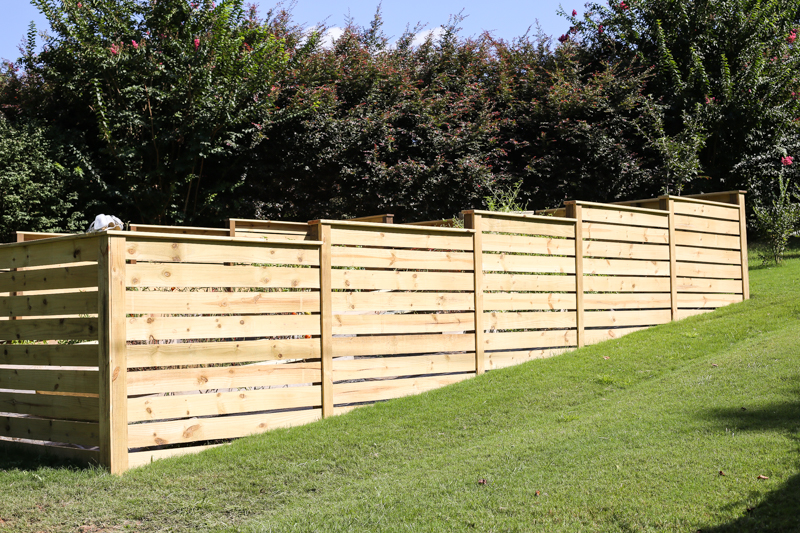
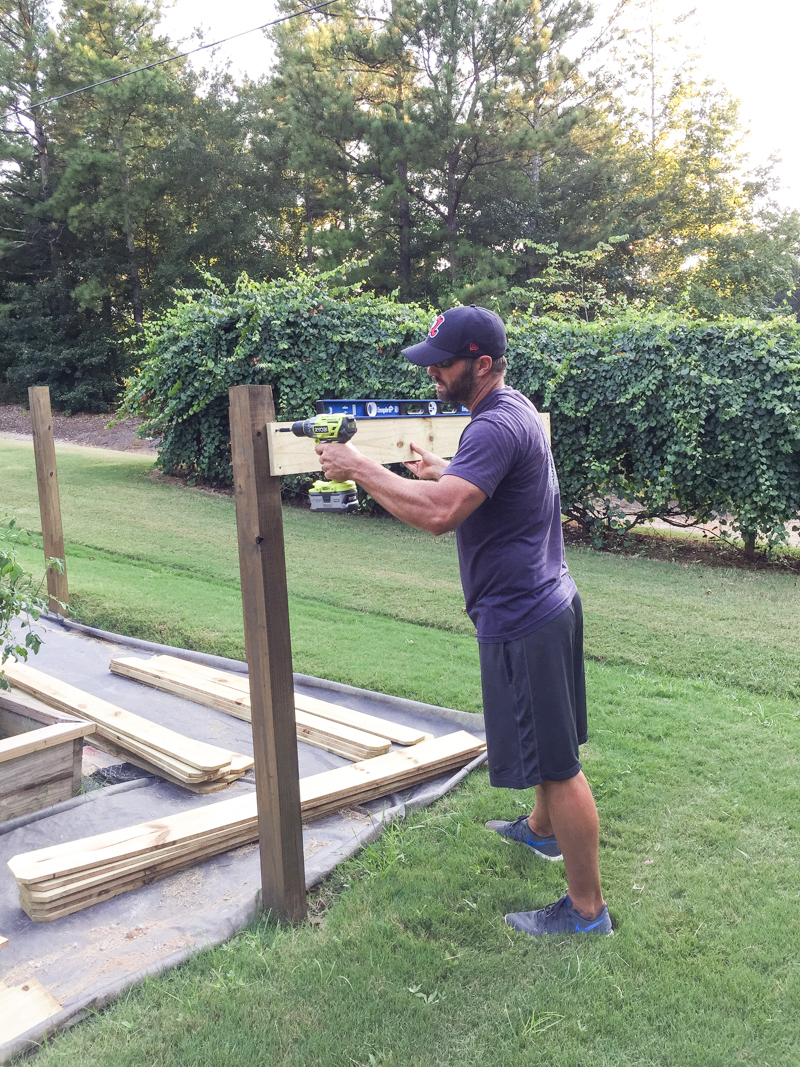
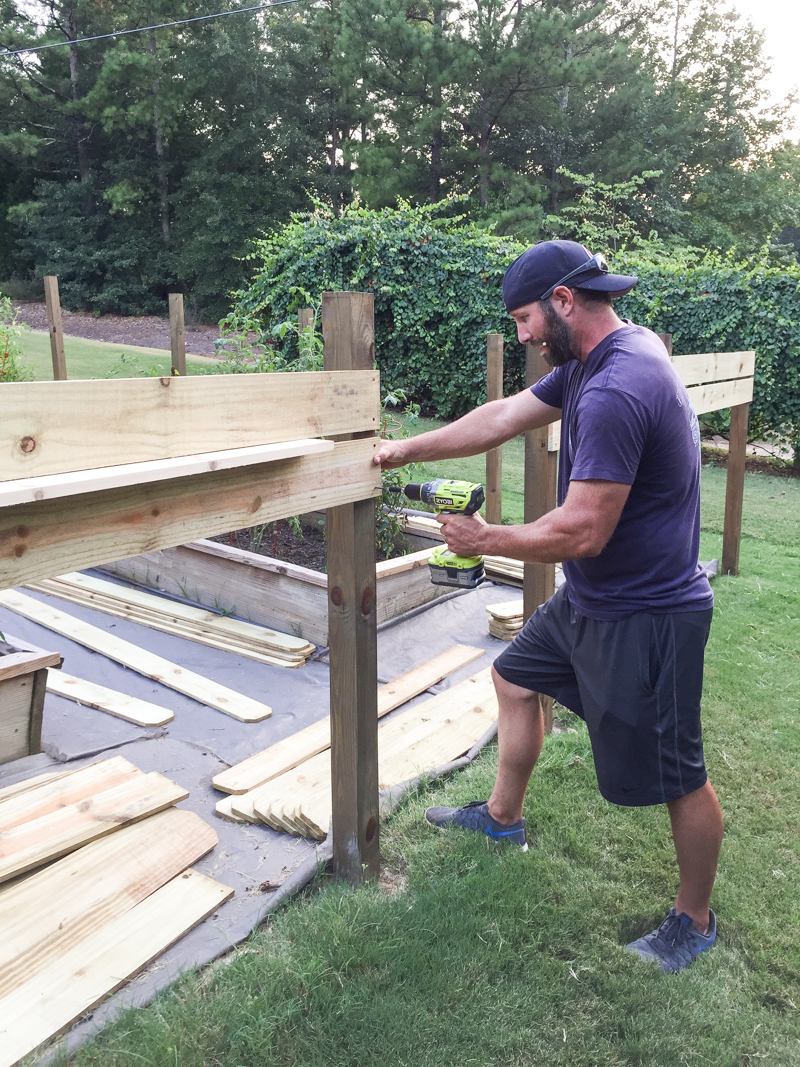
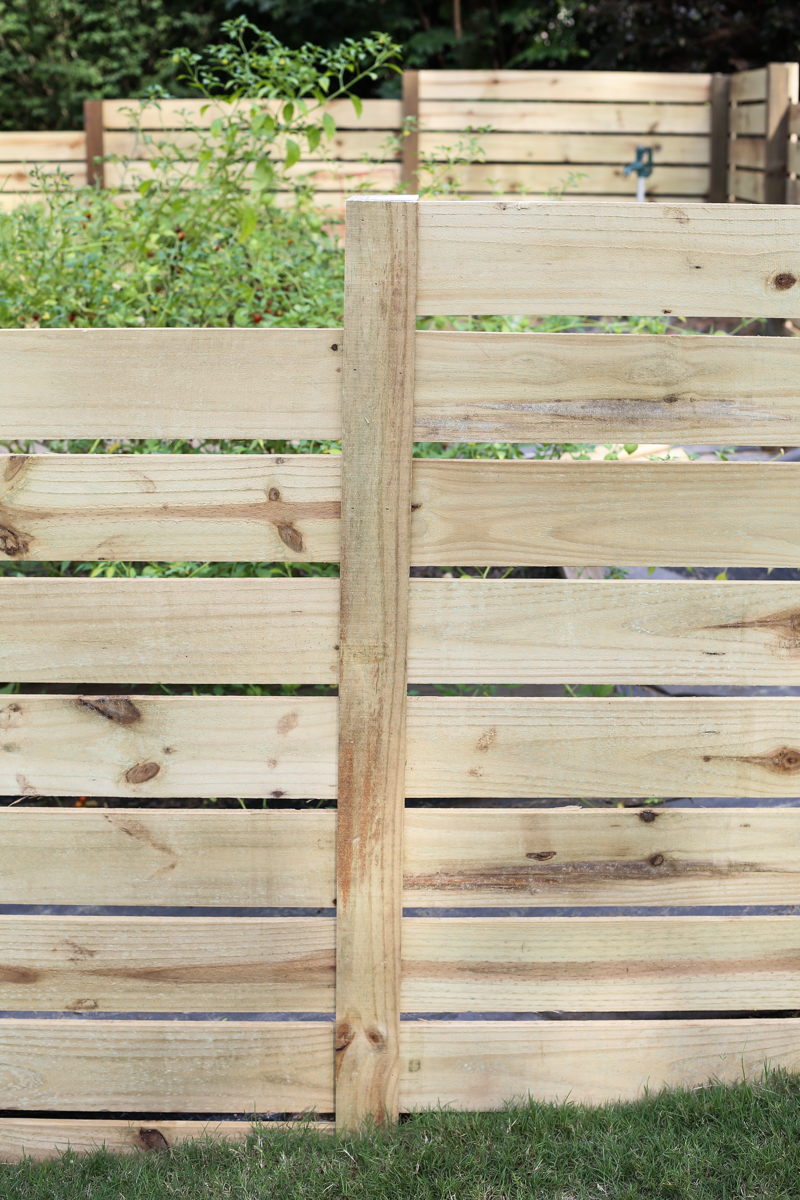
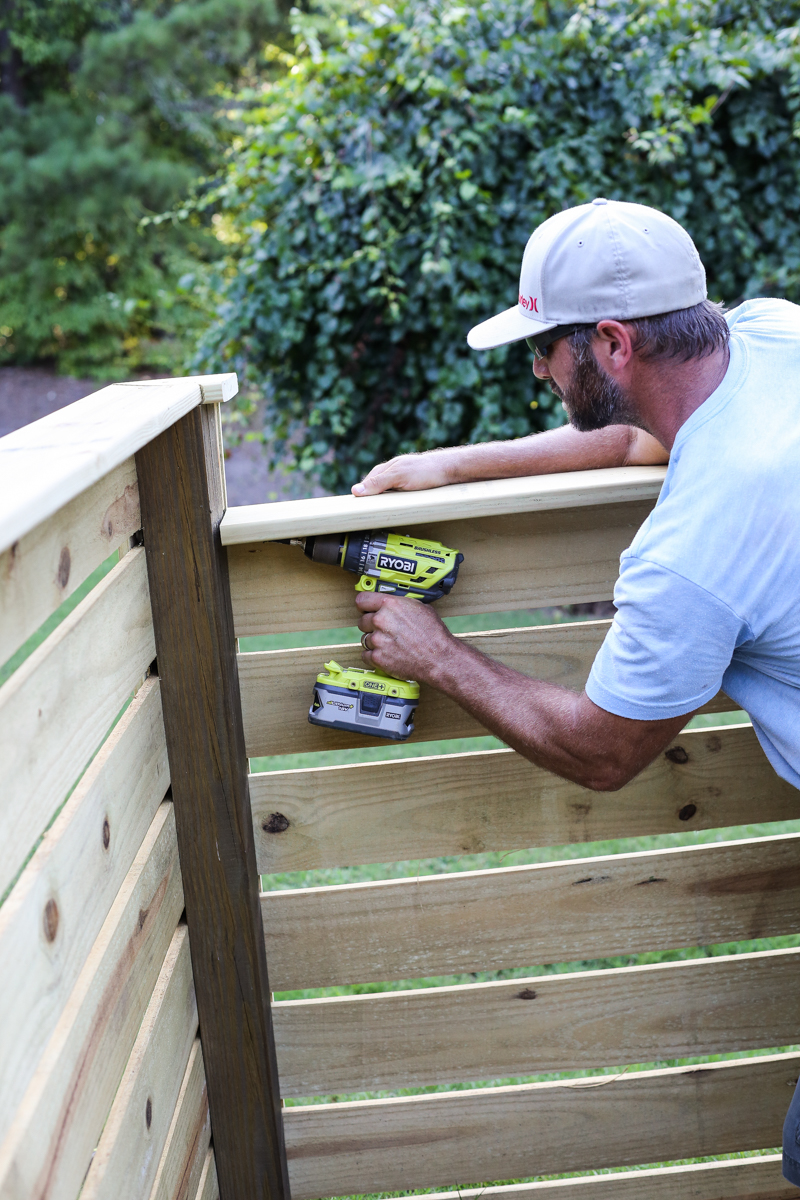
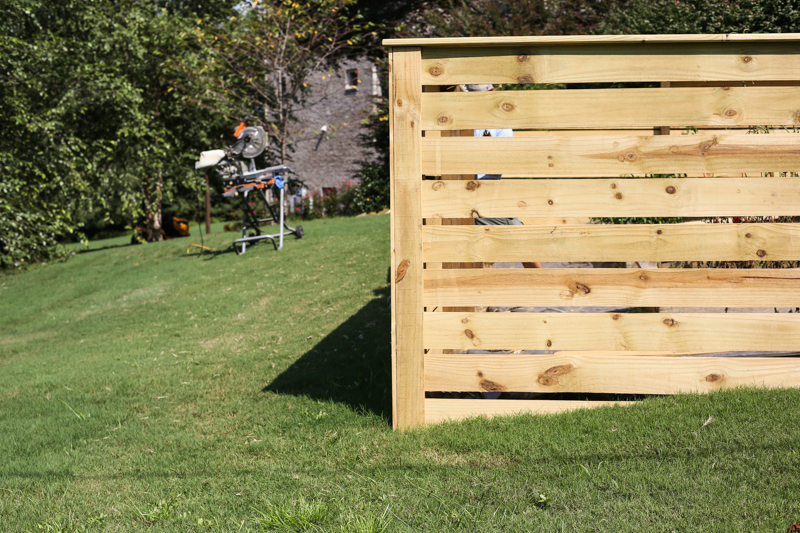
The very first thing we did was go to the lowest corner and cut the first picket to length. The length ran from the outer edge of the corner post to the middle of the second post. Most of the time the pickets needed to be trimmed from middle of post to middle of post….but for corners, make sure they run all the way to the edge. Then Jeremy installed the first horizontal board. A lot of fences are built from the bottom up but this one was a stepped design and we wanted the maximum height out of it…so that is why we started at the top. Jeremy used 2″ deck screws to attach the pickets to the posts.
We continued that top picket line along one side (skipping the gate area) and installed all the top boards first before installing the next layer below it. For spacing we used a scrap 1×6 for between the boards.
After the first level was done, the rest of each panel went super fast. The other thing that took us a minute to figure out was how high each section would go and how we could get the best and most balanced look. It is tricky with the angles. ALL THE ANGLES.
CLICK here to see Jeremy in action attaching each panel —–>>> IMG_4907
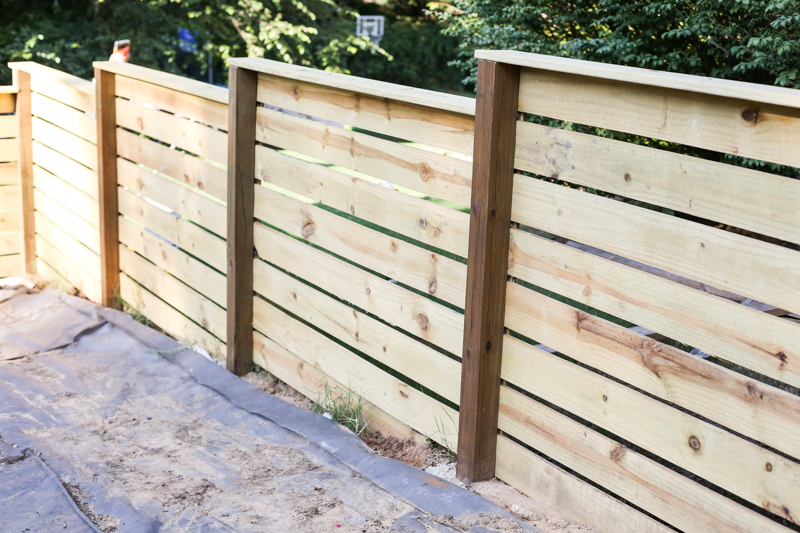
Because our fence was on a hill, we also needed to make sure that the bottom boards went ‘into the hill’ at times. See the bottom board on that center panel in the photo below? That one is an example where the left side would leave a big hole (enough for Peter Rabbit to access our garden buffet) and the right side was concreted into the ground. So the board had to be trimmed to fit…
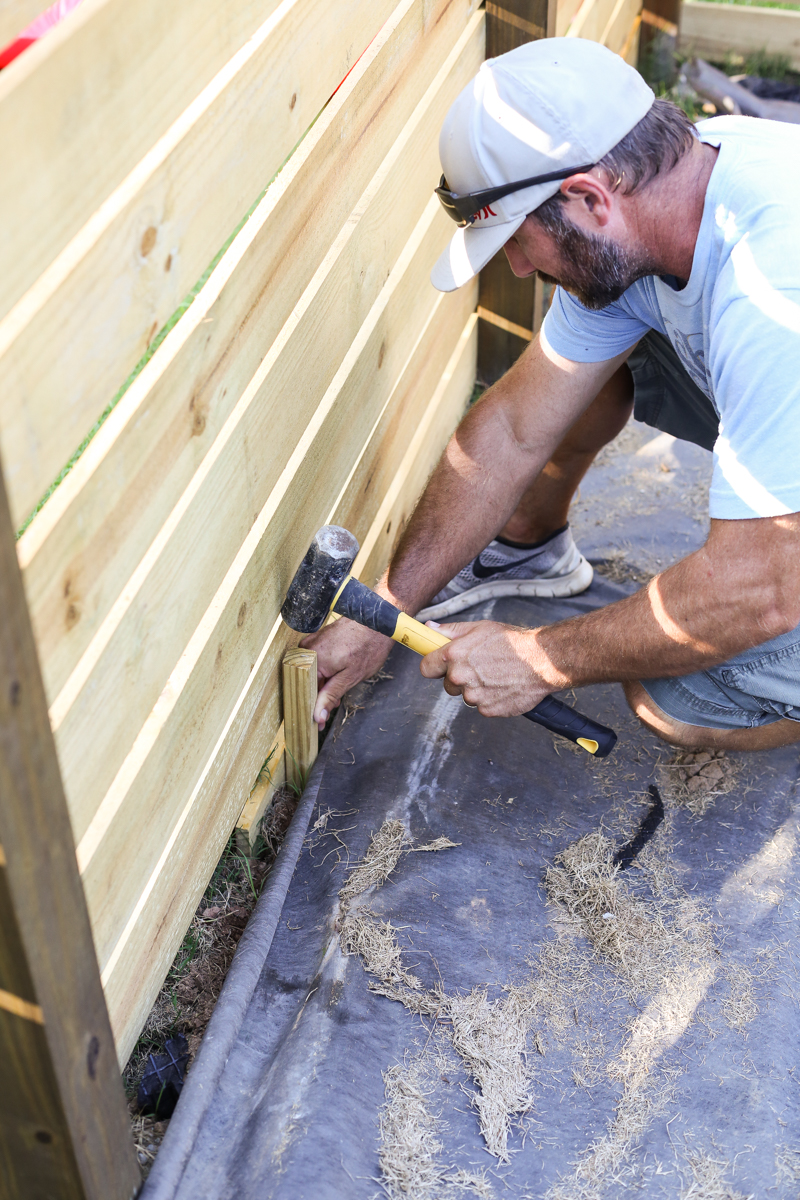
And then staked into place on the inside of the garden bed. The stake went down and then the board was screwed to it. For our garden, these will all have the weed blocker and cardboard run to them and then covered with pebbles….so it’s not gonna even be visible….but it was our easy solution.
And there you have it….a finished fence. Just kidding….we got loads more 🙂
POSTS
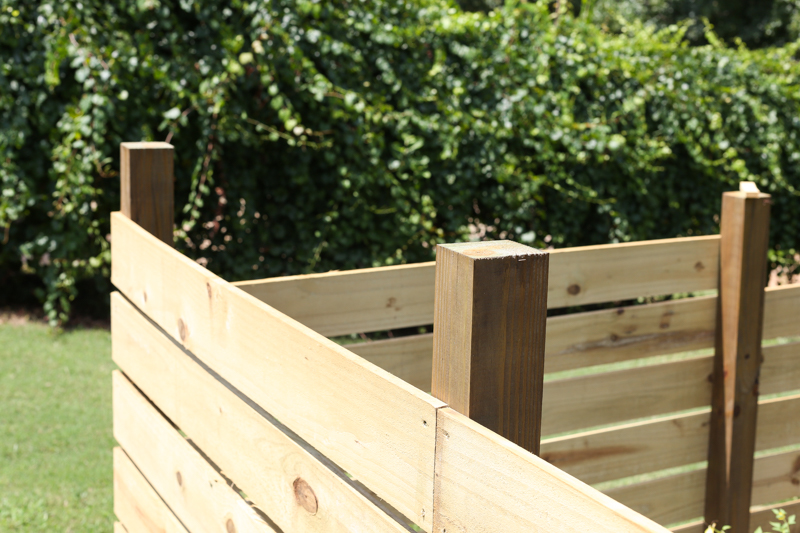
Once each panel was in place and we were happy with the horizontal boards, it came time for all the finishing touches….the details….the ‘make this pretty’ stuff. But first – time to trim those tops of the posts.
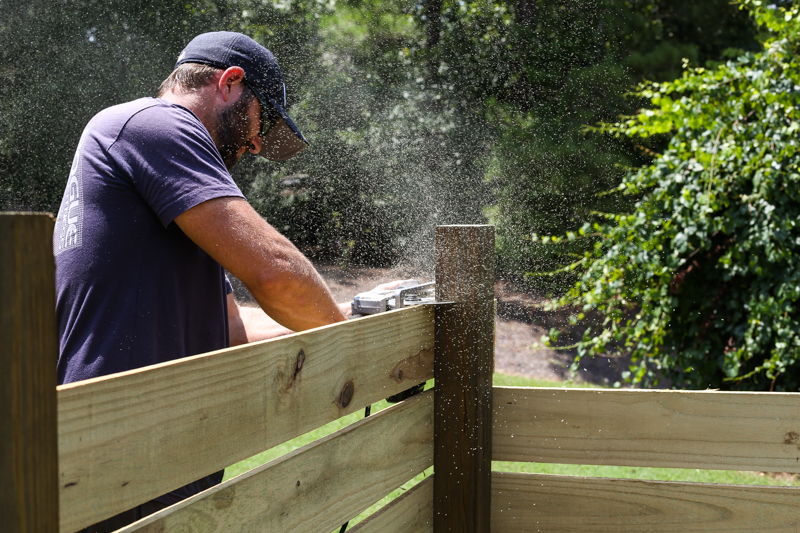
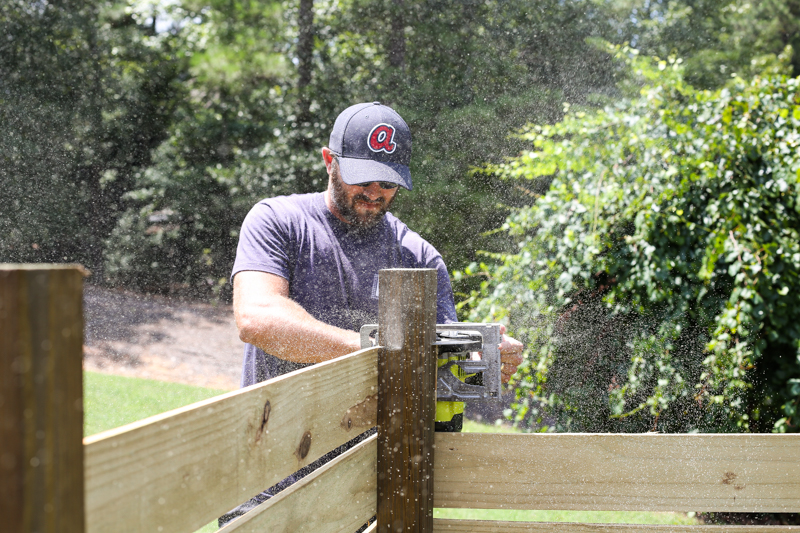
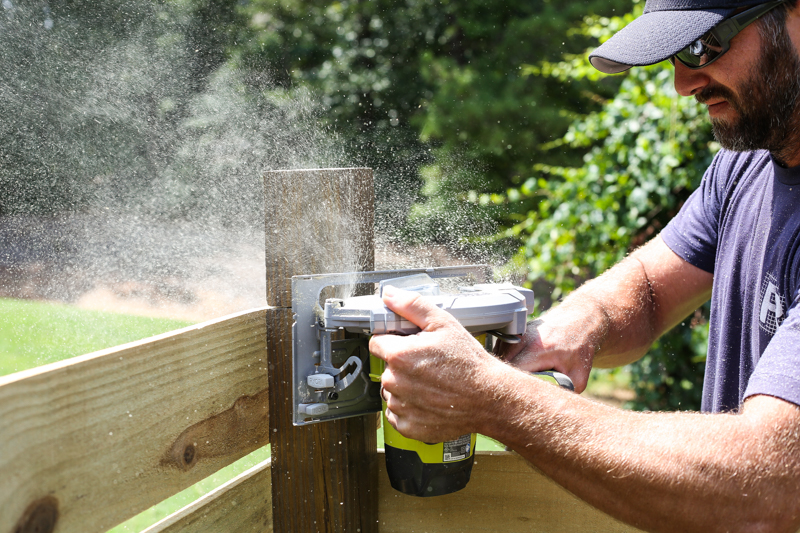
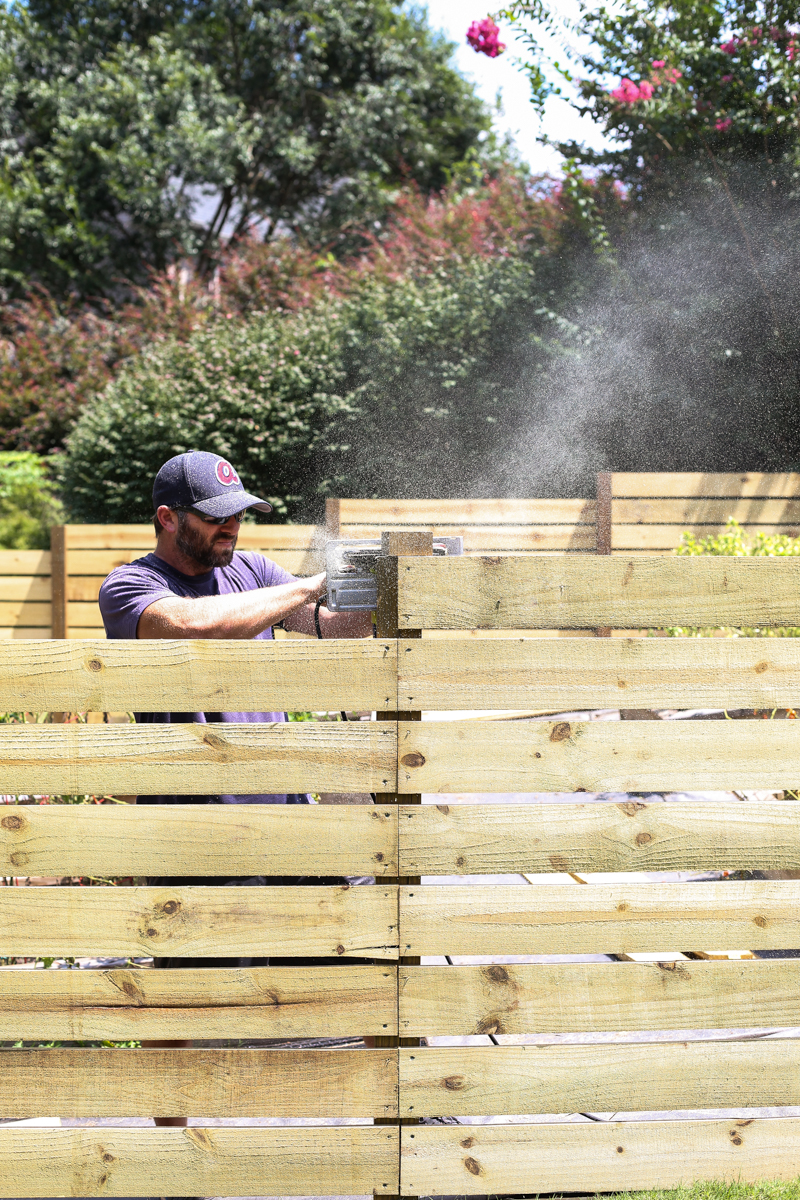
Using a circular saw, Jeremy trimmed each post to be level with the tallest horizontal board attached to it. The key was to put the blade of the circular saw in line with that tall board and make sure the body of the saw is on the fence (not sticking up on the post part you were cutting off). You cut the first side…
Then rotate around cutting each side….
Make sure you get awesome sawdust shots….
It’s like a fairy dust. Strike that. Very manly super masculine deck building gladiator fairy dust. Just wanted to clarify for Jeremy’s self esteem 🙂
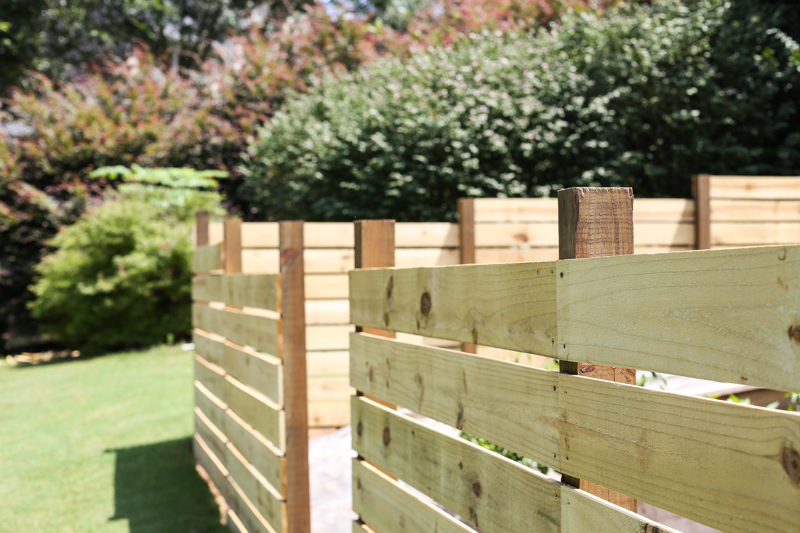
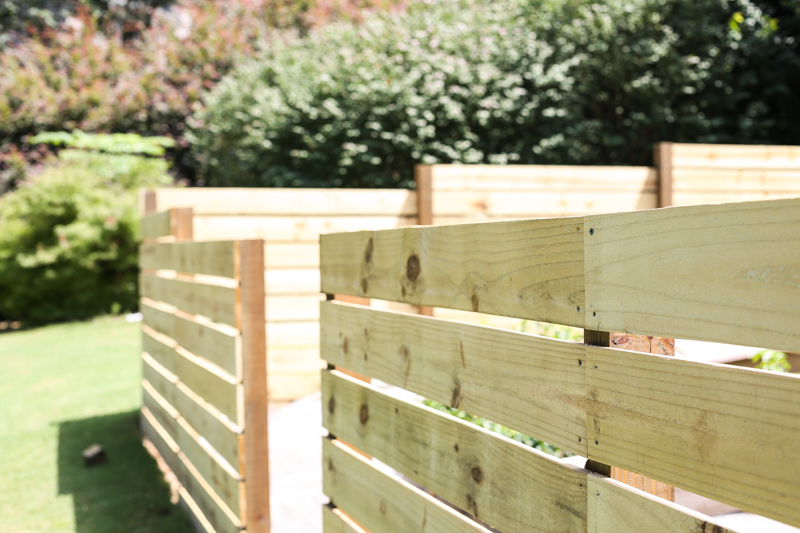
Cutting all those off went from this….
to this….
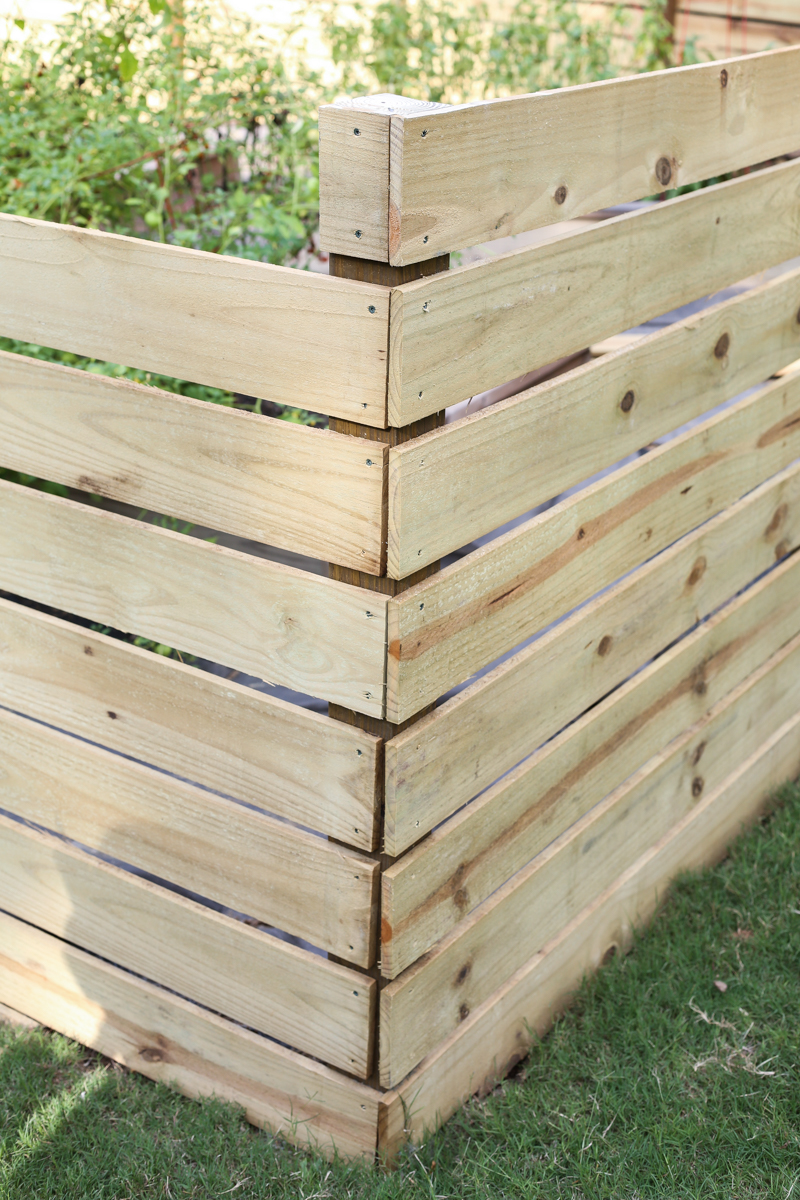
Now it is time to cap the tops and put vertical strips on the joints. The corners and joints didn’t need to be exactly 100% perfect because they were getting covered up. Ours looked like the picture below. OH and before I forget….make sure to add a little mini picket if you stepped up going around the corner. This way your vertical strip has something to attach to.
VERTICAL STRIPS for SEAMS & CORNERS
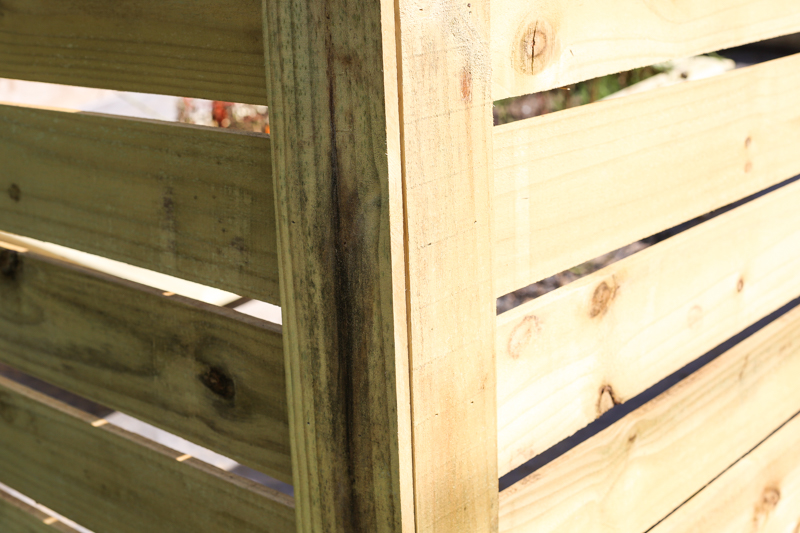
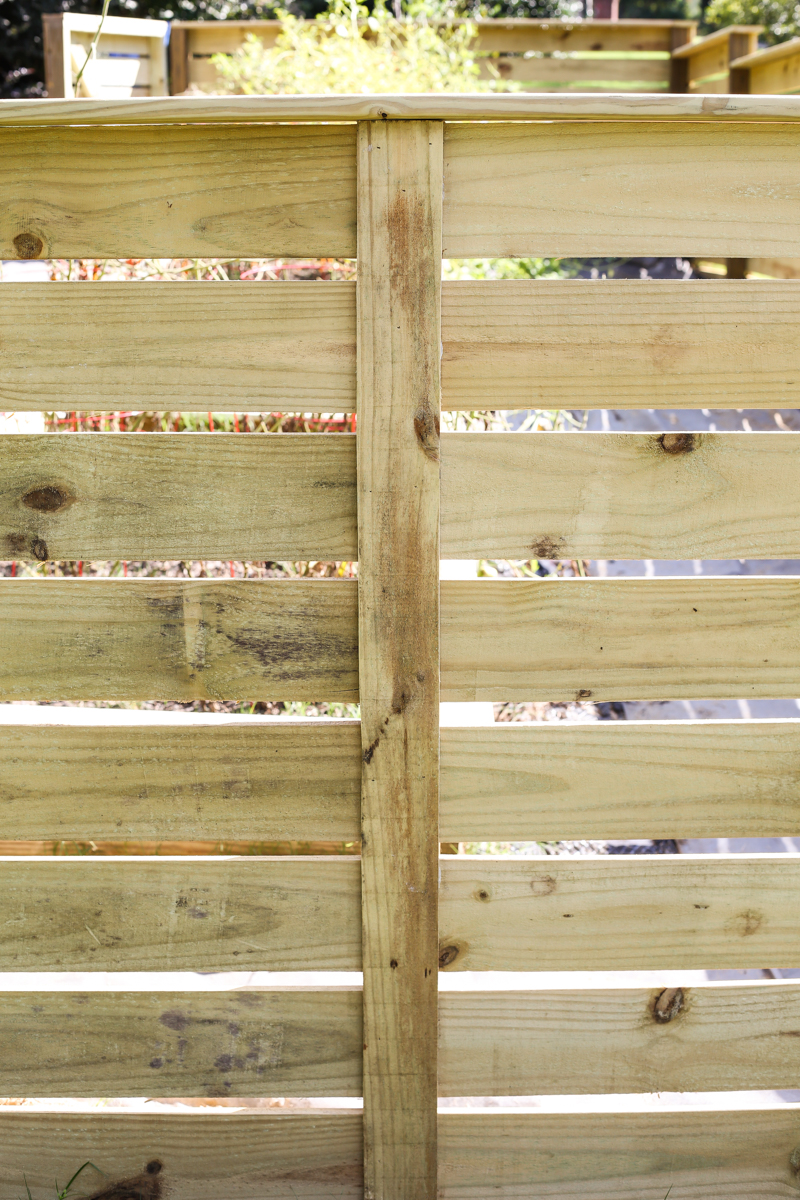
We decided that on the outside of the fence, where the panels meet and where the corners are, we wanted vertical strips to hide all the imperfections and to make it look a little more polished. The strips we used were pickets too and Jeremy ripped them to the width of the posts so that it would look like an extension of those.
I’ll walk you through the corners since the seams are easier and require the same steps.
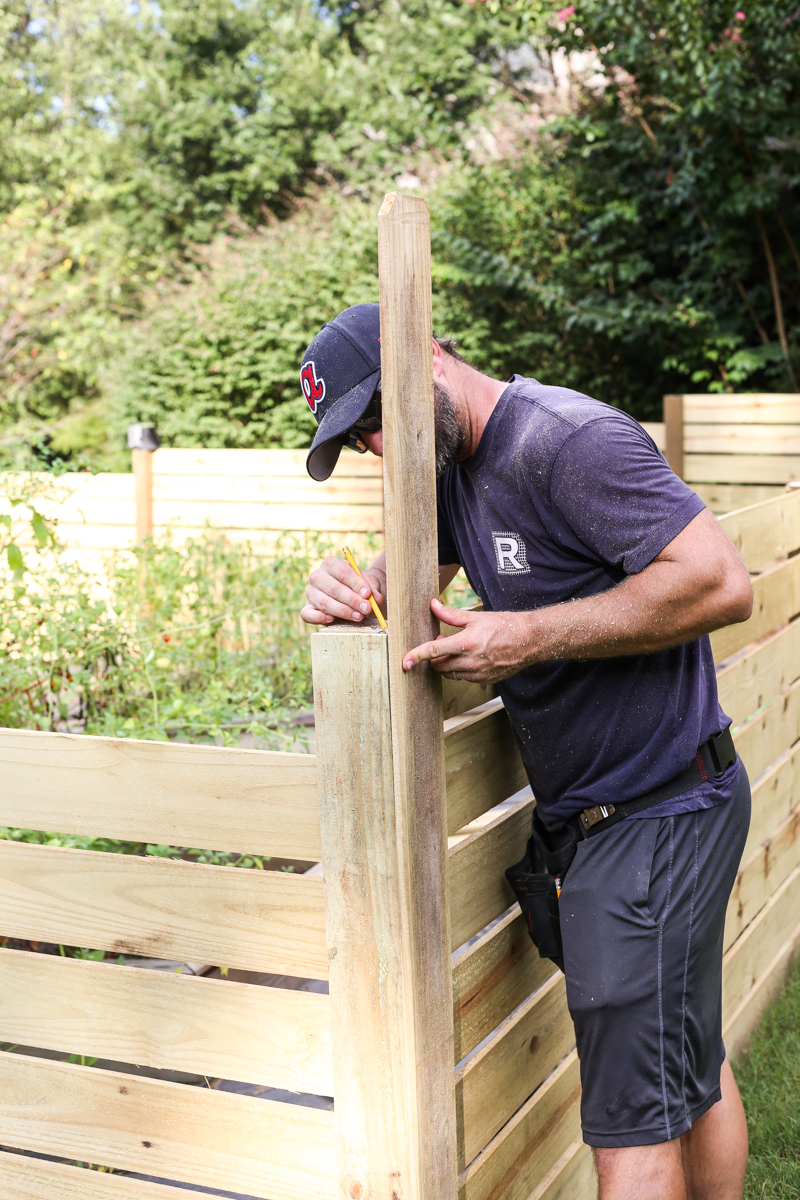
Where the corners meet, you measure and cut the board to length after ripping it down. Dry fit that bad boy.
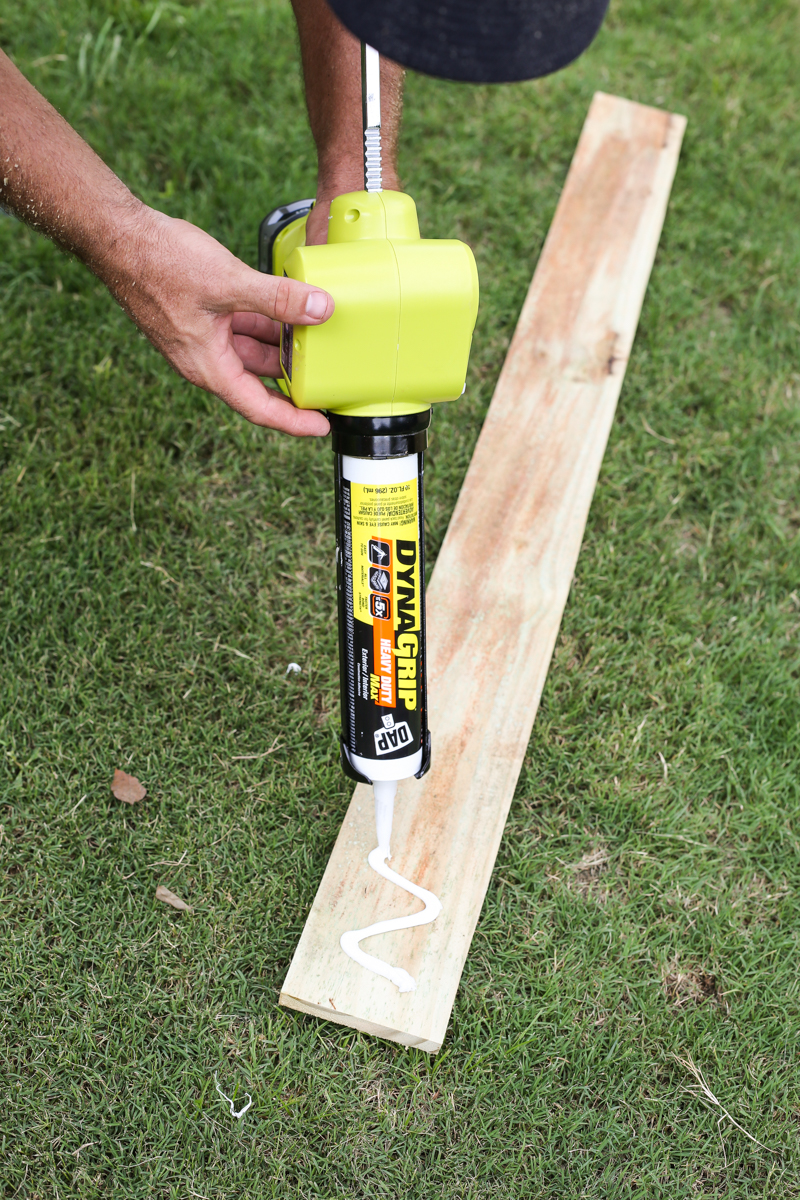
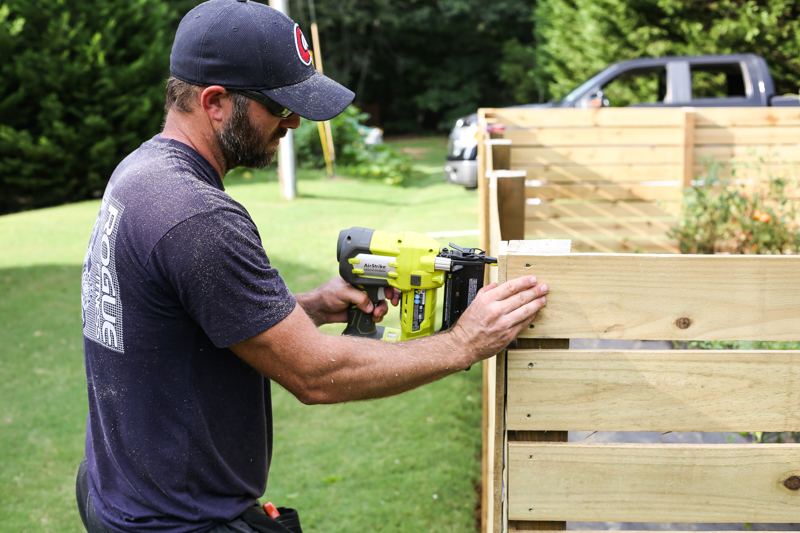
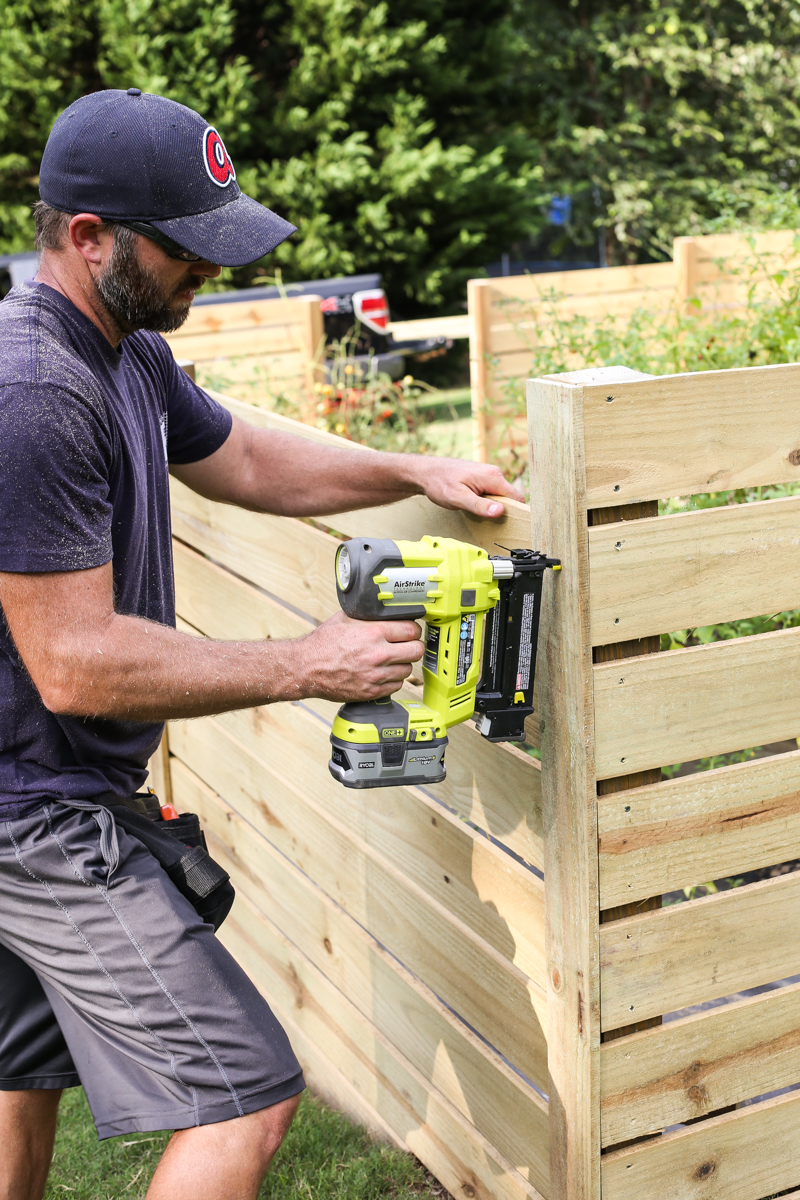
In order to get the ‘screwless’ look, we went with fastening these vertical boards with a heavy duty outdoor adhesive – DAP DynaGrip and brad nails.
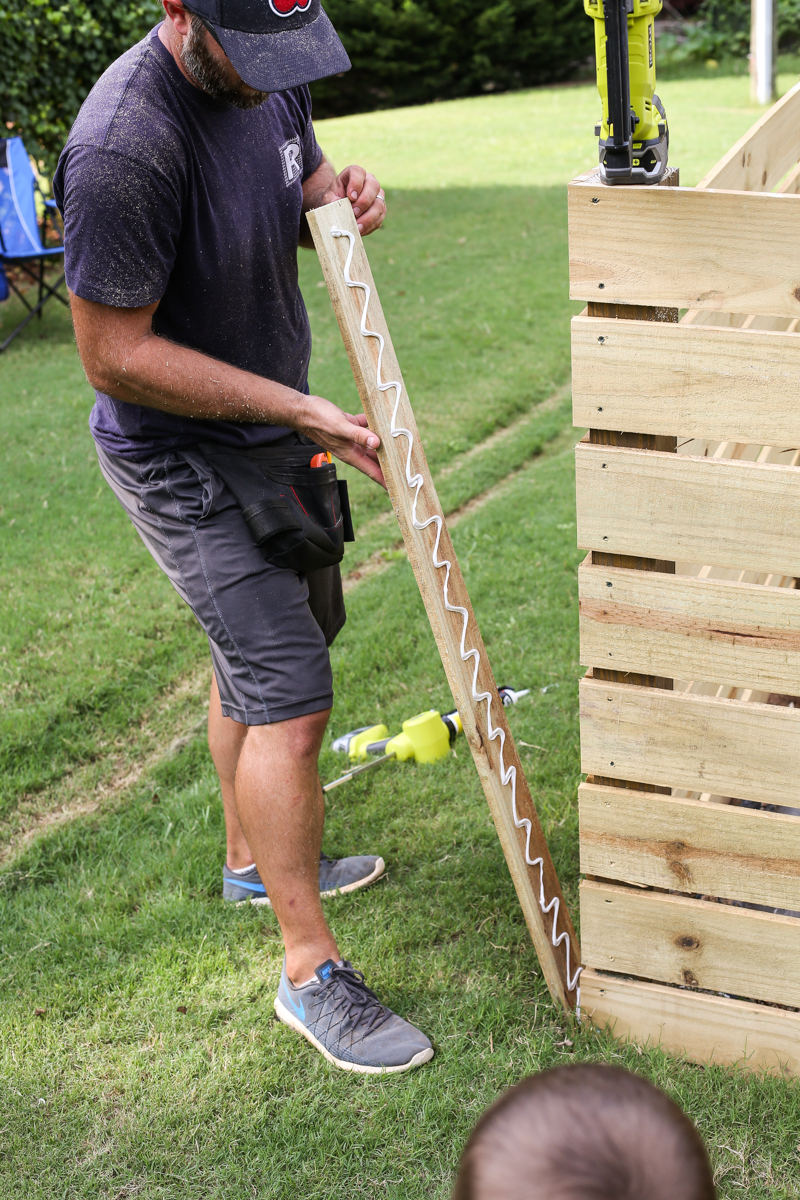
Simply put the glue on the back and slide the bottom into place….
Then fasten in place with a stainless steel brad. You don’t need a ton of brads in this board…it’s just to hold it there until the glue dries.
Make sure if you have any excess glue – clean it up right away….you don’t want it messing up your future stain.
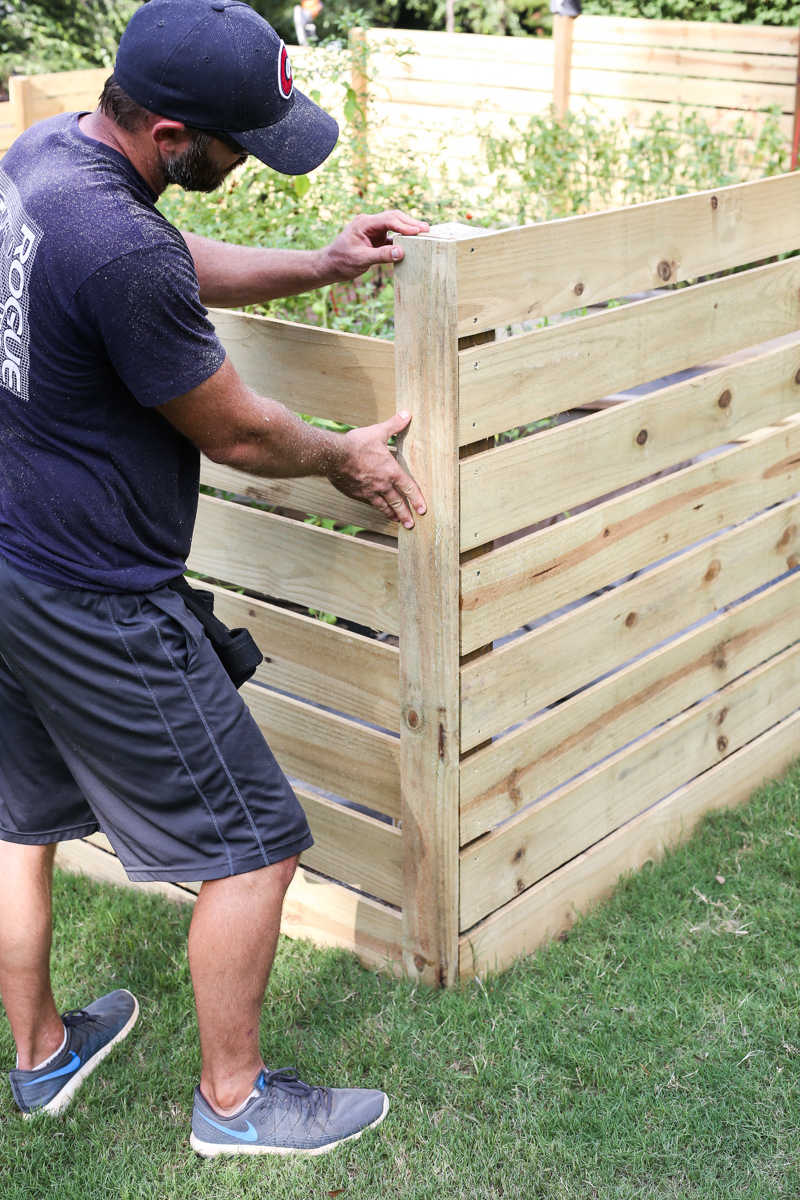
Now it’s time to attach the other side of the corner. You want this other vertical strip on the other side of the corner to be wider….so that it is as wide as the post PLUS the vertical picket you just installed. That overlap makes it look really finished. So rip it down and measure to length.
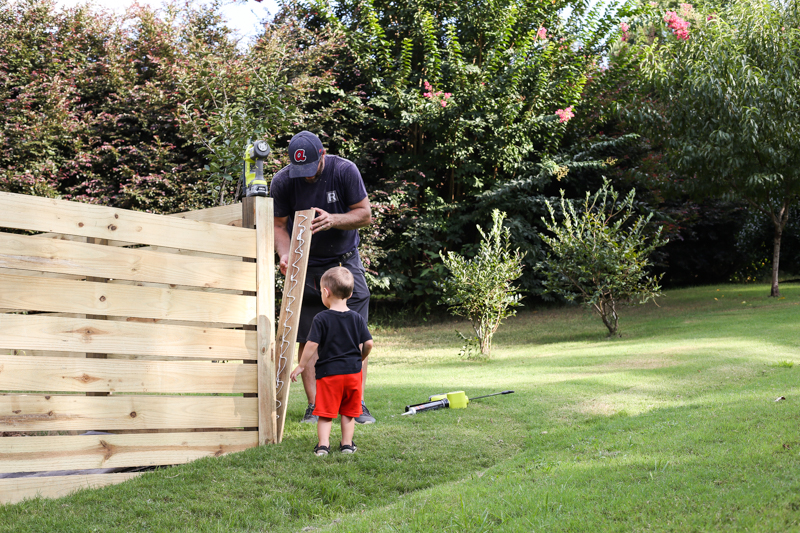
Then repeat the adhesive and brad nailing….braggin to the two year old how awesome of a fence you are building 🙂
And boom….overlapped corner goodness…
Now just do that completely around the fence. It makes it look SO good.
CAPS
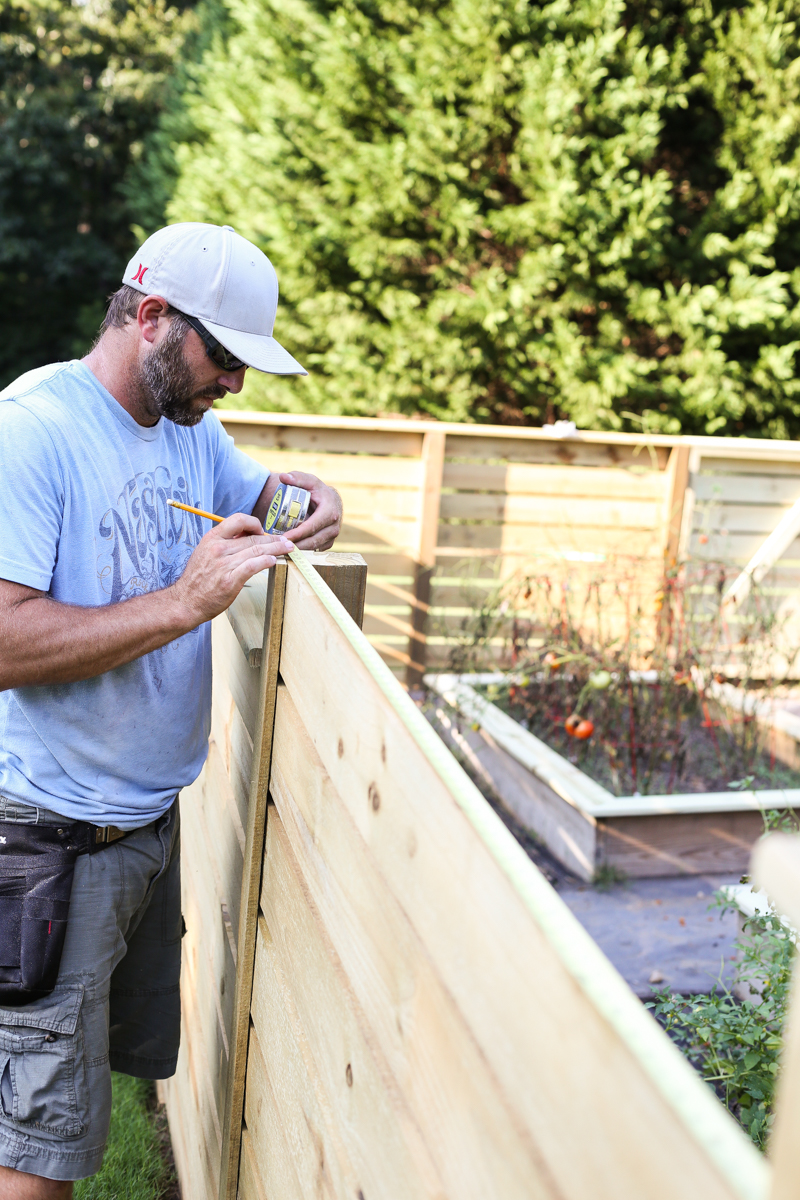
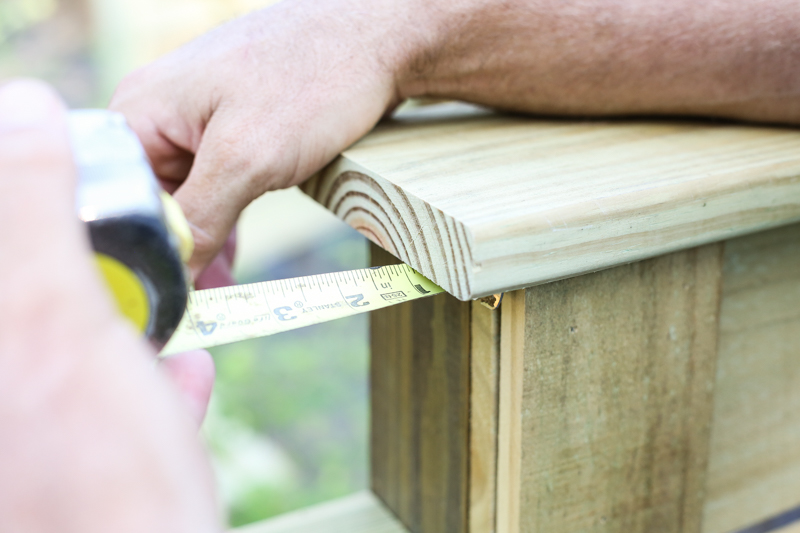
okay party people we are getting close to calling it a day. Last step in today’s segment is the caps….the top board that lays flat on the panels and caps the entire thing….giving it a completely finished look. For each segment of a stepped fence, you need to measure from post to PAST the lower post.
We wanted our caps to extend about an inch past the lower posts….
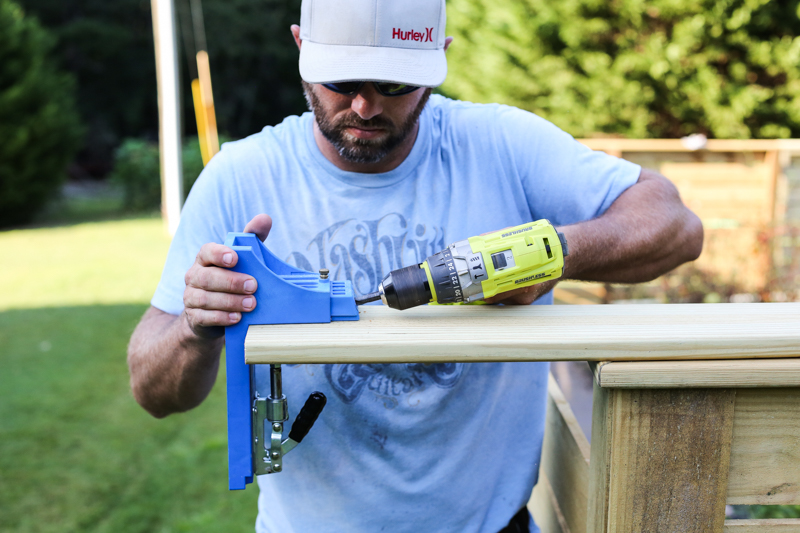
The side that can be attached down into the lower post is easy….no real brain surgery there. The side of the cap that runs INTO the taller post needs something to grip to….so we did a pocket hole using a Kreg Jig and that way it wouldn’t be flopping around.
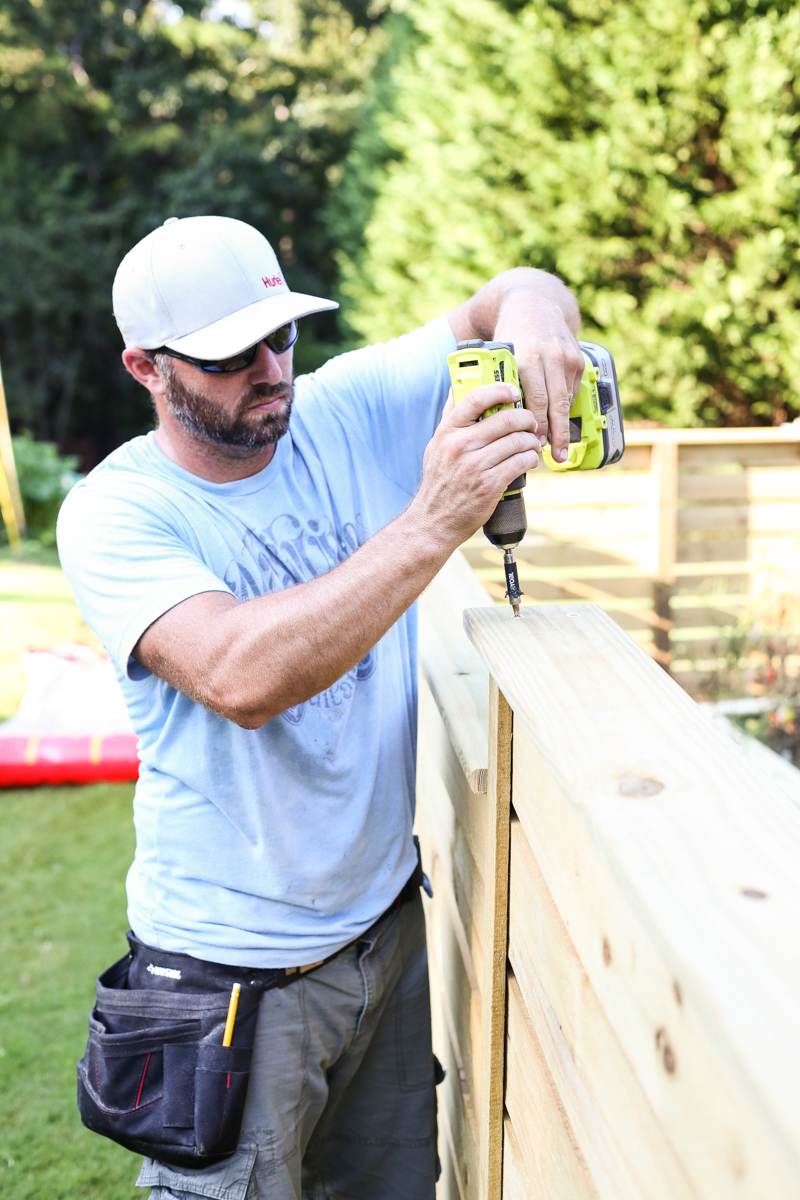
Once you have the board ready, flip it into place and use some screws down from the top into the post on the lower side. We made sure to align the board with the back of the deck board flush with the back of the post. That made the lip on the outside of the fence. Does that make sense?
Then go inside the fence and from below attach the board to the higher post. This is where it makes a difference in where you put your pocket holes so it’s accessible. For all the corners, we mitered them and screwed them down. We do expect a certain amount of warping from the Georgia sun especially on all the flat pieces….but our fingers are crossed that it won’t be too much!
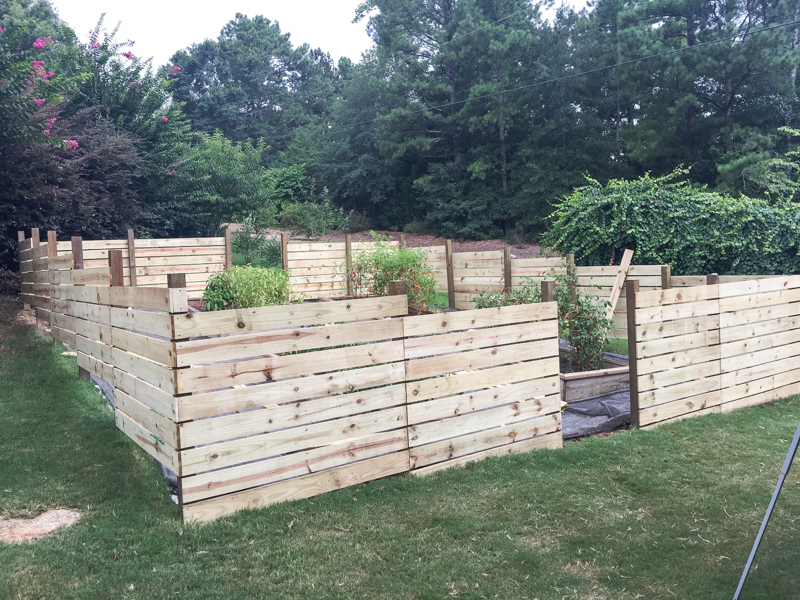
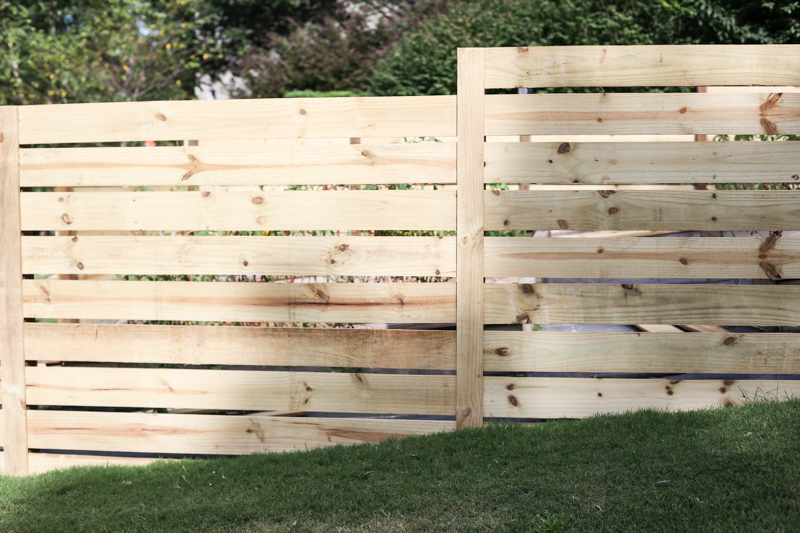
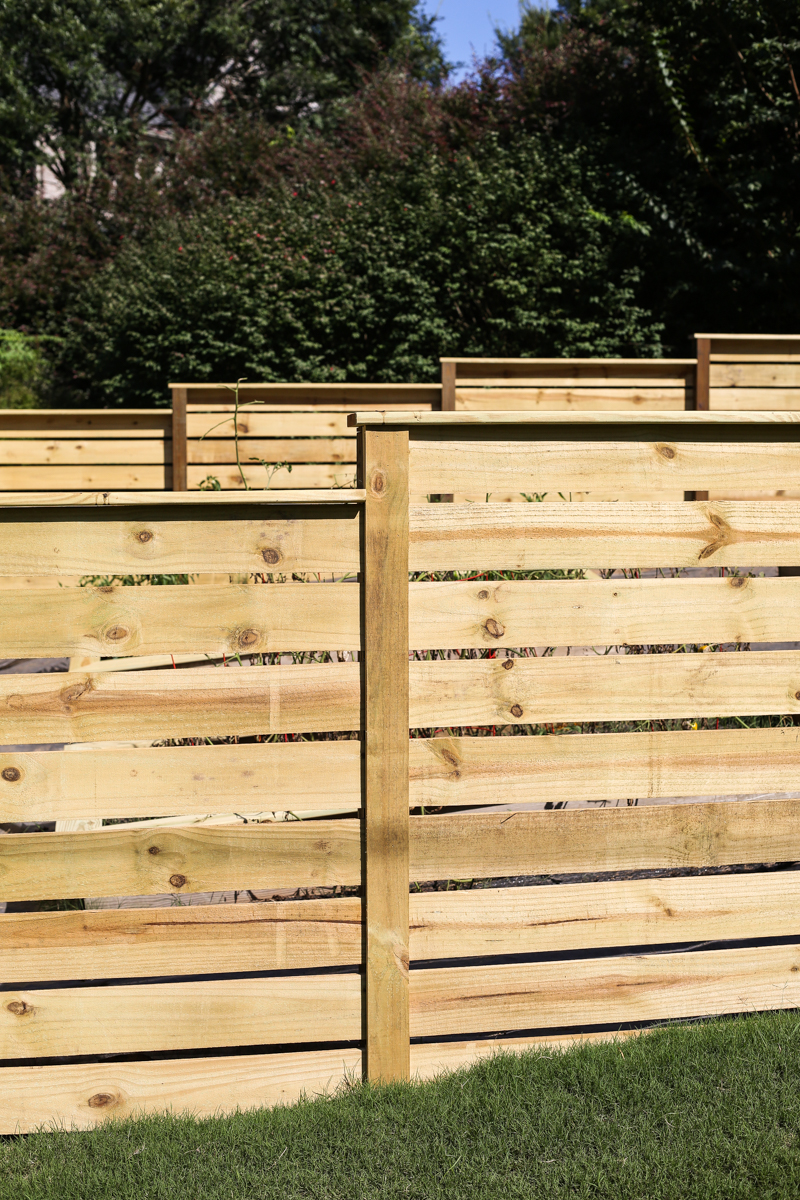
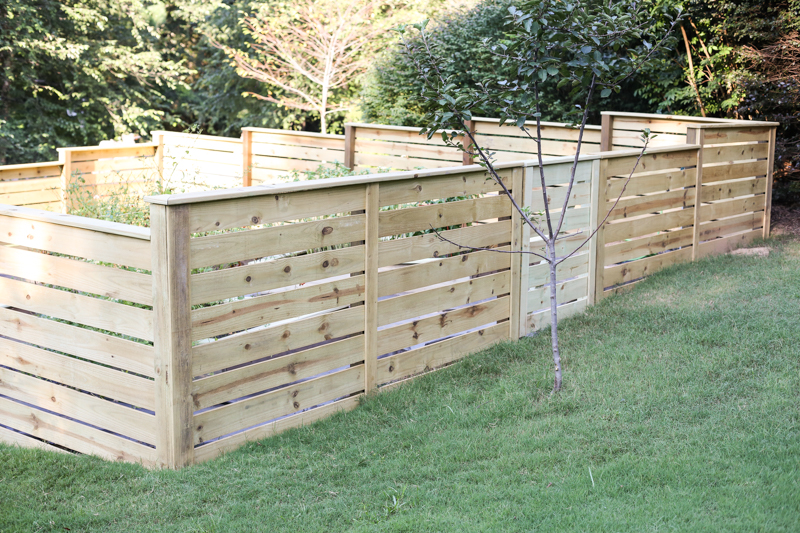
And there you have it! A finished fence….
I love the horizontal lines and the modern look and I was really excited to get it stained!
And for those of you wandering…yes, a gate tutorial is coming soon. I’m just tired of typing 🙂
Is it weird that I totally think that a horizontal fence makes so much more sense? I mean…you can use the spaces in between to hang things….hooks with garden tools and hoses and allows for more air flow.
So stay tuned fence fanatics….gate and staining coming soon! For now, let’s just give Jeremy a real slow clap for doing all this in the Georgia heat. And he only passed out twice 🙂
That’s a nice looking fence. 🙂
Looks so great and professionally done!
Thanks so much for typing all of that and explaining. I’ve never built a fence… yet 😉 I love fences with horizontal boards. You guys did an awesome job. It looks great.
WOW! My fiance and I have been debating all Summer what we want to do in our back yard (mostly to block off our noisy neighbors dogs lol) and you may have actually convinced me to try and DIY a fence. Thank you so much for these tutorials! Beyond helpful 🙂
NEVER did I think I’d make a comment about a fence but I truly think that is the most beautiful fence I’ve ever seen! Builder isn’t too shabby either ! And to think I came here today hoping to find out Little Ms. Bower’s name!
Your fence is the perfect place to plant espalier apple and pear trees.
It looks really nice!
It looks really awesome. That looks like a perfect and a safety fence. Your guide has made so easy to build a fence. Thanks a lot.
Awesome guide. Thanks for sharing. Really helpful article.
That is one sexy garden.
I love how it looks! We put up a new fence last year and it is just so plain compared to this. Next time our fence needs replaced I’m going to sweet talk hubby into this style.
Nice fence.. what size boards did you use for the caps?
We used 1×6 treated decking
Great post, and the fence looks awesome!