Confession…we are not builders. Not even close. All these building projects intimidate the bees knees out of us. We literally sweat, stress and mull over it for months. We google. We plan. We sketch a million pictures….poorly….that look like a four year old drew them….kinda like stick figures of building plans. We never buy the right things so we end up at Home Depot about ten different times for each thing. And usually we end up fighting about how it should be done or how it will look or why it is taking us so long. And we always wonder why our end projects don’t end up looking like we expect.
BUT it’s always worth it. We always are super proud of each other. We realize that our best projects are ones we do together. And we always save buckets of money which feels….well….nothing short of incredible. Even if it takes longer and even if it isn’t exactly what we expected, these DIY projects make us better humans. I know that sounds over-the-top but it’s true. As much as we stress and fight and all that….at the end, we are super proud and feel like we learn so much with building projects and also are showing our kiddos that even though something scares us….we shouldn’t shy from trying!
SOooooo do you feel sufficiently pumped about DIY right now!? You should….because today’s post is all about building a fence. I MEAN….WE BUILT A FENCE!!! I did about 2% and Jeremy did 98% but we are super proud of it and we love love LOVE the end result. And the fun part is that I get to show you how we did it and how you can do it at home!
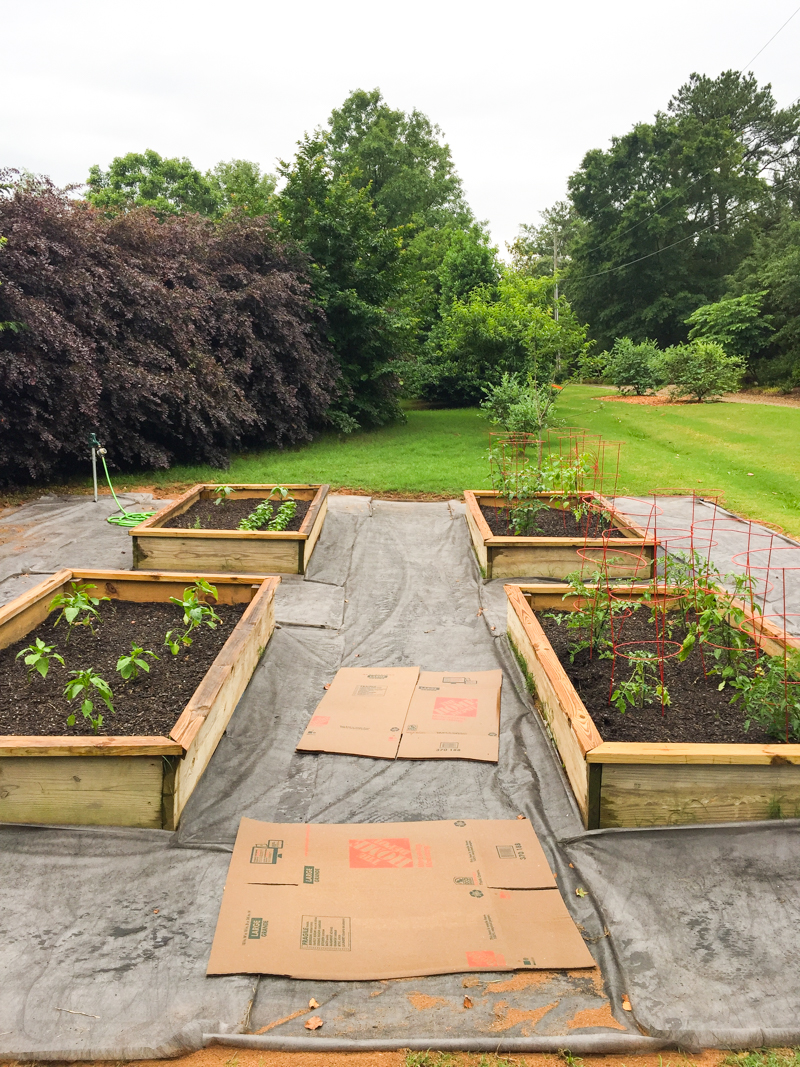
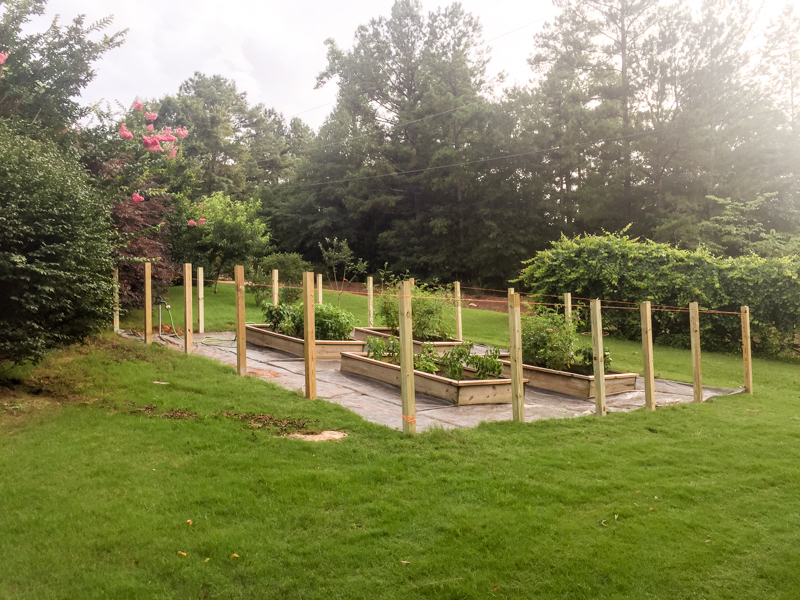
Our garden is a little spot in the side yard that is completely obscured from the driveway and the front porch by large bushes and trees. There is a nearby path to the woods and a driveway next door to our neighbors out building and it generally speaking is not used for much of anything….so we decided with the full sun and the relatively flat ground – it would be perfect for our garden.
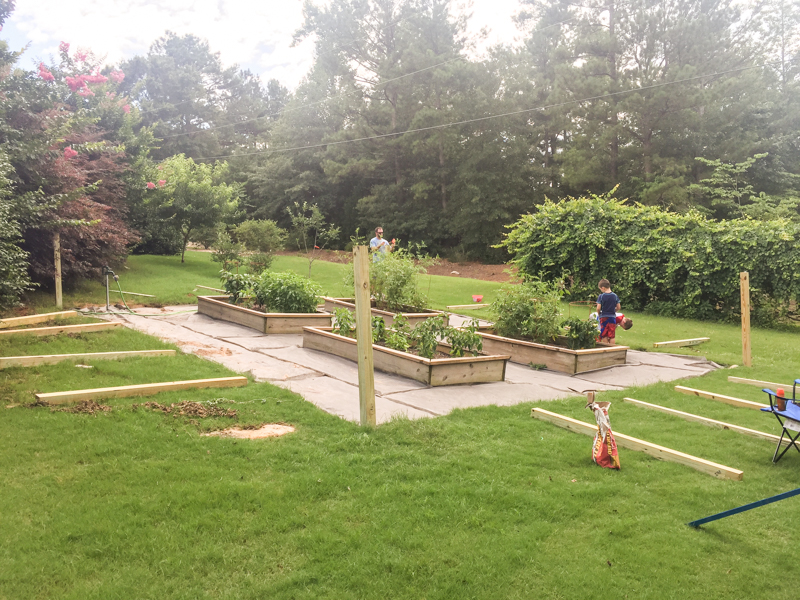
We built four raised garden beds and we had removed the grass and did some aggressive grass blocking….and now it was time for a fence. We needed the fence because we have a ton of deer and rabbits that love eating their way through the neighborhood. After some research, we decided a wood fence about 4′ tall would be the right choice….the deer probably won’t jump that and it would be more effective at keeping the rabbits out. Any taller and it would cast a big enough shadow to shade the garden beds.
The very first step was setting the posts in the ground. After a lot of debate, we went with a DIY fence (vs. a low maintenance pre-fab one) and decided to use pressure treated 4×4 posts set at no farther than 5.5 feet apart (so that the horizontal slats could reach).
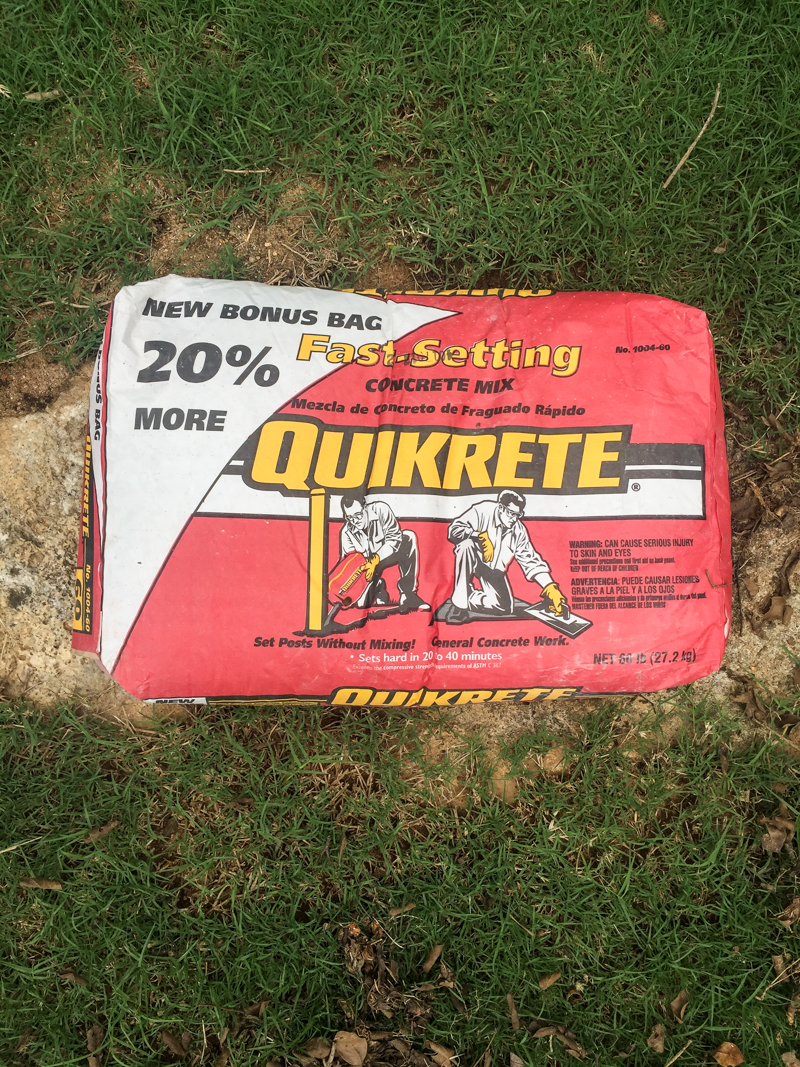
The very first step was getting the materials. Jeremy picked up 18 of the 6 foot 4×4’s at the Home Depot and we needed several bags of Quikrete. More on that in a minute.
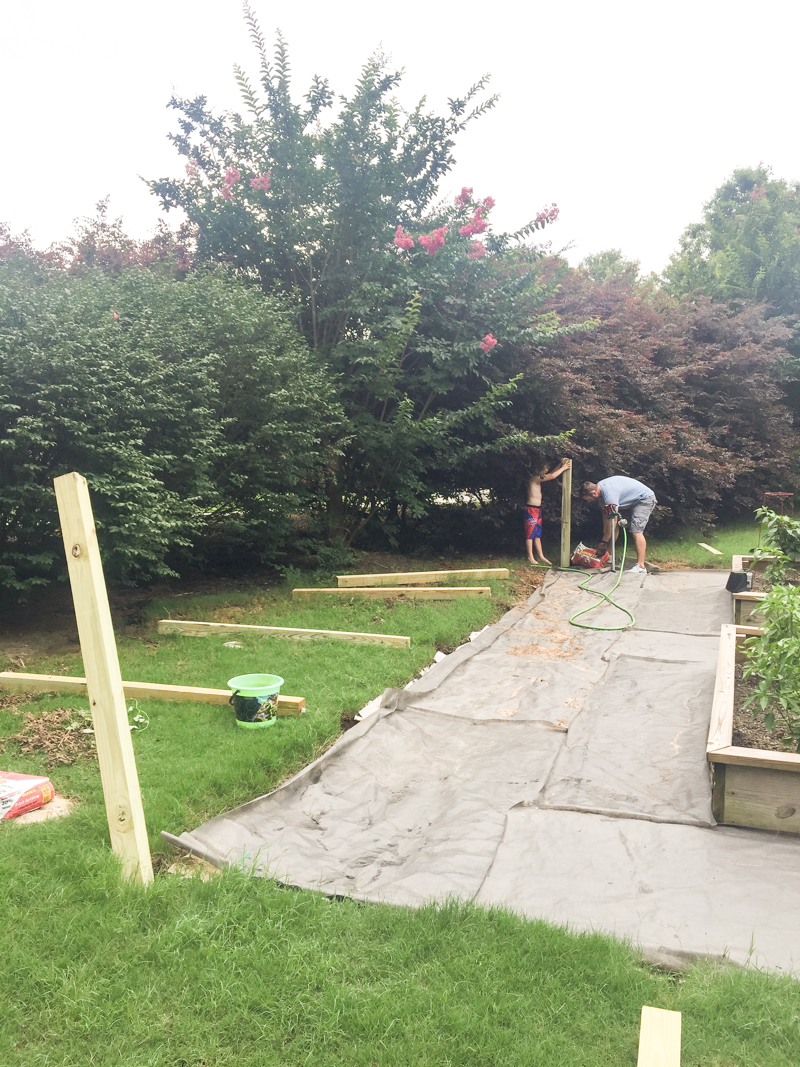
Then he dug 18 holes around the exterior of the garden. I had mapped out exactly where each one went and he just used a shovel and a whole lot of southern grit 🙂 Note that he probably drank four gallons of sweet tea while he dug those holes….summer in Georgia is NO JOKE. The posts are the most important part….you have to make sure they are in the right locations and at the right distance from one another and are twisted the right way for the rest of the fence to look good.
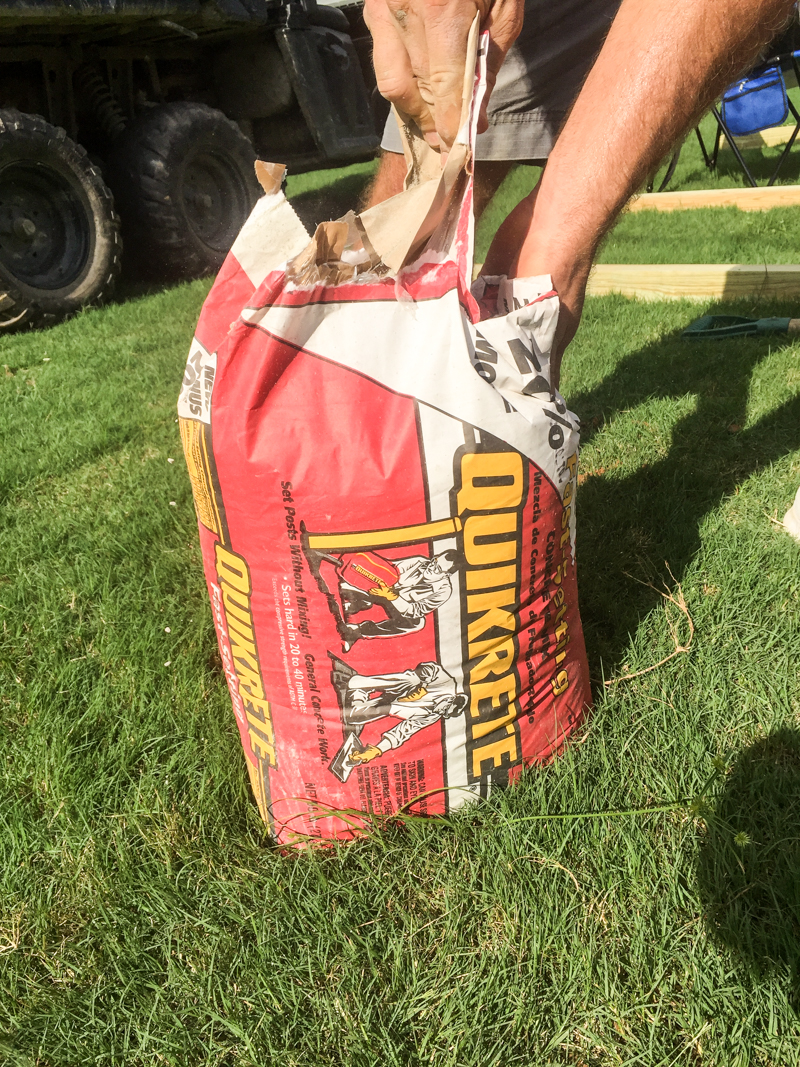
Jeremy was adamant about using this Fast-Setting Concrete mix from Quikrete. It makes the job SO much faster and he didn’t need a wheelbarrow or anything to mix in….it’s super simple.
Setting those corner posts was number one priority and the trickiest part.
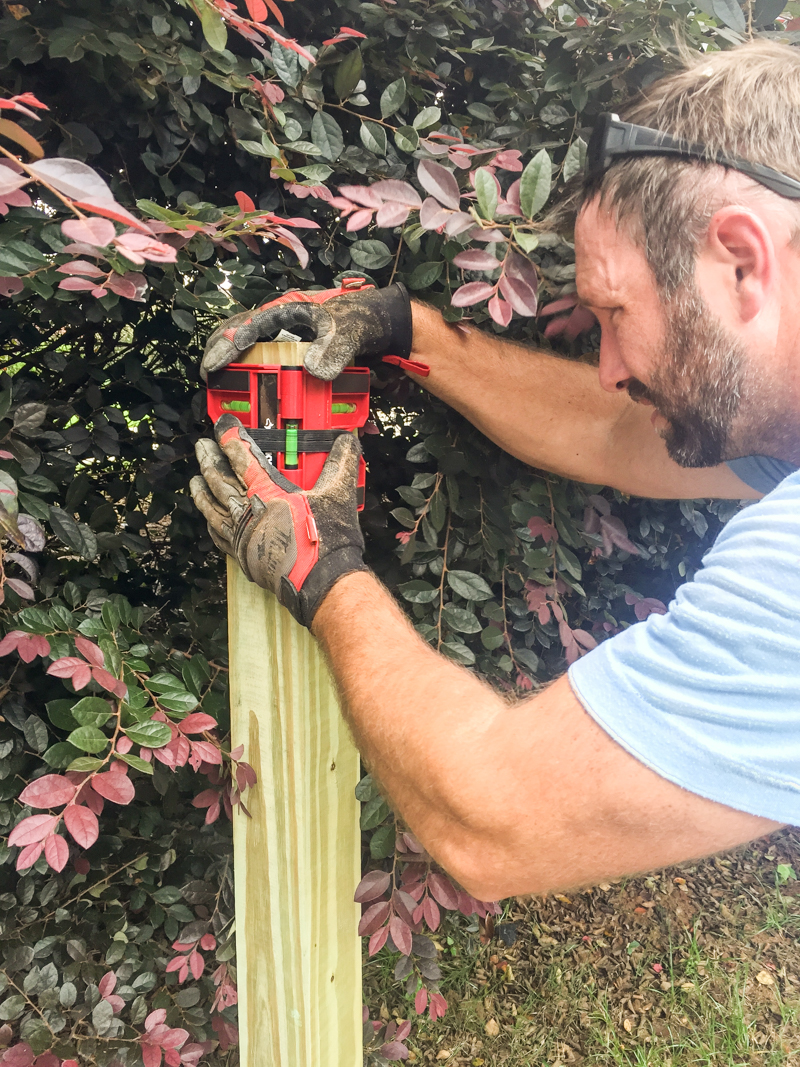
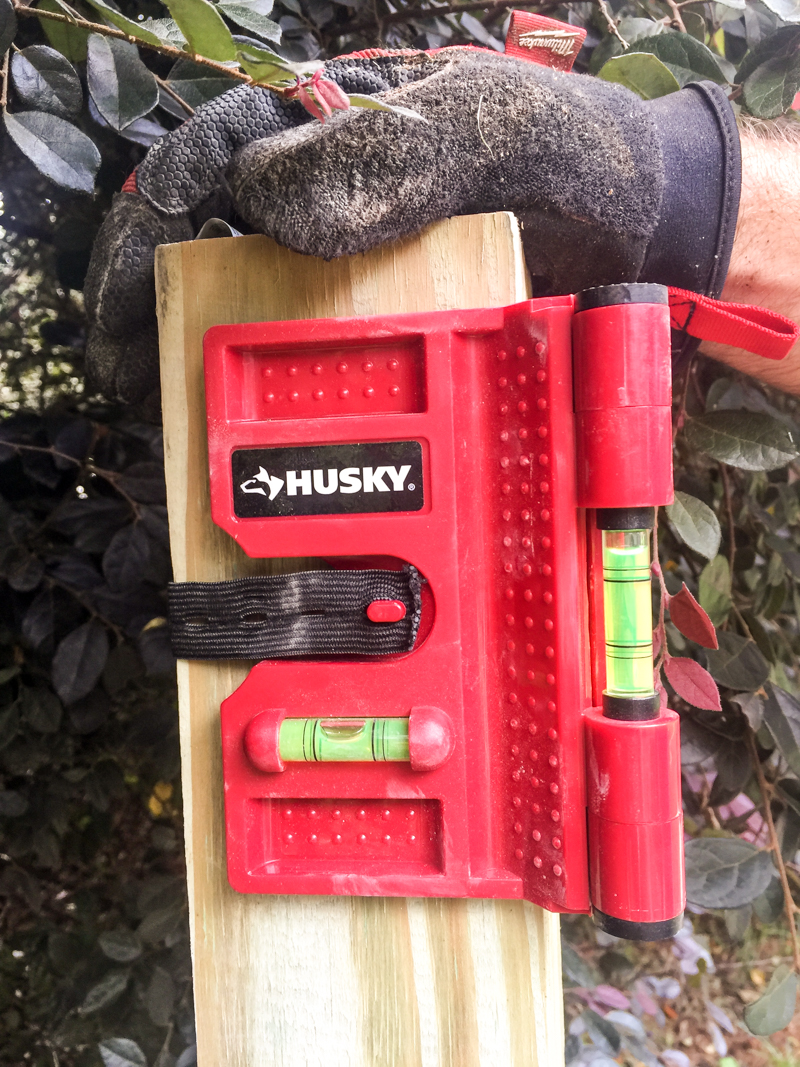
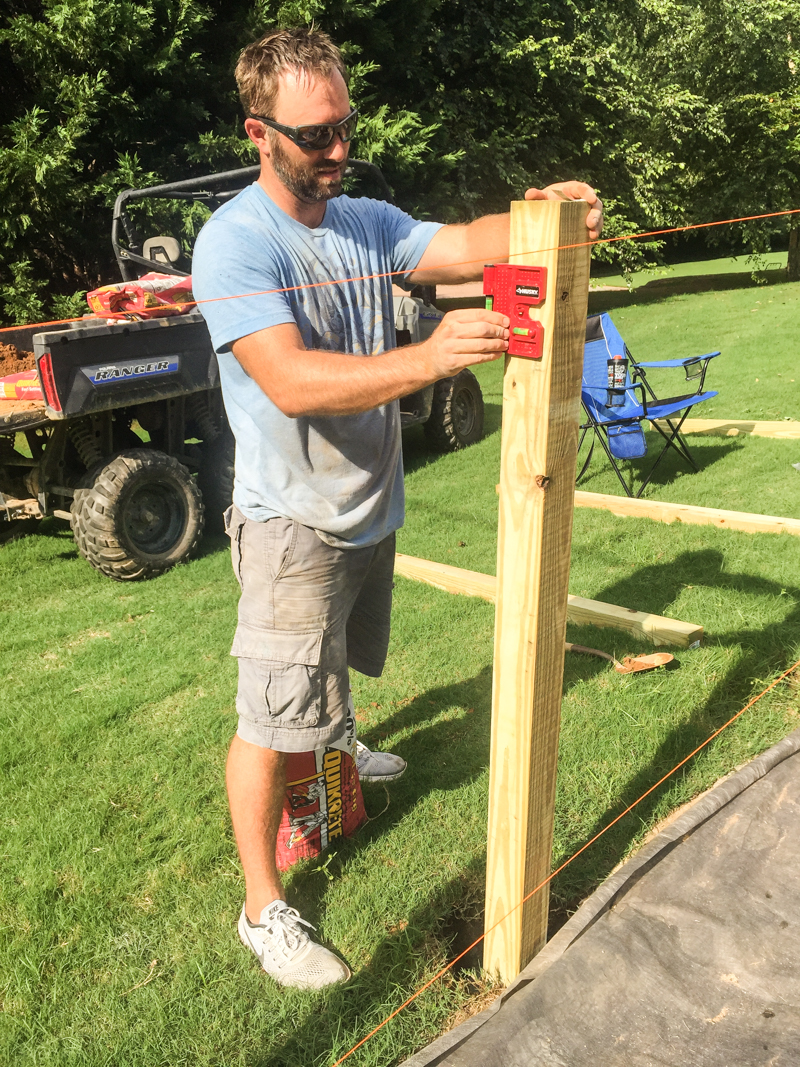
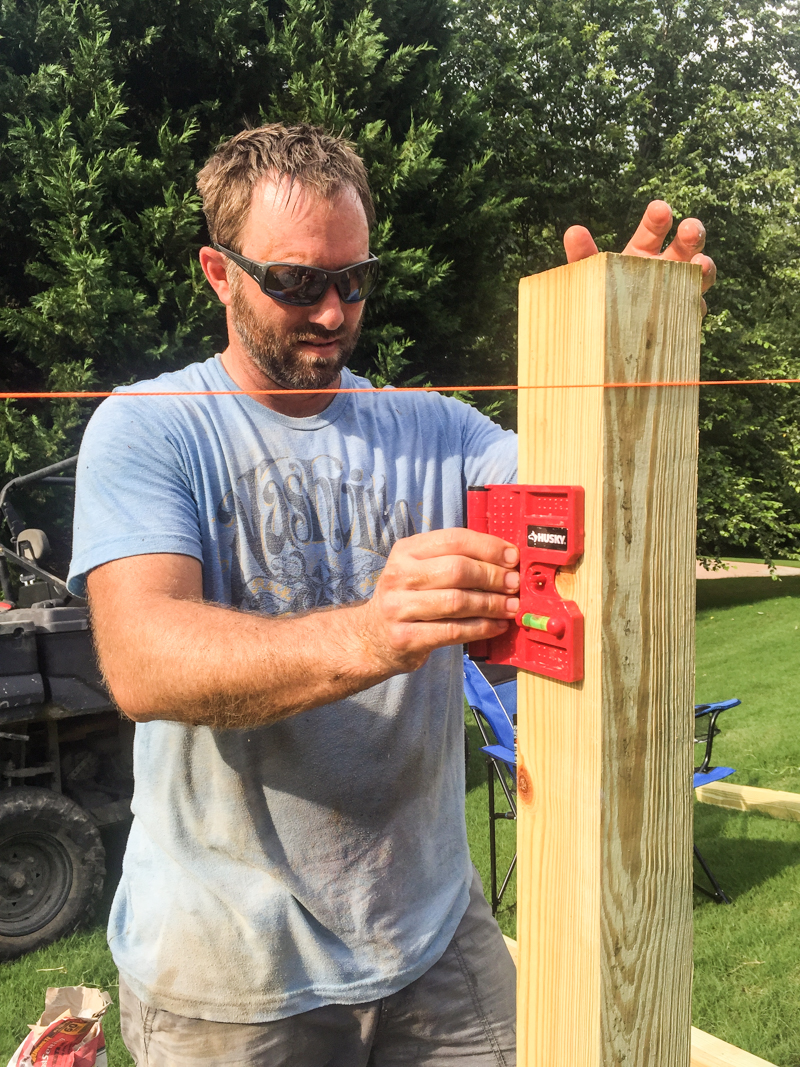
Since the garden is on a hill, you simply can not eyeball it….it just won’t work. He picked up one of these Husky post levels and thank goodness he did because it was a lifesaver.
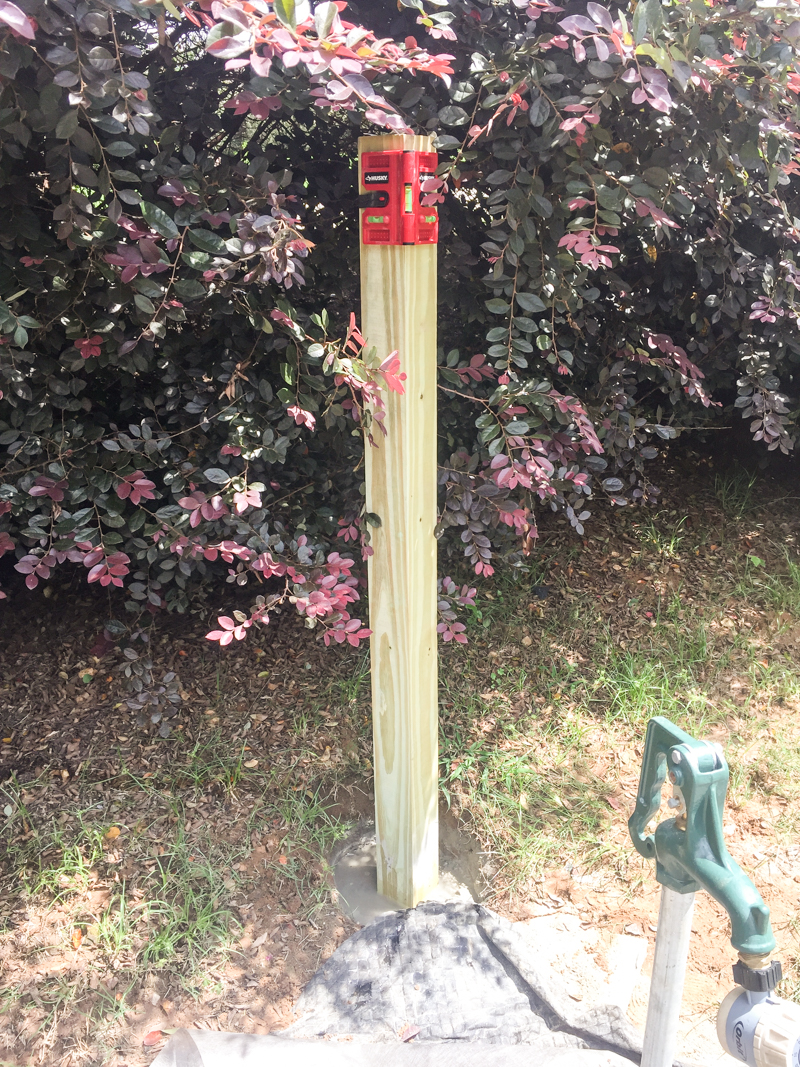
Basically you strap the tool to the post and it tells you if the post is level on each side. This ensures that you don’t have something crazy later. You can leave it in place as the Quikrete sets too.
All four corners needed to be set so that the posts in between would be aligned properly.
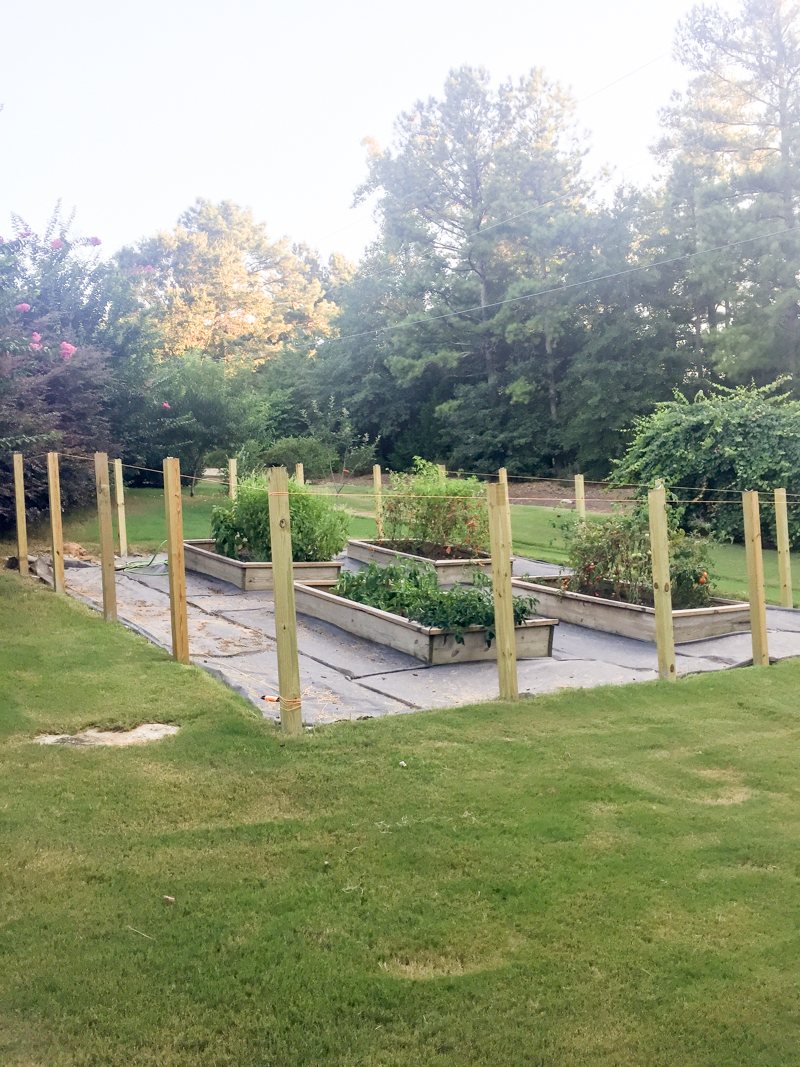
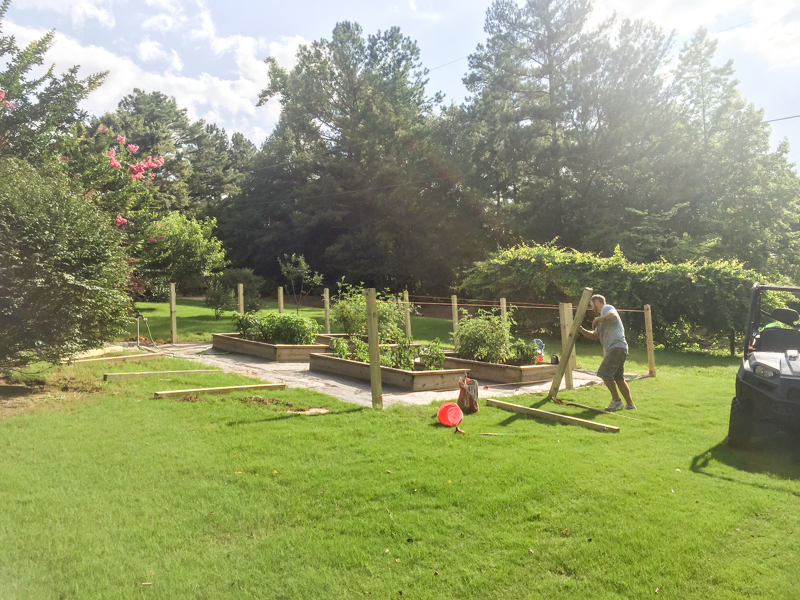
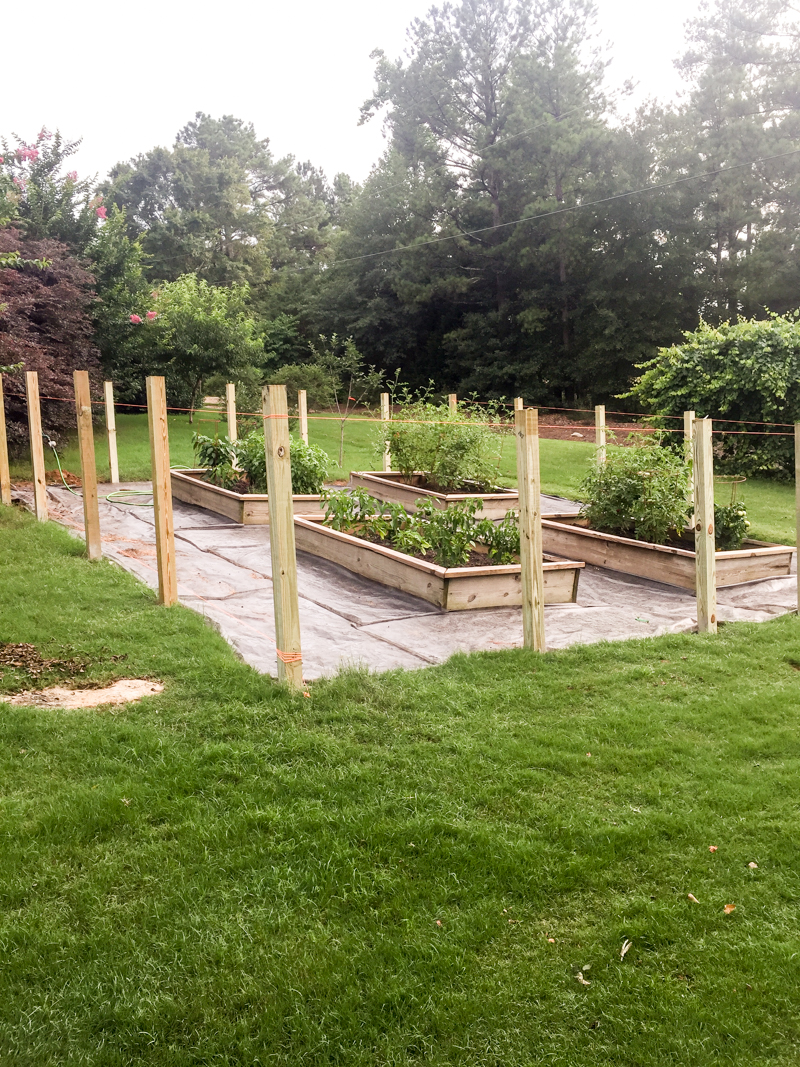
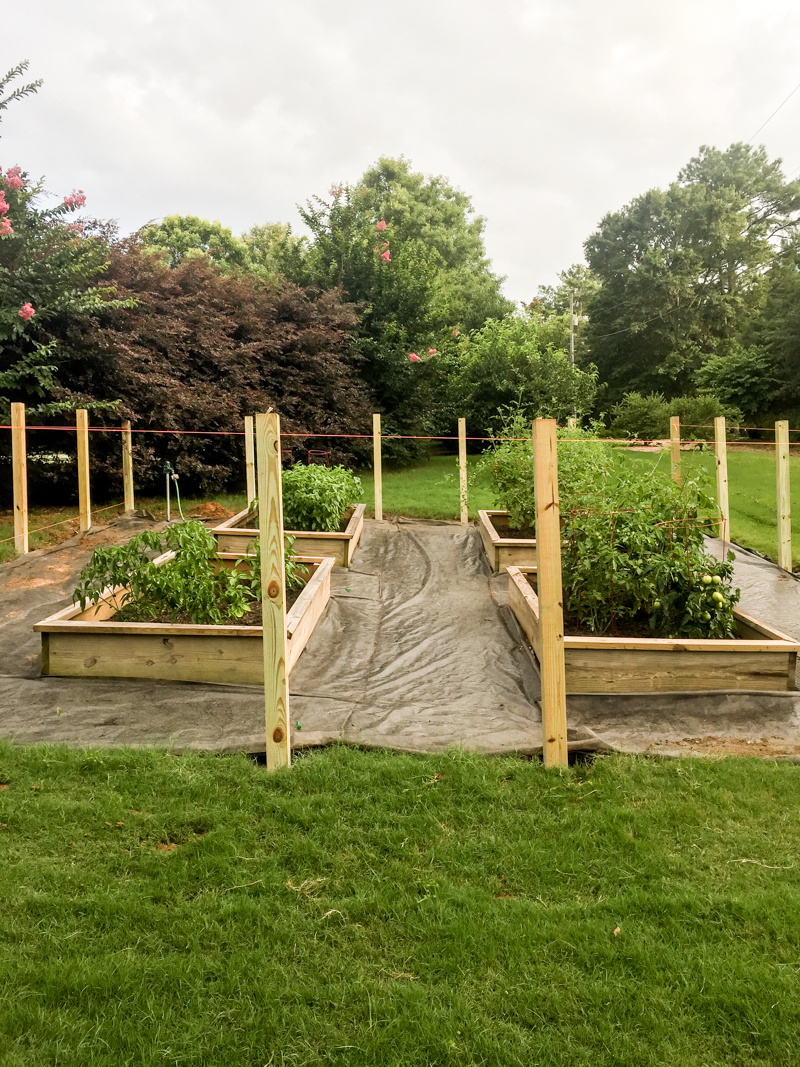
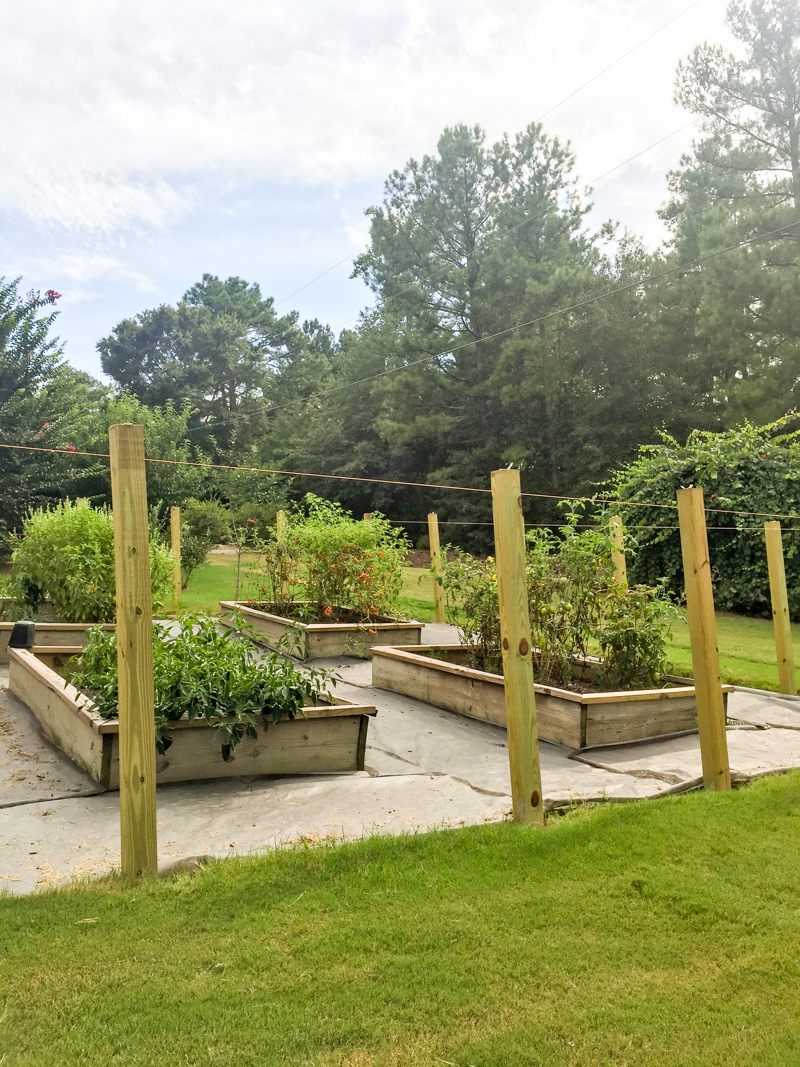
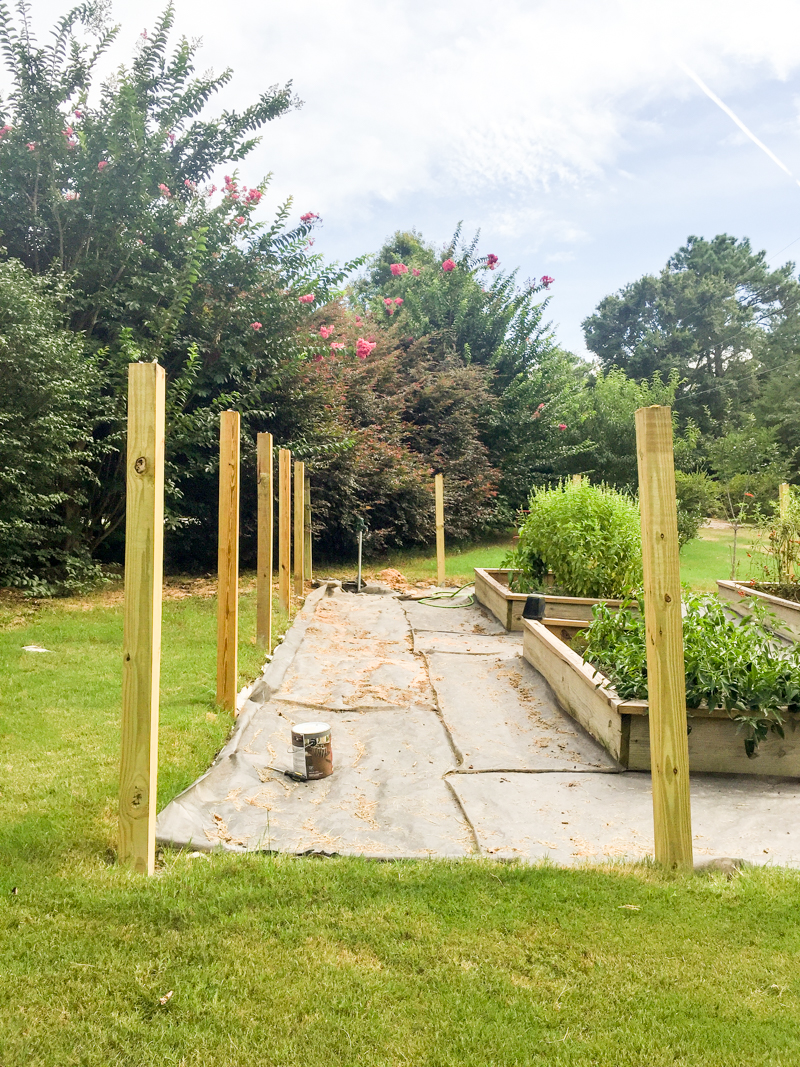
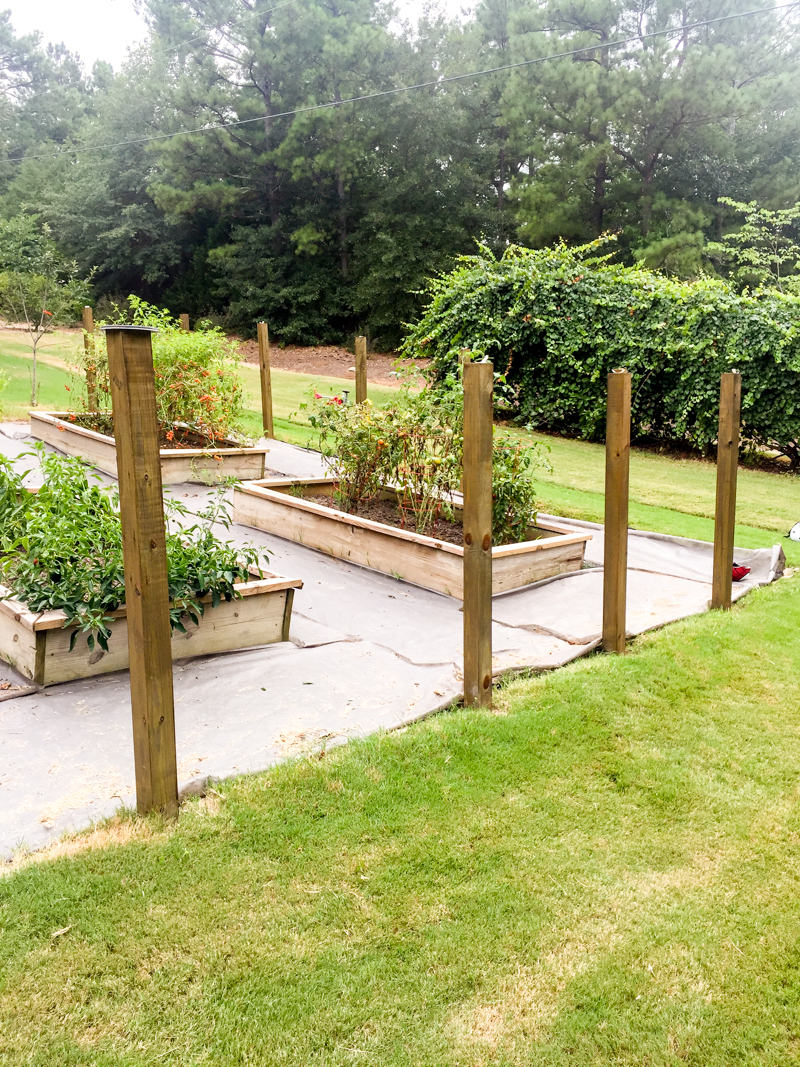
Here she is after the posts were in the ground. See how the beds and the ground are sloped and the posts are not? That’s really important.
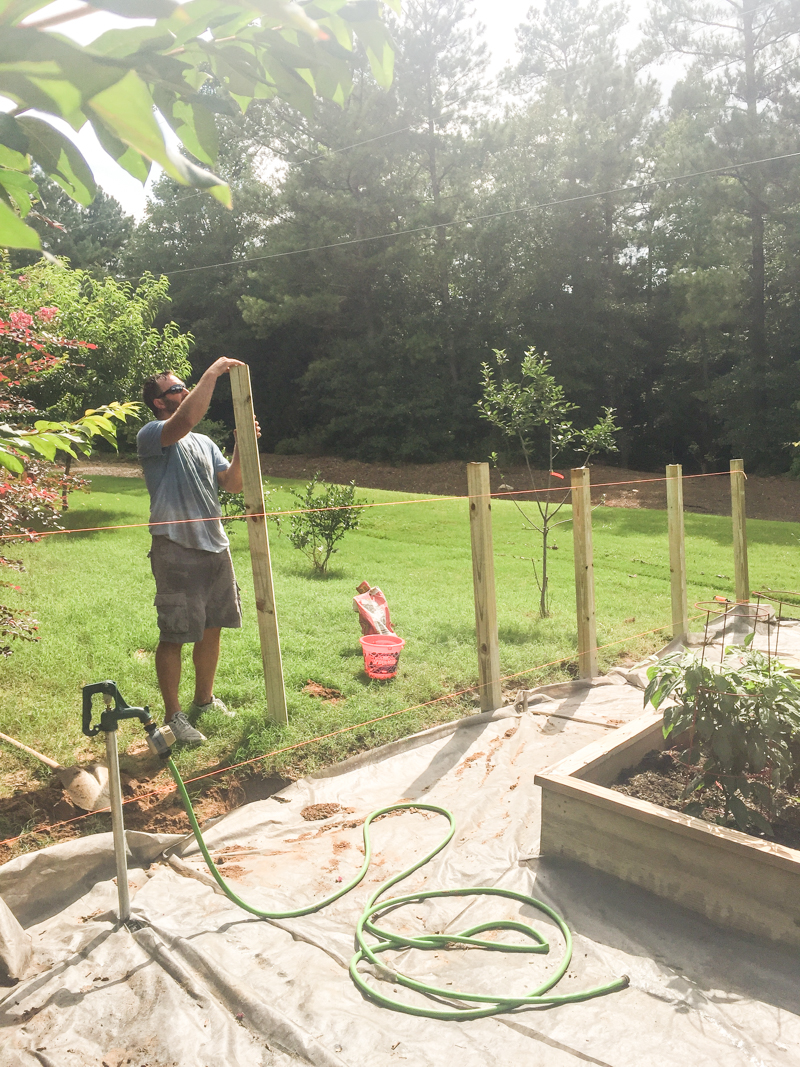
After the four corners are in, it’s time to put up your alignment string. A string goes from the top of one corner post to another and then also another string goes from the bottom around to the other corners. These strings are kinda like guidelines….all the future side posts need to align with that string so that the posts create one long straight line. If they don’t….well, you will have bowing or weird alignment issues when you go to attach slats.
When it comes to the details of setting the posts….the steps are really simple.
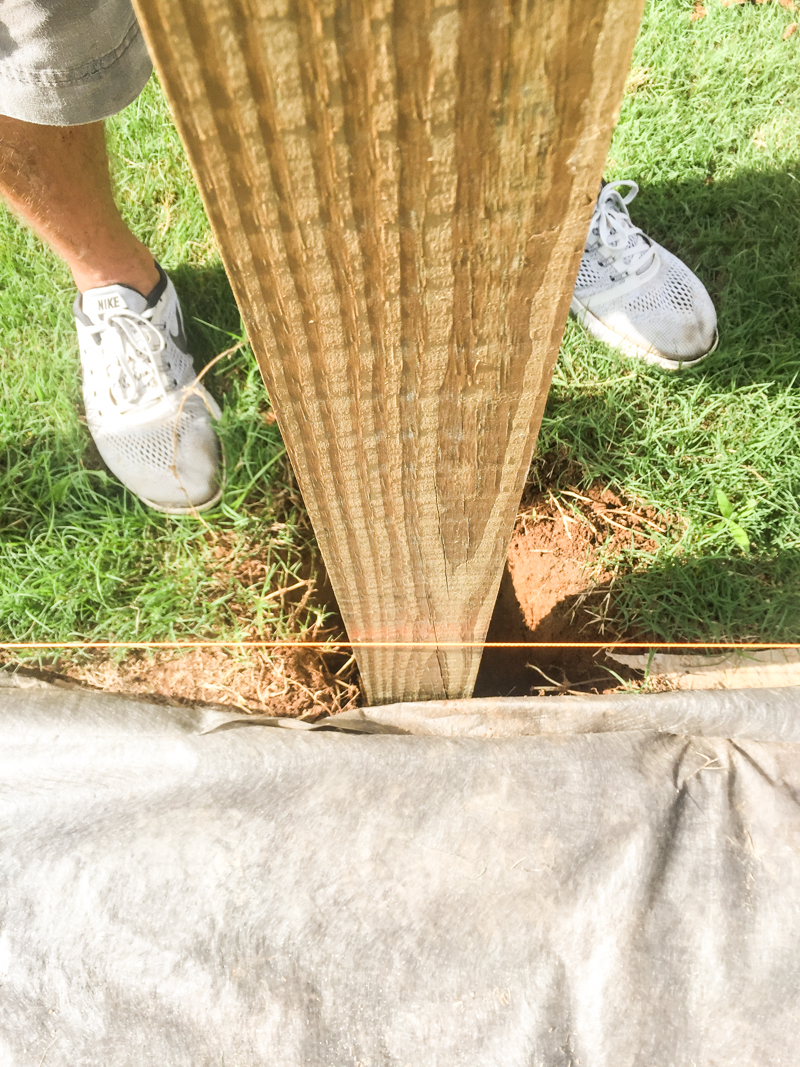
First make sure you dig your hole deep enough and wide enough and in the right spot to align with the string.
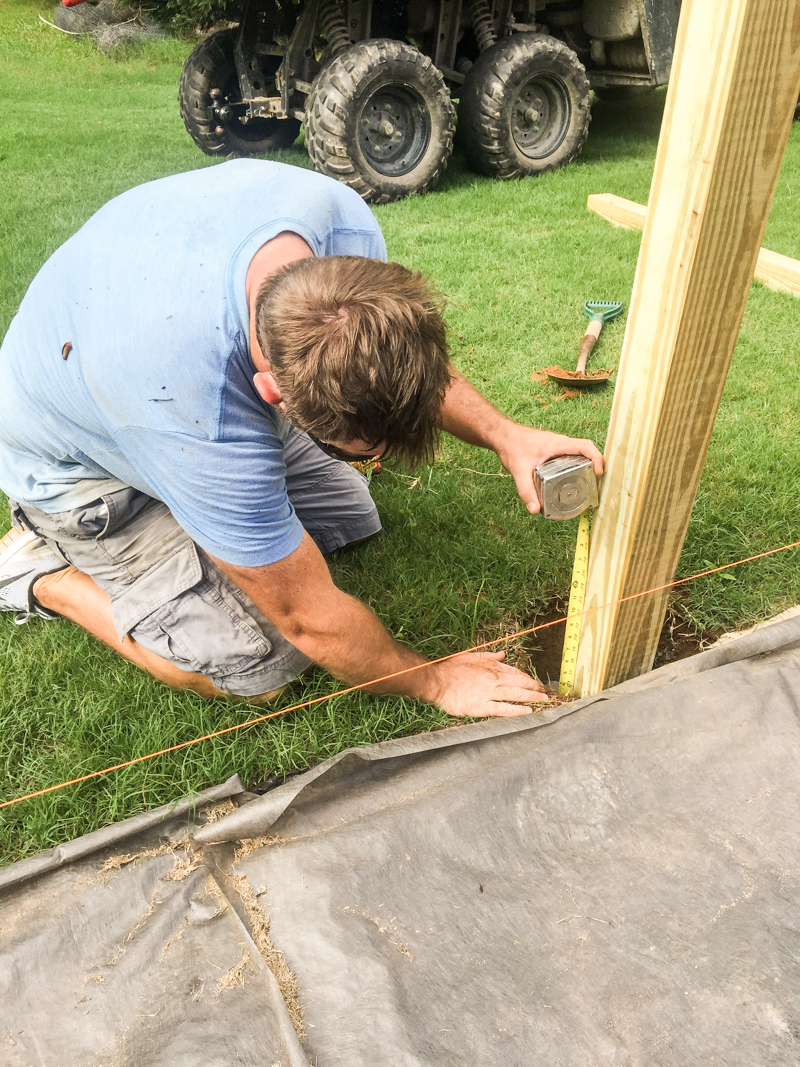
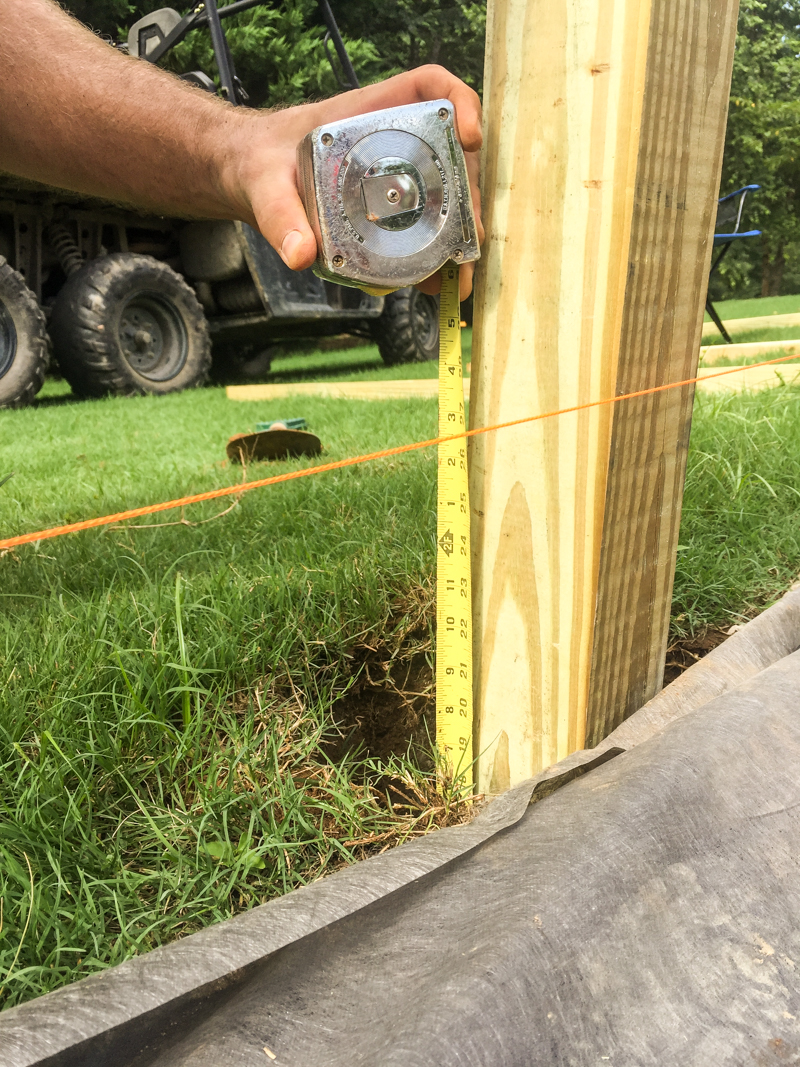
The hole should be deep enough where at least 18″ of the post is below ground level. Some of ours were 18-24″. In general, the depth of the hole should be 1/3-1/2 the post height above ground (i.e., a 6-foot tall fence would require a hole depth of at least 2 feet….our fence was going to be 4 feet tall so 18″ was minimum depth required). And the hole should be roughly 3x the width of the post.
After the post is deep enough, align it with the strings and then make sure it is straight up and down.
Then its the fun part…..the quickest concrete ever.
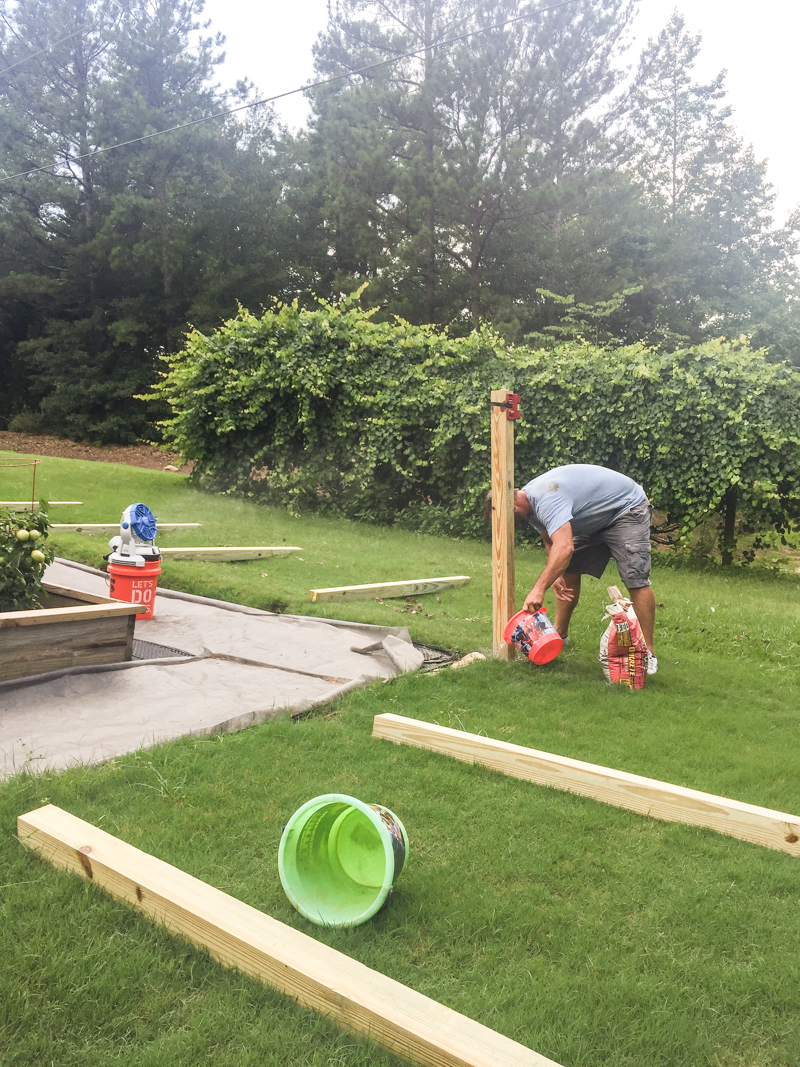
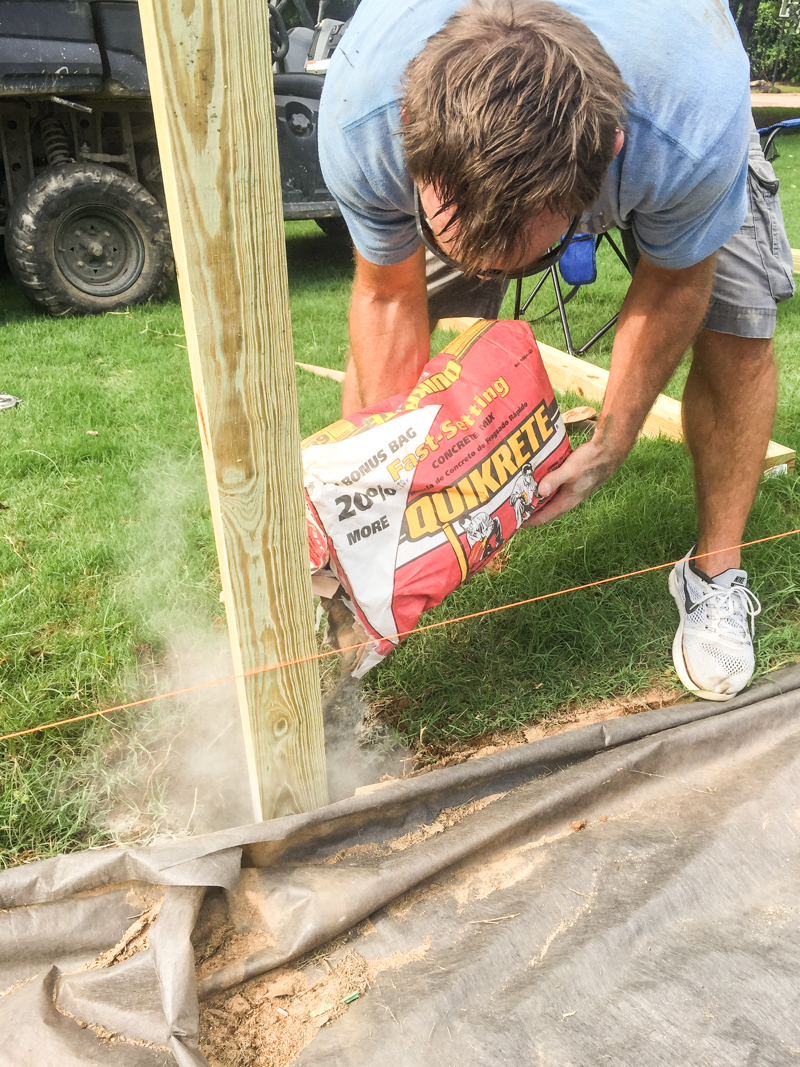
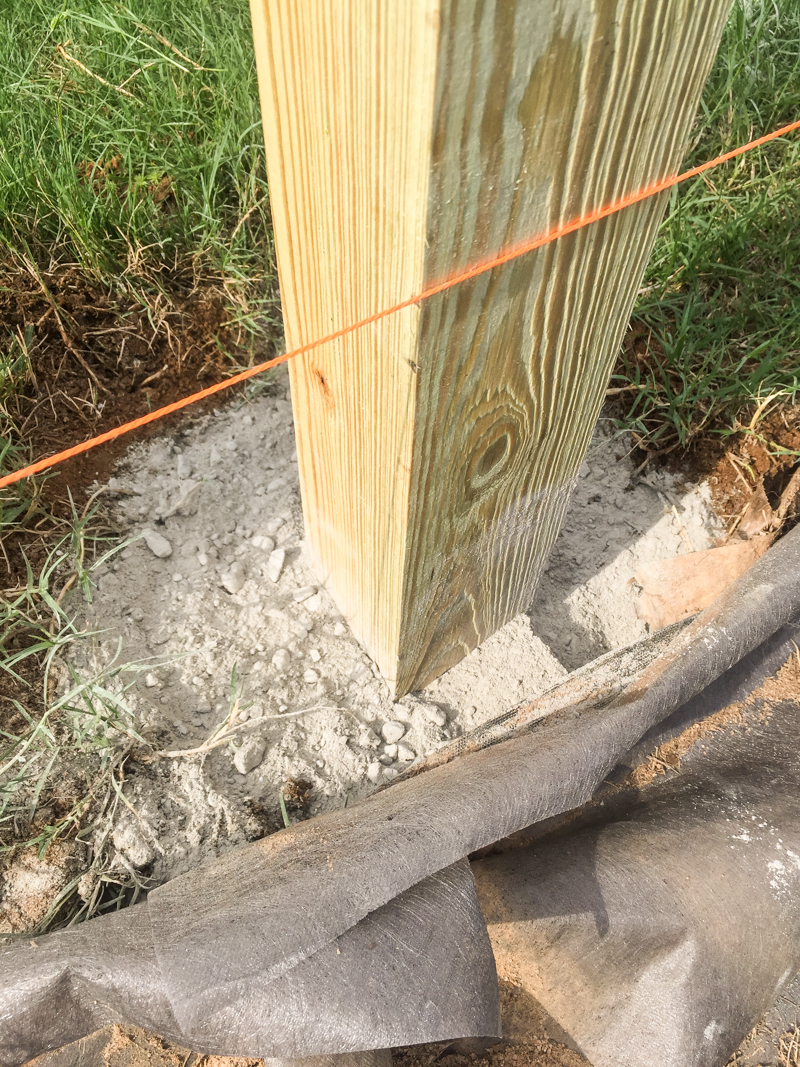
While someone else holds that post in place (making sure it stays against the string and still plumb), pour a bunch of the Quik-rete in the hole. Ours took about half a bag.
It should be filled all the way to ground level.
Double check the post again….
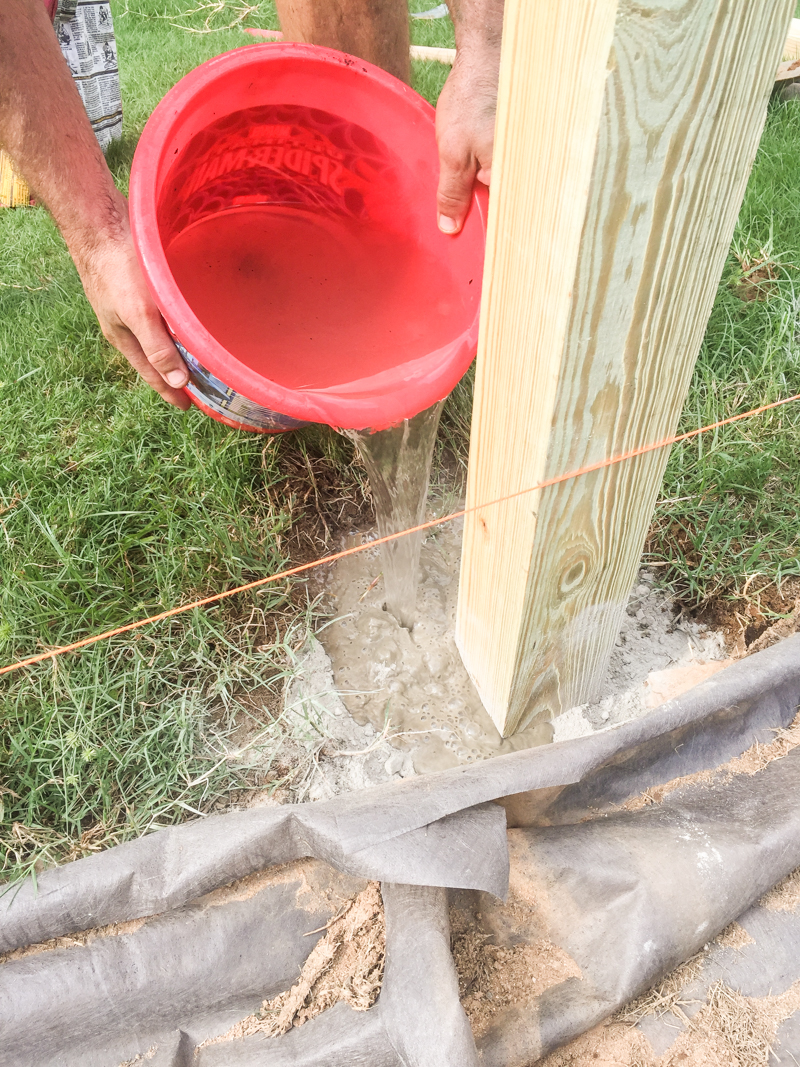
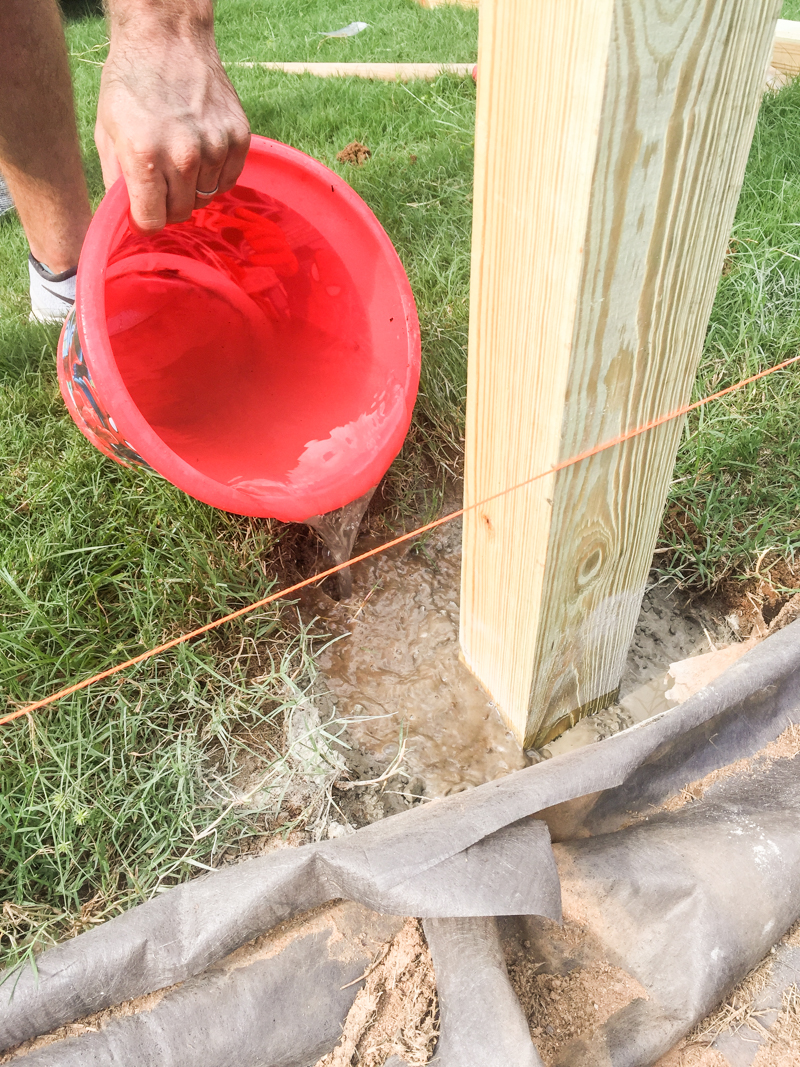
And if everything is good, you will need to add about 1/2 gallon of water (roughly the amount that can be held in a kid’s Spiderman bucket) onto the Quikrete….we would add about half a bucket at a time.
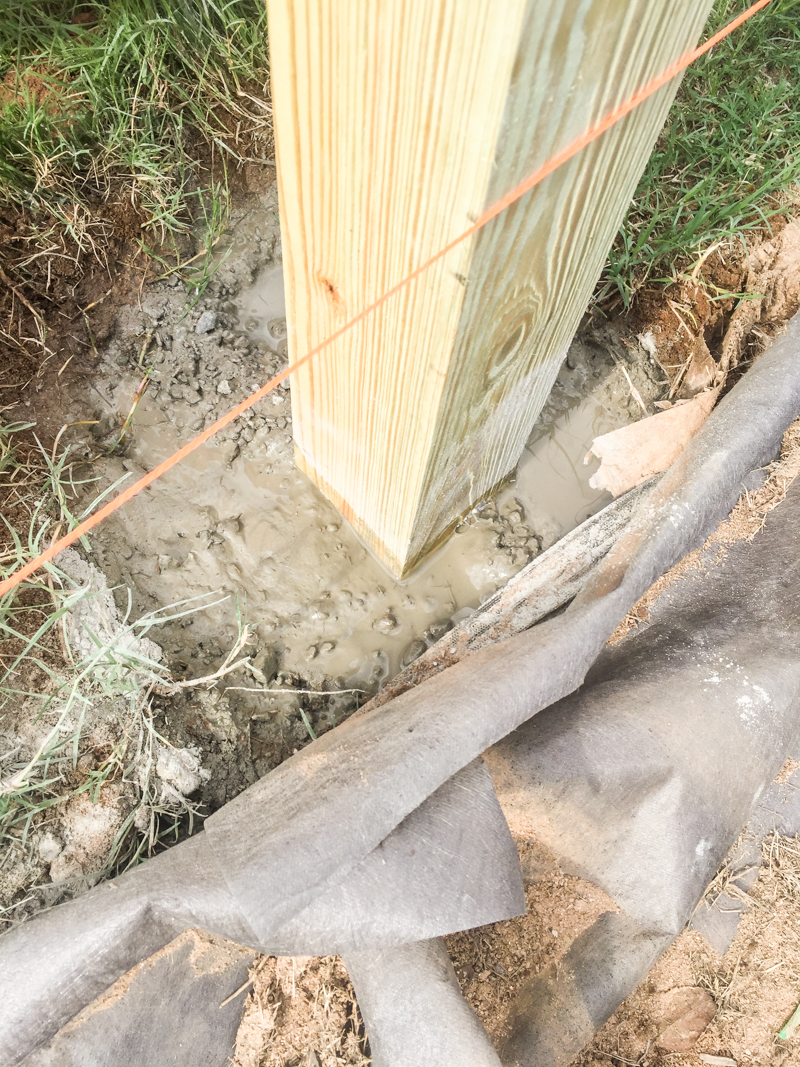
It’s gonna look a tiny bit swampy at the beginning….
Within the first minute, the water will slowly start to sink into the concrete.
Following the instructions on the bag, finish pouring your water into the hole.
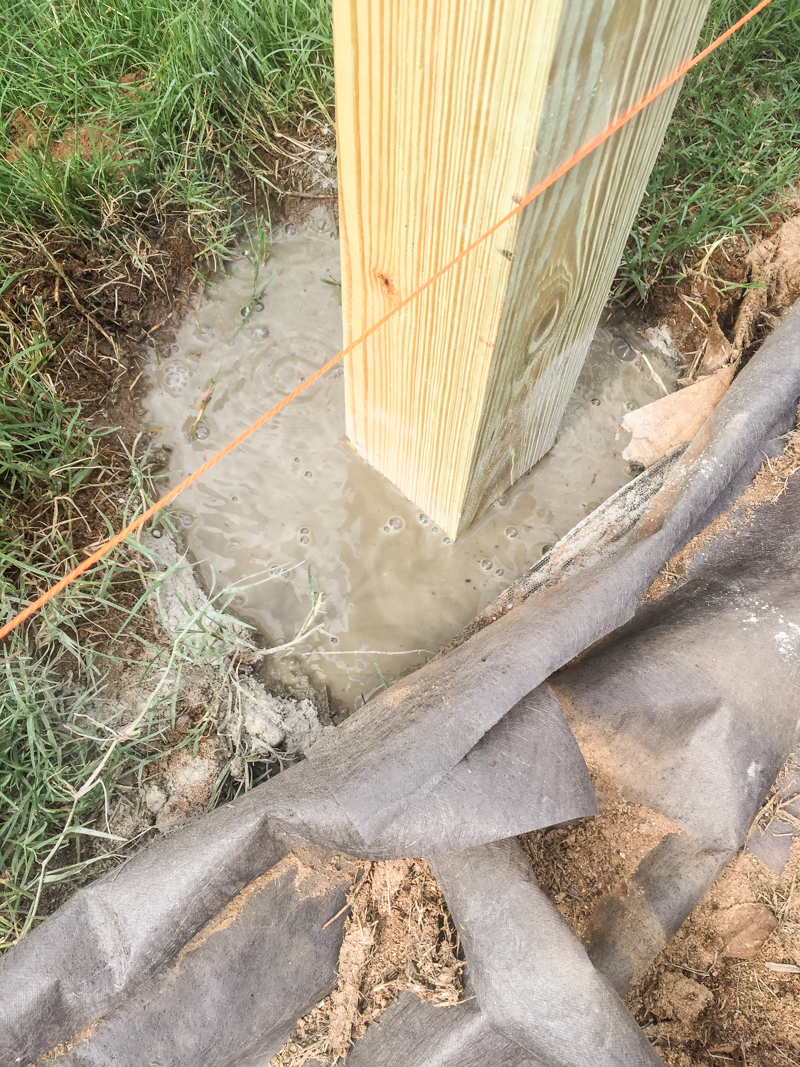
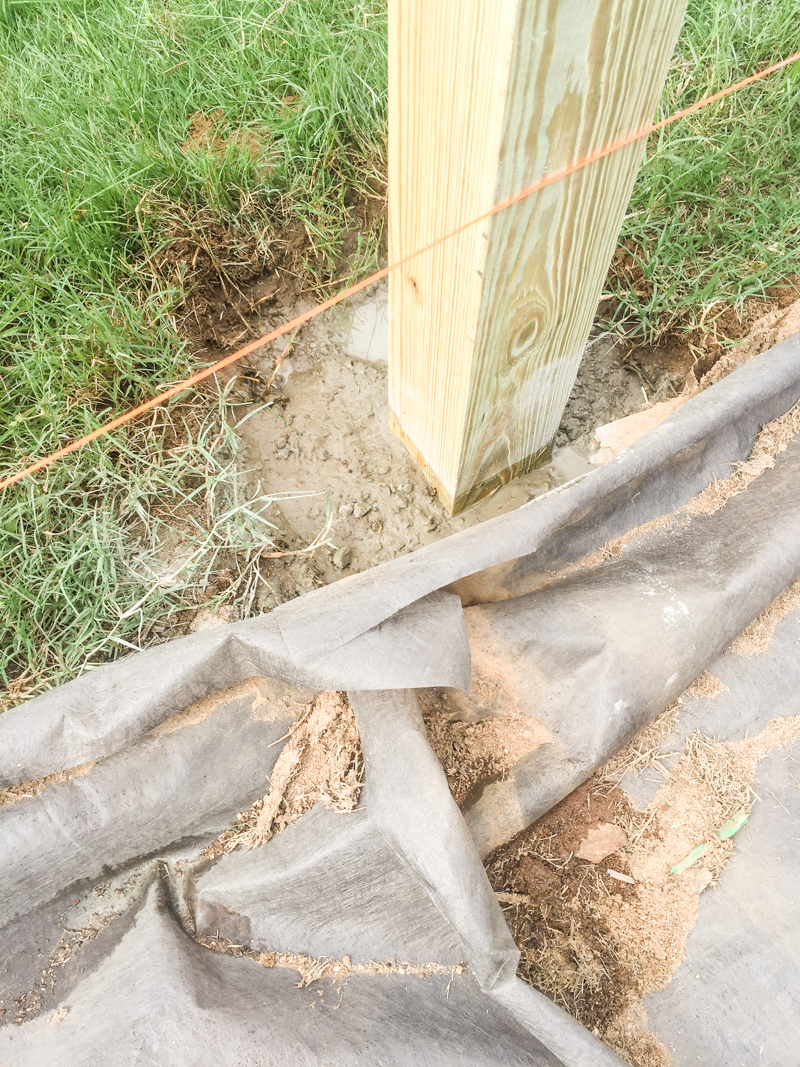
It will completely absorb and look like this….
That will need to dry out for a day before you continue constructing the fence. For us, this process took a solid four hours to get all the posts in the ground.
And there you have it! The first and probably most important step in the process!
It’s a good thing to note that during the planning process, you want to make sure you know where the gates will go and what width you want them to be and which way they will swing. That helps with know where the posts will go.
For us, we planned for two centered gates that swing in. The gate needed to be wide enough to fit a wheelbarrow but not too wide to avoid too much weight.
Some more glorious fence post shots….
We decided that the best color for the fence in the end would be to match our deck (they aren’t next to each other but it never hurts to be consistent.) You can read about that staining process here.
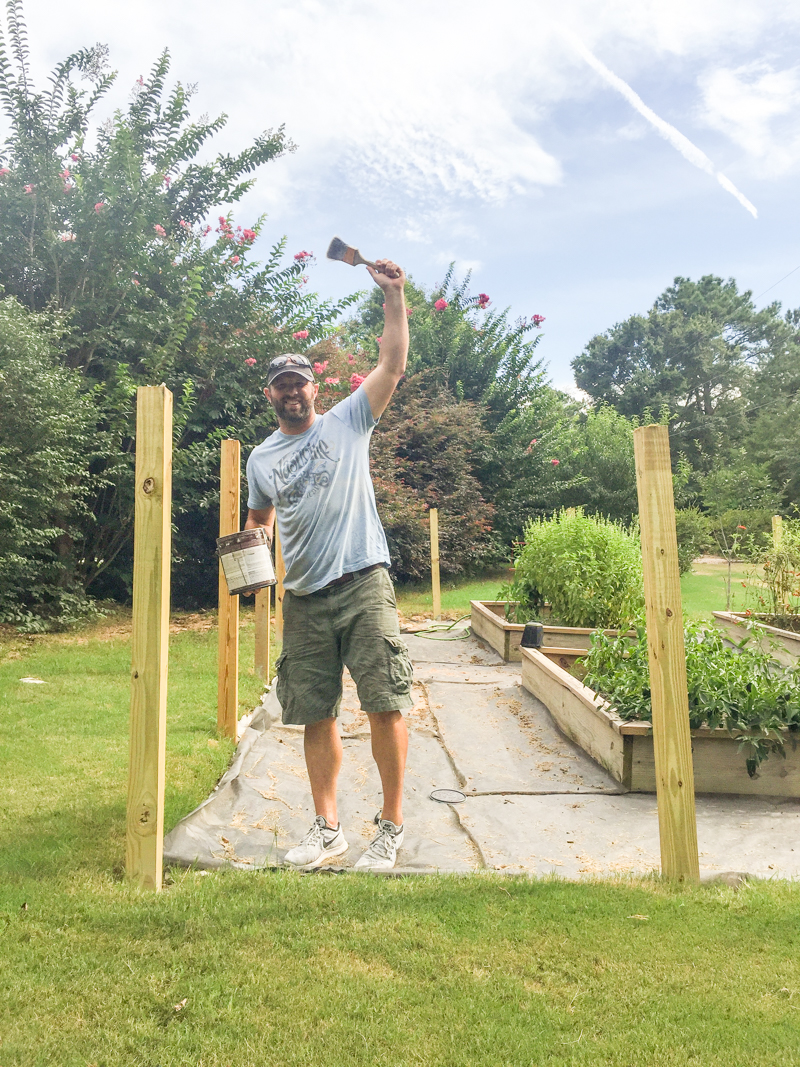
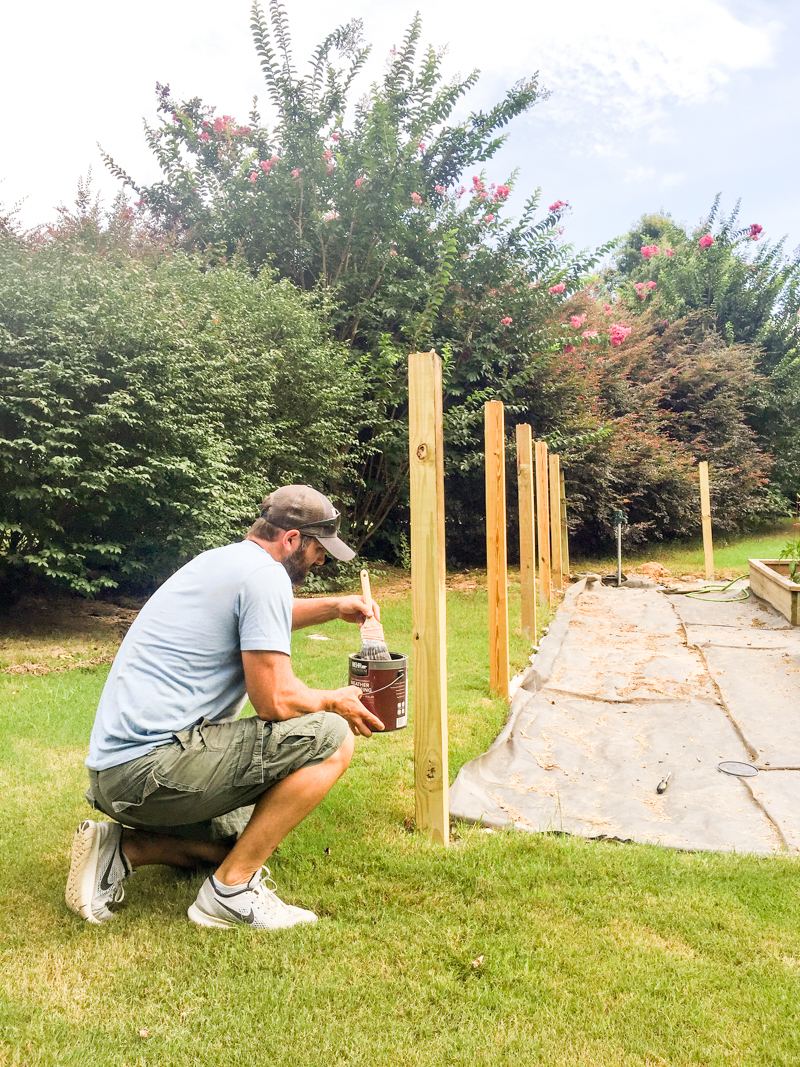
Jeremy just hand stained each post before construction of the panels and slats so that we didn’t have crazy cracks to deal with later. Smartie pants.
And there you have it….finished part 1 of constructing a fence. Part 2 will have the details of how we built the rest (it was easier than you think) and the end result is stunning! Stay tuned and happy weekend y’all!
Oh no…I hope you don’t have deer looking for food like we do! A 4′ fence won’t keep out a hungry deer…more like 6′ to really keep them out. Hopefully you just have migratory deer!
Looks nice, but um… deer will definitely jump that. :/
I love how you guys fearlessly tackle large home projects! So inspiring… and so cute that you don’t think a deer will jump a 4 ft fence. Maybe Southern deer don’t jump as high, but Northern deer will clear a 6 ft fence if they really want to.
Wouldn’t chickenwire around these posts be enough to stop the deer an the rabbits?
Yes it would stop the rabbits but our deer are feisty and if they see a wide open aisle between the beds, they would jump a fence 4 foot tall. Also it is visible from the road and we wanted to maintain some curb appeal.
xo – kb
We talked to different people and they said that the deer would be able to easily clear a 4 foot chicken wire fence but they would hesitate with a wood fence because as they run to jump, they can’t see where they land (apparently it’s a better deterrent if they can’t see the landing spot?) – I’m no fence expert…obviously….and no deer whisperer….obviously….but hopefully this will keep them from attempting it. This is also visible from the road and we thought it would look better than chicken wire.
xo – kb
Yes we don’t have a ton of deer since the last October (some folks bought the land behind ours and the deer have seemed to be less brave about coming over here….don’t know if they moved on or what) but hopefully this will deter them a smidge!
xo – kb
Looks great. We just fenced our entire yard. We did a vinyl fence from a company called WamBam. Totally dumb name, but they had amazing customer service. (Way above and beyond) I tell you this because you don’t have to dig holes. So if you ever need to fence more….check it out.
Well, that does make sense.
Katie, don’t worry too much about the height of your fence. Some people build up for deer, but another technique is to build out: if you do find that deer are helping themselves to your garden, just run a few t-posts (or something cuter lol) about 3-4′ on the outside of your wooden fence. Then string a strand of wire on those posts at the same height as the wooden fence. Tie flags along the length of wire, so it’s very visible. Deer have terrible depth perception and will not jump over the double “fence” even though it would be so easy to get over/under/through. MAGIC. Signed, a-Midwesterner-besieged-by-white-tails-who-has-learned 😀
The raised beds look so lovely. Other than aesthetics, are there are benefits to doing raised beds like that?
My wife and I want to build a new fence in our yard as well but we aren’t sure where to start. I like that you mapped out where each hole and stake would go when starting out. This sounds like a great way to keep track of where the holes and avoid any accidental fall-ins. Thanks for sharing!
Great directions and photos! I had a 4 ft fence and not one deer bothered to jump it, by the way. Anyhow, thank you!
Hello! I know this is so late, but we’re just planning on building a fence in the next week or so and I’m trying to plan. Did you use about half a bag of the quikrete per post? Or total?
Yes – half a bag of the Quikrete per post – but you might want to buy a few extra bags (it’s not expensive at all) because your holes might be wider or require more.
xo – kb