Disclaimer – This is a sponsored post by Floor & Decor. All opinions are 100% my own.
Holy cow. Are you guys ready for a big juicy DIY post? Because you are gonna feel as full as Thanksgiving second helpings after this one. It’s beefy. So beefy it makes cattle look like fish. Process that one for a minute.
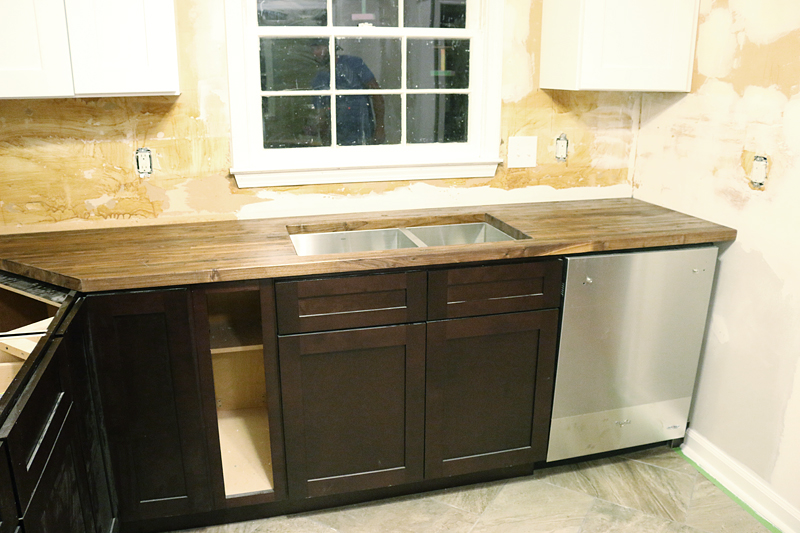
Okay…so we are headed back into the Pedraza kitchen where we reworked walls, we installed gorgeous two toned cabinetry, laid some really family friendly tile in a herringbone pattern and now we are ready for countertops. In the original plan, we had said butcher block all the way….but we really had not picked it out or bought our pieces yet. It was back to one of my favorite places….Floor & Decor to get our materials.
So I know that some folks are like what? What is a Floor & Decor? And a couple years ago I would have said the same thing. Then a new giant store was built near the Mall of Georgia and now I make any excuse possible to go. Floor & Decor is like the Sam’s Club of tile, stone, flooring, laminate and countertops. It’s HUGE. And it can totally be shocking to the system….I know I was thrilled to be in such a huge place filled to the brim with tons of options but I can see how it could be overwhelming to some people.
The great part is that the stores are broken into sections….decorative tiles, floor tiles, laminates, hardwood and countertops. I broke it all down for you guys last year when we got a tour of the new store. There is even a section that has a designers waiting for you to come talk to them and help you in the shopping process. Oh and classrooms….ya know, for free how-to-tile classes 🙂 So when we went, we headed straight to the countertop section to check out their selection.
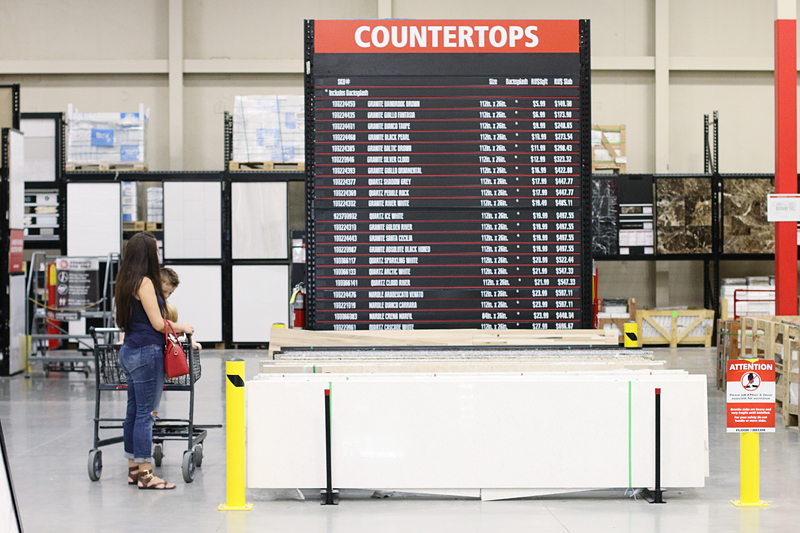
I knew that we were shopping for butcher block, but I had to stop in and see their stone options too…..
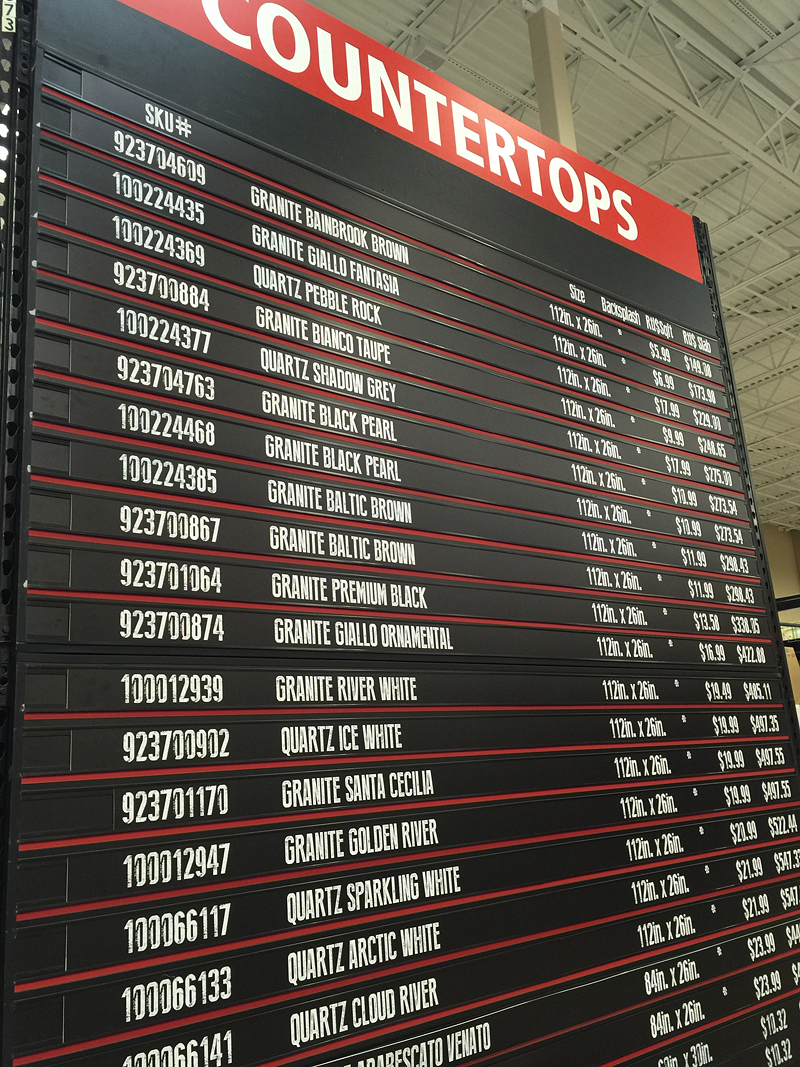
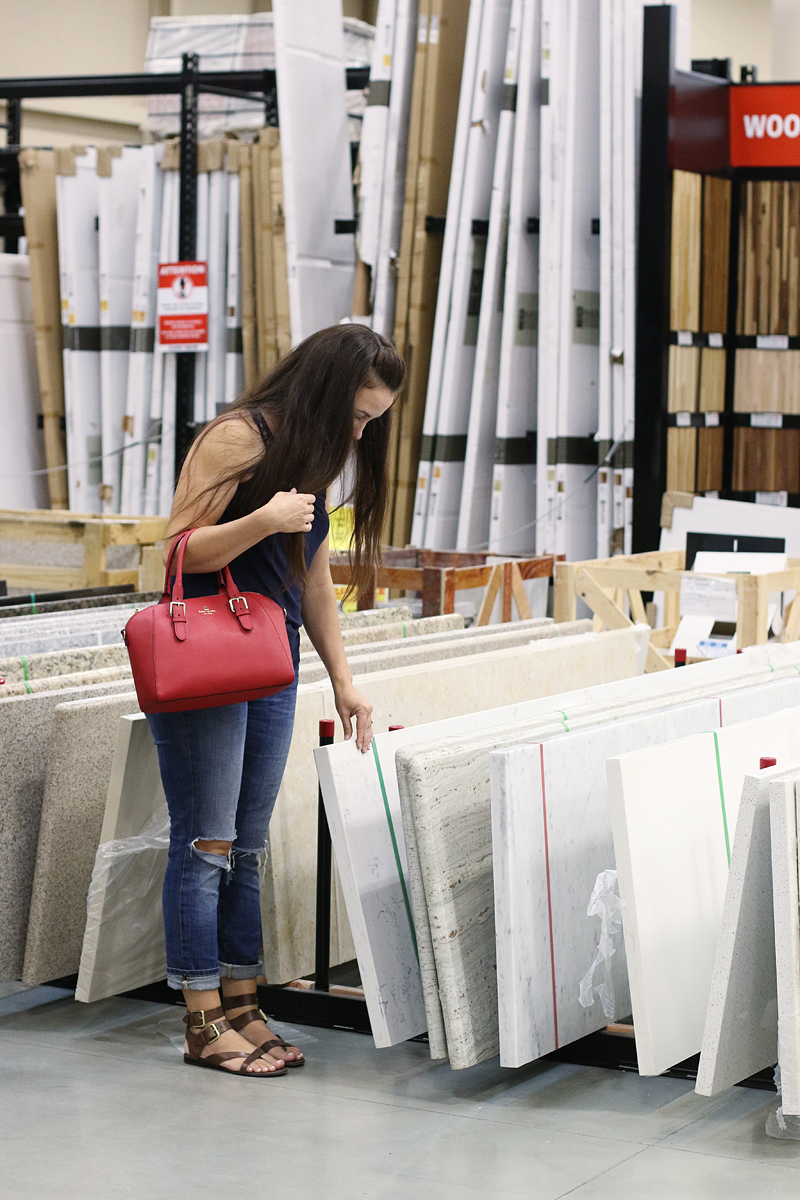
They carry these quartz and granite options….SO PRETTY. And ready to install. Like right now. Can we just take that in for a minute? You can leave the store and come home WITH A QUARTZ SLAB TO PUT IN YOUR KITCHEN RIGHT NOW.
That’s virtually unheard of in any other store. It’s crazy awesome.
And since Floor & Decor has a price guarantee, you can’t find the same item for less. Most quartz runs about $50-$60 per square foot and they have it for $18-$28. I’ve said it before. I’ll say it again. Crazy. Awesome.
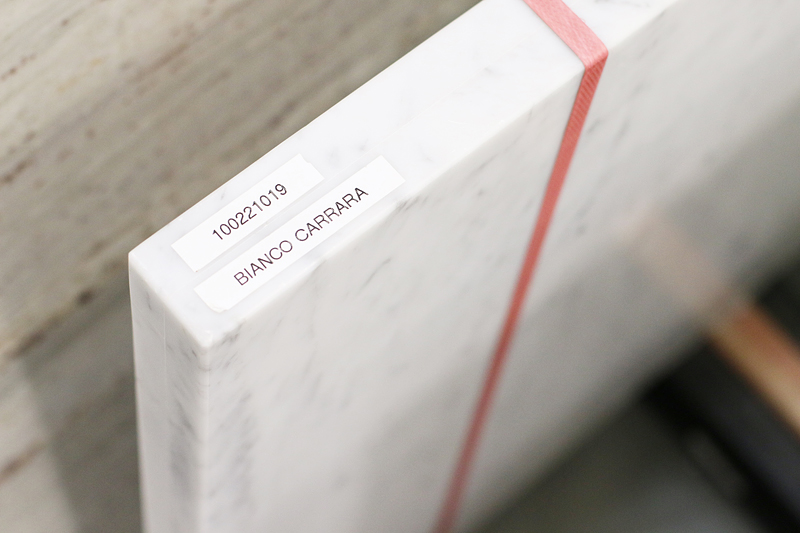
My favorites in the stone were this Bianco Carrara….of course 🙂 The first thing I thought when I saw it was….oh man, my instagrams would look so good with this as the background! ha!
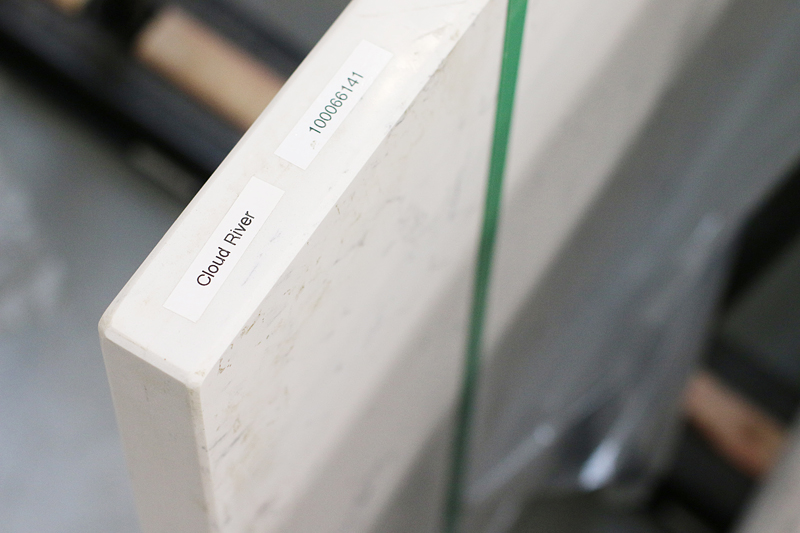
The Cloud River quartz slab is a really nice option too…it’s more subtle and feels more mature in some way.
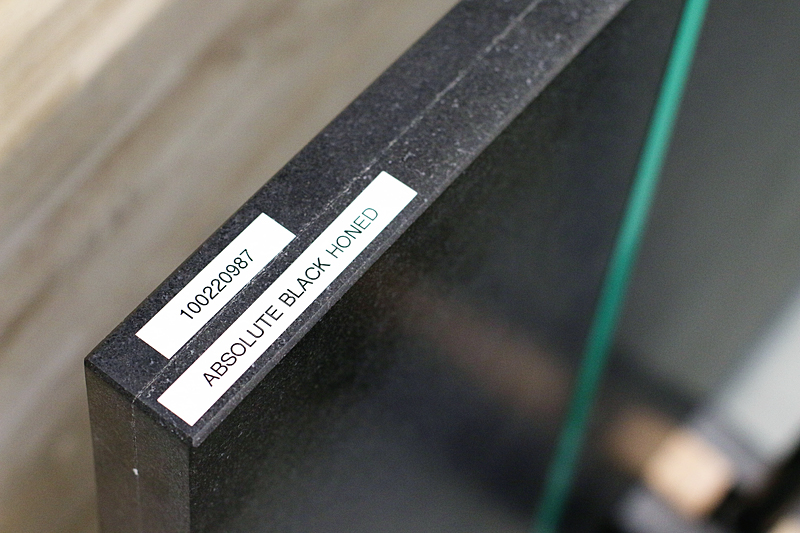
And of course I also liked the black honed granite. It reminds me of my kitchen 🙂 My favorites all had a squared edge and I am just dying to use it somewhere in my house.
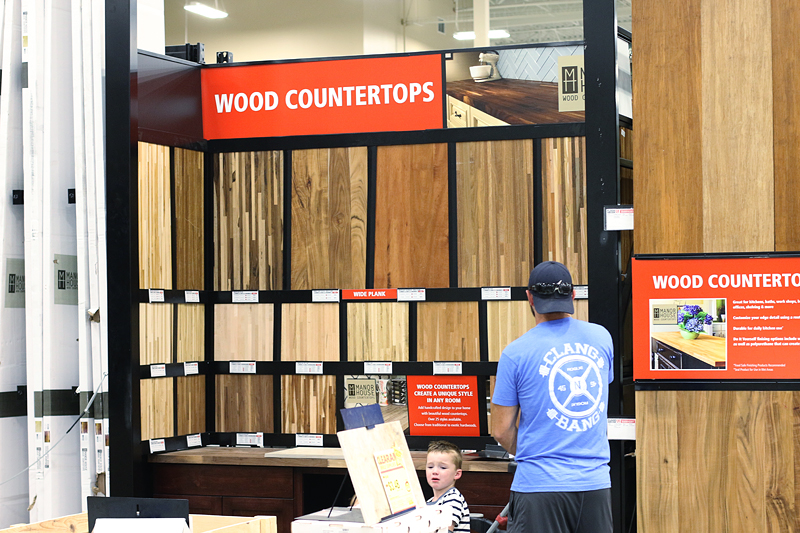
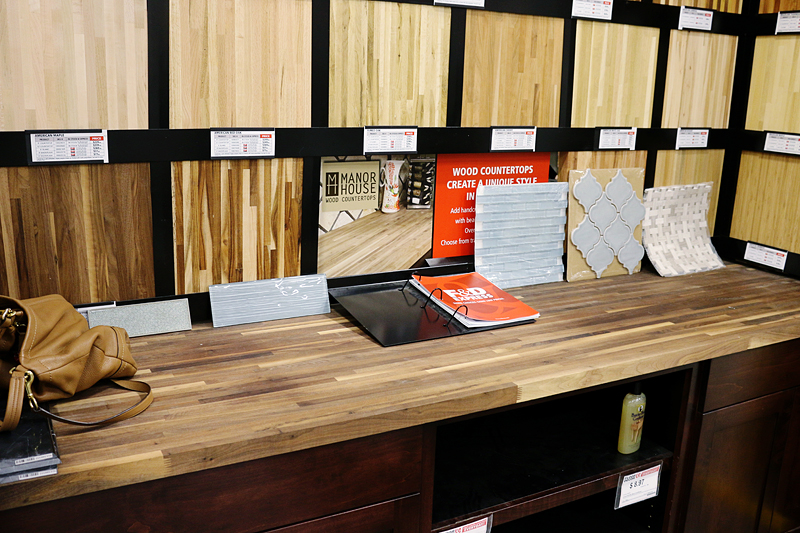
After I got to touch all the counters….that isn’t an exaggeration….we headed over to the butcher block section.
Poor Weston really wanted to pick up the countertops. It’s tough being so strong buddy 🙂
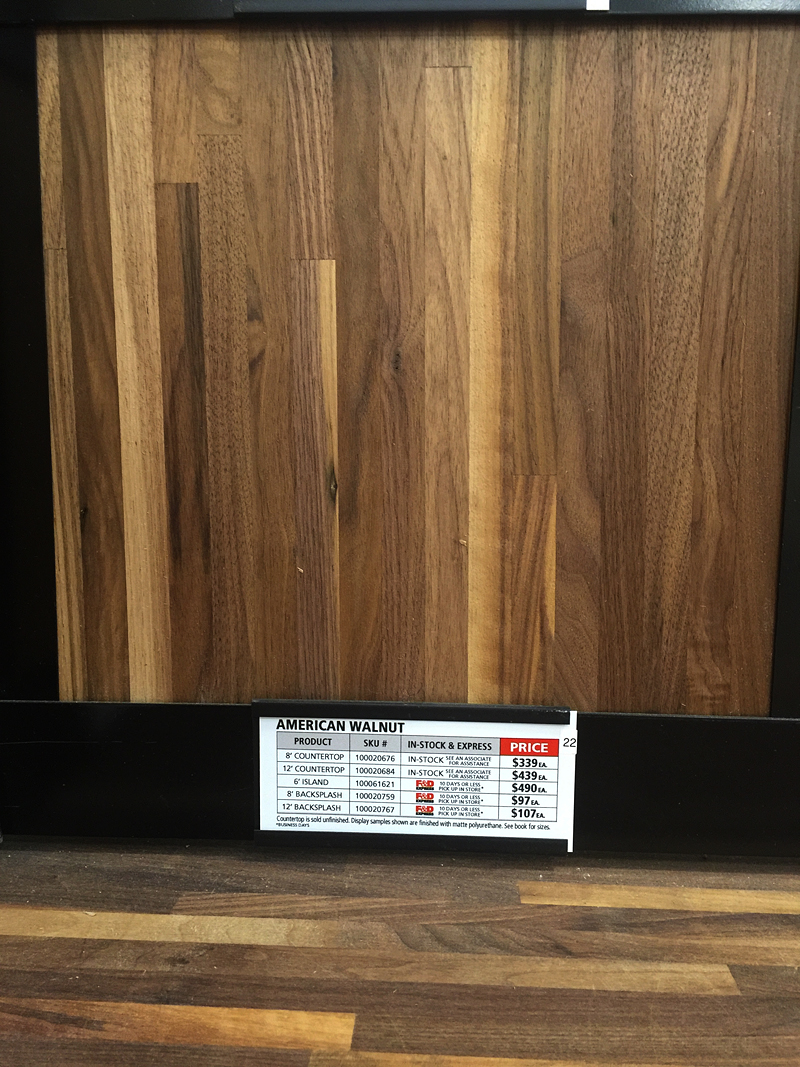
We knew that we had discussed doing the walnut countertops but I wanted to be sure Floor & Decor didn’t get anything else into their lineup before making the final decision.
One of my friends is a carpenter and he was shocked to learn that you can buy these here. He literally asked me if I glued and clamped my own butcher block. I was like….um…..would you babysit my kids on friday night if I said yes?
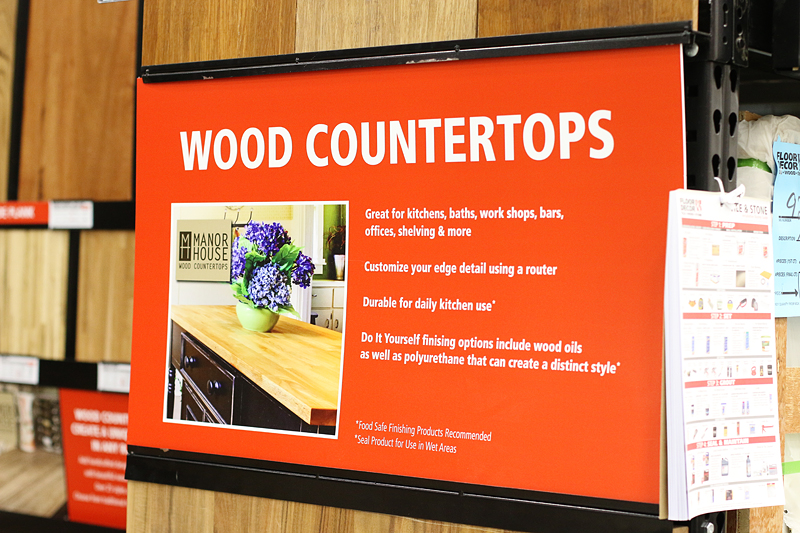
The other great thing about this store vs. other tile or flooring places is that they are really supportive of DIYers. They really believe that you can learn as you tackle your own home. And they support that with constant educational signage around their store. They are like mini reminders to people who have done it before and great inspiration for first timers. We installed butcher block in our laundry room and this sign reminded me that I could detail the edge with my new router!
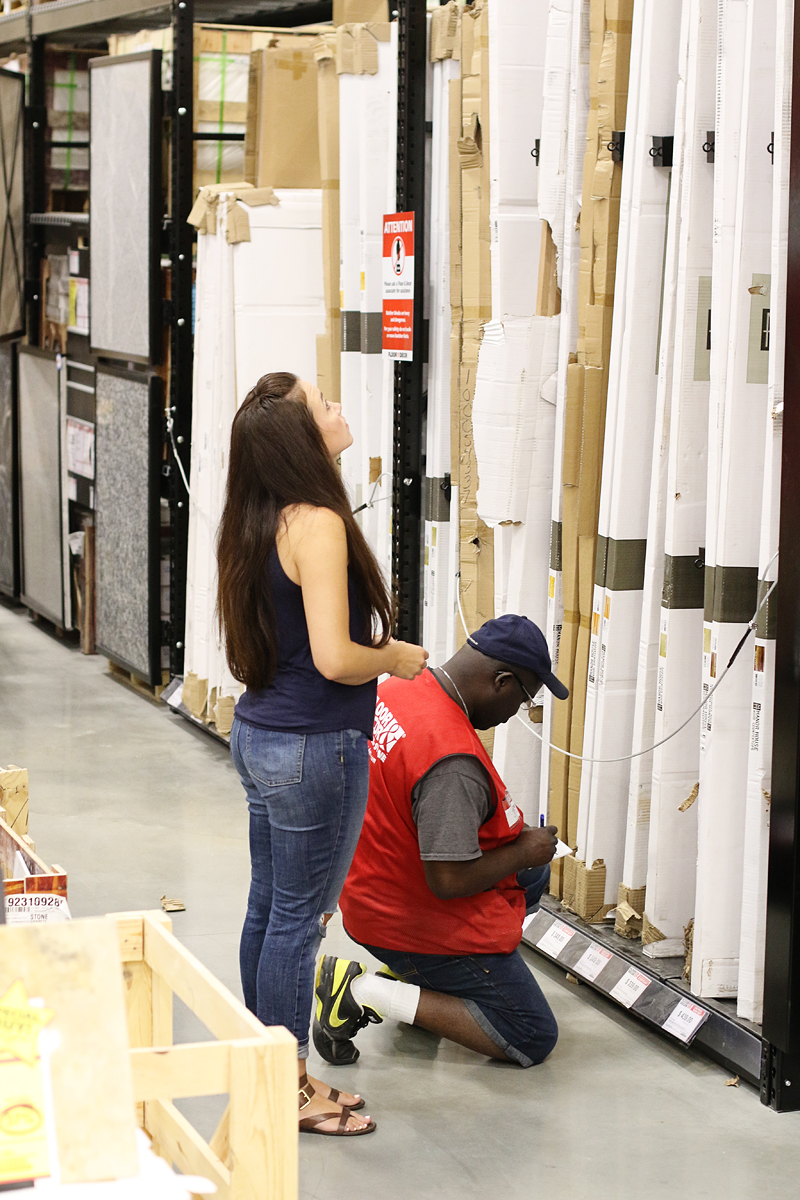
In the end, we went with the American Walnut. It can be sealed with Waterlox and turns this really beautiful dark rich color….so a Floor & Decor employee helped us locate our correct length of pieces….
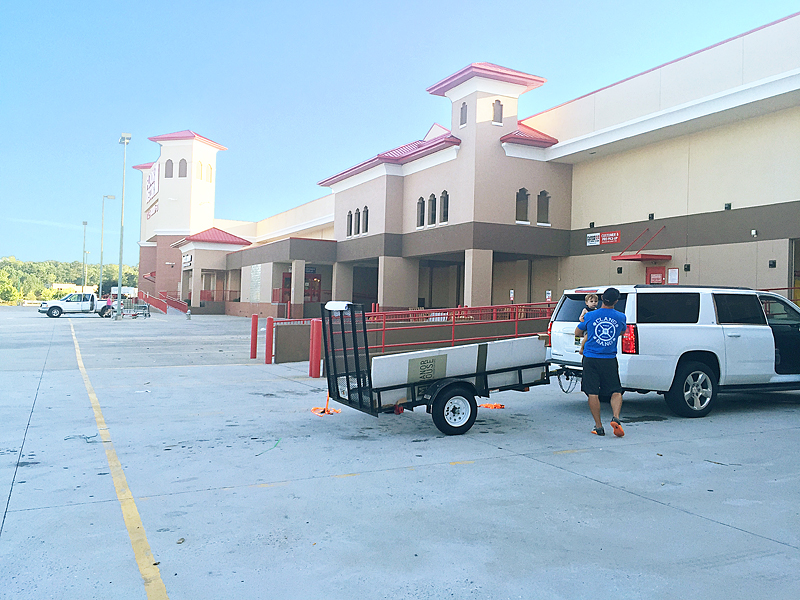
And we were loaded up and ready to go before long.
When it came to installation, I knew it would be a little tricky….the walls in the Pedraza house are not square (most old houses aren’t!) so I’ll try my best to explain what we did.
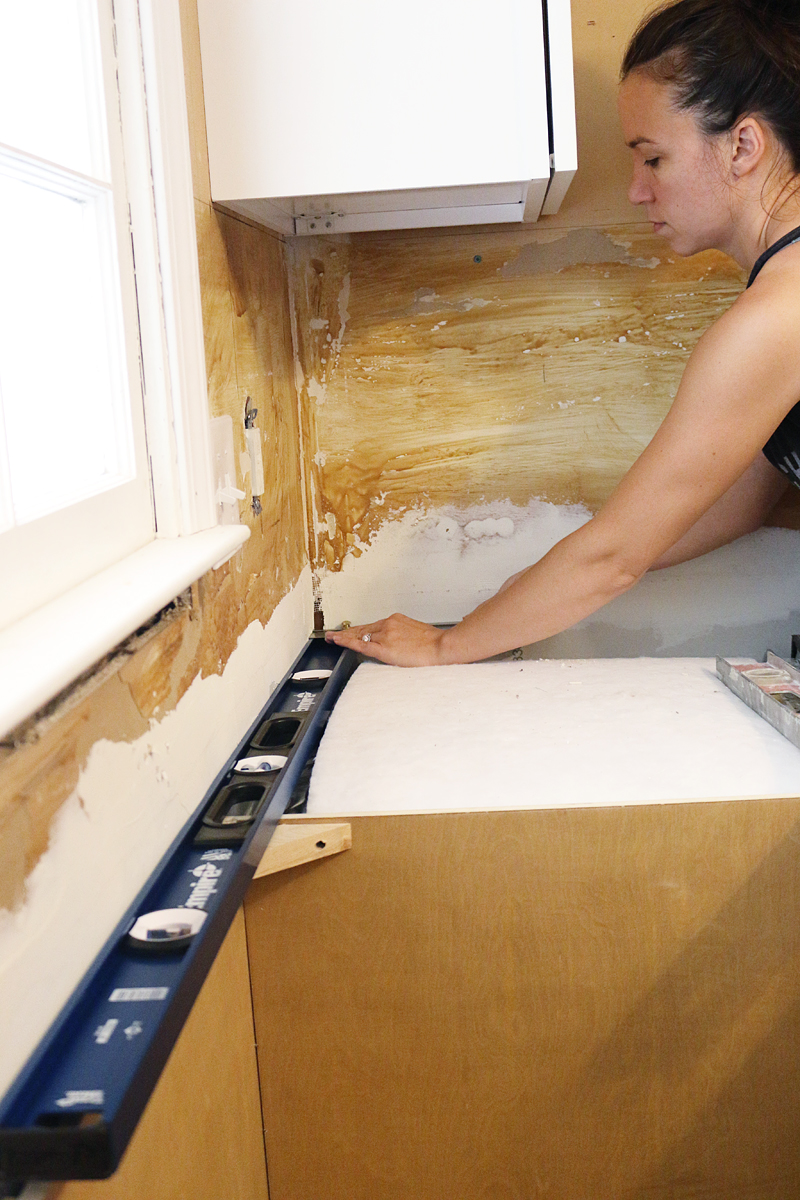
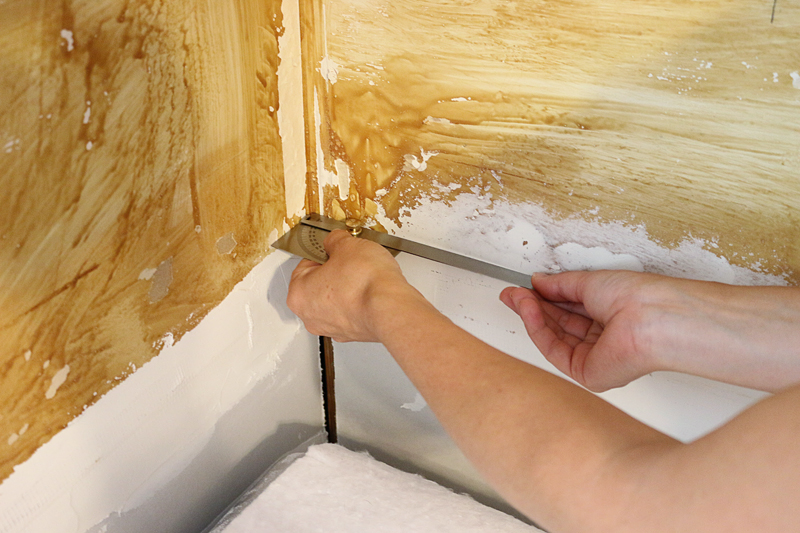
First we cut the biggest piece….it required us to measure the length but also get the angle of the wall….
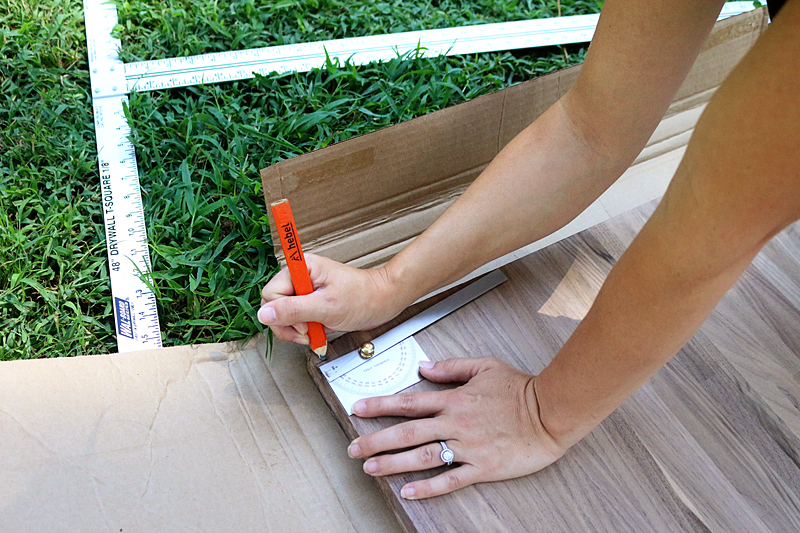
We used a little angle protractor to get the angle of the corner….
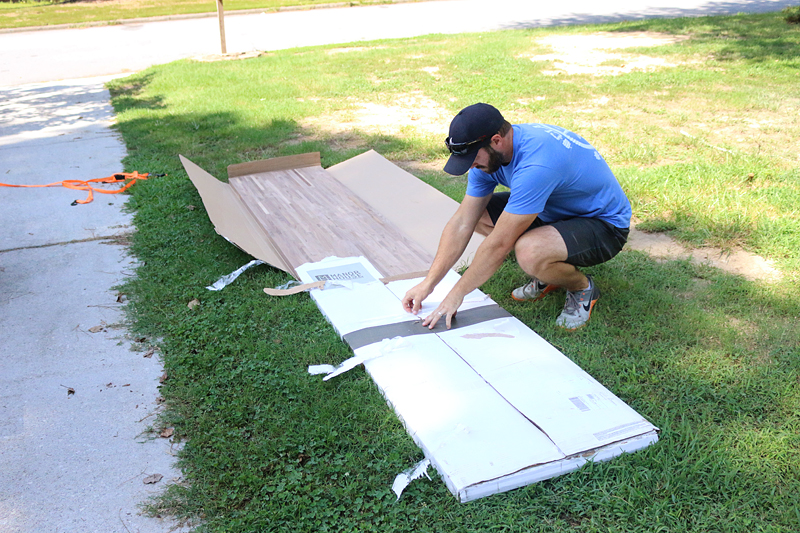
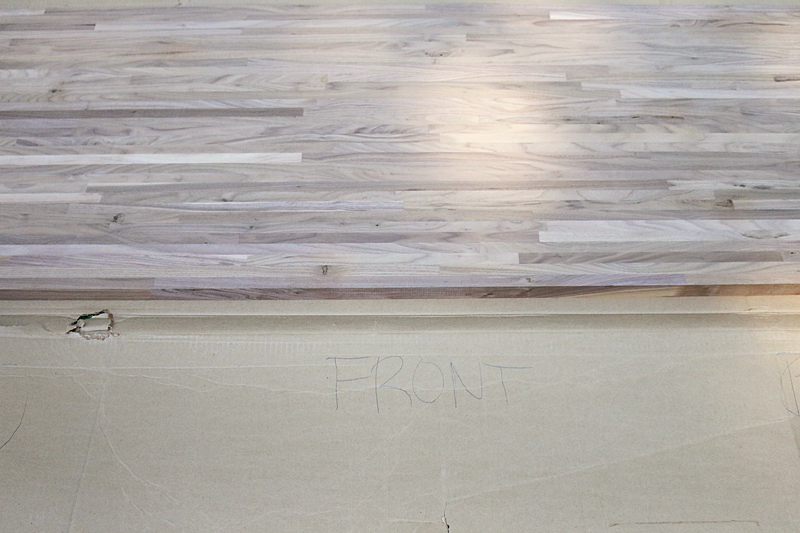
The butcher block comes unfinished and in a giant cardboard box. We needed to first decide which side was our top and what side was our front.
It helped us remember by writing it directly on the box.
Then we marked the length and the angle that we had measured in the kitchen.
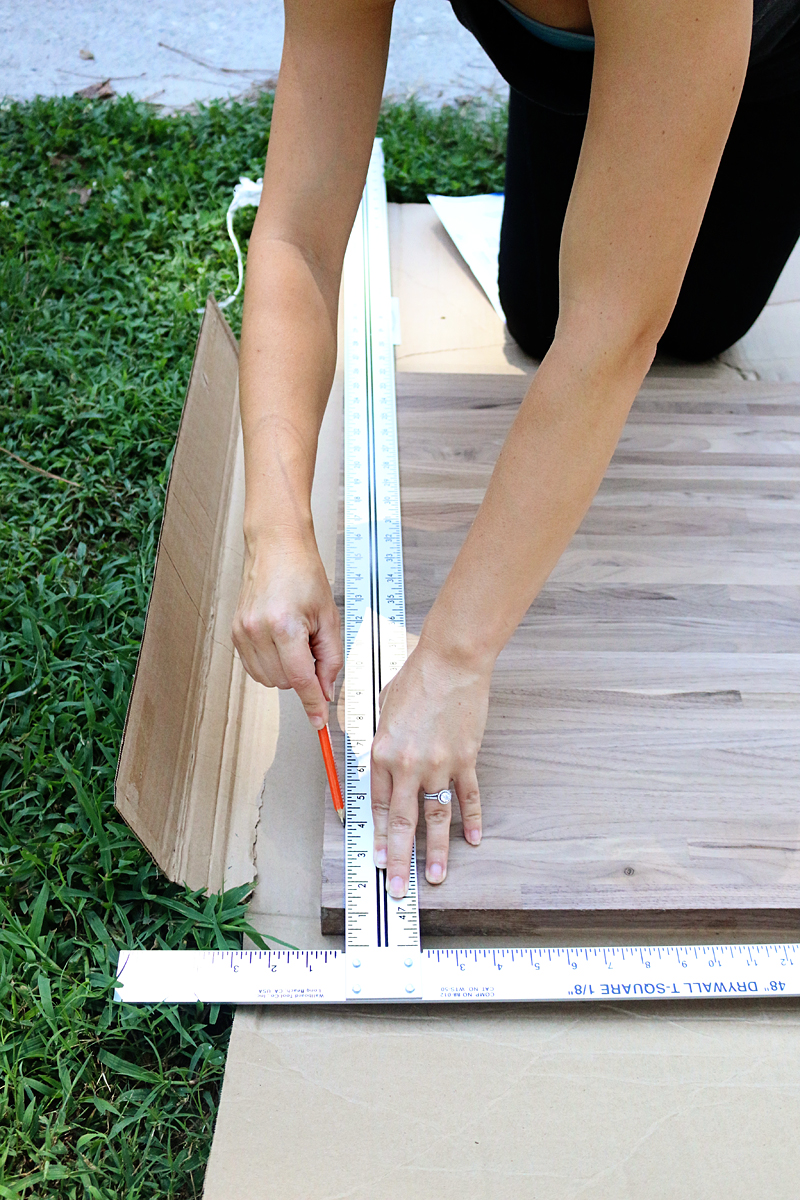
That angle was continued down the board with a straight edge.
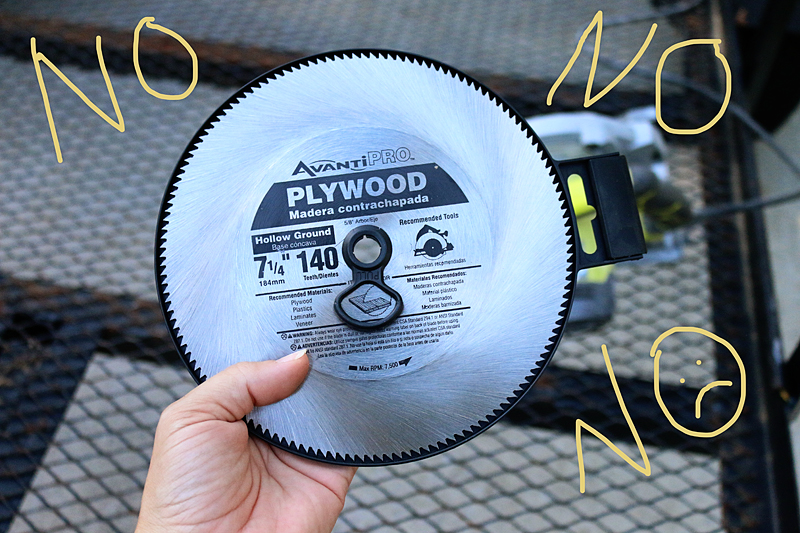
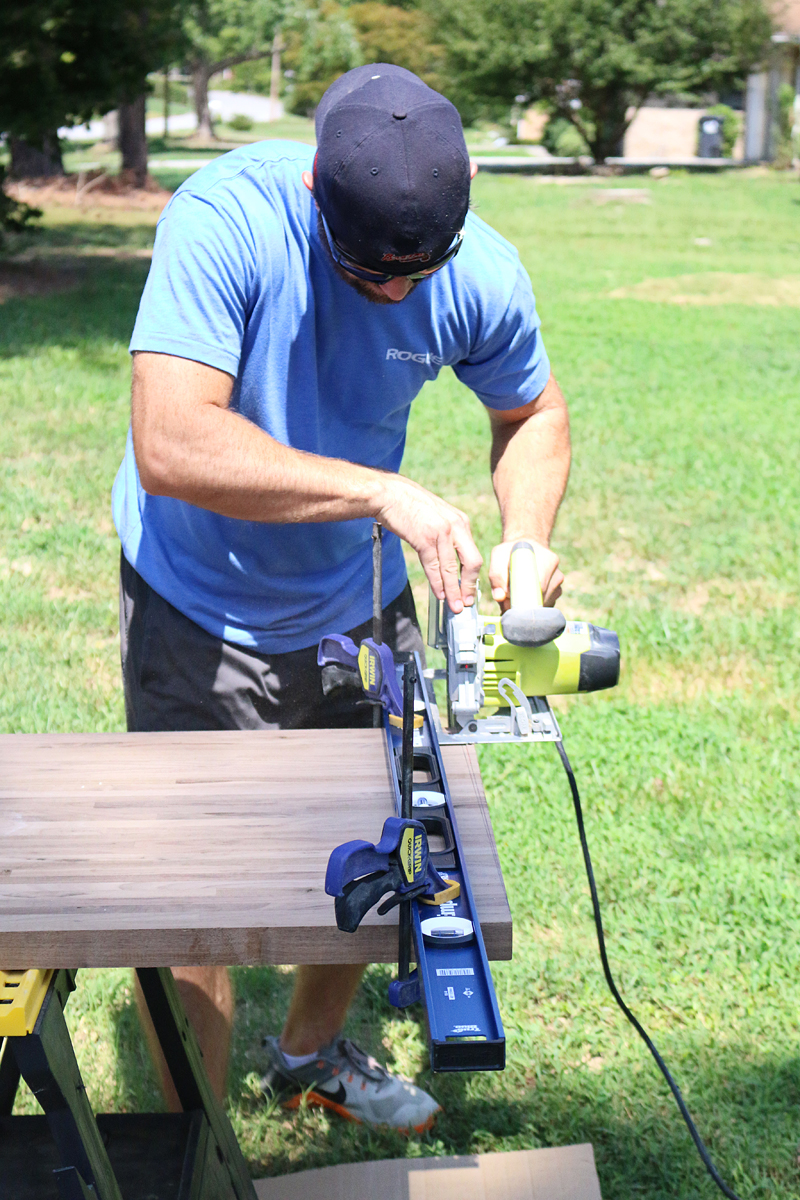
We had read that it was really important to get the right blade for your circular saw. This Plywood blade says its for laminates but it does not mean this kinda of laminated wood.
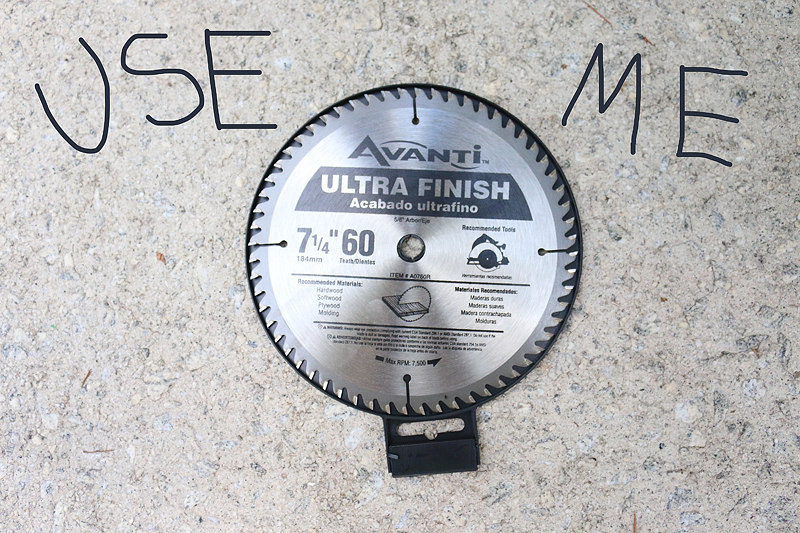
What you want is this ultra finish blade….it’s for hardwoods and plywood….but it won’t burn out on you 🙂
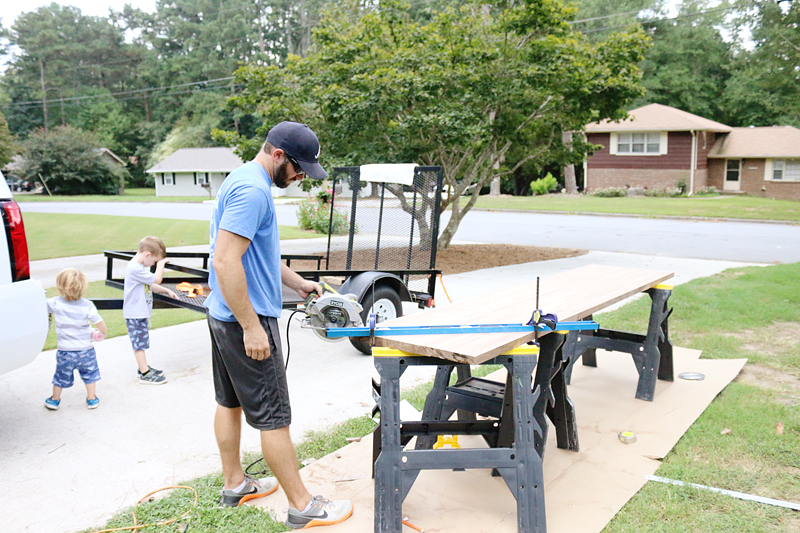
Once you are ready to go, take a deep breath and go for it…..
Then dry fit quickly because you won’t want to breathe until then 🙂
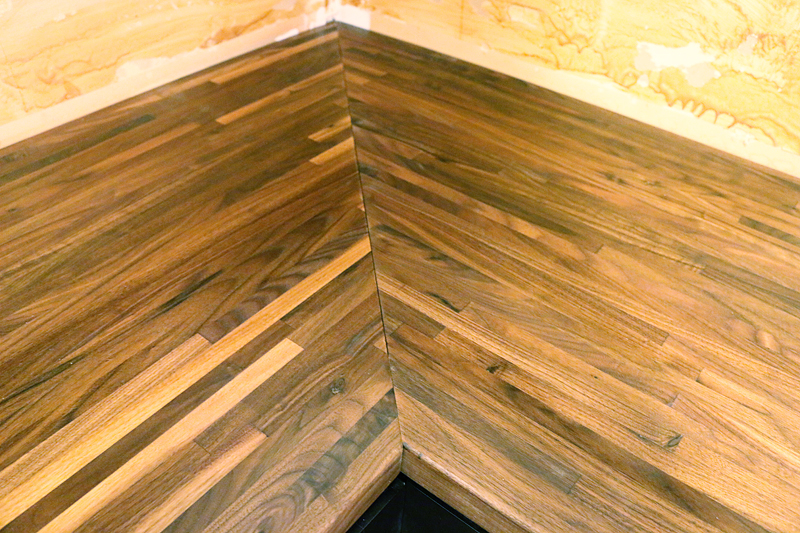
To ge the mitered joint at the corner, we measured from the wall the depth of the countertop and marked our diagonal line. Then we cut that. Then we repeated the process for all the other countertop boards. For the Pedraza kitchen, it required an 8 foot countertop and a 12 foot countertop. So the total cost for the butcher block itself was $780 which is a decent chunk of change but for the end result….totally worth it.
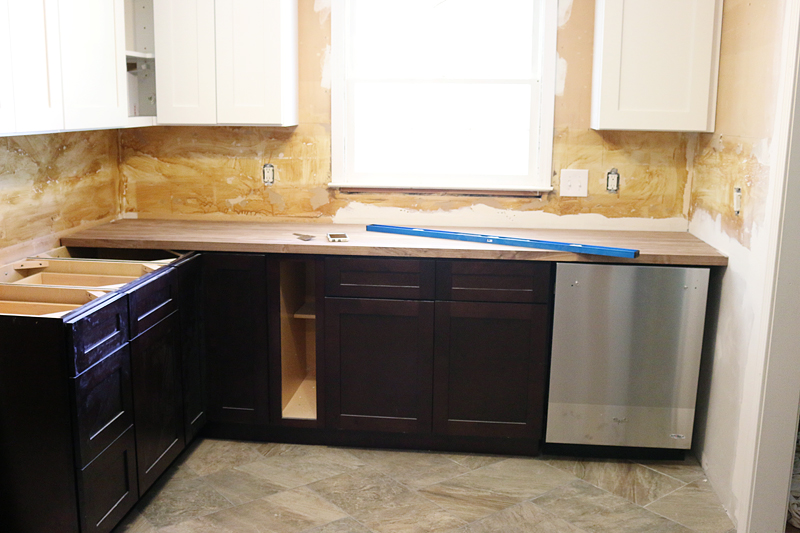
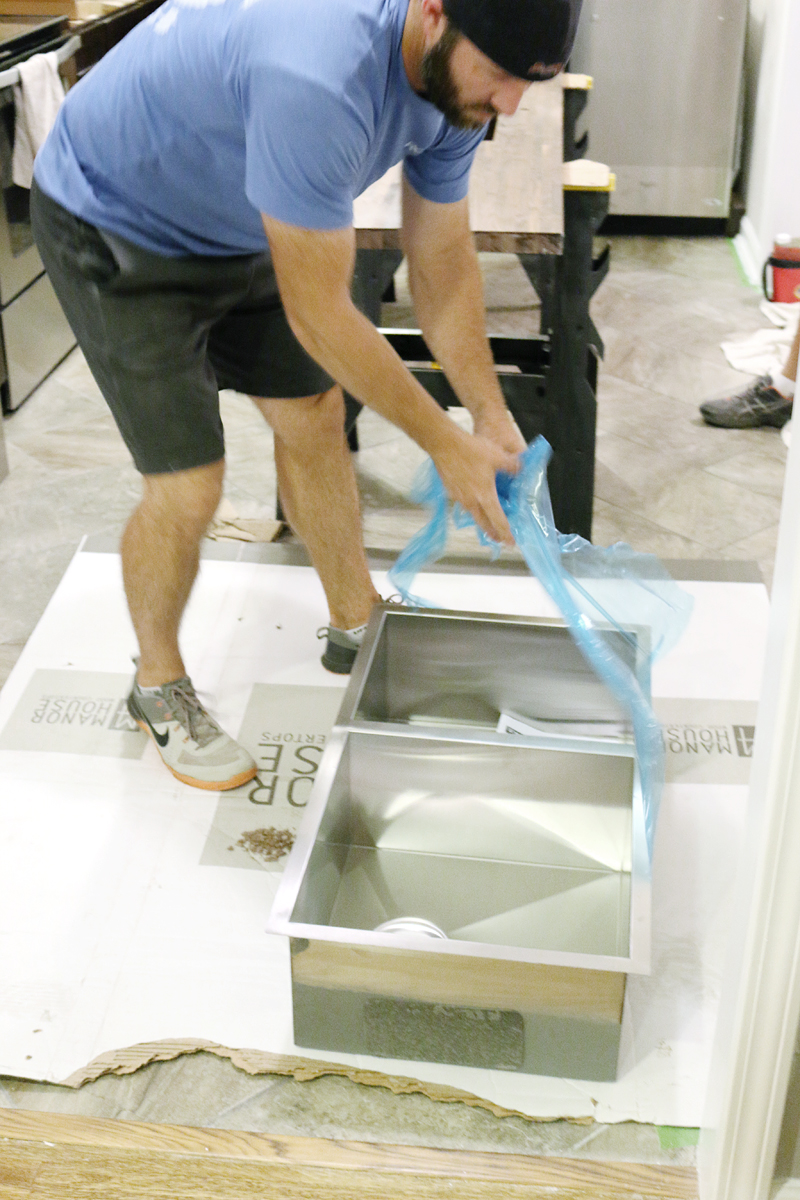
Once the countertops were cut and dry fit to the cabinets and walls….it was time to cut the sink hole. Remember our lovely Moen sink? Here are the details on that beauty.
Thankfully the sink came with a template and I googled the tar out of ‘how to cut a sink hole from a butcher block countertop”.
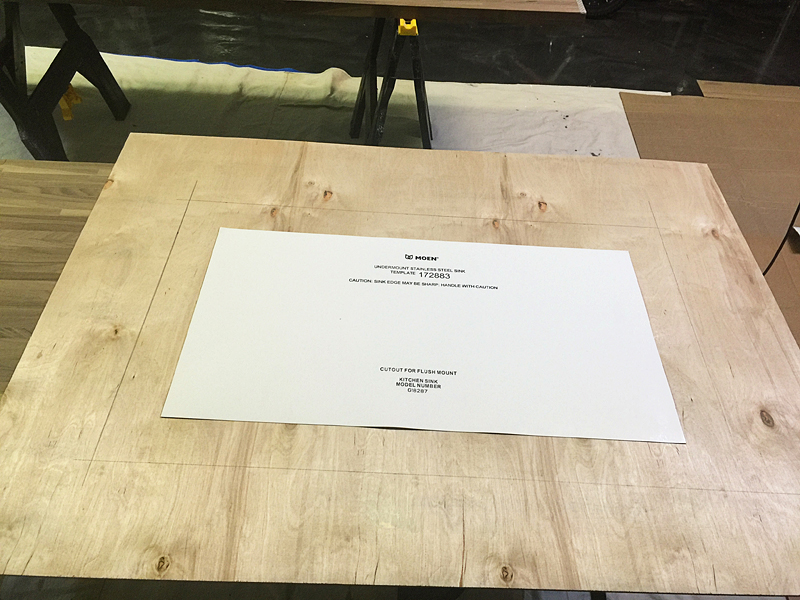
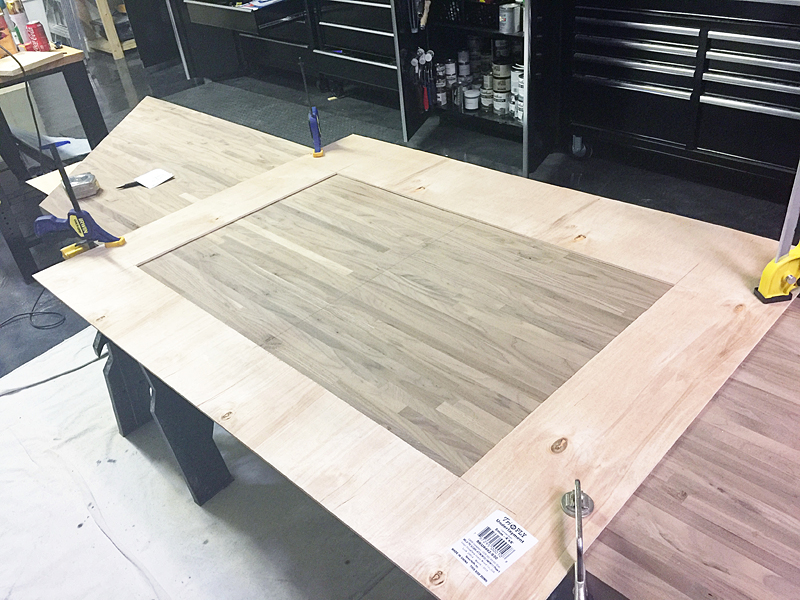
I decided that the best way for me to do it was to use a router. The first thing I needed was a router bit that was deep enough and a template made from thin wood.
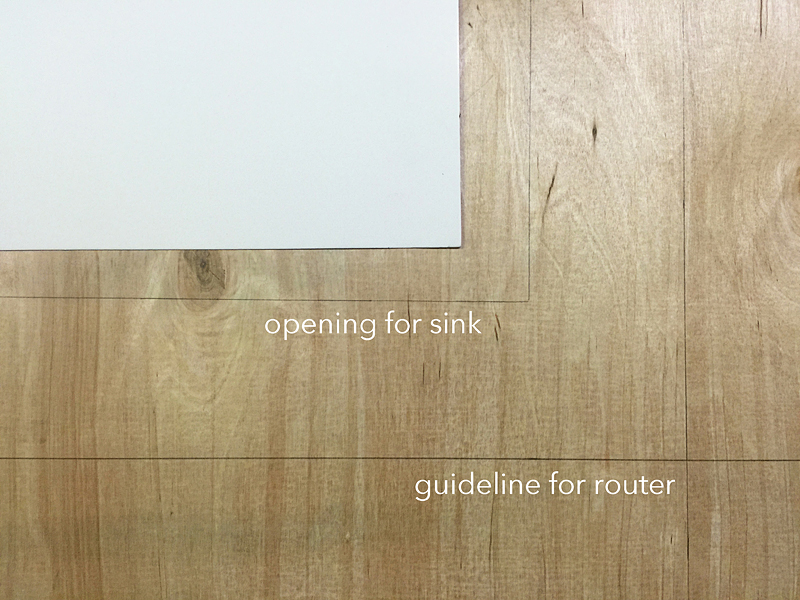
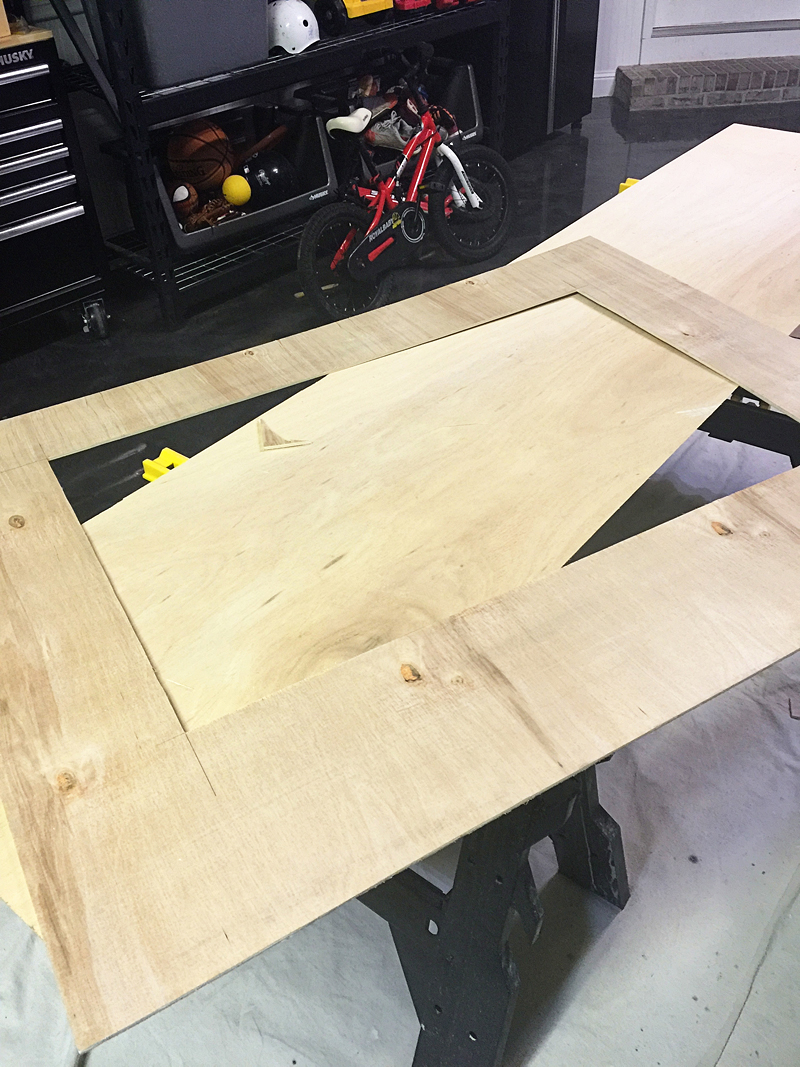
How I made the template was to trace the paper template on this piece of 1/4″ plywood. Then I measured the distance from the edge of the router blade to the edge of the router….the router would sit on the inside of the cut plywood and the plywood would be a guideline for it while it cut the opening for the sink.
I cut the opening in the plywood with my jigsaw. Now I am decent with my jigsaw. BUT if I could go back and do it again, I would have set up a guide for the jigsaw so that the lines didn’t have even the slightest wave in them.
I had marked where the center of the sink should go when we dry fit the boards….so now I measured the center of the sink opening and aligned those two marks. The other thing to keep in mind is how far you want the sink to sit back. We did three inches from the front. We needed to have enough countertop in the back for the faucet and enough countertop in the front to mount the sink to.
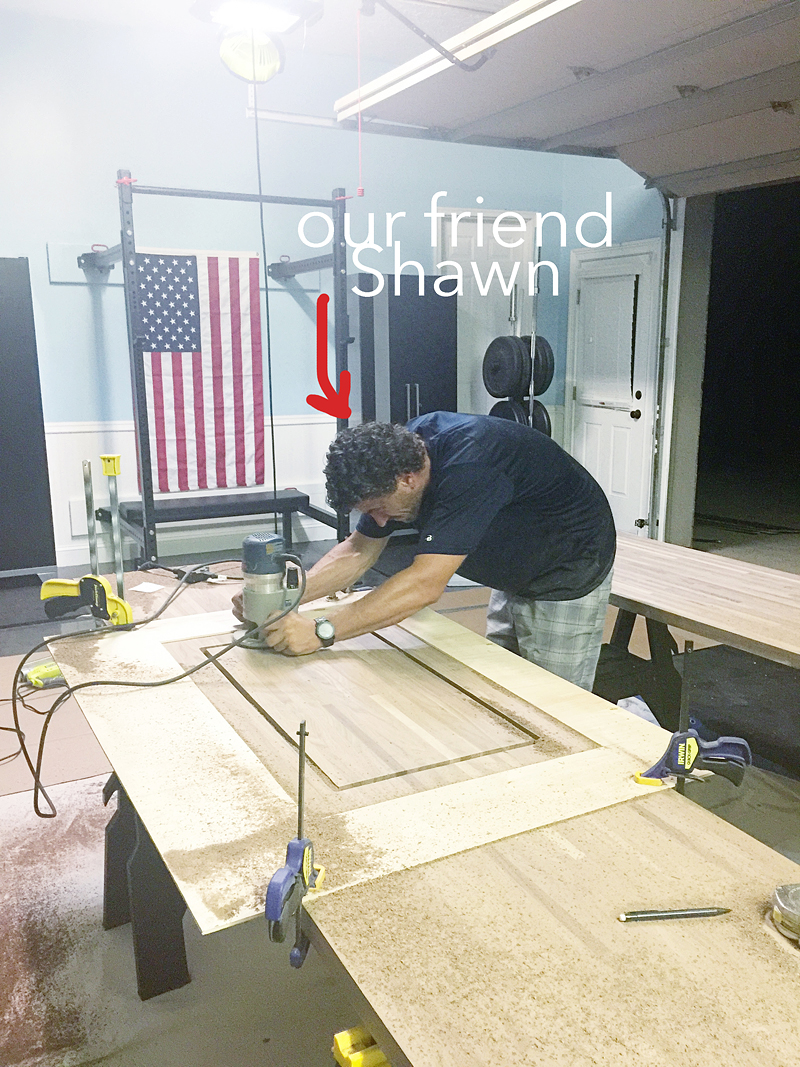
So for the router bit, I texted my friend Carrie to see if her husband Shawn had a really deep router bit. I didn’t. I know. It’s hard to imagine I don’t have the right tool 🙂 Carrie & Shawn live in our neighborhood and are pretty much there for us anytime we need DIY help or essential oils or an ear to listen. He is an amazing woodworker and showed up five minutes later.
When he came in, he gave me the bit and asked what I was working on. Unfortunately, I didn’t have the right collar for my router to make it happen…and his collar wouldn’t fit on my tool….so he offered to cut it for me….I was like umyesthankyou and I’ll be over here on social media until you are done 🙂
After the hole was cut, Jer and I said goodbye to Shawn….told him that we would buy him a steak dinner….and went back to work.
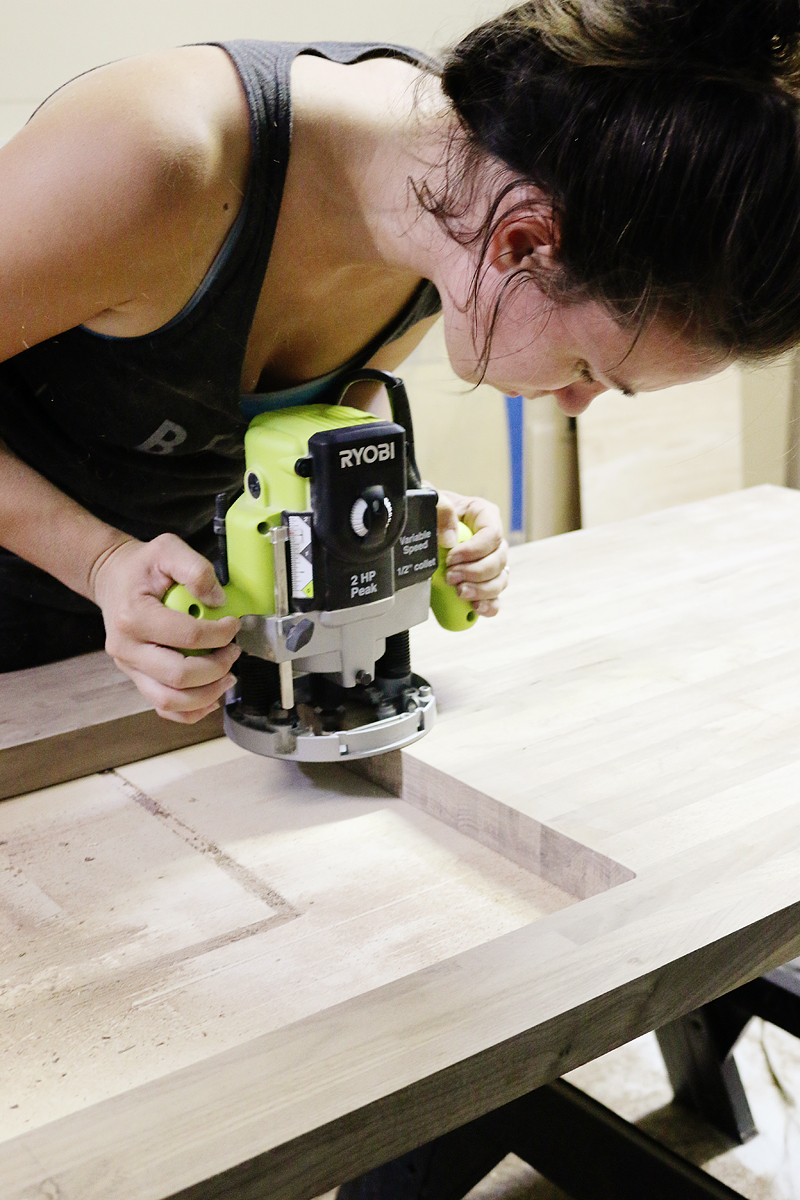
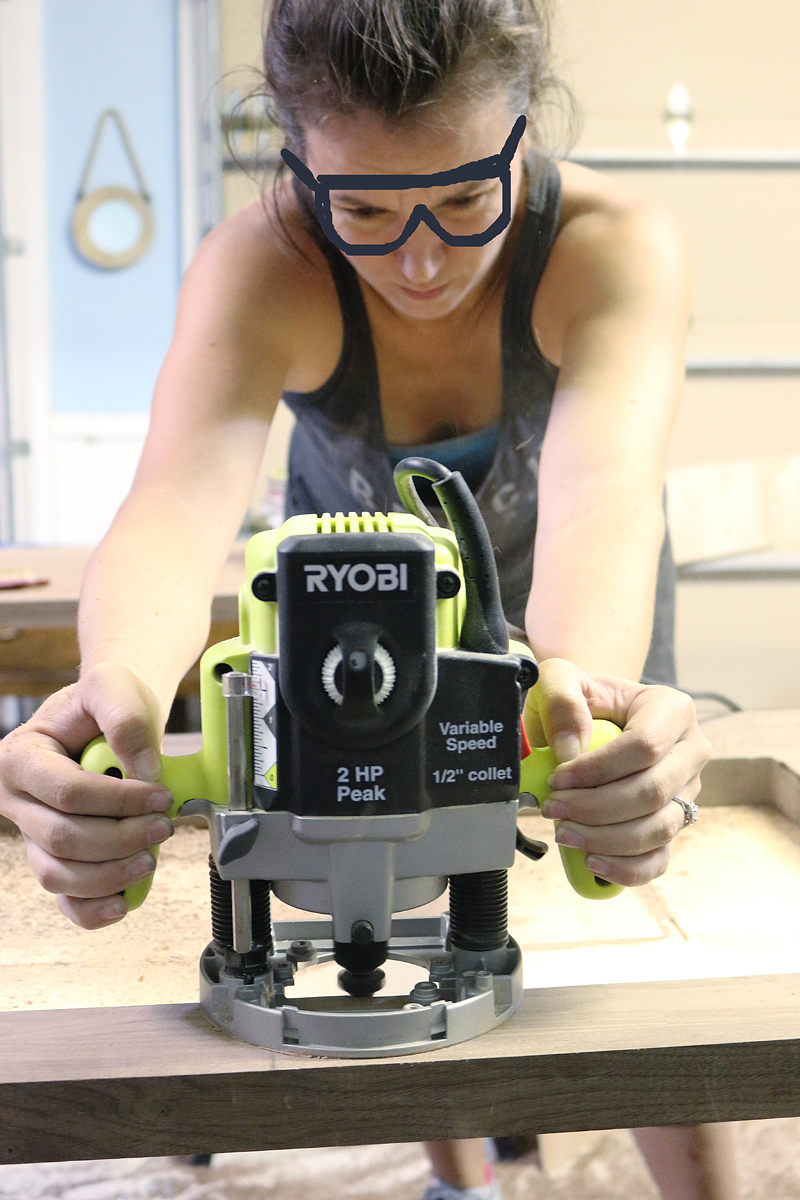
I used my router to cut a rounded edge on the sink opening and on the front edge of the countertop.
Safety first people.
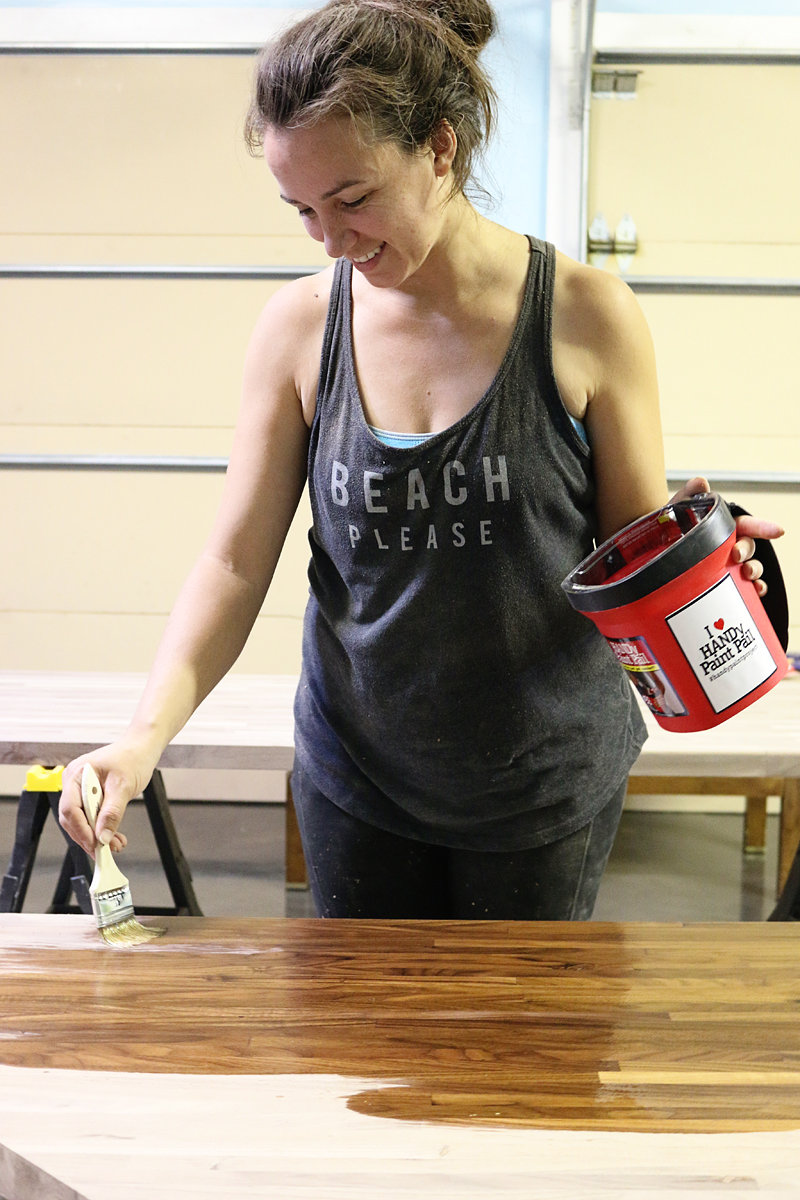
Then Jer and I sanded them all until they were ready for sealing. I used regular Waterlox for the sealing part and literally – this was my very favorite part because you could see the colors of the wood come through with that first coat.
So for sealing, you have to do 5 coats of the Waterlox at least where any moisture might touch it. I did three coats on the bottom where the sink opening was and then we took it over to the Pedraza’s to do more coats later.
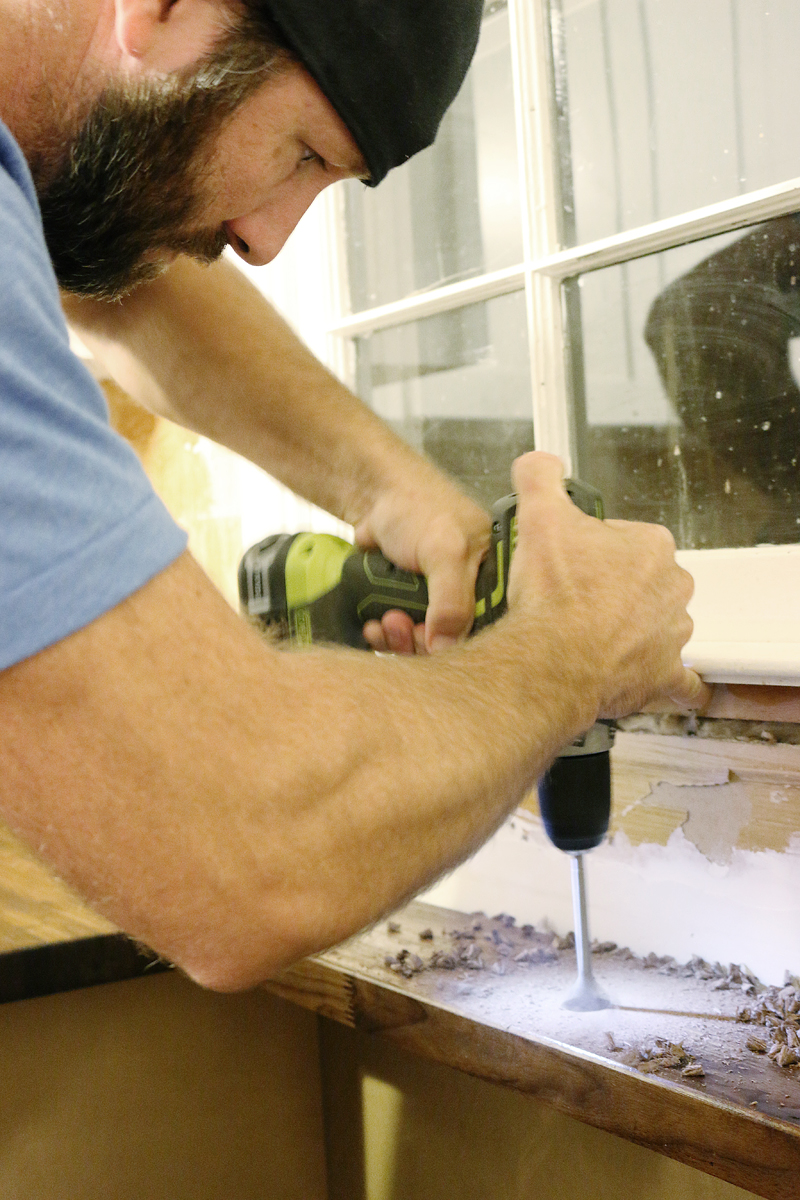
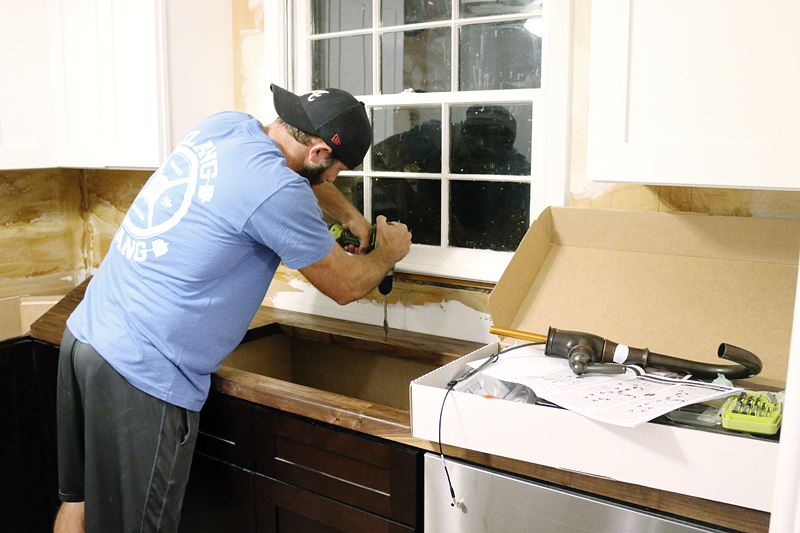
Jeremy marked the holes for the faucet and those were sanded.
After the countertops were dry fitted in, we had to mount the sink. And then back to sealing.
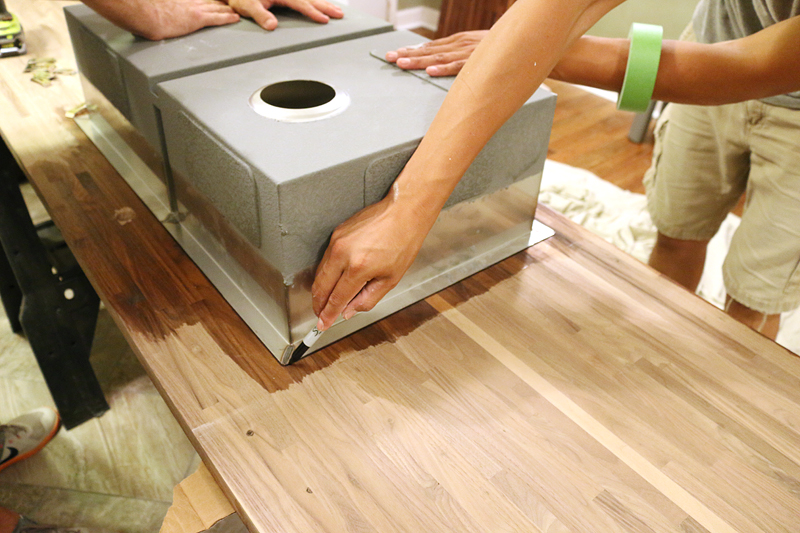
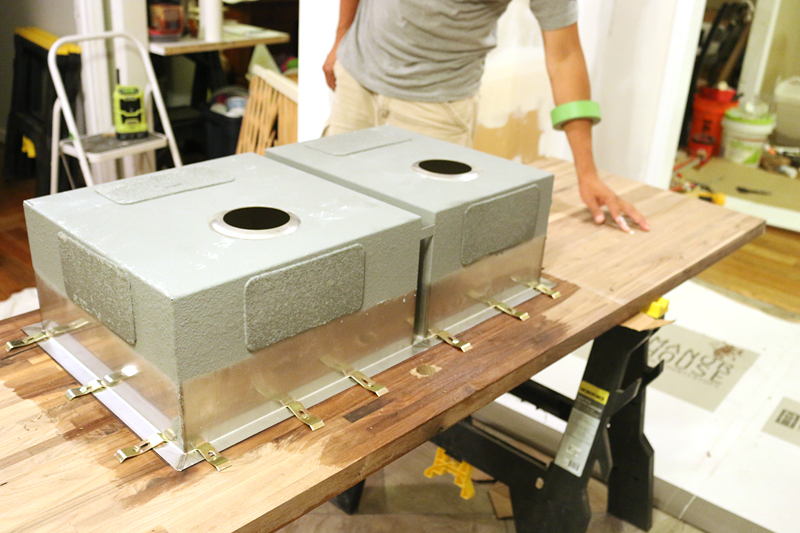
To dry fit the sink, we followed the basic steps that we did in this past post. First you align the sink on the hole….this required me to get under the countertop while it was on sawhorses and make sure everything was right. Then the guys marked the location.
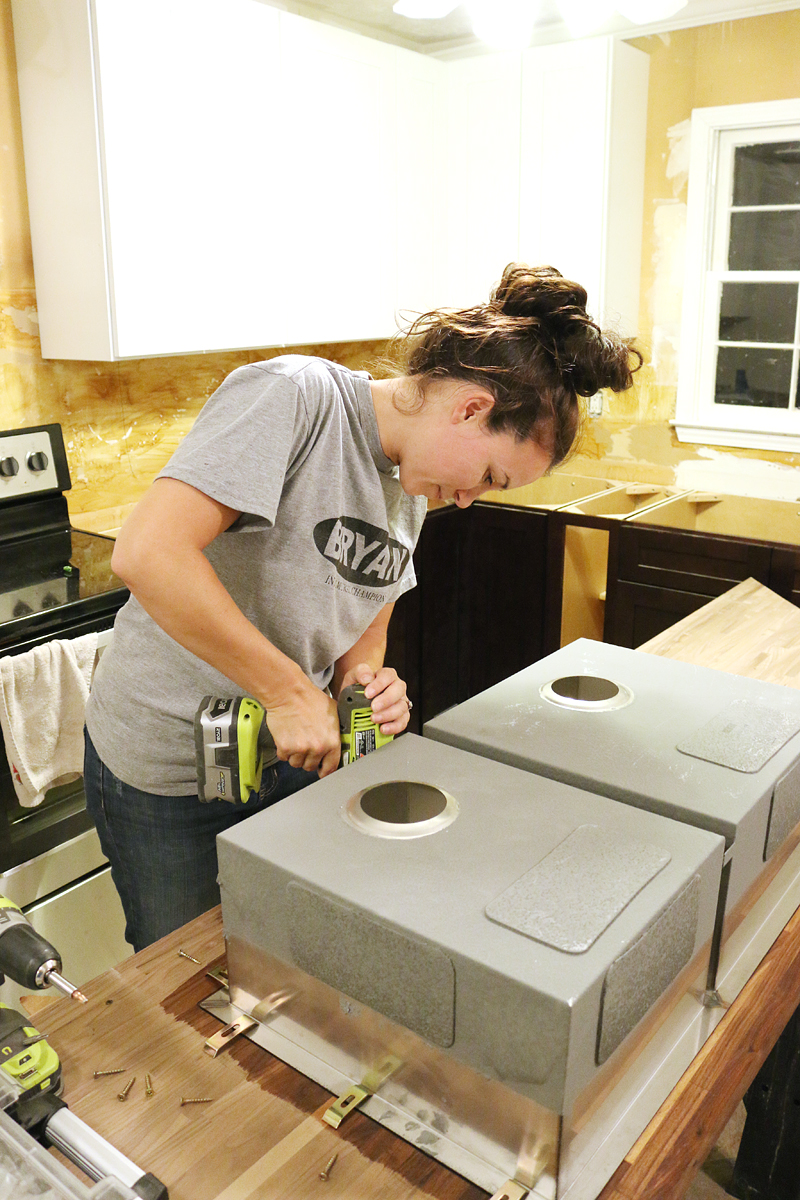
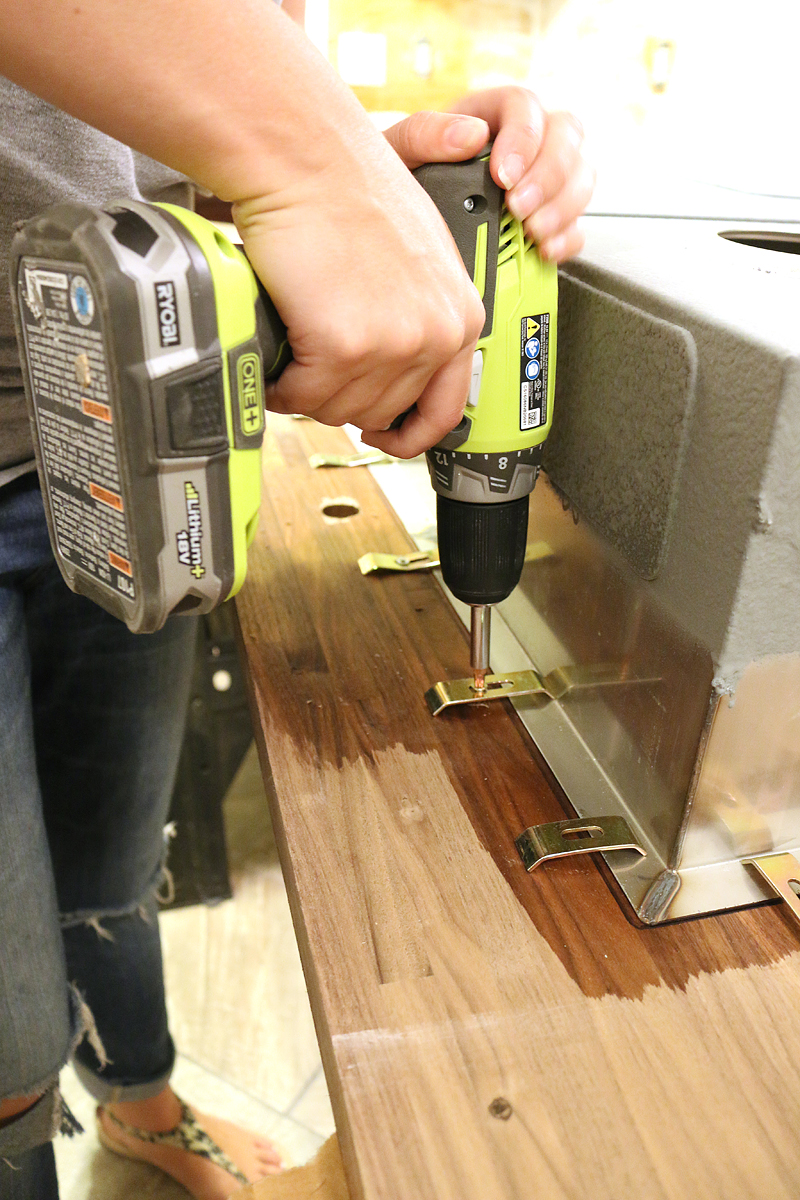
Most undermount sinks come with these little brackets to attach it. You will have to pre drill and then screw them in.
That little metal bracket will bend down when it’s in fully and it holds the sink in place. You will also want to use adhesive.
Once the sink is in place, make sure your faucet can go in and make sure none of the braces will interfere with cabinetry frames. Then we had to install the shield for the dishwasher. It went where Danny’s hand is in the photo below….
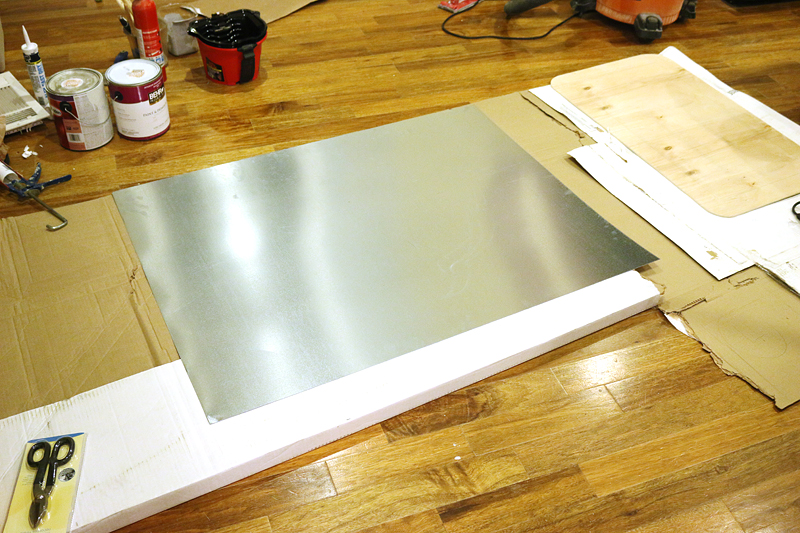
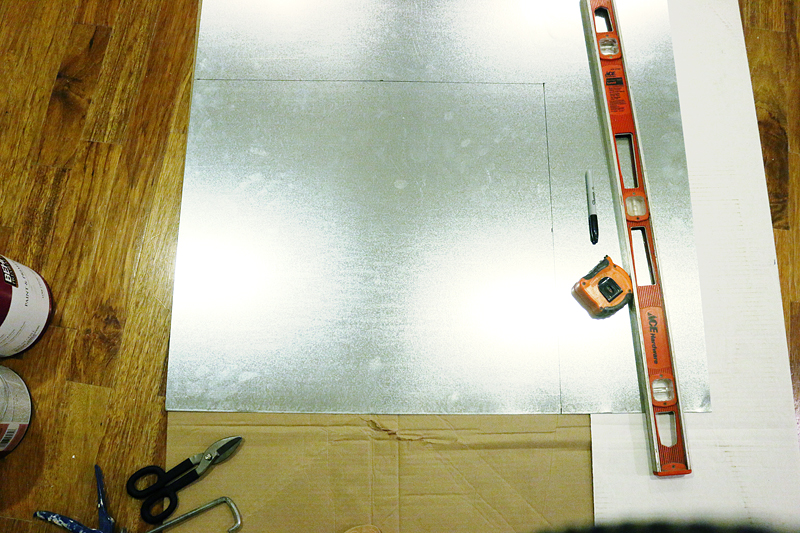
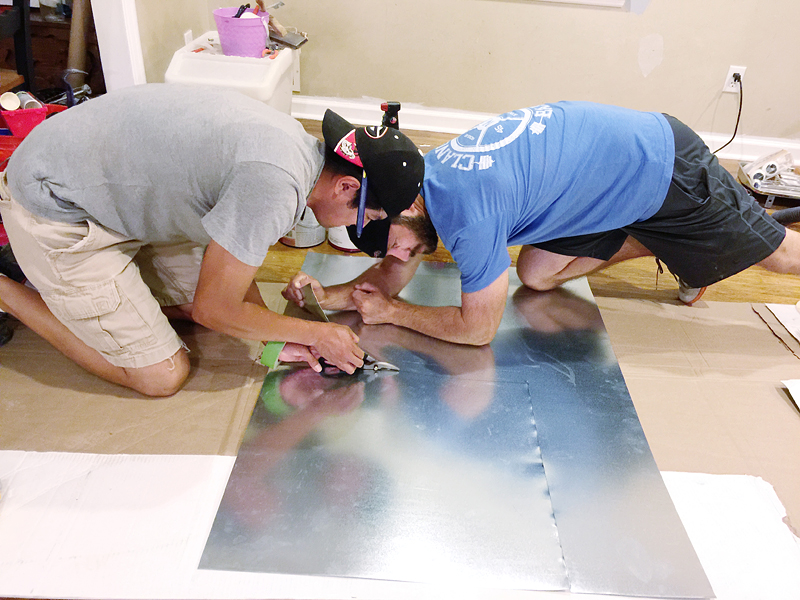
We picked up this thin sheet aluminum at the store and measured and marked the spot for that. We could have used just more Waterlox but we didn’t know how much heat would come off the dishwasher and even if any moisture was blocked, the heat could warp our counters possibly….so we decided metal would be the ultimate blocker.
I marked the lines of where to cut….
and it took both of them to get it snipped 🙂 I like how Jeremy is making this look really aerobic.
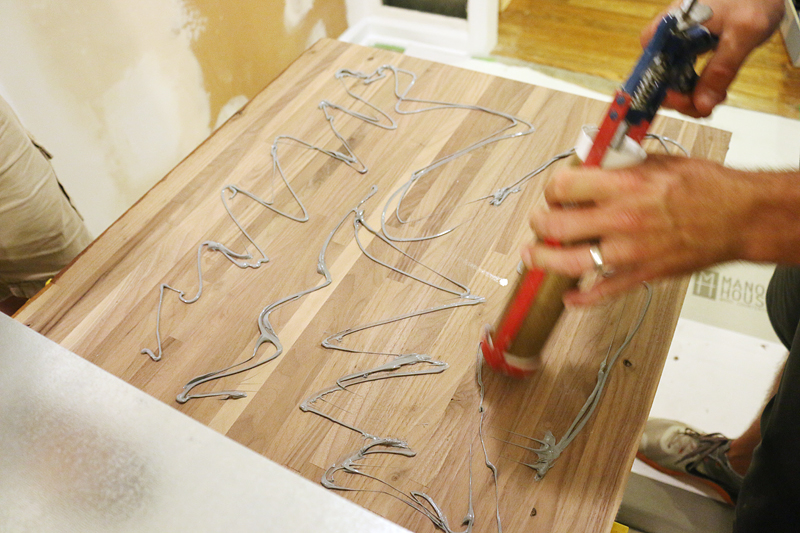
Then we used Liquid Nails adhesive to get a good base for the metal….
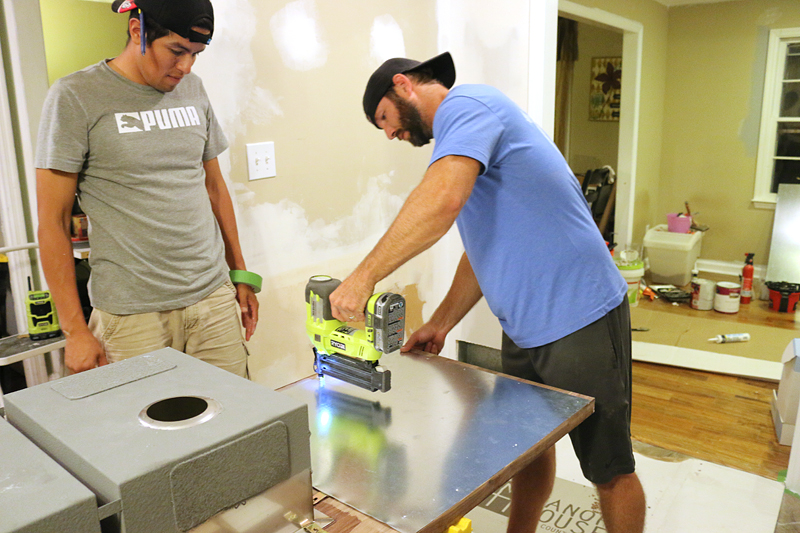
And then brad nailed it in place. That is one well protected countertop now 🙂
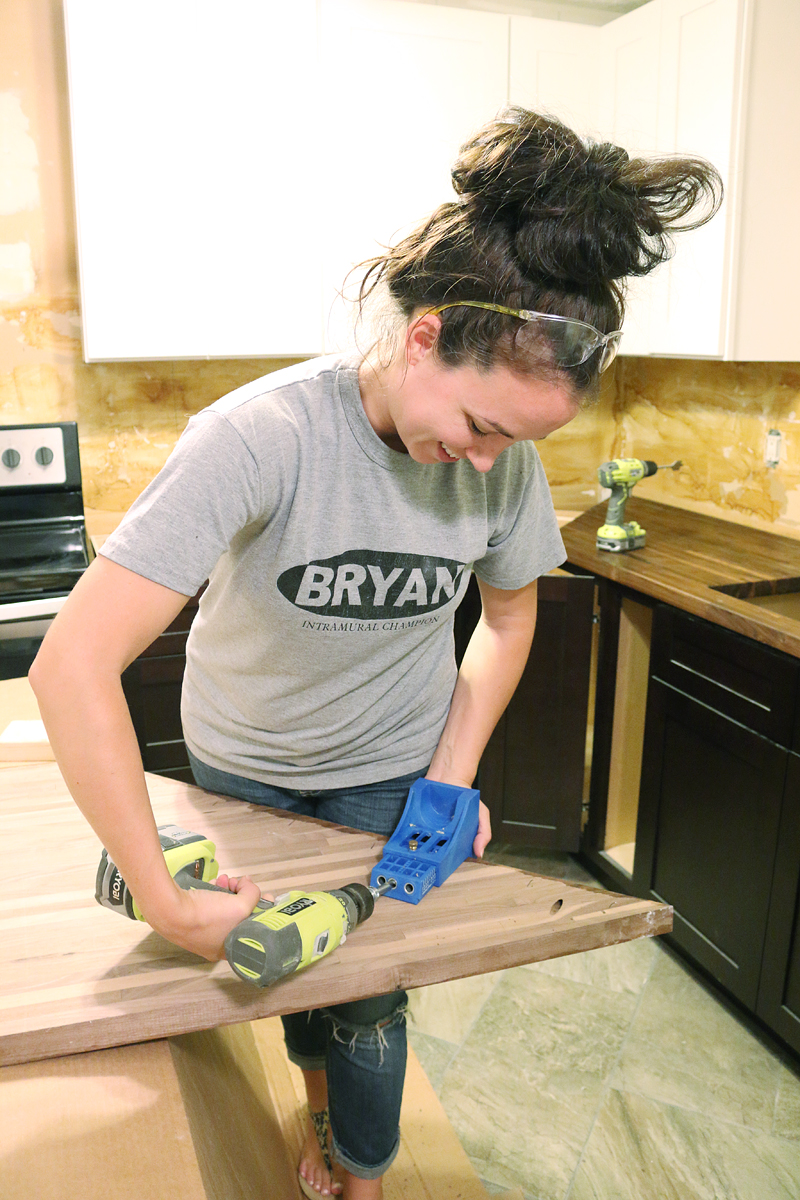
For the mitered corner, we had to figure out a way to attach the counters to each other in that corner….enter the Kreg Jig.
I drill a few pocket holes and we got the sink portion in. That made it sound really easy but it took three of us and a whole lot of yelling PIVOT!
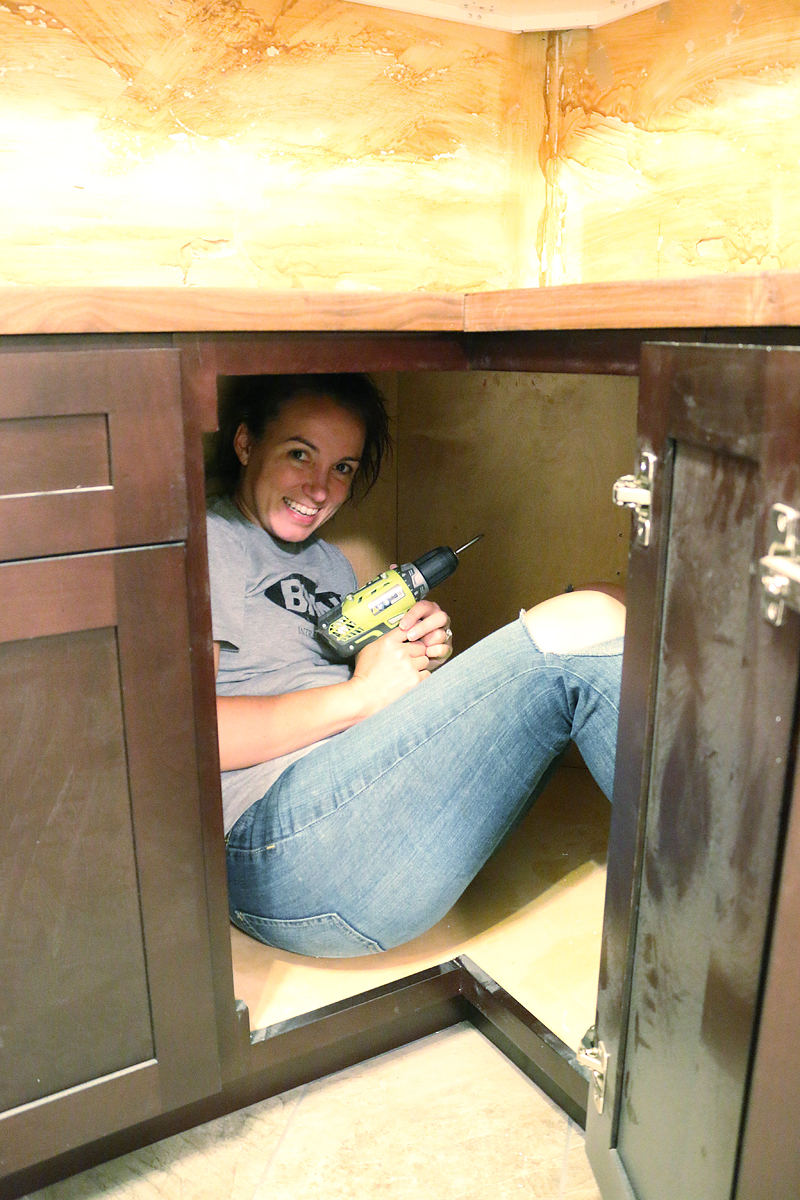
Then we glued the corner miter piece and popped in the neighbor. I could access the pocket holes by climbing into the cabinet…..hey whatever works, right?
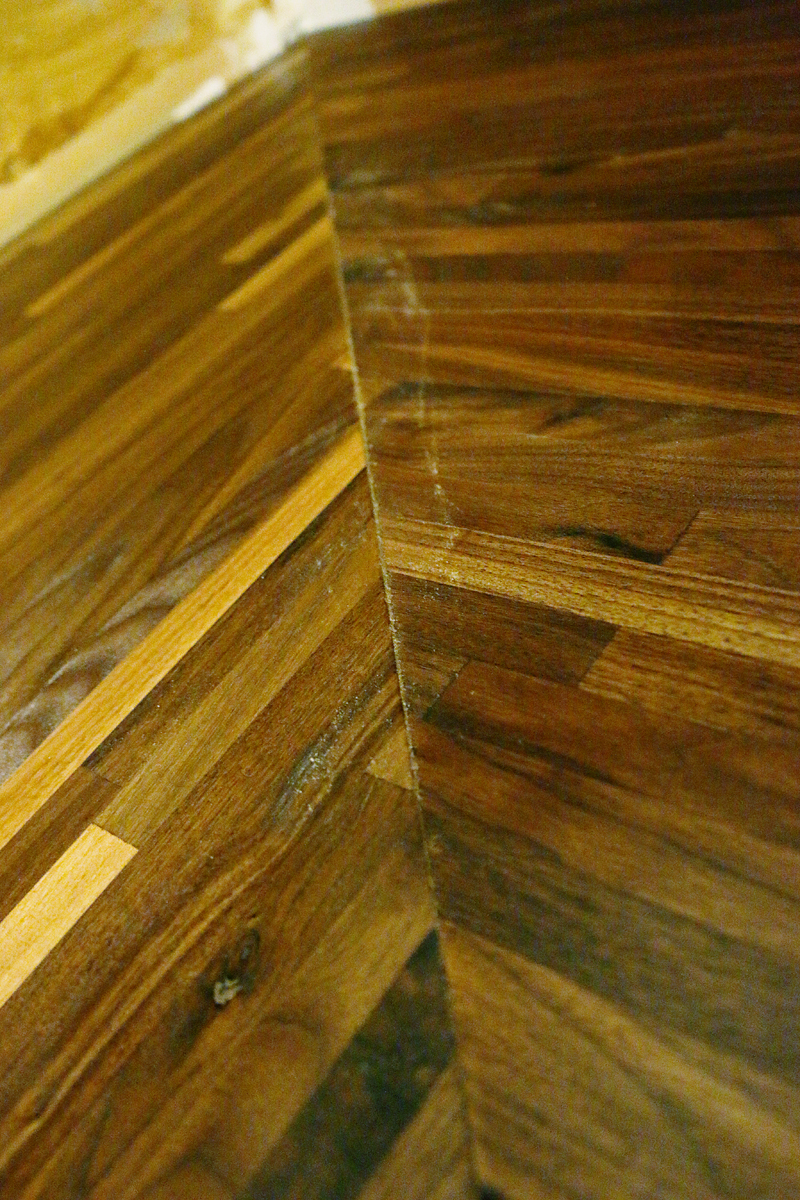
The corners where the pieces met were looking pretty good as is but we wanted to make sure that crack didn’t become a crumb catcher.
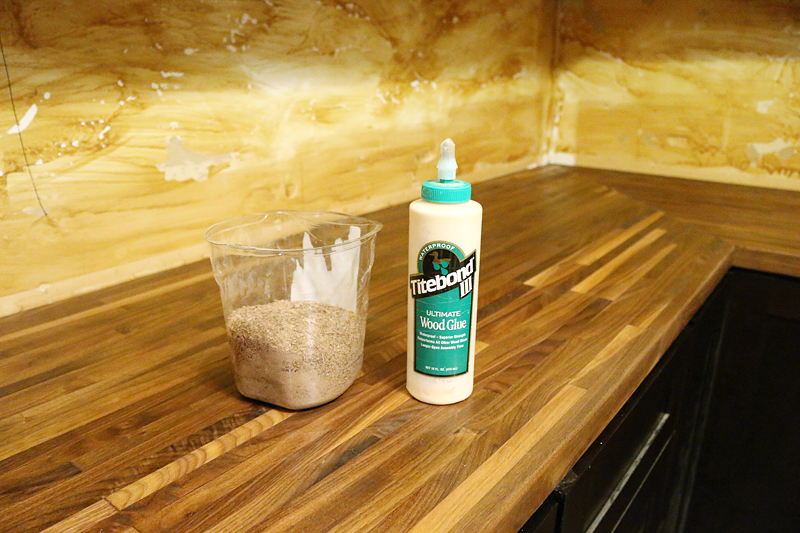
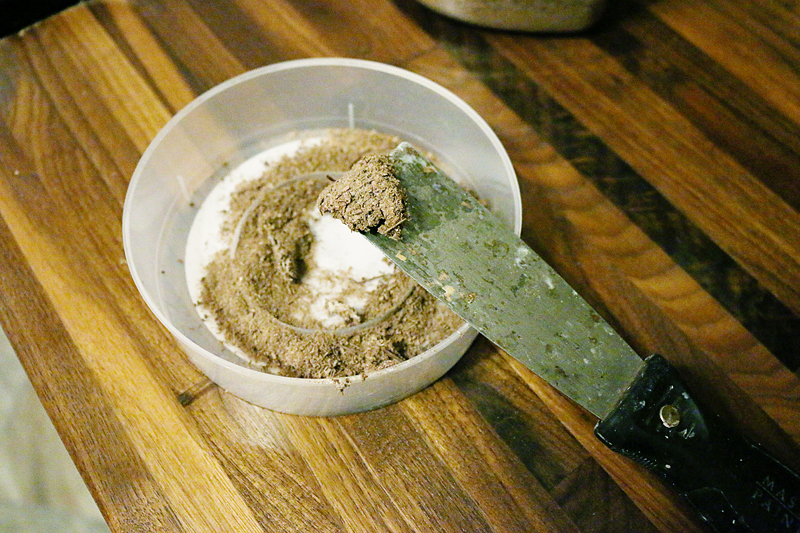
I had saved a bunch of sawdust from the routing process and decided to mix my own filler.
Basically you use fine saw dust and wood glue and mix it up till it’s like putty. This wood filler will match your counters much better when sealed and has some variation in the color (as opposed to regular filler). This is my first time and I loved the end result. I struggled with the mixing process (I’m no chef!) but after a while I got a good consistency and filled in the crack.
This is it all filled in. It still gets multiple layers of Waterlox so I just had to make sure it was very smooth.
Okay so for the sealing process….here is the short and sweet of it.
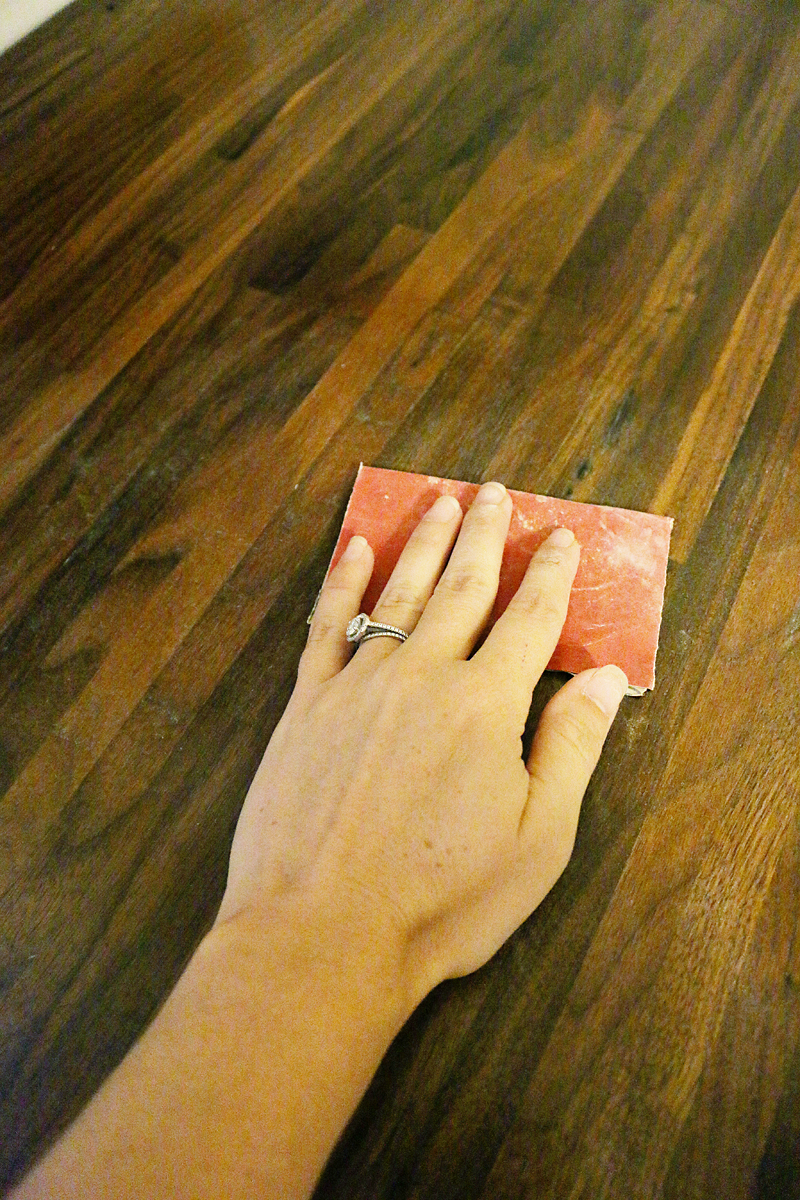
- Sand your counters with 120 sandpaper till smooth
- Sand with 220 sandpaper till smooth
- Remove all dust with brush and also with tack cloth
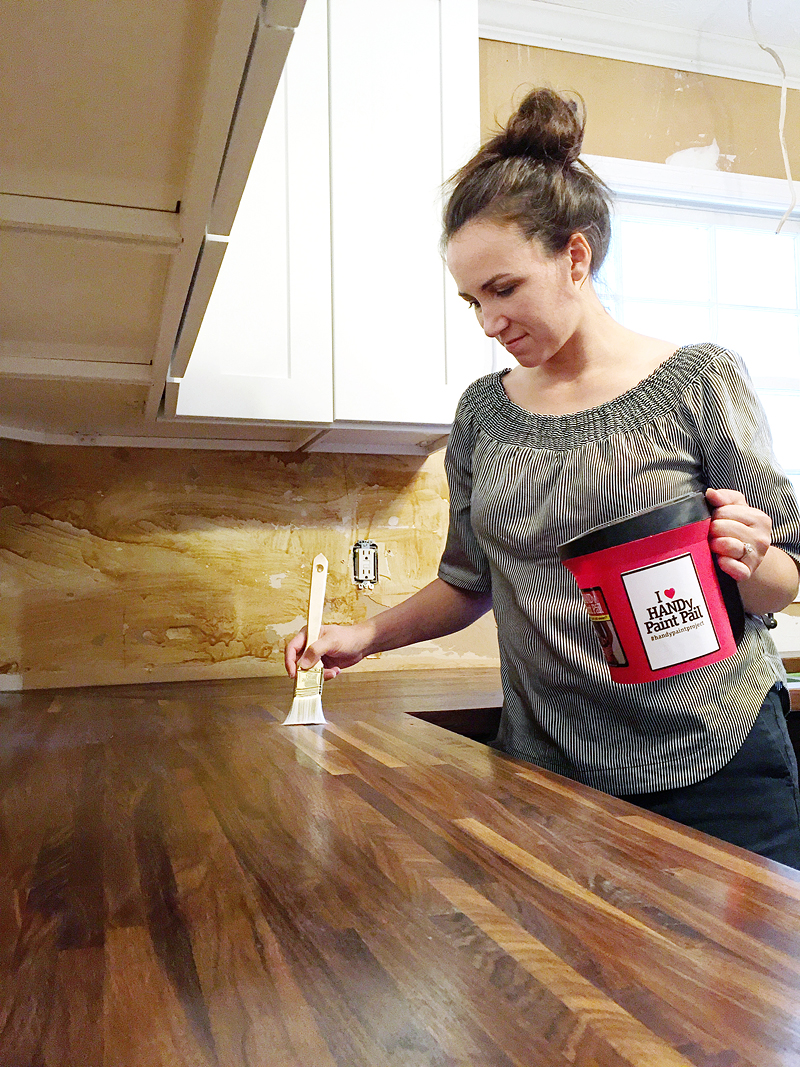
- Apply Waterlox with smooth bristle brush (view at a side to make sure it is on thick enough)
- Wait 24 hours
- Sand with 440 grit sandpaper
- Apply Waterlox with smooth bristle brush (view at a side to make sure it is on thick enough)
- Wait 24 hours
- Repeat sanding and sealing 4 more times.
- After final coat, wait 7-8 days for final curing. DO NOT TOUCH!
In the end, it will be so worth it. They will be smooth and look like the most amazing wood you’ve ever seen.
It will be very hard to not touch them in that final curing process but it will be well worth it and setting up a makeshift counter space is easy enough.
For the final installation, we used some small L brackets on the inside of the cabinets where it was open to the countertops. We just screwed those in place. Not that this thing can move…it’s literally not going ANYWHERE….but just for insurance. If you decide to do an top mounted sink, you can use Liquid Nails too….just put some on the cabinet frame before installing the countertops. It’s really easy. You can read this old butcher block countertop post for more info on that method.
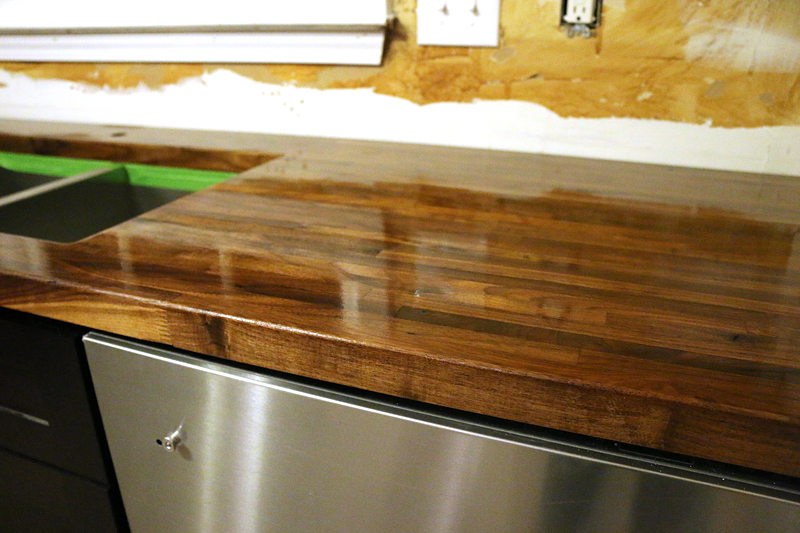
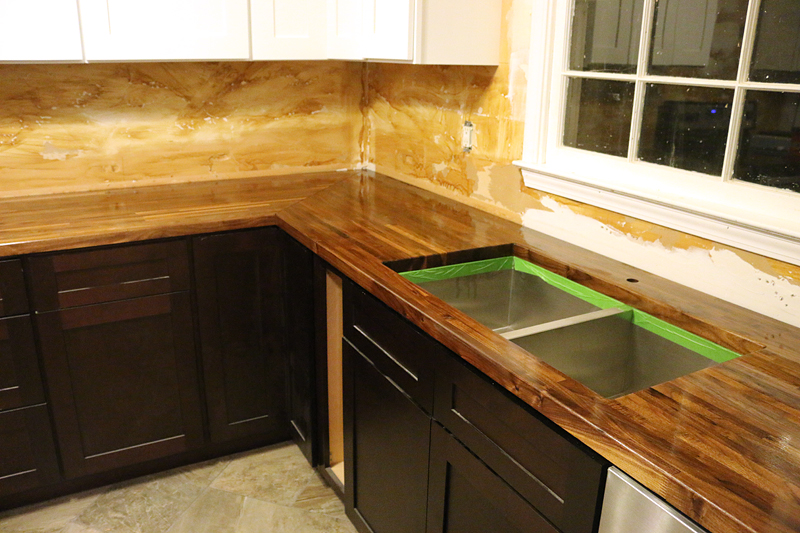
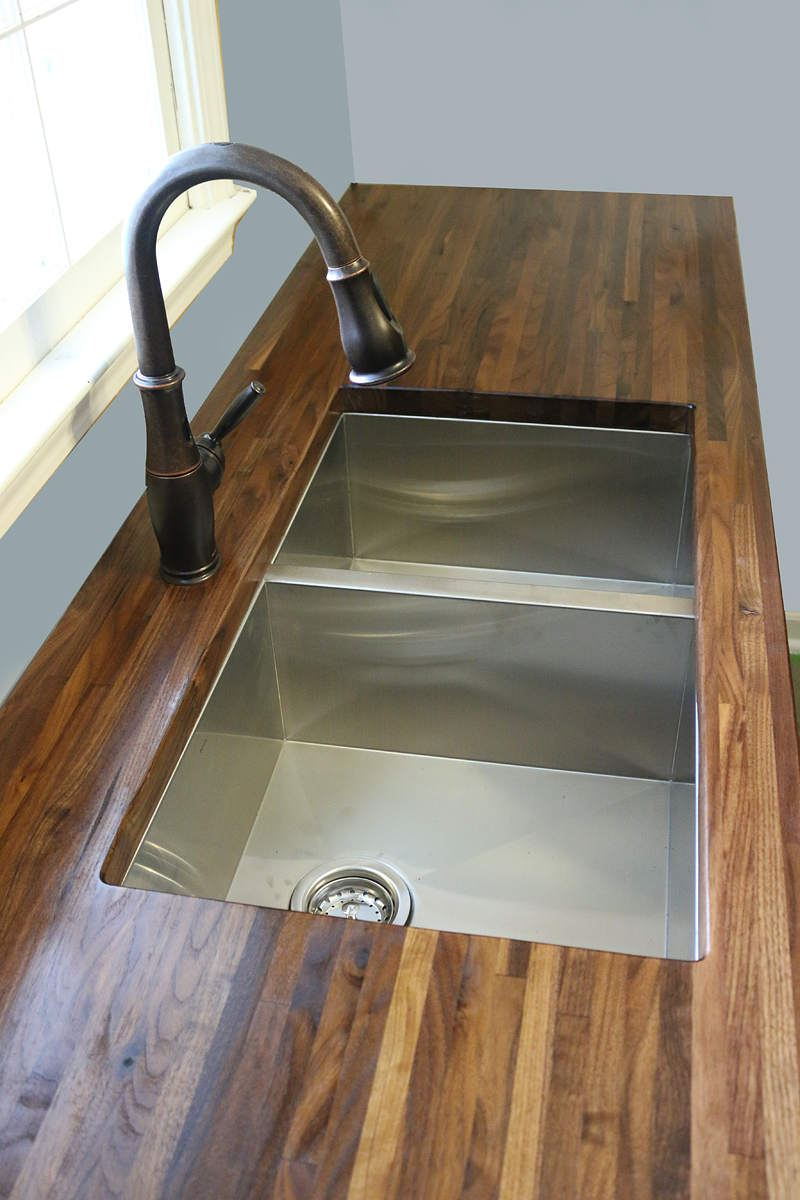
And since I don’t have the end result photos for you just yet – wait for it….it will be in the reveal! – here is the photoshopped version so that you can imagine how great they will look with the back splash 🙂
Speaking of backsplash….that is next on the DIY’s and it looks AMAZING. More on that soon! Happy DIYing y’all!


timing for this post could not have been better! we bought our first slab of butcher block yesterday to outfit our laundry room this weekend. thanks katie!
Lol! “Pivot!!!” You ARE referencing Friends, right??? Great post! This makes me really want butcher block counters! Gorgeous!!!
Btw, when I go to your blog on my desktop computer, all I see are the blue hyperlinks and the pictures. For at least the last week I’ve only been able to read your blog on my phone. Other blogs seem fine. Is it me or your non-mobile website?
I’m a new reader but I’m legitimately convinced every single post on this blog is sponsored… holy.
Being a respectable old married lady I find it quite shocking how much I enjoy seeing photographs of your husband and those power tools. Also the wooden thing you were making seems to have turned out very well. 😉
I wish 🙂
xo kb
What’s that got to do with anything? The blog is their JOBS! A BUSINESS! And it’s a very good read! Entertaining! Cheers!
Wow, what a lot of work just for a countertop! Who knew? It looks sooooooo beautiful. Kudos for this project and very detailed post, and mostly…for helping out a very deserving family.
PS: (In my opinion, since I am reading, enjoying and learning from this blog FOR FREE, it isn’t my place to complain about ads or sponsorship!)
I’m going to be using a butcher block for a dry bar I’m constructing. Do I need to seal with seven coats if it’s not near a sink and water? I’d appreciate your opinion!
I think perhaps layering cork (for thermal protection) under metal (for moisture protection) would be a better barrier above the dishwasher, since the metal alone might conduct heat instead of reflecting it?
I’ve really enjoyed reading about this project, especially how you rearranged the space to make it so much more functional.
Those quartz prices—wha?!?!?! I got to find one of those stores!
teehee!!!!
Me too and I’m a sassy young lady mwauahaha.
I do not have your patience. How I wish I did! 7 days and no touching?! I would have been like: let’s iron on some wax paper, get out the TV dinners and call it a day LOL.
We’ve been re-doing our front door. Not quite as amazing as your friends countertops but boy oh boy so satisfying here.
https://wanderlustingbydesign.com/2016/09/29/making-an-eh-door-the-door/
Surprised to hear you say that Katie…is that your goal, or did you mean that tongue in cheek? Just wondering as a loooooongtime loyal reader!
Can’t wait for the reveal. This is pure DIY porn … er, I meant to say “eye candy”.
I haven’t even read the post yet, but I just had to stop and ask where you got your shoes????? The ones you’re wearing in Floor and Decor.
Check out “Young House Love Has a Podcast”. They did an episode on sponsored posts. Total eye opener!!
Hi Katie,
Have you worked much with IKEA butcher block? We bought a kitchen island butcher block countertop several months ago. I do not cut directly on it but am noticing some of the stain to be wearing out in places. I’m wondering if we should seal them this way. Should I be able to cut directly on them?
Thanks for any help you can give! I LOVE your blog
Jessica
Hi Katie!
Awesome job on the countertops! It’s so awsome what you’re doing for this family! I’m a long-time fan but never comment….. I read all my blogs on my ipad and the past two of your posts haven’t shown any words…just the pictures. It’s fine on my laptop but not on my ipad. I noticed someone on your last post commented that the words didn’t show up for them either so I don’t know if it’s a bug or just me! I just wanted to let you know in case it’s on your end! I’ll keep trying on the ipad and coming to the computer if it doesn’t work.
Wow! I’m amazed at how you were able to pull it off.. You utterly deserve a thumbs up. Wooden counter tops are just adorable.
I wonder if Brittany ^^^ works for free. My guess is… no. Wonder why she expects other people to.
I have only used the IKEA butcher block once – in our old bathroom….but it wasn’t stained. Here is the link to the Waterlox website that talks about what it does. Maybe that will answer your question.
xo – kb
I think it has to do with Firefox being messed up. Here is a link to an explanation on how to set your firefox to default settings…that should solve the issue.
xo – kb
That’s interesting. I wonder if you could fit the dishwasher back in there though if we added the cork. Technically speaking, a dishwasher shouldn’t be producing a great amount of heat or moisture on the outside of it (I mean – then it could damage surrounding drywall!) anyway….but we added the metal because we read several accounts where the metal would yield better results if there was any warping.
xo – kb
I’m joking. In reality I just happen to think that there is a great deal of emphasis on whether or not a post is sponsored. I believe that ALL my posts are good content (otherwise why would I share them?!) and if I make money or get something for free for a deserving family…why does that have a negative connotation? I am freaking proud of that. It means that companies of great products want to work with me. And that I get to have even more motivation to share great info. And that readers can get beefier posts. And I can now pay for this blog and the expenses that come along with it. I think that is awesome.
xo – kb
Here is the link to the Waterlox website that talks about the coating that is required for different areas. Hope this helps!
xo – kb
Such an informative post! We have been going back and forth between concrete or butcher block for our kitchen, so I am pinning this for later! I cannot wait to see the reveal; i have thoroughly enjoyed this series!
Wow those countertops are almost too pretty! I’d never want to cook on them and get them all messy 😉
I want to know, too!
Hi Katie – Man i have read this blog for a long time and always watched DIY blogs from a far with heart eyes without every doing anything…well that stops now…we are remodeling our own kitchen! What made you decide to miter the corners to be diagonal versus butt ends? We are seeing both in different places and didn’t know if there was a reason you preferred this method? Thank you for always being an inspiration!
I thought it would look cleaner. We have done butt ends before (like in our own basement kitchen with concrete tops) and I thought this looked a little more ‘professional’. I have seen both look good though so I don’t think there is a right or wrong answer 🙂
xo – kb
The hubs and I literally went to the same store and bought the same exact piece! As we were looking at this gigantic piece of wood, still in the cardboard box, we started searching the web for ideas on how we were going to start tacking this last project and there popped up this gem of a blog you have written! We live in Bluffton, SC so just right across the river lol! We have all the cuts made and the under side of the Waterlox applied (which I picked up in Columbia, SC while up there for work lol)! Question though that came up tonight before we start the tops … why did you sand between coats?! I’ve flipped back and forth between the Waterlox website which says not to and you’re not the only one who said to sand between coats. Just wondering if you have tried it without sanding as well?!
I sand between coats for smoothness. The key is to apply the coats evenly and then enough coats to make it water safe but also you don’t want it to snag your sponge or cleaning cloth or catch food.
xo – kb
I would love to see the finished project with backsplash. Is a picture posted online?
Yes I do! Here is the finished kitchen!
xo – kb
I’m thinking about doing a butcher block island with a prep sink and am concerned about the effects of water splashes over time. How well has yours held up to water? Thanks
So far so good!
xo- kb
Does Floor and decor have the wider width butcher block? I have a section of peninsula that is deeper. Ikea had only a couple options.
I’m not 100% sure. You would need to call there with your measurements to find out!
xo – kb
We are in the process of renovating our kitchen and are leaning strongly toward butcher block counter tops. Thank you for the step by step installation instructions. I am torn between granite and the butcher block. I am 60 and I’m pretty sure whichever I choose will be there for the rest of my time in this beloved home. The granite estimate was $2200 installed and the butcher block was $950 and we have to do all the installation. I just don’t know what to do!!! Oh to be young again and have a handy man type husband! You are living my dream! lol
I’m doing the exact same-floor decor walnut 1.5″ thick
The first coat of waterlox on the finish side made the 10′.5 x 25″ pieces bow up; I had to waterlox the entire rough side twice to make it level out
I love the finish! Trying to glue the two 10′.5 pc together now. It’s a process….
I am glueing two 12′ x 25″ pc togethwr
Just saw this post, planning on this for our new kitchen with two 10′ legs and two more offset height for island with stove on one side and bar on the other. Can you use the two part acrylic mix instead of the poly coatings. I assume this would adhere the same.
Yes I would assume it would work if you mean an epoxy resin when you say 2 part acrylic mix. It would be a little tricky to get that large surface because it would want to drip off the sides though. I don’t have a lot of experience with epoxy resin but I love the idea. The hardest part would definitely be the application and all that it would entail.
xo – kb
Yay! Thank you for being awesomely you! This is just the post I’ve been looking for! I’ve been following your blog for years (via my old, hacked email), and you always make me believe that I can DIY my whole home! Well, now we are preparing to install butcher block counters, and I will definitely be doing it the Bower way! I will be re-subscribing stat, so I don’t miss another post!