Disclaimer – These cabinets were provided by The RTAStore. All opinions are 100% my own.
Cowboy cabinets is my little title for mix n match cabinets when you put dark brown on bottom and white on top. And it makes sense if you think about it….if you can enter my psyche and try to think like me….warning, it’s very dangerous.
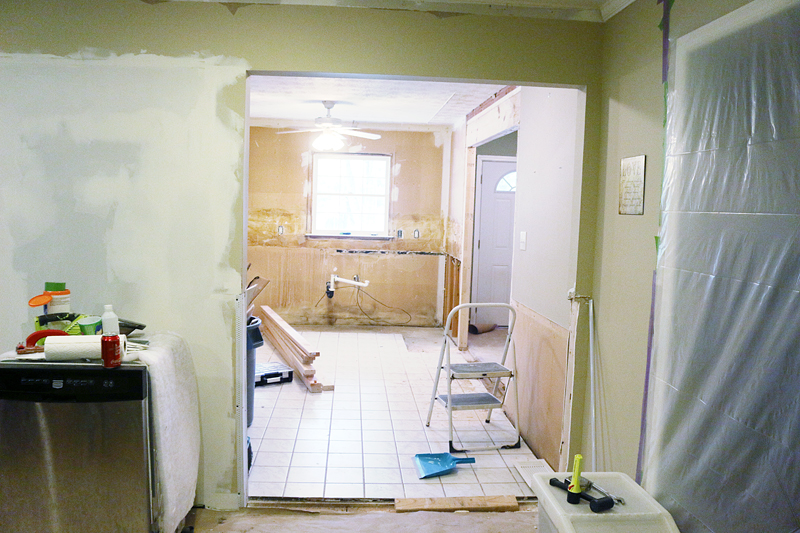
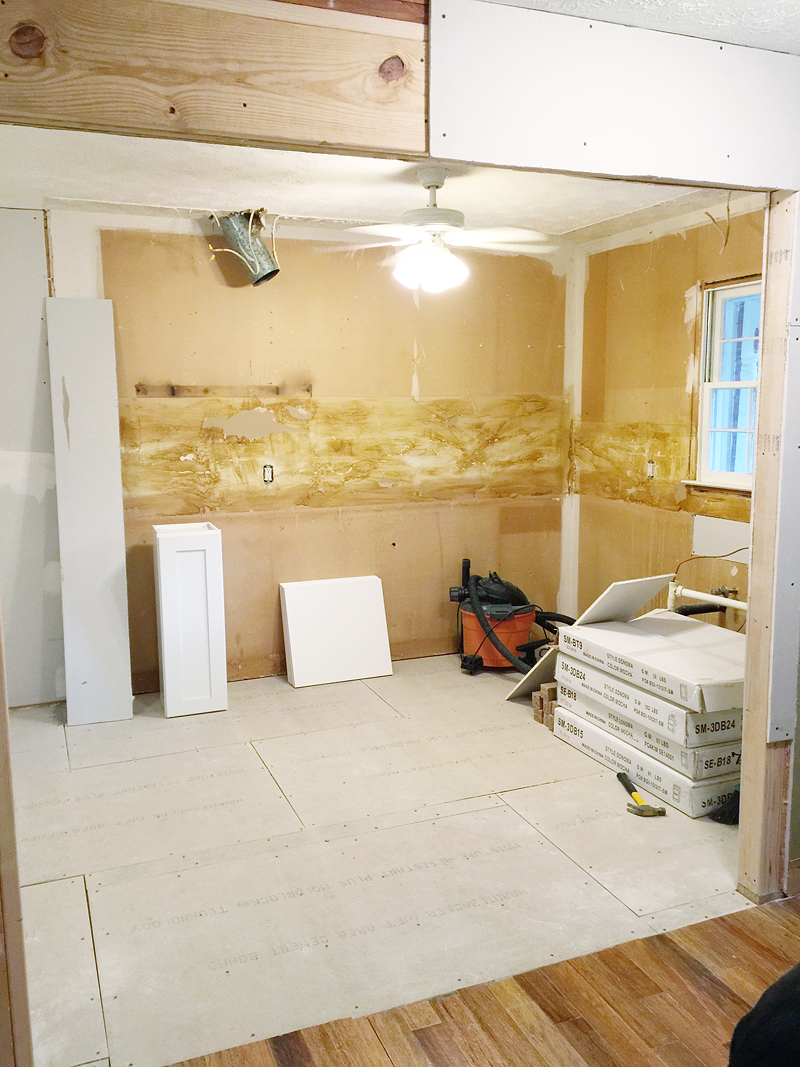
In the Pedraza home, we were attempting to accomplish our main goal of updating their kitchen but making it as low-maintenance as possible while still being on a budget. You can read the backstory here. The kitchen was completely demo’ed….
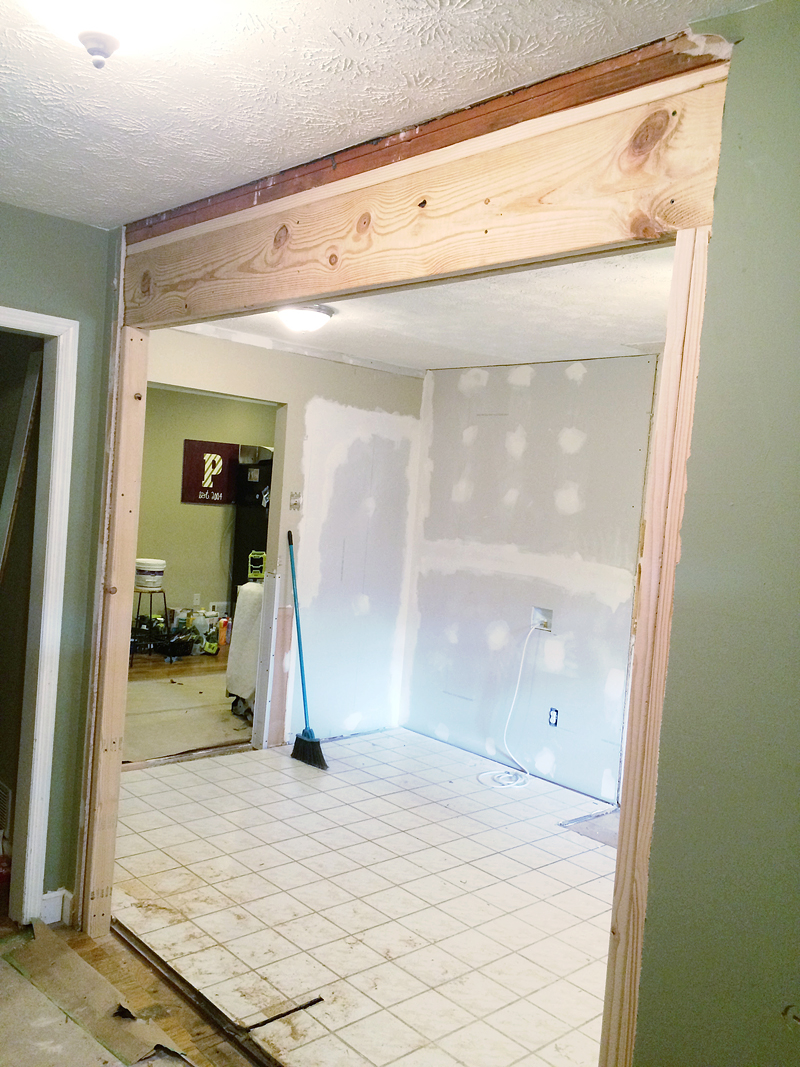
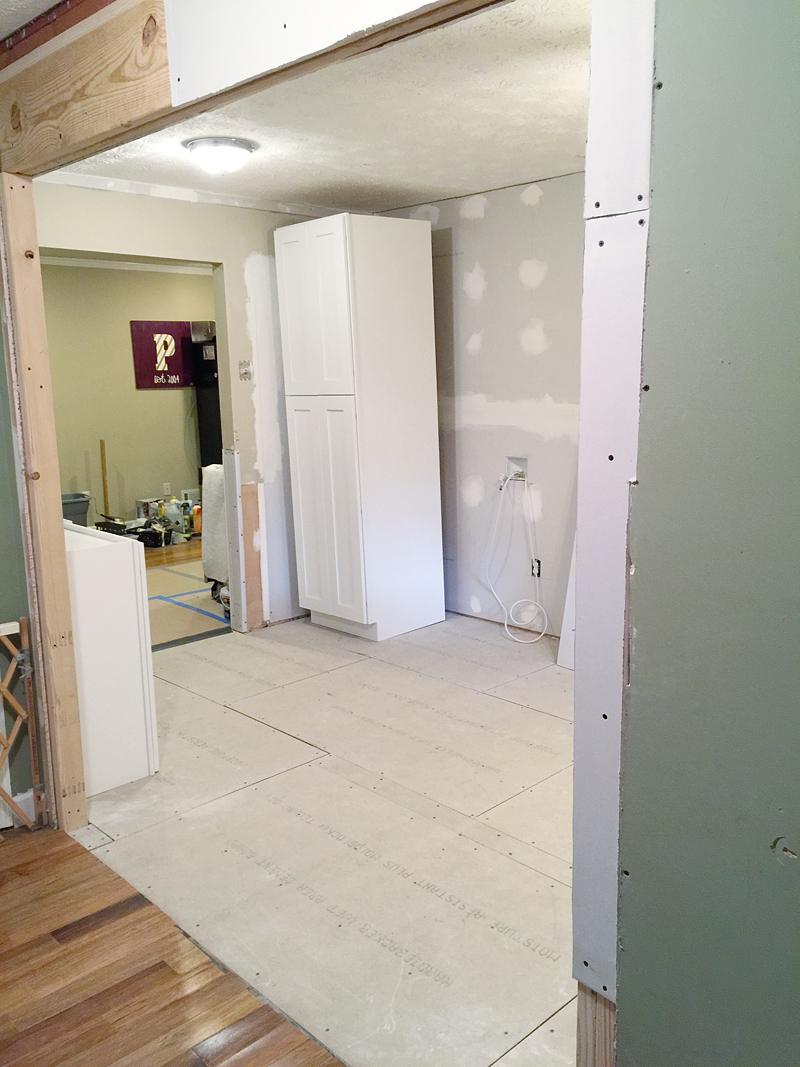
We added a little bit of a wall for additional space and to give it a more open feel and we opened another doorway to make it a double wide 🙂
We considered making our own cabinets but realized that was a HUGE task. It was also suggested that we salvage the ones that were currently in the kitchen but we knew that wouldn’t help because the frames were too small to hold even a regular dinner plate. And there weren’t enough for what we needed.
So we decided to do a little shopping to see what was available online….we considered a TON of different options but in the end, fell in love with this idea of cowboy cabinets….dark brown on bottom, white on top. Yeehaw! The style of door would stay the same but the color would provide lots of contrast and hide dark messes. And that is when we found The RTAStore. They provide ready-to-assemble AND already assembled cabinets in tons of different options. When we told them about the Pedraza’s and what we were trying to do for this family, they jumped on board and we all freaked out. So much screaming. That was one exciting day!
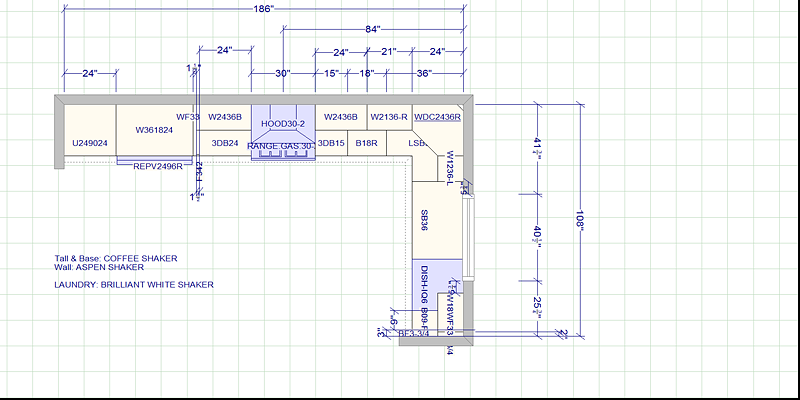
Right away we sent over the measurements and then we got this back.
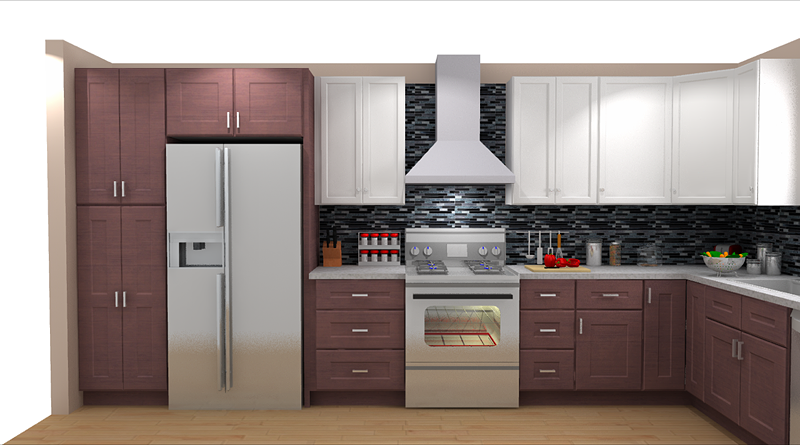
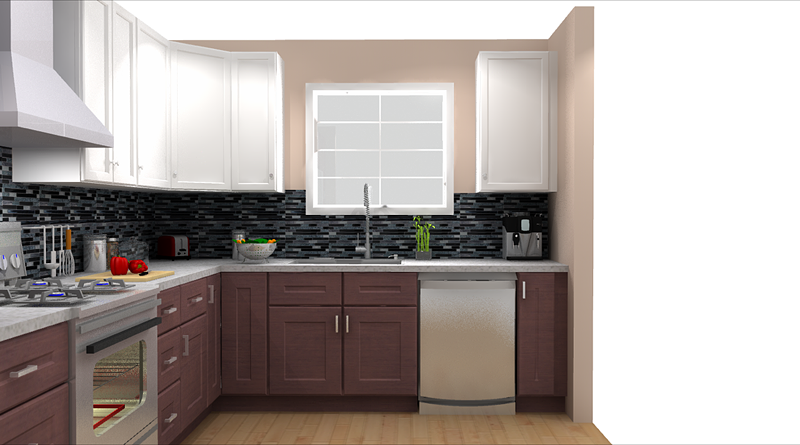
I explained in an email to their designer what I wanted for the doors and colors and then we got this mock up…..isn’t it so fun to see things in advance? It really never gets old to me.
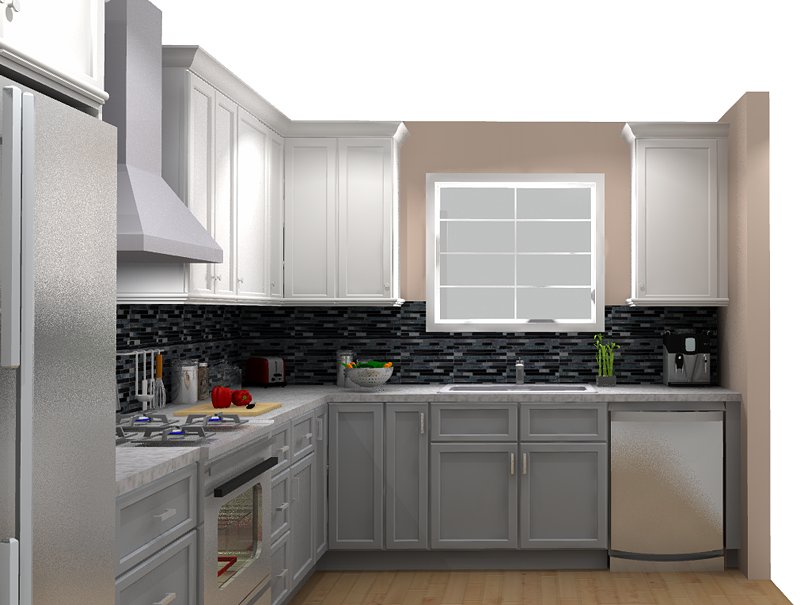
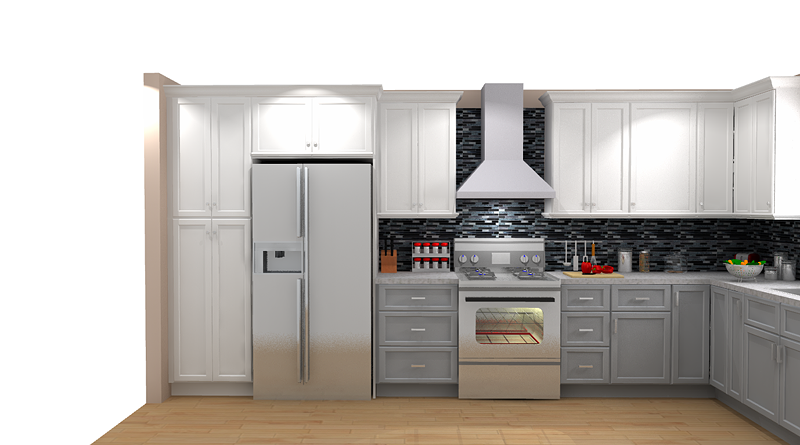
And this one. The great part about seeing things in advance is that you can make tweaks before committing! I noticed right away that I didn’t like my original plan of dishwasher between two cabinets. I definitely needed that sink centered under the window too. The current configuration would totally make my OCD flair up 🙂 I really wanted to see it with the white cabinets surrounding the fridge too….and then the last request was to see a version with the upper left corner cabinet in a squared off door vs that diagonal door.
Thank you so much to The RTAStore designer who so seamlessly made the vision come to life…and for putting up with my randoms. You rock Desiree!
This is what we got back the next day and immediately it felt SO RIGHT.
And we all liked the pantry cabinet being big and white….so that is where we pulled the trigger, said yes, and sat patiently on the curb waiting for delivery. You think I’m kidding…we were all like kids in a candy store waiting for these things.
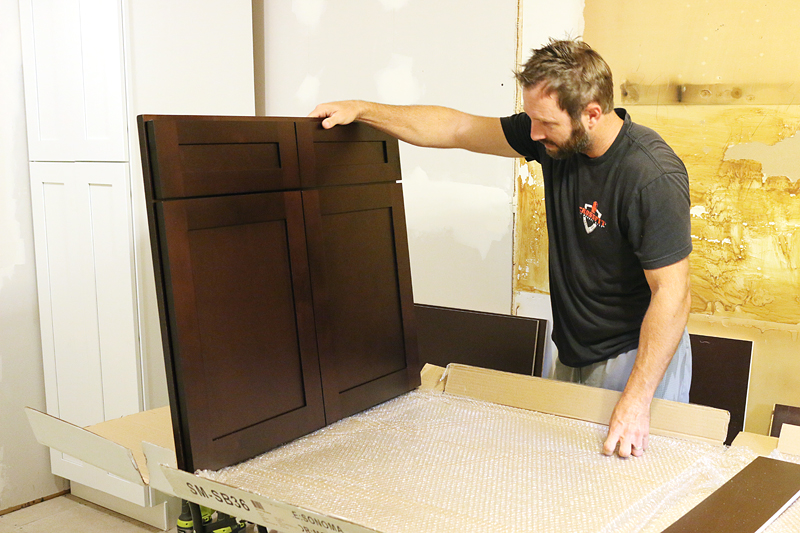
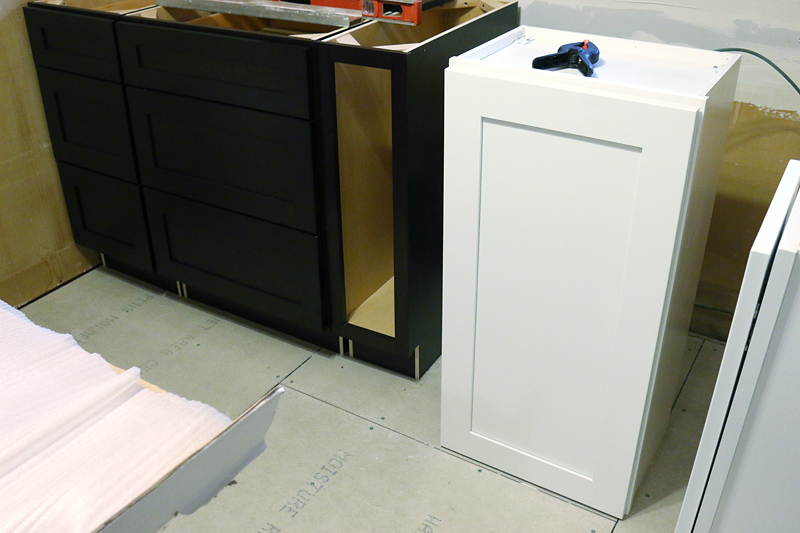
Since the ones we chose were two different colors, they were actually made by two different manufacturers….so same style door but different everything else.
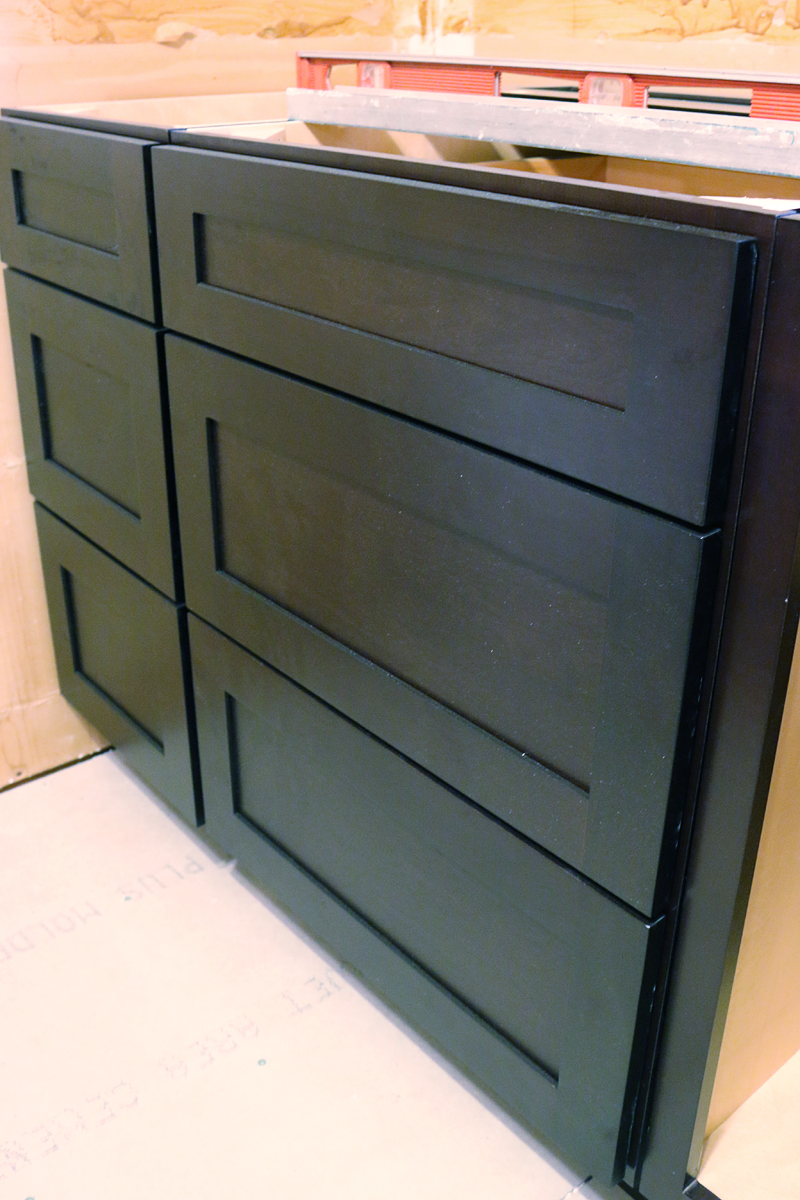
The lowers were the Dark Chocolate Shaker Style and the uppers were the Aspen Shaker Style.
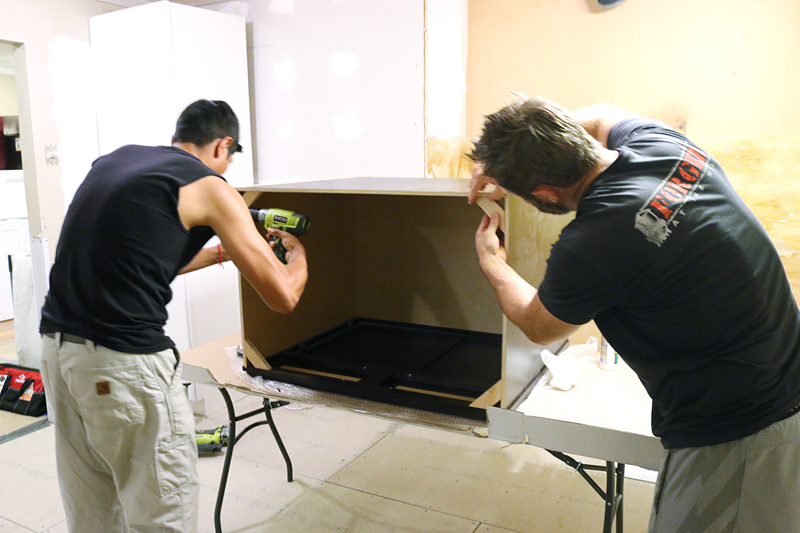
The guys knocked out all the assembly in two evenings….this is after Danny got back from his 9-5 and so it is definitely possible that this could be a weekend project. Just think….anyone could have new cabinets in one weekend….that’s pretty incredible.
One of the biggest surprises was that even though these are considered Ready-To-Assemble, most of the ones we received came with the doors already attached! Most of the time those are flat-packed as well but it really helped save time and energy.
There are two general ways to assemble cabinets. The first is with glue in grooves and you tack them together with a nail gun. There is a second method that requires glue, corner braces and screws. You can actually CHOOSE what method works best for you with these. Isn’t that cool?
Gotta love the options! And that is the thing that impressed me the most about this company….besides the designer Desiree who I feel a distinct need to have in my life for all things digital….I loved the fact that there are so many options. Options for assembly. Options for colors. Options for sizes. Options for styles of door. Options for everything!
As the guys finished, we were excited to get them installed.
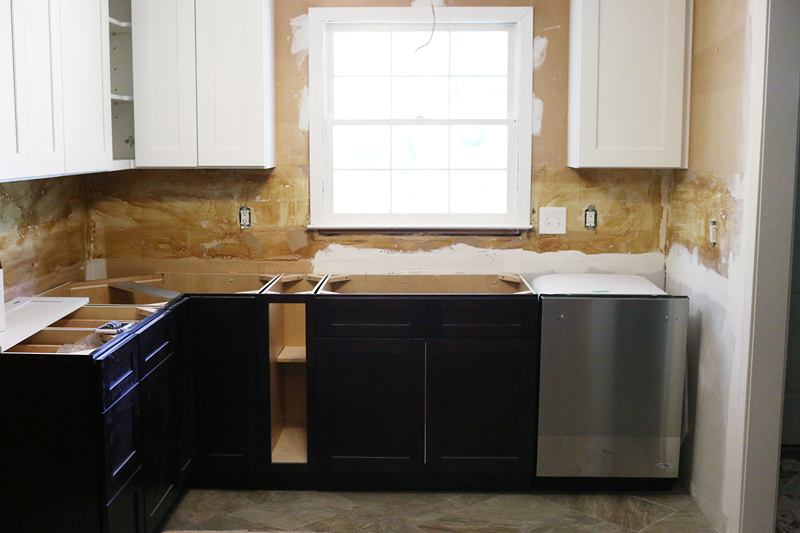
The base cabinets get installed relatively easily. You just have to shim them to make them plumb and level before screwing them to their neighbors and to the studs in the wall. Upper cabinets are very similar but should get installed first.
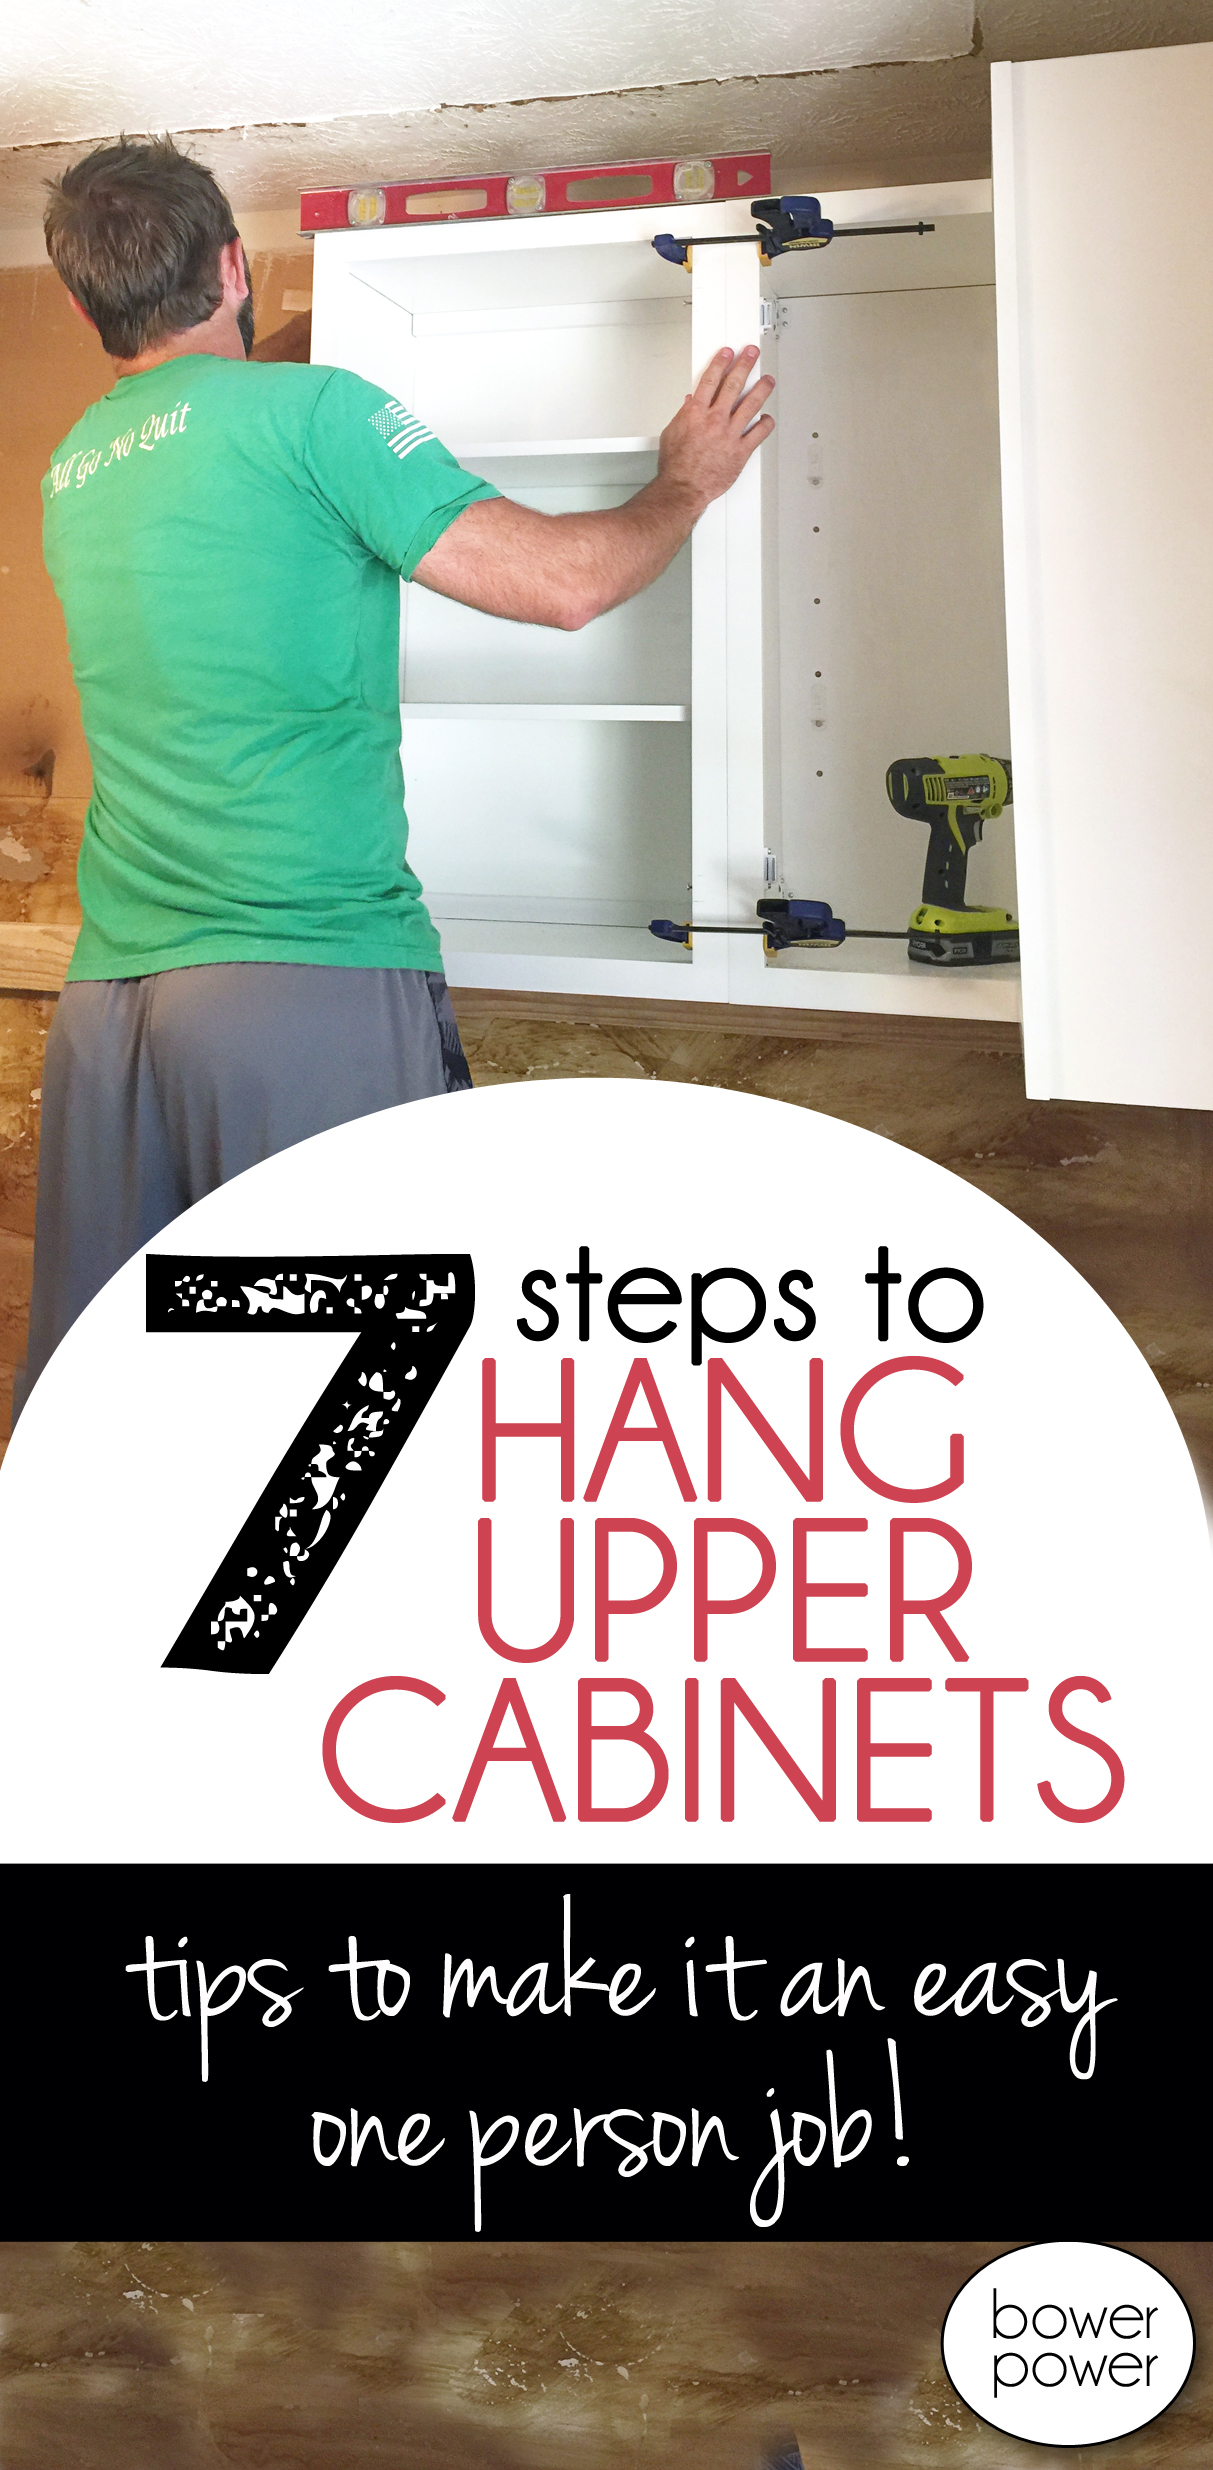
Here are seven simple steps to install upper cabinets.
Step #1 – First plan out your cabinets and make sure you know EXACTLY goes where. There is nothing worse than hearing “Oh I thought that is where the drawer cabinet was going to go….not the door cabinet.” and then having a painful reminder of your fail every time your partner has to two-step over to the cabinet.
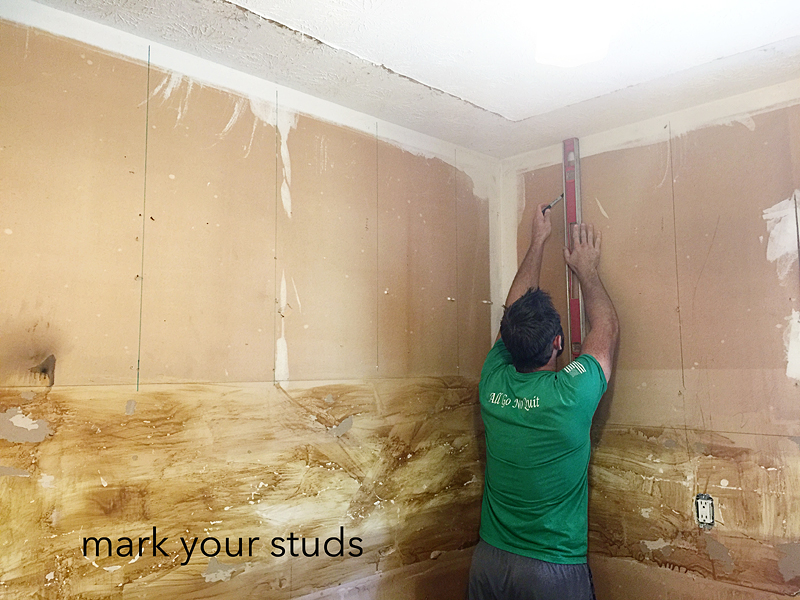
Step #2 – Mark your studs.
You will go down the line and mark each stud. If you are unsure if your stud finder is fritzing out on you, just do a simple nail test….drive a tiny 2 inch nail into the area…if it goes into a stud, you will not be able to easily push it forward or remove it. Also – CALVES.
Make sure your line on the wall extends from above the cabinet to below it. If you have a bad memory – write on the wall what cabinet goes where.
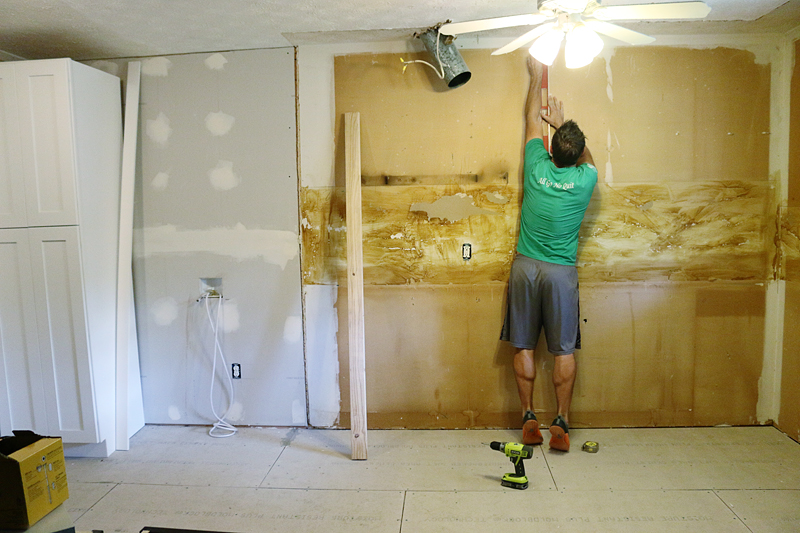
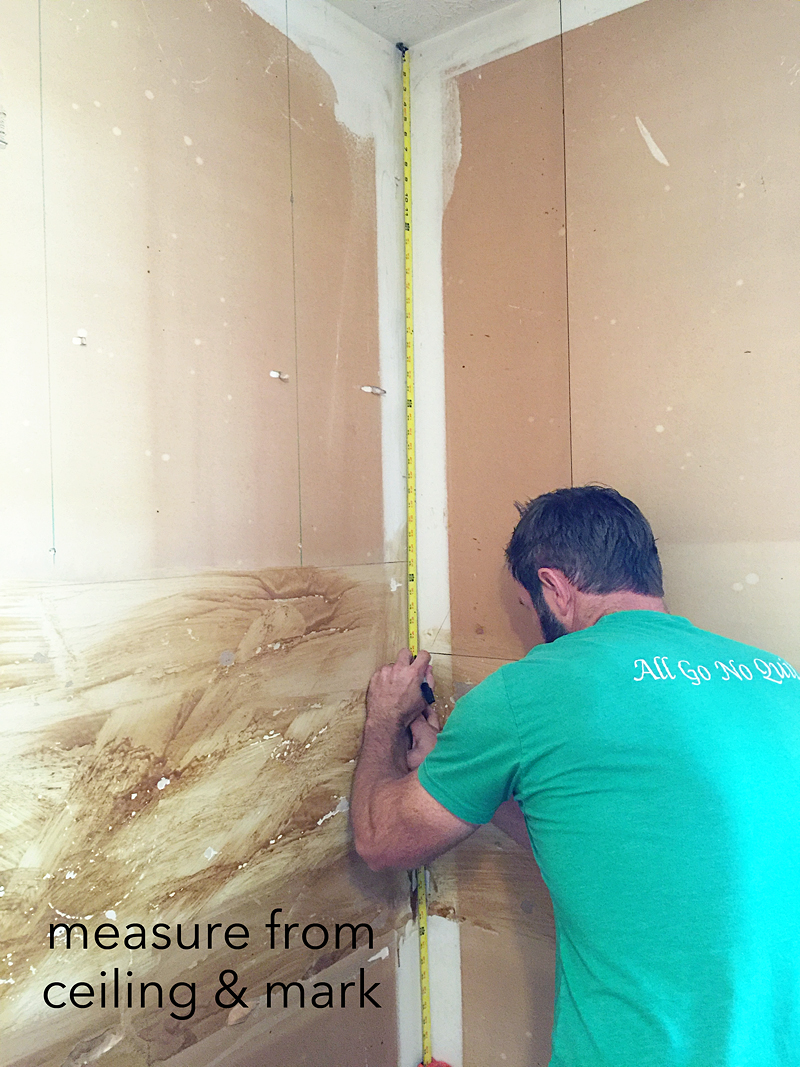
Step #3 – Measure and mark the distance to the ceiling. You will want to measure to the BOTTOM of where you want your cabinet. Some people like their cabinets all the way to the ceiling….some can’t reach that high….this is purely a preference thing. If you like, you can also measure to the floor. We knew our floor was slightly uneven so we went with the ceiling. Most people want their upper cabinets about 18″ from the countertop. For us, that meant 42″ from the ceiling.
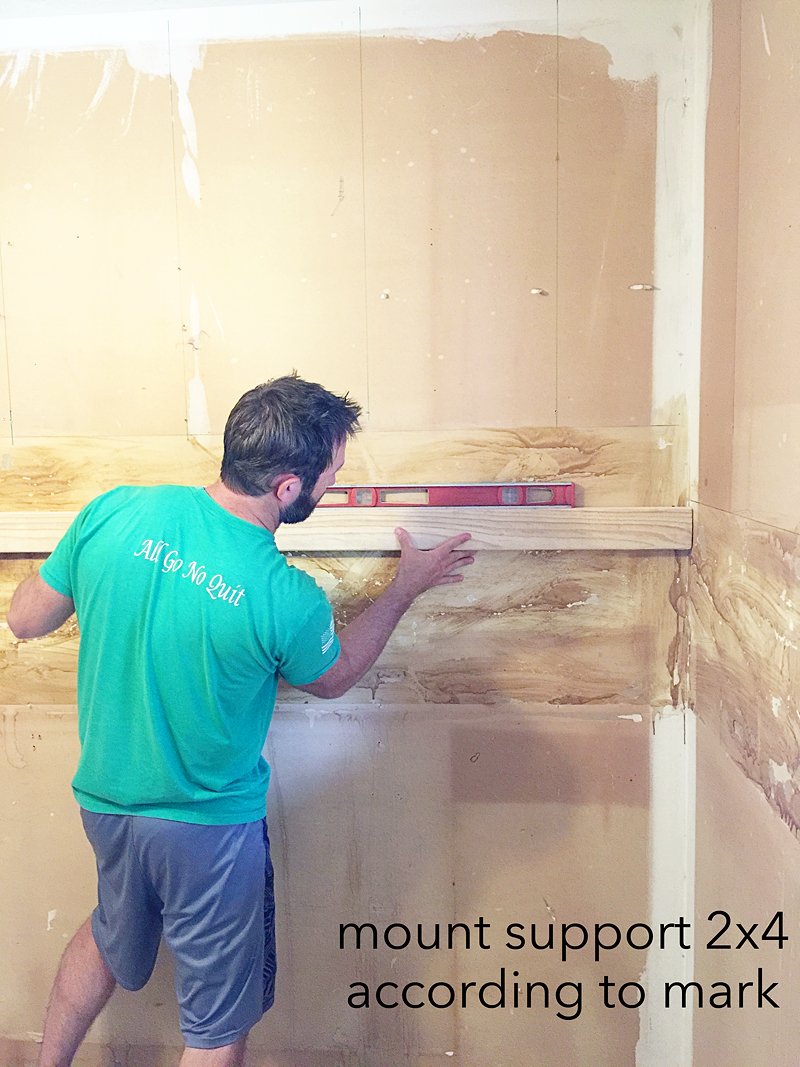
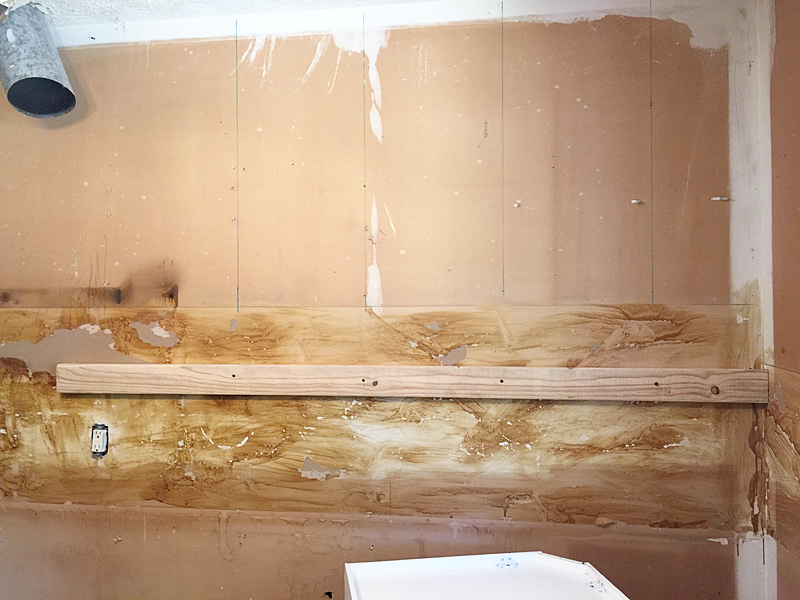
Step #4 – Mount your support. Because you measured and marked the bottom of the upper cabinet positions, you can mount a support board (anything from a 1×2 to a 2×4 will work) and this will make your job SO MUCH EASIER.
This board was attached to the studs and will help hold the weight of the upper cabinets while they are being installed. This board truly makes it a one-person job. It’s often called a ledger but in my mind a ledger is a notebook you write in, so yeah…we are calling it the support board.
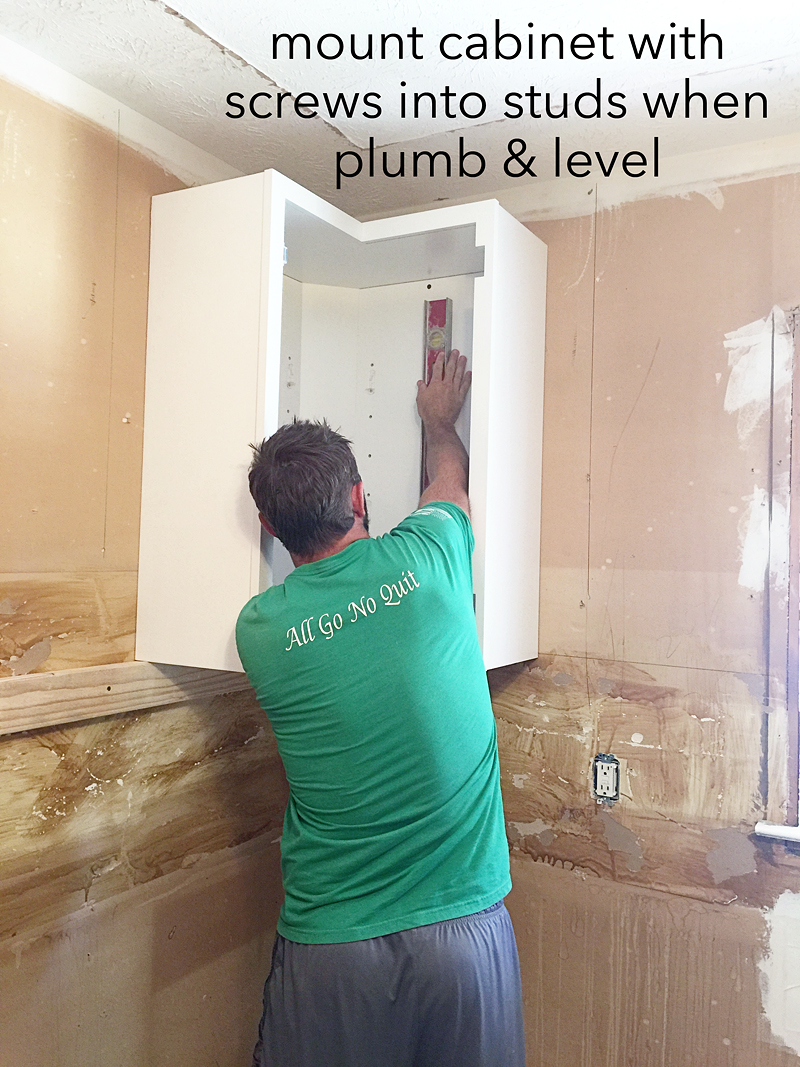
Step #5 – Mount the first cabinet! YAY! Start with your corner cabinet and lift it up onto the support and then make sure it is plumb and level. You can use shims to make small adjustments. Then mark your spot to attach to the wall. Those spots should be at the very top and very bottom of the cabinet because that is where the hanging strip is on the back of the cabinet. What is a hanging strip? A little board that is thicker than the rest of the cabinet back. Take the cabinet down, pre drill those holes and then lift it back up to attach directly into the stud with a 2 1/2″ screw.
Once that first cabinet is in, the rest are SO much easier.
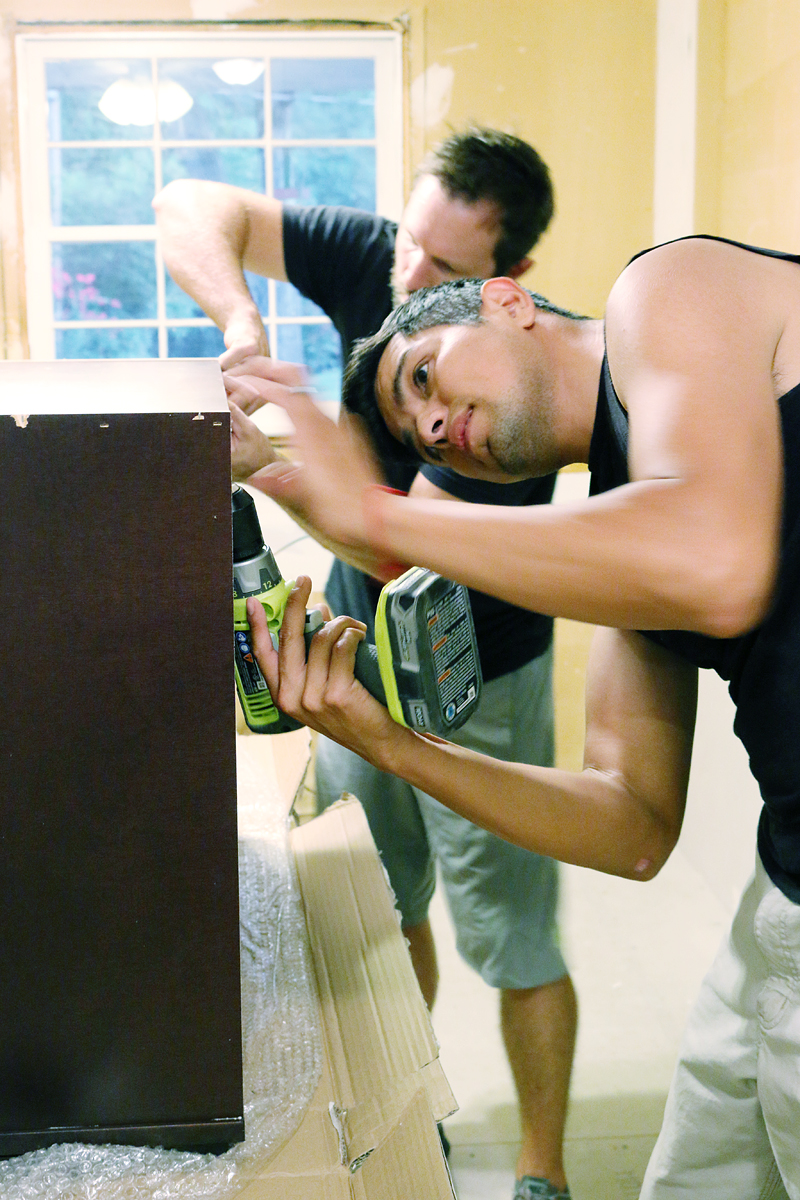
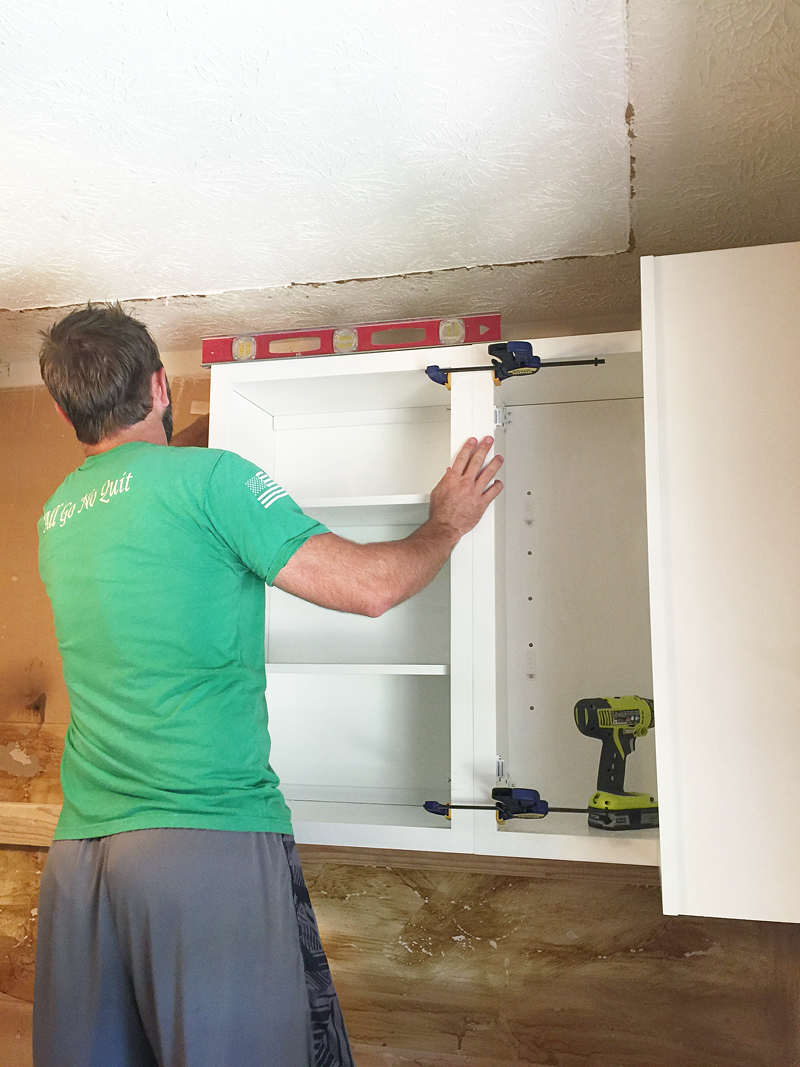
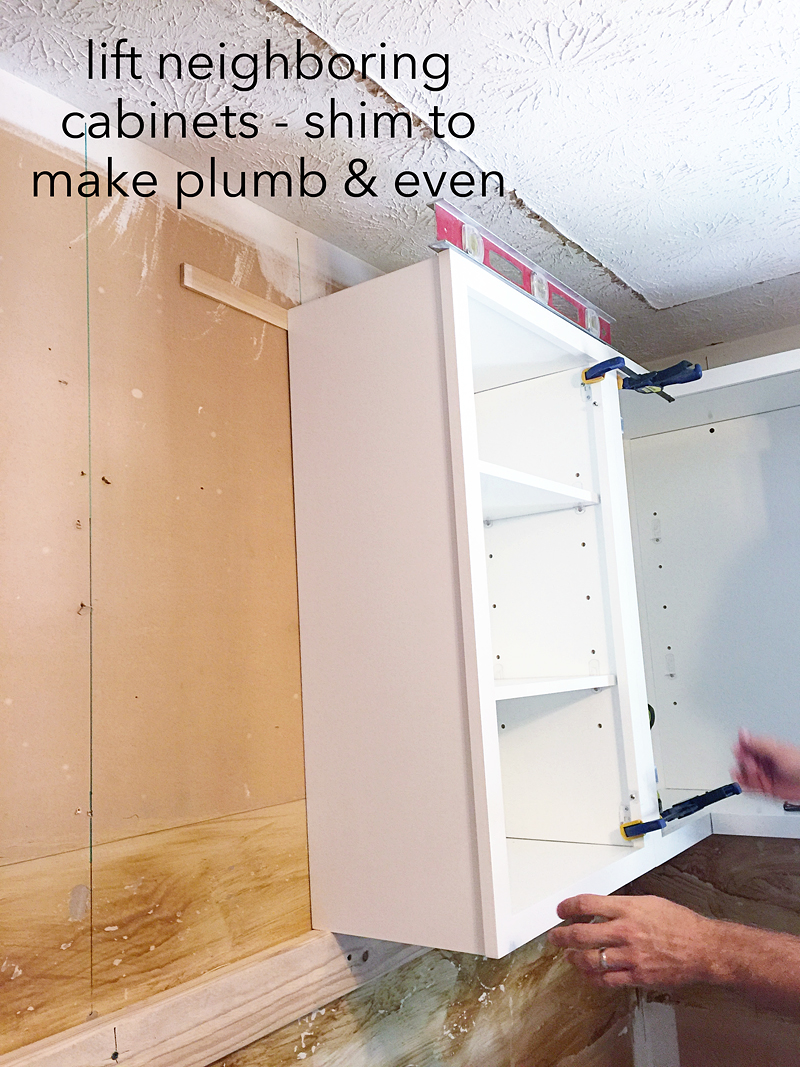
Step #6 – Hoist up your neighbor cabinet and clamp into place. This is when it is time to mark your holes for pre drilling on the back and to mark the sides where you will attach the new neighbors. Also – go ahead and break out your new bestie – the combo drill bit. It combines pilot hole drilling with countersink hole drilling…..see where I am going here?
Step #7 – After your back holes are predrilled, you can lift the cabinet into place and shim till it’s perfect, then clamp and attach the screw through the hanging strip and into the stud. The combo drill bit will now make it’s red carpet entrance into your life of awesome. Drill through the SIDE of the face frame into the neighboring frame and sink the screw so that it’s hidden and both cabinets are securely attached.
Repeat, repeat, and repeat.
Now you know the basics of upper cabinet installation! Wasn’t that fun?! Gold stars all around!
Now let’s get ready to talk about tile….because that is what is next…tips on installing a large format tile in a herringbone pattern. It was my first time and I learned SO much. Seriously the angles were blowing my MIND.
And if you want to read more past posts about this project, here are the links –
So for now…happy Tuesday and hope you are getting back into the swing of things. Me? I just want FALL. I’m drinking something spiced and delish in hopes that I feel fallish even with the 93 degrees that is predicted today. So if you see me passed out in the yard in jeans and a sweater….just throw an iced pumpkin latte on me. I’ll be fine. I promise.
*This post contains affiliate links.
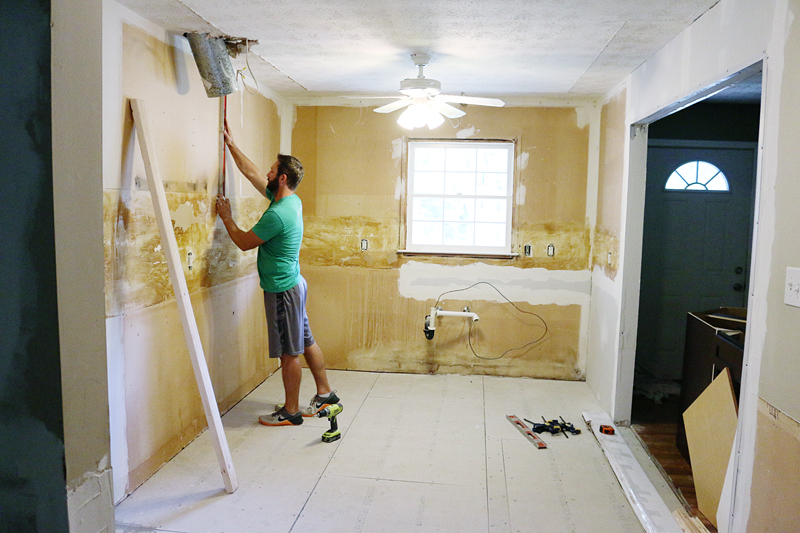

Holy Moly – Calves!
We are doing a mini kitchen redo and I have steps question.
I noticed you didn’t do the ceiling or paint before the cabinets. What’s the ideal order?
I keep telling my husband paint everything, counter, backsplash but seeing your process makes me think I might be wrong. Any suggestion?
Looking soon good! So how do these cabinets compare to the cabinets you put in your basement kitchen?? Which do you prefer? Cost?
Definitely could have use the support board trick the last time that we hung cabinets! And “also CALVES” has me dying. Can’t wait to see how you guys manhandled herringbone large format tile… yowzas!
The cabinets are comparable…I think it would be hard for me to be able to compare or contrast right now (since they were JUST installed) but the one thing that stands out right away is that the RTAStore version have soft close uppers. That’s amazing.
xo – kb
Ideally, all the drywall would have been done first – ceiling included, then paint, then cabinets, then counter, then backsplash.
xo – kb
We are currently researching cabinet options for our kitchen (and debating painting the existing cabinets), and are also curious about the differences in the RTA cabinet options available. Would you have a recommendation of where to start based on your experiences between the two companies? We haven’t seen any in person or known anyone to use RTA cabinets, but we’re hoping to fit it in the budget! Were the two priced similarly as well? 🙂
Well it’s hard to compare that because we got completely different layouts of cabinets – you can look on the sites for your preferred style and see how they compare. Both companies run specials so keep that in mind.
xo – kb
Katie can you give me details or reasons for installing the cabinets before the floor. I’m in conflict over floor first, cabinets last. I’m asking you because I’ve been impressed with your work! Thanks in advance.
Lol at the calves comment!
Okay, so maybe my mommy brain is fried.. but when you’re talking about where to screw the cabinets together, into the studs and the counter-sink drill, etc…., I just was not visualizing that. Arrows pointing to where all that is happening in each picture would really help me, if I can be so bold as to ask for you to add that info? This makes me so excited to know that a company like this exists. Sounds awesome! We have dreams of a kitchen reno in 1-2 years!
I really like the two-toned cabinet look and you make hanging them look SO EASY! I am pinning these tips for later…if we ever get around to replacing the ones in our kitchen.
It’s easier to install lower cabinets…and it’s easier to install uppers without leaning over the lowers. It’s just to make it easier. But there are ten different ways to skin a cat 🙂
xo – kb
Lol, CALVES! Such a tiny statement, but we all caught it. You are so hillarious! Although, those are some seriously hot calves! 🙂 awesome tutorial for hanging cabinets! Wish I had this info when I hung my laundry cabinets.