Tearing out this kitchen is kin to having a wart removed. You don’t ever. EVER. want to see it again. But you also hope nothing is growing under it.
SO the trickiest part about this renovation is that there is a family that lives here. A sweet family of four that is waiting on number five and leads a normal functioning life….complete with things like EATING IN THEIR HOUSE. So a kitchen is kinda necessary. As are doors. We didn’t want to completely disrupt their lives so we decided to take the house in chunks at a time…first tackling their laundry area and when that was far enough along, we started the kitchen. All that to say….we get that it can be a little confusing when you see a room and are like WHOA where did that wall come from?!
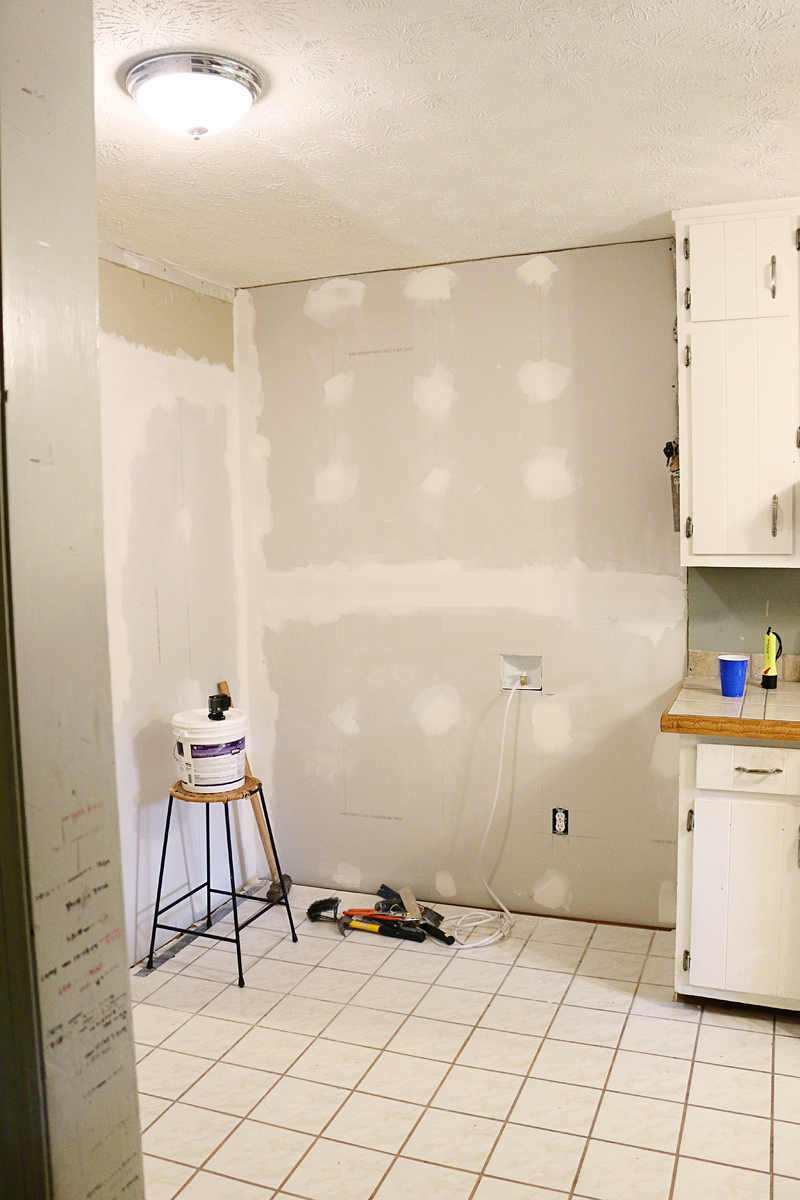
Yesterday we showed you the original before photos. The ones we took before we lifted a single hammer or tile or piece of drywall. And now, imagine if you will, that the laundry room is underway and the wall dividing the laundry room from the kitchen is in place and completely drywalled.
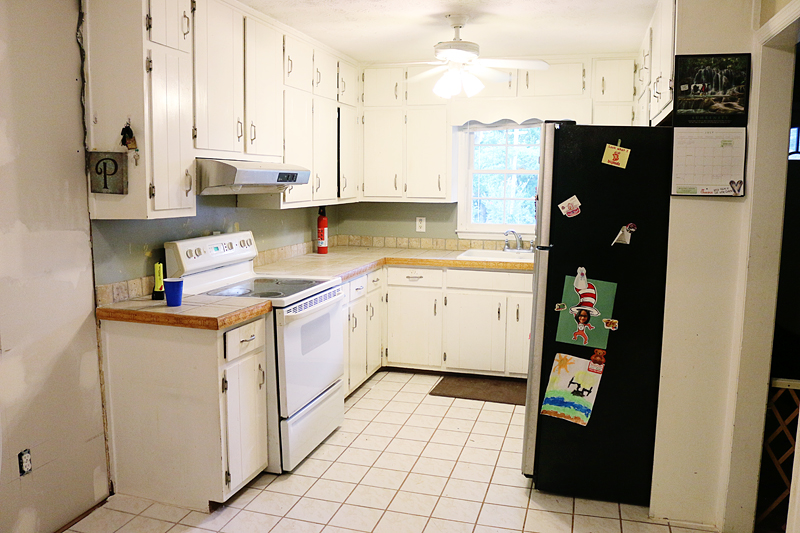
So now it gives us an additional five feet of wall space to use for a pantry closet and a fridge.
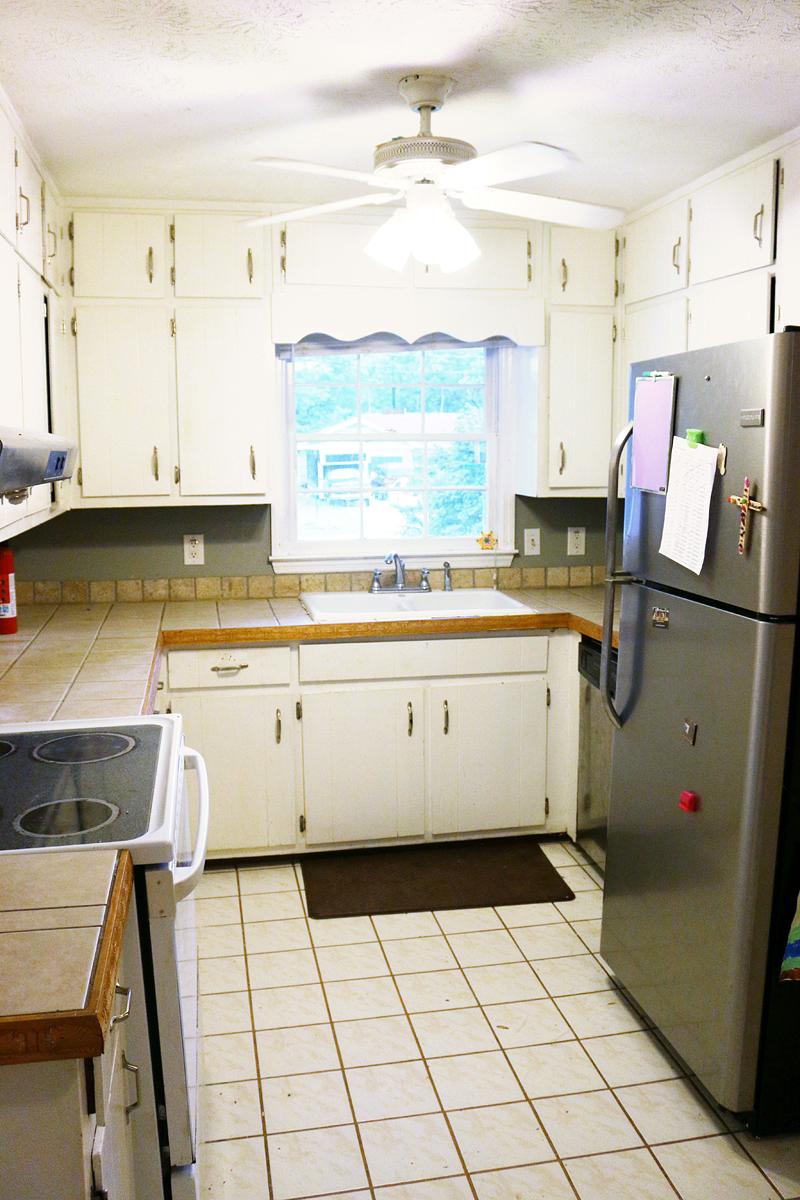
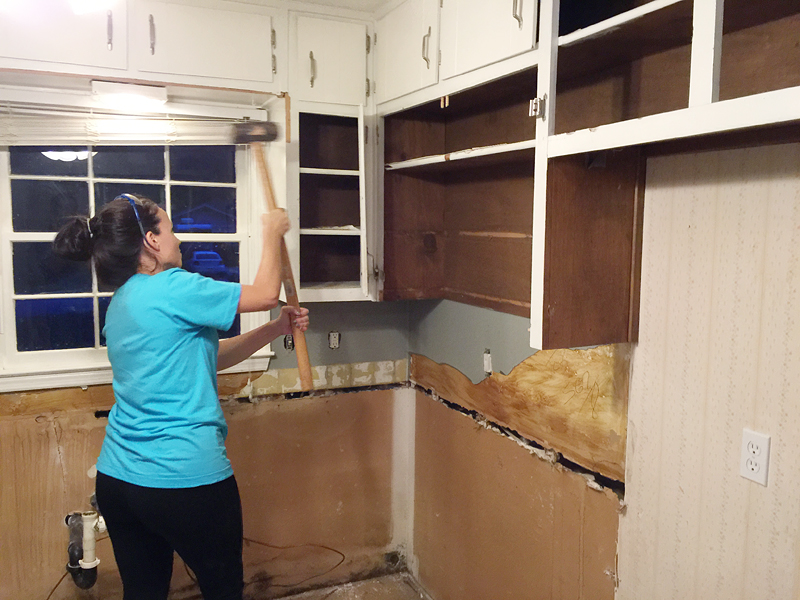
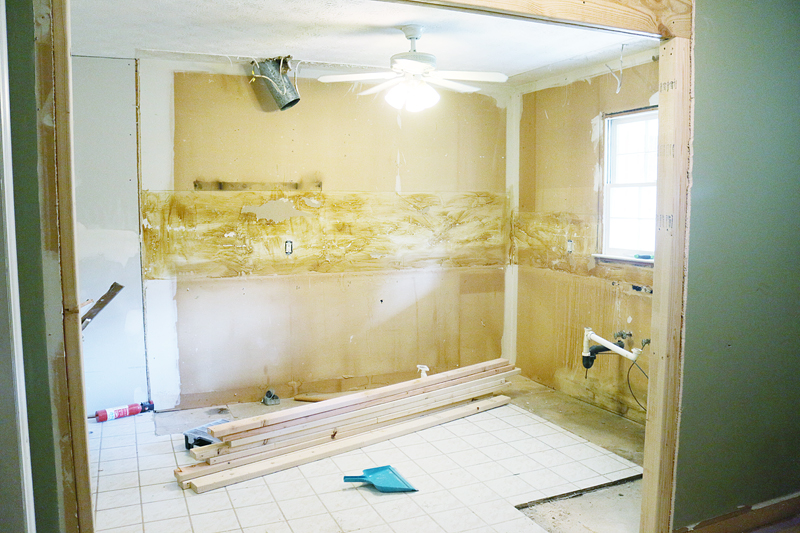
Once we had that wall in place, it was time for DESTRUCTION. Basically everything in this photo needs to go….
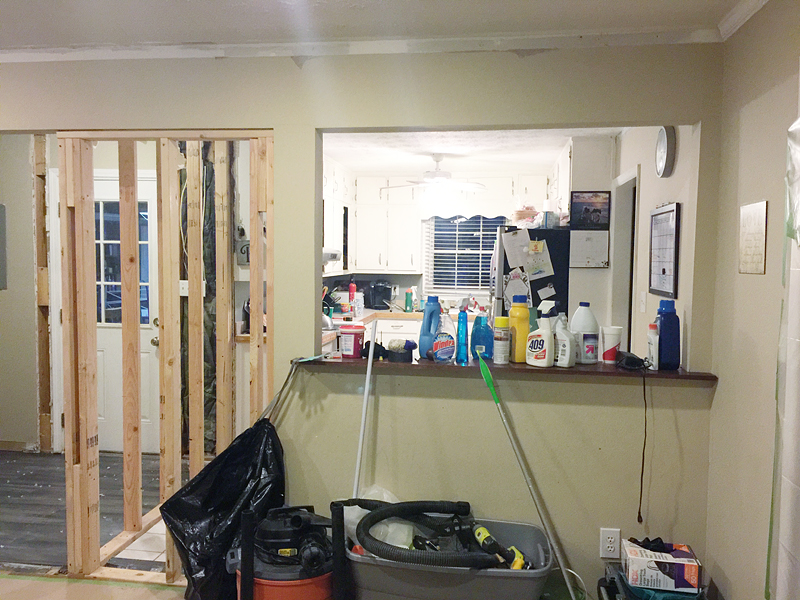
And if you are still confused, here is the view from the dining room at the very beginning….
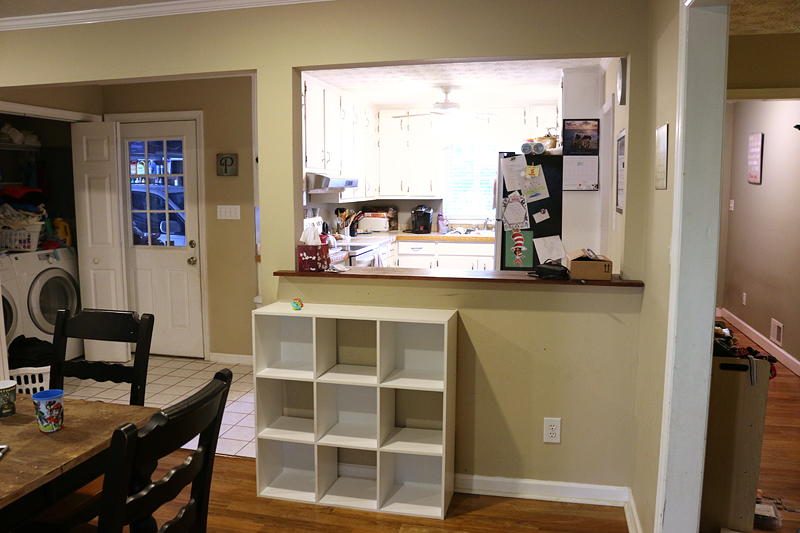
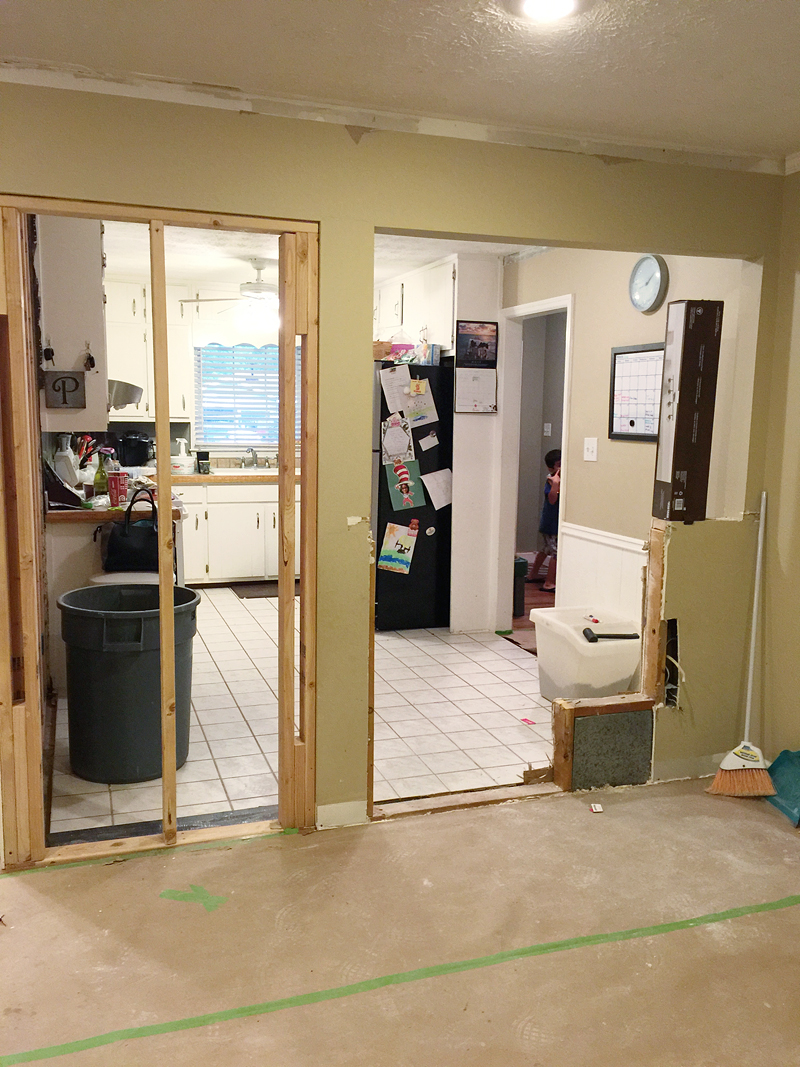
And here we are after the dividing wall went up and the laundry room was tiled….
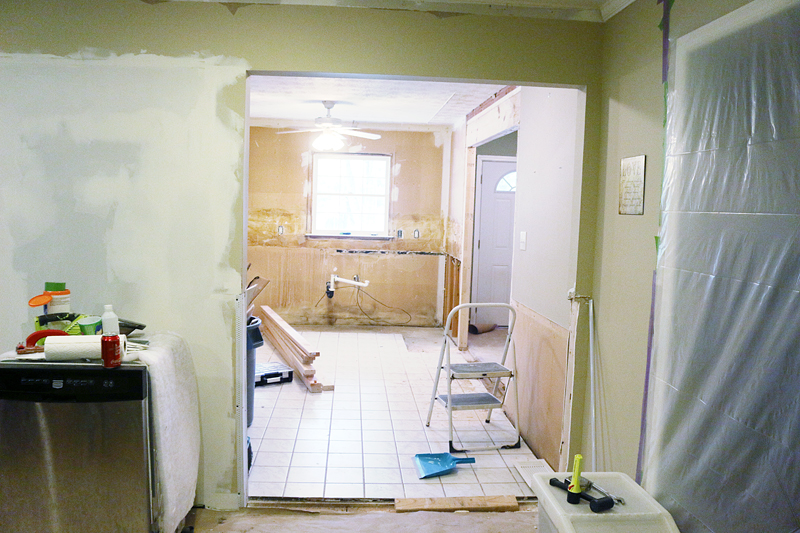
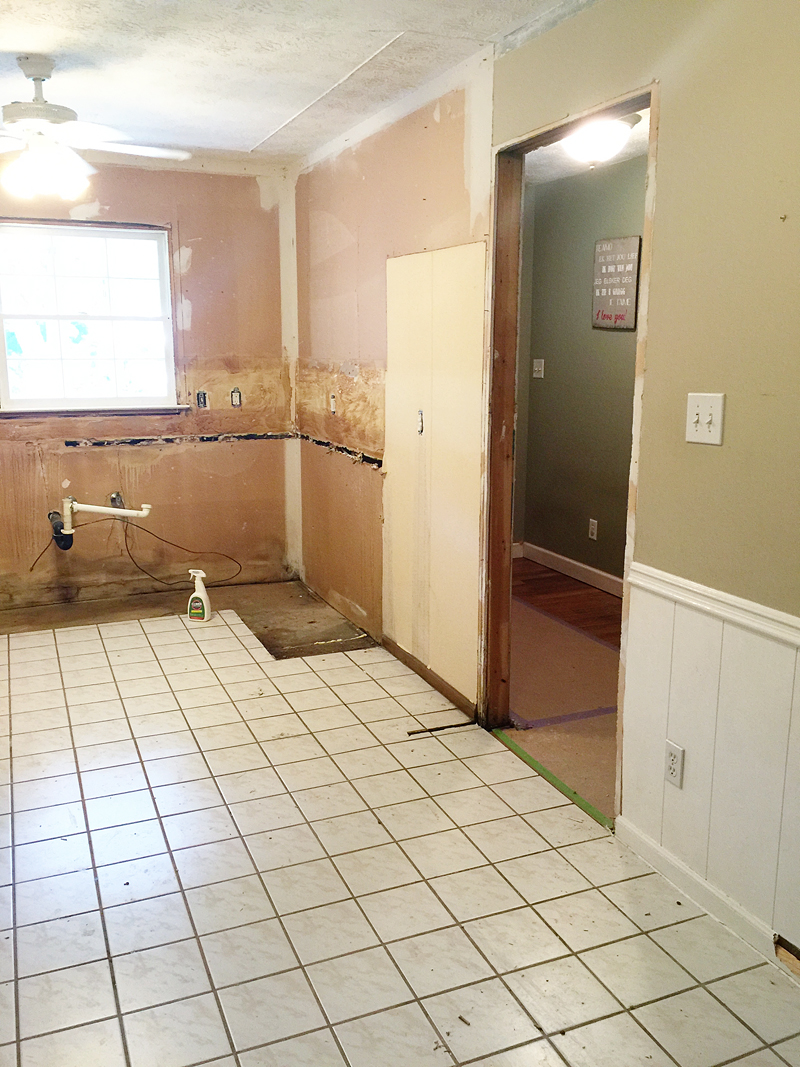
And then we tore out the little half wall to give them a new kitchen doorway….
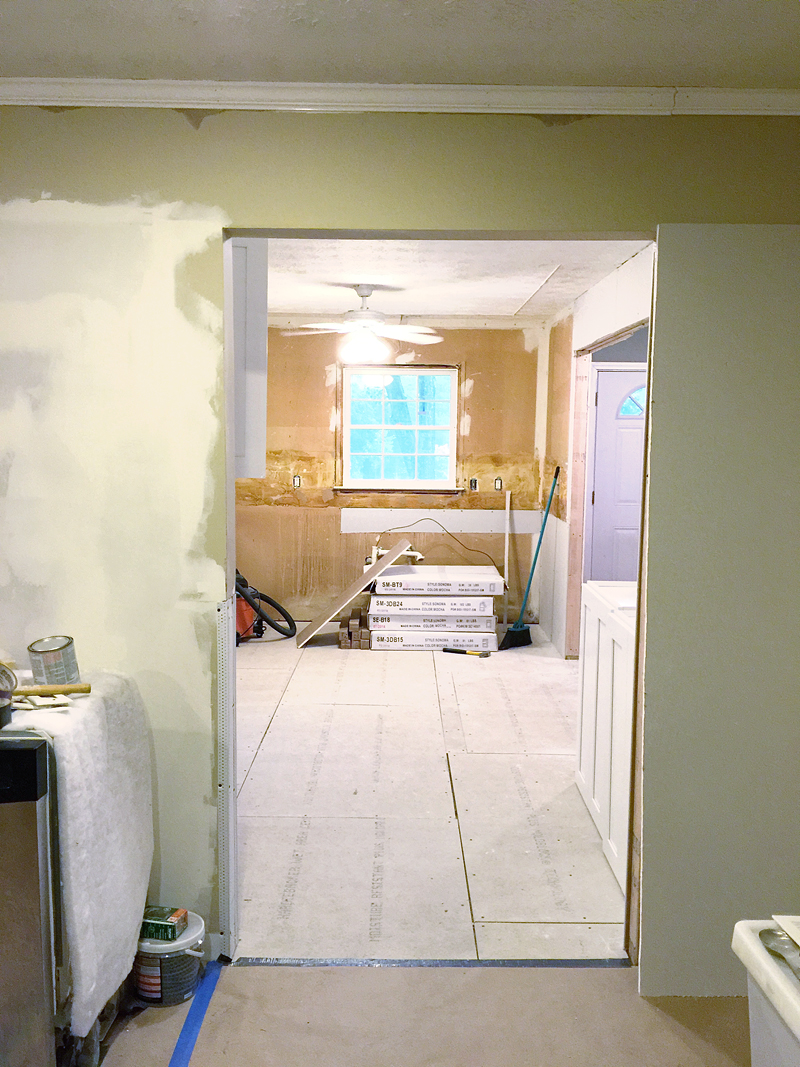
The drywall really made a difference in making the kitchen feel very separate from their dining area….which is something we had to do since there was a vertical post that we could not remove on the left hand side of this opening. In the end, I think that sometimes rooms need walls – and this allows them to have much needed storage and space…so that is a win-win.
The wall on the right hand side of the doorway needed to be built out because there was a central air vent there and we couldn’t move it. So a slightly-bigger-than-average doorway was our solution and once it was trimmed out and painted, it felt organic and well planned.
So as you can see above the cabinets got demo-ed. I only have one photo of the demo and about thirty videos of it (can’t wait to put those all together later!) so for now just imagine that I used my massive upper body strength and pure brute force to do the demo all by myself 🙂
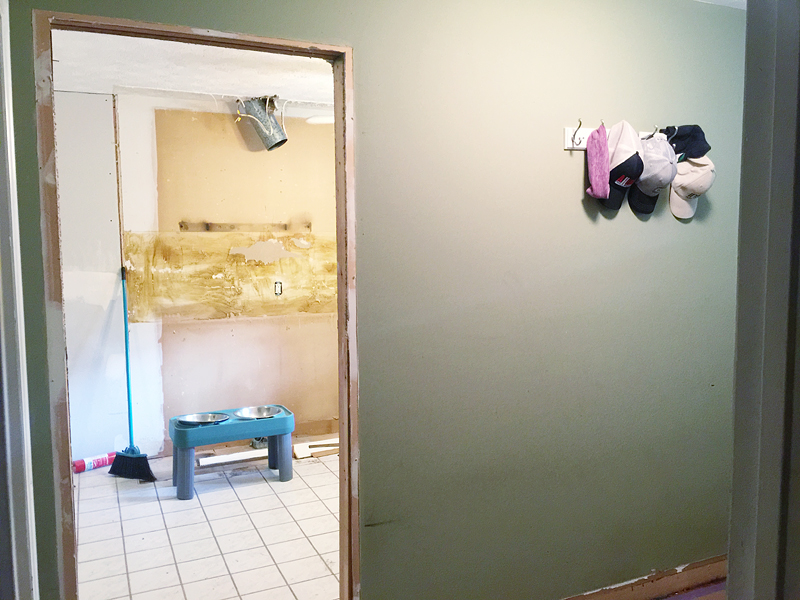
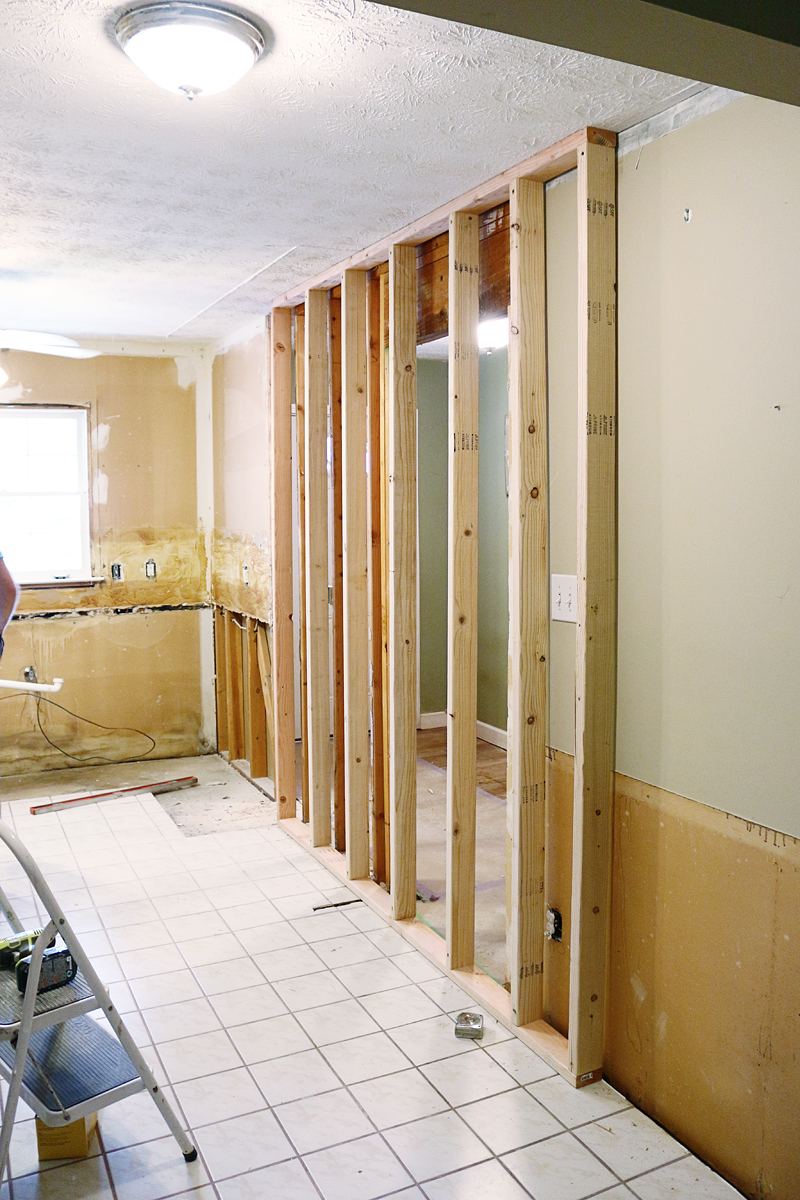
And speaking of demo – we really needed to get rid of this wall. This wall separated the foyer from the kitchen and it was absolutely necessary to give them that open feeling by removing it and putting in a header.
Basically imagine the area where the fridge use to live being completely gone. It doesn’t actually give them any more square footage (like borrowing from a neighboring room would) but it visually makes things more open.
I gotta give mad props to these two. They rocked the demo part of this project. I should have known. Also I have like eight photos of them posing with sledgehammers and making muscles 🙂
Okay – so before we could continue, I gotta tell you that they just can’t rip down a wall. Jeremy probably would argue that physically they are able to….but then they would die because the house could collapse. First it is all planning….marking and cutting lines for the drywall to be removed and turning off any electrical.
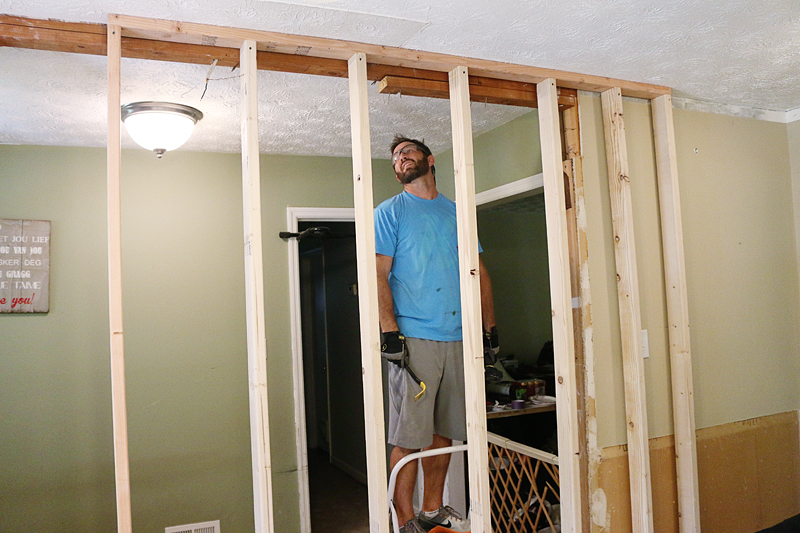
Once they had that out, it was time to build a support brace. This would act like the wall supporting the ceiling joists while the new header was installed.
The support wall was up and then they could remove the old header from the doorway. Already it felt so much more open!
(please note that the ceiling joists in the hall ran perpendicularly to the joists in kitchen and parallel to the header which is why we only needed one brace on the kitchen side…otherwise two is highly recommended to support correctly)
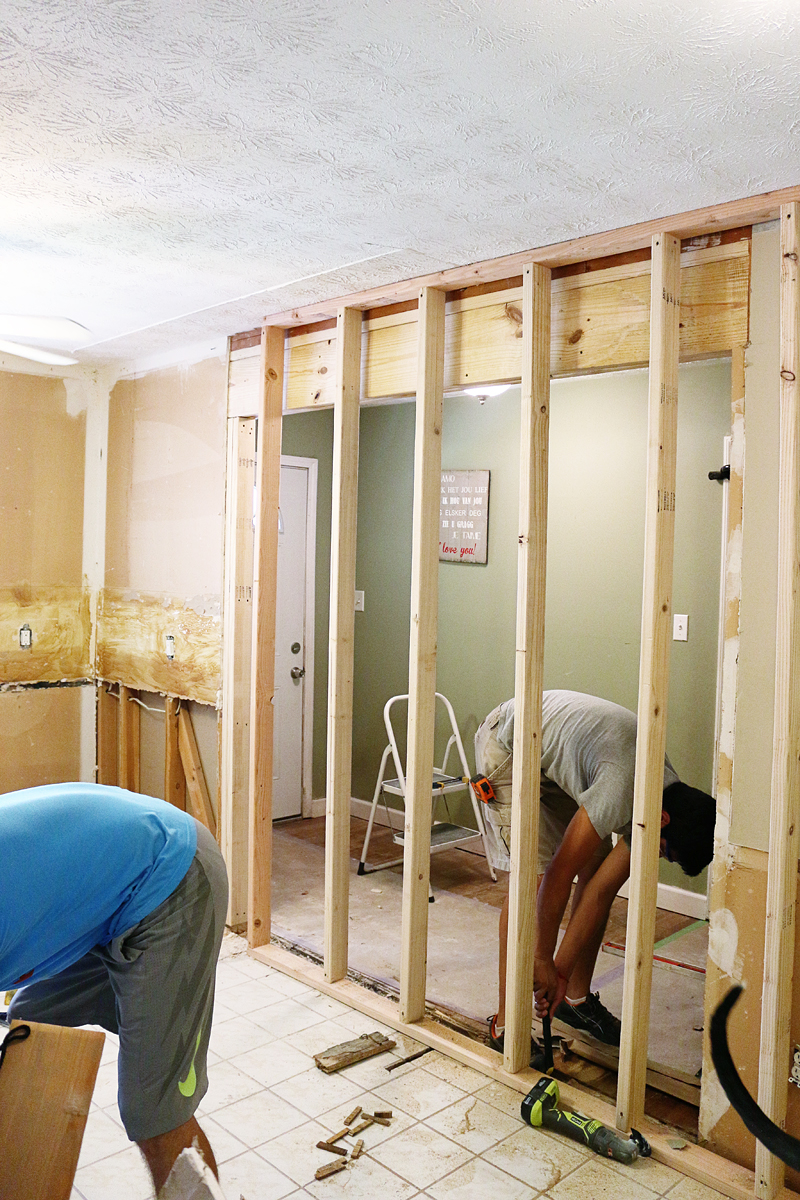
The new header goes up! Danny and Jeremy bend down!
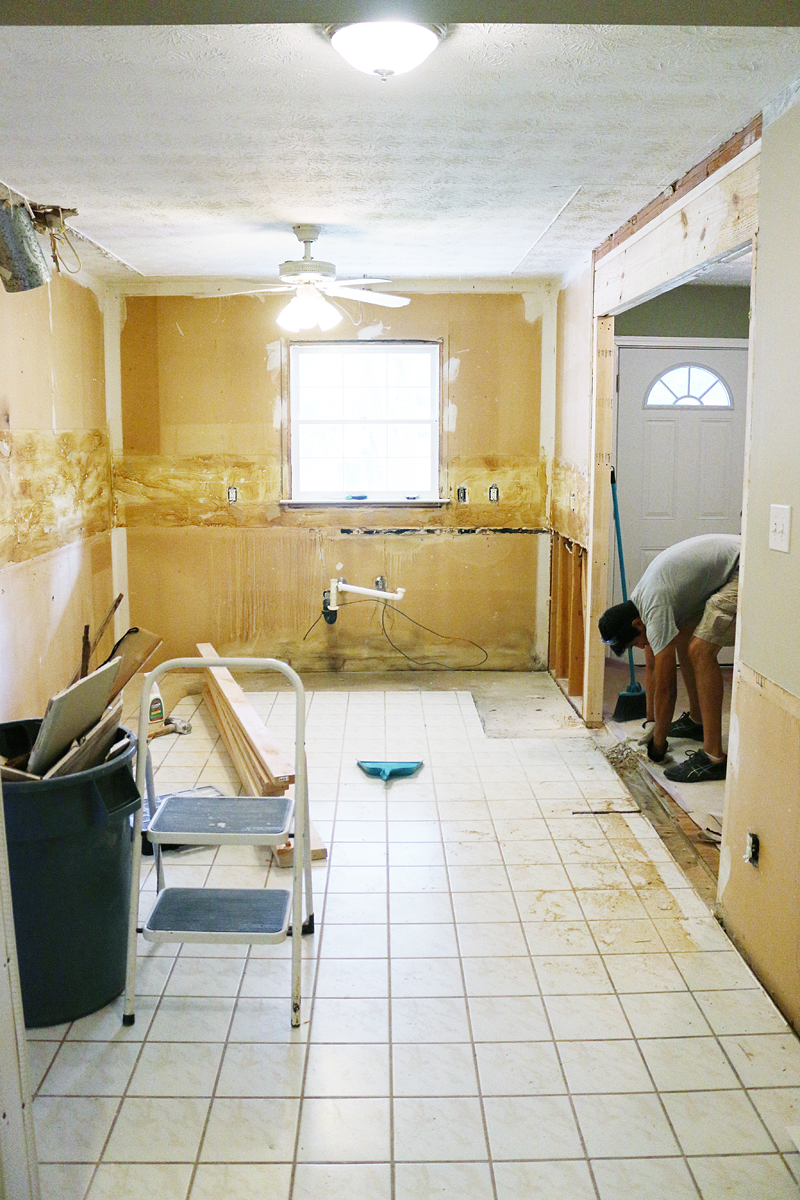
And then we could remove the brace….just look at that light from the front door!
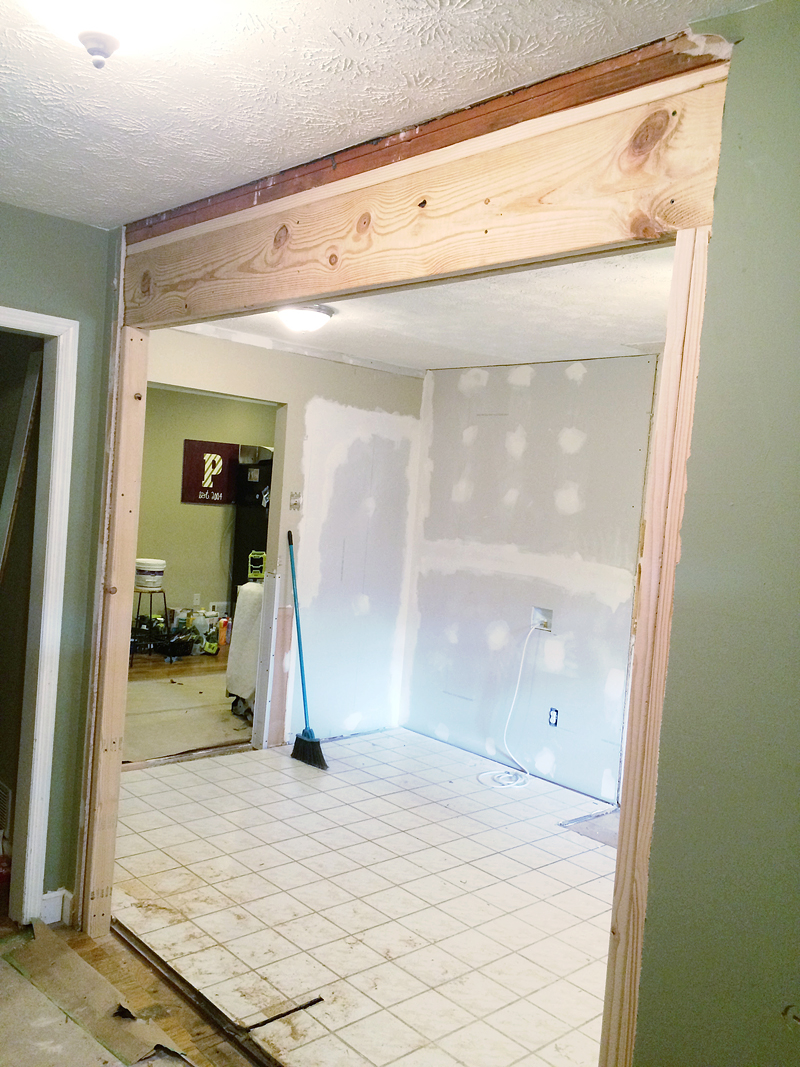
And remember that view from the hall?
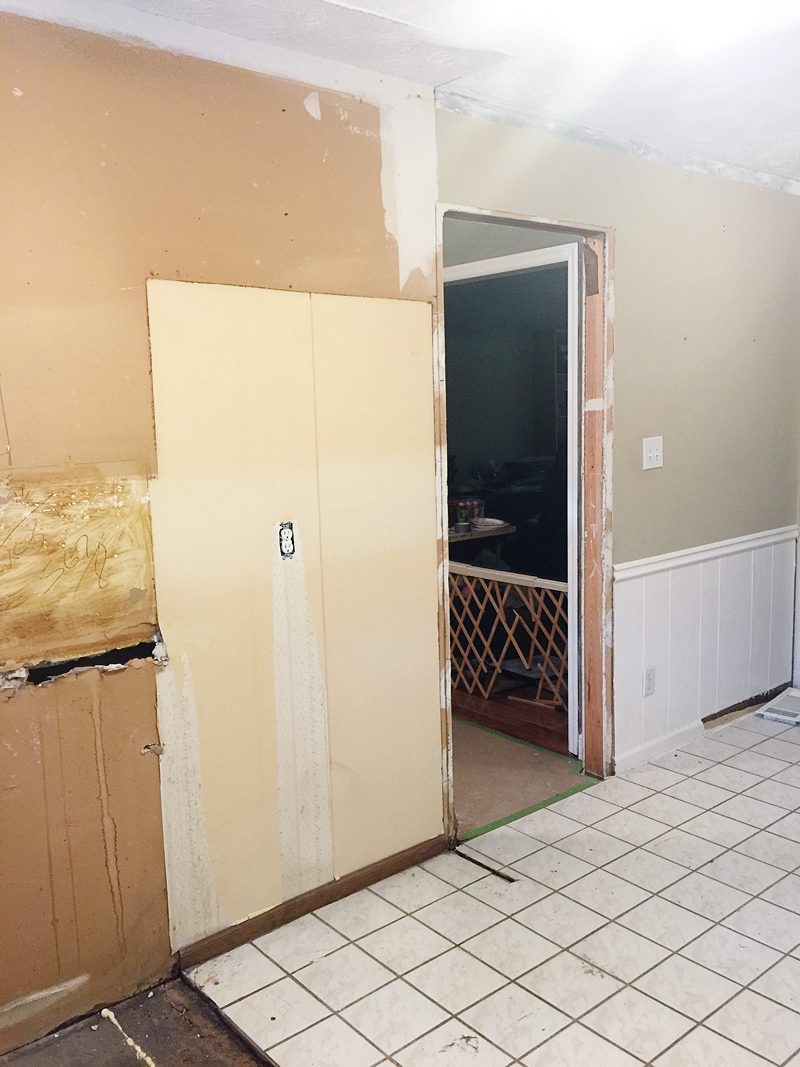
Well now that looks like this….
And they can see from the front door all the way to the dining room table….
The next big demo step was the floor. Unfortunately I got zero photos of the process. Jeremy and Danny tackled that one night while Charity and the kids slept over our house. The kids got to have a movie and pizza night with a giant sleepover and the guys worked till the wee hours of the morning. They were able to remove all the flooring and put down the backer board all at once and it was so nice to come back to a clean slate!
There actually was some damaged subfloor from an old fridge leak so they had to remove that and patch before putting down the cement board but that is another post for another day 🙂
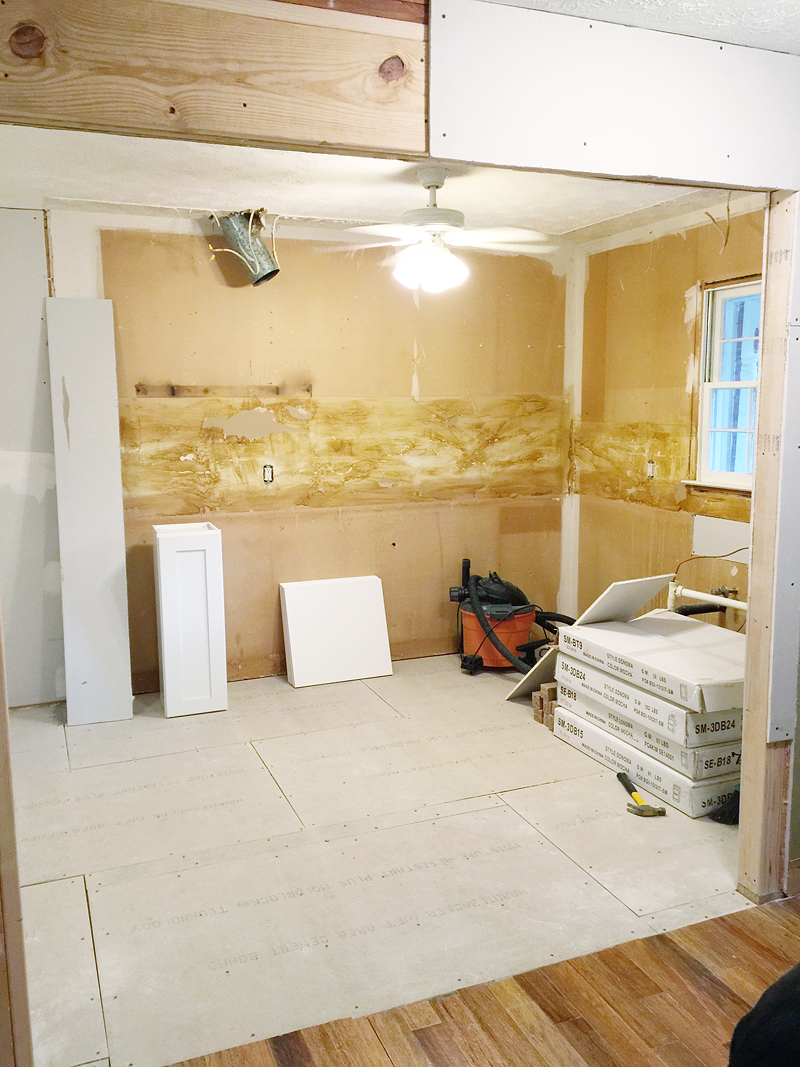
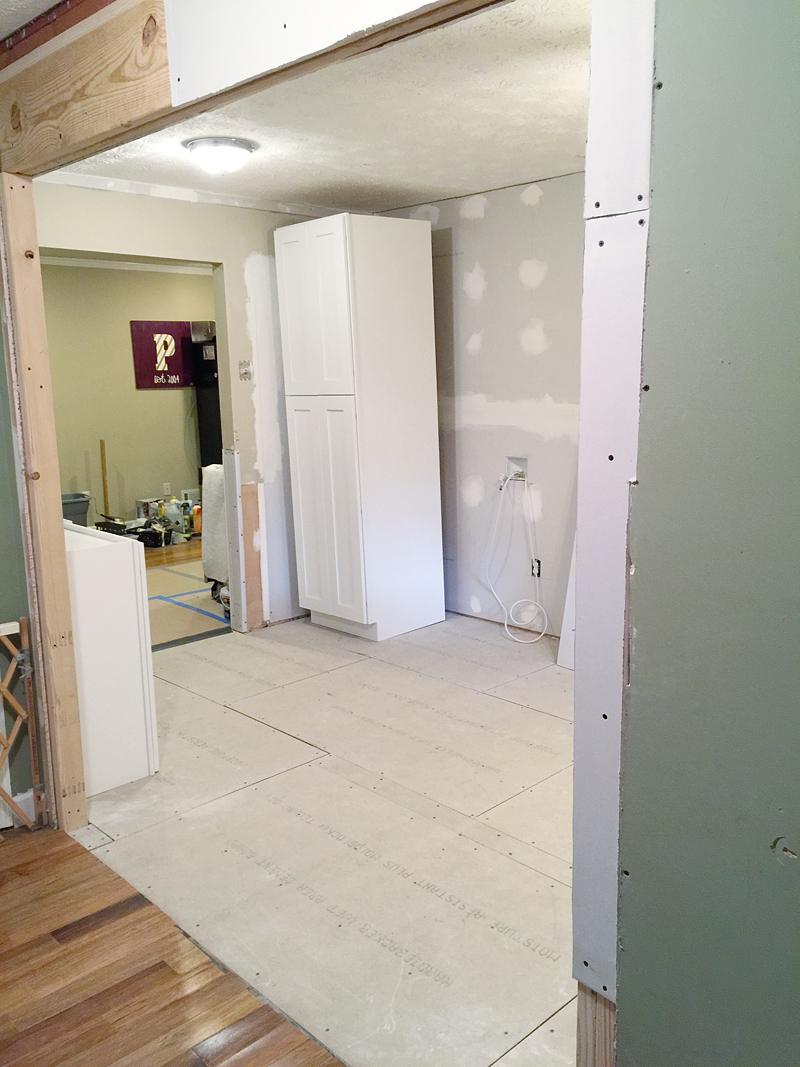
And WE GOT CABINETS!
Our chocolate and white cabinets arrived and the guys started the assembly process and I hope to share that with you too….maybe a little later – like a flash back post once I catch you up on where we are currently. I have so many posts planned for this week it’s kinda nuts. Here’s a little peek into what we will be sharing in the next few days….
- tiling the floor
- cabinet installation
- buying the walnut butcher block, cutting it to fit and installing an undermount sink
- faucet and garbage disposal
- painting
- appliances
And then we have SO much more to tackle. Our goal is two more weeks and this space be completely DONE. It’s gonna be tight but I think we can do it! Stay tuned!

“The new header goes up! Danny and Jeremy bend down!” LOL. That’s awesome, Katie. You’re such a delight.
P.S. The kitchen transformation looks fantastic! Super excited to see what happens.
Love these renovation posts!
Thanks for all those details! I am starting a similar process in a few months and am soaking in all this information! 🙂 I am also really inspired by all that you do by yourself girl. It gives me the courage to plan my own big project without hiding under a ton of pillows and blankets. Go demo and building girls! (Seems like the guys did nice too. No jealousy ;-p)
I’m so excited to see the transformation. Kitchen transformations are my jam. I am also so happy you are doing this for such a lovely family. I know they are thrilled.
It seems like adding the wall between the kitchen and laundry room would cause a flow problem when bringing in groceries — Charity now has to walk through the dining room to get to the kitchen. Is this the case?
If she entered through the garage it would be more difficult but now she has a shorter route from the driveway because she can go through the front door. xo – kb
It looks better already!