DIY Trekkies this one is for you! Or anyone else that likes architectural details in small spaces 🙂
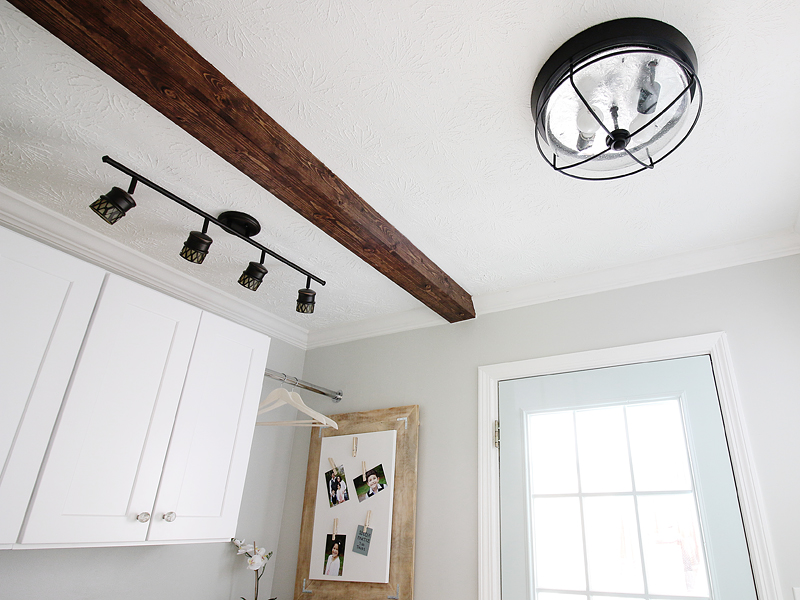
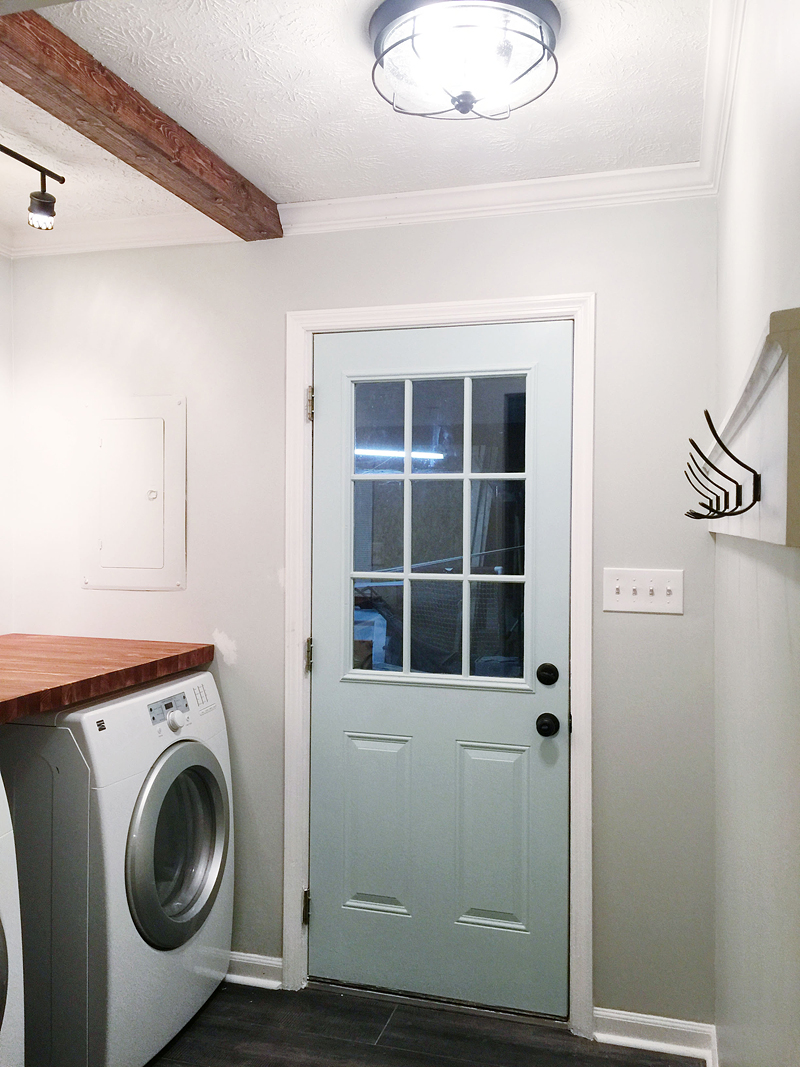
This post is all about the faux beam we installed in our friends laundry room and it looks sooooooooooOOOOOooooo good. I mean….if I could I would install beams all over my house. They are beautiful. And they lend to a casual but rich feel that I think is so nice in any home. Just look at a Pottery Barn magazine….they are practically the campaign manager for beams!
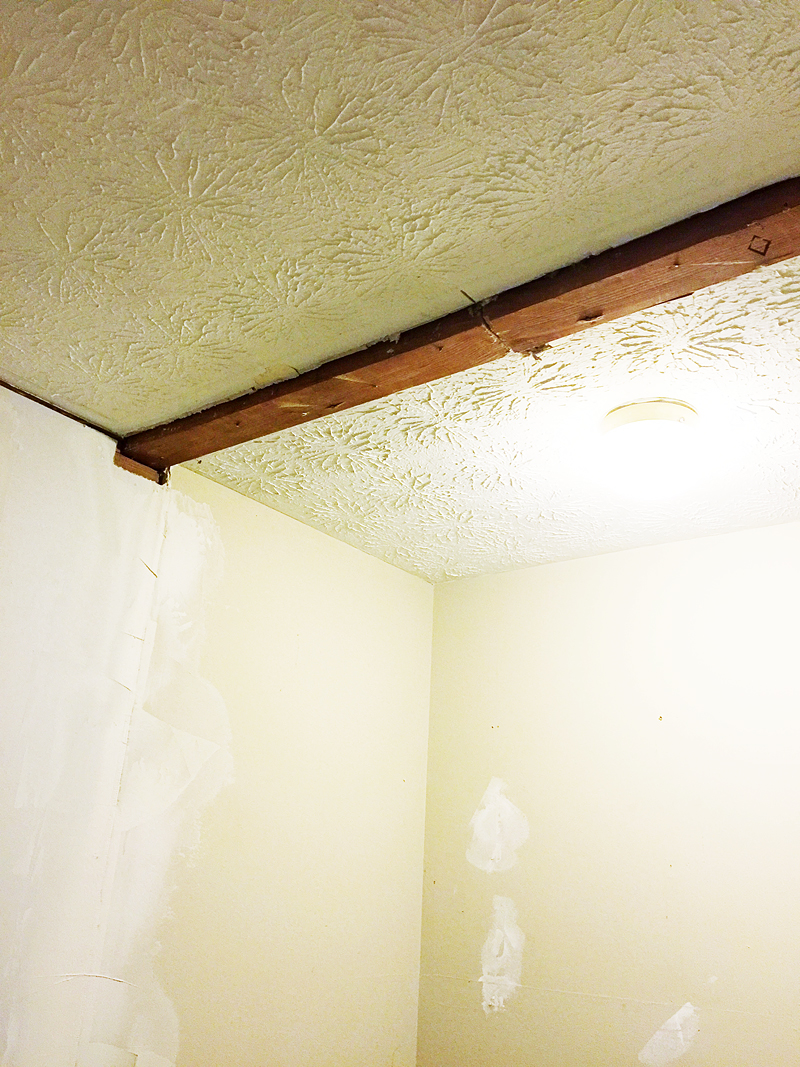
Our beam was a result of need (we had this random 2×4 that was breaking up our ceiling drywall and this was an easy and gorgeous solution to hide it!)….but if you want to install these in your own home, you will need to have a 2×4 installed on your ceiling. If the beam runs perpendicular to your ceiling joists (go up in your attic and see which way they run in your room), then it should be really easy. Just buy a 2×4 and screw it through the drywall and directly into the joists making sure it is straight and in the location of your desired beam. If it runs parallel to your joist and you can’t fasten it directly to a joist, run a 2×4 in between the joists on the attic side of your drywall and fasten that to your joist support boards before attaching the anchor on your ceiling.
Some folks – like the amazing Jenna Sue of Jenna Sue designs installed some faux beams in her home (check them out here) and she used a 1×4 to anchor them to the ceiling….but those cost almost double what a 2×4 does and so this is a modified and more inexpensive option. There is always ten ways to skin a cat (or hang a beam) so make sure you check out those options too to find the best fit.
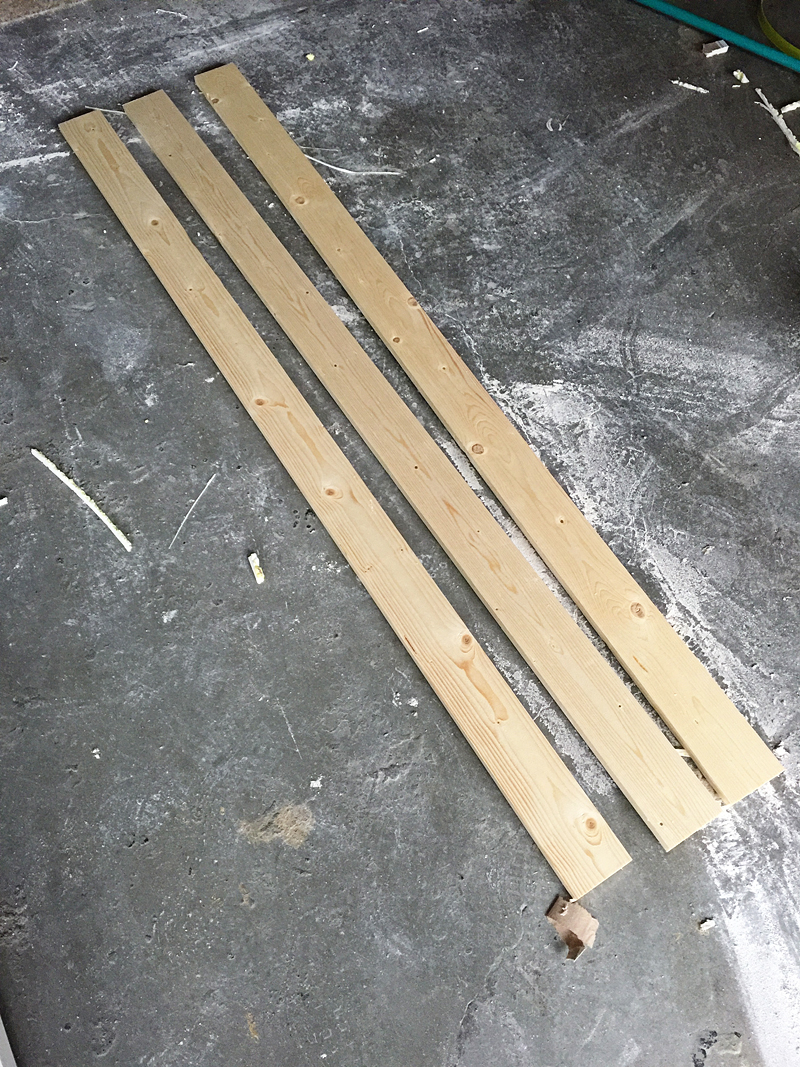
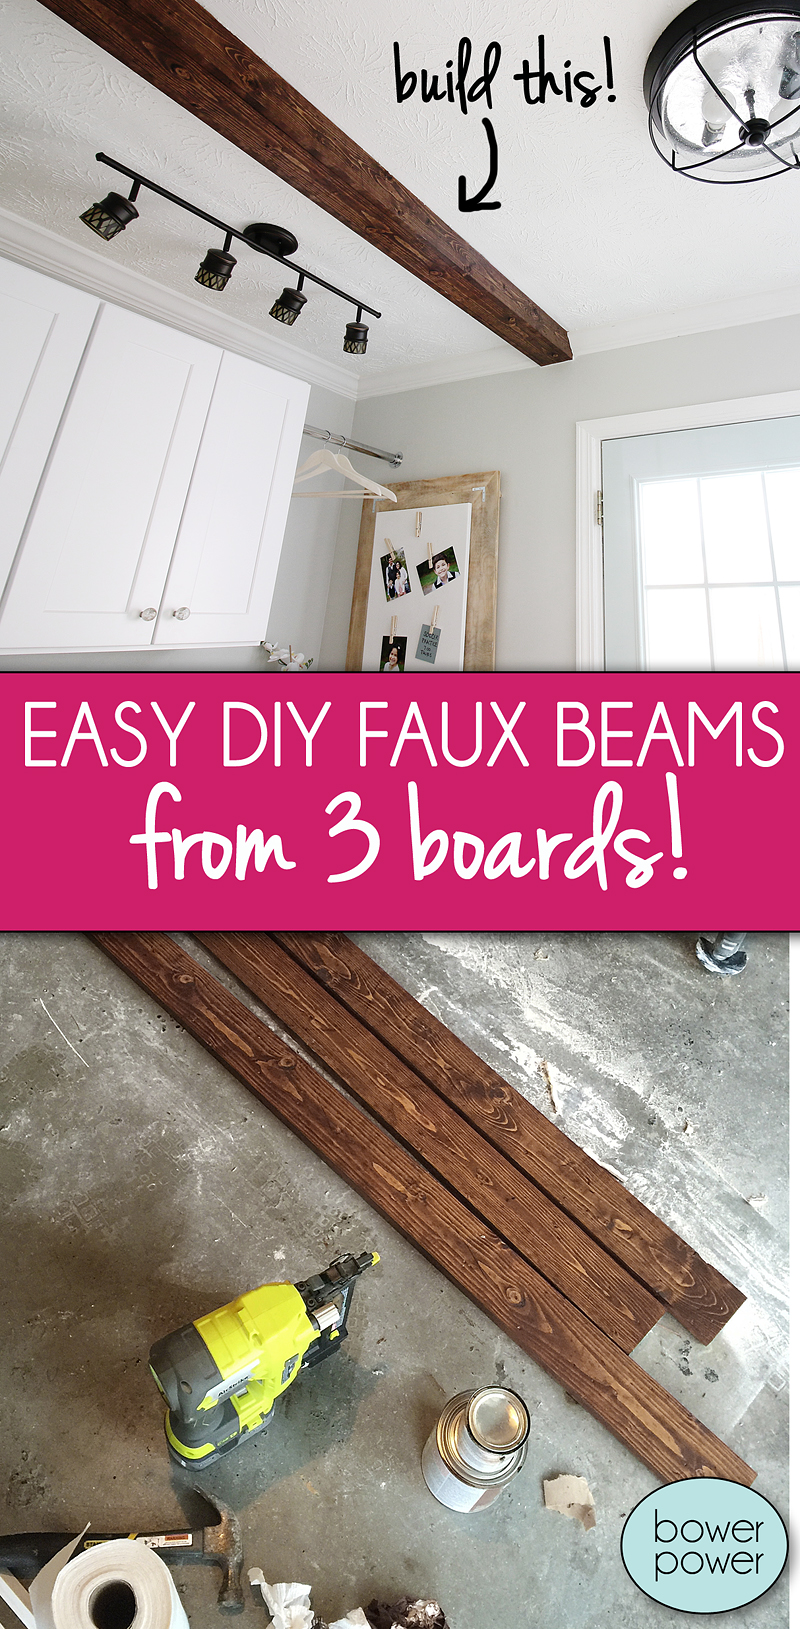
Our beam is SUPER easy and SUPER cheap. Besides a 2×4 anchor (which run about $2.68 in my area) you will also need three 1×4 boards ($4.67 each for an 8 ft piece). We only needed a 4 foot length so we actually bought two boards and cut them in half so this project cost us a grand total of $7 for lumber. SEVEN DOLLARS. That my friends is what I spend on guacamole at Frontera. Actually less than the avocado-y goodness. And this beam won’t be forever on my hips 🙂
Okay so how do you tackle this project? Here’s the easy way. After your anchor 2×4 is installed, you will need your 1×4’s all cut to length and sanded.
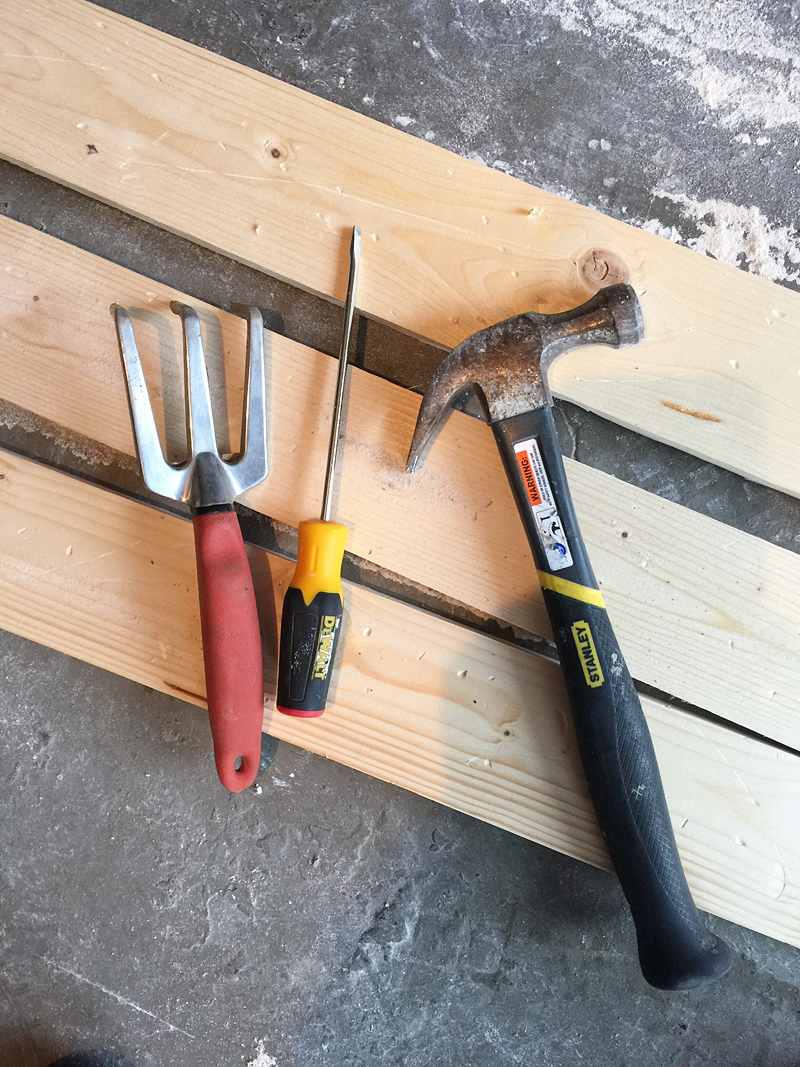
Then you will beat the living poo out of them. Run them over with your car. Let your kids have a hay day with the garden rake. Take out aggression toward that boy that dumped you in high school and chose Becky with the good hair instead. All of the pent up dirty dishes and dirty laundry and dirty bathrooms frustrations can be taken out directly on the boards. You want to distress them really well. My weapons of choice were a hammer, screw driver, and a small garden prong thing. I have to admit….it felt good.
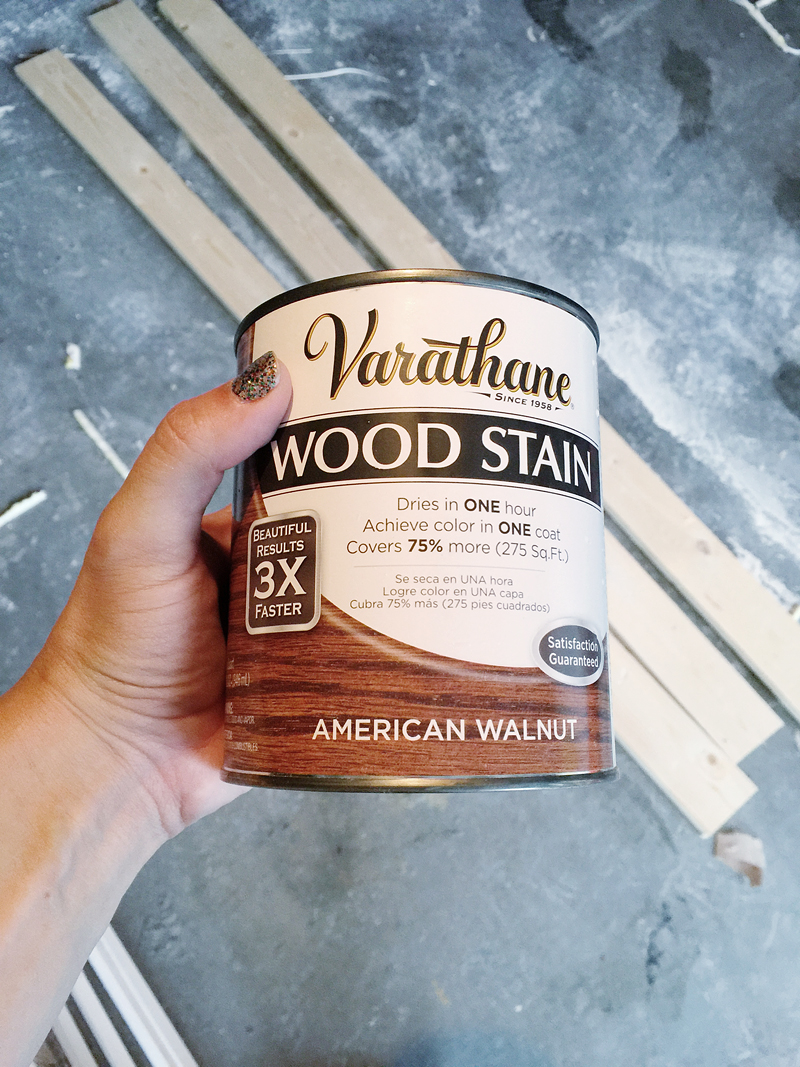
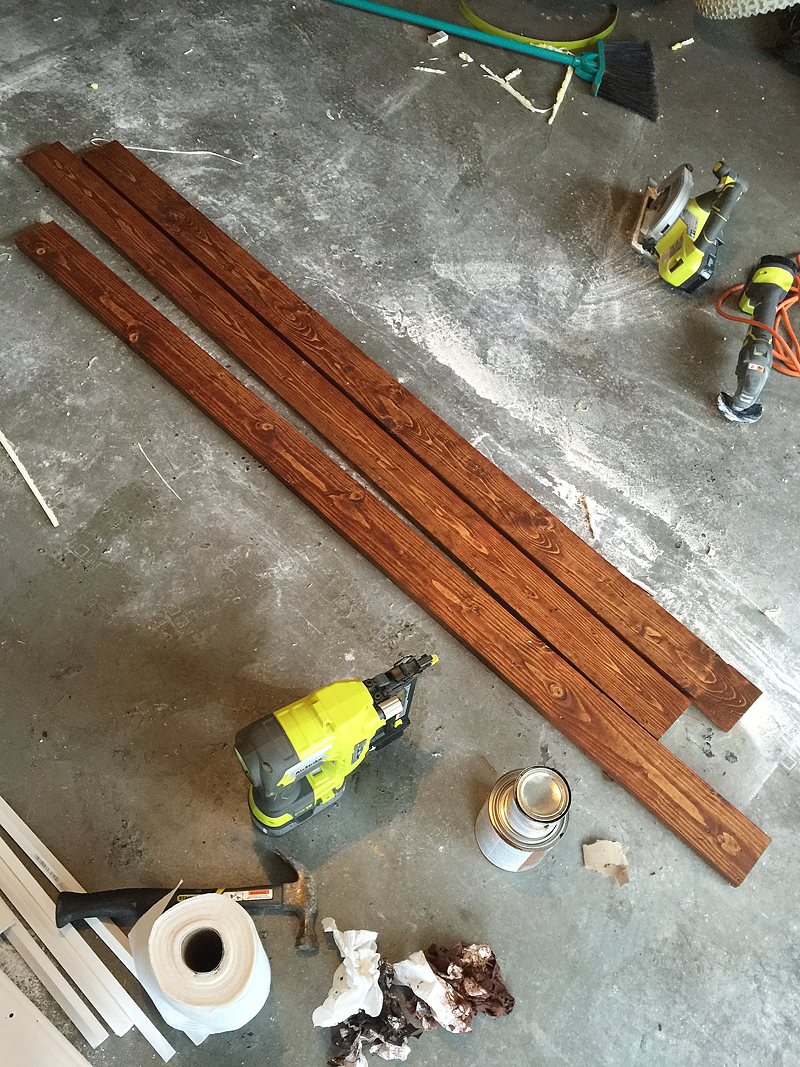
Then after you feel like they are sufficiently distressed, it’s time for stain. I used two different stains….Varathane American Walnut and then later on I dry brushed on some Rust-Oleum Kona.
We wanted these beams to be warm and rich but not too red so that is why we did both colors. Once those are dry, it’s time to put them together.
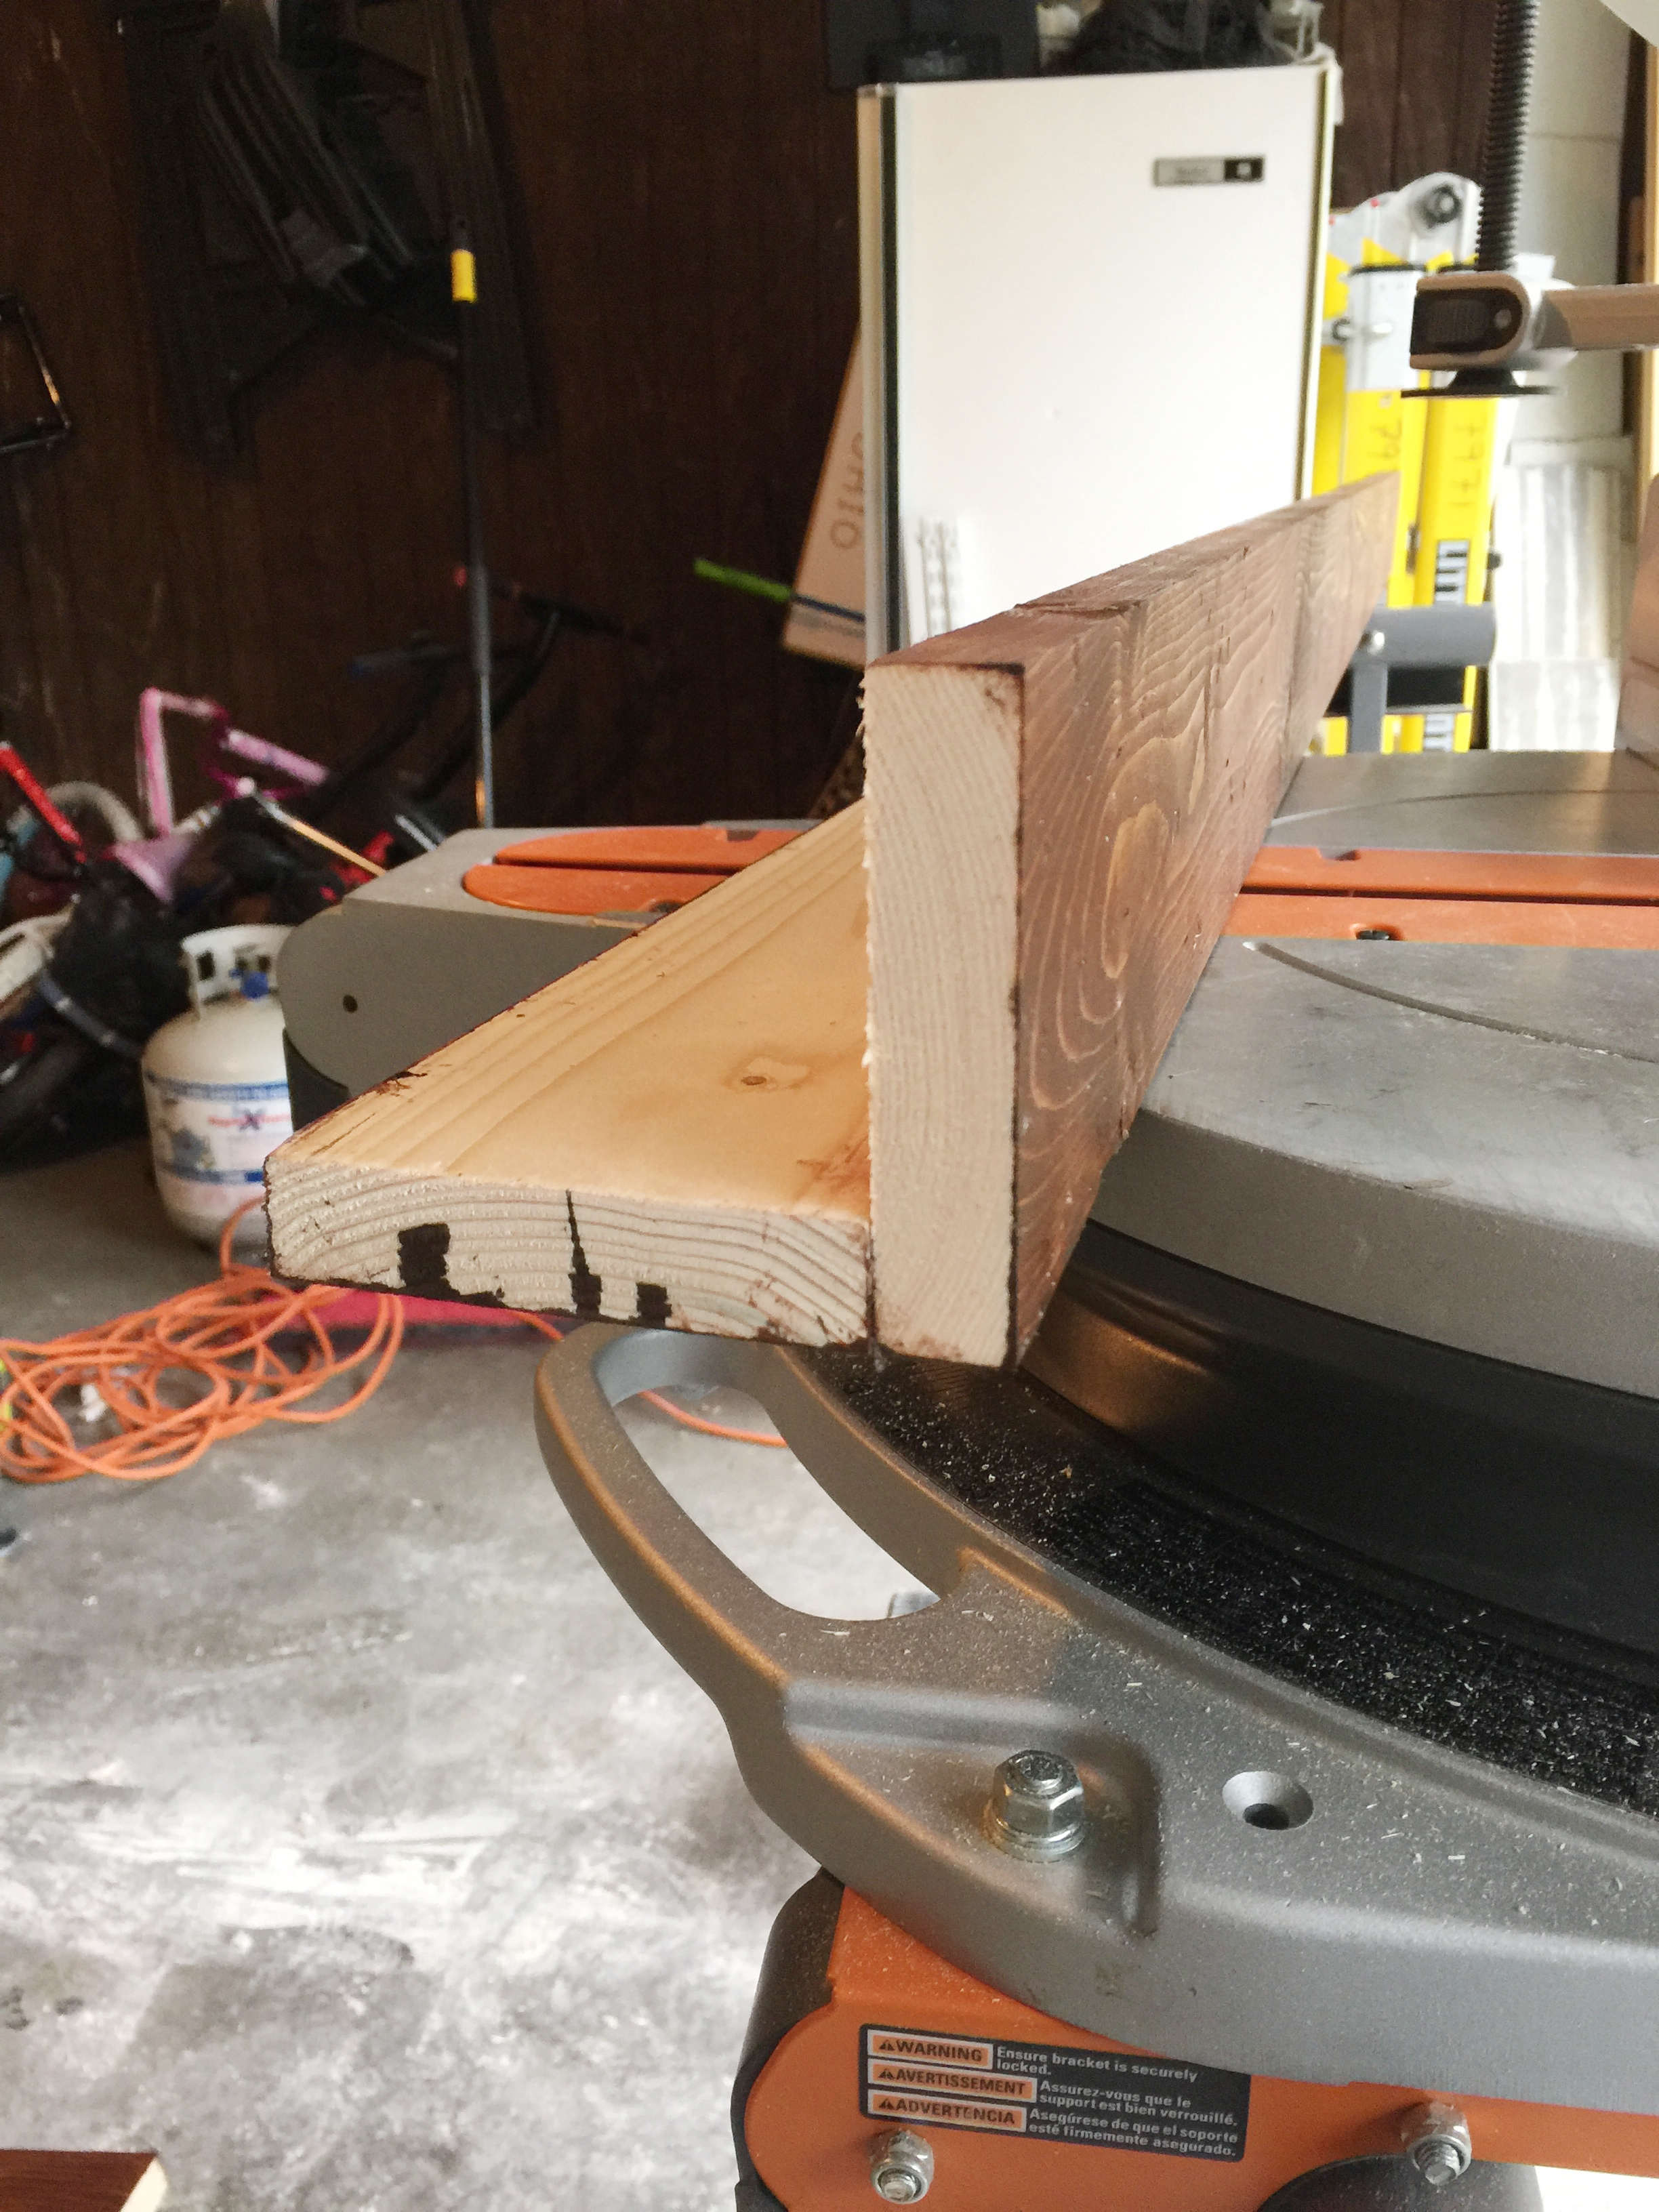
I simply lined up the bottom board next to the side boards and used brad nails to drive through the sides. (The Ryobi battery operated brad nailer is AMAZING.) This isn’t going to be a load bearing item that sees a lot of action….well….it might see it….but it won’t PARTICIPATE in the action 🙂 so it’s not going to need pocket holes. Basically you want to create a U shape and the seams where the sides meet the bottom board are on THE BOTTOM. (Don’t put the seams on the sides or you will never be able to install this!)
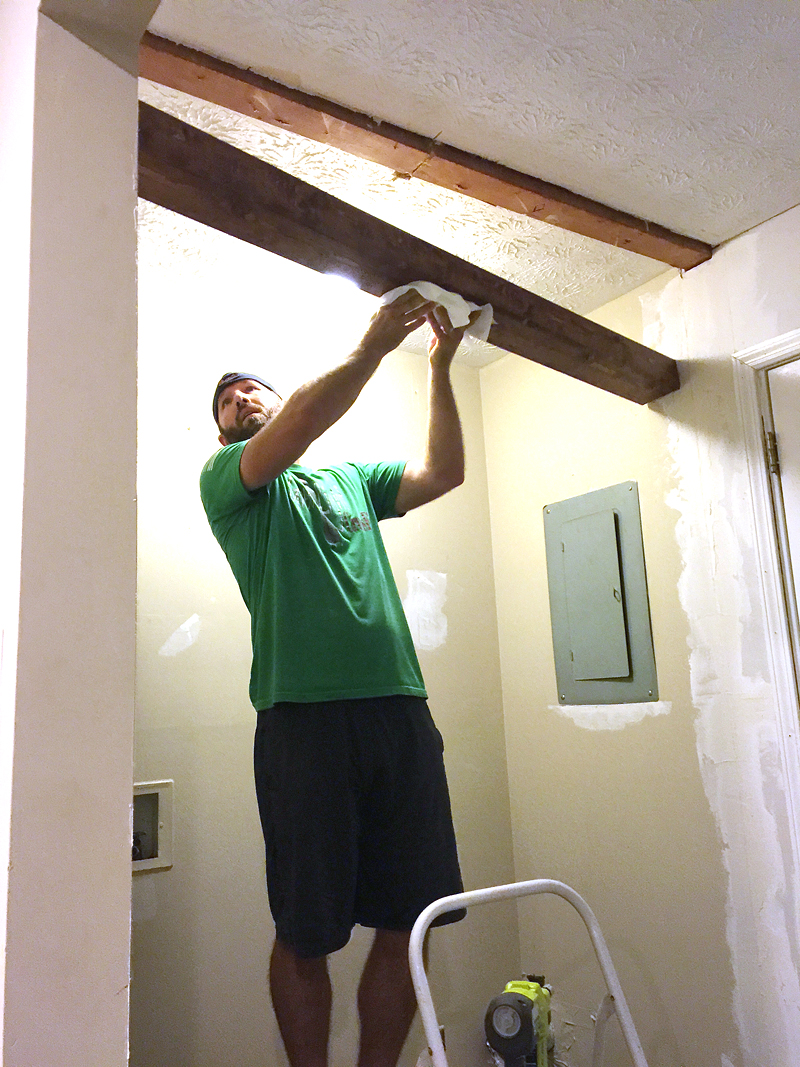
Then just lift into place and drive brad nails through the sides into your anchor board. This step requires two people (which is why I don’t have a photo demonstrating it) but it’s not hard….just make sure your brad nails are long enough to securely fix it in place.
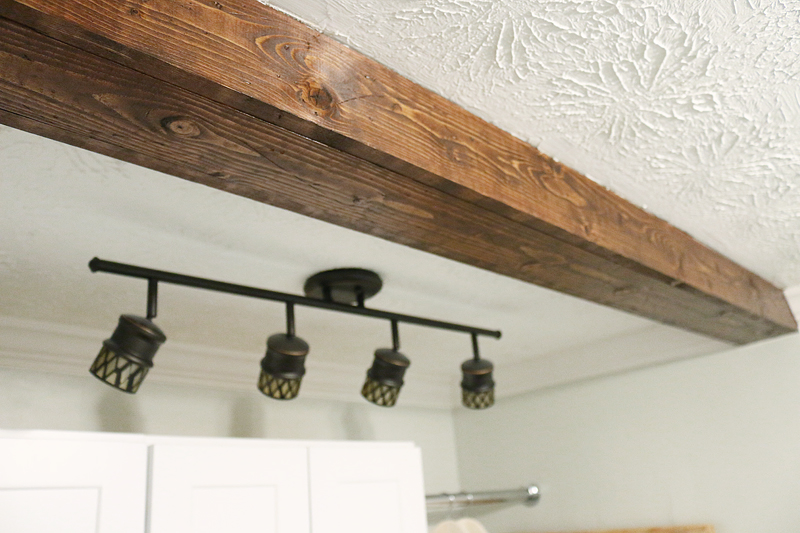
We really wanted crown molding in this space and for the life of me, I could not find a photo of a simple beam with crown next to it….so we winged it. This is the way we did it – straight edge cut right into the edges of the beam.
And here is a close up blown out photo for you….so you can see where the seams are. In real life, those seams blend together so nicely….so as long as your stain job is even, you should never notice it.
And that’s it! A stained faux beam that will make you say Holy Guacamole! And just as a note – our friends have normal 8 foot ceilings, and since our beam is only 4 inches tall, it is still high and out of the way for Danny who is 6 foot something. Hope that helps! Happy DIYing y’all and make sure you come back tomorrow – I’m explaining the little hook thing we built in the Pedraza laundry room 🙂 It’s gonna have a hook song reference….I’m just deciding if it is “what da hook gon be?” or a little Blues Traveler….jury is still out….but I’ll be practicing both off tune while I write the post 🙂

Ok, 2 things. 1 – this looks AMAZING and I absolutely love the beam in the finished space! 2 – I’m going full creepy for this one, but I ADORE your nail polish in the picture of you holding the stain can! Multicolored glitter? YES.
Haha! I was having a moment of full diva! I knew my niece was coming over so I did mine and then hers to match 🙂 they are actually those Sally Hensen sticker nail things…not polish! I can paint a house but don’t ask me to do my right hand…it’s a hot mess 🙂
xo – kb
“Take out aggression toward that boy that dumped you in high school and chose Becky with the good hair instead.”
OMGee! This is exactly what happened in high school, the girl’s name was Becky and she had amazing hair. LOL! Love your blog and your humor.
Do you have a favorite brand/type of stain? We have to stain our new fireplace mantle this weekend and we are clueless!
Beautiful! Our ceilings are hardwood so adding lighting is almost impossible. An architect suggested we install faux wood beams on top of the hardwood to run wiring. You make it look really easy!
Love this! Question about staining… what do you use to stain when you do projects? A paint brush? Rag? Sock? Do you use poly as well, or an all in one type of stain typically?
Hi Katie,
Great Job! I need to know where the track lighting and mounted light is from. They would look great in my laundry area. 🙂
I like to use lint free rags to apply and paper towels to blend. Sometimes I will use a brush to apply but it becomes waste so unless it’s a big project, I use rags. I love RustOleum stains (varathane is another name for them) and they have amazing colors. I will use a poly separate…not usually an all in one kinda girl unless there is extenuating circumstances!
xo kb
Can you tell what the paint color on the door is? I love it. The beam looks fantastic and it almost seem easy enough for me to try!
becky with the good hair!!! omg, yes!
Sure! It’s in this post.
xo – kb
The beam looks amazing and is such an easy fix to an annoying issue!
Hi Katie!
LOVE the beam!
Can you give me your opinion on these textured ceilings? It seems that the most updated way to go is to have a smooth ceiling. We currently have the exact same texture on our ceiling that is shown here. My husband and I are always going back and forth as to whether or not to put our money (and time/energy) into smoothing them out or just working with it.
Thanks for all the amazing posts!
The stippled ceiling is very common here in the south…we don’t have that orange peel wall texture but most average homes have stipples 🙂 I love the look of a smooth ceiling but it is more expensive and your mud man will charge more for it because it is harder to achieve. Our house has a smooth ceiling (it’s considered a higher end home) and I think its beautiful but I would definitely hire it out because we have done it ONCE in ONE room and it was painful.
xo – kb
Thank you. Good advice!
Hi S! Everything is linked in the final reveal post. You can see that here.
xo – kb
Definitely use a Rust-Oleum stain – they are the best because they have a huge variety of colors and have a pre-conditioner built in. I like verathane polyurethane…especially the triple thick for the first coat. And then my favorite colors are Briarsmoke, Kona, Dark Walnut and Ash.
Hope this helps!
xo – kb
Love this! What kind of wood did you use for the 1×4’s?
It’s just plain ole pine!
xo – kb