Disclaimer – This is a sponsored post brought to you by Canon. All opinions are 100% my own.
What happens when you marry my love for the local home improvement store and all things DIY with my love for photography? PLUMBING PICTURE FRAMES LOVE CHILD…that’s what. And this thing is PERFECTION for a child’s room. Pure, simple, modern, perfection.
So the real story began with a trip to my local crafting store. I was looking for a multi-spot picture frame for Max & LJ’s room. I wanted to combine their photos so that they could both be represented and it wouldn’t be too themed. I found some that were really traditional, some just plain ugly ones and then also some that were perfect for showing month-to-month growth….but nothing that could be simple and modern and a little masculine.
That’s when I randomly found myself wandering the aisles of Home Depot. I do that a lot. Find myself there. In a trance. With screaming kids and a latte. It’s my safe space. If I ever become a zombie, you’ll find me back there groaning and slobbering and running my head repeatedly into cans of paint.
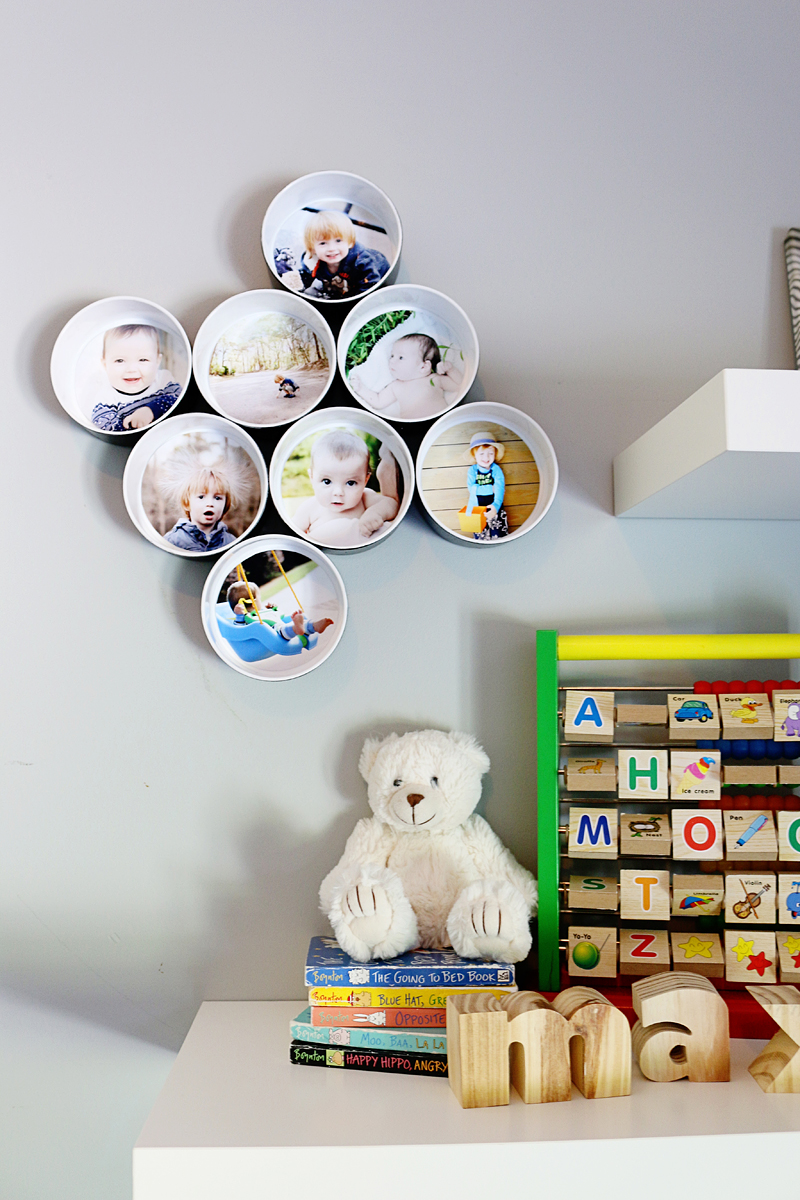
Enter the 4″ drain cap. My very first thought was let’s hang that on the wall. Then I saw the random formation of them all glued together and each filled with a special moment in time. It was a very death-meets-life moment. Thankfully I was at the home improvement store, so I bought all my supplies immediately and headed home!
I actually made you a little video….it’s not really funny or crazy…but this whole process was better suited for time lapse so that’s what I did. I time lapsed the snot out of that sucker.
For those of you that can’t watch videos or can’t figure out how to click the play button (hi mom!), here’s a picture play-by-play.
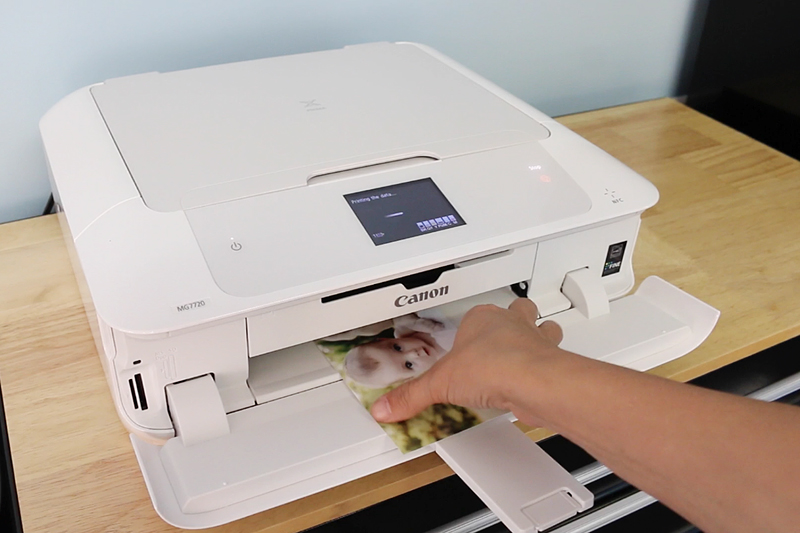
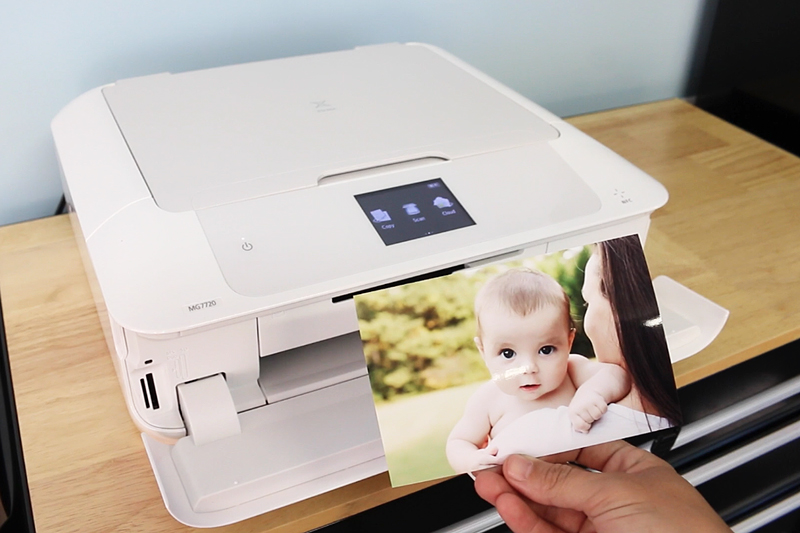
First you need to print out your photos. I used my Canon PIXMA MG7720 for this project because I only needed 4×6’s and it can bang those out in a jiffy. I printed eight of my favorites (four of Max and four of LJ) and made sure to select borderless 4×6 prints so that I utilized every square inch!
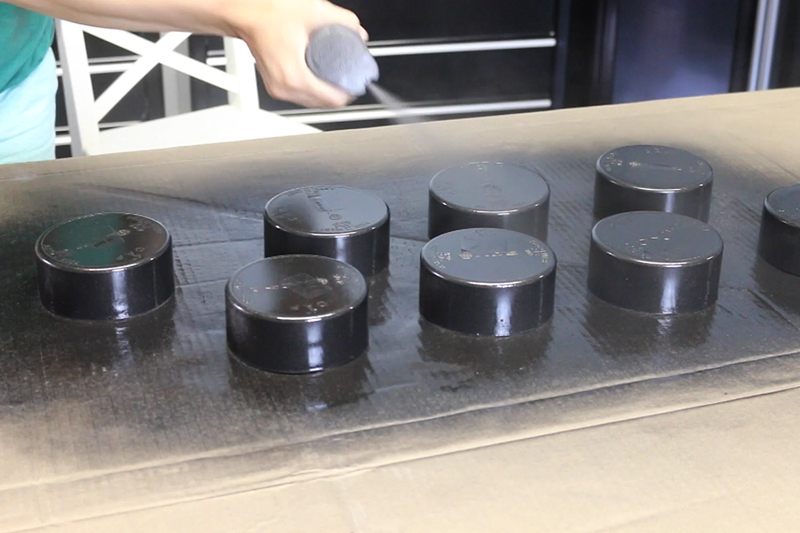
I decided to spray paint the outsides of my drain caps before assembling them together. I used oil-rubbed bronze but really you can do this with any color. A mix of colors would be so cute too!

I turned them upside down to keep the insides white. Then I sprayed the back and sides.
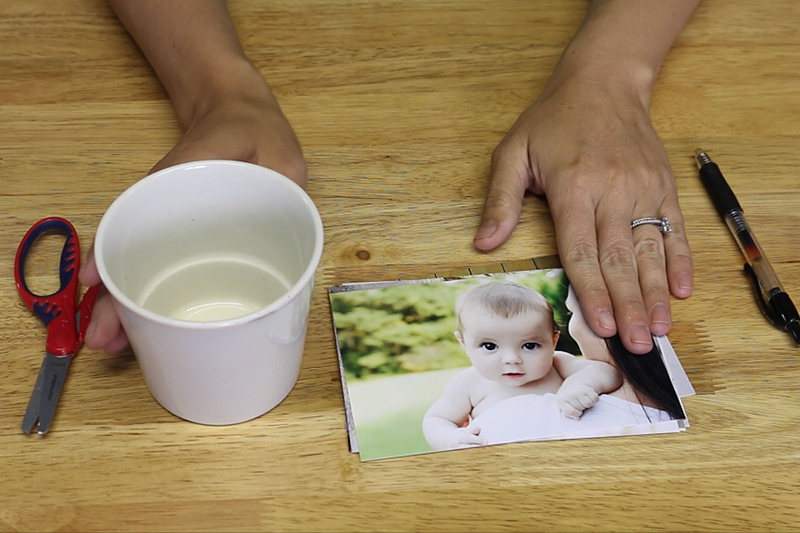
While that was drying, I traced a small vase (it was the closest thing I could find to 4″) and cut the pictures to fit perfectly inside the caps.
After the paint dried, I used some crafting glue to fasten the caps together. Just a little line wherever it met a neighbor cap was more than enough.
The clothes pins were great for keeping everything lined up and stable while the glue dried.

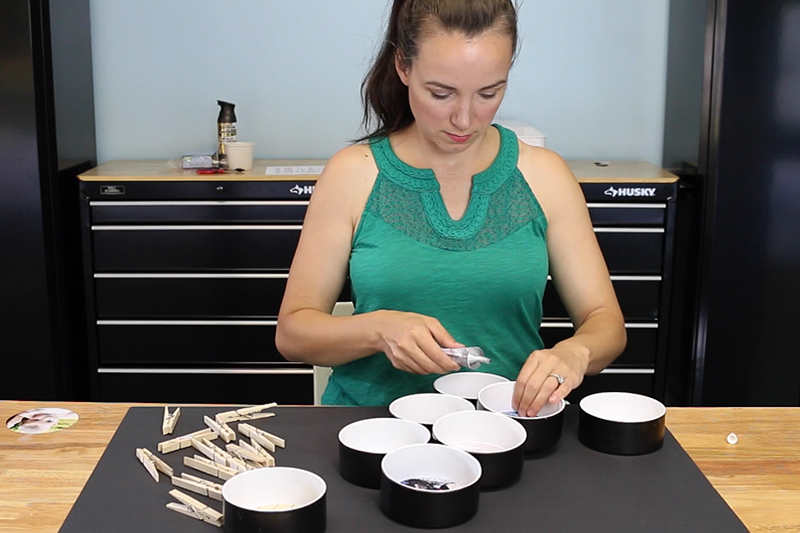
Then I applied a little glue inside each cap and pushed the pictures down.
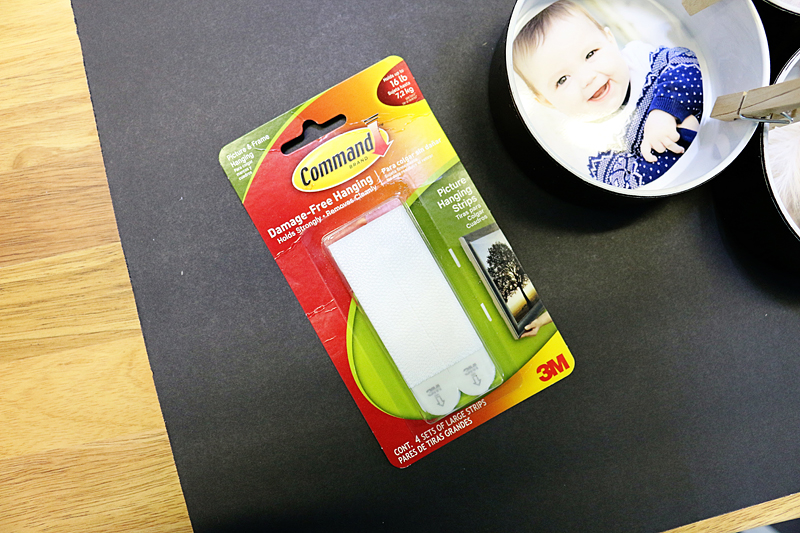
I actually used these Command Brand velcro strips for hanging the entire thing. It fit on the back of the circles perfectly and I could place it in the perfect spot. I used two of them but only because I like the thing to be extra secure.
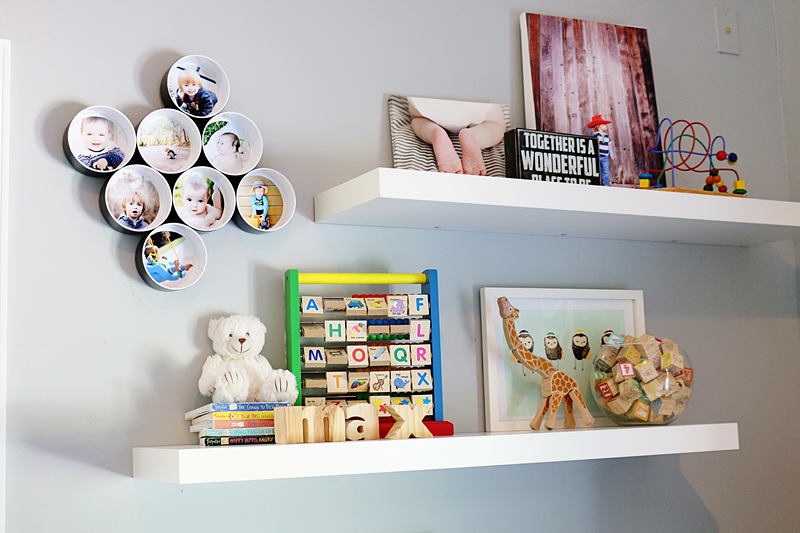
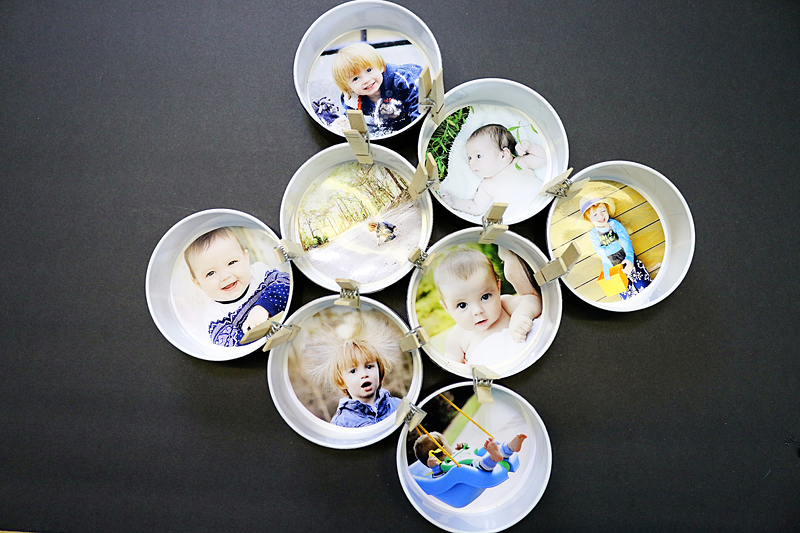
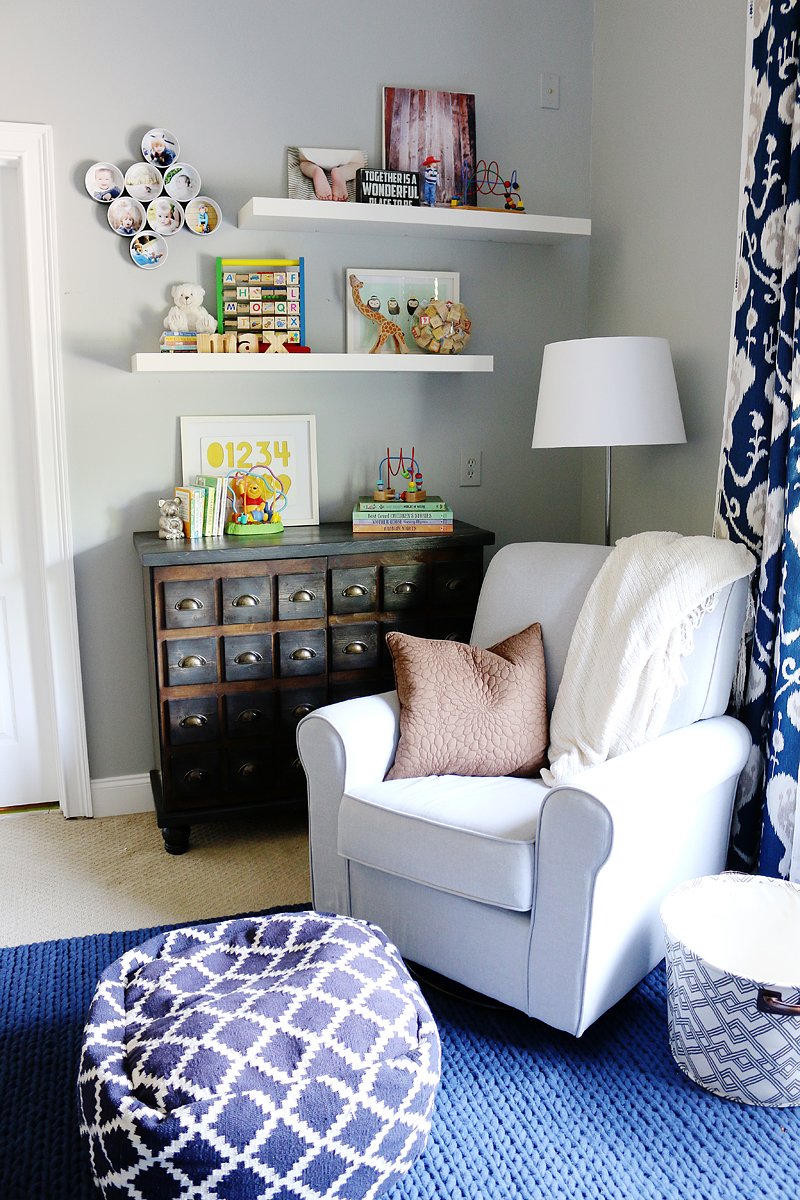
And here it is – hanging in the nursery! Isn’t it so cute?!
I love the little detail of the ORB sides – they kinda shimmer just enough and bring a manly edge to their very manly picture frame 🙂
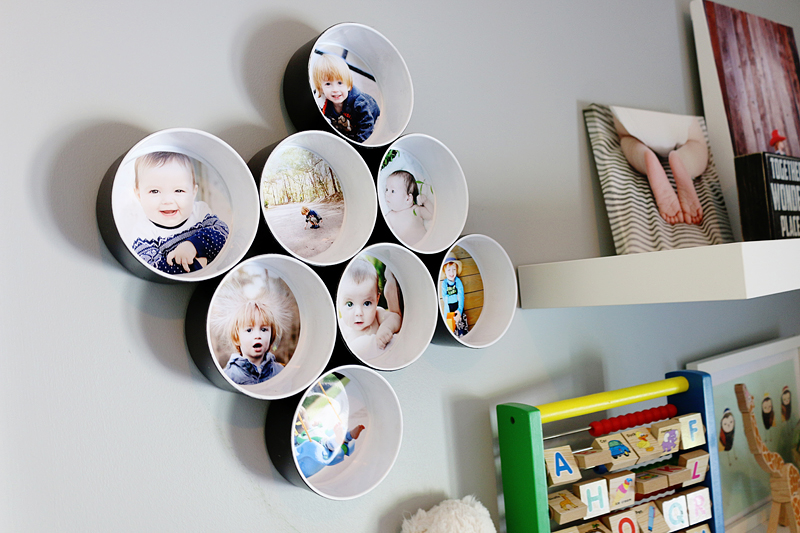
And the best part is that I can add to it in the future! I can actually add one more cap or a hundred! The limit does not exist! THE LIMIT DOES NOT EXIST! (name that movie!)

Overall, I am so in love with this project. I love that it is truly something anyone can make and that it shows off your little nuggets and their precious moments. I definitely plan on adding to this one as the boys get bigger and my hard drive fills up with their pictures. It’s also perfect for personalization because you can make it any size or shape. You are the master of this craft people!
So what do you think!? Planning on making one yourself?! I’d love to see it! Just tag a picture on IG and I can sing your praises 🙂
Happy Crafting y’all!

How cool is that !! You garage is looking awesome too and you as well.
Katie, I think it’s adorable! Perfect for a boy room & yay for having pictures printed!
Mean girls!!
Katie! I LOVE this idea! You are so creative! I am totally going to do this. Thanks so much for the awesome inspiration and ‘how to’ 🙂
So cute! Unrelated: Where did you find those awesome curtains?
Mean Girls! Love that movie.
Oh Mean Girls, such a classic.
It’s Mean Girls!! The limit does not exist! I am going to make one of this 🙂
MEAN GIRLS! And this is an awesome project! So many possibilities…….
Cute cute cute! And I love your shirt. I can’t wait to see their whole room! But… Whoa, Katie, the video is so echo-y!
I love it!! You’re such an inspiration.
AND the main reason for my comment…..MEAN GIRLS
must see more of this room!! Adorable!
Mean Girls
What a great idea! My kids are high schoolers so I’m thinking it would make an epic grad gift for those kids moving away from home. I’d fill it with pics of loved ones they’d be missing. Love your blog. I’ve been following for years. Thank you for sharing. BTW….Your garage is amazing!
I am so doing this project this weekend!
I know that quote is from Mean Girls! I was in quiz bowl in high school (#nerdalert) and there was a limits-related question. I buzzed in and said, “the limit does not exist!” because I figured no one knew the answer and thought it would be hysterical to use the movie line. Turns out my teammate was diligently scrawling out the actual answer to the equation. Oops 🙂
Really cute. My boys also share a room & I think this would b perfect. Thanks for the great idea.
This is so adorable! I love it!
Katie, if this is your new work space for doing projects on front of a camera, you NEED to do something with the sound.
It is REALLY REALLY LOUD and can’t understand a word you are saying. Cut the music down too. It is so echo-ey in there that I just turned the sound to mute. Do a few trial runs with it, but please do not put it as high as it was….hurts my ears!
Anyone else agree?????
Thanks, Kimberly
Hi Katie, love the blog and your great eye for detail and design. Just a lil feedback that I hope you will be seen as constructive. The sound on the video has a large echo and the background music makes it hard to hear you? I know the plain was to film a lot in the garage but maybe if you wear a microphone it may reduce the background noise we hear.
I LOVE this idea!
I understand that you are filming in the newly painted garage, but oh, the echo with your voice! Hard to understand you voice with the “sounds in a giant empty room vibe” and follow what you are demonstrating.. There must be a way to control this?
I love this! Thank for this idea. Now to think where I can put it….. 🙂
Sorry about the sound! It was definitely empty but also I didn’t use my mic that time….so next time I will remember!
xo – kb
Sorry about that. I didn’t use my regular equipment so next time I will!
xo – kb
Sorry about that!
xo – kb
Brilliant!! Love this idea and making it small or larger depending kn your preference. ❤️❤️
Super cute idea! I’m definitely going to put this on my list of crafts to do. 🙂
Love it! Hope more of this room is coming soon!
The fabric I bought at a discount fabric store. Isn’t it cute!?
xo – kb
Think I’m gunna make one with it shaped as my kiddios first initial Thanks for the inspiration as always!
Not sure if anyone else already mentioned this, but what about upcycling tuna cans for this project? They’re probably a little smaller. Would it be too hard to get the fishy smell out of the cans? If so, I’d rather go with the plumbing supplies!
I bet you could use that too for an industrial look! Great idea!
xo – kb
That’s a really cute idea!