The concrete countertop post is here! This is a doozie so let’s just dive right in…
And then we learned how not to do the countertops correctly….
But we weren’t about to give up hope. Like the little blue hippo watering can in the picture below….you just gotta keep on smiling even if times are hard (and you are stuck on your side with your only hope being a two year old who wants to jam your face into some mud)….
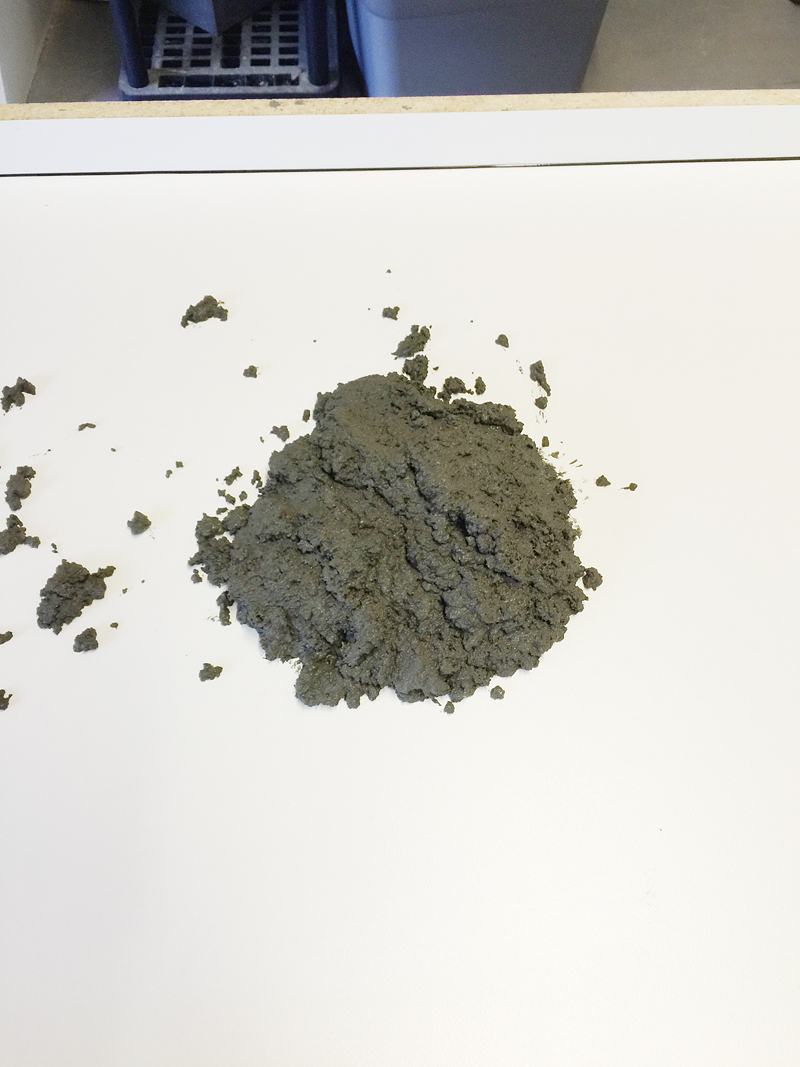
So we learned from our DIY concrete countertop fail that the consistency of the concrete is super important. It is a make or break kinda thing here…
Too little water and your concrete will be full of air holes and need a concrete slurry (a wet mixture of cement paste, water and colorant) to fill the voids, gaps and holes. You might also have issues with proper color and even breakage!
Too much water and your concrete can shrink, lose it’s strength and have cracks. Yikes!
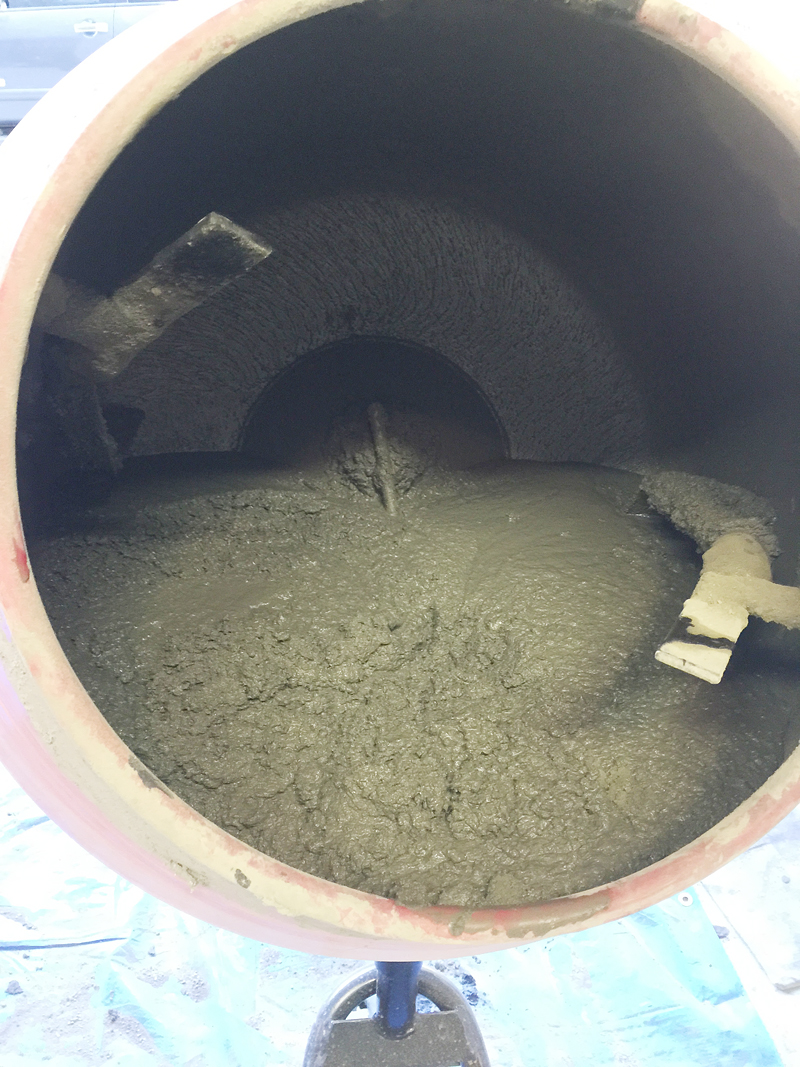
So for our second batch of concrete we followed the same instructions as before but we also added additional water till the slump was right. Yes…I can’t blame the bag entirely for our fail…..the first time we figured to go with the amount of water the bag said and added nothing more even though the bag clearly stated that there should be a 5-7″ slump. So there was definitely user-error in our first attempt. I’ll go sit in the DIY time out corner now 🙂
As you can see – the second time seemed like a much better consistency. It didn’t have a huge slump but big enough to make us think that this could work…
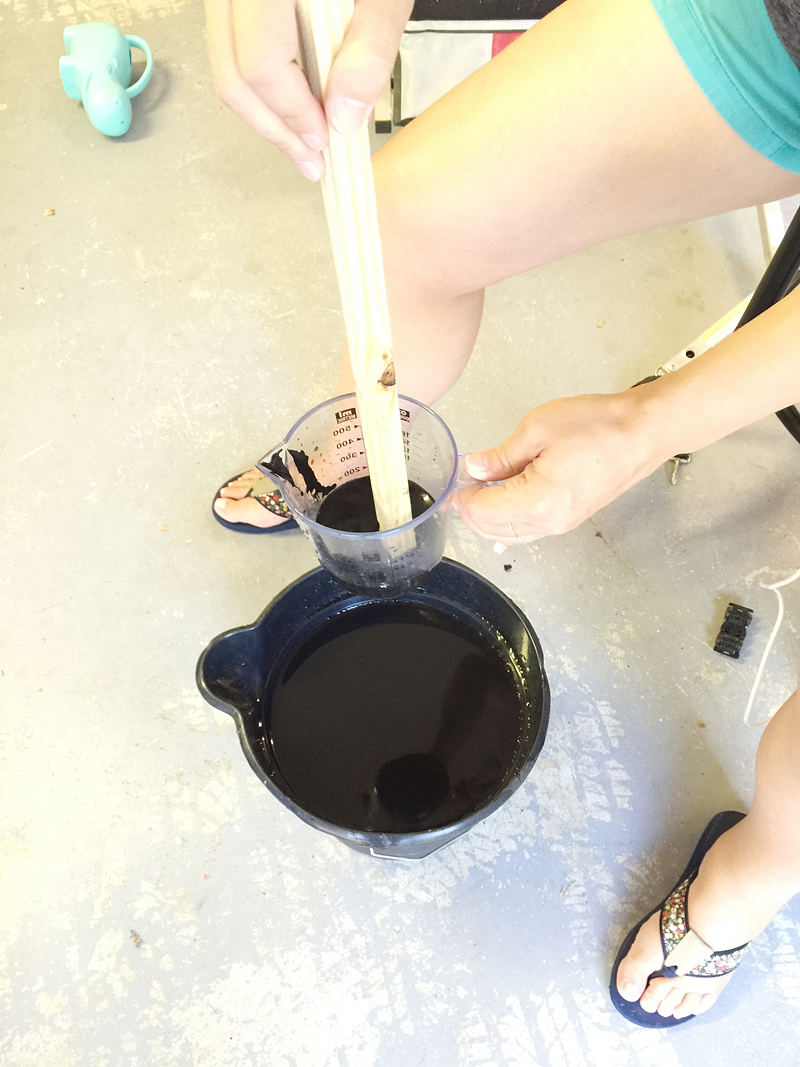
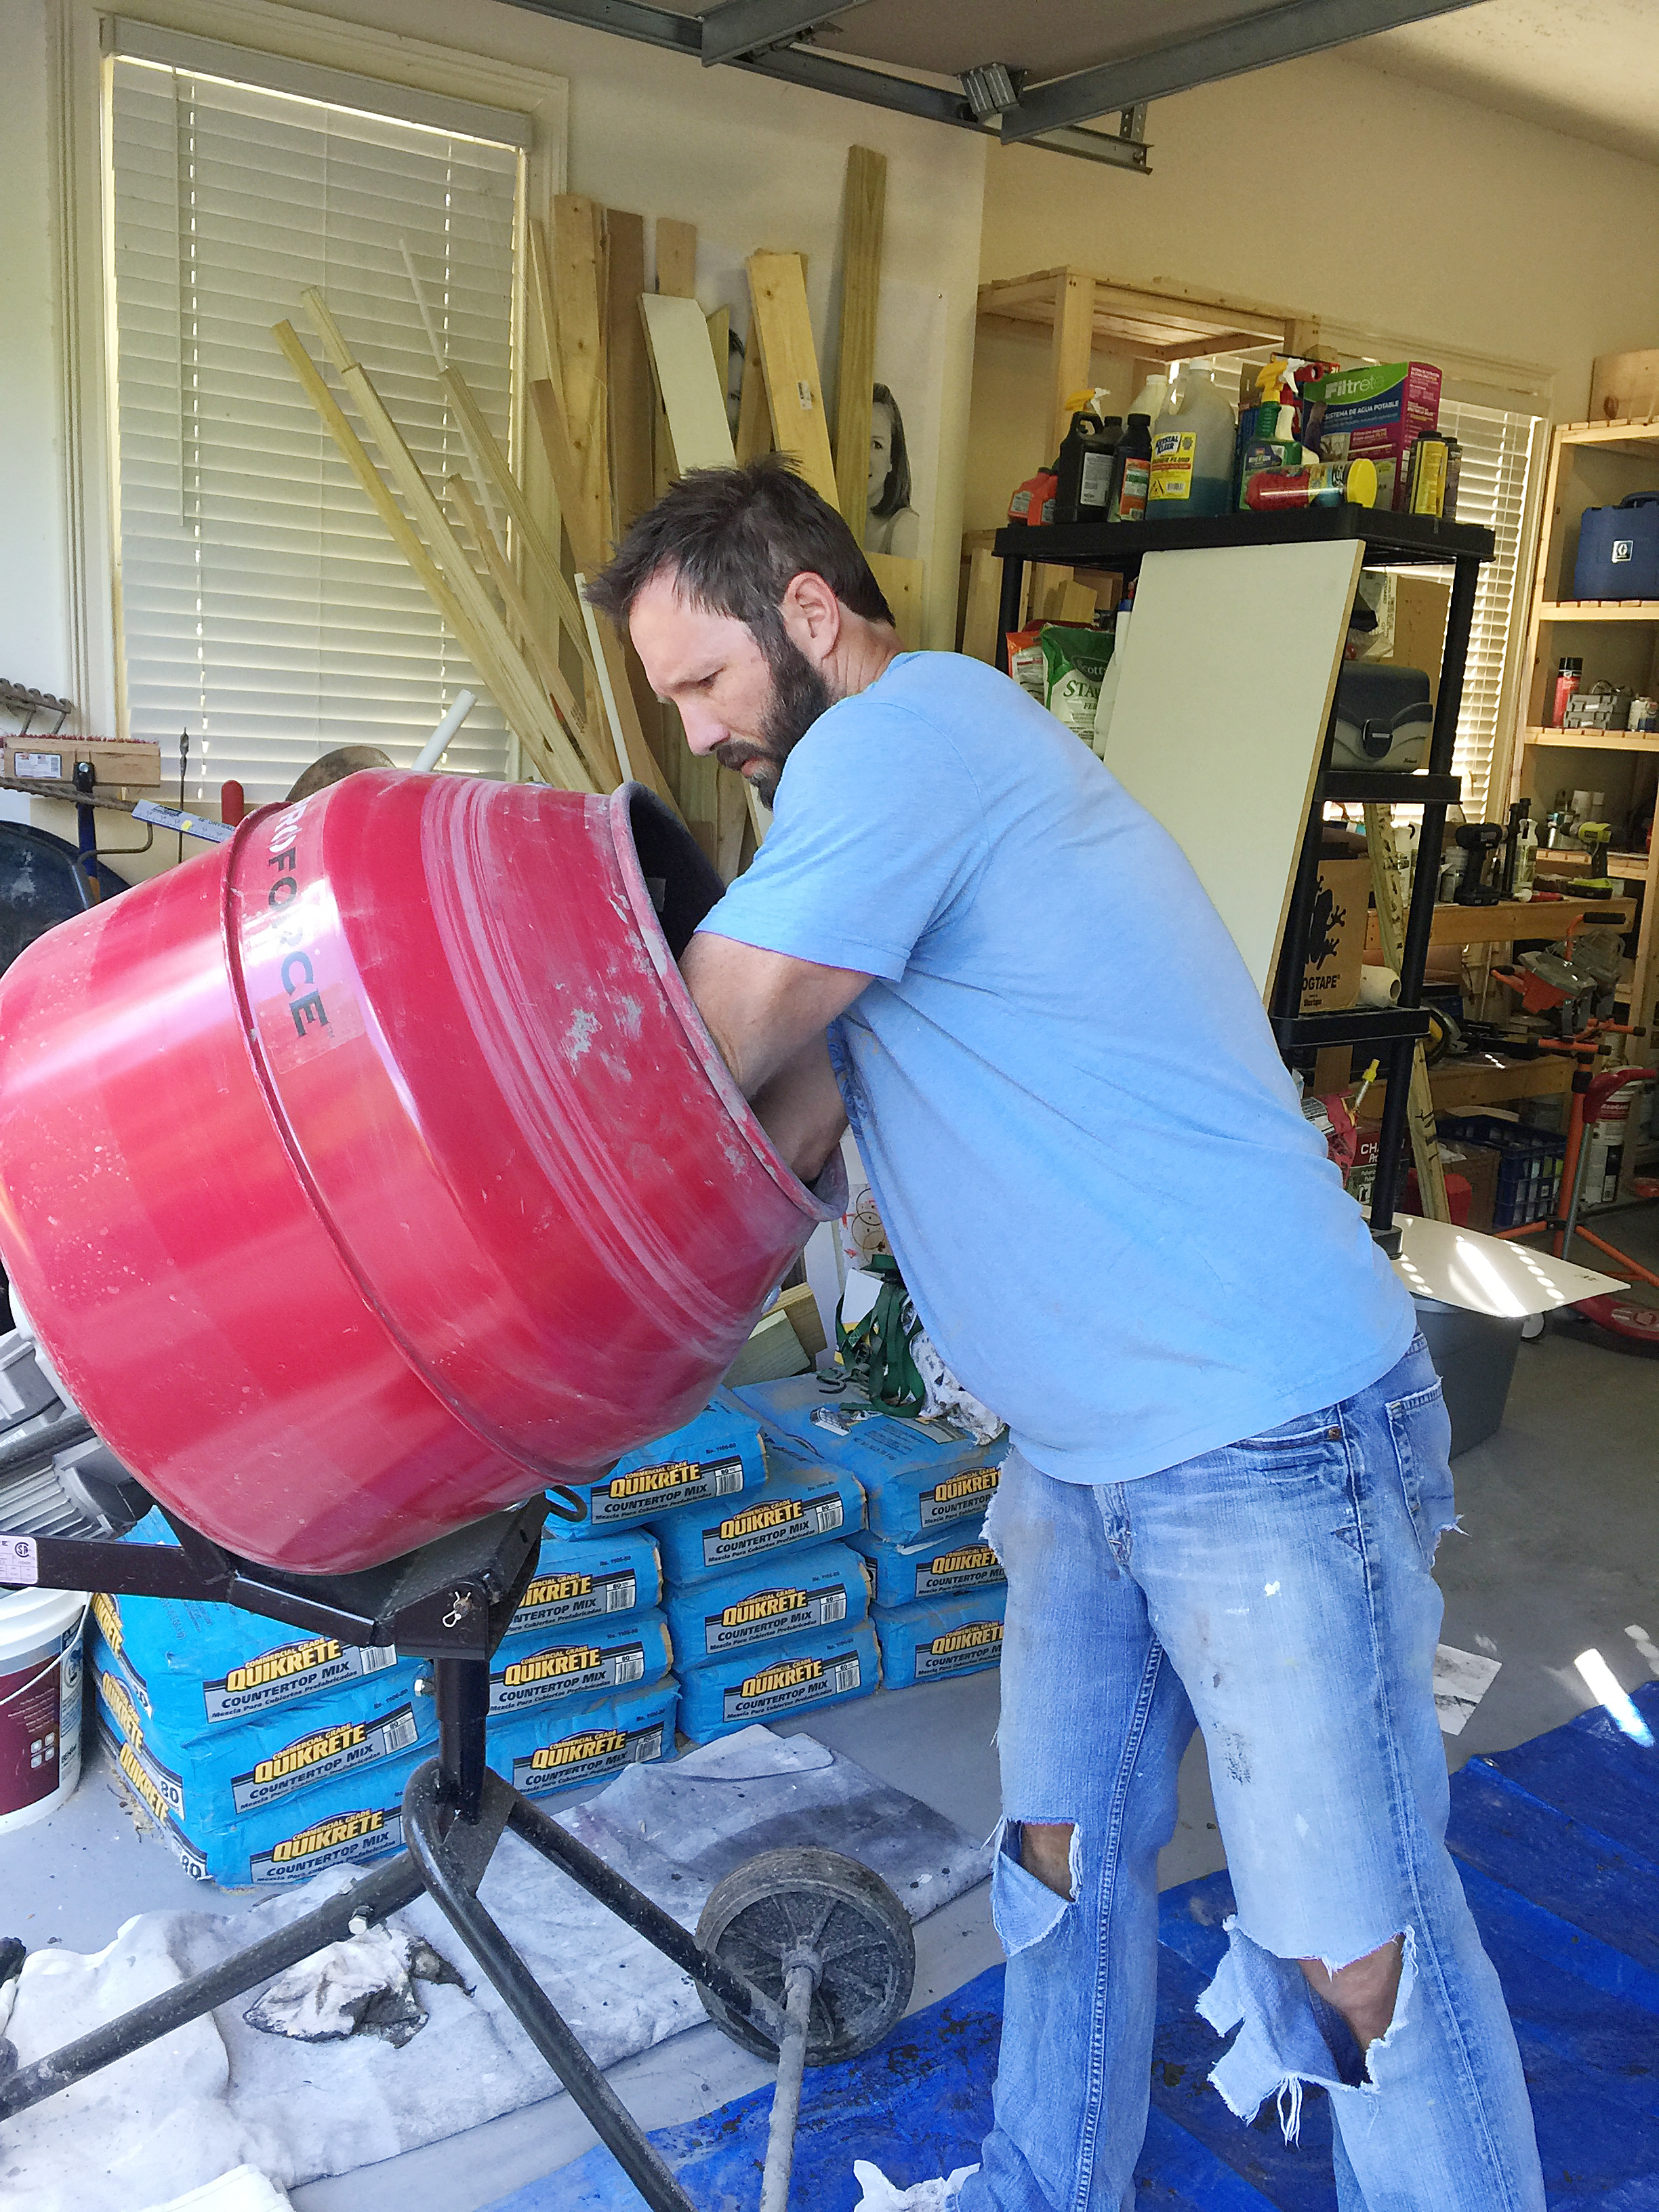
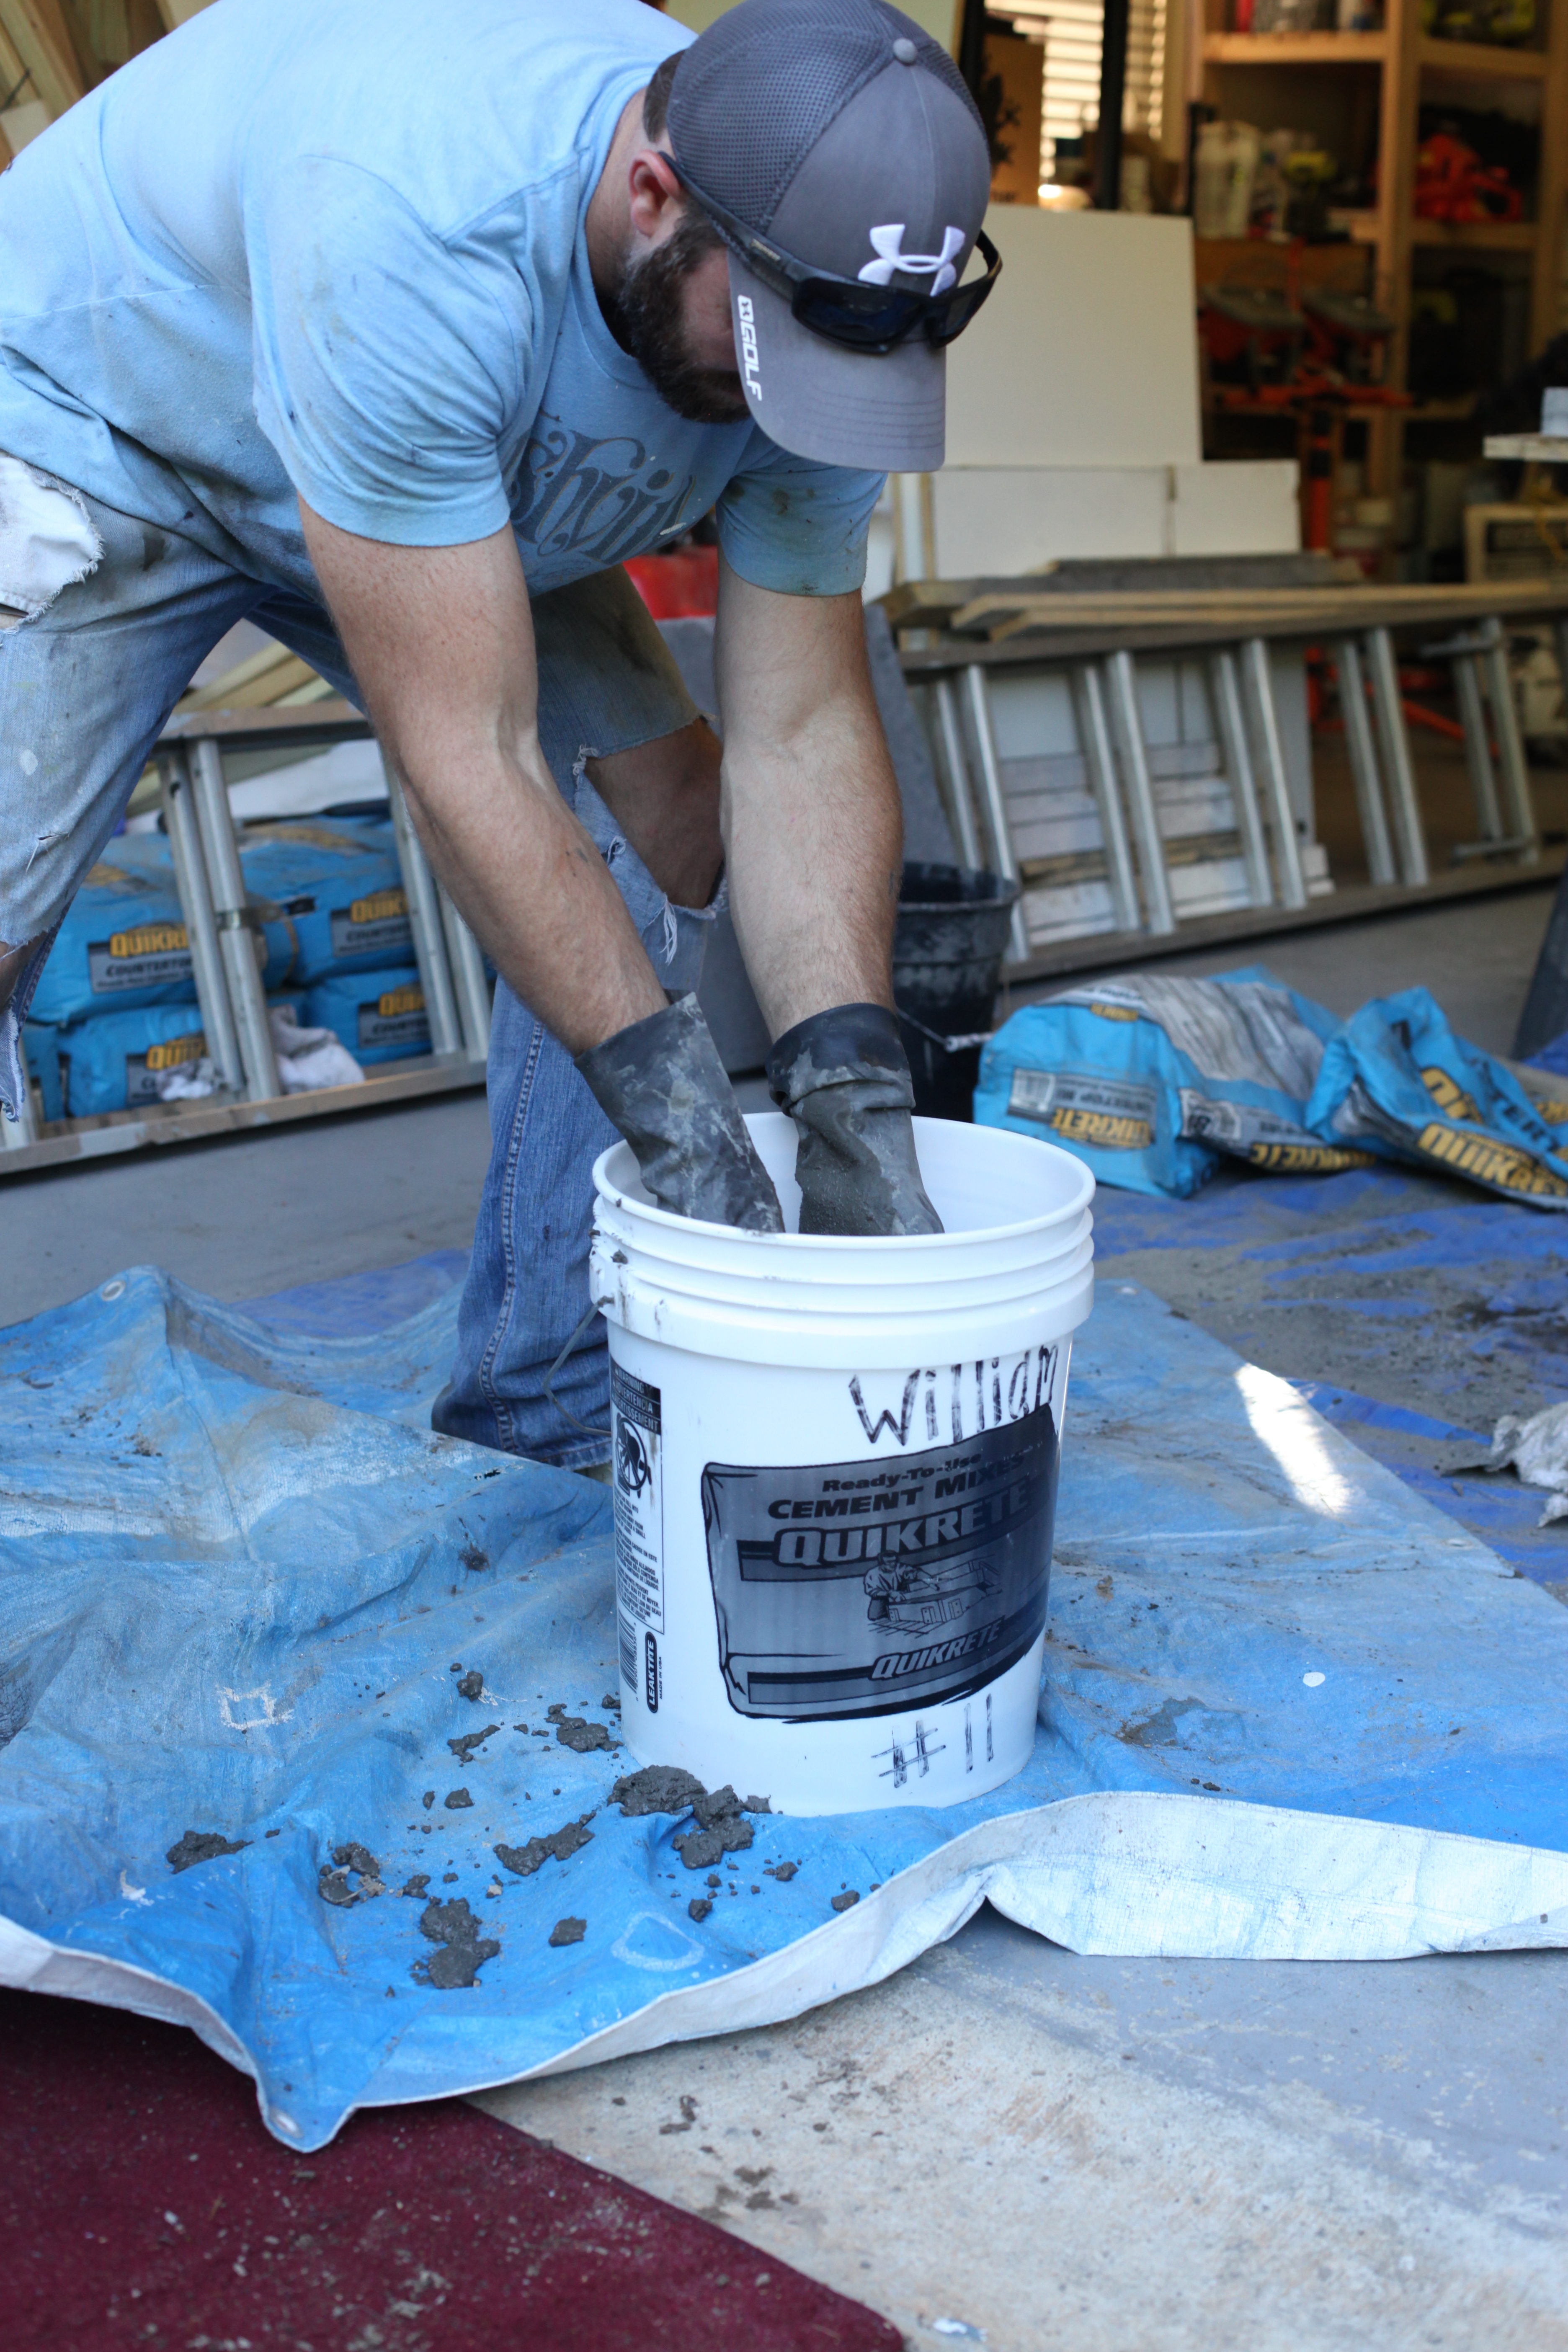
The first thing you do is mix your concrete, colorant and water together.
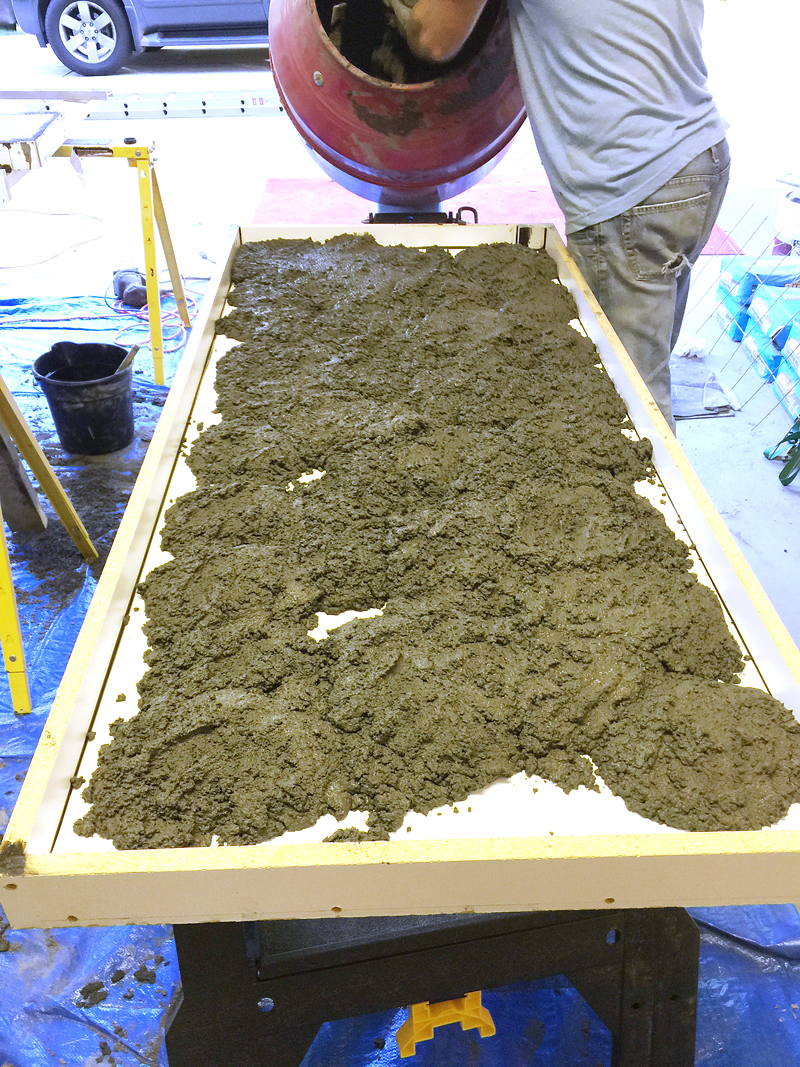
We used half a recommended colorant as it said on the bottle and we mixed two bags of concrete at a time. After it had proper mixing, we moved it into the forms. And when I say “we” I mean Jeremy moved it while I took photos 🙂
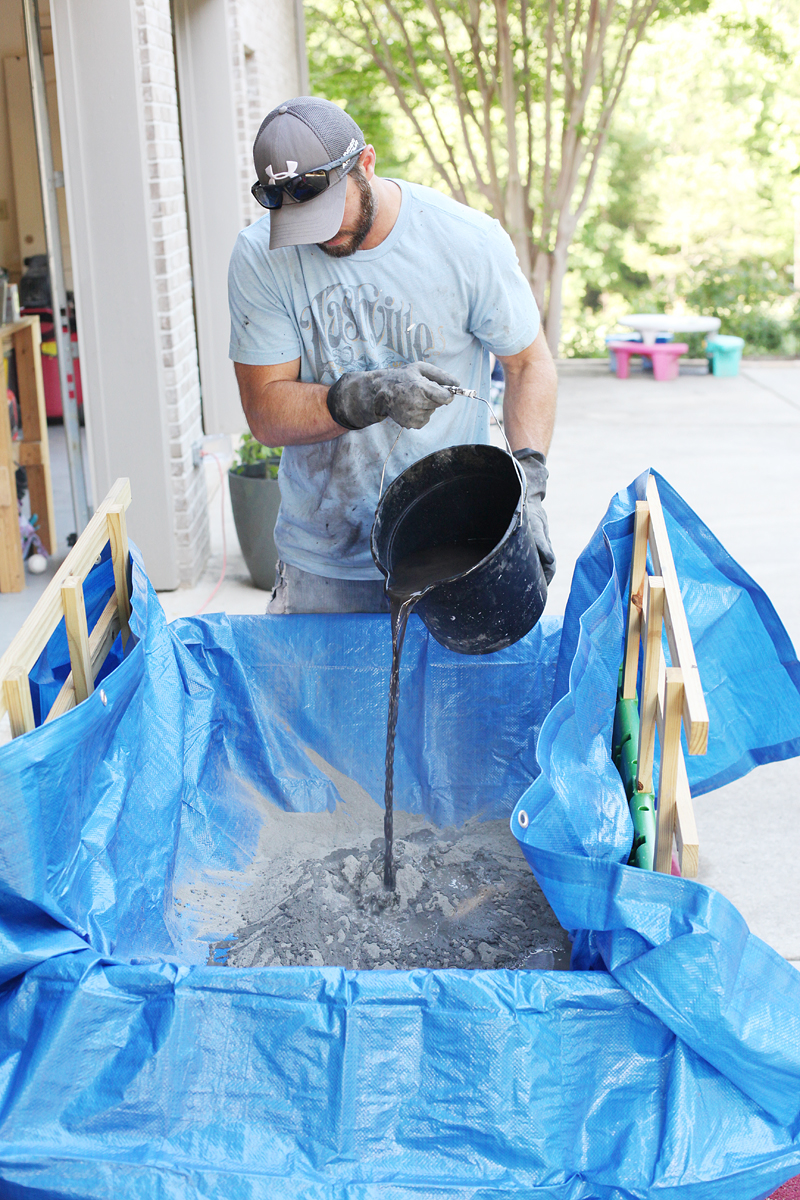
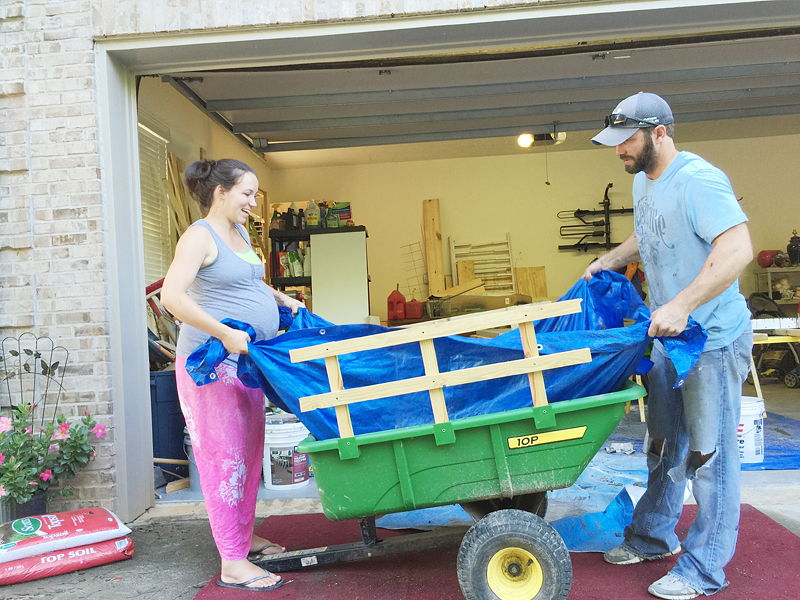
Now if you don’t have a concrete mixer and you don’t have a friend that will let you borrow theirs, then you can mix this another way! We actually did our THIRD attempt at mixing with a tarp and a big bucket trailer.
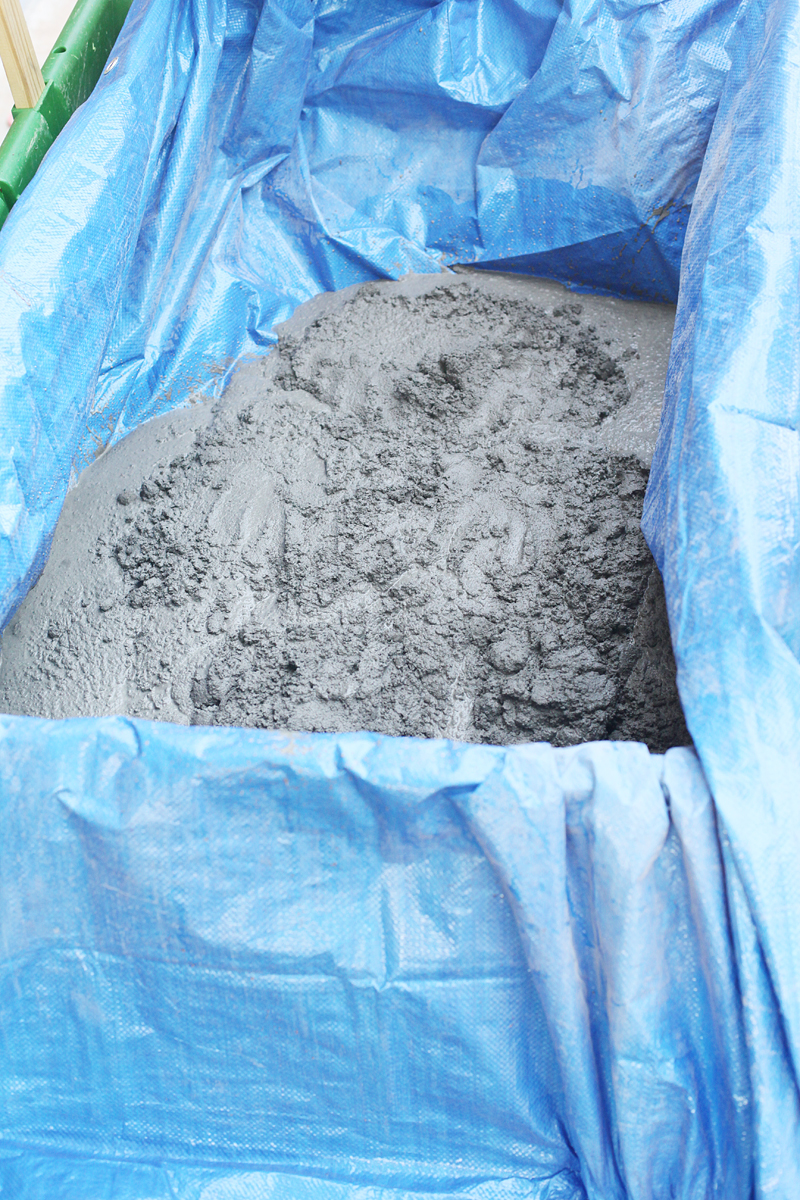
You just spread the tarp over the edges and put the concrete mix in the bottom.
Then you and a partner (preferably one that is very pregnant and wearing the world’s most ridiculous outfit….is that really a sarong?!) can take turns lifting, lowering and shaking from side to side till the mixture looks well mixed.
We actually added a lot more water to this batch and it was the one that turned out to be Jeremy’s favorite because of the smooth finish.
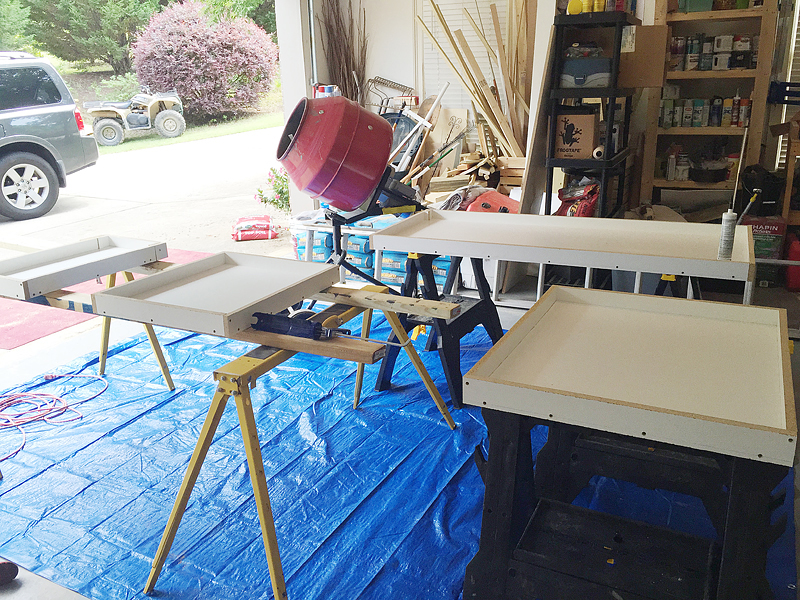
After your concrete is mixed, go ahead and fill those forms….
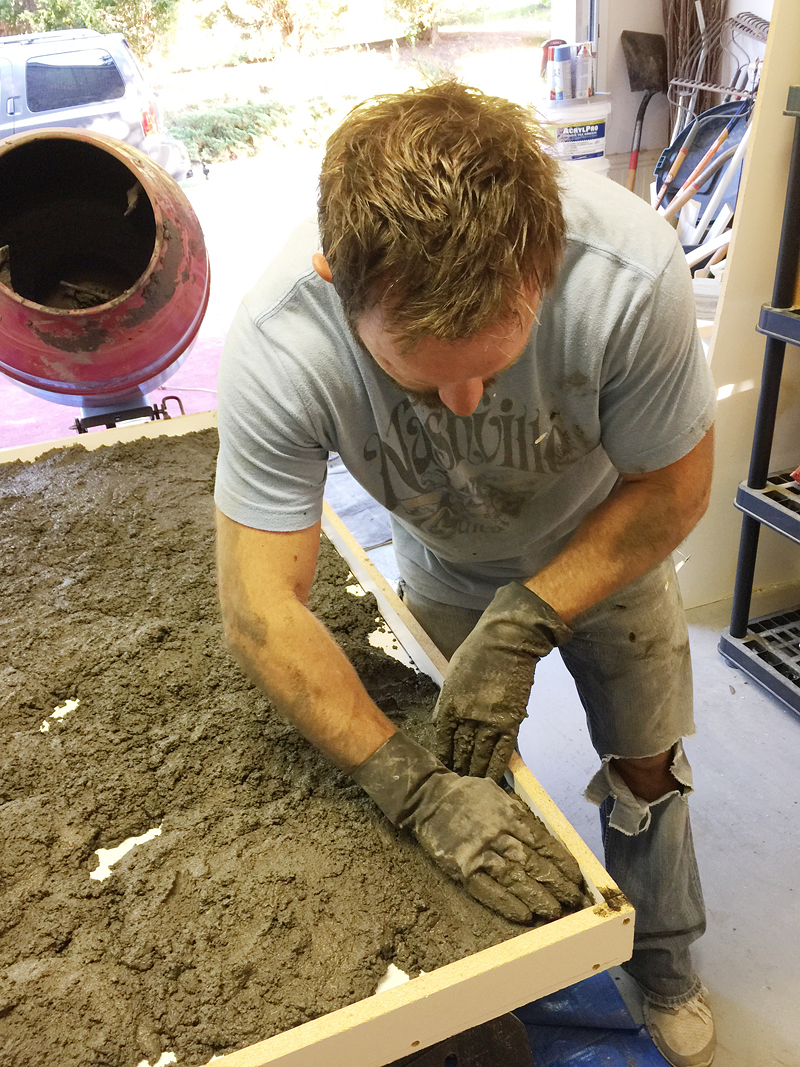
Pressing it into the corners is really important and since this is our biggest piece yet, we needed it to be just right (we really didn’t want to cut more forms!)
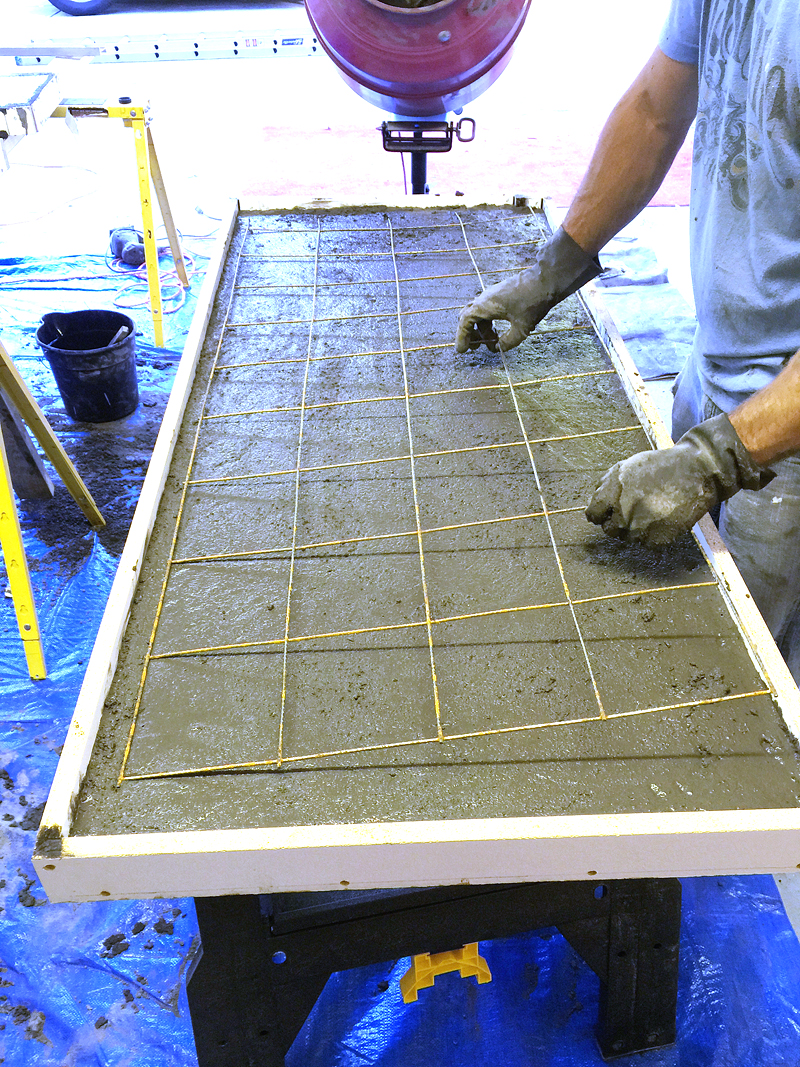
After it was a little over half way filled, we needed to add some reinforcement. This particular piece of countertop would rest on some cabinetry on one end but the other end would extend over the dishwasher (no support) and then hold up one side of the sink (no full support) so it needed to be like the Captain America of concrete countertops.
You can add wire mesh or rebar to your counters to reinforce it. We went with the cheap outdoor wire. You can cut it to size with a sawzall 🙂
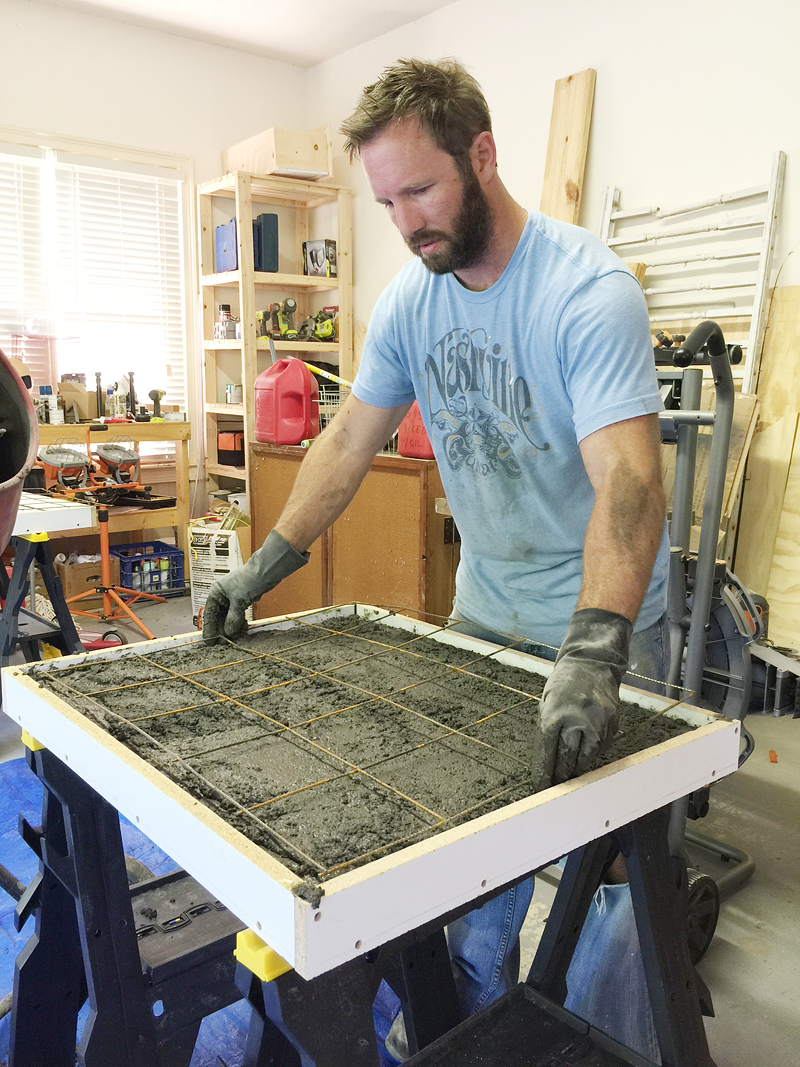
Here is a different form that we also added wire to…
See how it is just ever so slightly pressed into the concrete? You can wiggle it back and forth until it’s embedded but be sure that the edges are not close to the form and that you don’t press too hard because then you could see it from the other side!
Then just fill till the form is full.
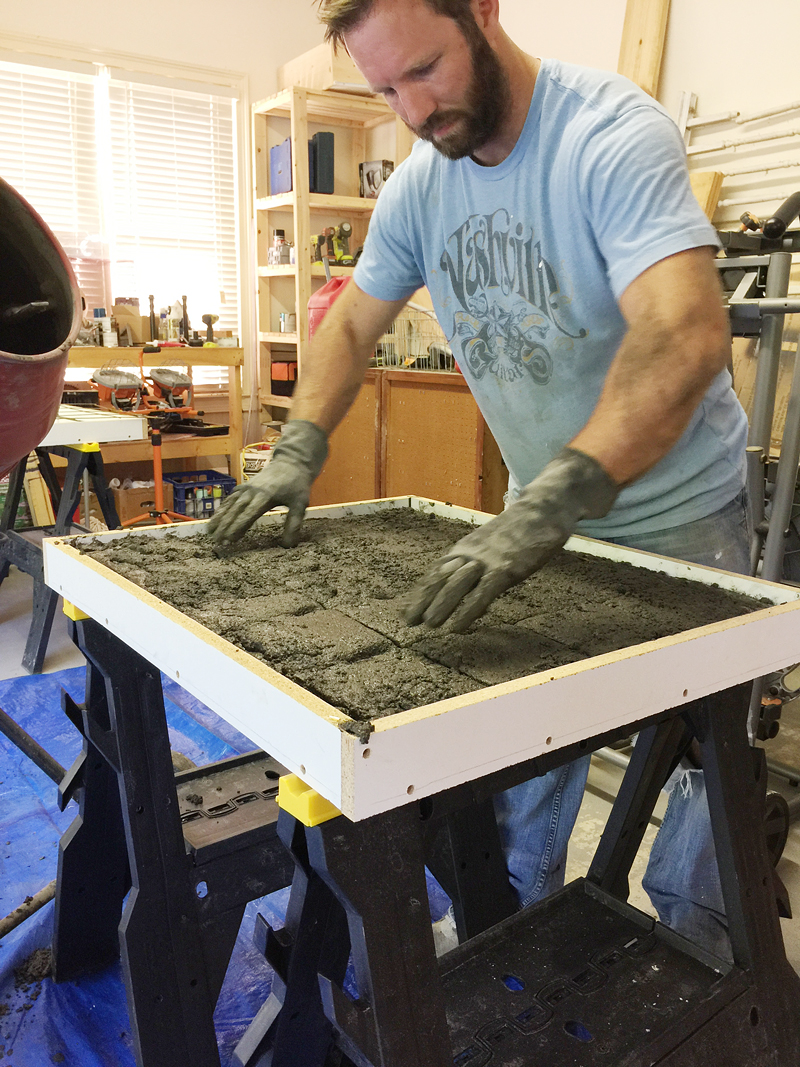
After you fill your forms, it is time to remove those air bubbles! This is the fun part!
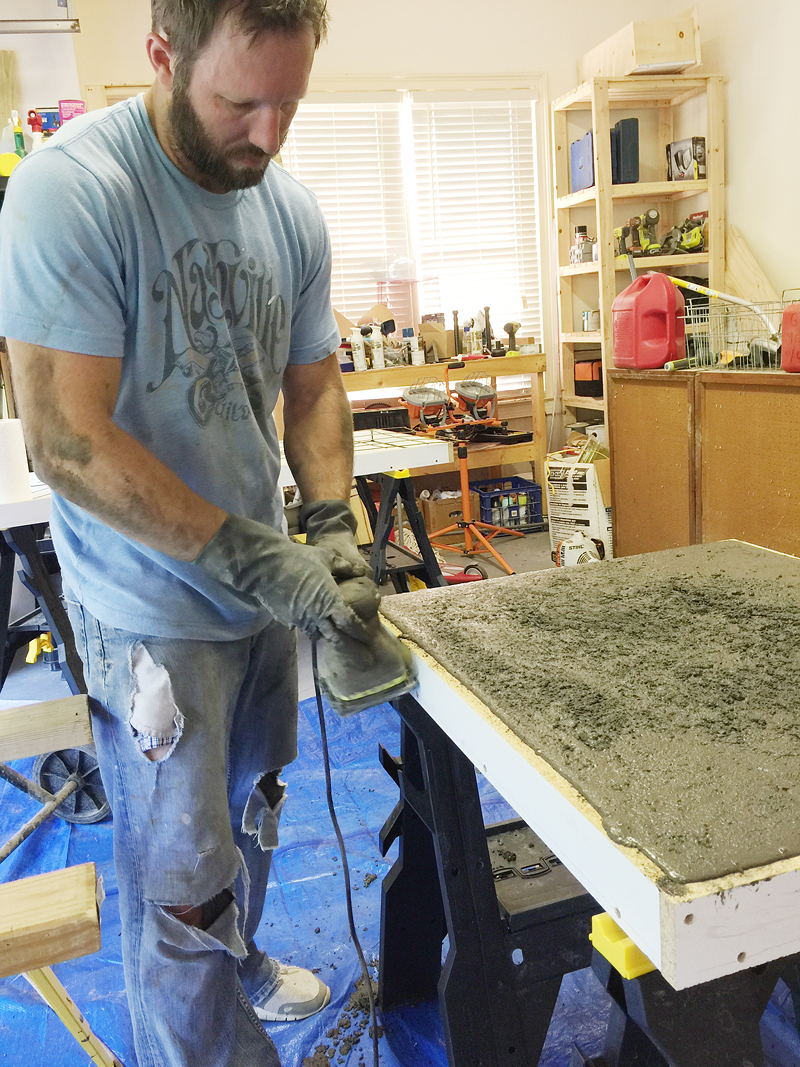
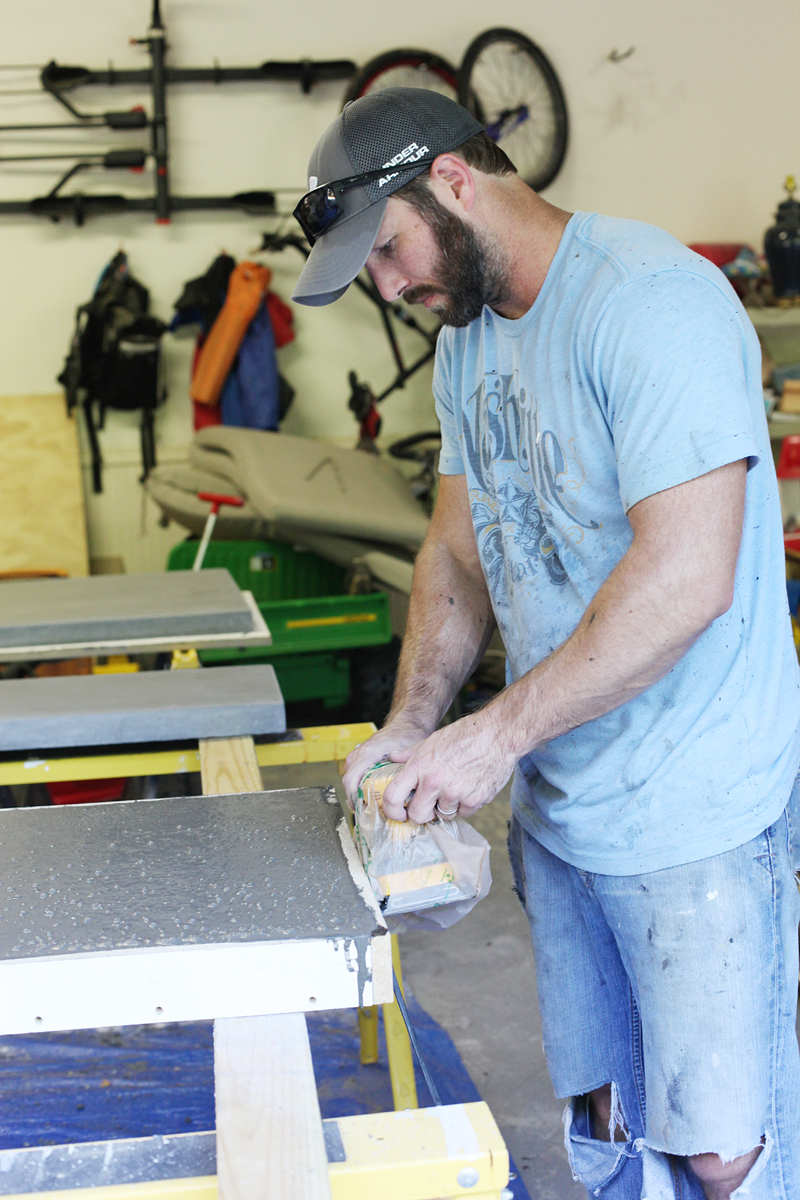
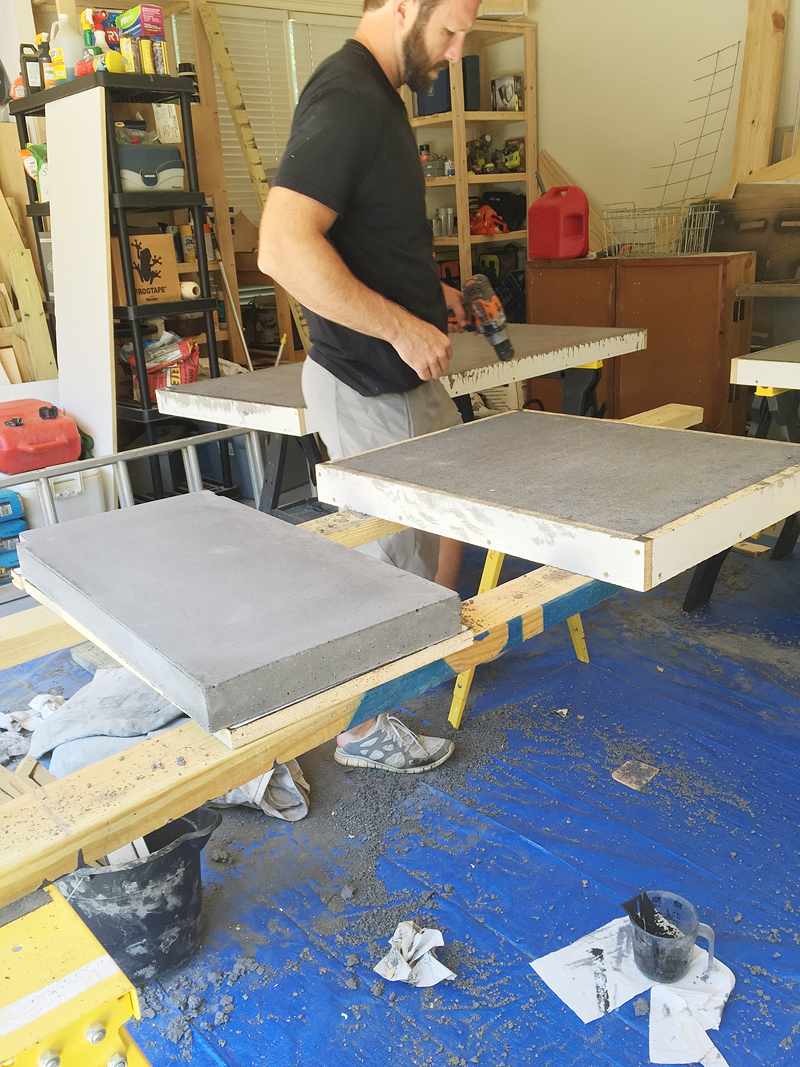
Any vibrating tool will work but this was our easiest method! You just take the edge of the sander and hold it to the form and watch those little air bubbles rise to the surface. In the photo above, that was our 2nd batch (the middle of the road when it came to dryness) and the bubbles didn’t come up as much as when we did the 3rd batch (much wetter consistency).
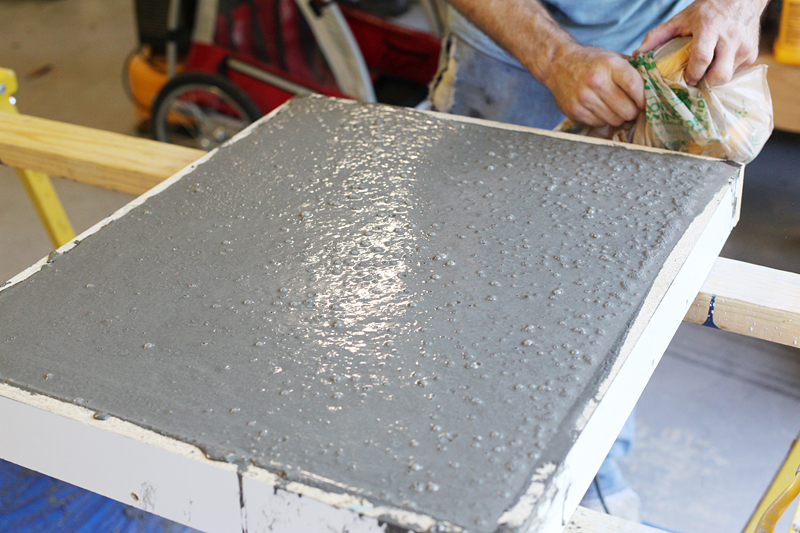
This is our last batch and look at those bubbles!!!
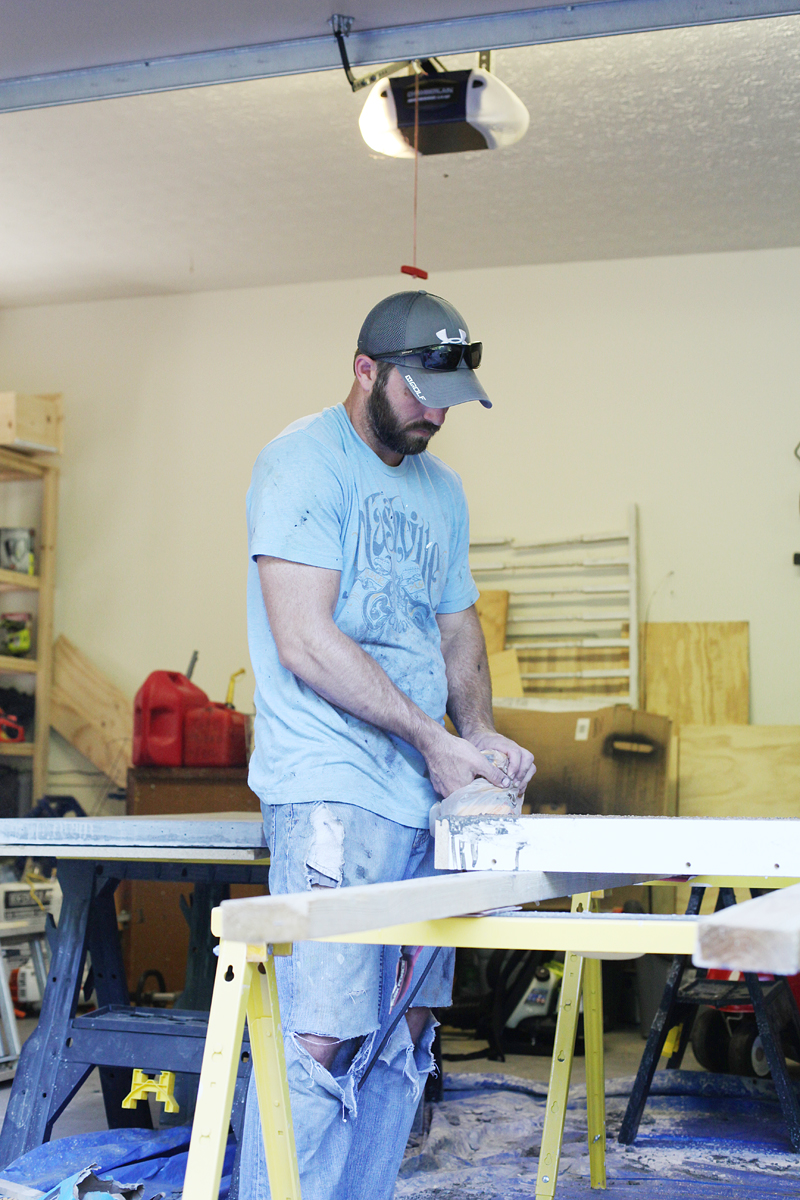
You go around each side and keep the sander moving back and forth and up and down. We put a plastic bag on our sander so that we didn’t ruin it with dripping concrete 🙂
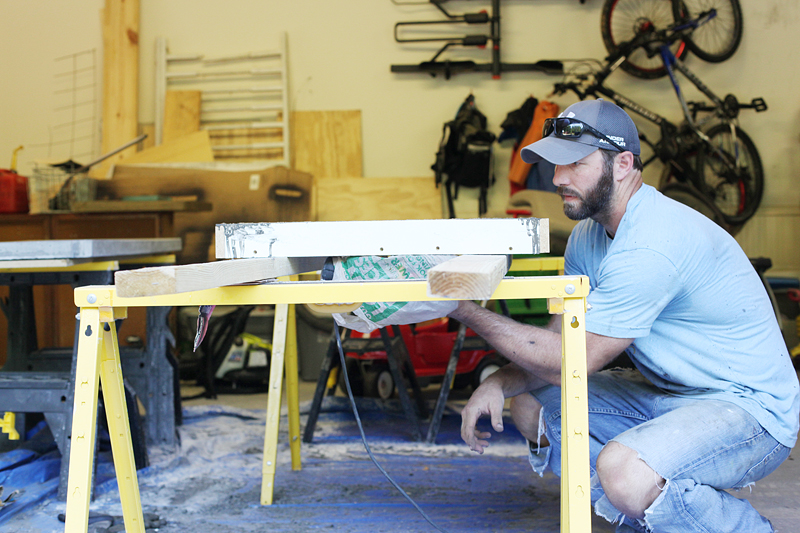
Then you also hold the side of the sander to the bottom. This is why it is important to have elevated and level forms. This will allow you to access under them.
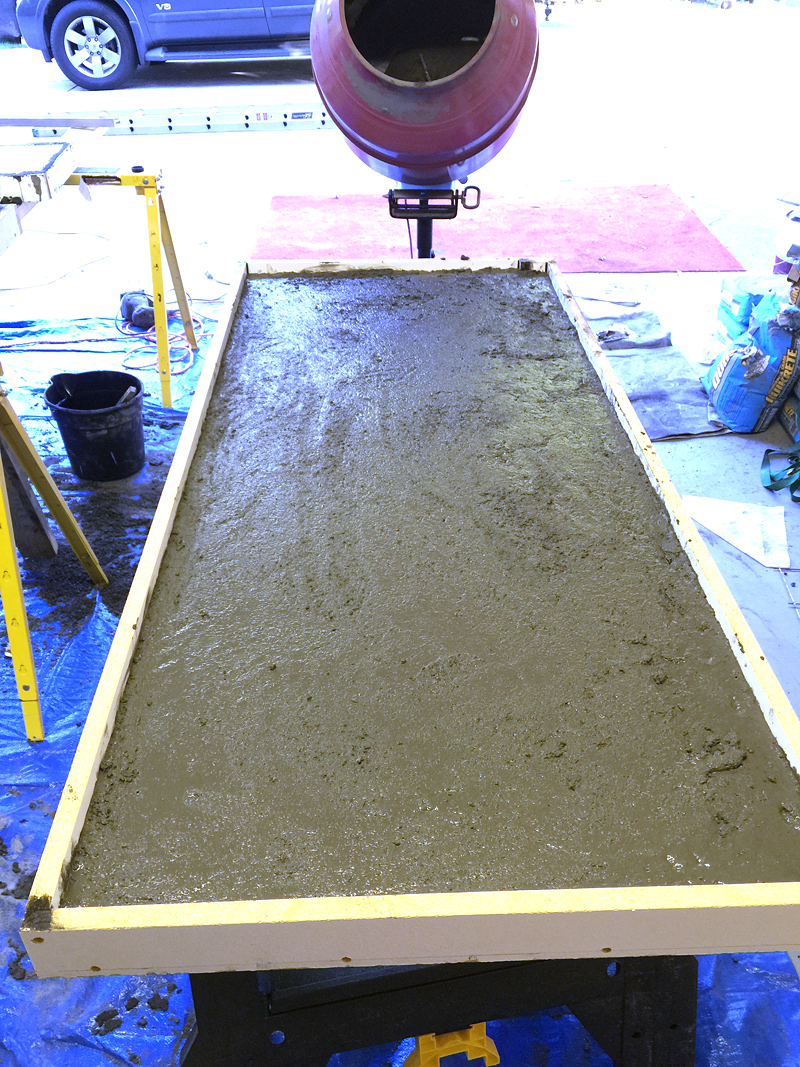
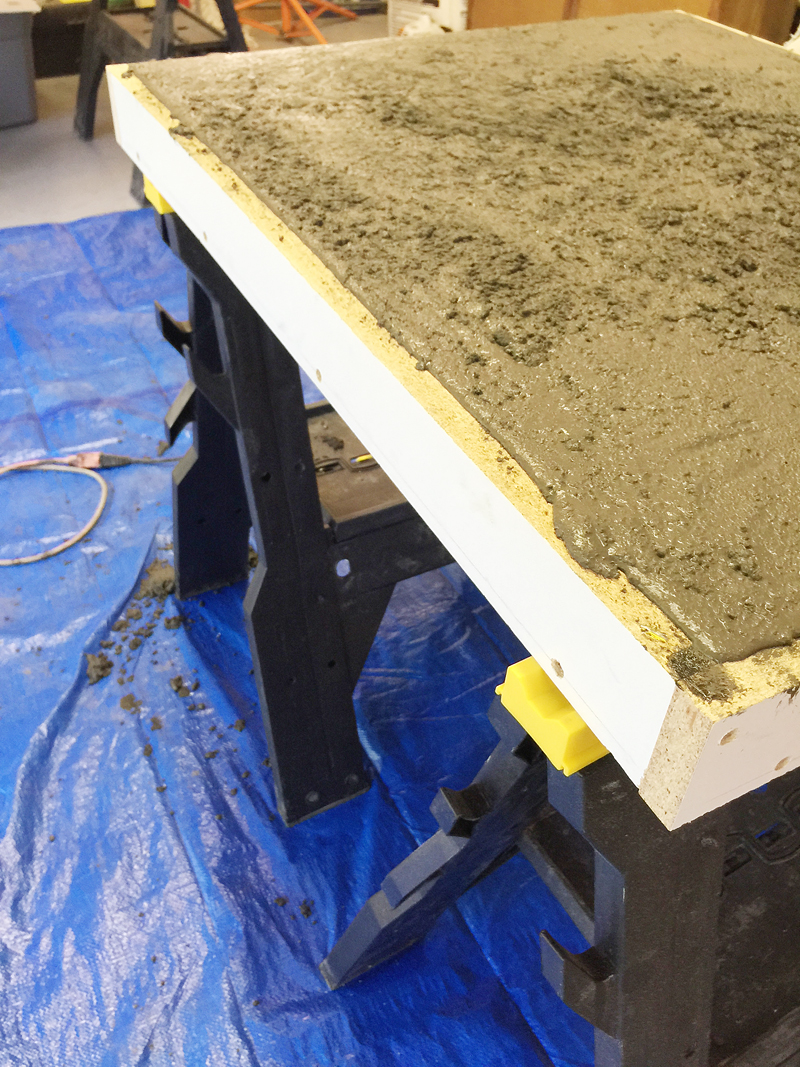
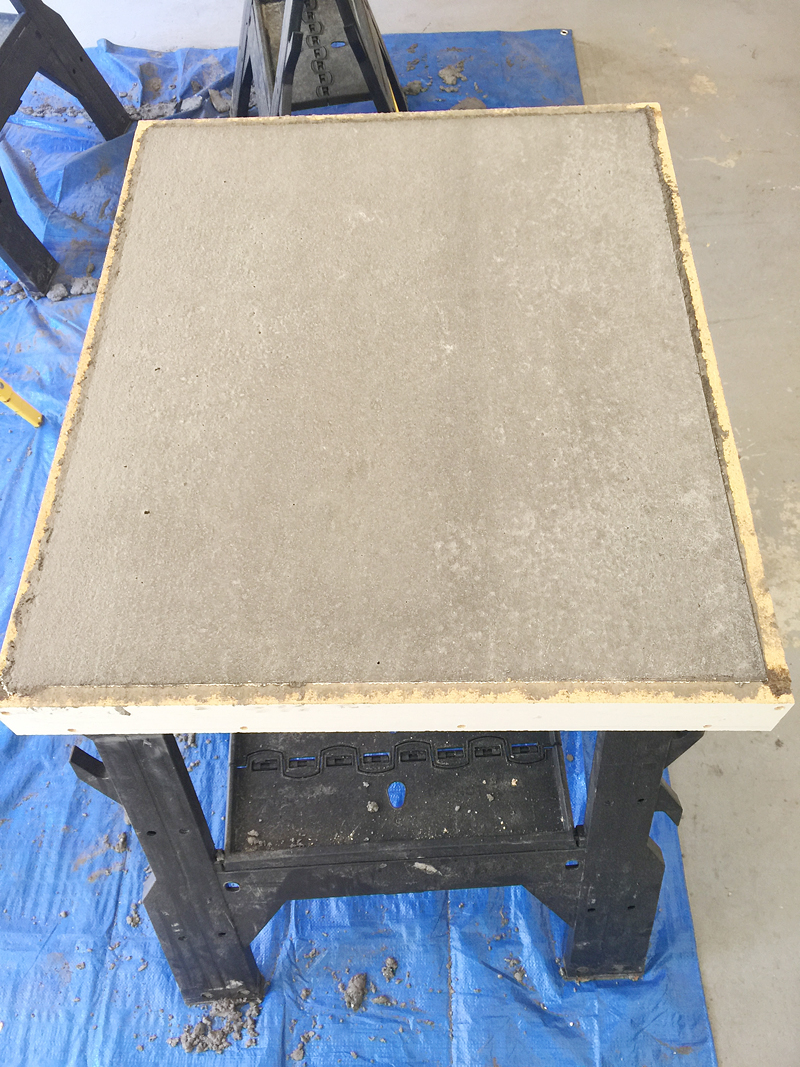
Then you screed the top to remove any excess. We used a regular ole 2×4 and moved it back and forth in a slow sawing motion across the forms to remove the extra concrete and get it super smooth. Here it is after we screeded (um new word?) and let it set up a little while.
And here is a fun little video of how we did it….
After you let it set up for 24-48 hours, you can remove the forms but they aren’t cured so you will need to let them sit even longer after you remove the melamine. We let ours sit longer than that (life got in the way) and they turned out great.
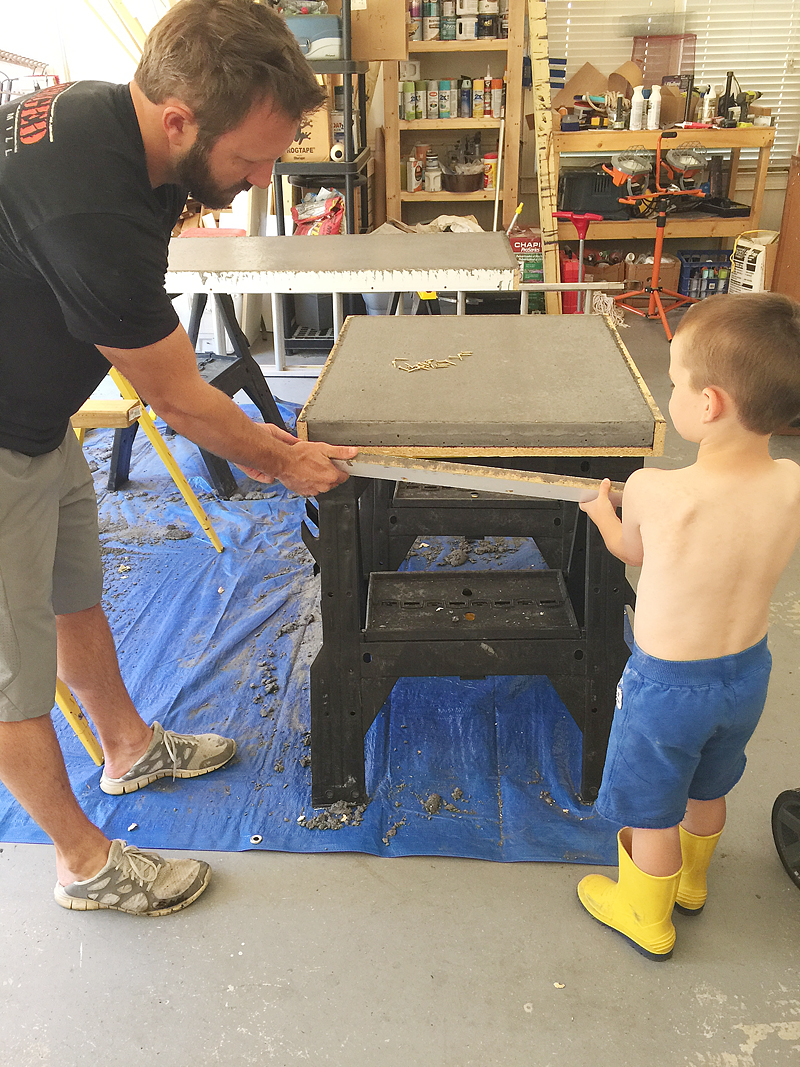
Removing the forms is super simple….just unscrew the sides of the forms and peel them back.
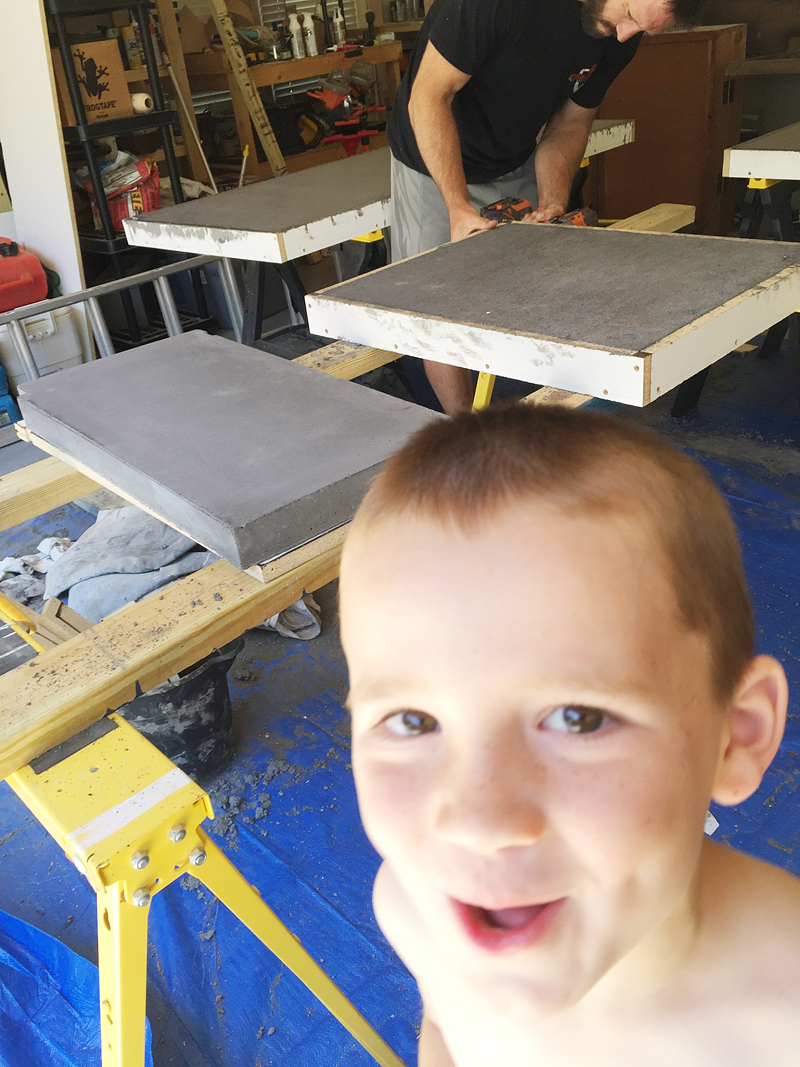
Side note….you know your mom is a blogger when you learn that photo bombing is a thing at age four 🙂
Overall the finished product is SO much nicer than our failed attempt and I think I would not have appreciated the fact that we did it unless we failed first!
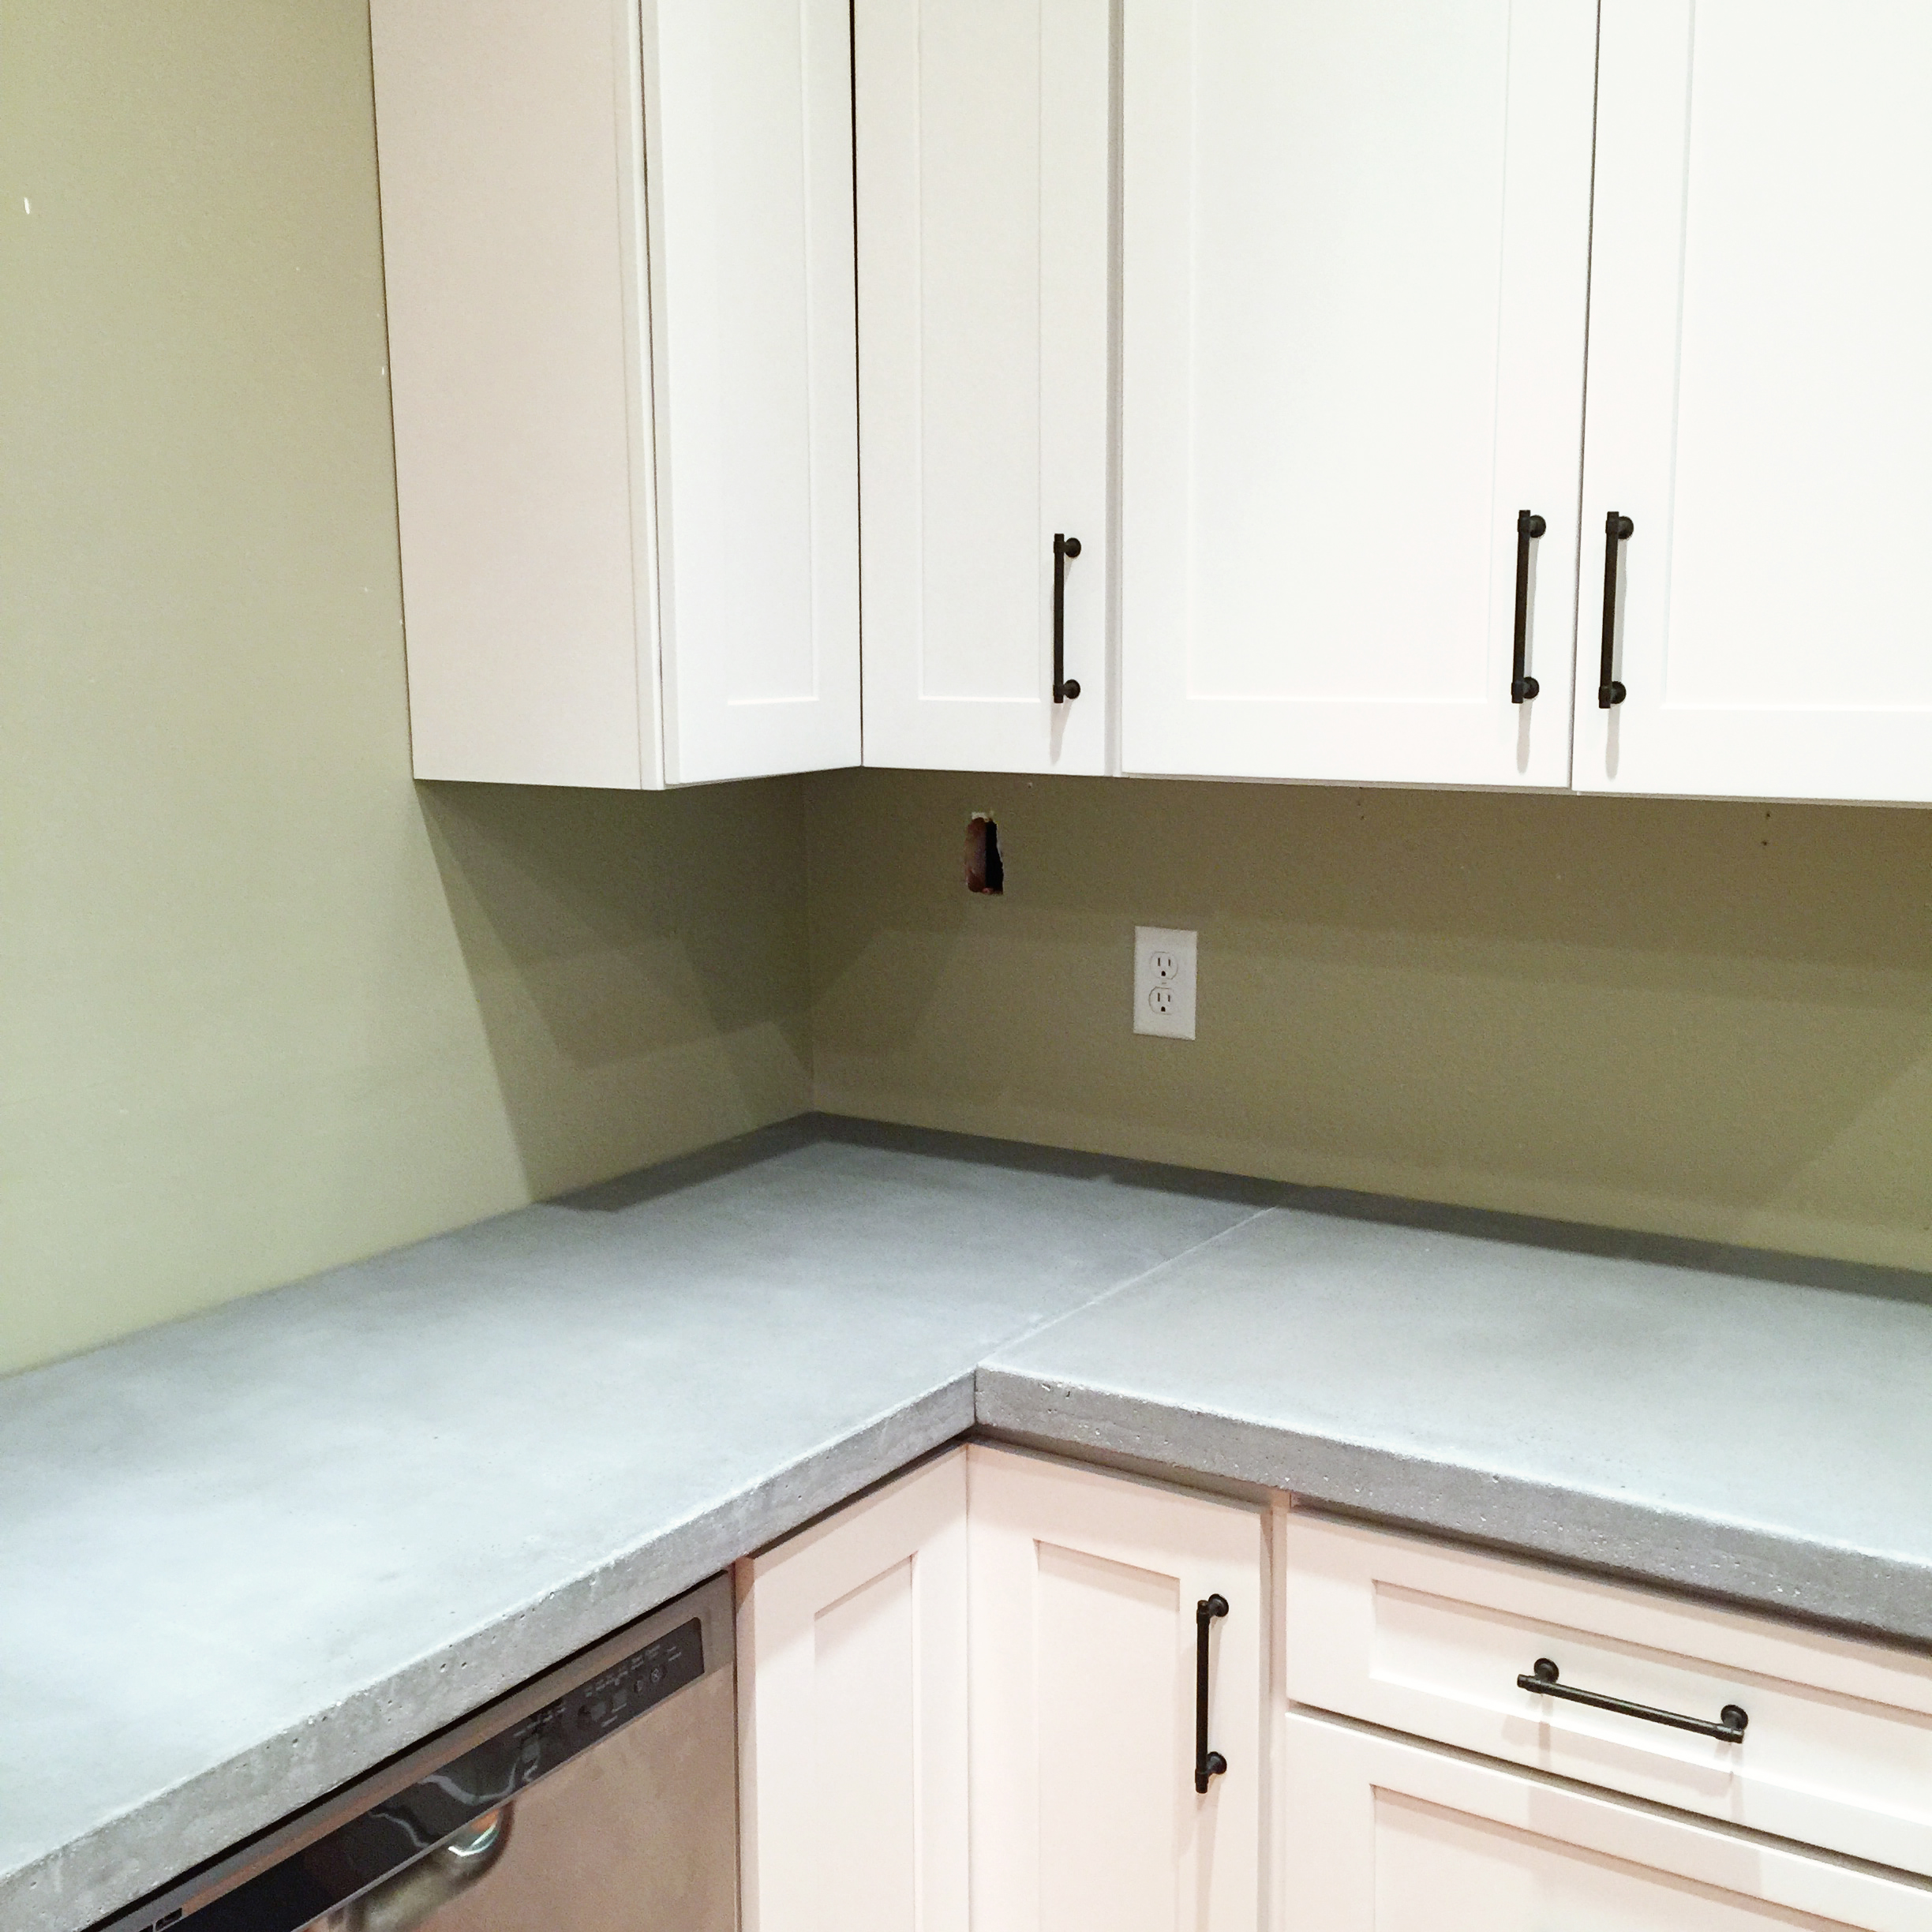
And just so you can see them in place….here is what they looked like after installation! Obviously this is after sanding and sealing and getting them shimmed and all that but I thought you should know what the finished result could look like…
Fabulous right?! I love them so much it’s kinda ridiculous. And the little holes and imperfections on the edges make me so happy because it is exactly what I wanted for this space….industrial and a little rustic!
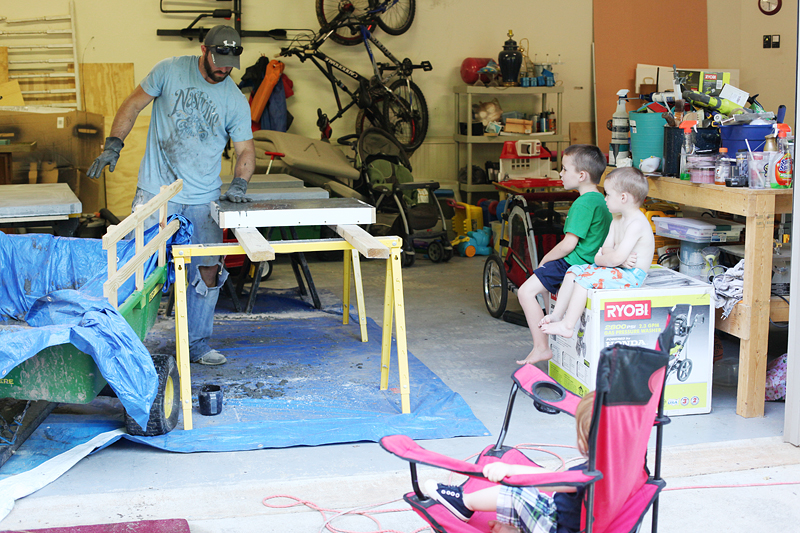
And if you are wondering what the kids did while we made these counters….here you go….we have little concrete counter makers in Bower Power school….sitting on a pressure washer box learning the ins and outs of DIY 🙂
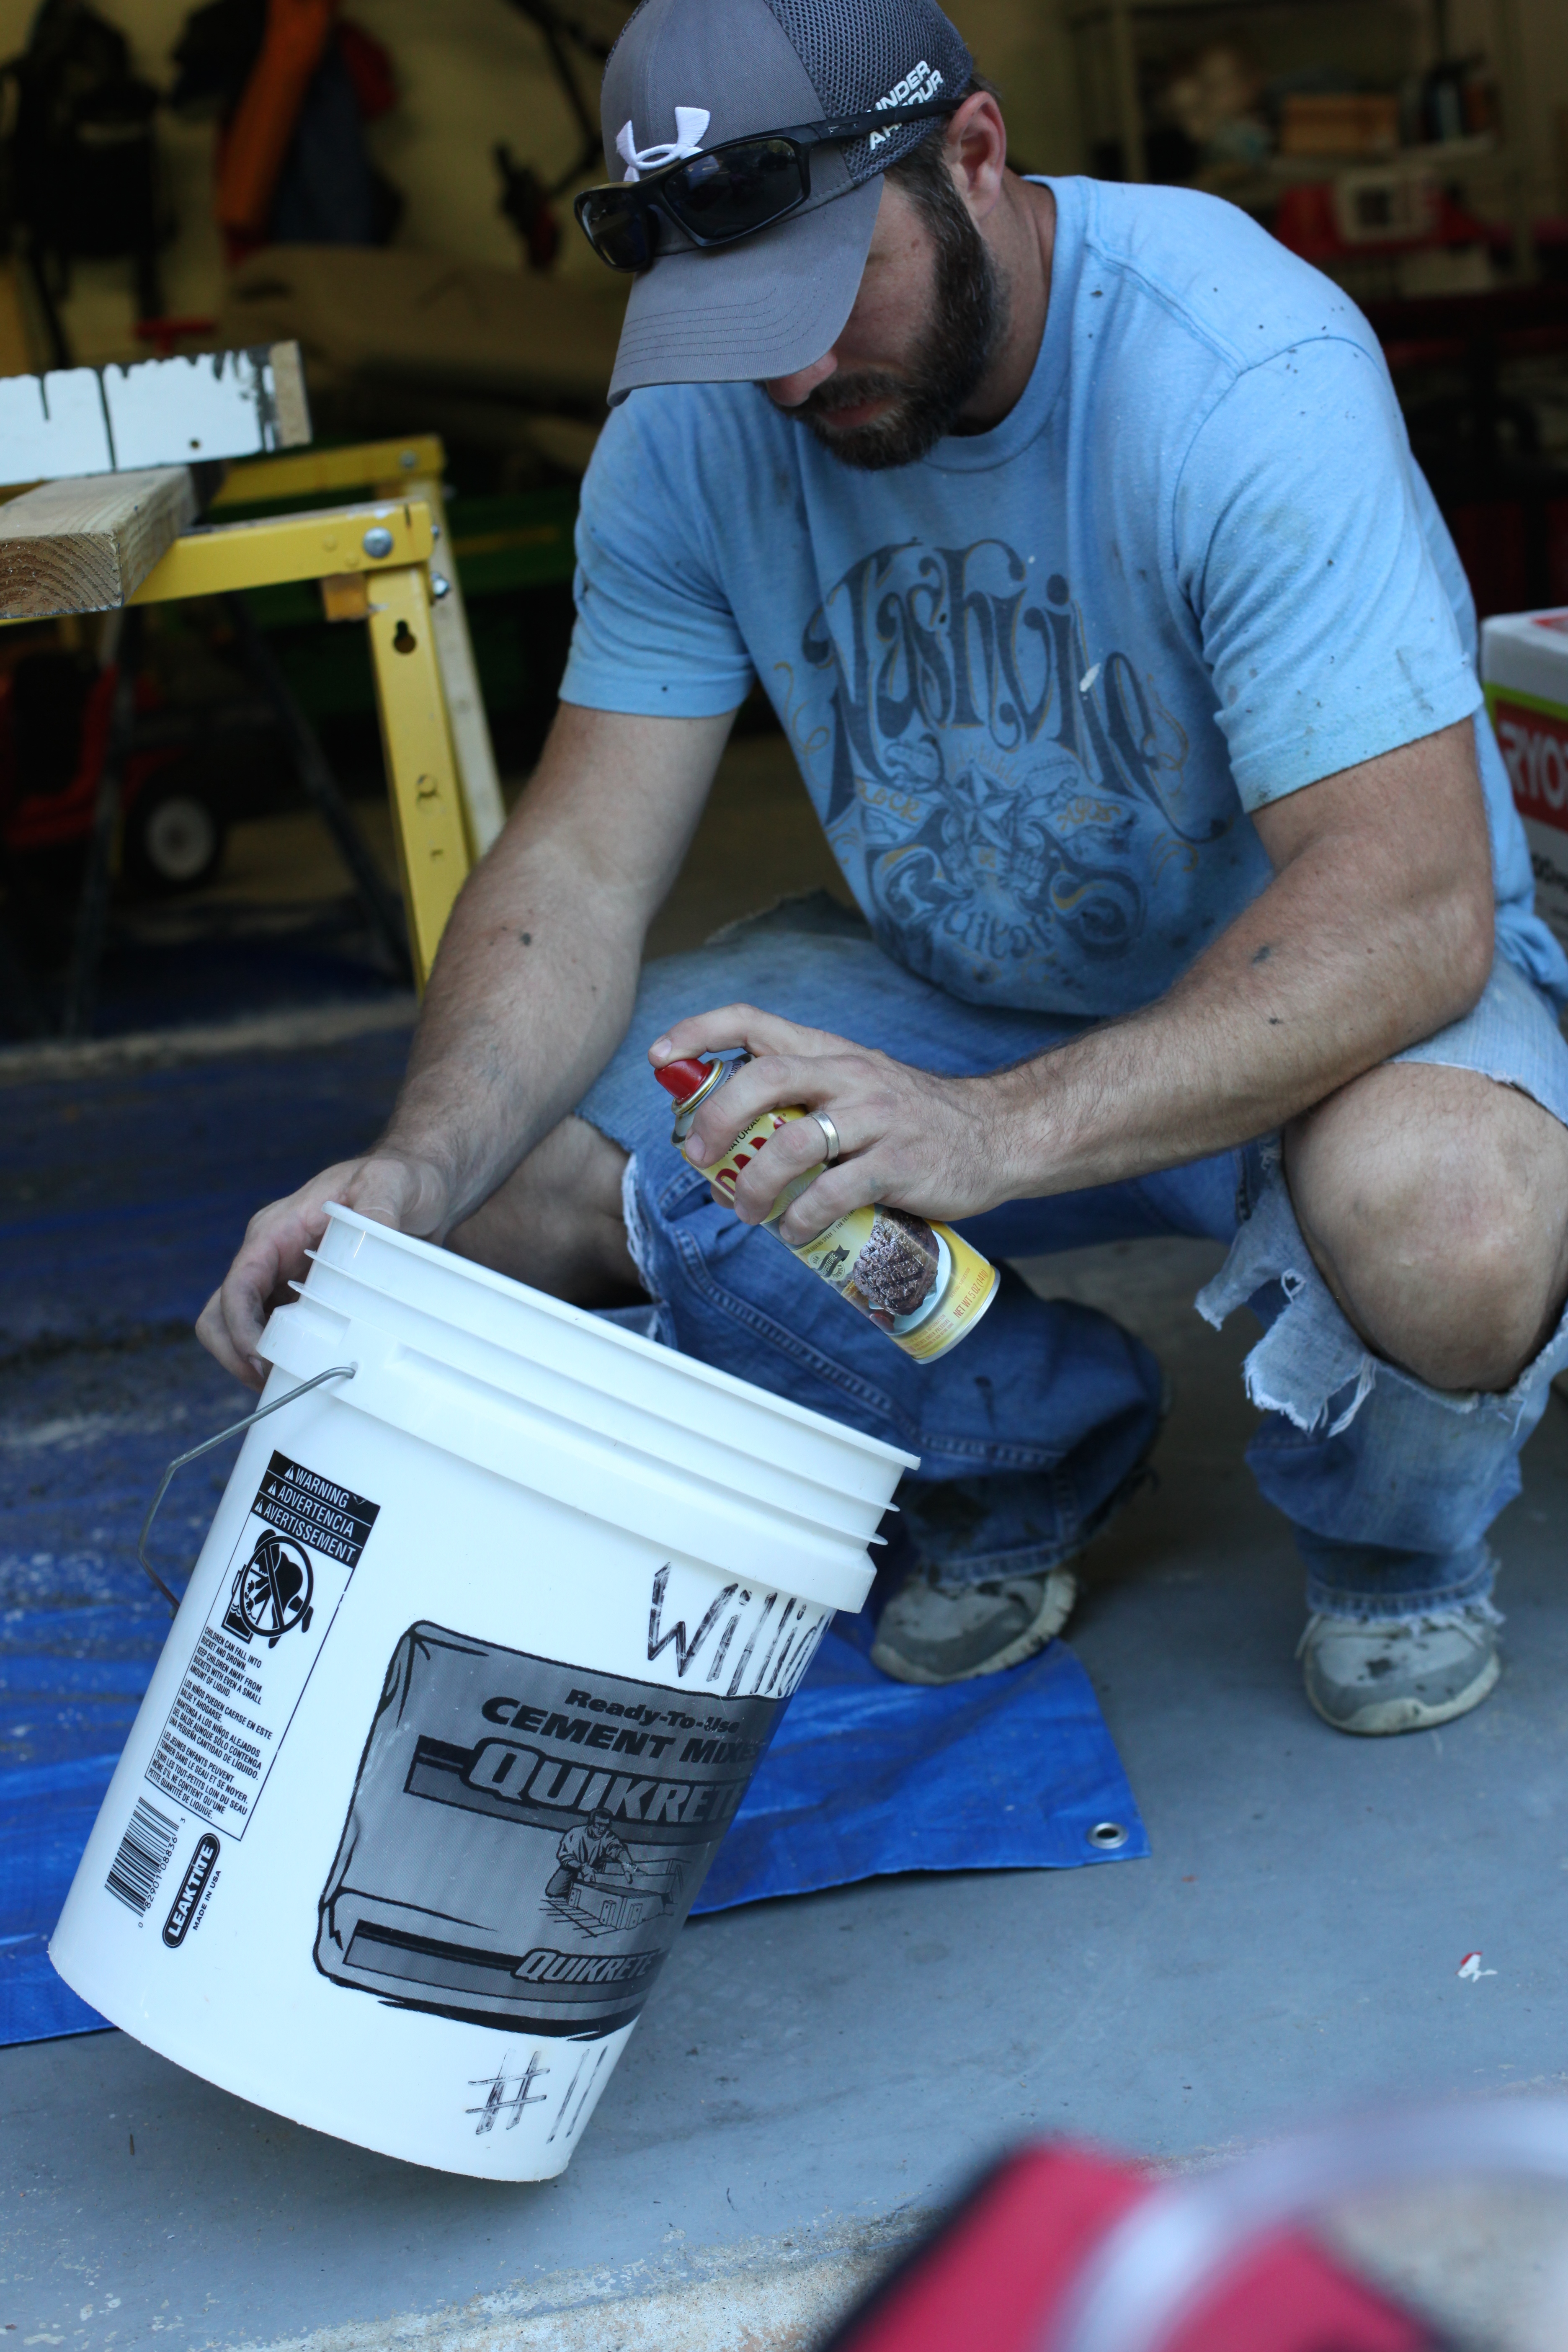
And for anyone making these at home….you will have extra concrete…it happens…and we decided to make fun little stepping stones with our excess. Just take an old bucket, spray it with some Pam, add some rocks or broken tiles or plates or stuff like that and then pour the excess in. When it’s dry, you can pop it out for a new stepping stone!


Hi! I may have missed this part but did you seal the finished product with anything? If so, what did you use?
I’m just wondering how easy they are to wipe after food prep or after they get wet / covered with crumbs, etc.
If love to know what kind of sealer you used. We diy’ed some countertops last year but I guess the dealer we used wasn’t right and now we have oil spots all over the place. We’ve embraced the imperfections but would like to right our wrong before the whole thin is a big oil spot.
Yes I will definitely talk about this later!
xo – kb
I will definitely cover the sealing process – stay tuned!
xo – kb
Did you guys think of doing the other option where you cover plywood with the mixture instead of using forms? Littlegreennotebook did that and it turned out great. Just wondering the advantages and disadvantages of both ways.
Yours look amazing so far!
Some additional things:
– Oil (sunflower or other cheap oil) is a nice thing to use to protect the form if you do minor objects with concrete. Pour a bit in the bottom of the form and spread it with paper or tissue.
– The consistency of concrete should be midway between gruel and porridge.
– If it is really hot then cover the concrete with some kind of plastic and add water to the surface so that it cant dry to quickly.
– Wheelbarrow or bucket and a big spade works nicely to mix the concrete. Just make sure to clean it with a lot of water immediately after finishing work.
The color thing was fun. I didn’t know that existed. Thanks for sharing!
I am going to have to google what “slump” means in this context! I love the terms… slump, screed, etc. In my work we have to order a lot of furniture, and one of the terms we used is “cannibalized”… like, “We cannibalized that broken dresser to find parts for these other dressers”. It’s weird but makes sense to us. BTW, the counters look really good. 🙂
http://danielleandco.com/blog/2016/design-around-bold-sheets
Well…right off the bat I can think of a major disadvantage for both – for the way we did it…it’s VERY heavy….and for the plywood method, you can’t guarantee that it wouldn’t get chipped, cracked or damaged from heavy weight. I don’t know if it’s just me but we constantly climb and bang the edges on our counters….I would hate to do the plywood method and then damage it. Also, Ardex does have a different look…it’s a concrete that is troughed on vs poured so the texture of the concrete is different and you can have color differences. You also have to take into consideration that poured concrete you can add sparkle, rocks, texture by adding aggregate of choice. And you can make it heat resistant with the right sealer. I think that there are definitely advantages and disadvantages to both!
xo – kb
Wondering why you made the forms separately instead of already on the cabinets like Chris Loves Julia did with her beautiful white concrete counters. Just curious! Love seeing the process and I think I’m sold on doing this with our kitchen reno!
Kelly
https://eatdrinkanddesign.wordpress.com/
Hey! This is unrelated, but I thought you might want to know that your pinterest link on the sidebar goes to a Katie Bower, not the BowerPower page.
Will do a cost breakdown?
Well, Julia and Chris did a beautiful job right!? Well….we did it differently because that is what our friends recommended (who does this professionally and we had already seen his work at our CrossFit, church and at his home) and because it was much cheaper this way!
xo – kb
Thanks Lindsay! I will fix that!
xo – kb
Couple questions…
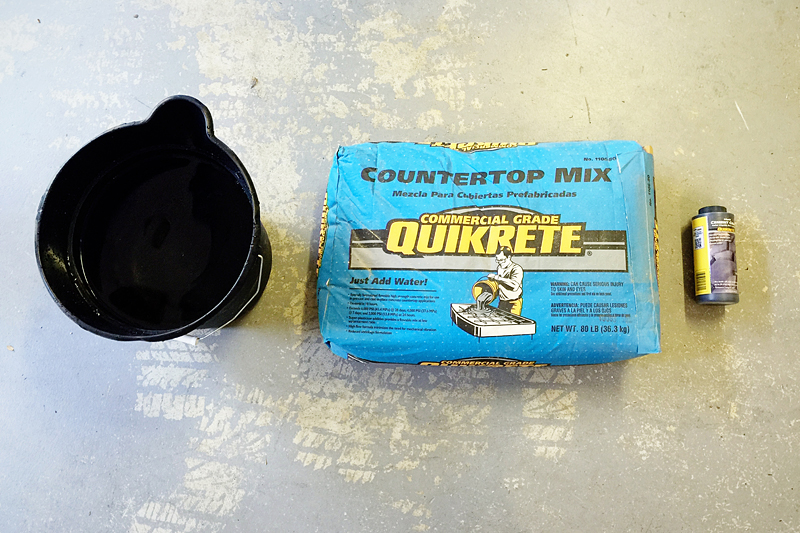
Did I miss the type of concrete you used vs other types/brands?
How did you pick your color/ colorant?
Will you explain installation? I’m curious about the weight of it on top of cabinets.
And you mentioned heat resistant sealer?
Also, what was the overall cost?
I feel like you may cover all of this in upcoming posts. Thank you!
Wow, so much work, but the end result is so worth it! I just wish I had a big garage like that to take on huge projects like this 🙂
Yes! I just put up a new post with the cost breakdown. Hope this helps!
xo -kb
Just want to say, “Congratulations on your new baby!” Counters look amazing!!
God Bless 😉
Want to clarify which concrete you used — we just had a failed attempt. We’re pretty sure we know what we did wrong…but want to get some back up information to make sure we don’t mess up again 🙂
We used the countertop concrete from Kwikrete but the same exact process applies to regular concrete. Hope this helps!
xo –
can you tell me what you used to seal your concrete countertops?
thanks,
-deb
We used a penetrating sealer for concrete and then waxed them as well. In retrospect, I think that Quikrete makes a good sealer that is an all in one step that we would have used instead. It would have saved us time.
xo – kb
What kind of wood did you use for the forms? Sides and bottom. What thickness are the countertops? Thanks!
We used melamine for the forms. And we made our countertops 2″ thick.
xo – kb
Hi,
I was admiring your “boyfriend’s” hard work. HAHA. Anyhow the counters don’t look that black to me? Is there a reason for this? Did you not add enough color to the concrete or is this the shade of black (gray) that you were shooting for?
Thanks.
This is the gray that we were shooting for. We actually have a friend that does concrete counters on a regular basis and we looked at a bunch of ones he had done to know the amount of colorant so it was planned.
xo – kb
u r so probably tired of answering cement countertop questions but my concern is the corners toward the wall..what do u do where the concrete two pieces seam…do u just shuv more concrete in there? or do u just live with the seam..im going to attempt dpoing this myself..no concrete experience all but your thorough steps to guide me…lol…yours is actually the only site i’ve seen where it shows the edges two concrete peices meet usually websites just show the one countertop or an island…but i have been wondering what the heck to do when the two sides meet in the corner? does the concrete have to be exact and that is all you get or is there a way to smooth in the seam so your concrete looks like it was poured in place in one huge form instead of four or five seperate ones? anyways just wondering how they are holding up? thanks kiley
You can live with the seam or you can use a silicone in there to make sure nothing can go down there. I would choose a color that is darker over clear but both would work.
xo – kb
Hello I think is great your project and need make one for me but need detail of concrete mixer or what tipe of concrete is please
Hello! How did you attach them to the cabinet bases? Are they just floating and shimmed for leveling? They look beautiful!
Shimmed and then glued and siliconed…just like any other solid surface countertop!
xo – kb
What fun reading this… getting info and chuckles , perfect combination for a DIY! This is great. If rain holds out I’ll be starting this weekend! Thanks for your blog
Hi guys the end product looks awesome:)
Can you advise how much the largest slab weighed? and did you choose 2″ for any reason in particular?
I was looking at doing a table top for a 6 seater table, but if its going to weigh 150KG maybe I will have to figure out another method! I think 1.5″ thick would prob suffice but worried if I go too thin it will fail!
We went with the 2″ because I loved the thicker countertops with other materials. The largest slab weighed A TON….it took us three people to carry it….but I don’t know the exact weight. And I have heard of folks doing the thicker tops with embedded wood (which would be lighter) and allow for the person to attach legs.
xo – kb