Disclaimer – This post is sponsored by Floor & Decor. All opinions are 100% my own.
I am super excited to show you our new laundry room backsplash. It is the gravy on my roast, the candle on my cake, the plasma blade in my light saber, if you will. Besides my children, and my other kitchen backsplash, it may be the most beautiful thing I have ever seen. Note that I didn’t put a LOL or a Haha or a happy face after that….I’m not kidding. I’m obsessed. This is serious business.
Our entire journey has come a far way since May of 2013 but it still needed all those finishing things to actually make it functional again and finished! Here’s a little photo recap…
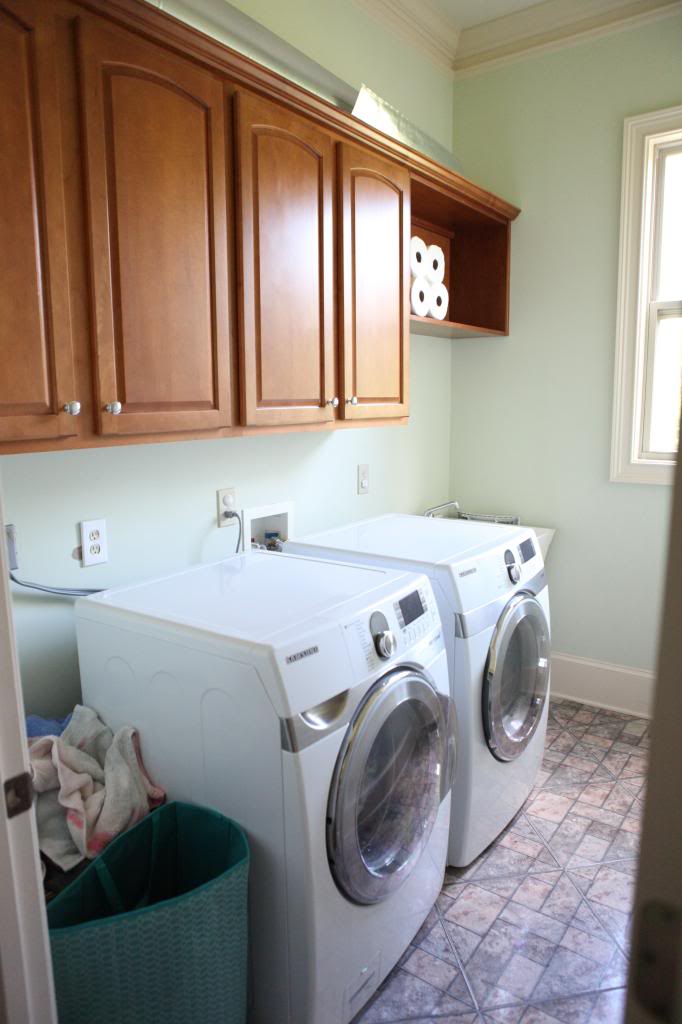
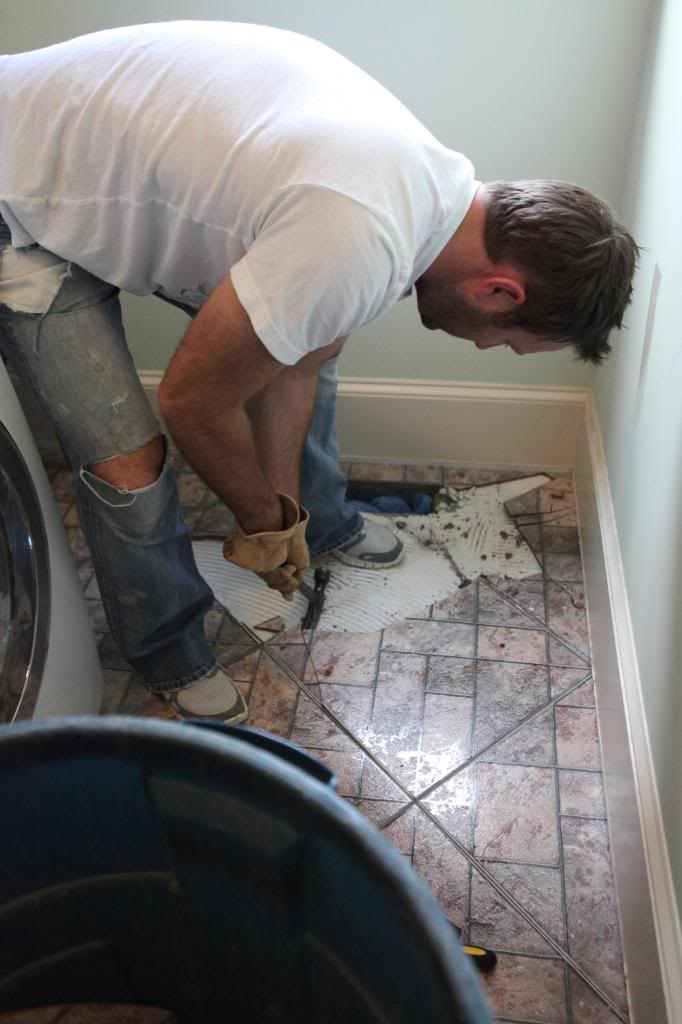
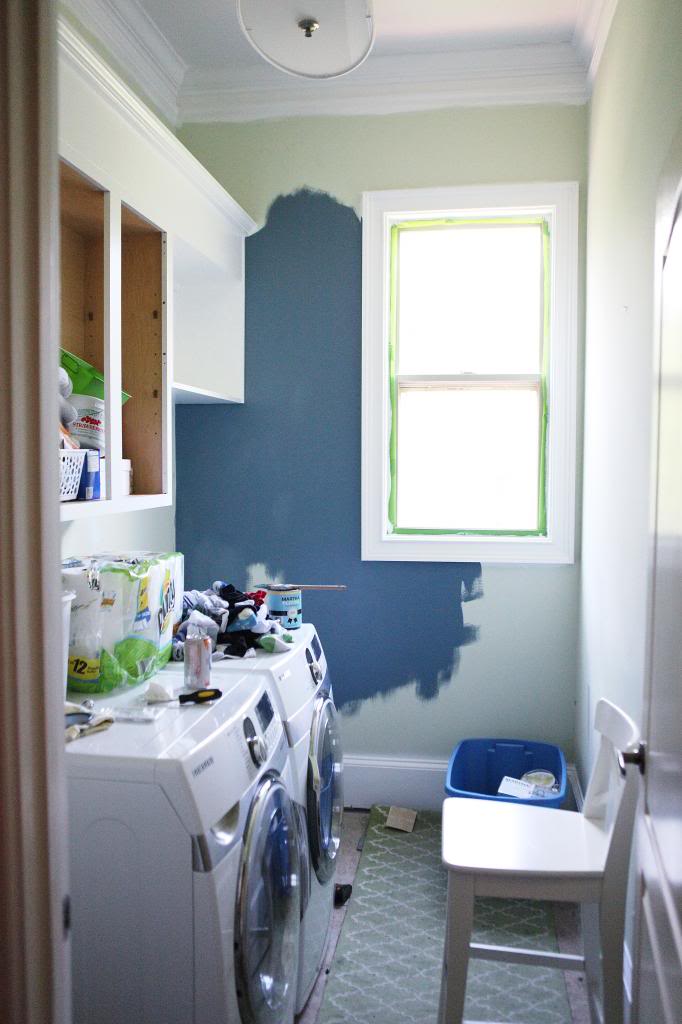
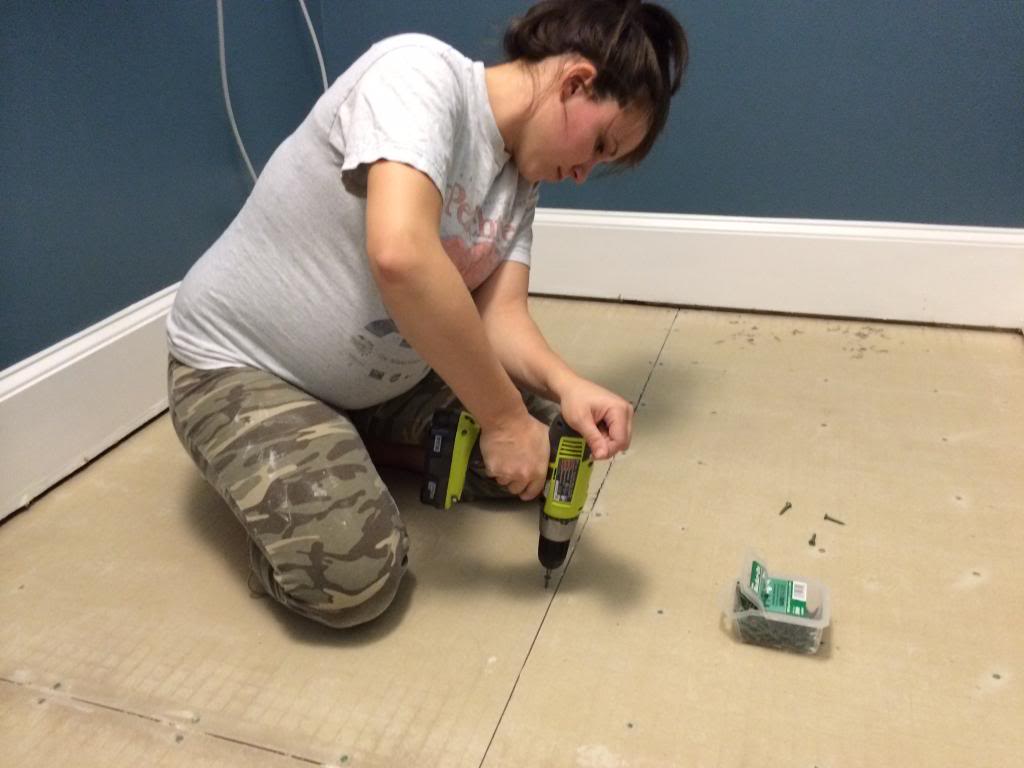
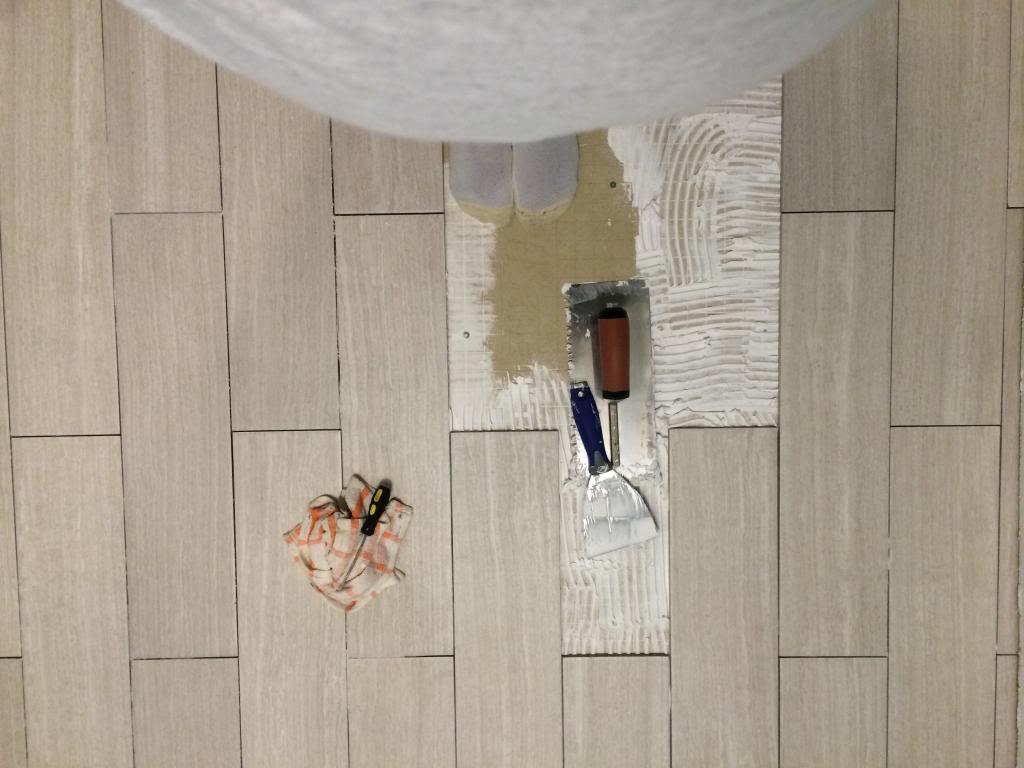
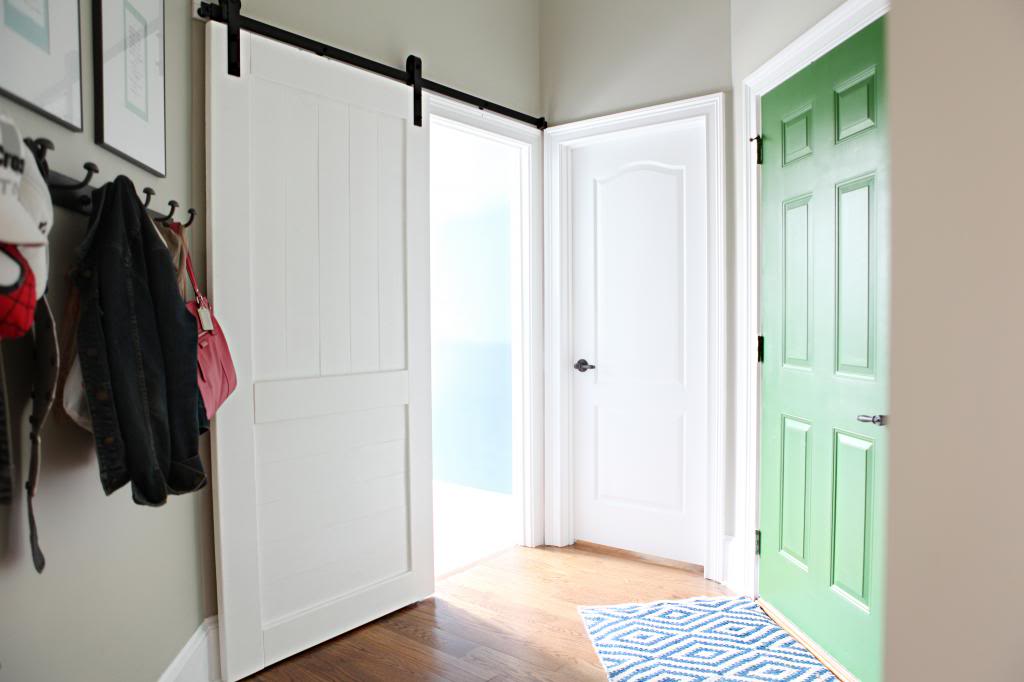
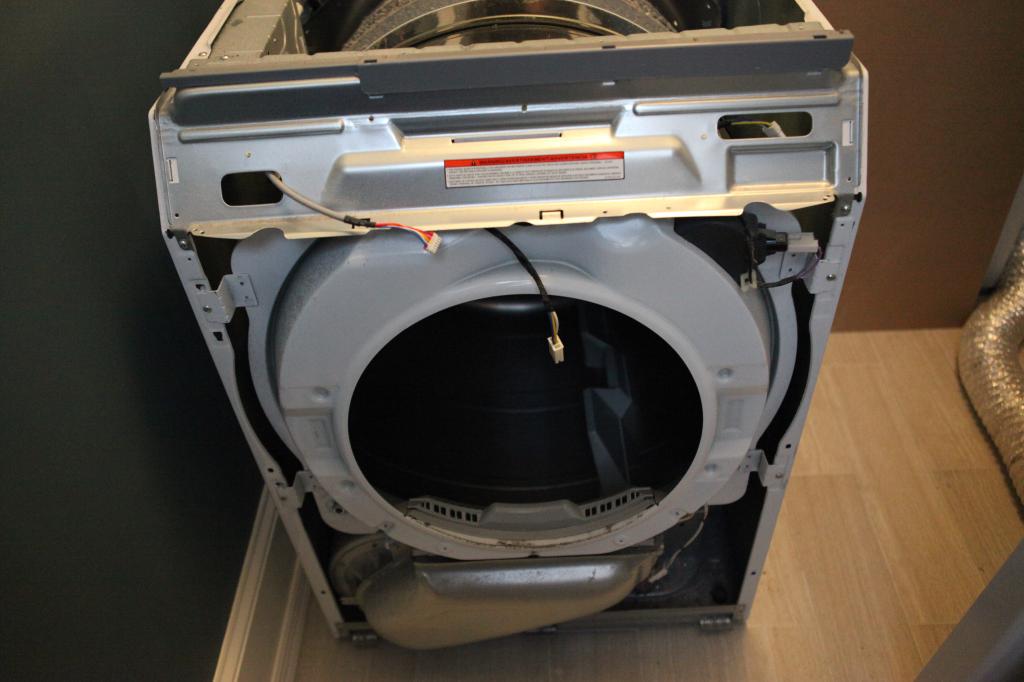
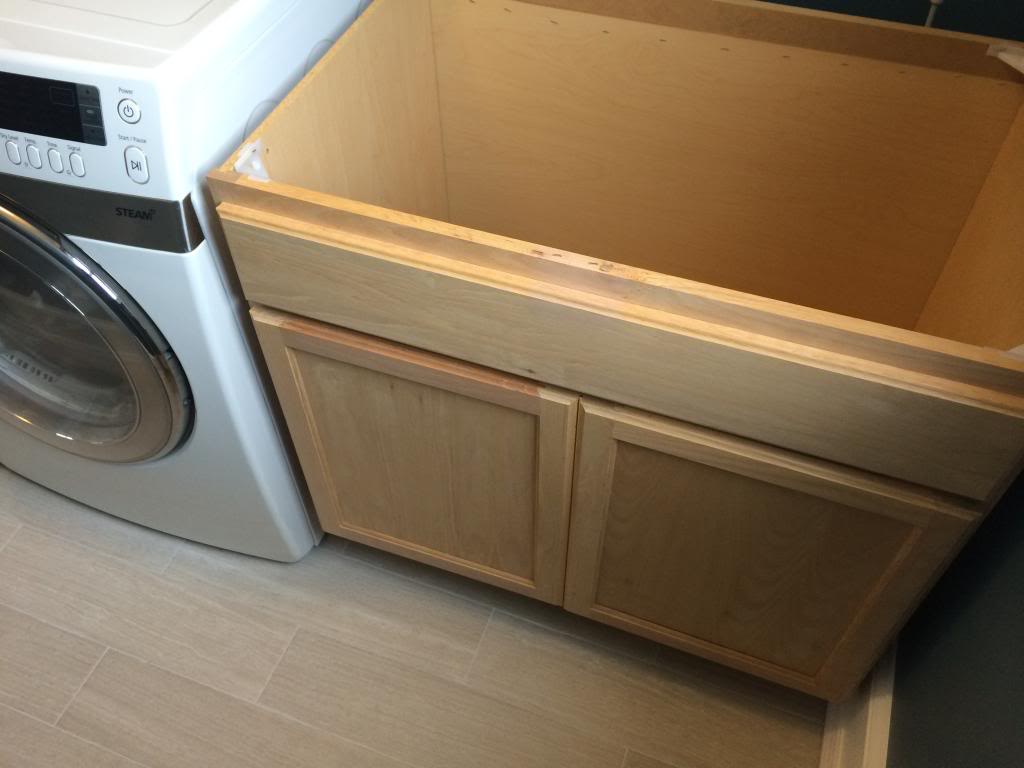
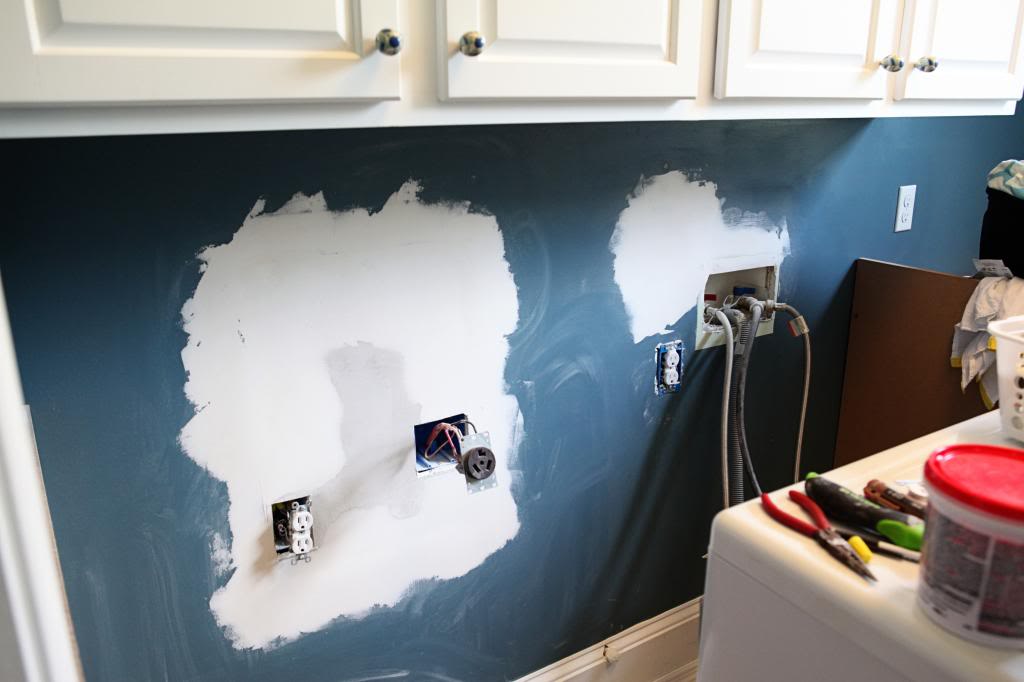
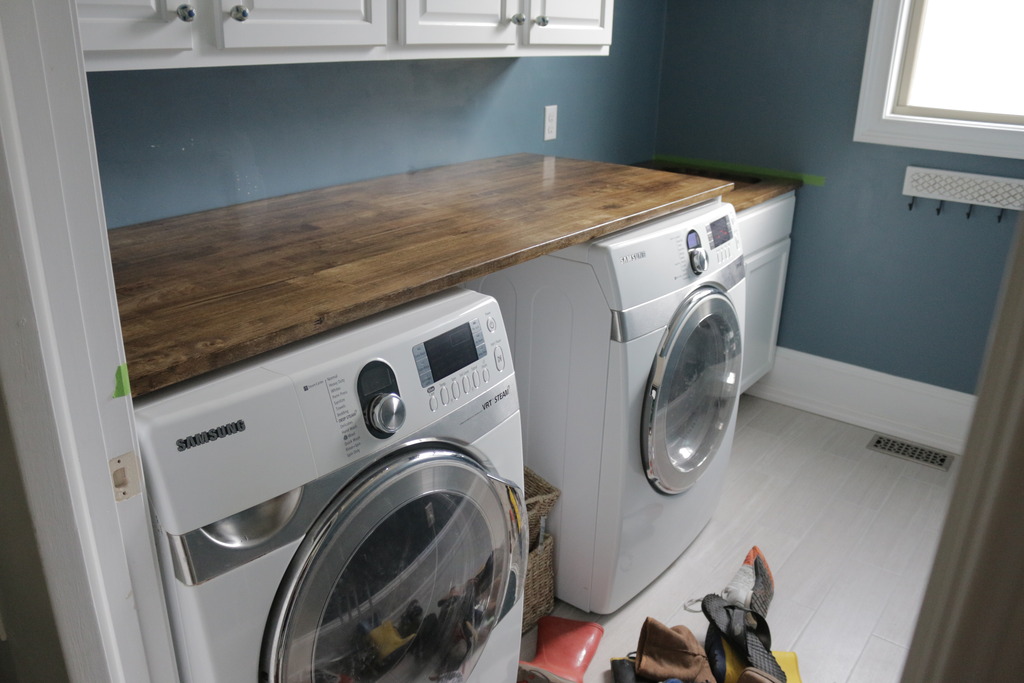
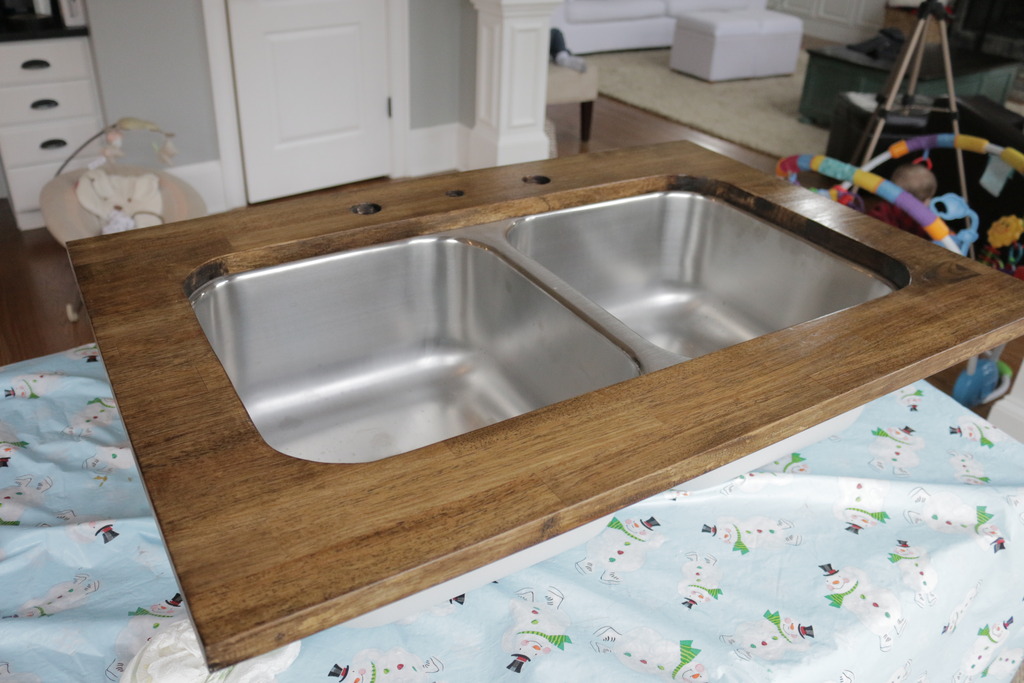
Once your wall is relatively prepped for tile and your countertop is installed, it’s time for TILE! This is my favorite DIY project. I always say that if I could pick anything, I would tile all day long and Jeremy always picks electrical work. What DIY focus would you pick? I think building runs a close second for me and drywall work runs dead last. Ugh. Just thinking about it makes me angry.
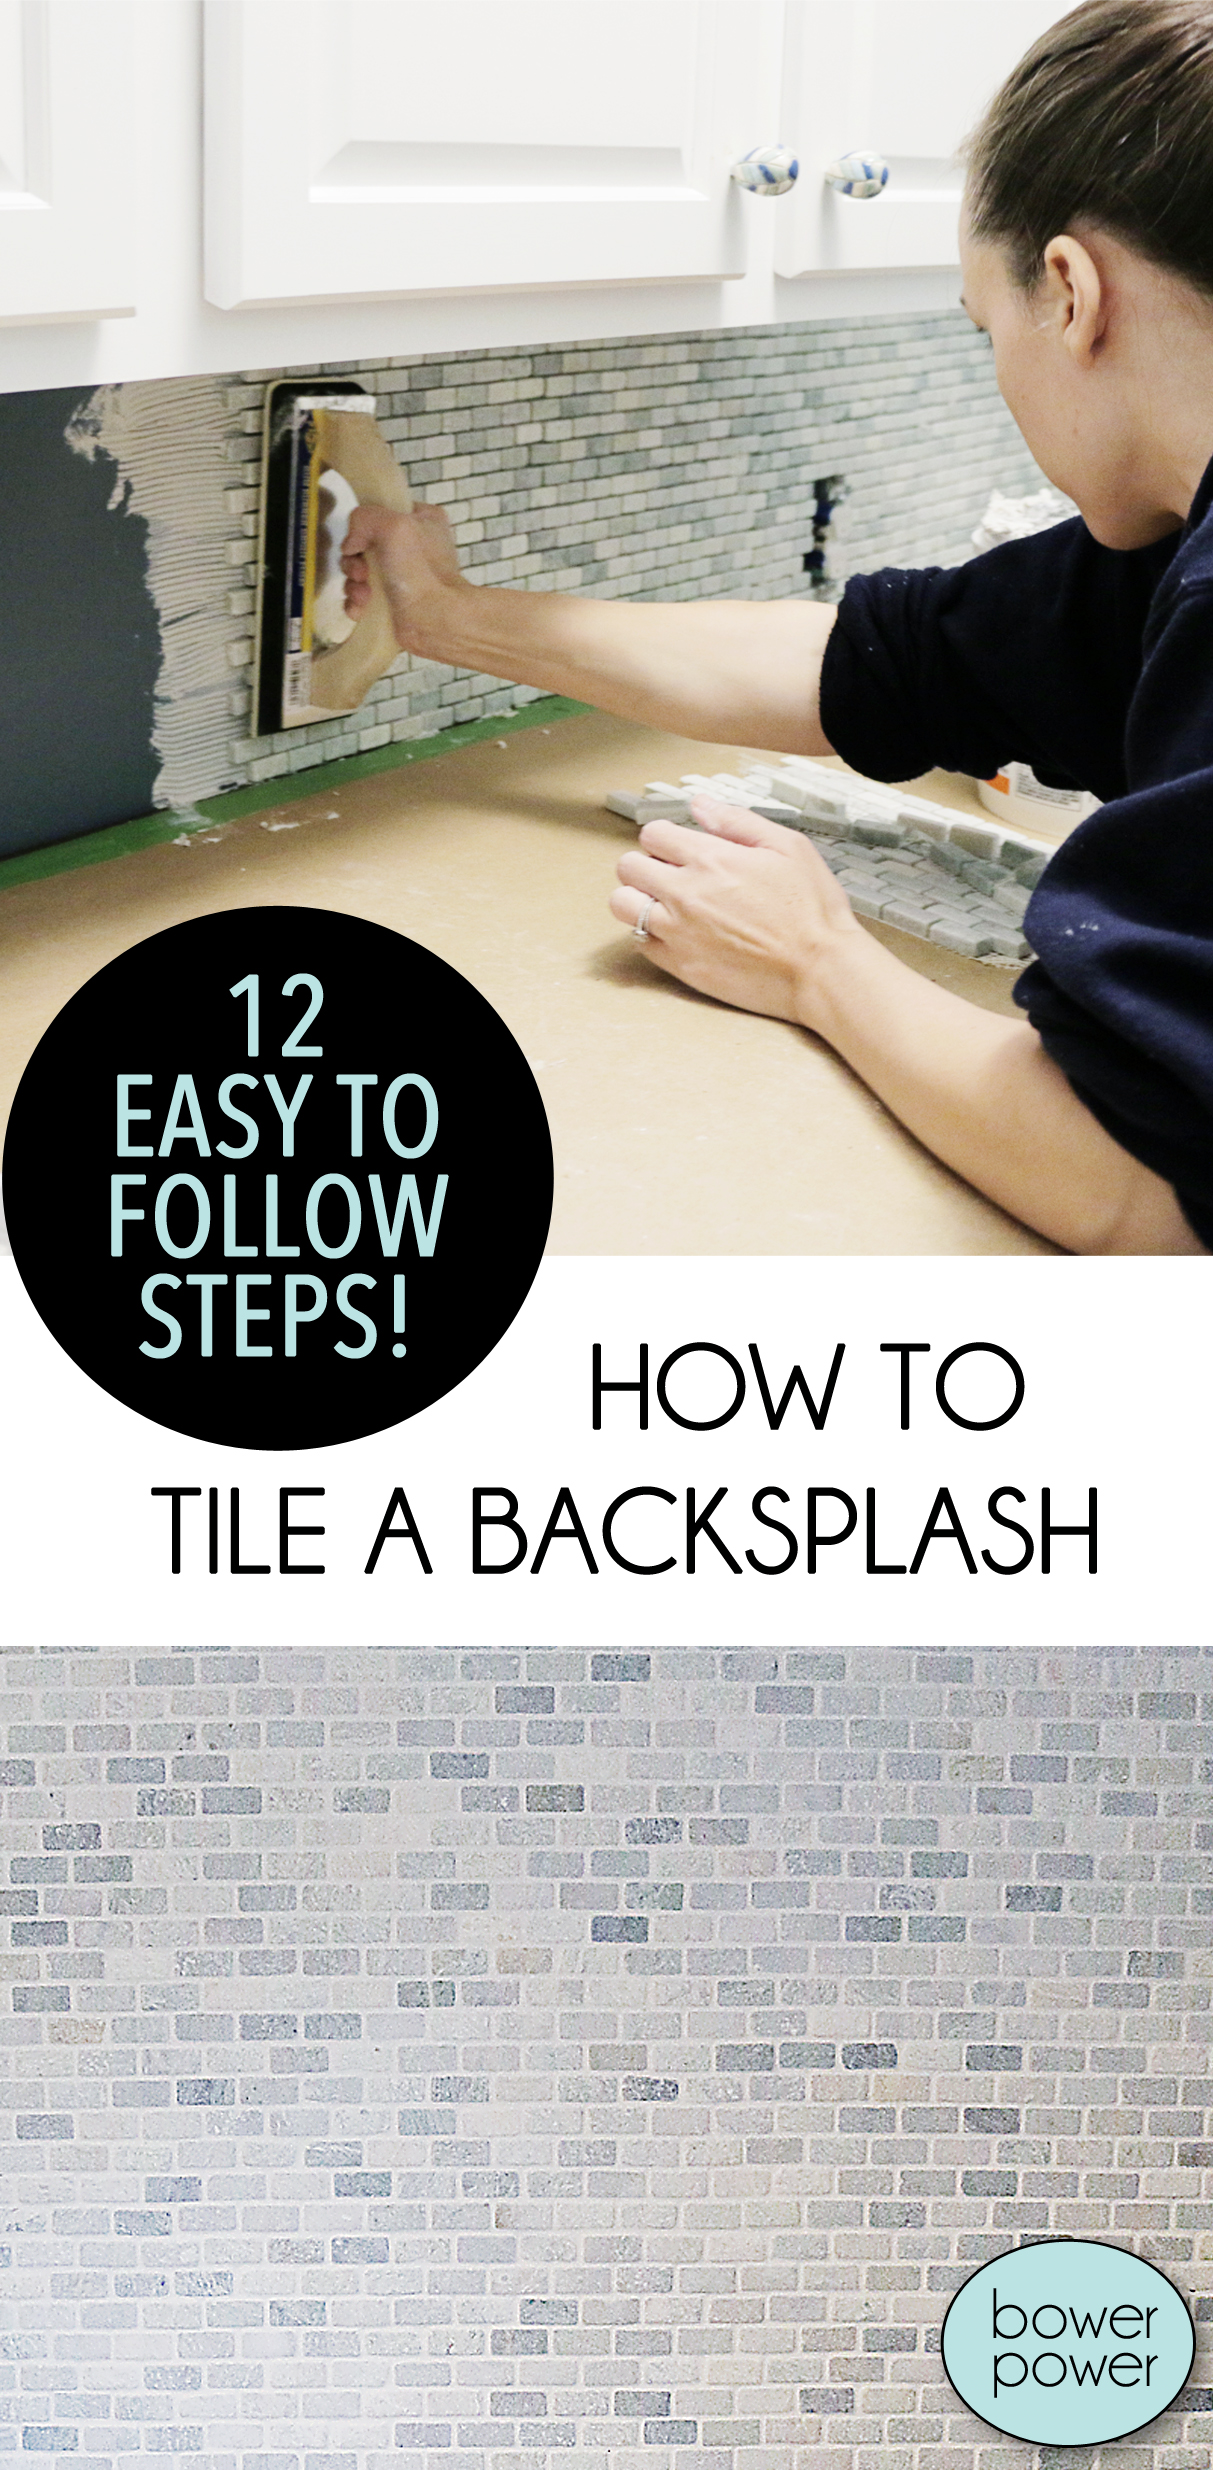
Anyhoo…I hope this post can be helpful to you if you are attempting your hand at tiling a backsplash. I have done TONS of other tiling posts in the past and this one will be the basics for the easiest kind of backsplash – a small mosaic. This can be tricky to space correctly but I find that it’s the easiest to get an overall professionally finished look. If you have any questions – put them in the comments and I will do my best!
STEP 1 – Pick out your tile
Now this may be the first step but sometimes, this is the hardest one….especially when you are faced with the selection like at Floor & Decor….COME TO MAMA! Okay, so I really wanted something decorative when it came to our backsplash and since I have visited every tile shop in our area, I told Jeremy that Floor & Decor was the place that could help the laundry room best just simply because they have the most options readily available. This place is huge!
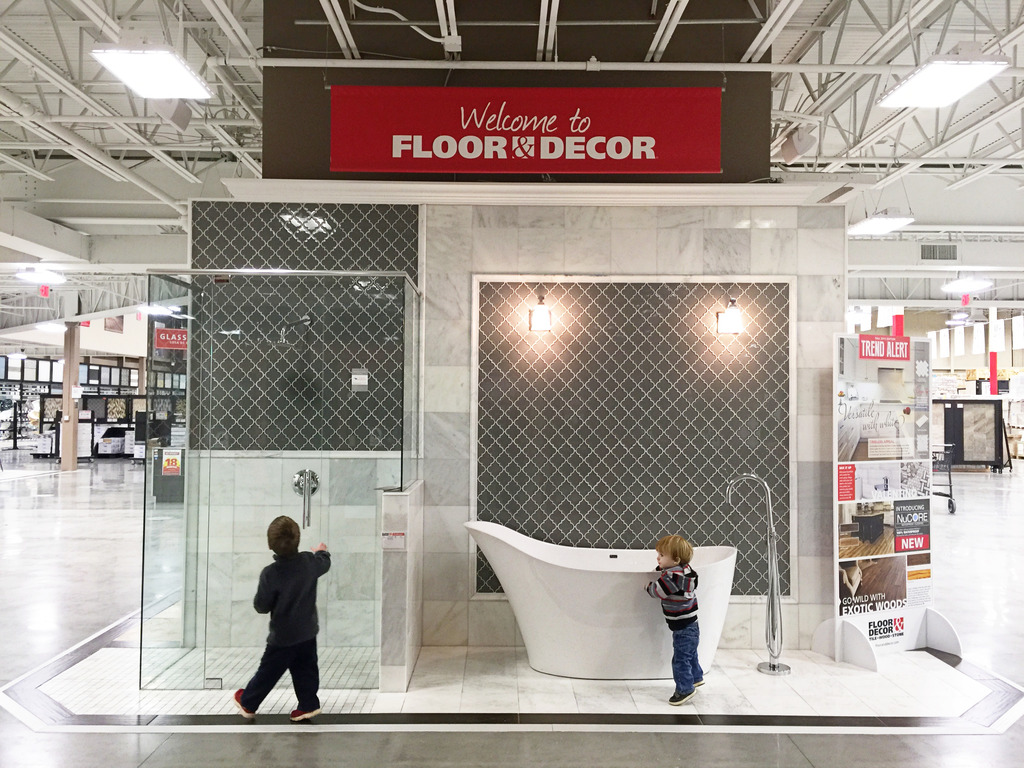
LJ really wanted to get in that tub. I felt the same way.
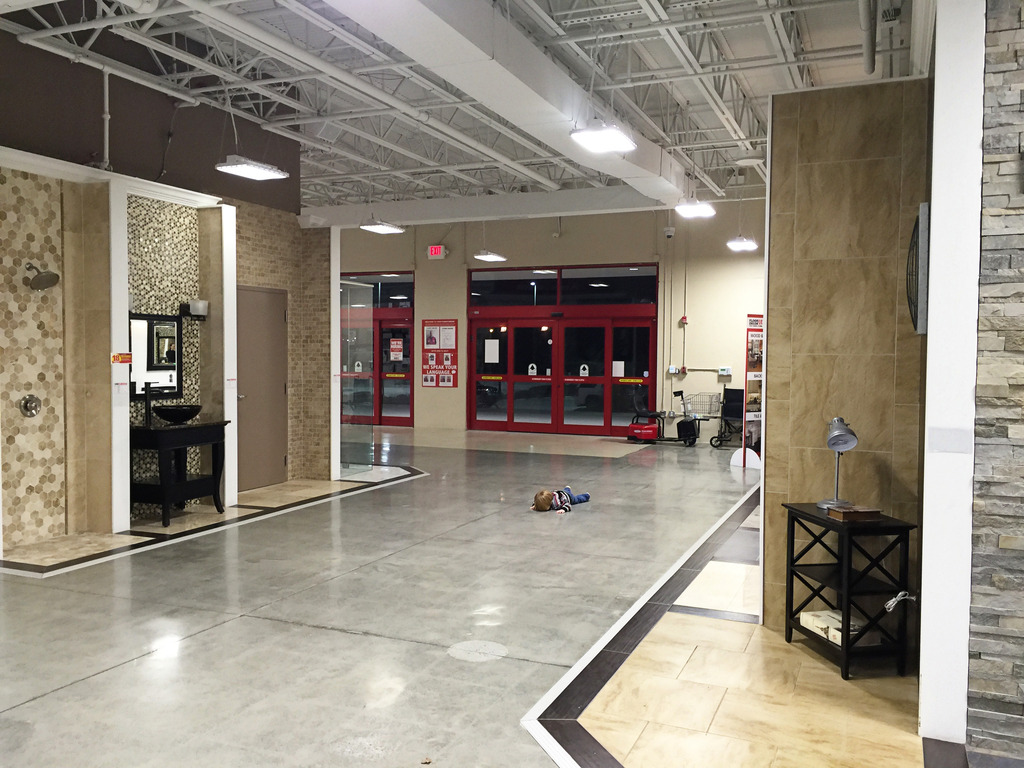
When it came to options, they have HUNDREDS that I had to go through. This is a mega store people. The options seem to go on and on. I knew that I would want something in the marble family but I did consider glass tile for a millisecond. The marble just seemed like a more natural fit and it’s an ongoing theme in our house. We put marble in our kitchen (polished hex!) and in our guest bathroom (honed carrara subway and mini herringbone) so I definitely had my eyes peeled for the marble options.
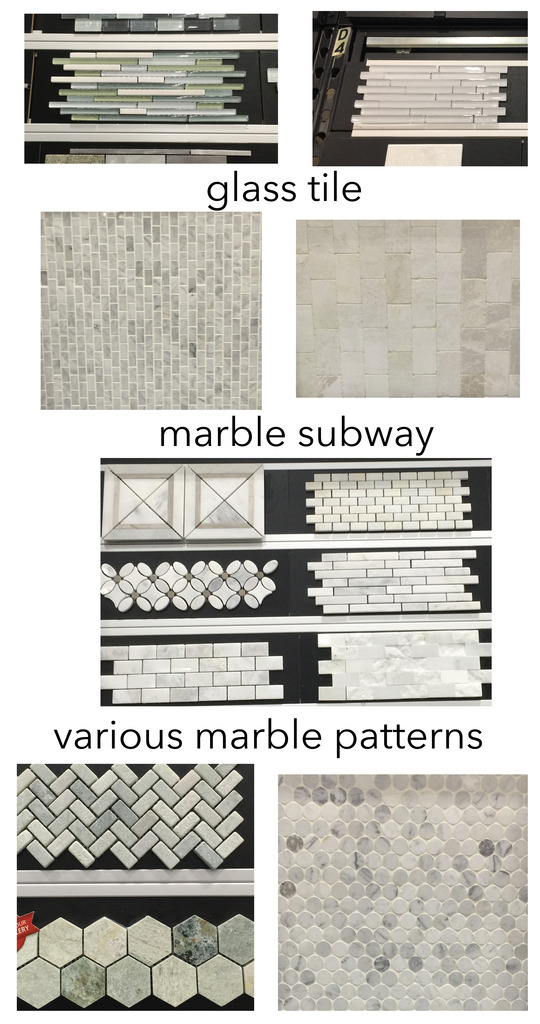
(glass tile, marble subway tile, marble decorative tile, penny marble)
After considering the options for HOURS, we narrowed it down to these four….three that had more of a ming green marble (brick pattern, herringbone, and the diamonds) and one true carrara with a penny shape (they are actually more like silver dollar size). Jeremy ruled out the diamond because he felt like it was more of a bathroom/kitchen look (I know, I know). And then Will said that he was gonna pick. I didn’t tell him no because I think it’s good if he is heard…sometimes 🙂 He said “We should pick this one because it’s the pretty color one and because it’s the easy one.” The more I got to thinking about it, the more he was right. The kid may be five but dude is a genius.
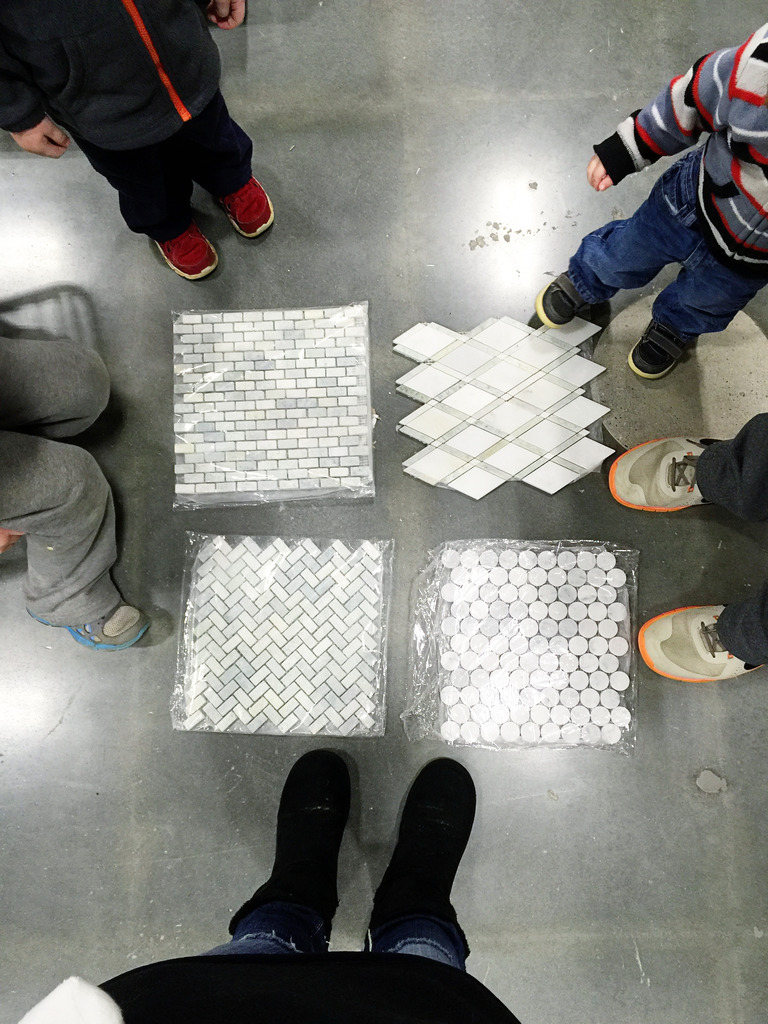
We purchased all of our supplies (including a marble outlet cover…can’t forget those!) and our tile and headed home to prep the space.
STEP 2 – Prep your space
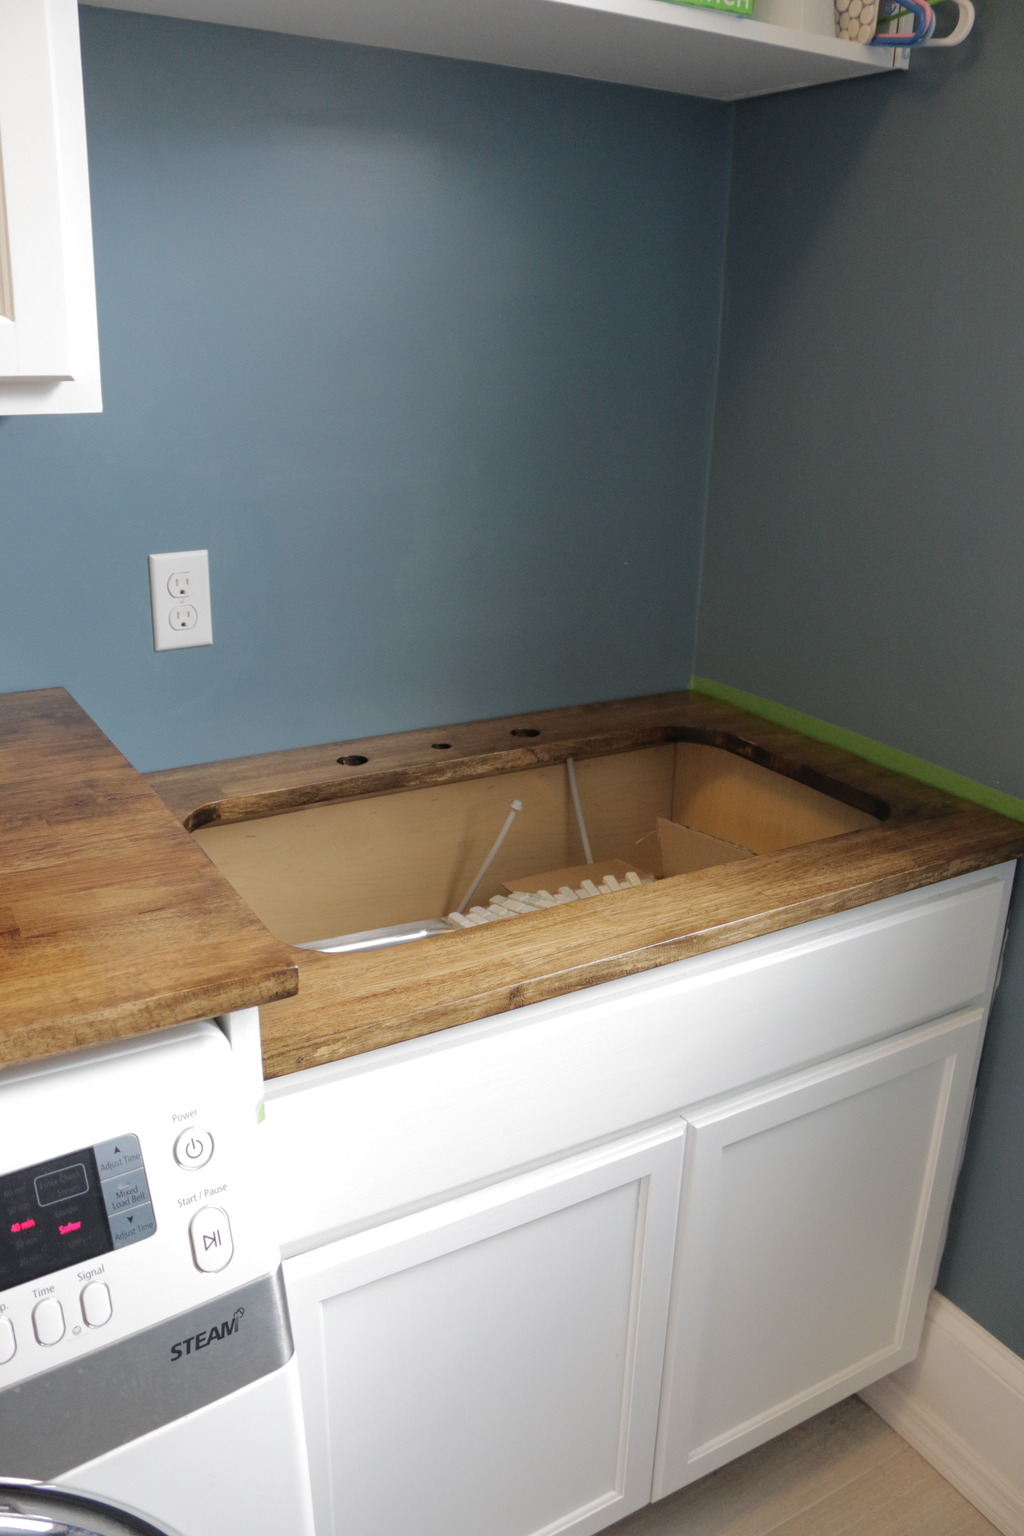
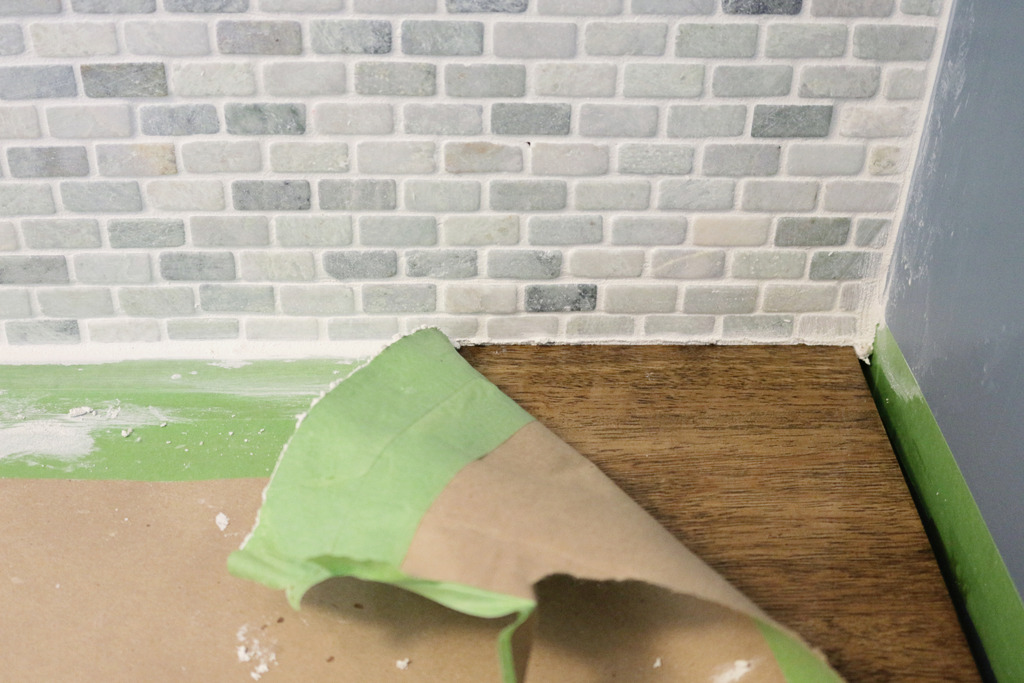
We used protective brown paper and tape to protect our newly finished countertops. You can also use cardboard. Make sure your tape isn’t going under the area where the tile will be – it needs a little margin so that you can remove it cleanly later without messing anything up.
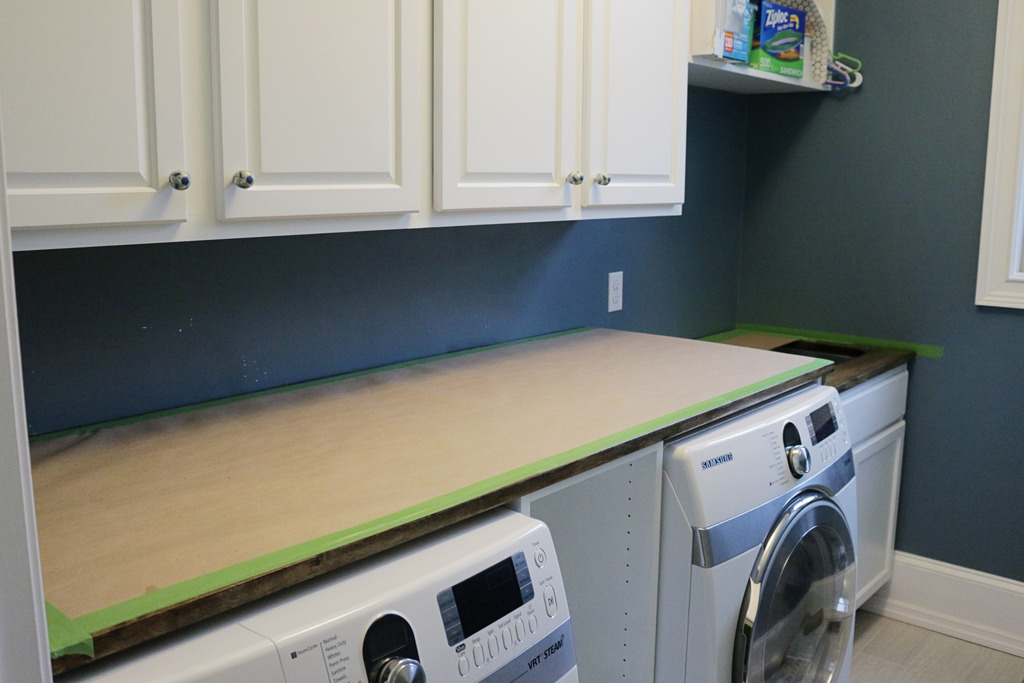
STEP 3 – Decide on your start point
For most backsplashes, there will be an obvious starting point….like a wall or an opening over a cooktop or sink. You will want to mark center and go out from there. In my case, my individual tiles were so small and adhered to a mesh sheet to make it 12″x12″ so I knew that it wouldn’t matter if I centered them on the sink faucet. I began my starting point on the corner next to the tape and went from right to left.
STEP 4 – Use the right adhesive
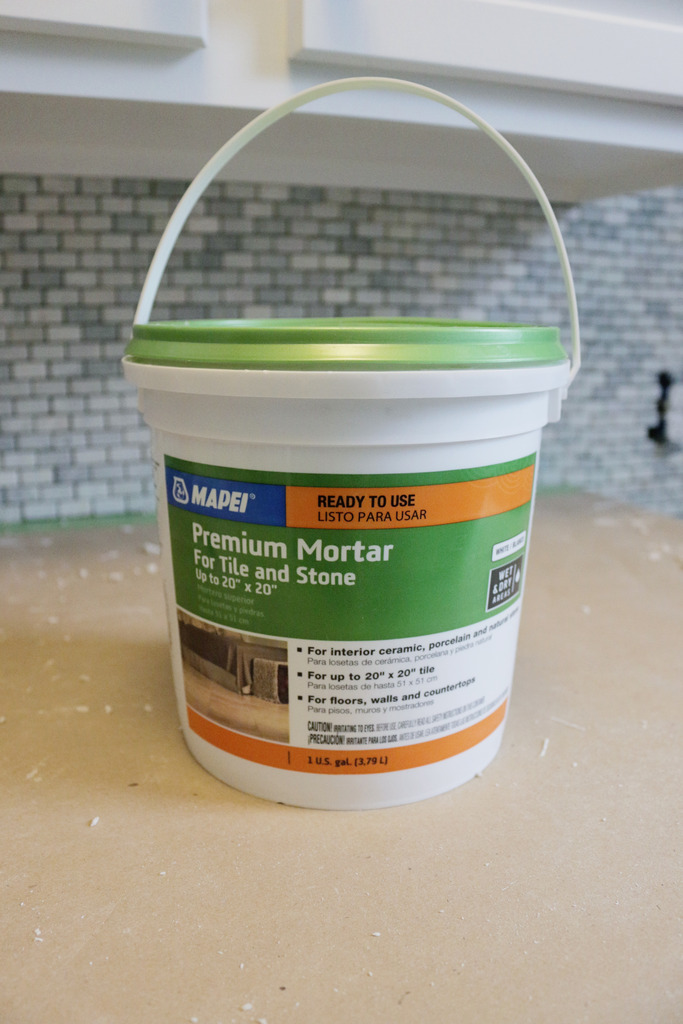
For most backsplashes, you will be able to use a mortar. You can get this premixed and it is literally foolproof. This is my favorite brand and you need to make sure it works for your application (backsplash) and your material (ours is stone). Other adhesives can say “adhesive” but a mortar is for vertical surfaces….this is important! Also make sure you know if your surface will be exposed to water or not….like if you are doing a pet shower…this will make a difference.
STEP 5 – Gather your tools
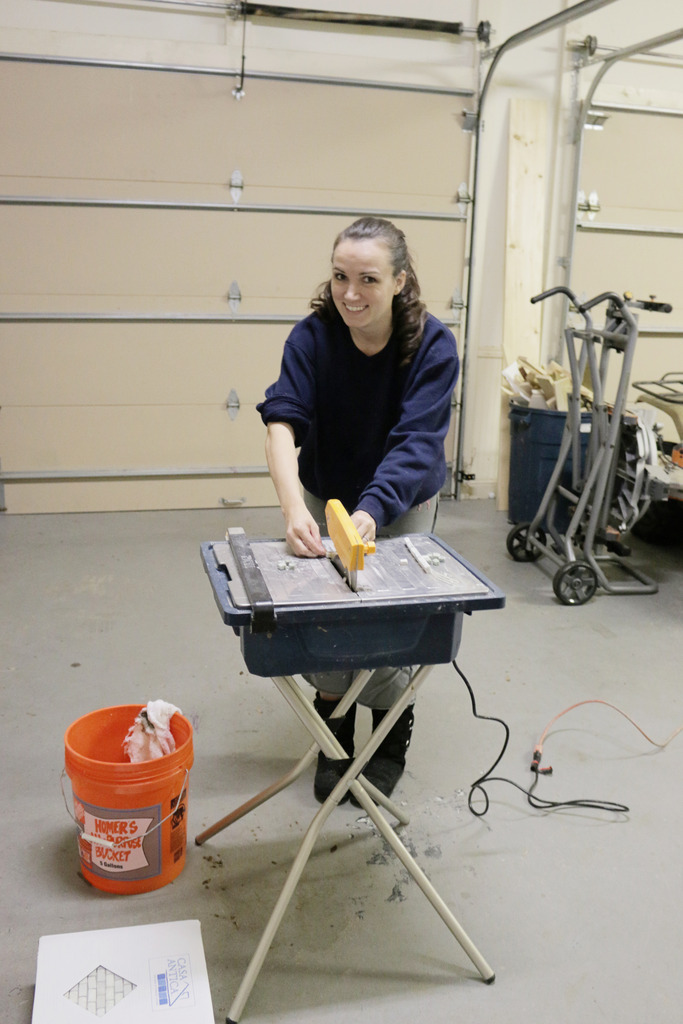
For a backsplash, it is really important to use a v-notched trowel. You will also get out the tiling float (to press the tile flat), spacers, a few towels, scissors (for cutting the mesh back), screwdriver (for removing any outlet covers), a small old toothbrush (for removing any excess mortar), and your method for cutting the tile. I use a wet tile saw and feel like it’s definitely worth the investment if you are going to tile more than one room in your life.
Also – what the heck am I wearing?!
STEP 6 – Spread on the mortar
Using the flat end of the trowel, smear the mortar on your wall. You will really need to press it onto the wall so that it adheres and then create a thin flat layer. Switch your tool around and use the notched side to pull the mortar and create little mountain tops. This can be done if you hold the tool at an angle. You will need an even notched layer of mortar to push the tile onto.
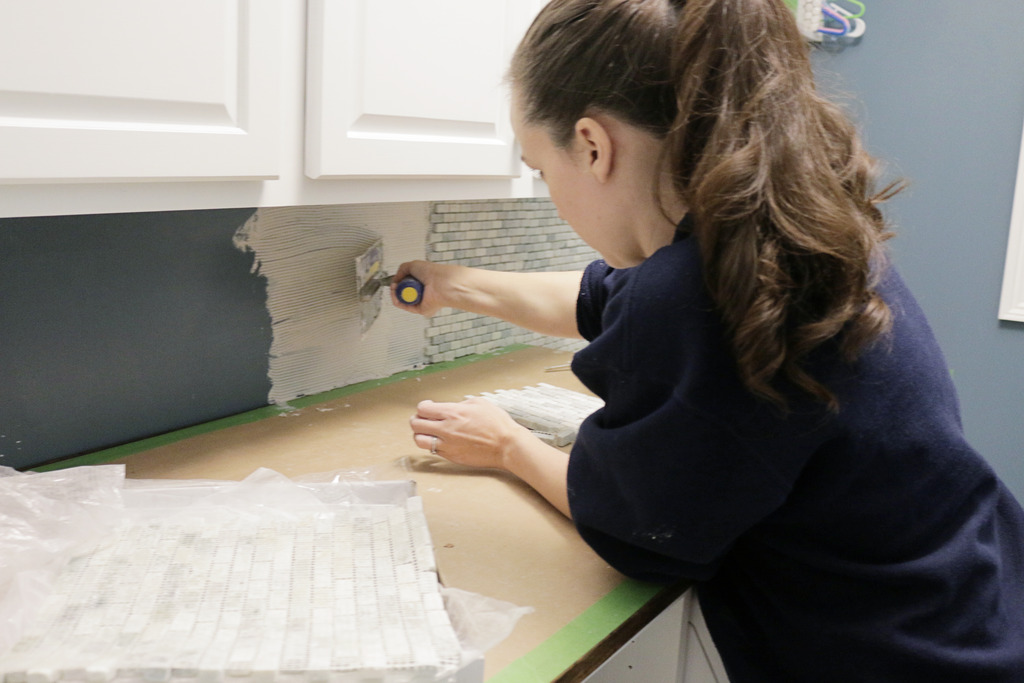
You can see below that the top area of the mortar looks more even and the bottom looks a little thinner in spots and thicker in spots. You want the whole area to be even. And the space for your entire 12×12 needs to be covered.
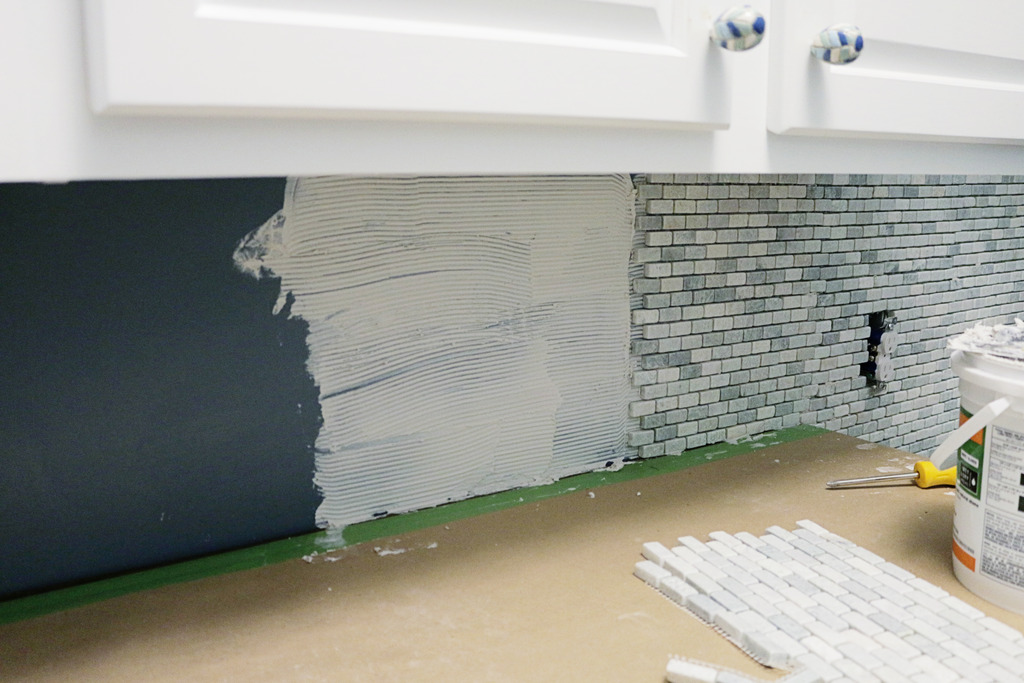
STEP 7 – Place your tile
Starting from the bottom, you want to place the tile closely to the neighbor and then roll it up and into place. After that, you can manipulate the space between that sheet and the neighbor by pulling it gently away to create perfect spacing. Make sure that before you put your tile in, you remove any excess mesh with your scissors. Also, make sure your tile is the right color variation. You can plan out your tile layout before hand if you want.
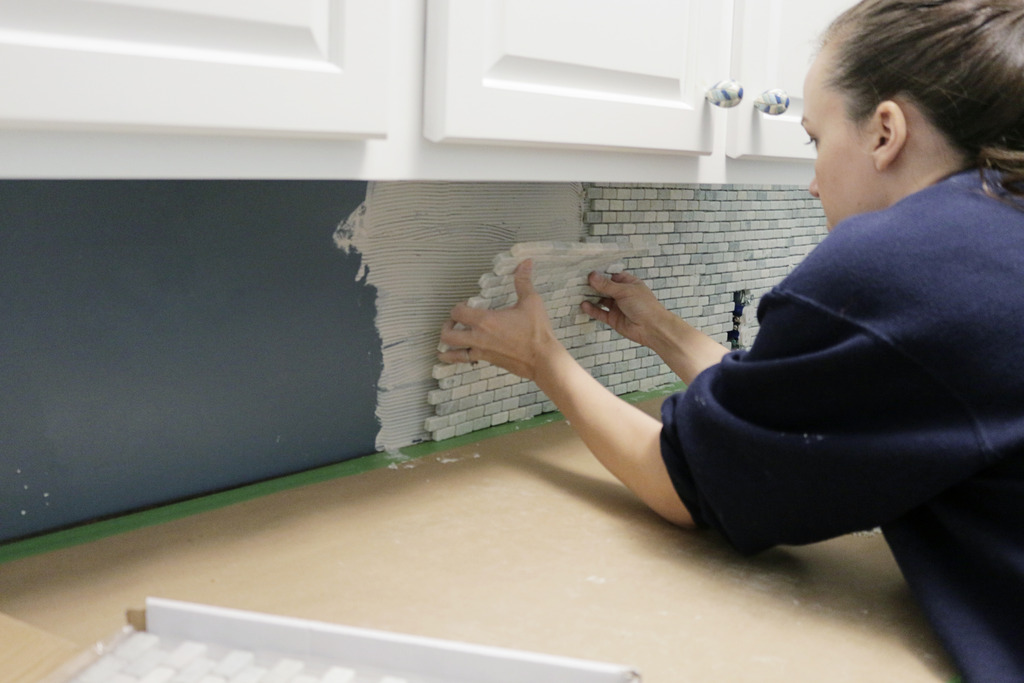
STEP 8 – Push your tile into place
Using your float, push your tile firmly into the adhesive. Since I was working with mosaic here, it is important that EACH AND EVERY tile gets properly adhered.
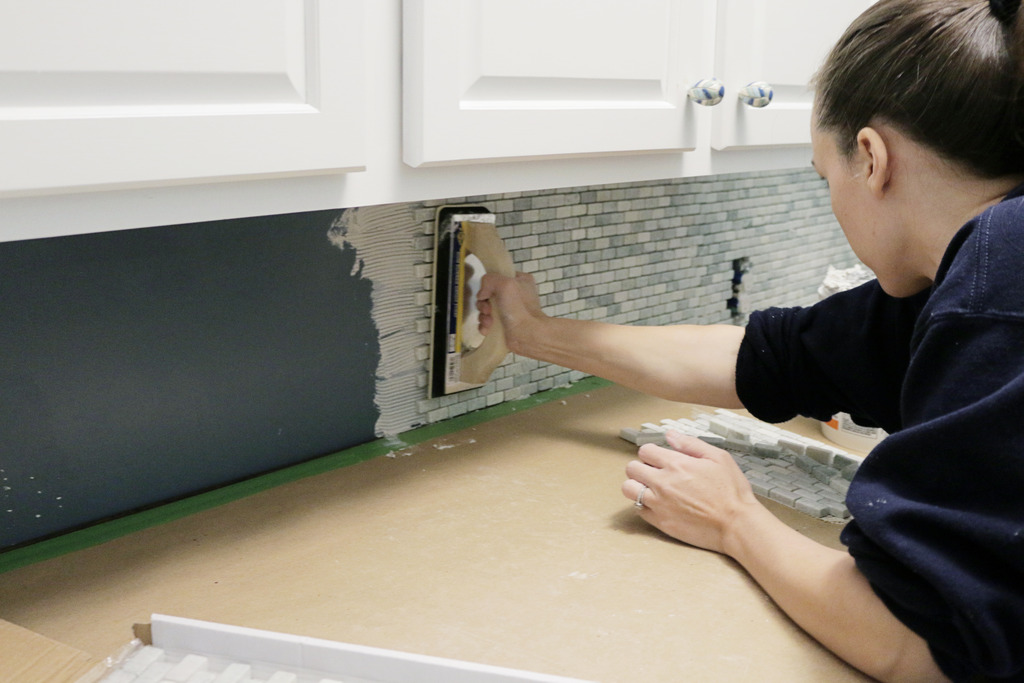
STEP 8 – Fill in the gaps
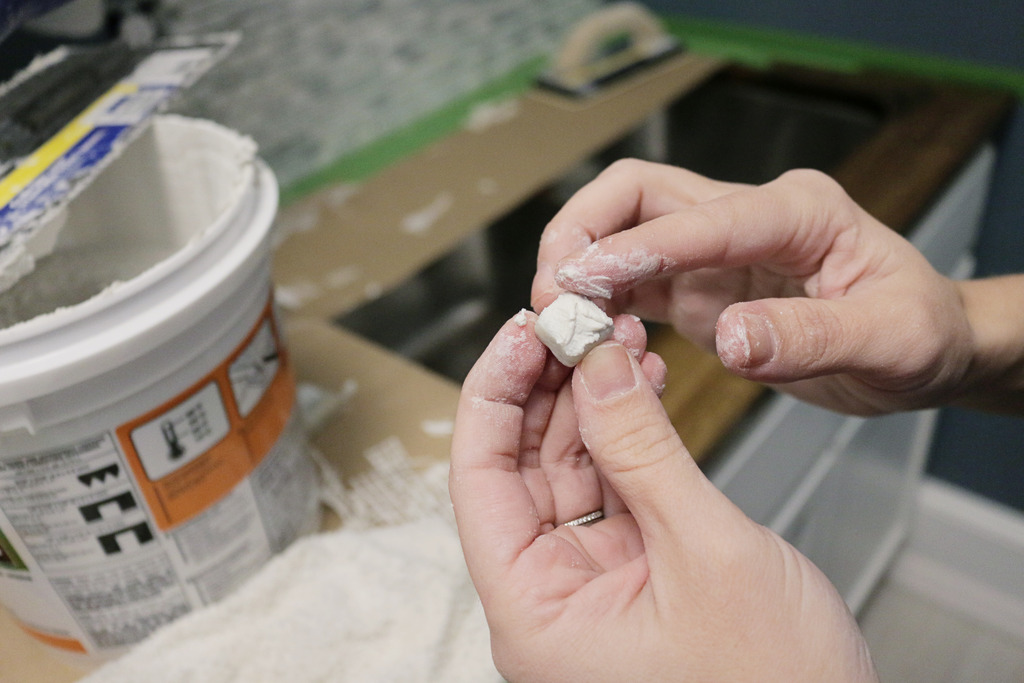
On all tile jobs, there will be gaps that need to be filled. Use spare tiles to fill these by cutting them with your tile saw.
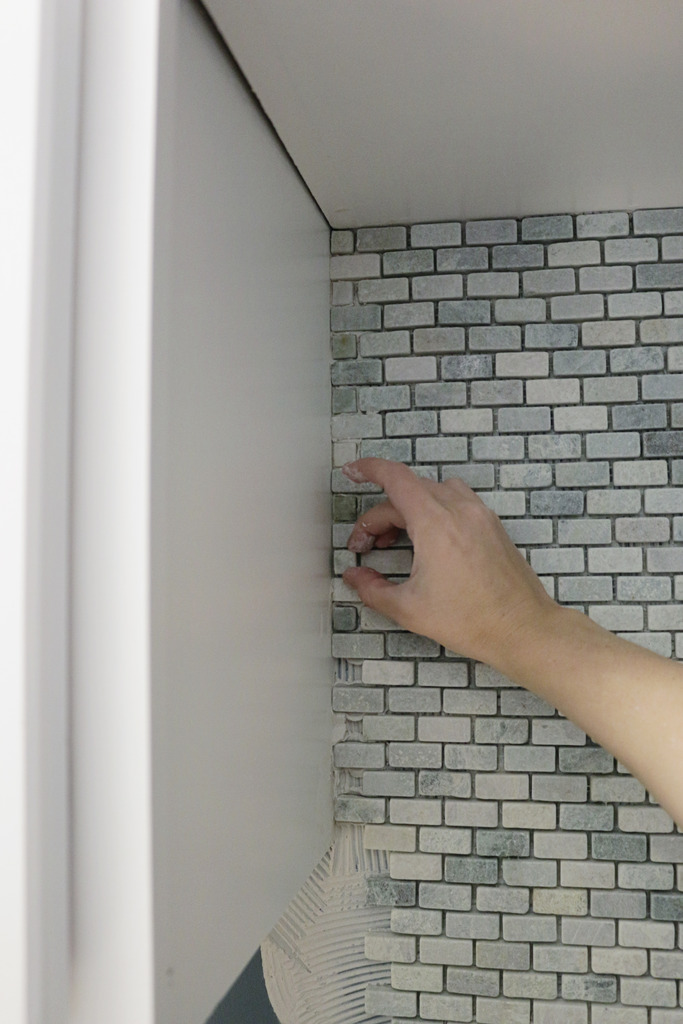
I ‘backbutter’ the tiles with a little extra mortar and then push them into place.
STEP 9 – Clean up
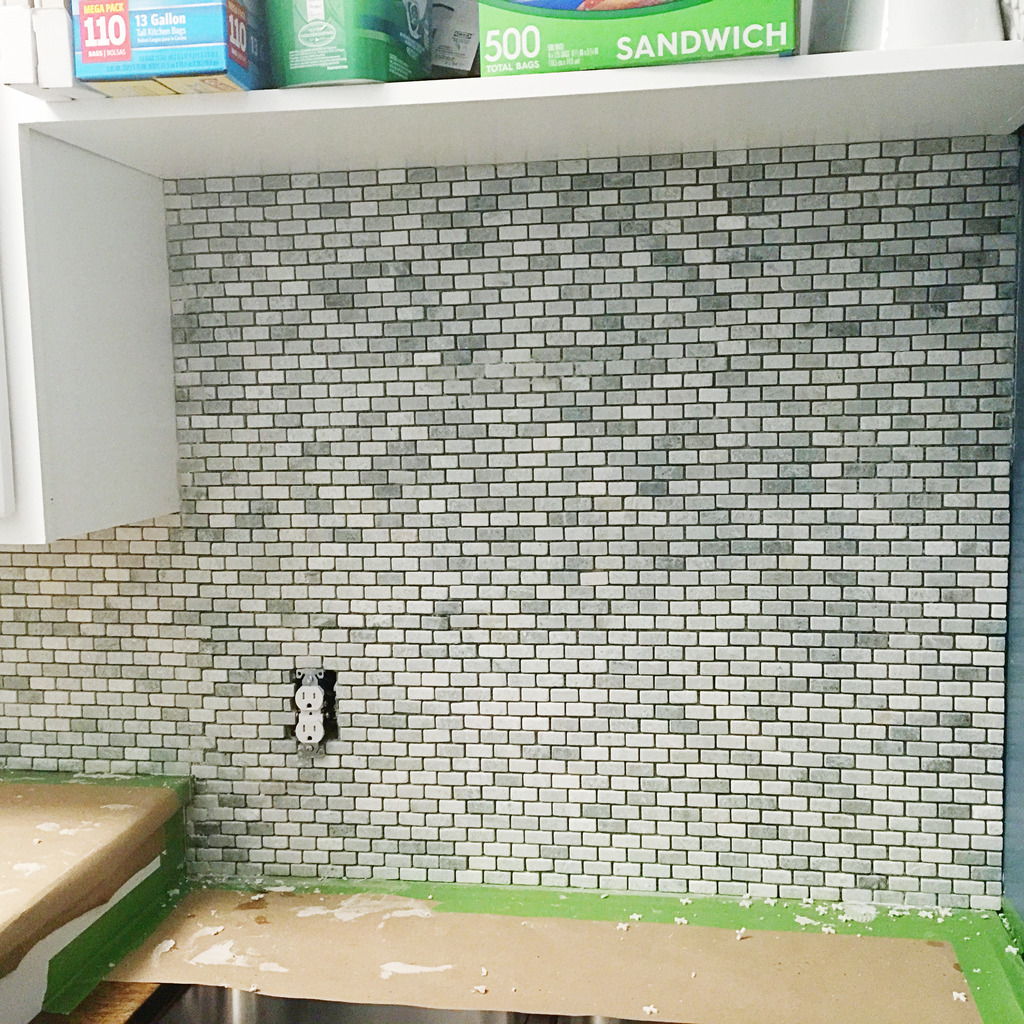
After your tile is installed and it has a chance to set up (I waited about two hours), I went back with a small toothbrush and skewer stick and scraped out the excess mortar that was in the grout lines. It’s best to do this when it’s not fully dried because it can be a huge headache.
STEP 10 – Wait
It’s gonna take a little time to fully dry. You will need to wait 24 hours till your next step. Go get a pedicure. Get a massage. Eat bonbons. Wrestle an alligator. Climb Mt Everest. I did all of that 🙂
STEP 11 – Grout
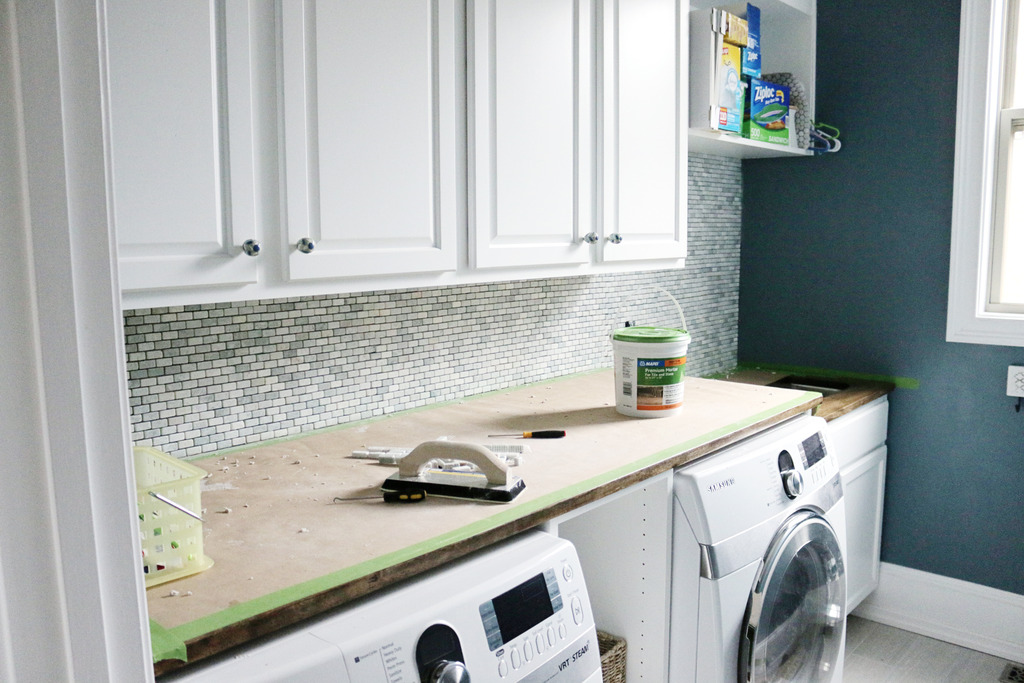
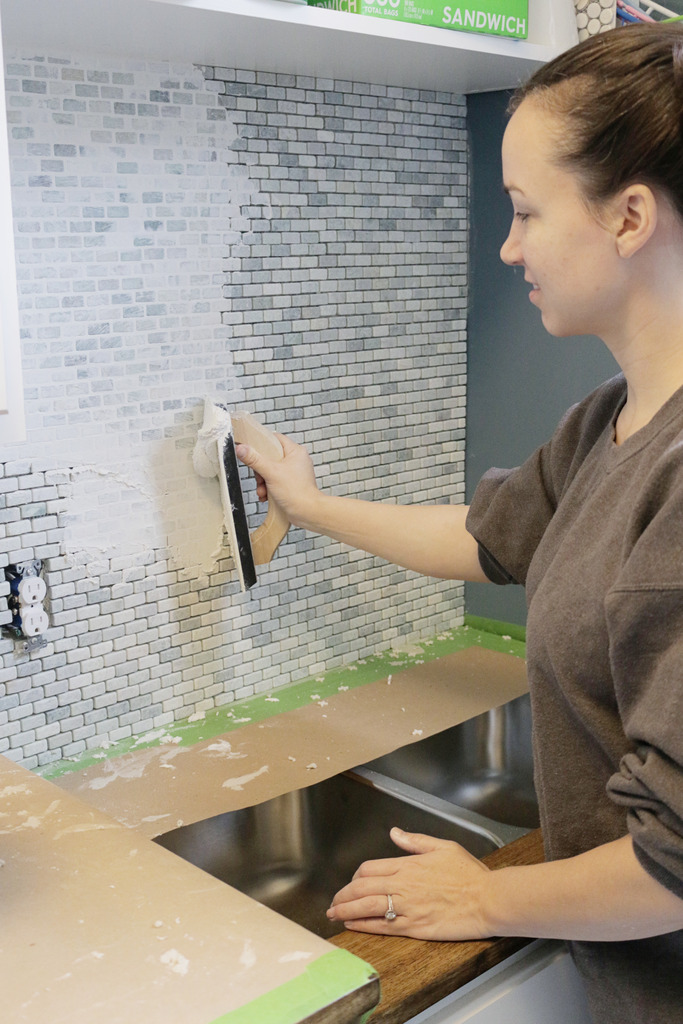
I know you are fully rested from your epic mountain climbing, but its time to get back to work. Break out the float and the grout to fill in those cracks.
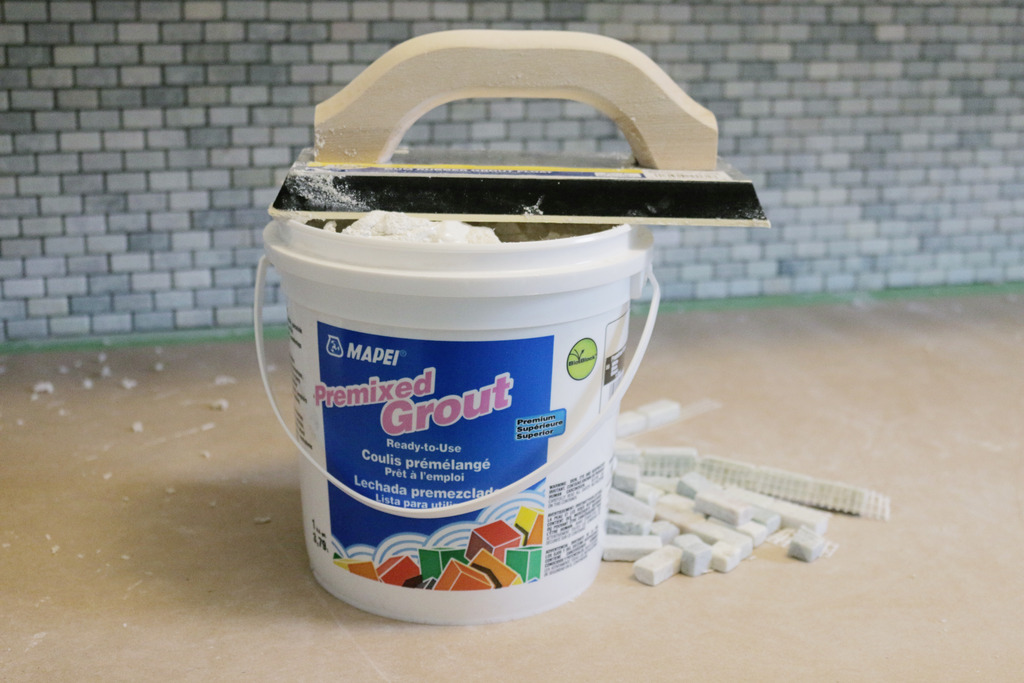
This is really gonna take some muscle, but it’s super fun to see the tile transform. You just get a bunch of thinset and push it into the cracks between the tiles. I push it in while using a wiping motion with the side of the float. Then I do it in an opposing direction to really make sure it is filled in well. No makeup is needed 🙂
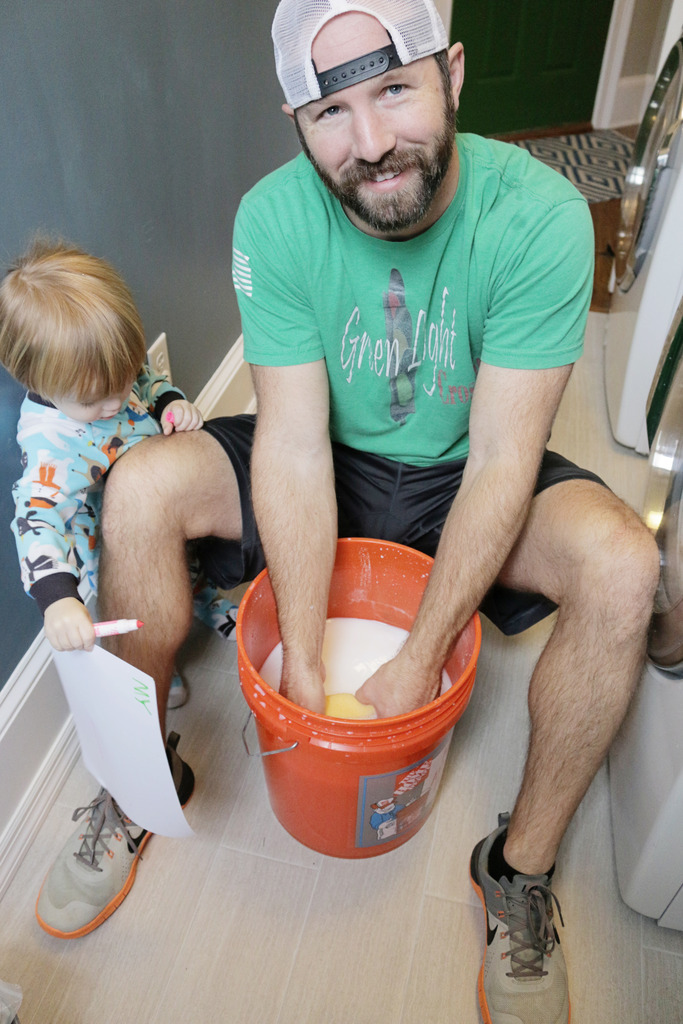
After you do about two square foot area filled, it’s time to wipe the excess off. You will need a bucket, a couple sponges and some serious forearm strength. Those sponges will need to be slightly damp when you wipe the tile surface. Simply wipe off the excess with 1-2 passes and then switch for a clean sponge. This is why my bearded wonder is on bucket duty – one of us would be wiping while one is rinsing & squeezing.
DANGER WILL ROBINSON. ONE YEAR OLD WITH MARKER ON THE LOOSE!
Here’s what a difference grout can make….this is the before and after…
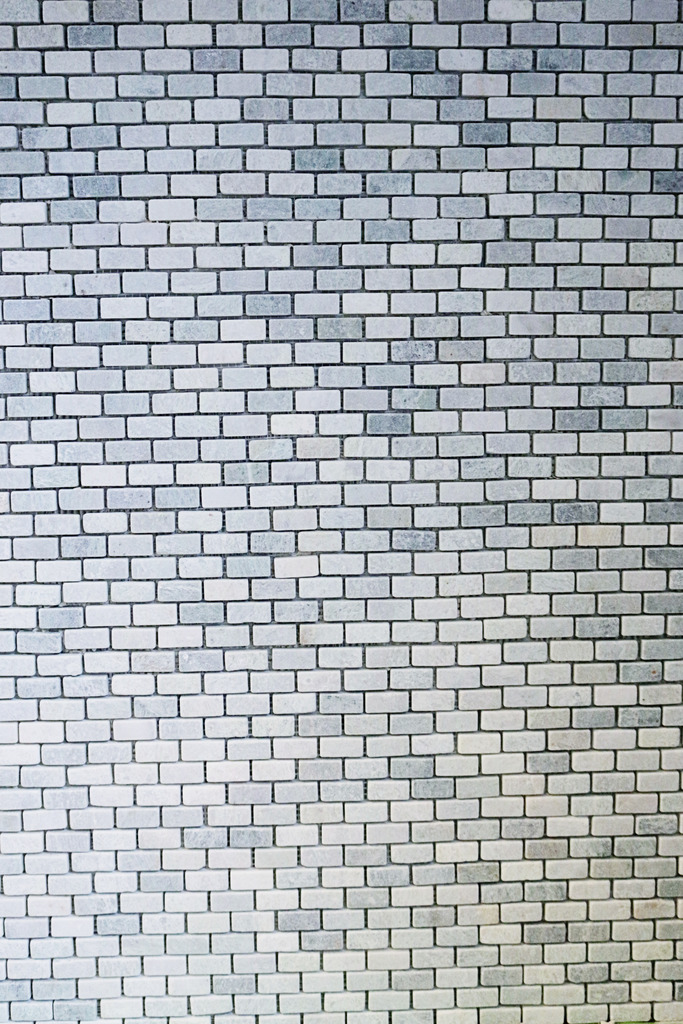
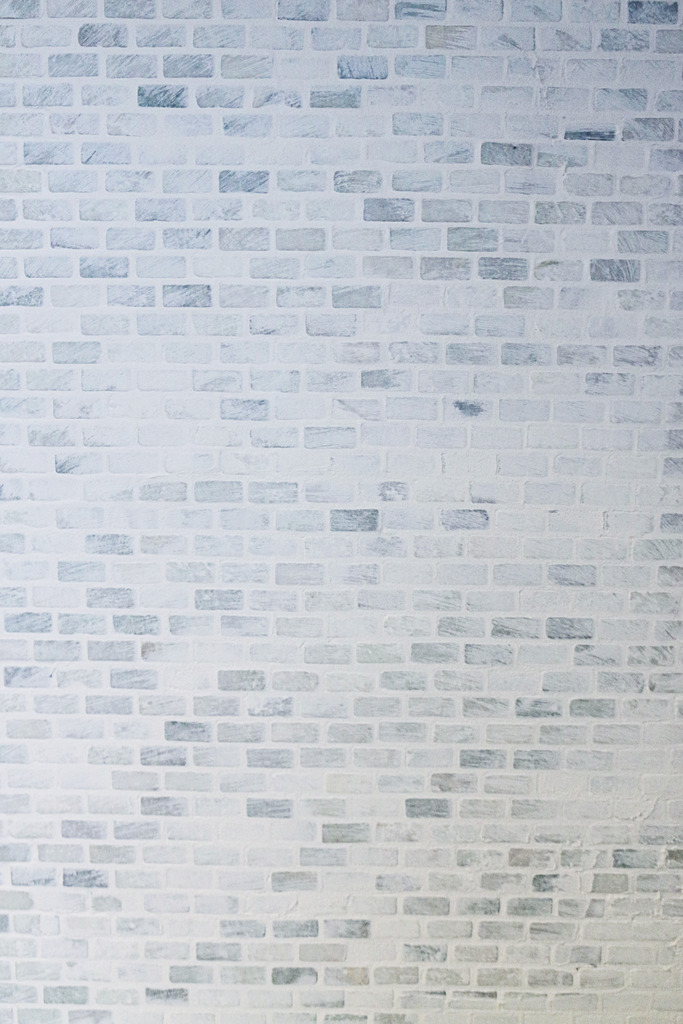
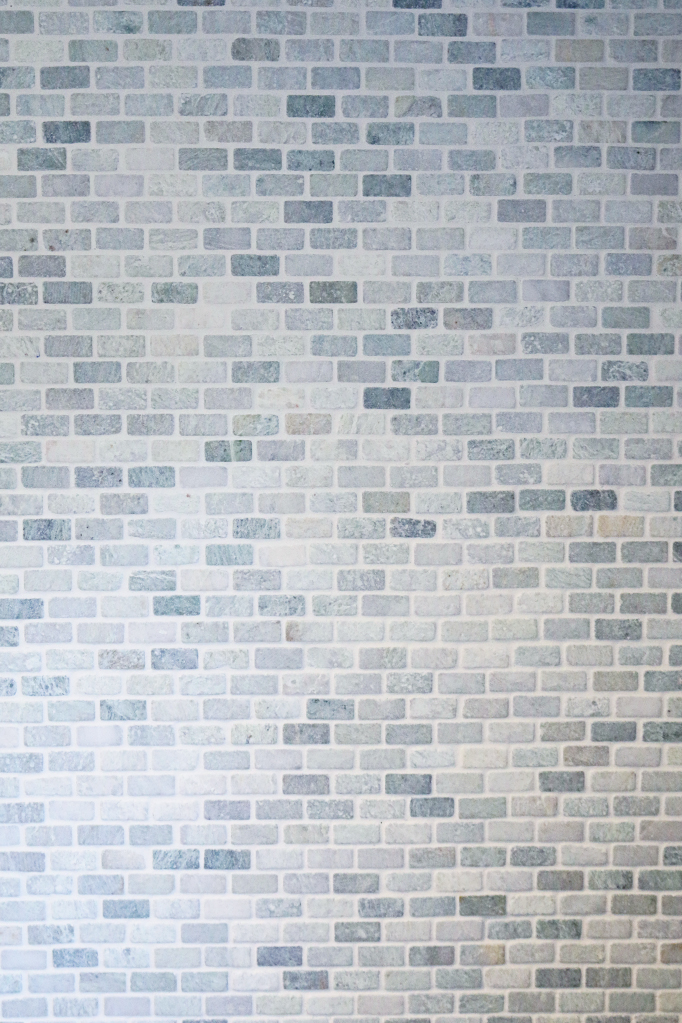
Once you wipe off the excess, you can remove your paper and tape to reveal a clean grout line.
STEP 12 – Clean up
You are in the home stretch! All you need to do is some cleaning and sealing and you are done with your new backsplash! Most times, grout will leave a haze. You will want to remove that from your tile. It’s especially important if you are doing a polished or glass tile because it will be very evident. There are haze removers that come in the spray form but I find with a unpolished natural stone that it can cause color issues so I use regular ole fashioned soapy water. I also love a scrubby pad to help.
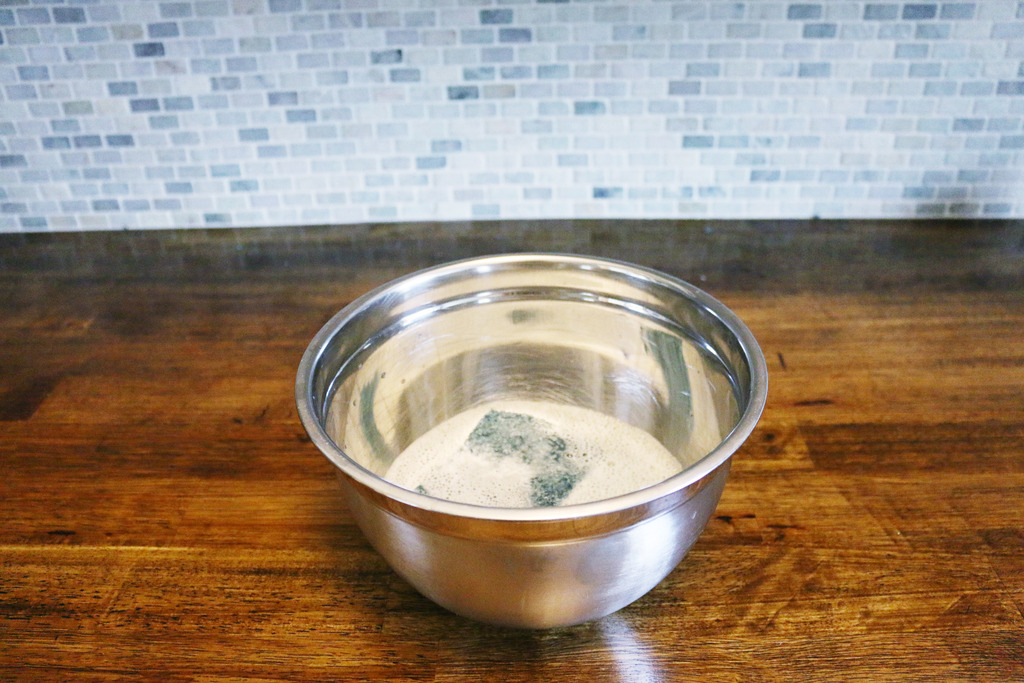
The top right section has been de-hazed. Do you see the difference?
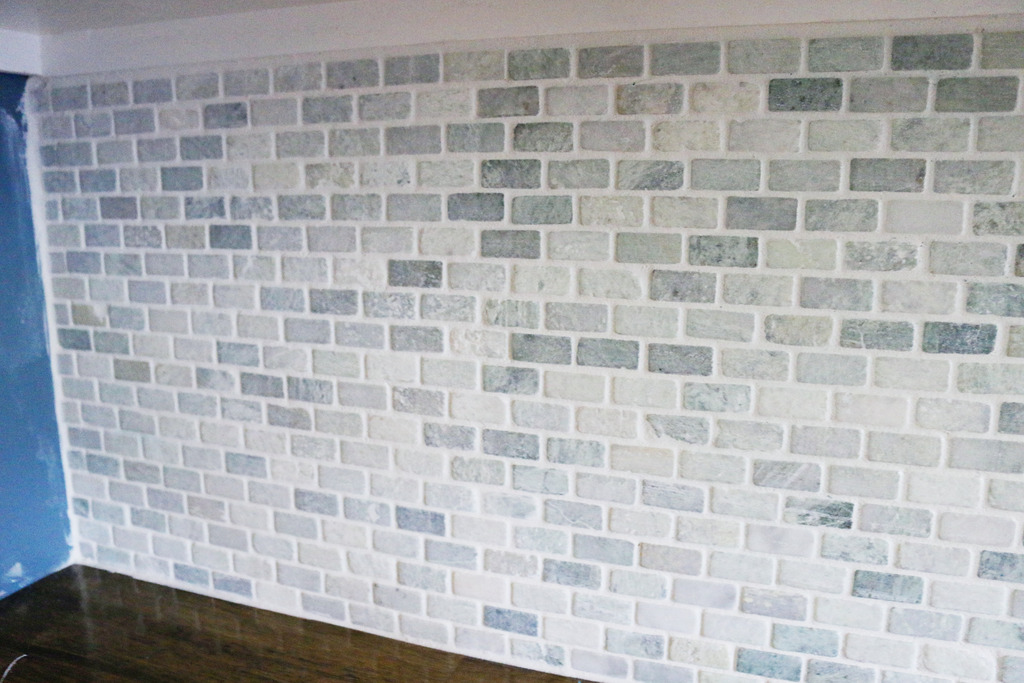
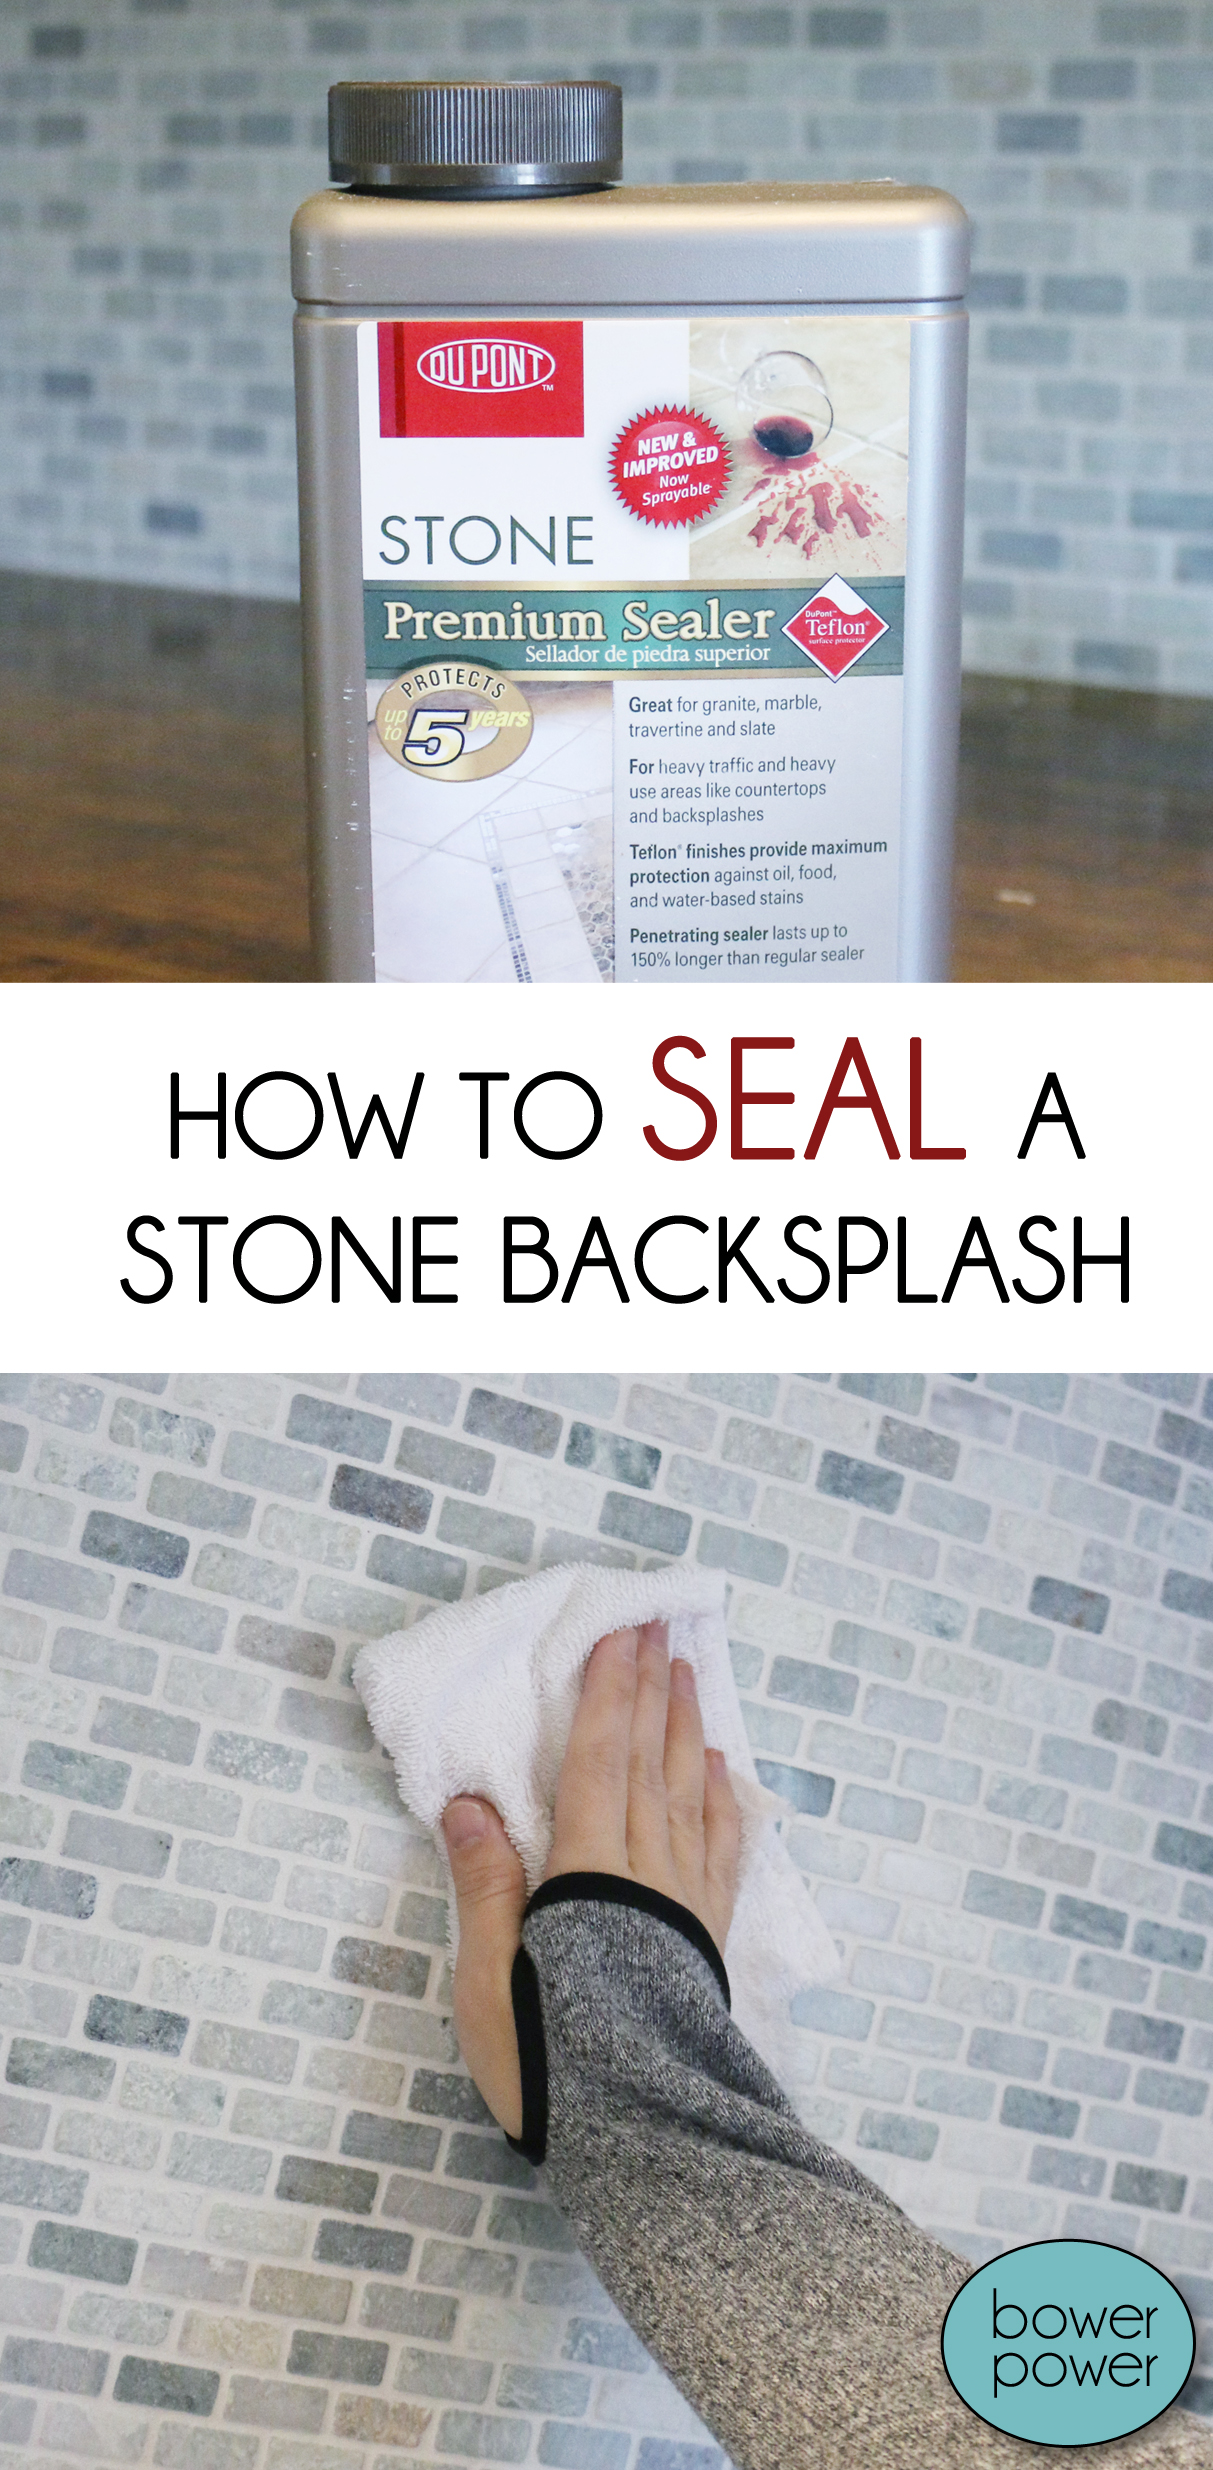
After the tile has been cleaned and the haze has been removed, you can seal your tile. This is super helpful for future cleanup. If you haven’t sealed your grout recently, you may want to! Just clean your tile and grout very well.
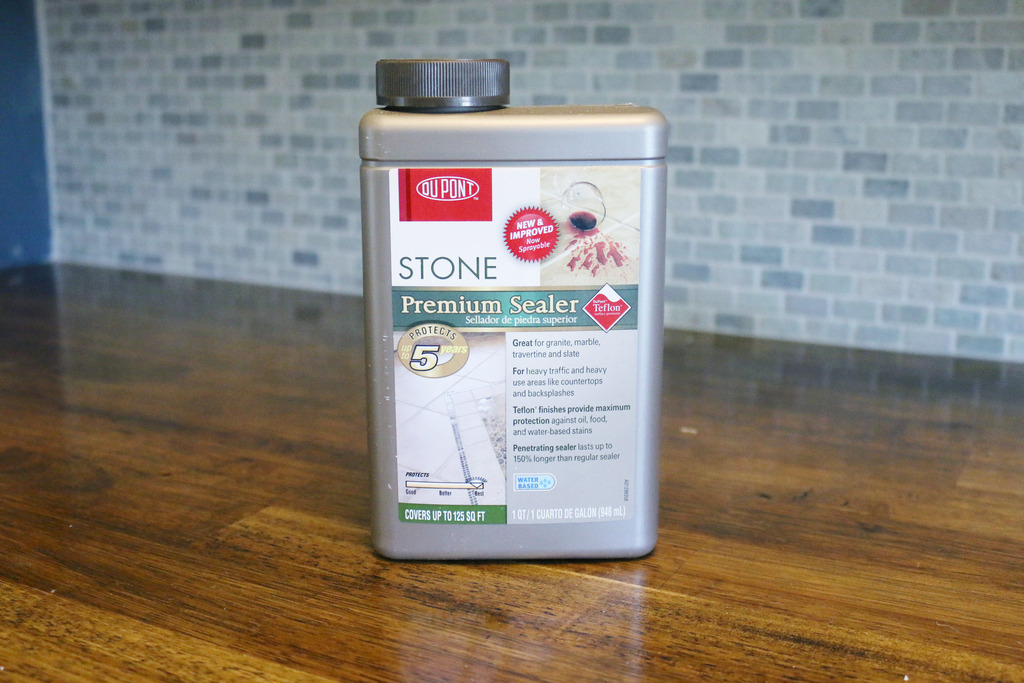
Then wipe on or spray on your sealer. It will help keep those grout lines white and makes clean-up a breeze. Go do this around your toilets. I promise you, it helps with cleaning time!
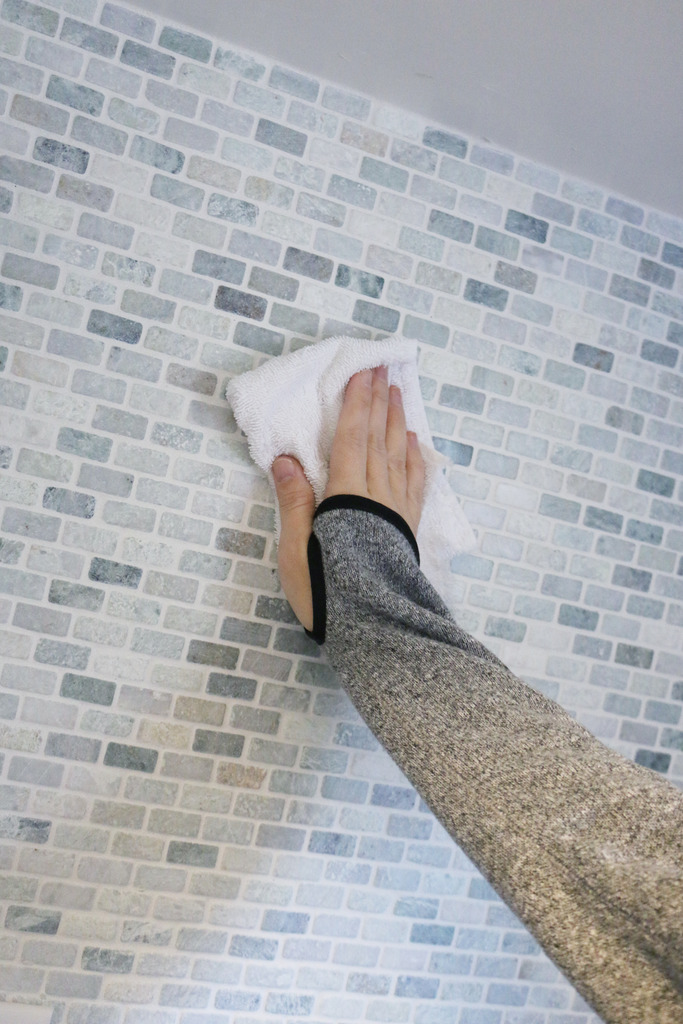
The last step is to enjoy your new backsplash. You may need to caulk around the edges and instal those outlet plates back but in general, you are DONE.
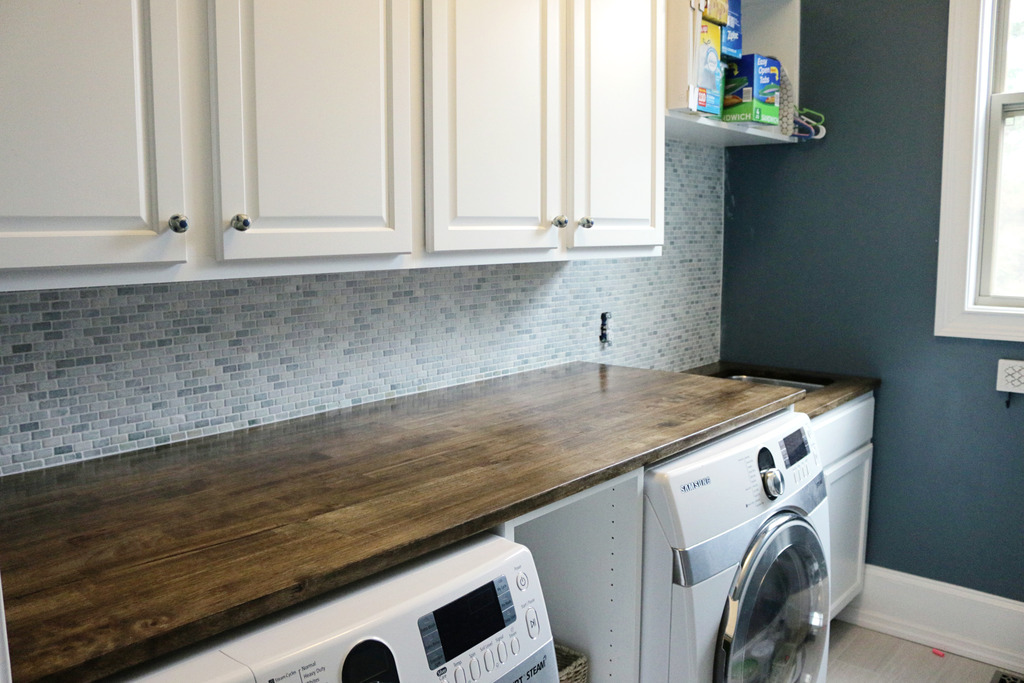
And I gotta say – Will was right about this tile. It’s not the classic marble colors but it is a classic shape and pattern which helps make it feel like it could be in style forever.
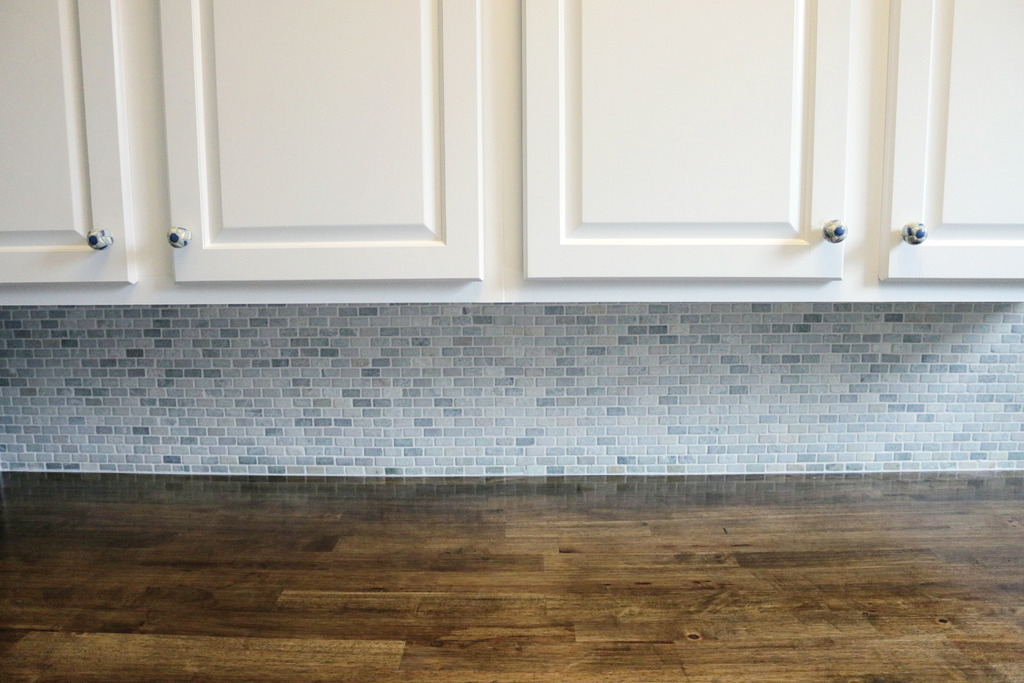
And let’s be honest, this is just darn beautiful. The five year old was right.
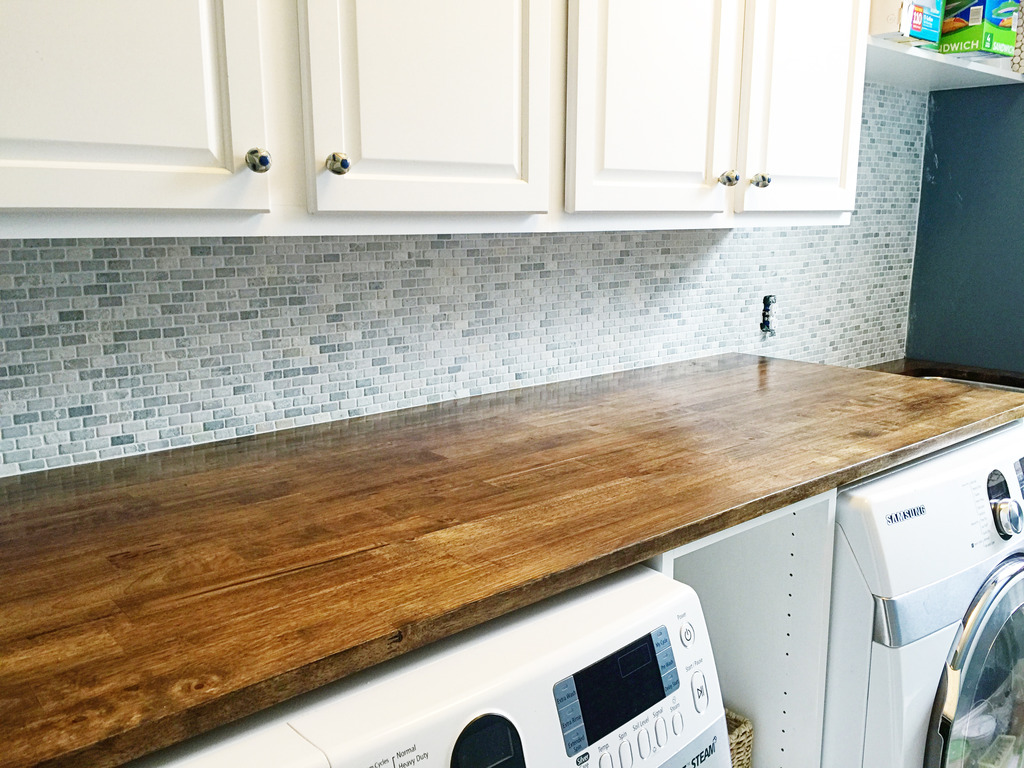
Now to go back to Floor & Decor because I saw some tile in there that would be perfect for our first floor bathroom! And our master fireplace. And our boys bathroom. 🙂
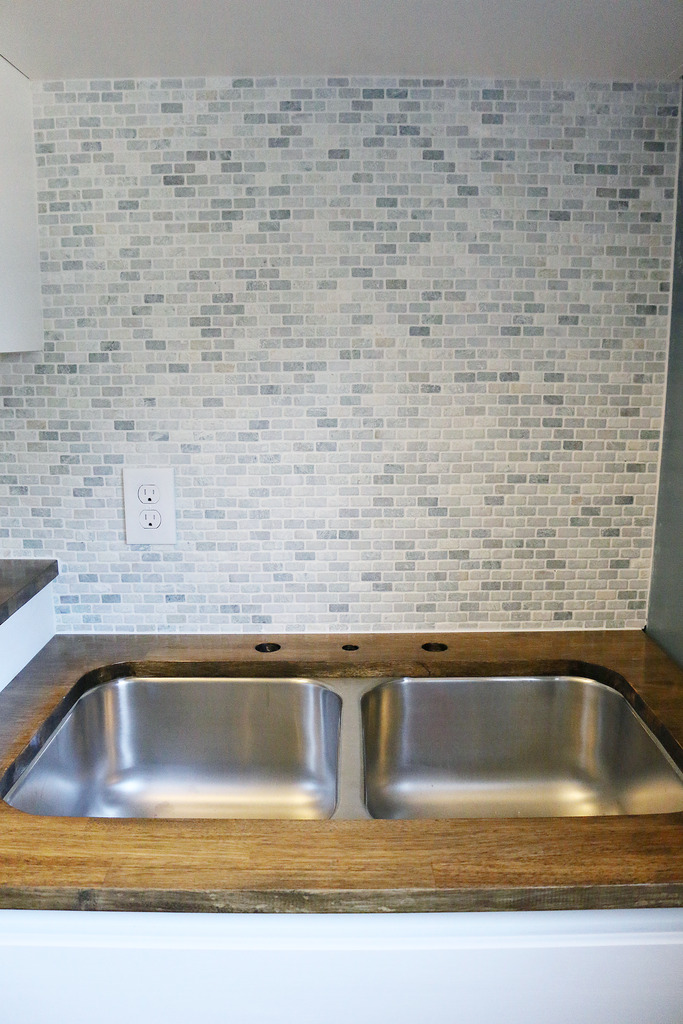
If you want to catch up on the past laundry room posts – here are the oldie posts….
Laundry Room Posts
- Laundry Room Befores
- Venting a hood
- Demoing the Floor
- Painting the walls
- Painting an Ombre Wall
- Painting Cabinetry
- Installing Floor Tile – Part 1
- Installing Floor Tile – Part 2
- Building a Door
- Fixing the Dryer
- MDFing and A new Cabinet
- Countertop installation
And if you are looking for tile, I highly recommend checking out the selection at Floor & Decor. They have so many options in grout color and decorative tiles and all the STUFF – plus you can purchase right there and be tiling by the time you get home. No waiting weeks to get that backsplash done. I told Jeremy “WHAT THE HECK?! WHY DIDN’T I DO THIS MONTHS AGO!?” and truly I am crazy for not getting this done sooner. It’s gonna make scrubbing those dirty clothes so.much.fun 🙂
*******************************************************************************************************
*This post contains affiliate links.
Floor & Decor please come to Minnesota!!!
Beautiful! How the crap do to get stuff like this done with 4 kiddos??? I have a 2 year old and a 6 month old and sometimes it takes me all day just to put away a basket of laundry!! 🙂
So pretty! Go Team Will! Good selection. It looks amazing with the beautiful wood countertops. You are tilemasters at your house for sure!
Gorgeous!! Also, this is like the second time you have ever tiled and not been pregnant?! (Just kidding! I just remember being huge pregnant and thinking “how the heck does KB do it?!?”)
I actually took a pregnancy test before tiling this backsplash because I wanted to make sure I wasn’t pulling another ‘surprise’ 🙂
xo – kb
How were you able to tile on drywall? For some reason I thought tile had to go on backer board.
Looks great! I would love a tile backsplash that looks like that! How hard is it to remove an existing backsplash? Feel my previous one of tumbled travertine (installed by pros) in a traditional brick pattern looks like…..well, bricks. To me the grout lines are too wide. Felt they should be narrower to look like subway style. I also feel they may have used a larger size tile than I originally picked during construction. We were long distance and a lot of time between choosing and completion so who knows? It’s just a very vanilla looking backsplash to me. Blah! Any suggestions?
How come the wall to the right of the sink isn’t tiled? I’ve never tiled so maybe I’m just clueless but that seems like an area I’d want tiled too since it’s also right by the sink.
Just Love those Crazy Home Do-It-Yourself Projects! So Glad I found You!
Happy New Year!
http://doodlet.me/2015/12/reflections/
I think it’s one of those things that I view as optional. Some people do tile it, some don’t tile anything…anything goes. I don’t anticipate that area being exposed to water as much (that side will be our soaking side) so we gambled for the sake of looks 🙂
xo – kb
Not with backsplashes. Tile can go directly on drywall if it isn’t water exposed.
xo – kb
You maybe able to get away with little to no drywall damage but it’s highly likely. When we did our backsplash, we removed the tile and the drywall and redrywalled it so that we knew it would be level. Here is the link.
xo – kb
Absolutley gorgeous! Makes me want to tackle my laundry room re-do!
This gives me a little hope that maybe I could wall tile… our kitchen reno is so far off I don’t need to worry about it, but I’m torn between tiling around our bathtub and getting one of those vinyl surrounds put in. I’m scared to do anything that would leave my family of four without a shower for multiple days though; that is a scary thought!
You really are a certified tilemaster! How did you do it? Simply amazing.
It would definitely be a little time to tile but I think it’s so worth it! The tile options are endless and so beautiful!
xo – kb
You know, I’m really impressed with Will. Most little 5 year olds would say this is pretty , but how many would be perceptive enough to comment that a certain one would be easier? That is forward thinking, and it’s pretty awesome 🙂
Dude is impressive. He just made his first DIY project (he made it up) and wanted to video it and everything. We helped him create a video and I can’t wait to show yoU!
xo – kb
Love your laundry room! How did you hide the washer hookups. Did the counter allow you to have the hookups just below or did you have to move them down? Thank you.
Hi! Your laundry room is about the same size as mine and same configuration too! I missed the post where you moved all your electrical outlets. I can’t seem to find it in the links that you posted in this post either! Would really appreciate it if you could give me the link as our outlets are also pretty ugly and I would love to move them and do a backsplash!
We had to move some electrical and we made our hookup box just slightly smaller but that’s it. Here is the post about it.
xo – kb
Here you go 🙂
xo – kb
Perfect and gorgeous choice! I love the color variations of the tiles. Ties the room together expertly! And thank you for the tutorial on how to go about doing this. Very helpful for newbies to this whole tiling thing. 🙂
Hi Katie! So glad I found your blog. I was wondering what wet saw y’all have…assuming ur hubby did a ton of research on that like he did his yard tool … Lol. We are attempting a backsplash Reno and then tackling bathrooms like u did with your HD project on your blog.
I have the Ryobi wet tile saw – it has a stand that makes it easy and it’s very affordable!
xo – kb
This turned out so beautifully. I love your tiles paired with the wood counter tops! While I’m sure it takes some elbow grease, this process looks pretty straightforward and easy to DIY. I’ll have to keep that in mind in case I want to replace my backsplash or add some tile to a space. Thanks for sharing!
Did you do the wood countertop yourself or did you buy them?
We did it ourselves 🙂 You can search butcher block counters on the blog to see more info!
xo – kb
I just wanted to say Thanks Katie. I bought my 1st house last July and the kitchen was horrendous. I didn’t have a lot of extra money to hire someone to renovate it so I decided to do it all myself. I had put off the backsplash (there was none) because I thought it was going to be difficult. Your post gave me the courage to try and I followed your guide on tiling and my kitchen backsplash turned out great. I couldn’t be happier.
YASSSSS! You did it! I am so excited for you and literally I’m gonna tell everyone that story today!!! So so happy for you! I always say that anyone can do it (if I can, it can’t be that hard!) and you believed in yourself and did it!
xo – kb
I have been using this tutorial for my first tiling project. My kitchen backsplash! I found it very easy to follow and with very useful/thorough instructions. Thanks so much!
Yay! SO glad that you are tackling tile and that this helps! You got this Mandy!
xo – kb
Wow, that looks amazing!