The biggest thing I learned with the guest bathroom shower project was how important it is to seal little tiny cracks. One tiny crack = big gross problems. That same equation applies to children. Just sayin…
So anyhoo…today’s post is a continuation of the last guest bathroom post where we talked about the way to make cracks and seams in cement board a thing of the past. Basically you need a thinset mortar and seam tape. Seam tape is a thin slightly sticky grid-like tape that you put on the seams to make two smaller boards act like one big board. You ‘glue’ it with a mortar sandwich.
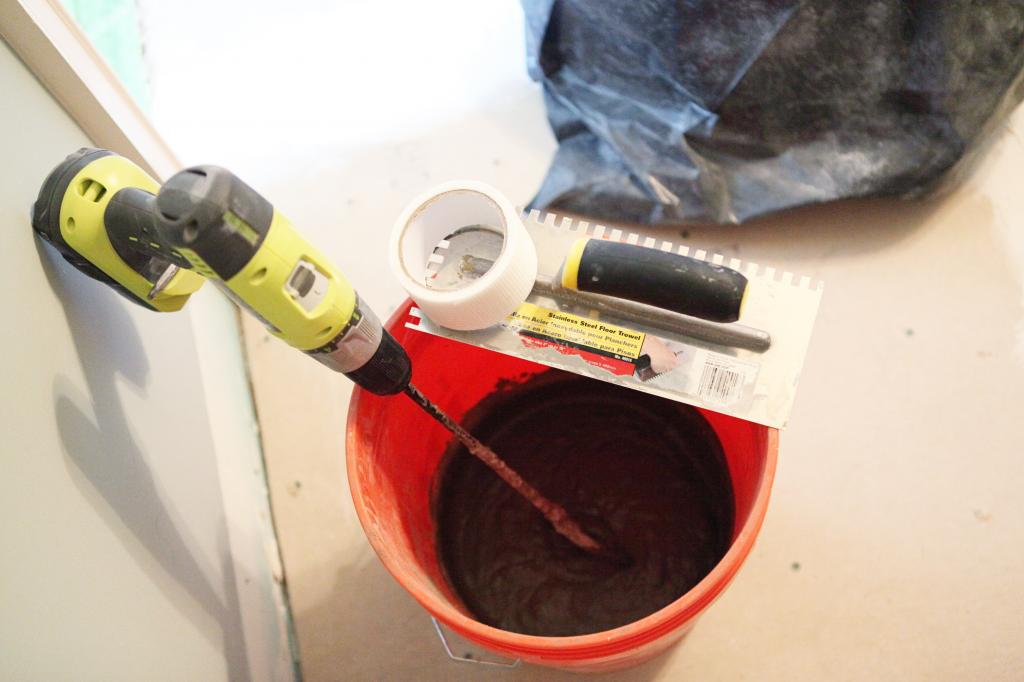
So when you go to tackle flat surfaces (like two boards that butt up in the shower), you smear mortar in the crack, cut tape to length, press tape into the mortar and then swipe another thin layer of mortar on top. Easy sneezy.
As for the niche that we installed, we had to seal all the places where the boards met up…both inside and outside corners. That meant 12 different pieces of tape for our niche (go ahead and take the time to count them…). Most of them were really easy to install…just fold slightly in half and press gently in place.
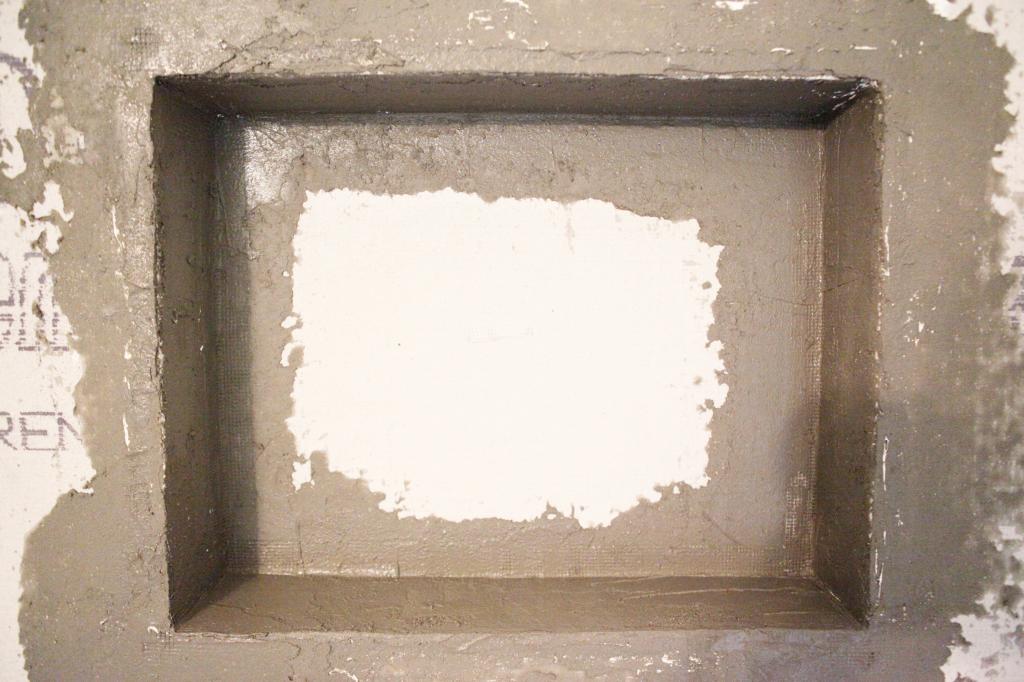
As for the corner bits, I wanted to show you how I did it. First, I took the tape and slightly folded it in half.
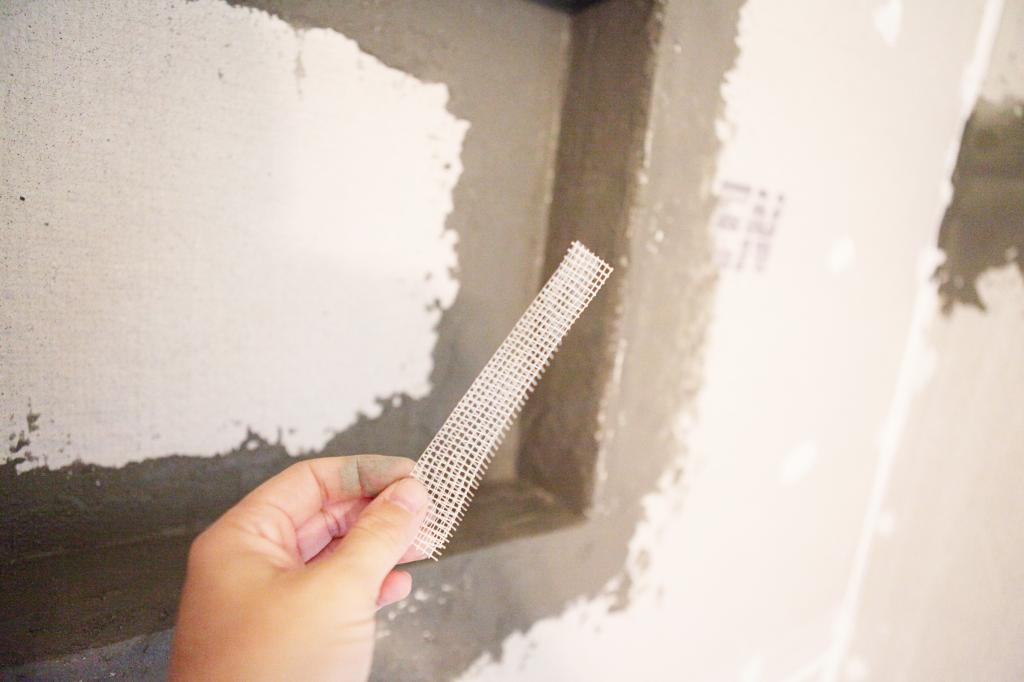
Then I got the length for the cut based on the depth of the niche…
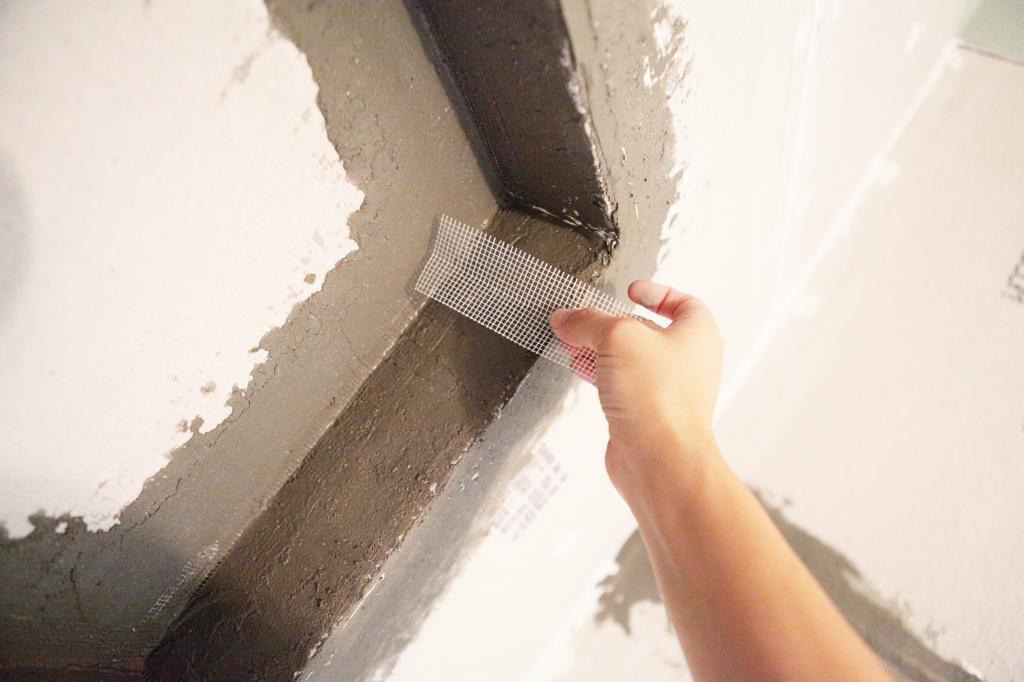
Cut it…(also staged this amazing photo)….
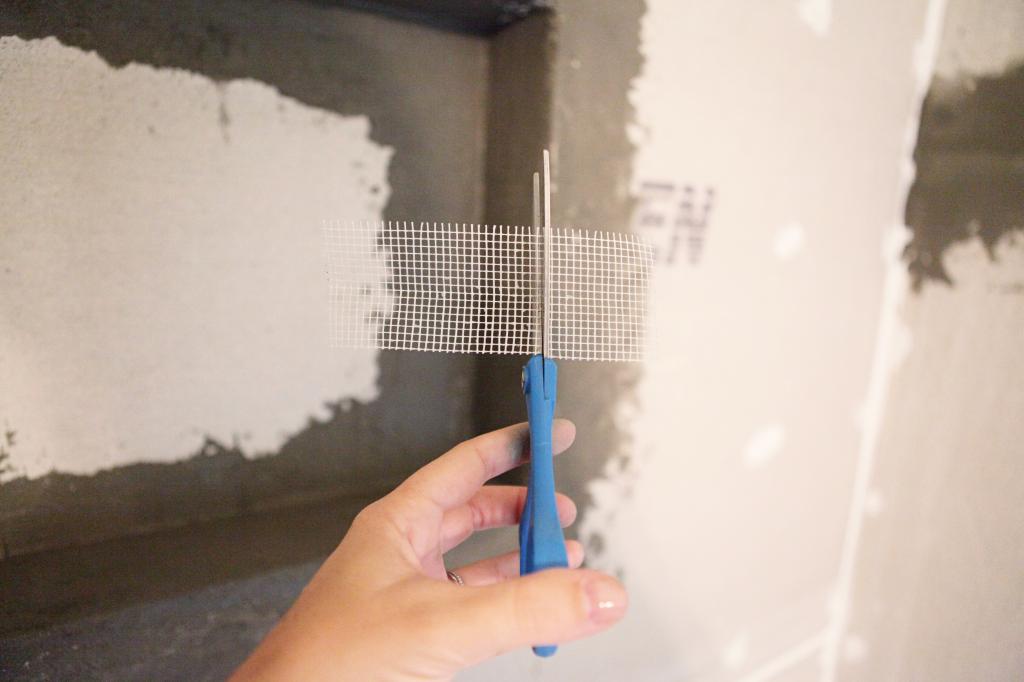
Brilliant photography, I tell ya…
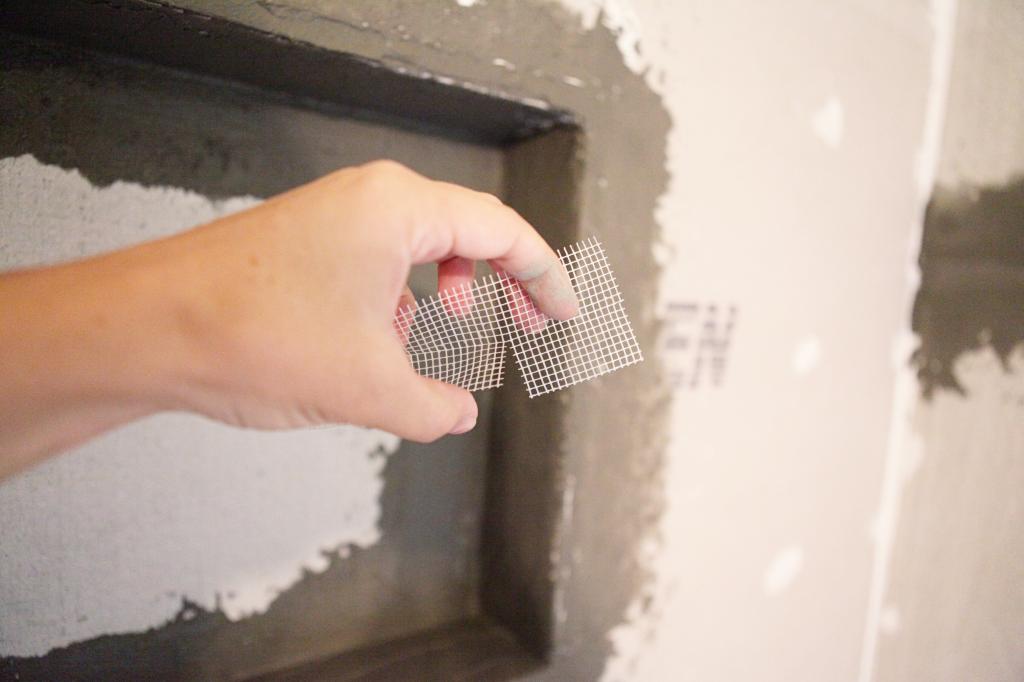
And then press it gently into place…
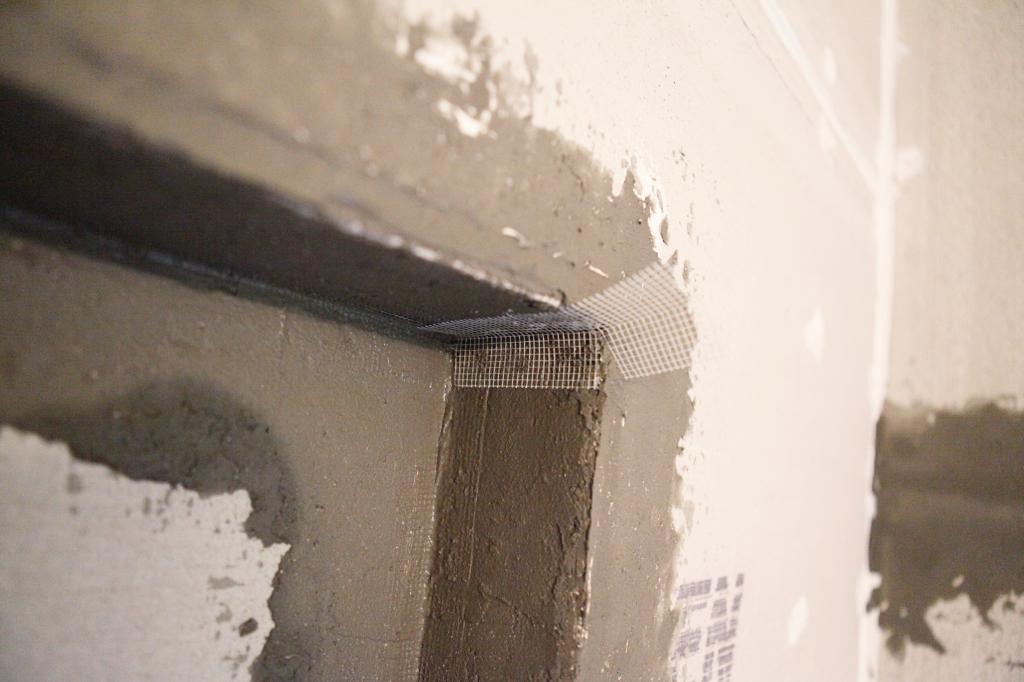
The extra flap will layer over the flat wall. This helps keep the corner piece in place and helps reinforce the flat shower wall seams as well.
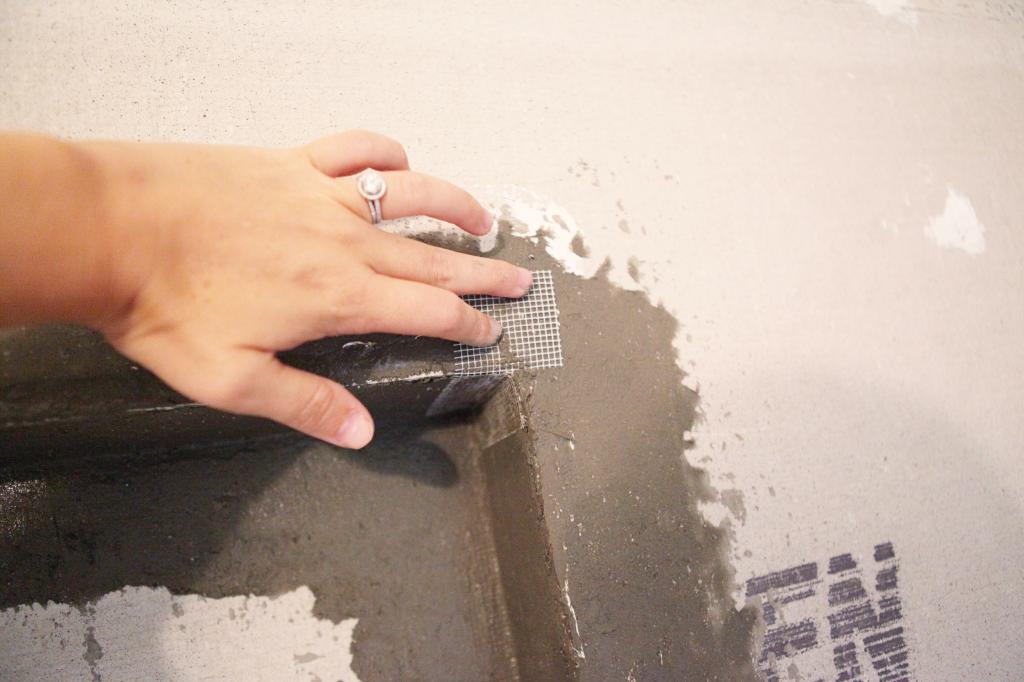
The hardest part of the process is keeping the tape in place and perfectly flat. Just pretend you are petting a butterfly.
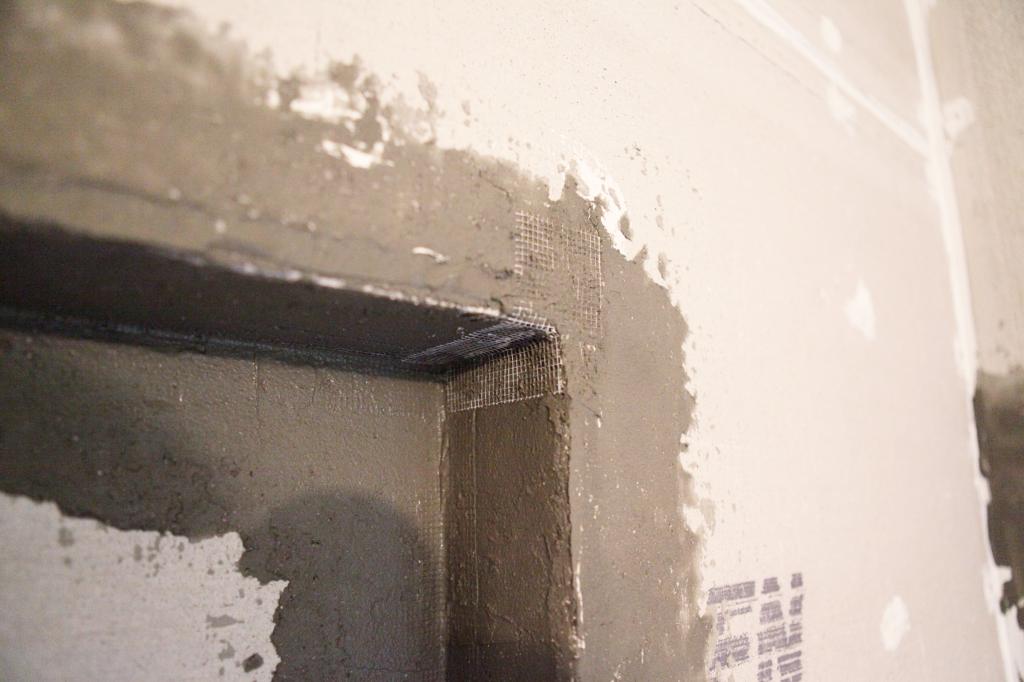
Since the last step is doing another thin layer of mortar, it’s never more important to have that gentleness of a newborn kitten. The purring is optional.
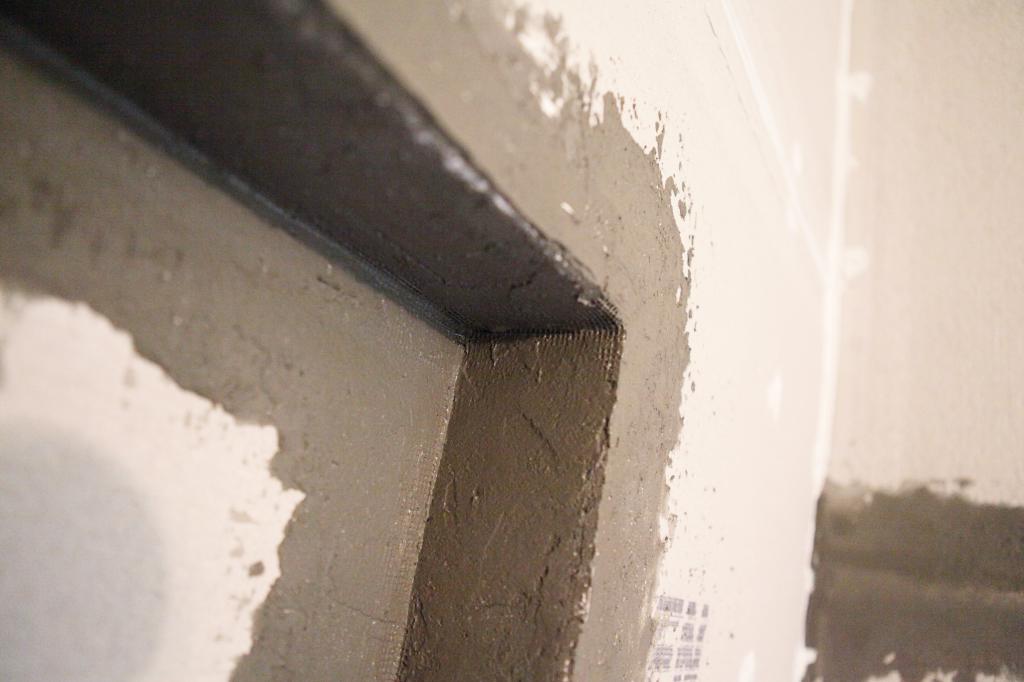
Okay…so now that I explained a little more about the seams, let’s move on to the water sealing. You can do this in a couple different ways. You can add a layer of 4ml plastic BEHIND the cement board or you can do what we did and add a waterproof layer on TOP of the cement board. We decided to use a product called RedGard and apply it over the cement board to create a waterproof barrier.
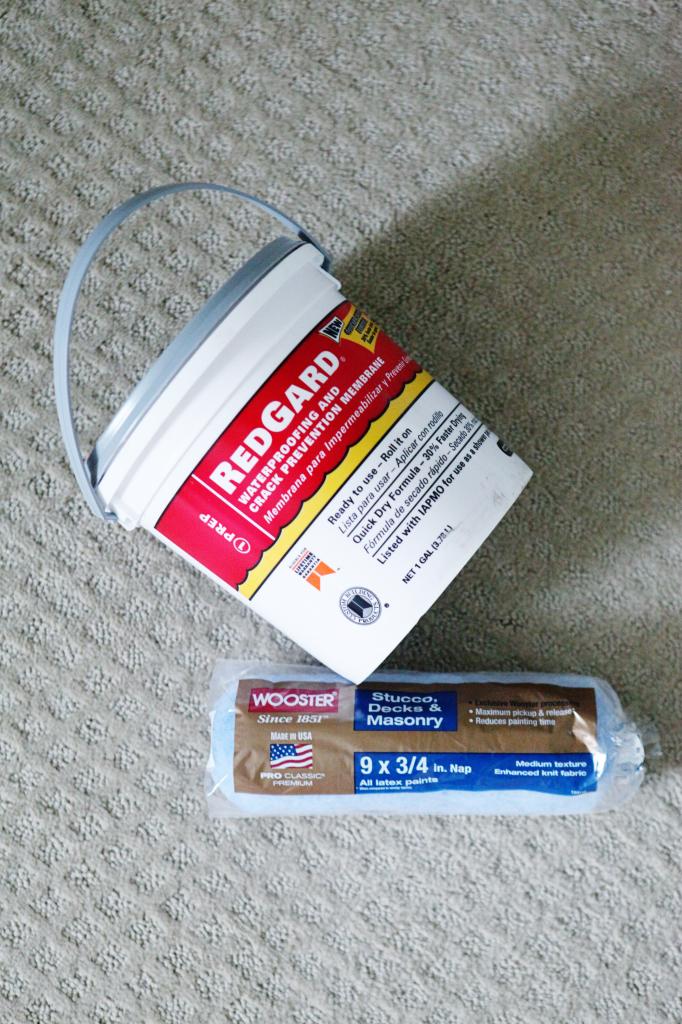
Okay…so some people skip this step entirely. I am not judging them…I’m just saying that more than likely, there will be mold in their future.
This is just what we did because it was recommended to us by a number of different contractors as the fastest and most effective way to do a waterproof layer. You open the can of Red Gard and it is like RIDICULOUS pink. Think Pepto on steroids. And the instructions said to wet down the wall with a damp rag and then smear a thin layer on with a trowel.
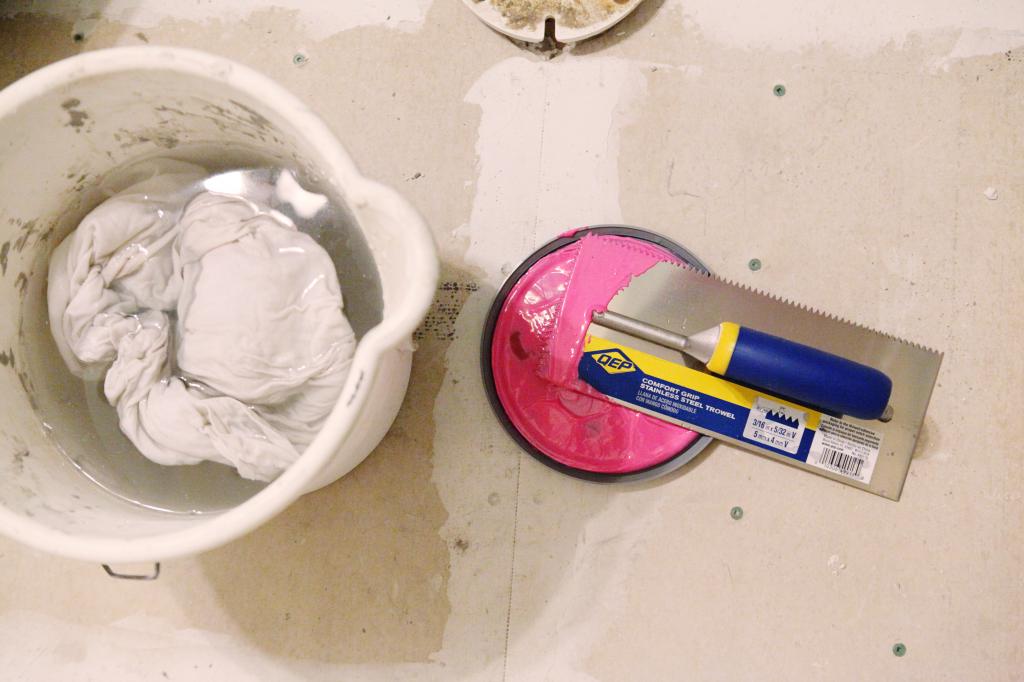
We tried that it and it was a miserable fail. So we went to option two on the back of the can….rolling it on with a roller. This would take more time (because we had to make sure it ended up a certain thickness) but in the end, the troweling just created a sticky mess.
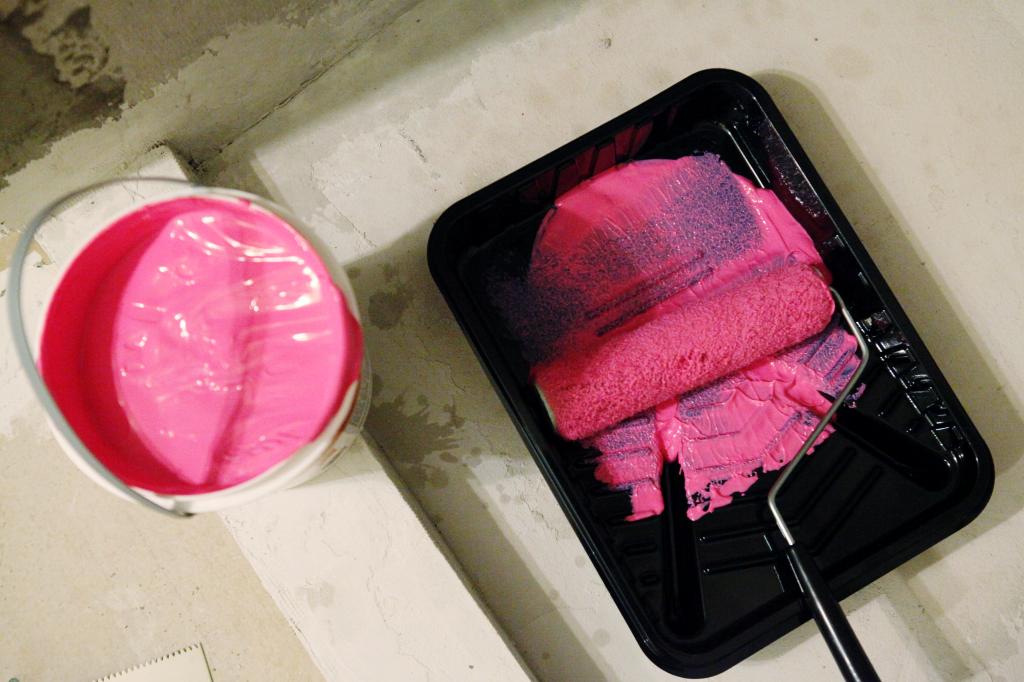
This is a really stinky job and so definitely wear a mask and have some ventilation in the room. Basically just roll it on in the same direction…you want a pretty thick layer. And you can use a brush for the corners.
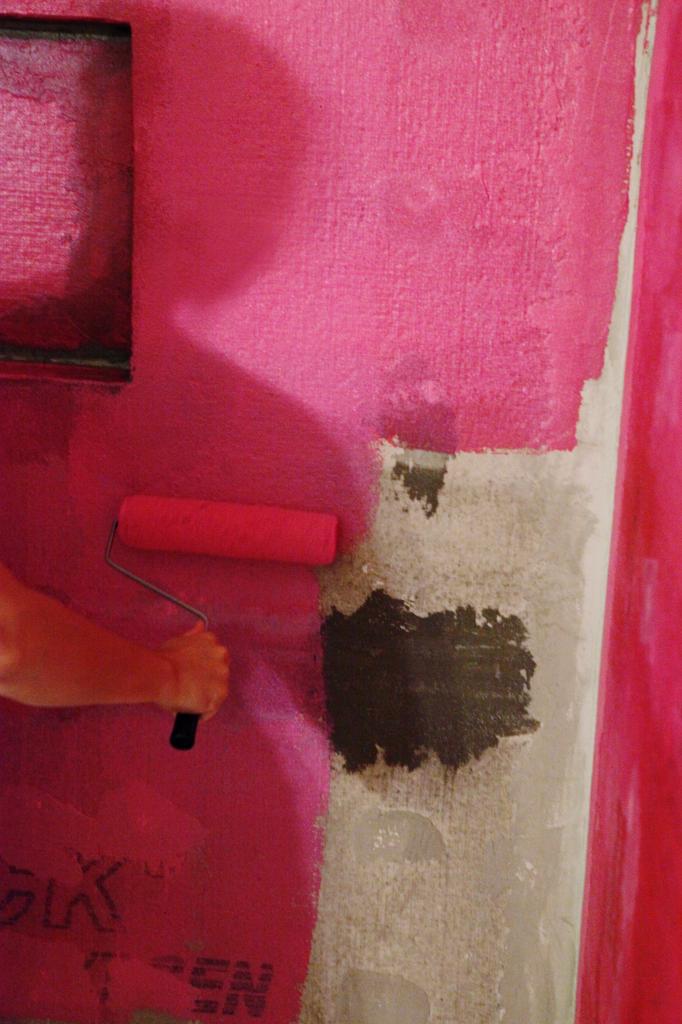
We decided to go all the way to the corner of the ‘bump out’ on the shower head wall so make sure your waterproofing goes all the way there too.
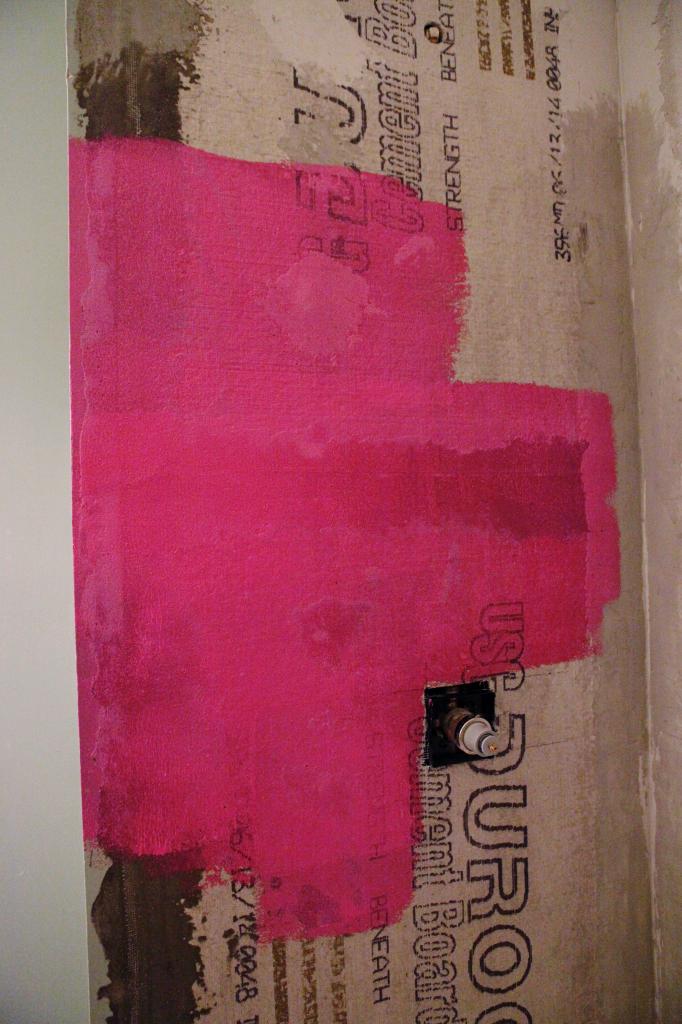
First we rolled it vertically and then you let it dry and then you roll it horizontally. We went back because we wanted to make sure we hit every nook and cranny and rolled it diagonally the third time.
And here is our finished and water-sealed shower. When it dries, it turns bright red….less Pepto, more poppy.
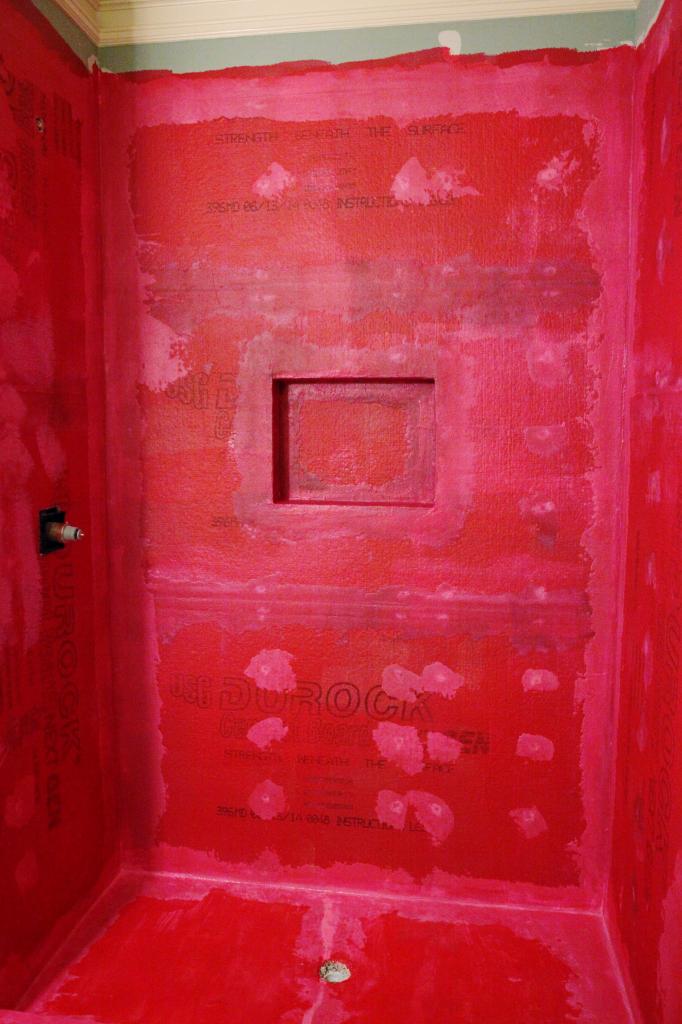
And there you have it….a shower ready for the tile.
I know this isn’t the most exciting recap ever. Like it might be the blog’s version of a sleeping pill…but it’s almost over. We have a quick tile rundown (because I have talked about tile about a bazillion times before) and then some behind-the-scenes stuff (secrets will be spilled!). So hopefully we will be able to get back to the sharing our basement progress by next week!
I’m so grateful for these posts. We are currently renovating our master bath (TINY mid-century ranch home with a master bath smaller than this guest bath) and we’re actually using the same tile flooring but different tile on the walls. We’re following your steps and they’re much appreciated.
I too have perfected the one arm picture taking. You do what you gotta do to get the shot. I have been told a GoPro could work for that. I just can’t jump onto that band wagon. Wearing a huge headband thing with a camera strapped to it….. not for me. I will stick to the one armed picture taking trick for now. I will be saving these helpful tutorials for when we rip put our drop in shower and tile it.
Your version of a sleeping pill is helping me get psyched for tiling my new master bathroom in a few months. I won’t feel so much like I’m winging it now.
Can we get back to the regular not detailed (construction) posts please… I say this in the nicest way! 🙂
These aren’t my favorite either but some folks really want the info. I figure I can’t please everyone and they did wait patiently for over a month…so it shouldn’t take more than a week to recap it all!
xo kb
Wait, where was the 4ml plastic used?? I think I missed that. Also, I really appreciate these detailed posts! I have a TINY matter bathroom to completely demo down to the studs and redo and love seeing how you guys did things!
No we didn’t use that….but that is an option instead of the Red Gard. I just wanted to put that out there for people that possibly wanted other options.
xo – kb
I love these detailed construction posts! It doesn’t help to just see pretty pictures of something if I don’t know how to do it myself. Thank you Katie for putting the time in to writing this all out.
Do you read Addicted 2 Decorating? I just discovered it yesterday after a reader on your blog suggested it. I read through tons of her stuff last night and just checked again this morning and she is at the exact same stage – a bright red tub surround! So funny.
Just wanted to add that I, too, appreciate these posts. I have two super-dated bathrooms (both with tired cultured marble showers – ugh!) that need to be renovated, and I need all the help I can get!
I’m really excited to see your process and also your finished product. I’ve yet to tackle tile and would LOVE to start with my everything builder grade bathroom. I’m definitely keeping this tips to help me along!
Hey Katie! We’re about to tackle our basement bathroom. My hubby is going to apply the redgard as I am about 33 weeks pregnant. Do you think the smell is too overwhelming that I couldn’t be in the house at all while he’s doing this? How long did it stink?
And, about how long did it take to apply the redgard to your whole shower? We have a tub and are just doing the tile surround.
Thanks a bunch!
You could probably be in the house…but I wouldn’t be in the room if I were you. I was wearing a fume mask and had proper ventilation and didn’t know I was pregnant and it was REALLY overwhelming. If I could have done it differently, I would have Jeremy done it and waited patiently downstairs. It didn’t stink for very long…maybe a couple hours but we closed the door to the rest of the house and had a fan blowing it all out the window and had the bathroom ventilation fan going. It didn’t take long…it was like painting…but you have to do the multiple coats in different directions. We did it one evening for thirty minutes and then the next morning for another thirty.
xo – kb
Thanks for sharing your experience with waterproofing your shower. I had no idea how much damage little tiny cracks can do to your entire home! In fact, this makes me wonder whether I should also have my bathrooms checked for cracks. Neglecting those little things can really make water damage a huge problem.
I’m so thankful to have found this post. We are purchasing our first home and this is one of the first things I want to get done before we move in, converting a tub to a shower! Love the step by step process and hope we can tackle this!
Thank you!