I hate to divert from the basement. I really do. But my camera is dead and I can’t find the charger or card reader and I can’t get the photos off of it! AHH! So we will have to wait to share the basement plans for the kitchen and washer/dryer area. Sorry. I know I was on a roll. But I also know you guys like a beefy renovation post every week. I like a beefy sandwich every week….like a philly cheesesteak with bacon bits and extra mushrooms and cheese on really soft bread….so I get it. I do.
Man….is anyone else hungry now!?
Can someone deliver? Anyone?
Okay…let’s put the sandwiches on the back burner….literally…and let’s rewind a bit to visit the guest bathroom. Remember our guest bathroom? Well, I had so many people ask some really technical questions about putting in the shower, turning the tub area into a walk-in-shower, adding a shower niche, and….well…everything…that I thought I could revisit that room and show you some of the steps that we took to make that gorgeous bathroom functional.
Remember how I left off? This was the grand reveal….(click here if you want to see more)
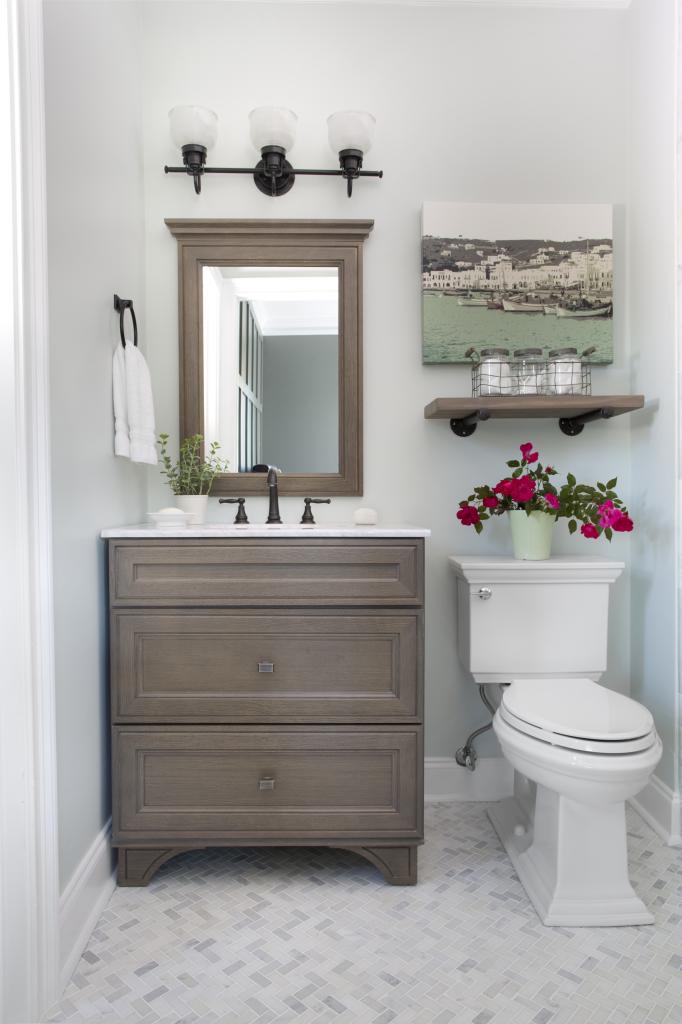
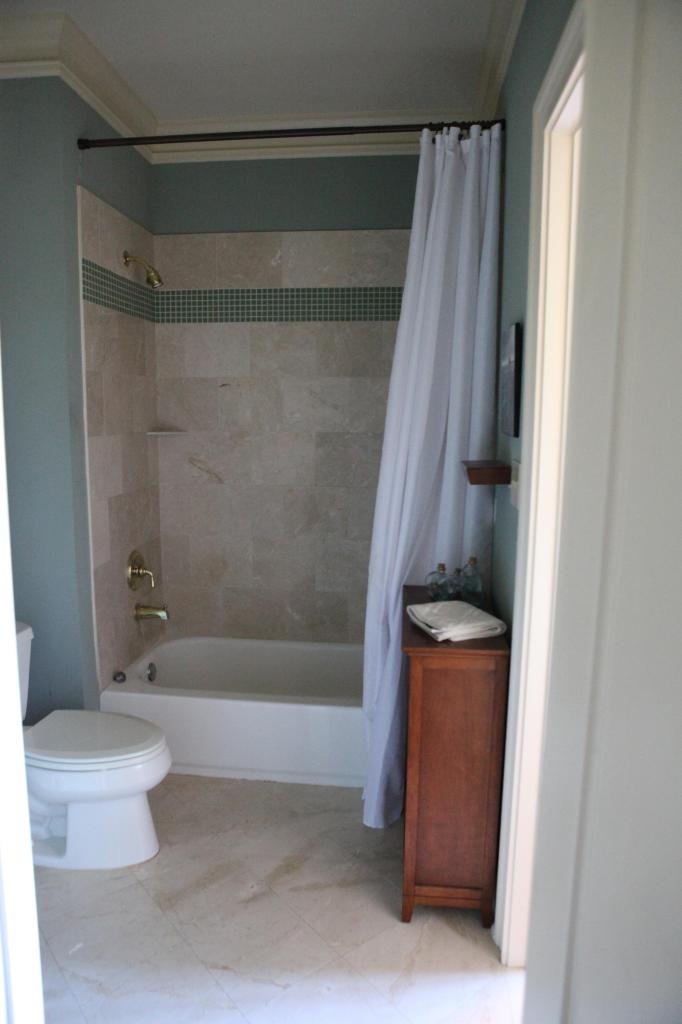
And this is how it used to look…
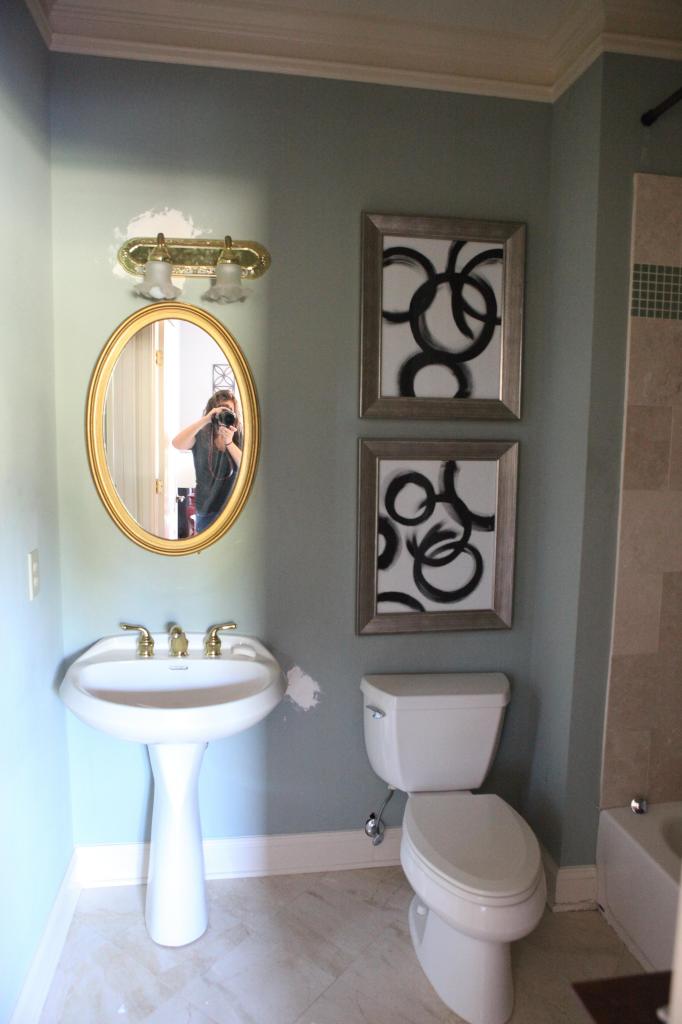
Here are some more before photos to jog your memory….
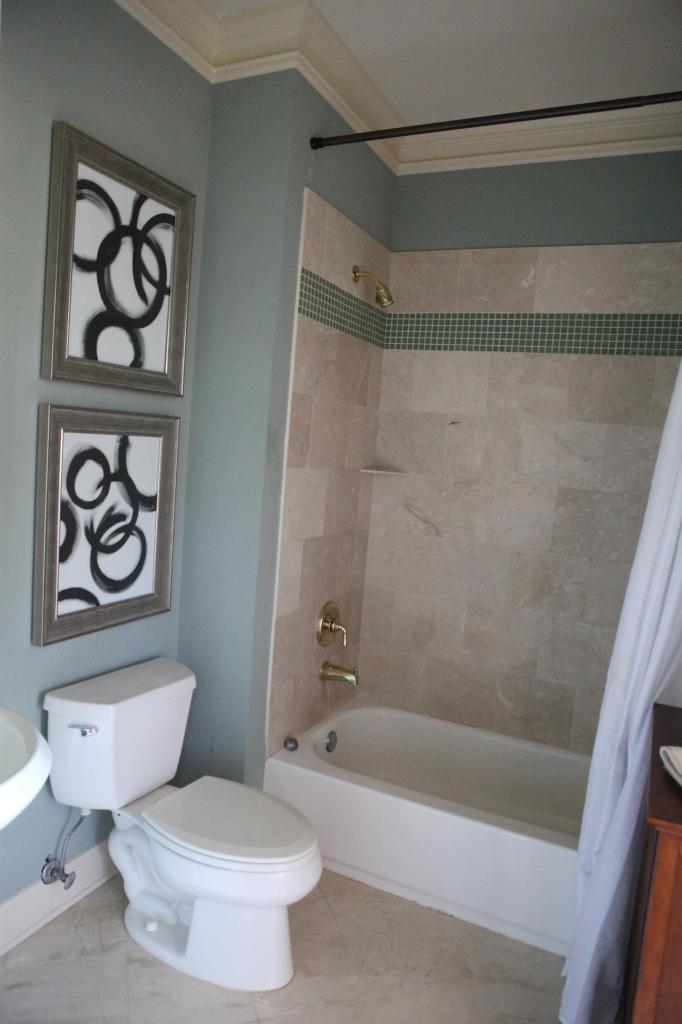
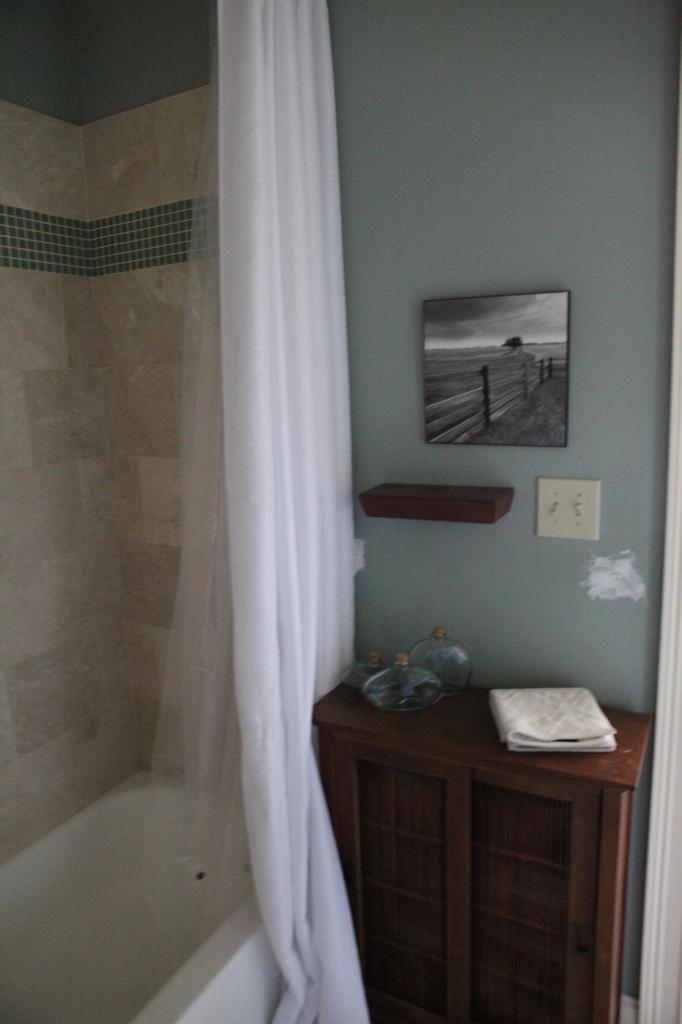
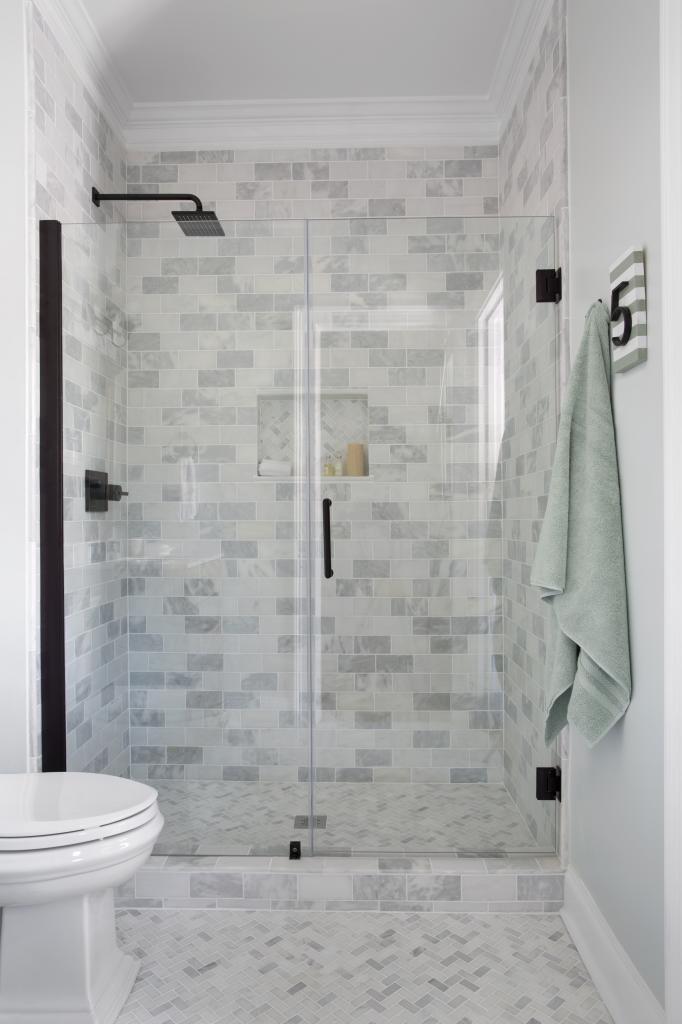
And today I wanted to focus on this area….the shower. The floor to ceiling shower really is the crowning jewel of the room. I love how spacious it is with the glass frameless shower door and the tile that seems to just go on forever. It makes it feel so luxurious. And that niche in the back is the perfect addition to an otherwise useless space….we added that for guests to put their shampoos and soaps and it wasn’t as hard as you may think.
Well, when the camera crew arrived (that’s right! Remember that everything was done when other people were staring at us through lenses!), we ripped into the old tile and removed it on the floor and the shower. We did get some help from a handyman that was hired by the film crew and his saw-zall. Since we were on a time crunch, everything needed to be done for demo in warp speed so that is why an extra pair of hands were necessary.
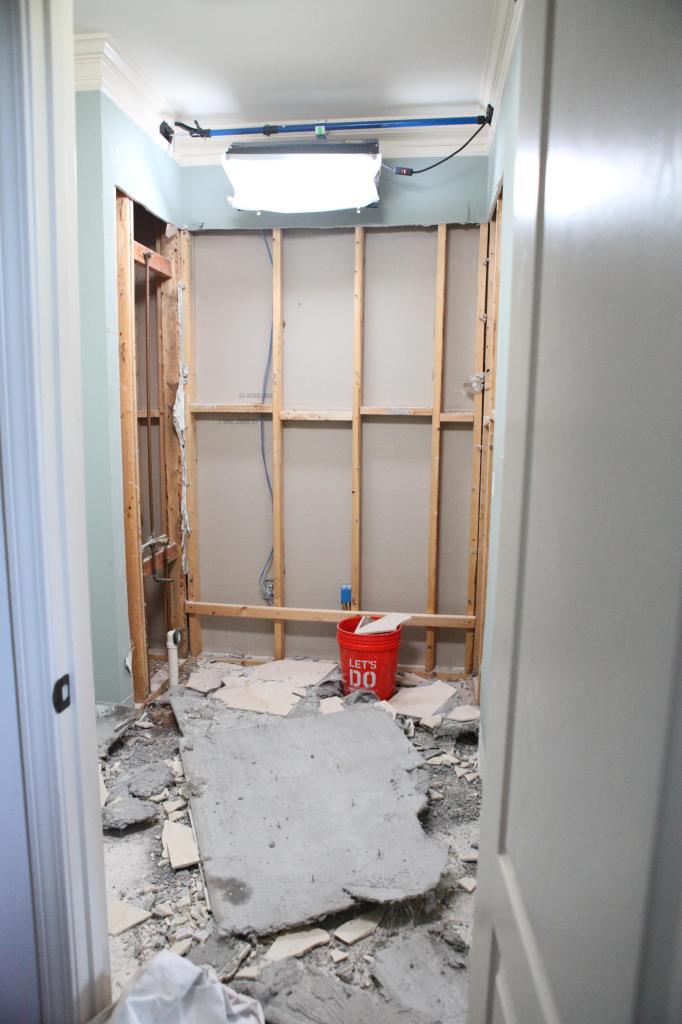
Jeremy and the handyman dragged out the bigger pieces and then the smaller stuff just ended up in a trash can. It felt so good to say sayonara to the old tile.
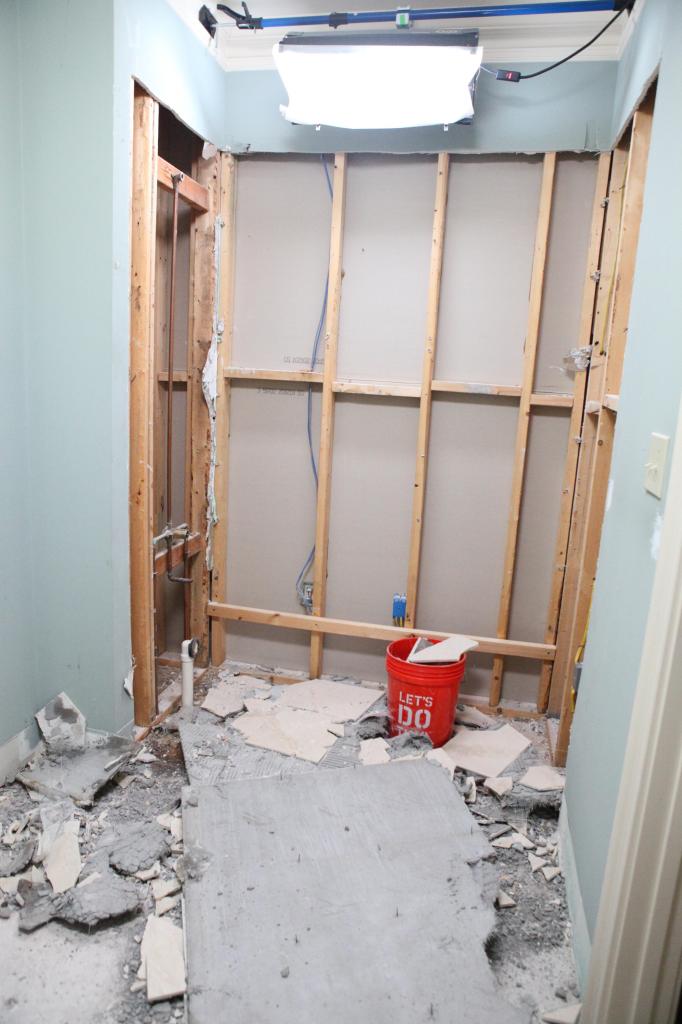
With all the old tile and the cement board gone, it was easy to see the plumbing and check out exactly what we needed to have the plumber do.
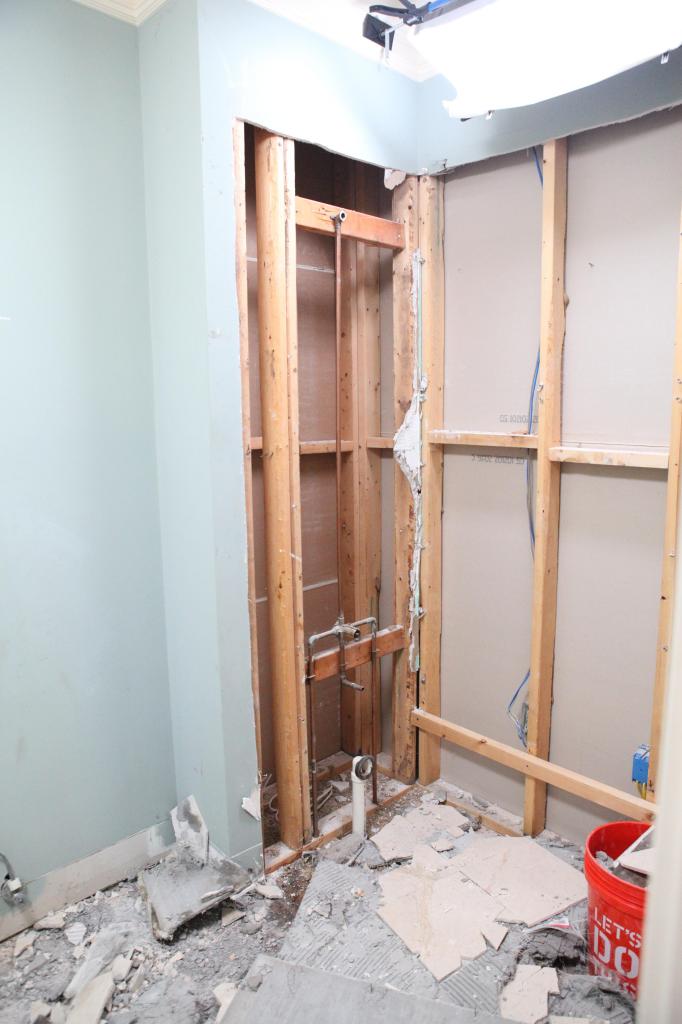
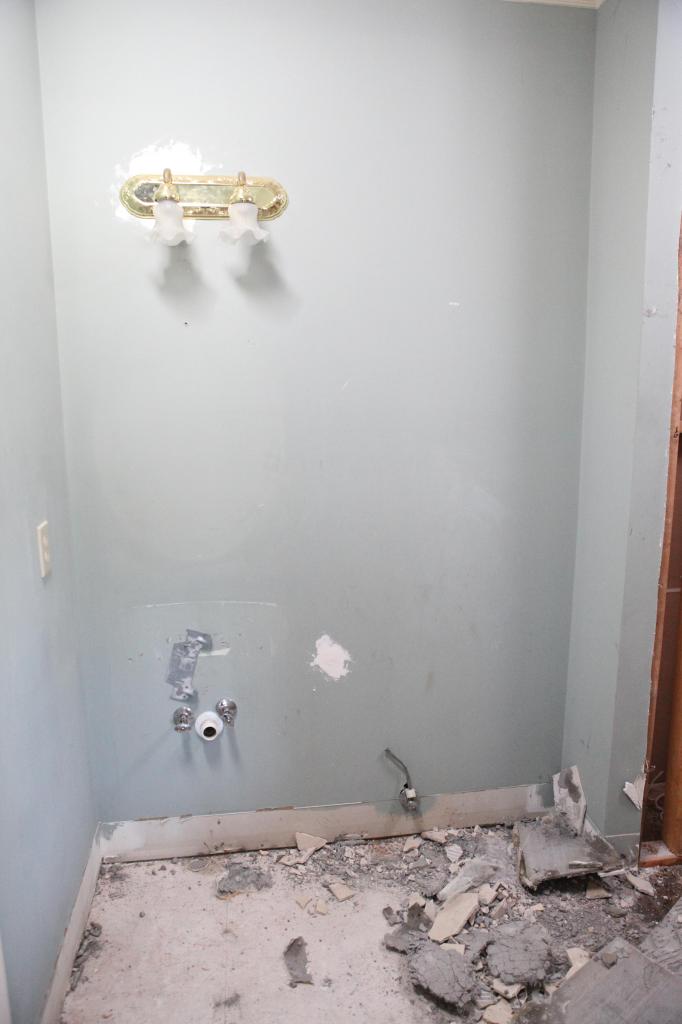
This area of the sink and toilet didn’t need any adjustments so we knew that all our notes would be focused to the tub-to-shower conversion.
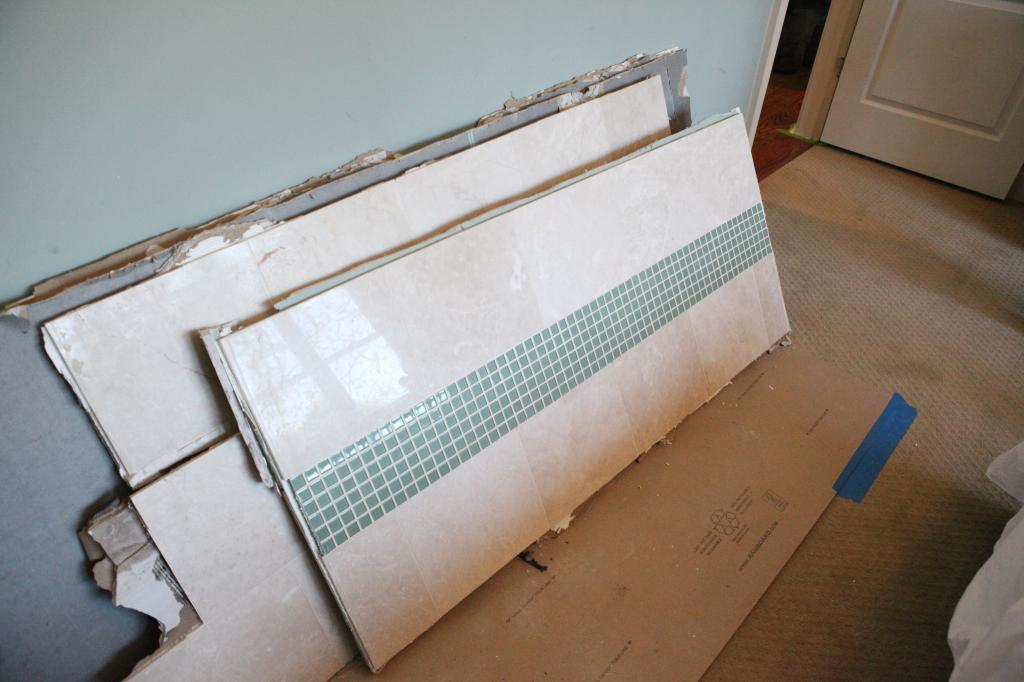
Random sheets of tile anyone?
Oh and I should note that I did not know if I would put the niche for the showering accessories on the back wall (where it ended up) or the wall directly across from the shower controls. I had to make that decision based on the studs and the electrical. It was very clear after the walls were opened up that the niche would not go across from the controls and that my only option was to put it on the back wall. I think I probably would have ended up with that decision anyway but it always helps when you get the alternative ripped from your DIY loving hands.
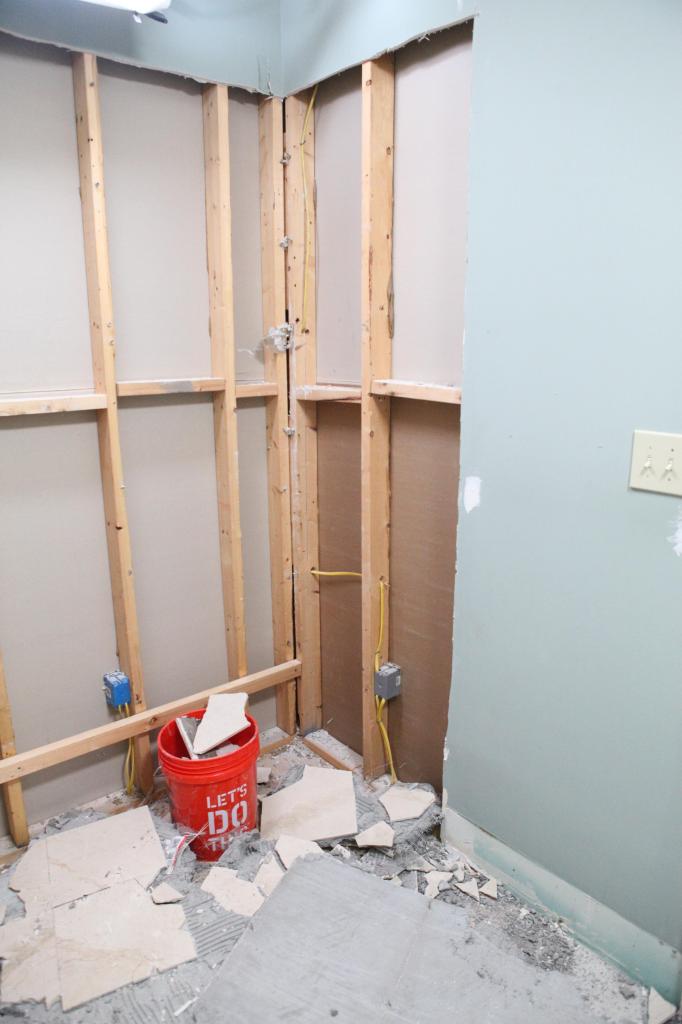
As far as the plumbing goes, we needed the drain to be moved to the center of the shower area, the water controls to be moved up higher and then we decided last minute that we would also need the shower pipes to be moved up higher so that the rain-head shower head had room for our taller guests. Making those decisions last minute were stressful but in the end, I love how it turned out.
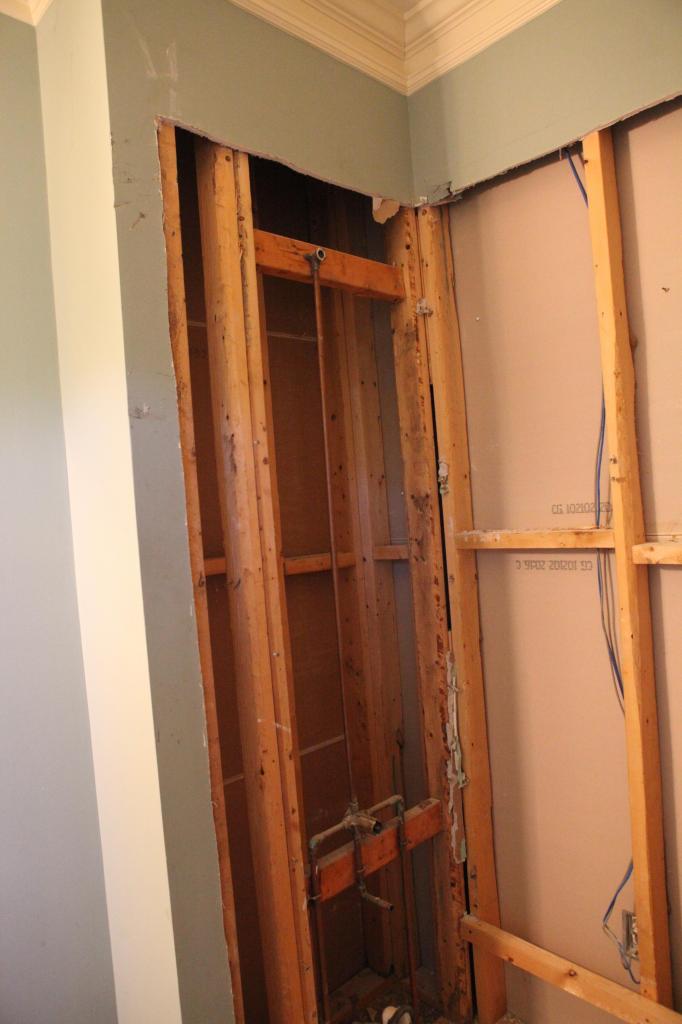
We hired this part out to a local plumber and it was a fairly simple fix. I think after we saw what he did, we probably could have handled it ourselves…but honestly I am glad that we didn’t. We always say that we don’t do plumbing and we don’t do gas….and I don’t want our first real plumbing attempt to be a fail that lives behind a bunch of the most beautiful tile ever.
Back to the photos….see that X in the middle of the floor? That is where the new drain would go. It was important to plan it out so that it was aligned with the water controls and centered in the middle of the shower length wise.
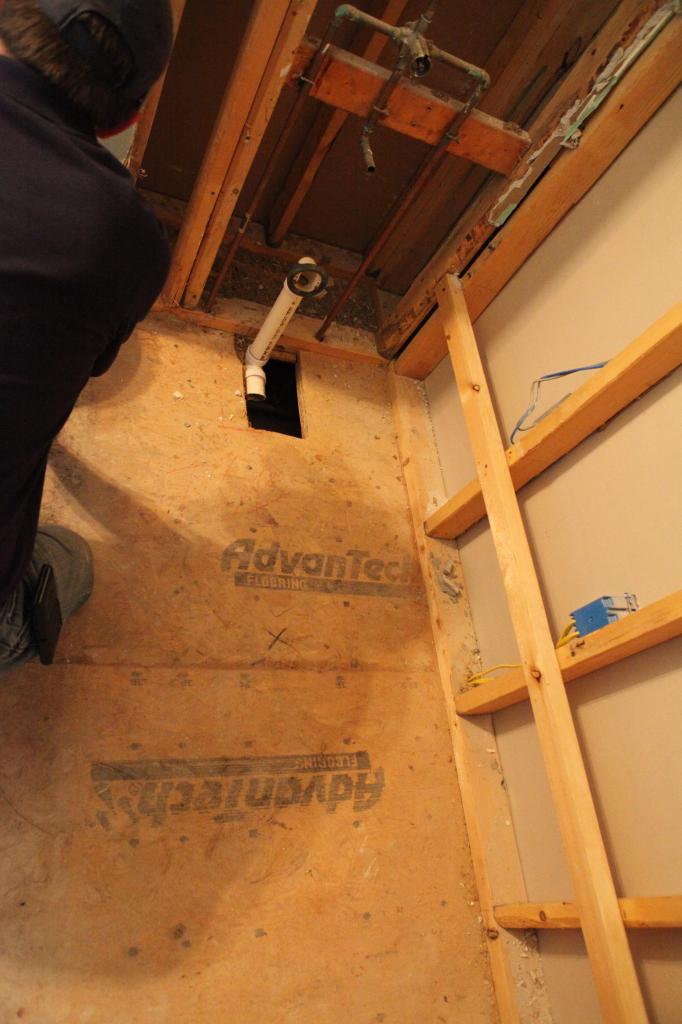
More obligatory photos….
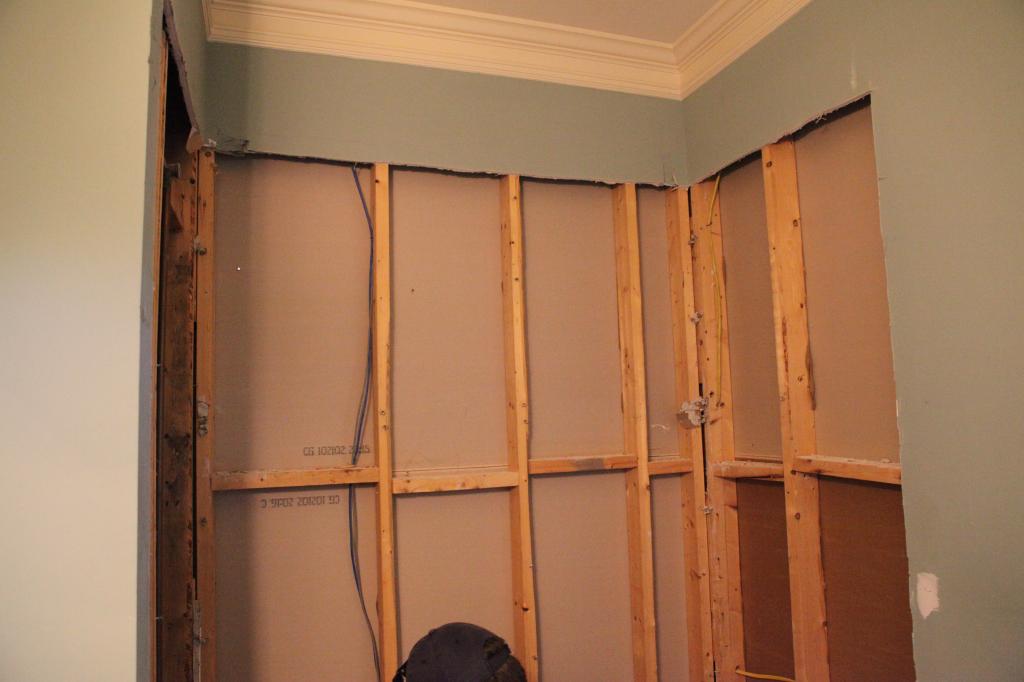
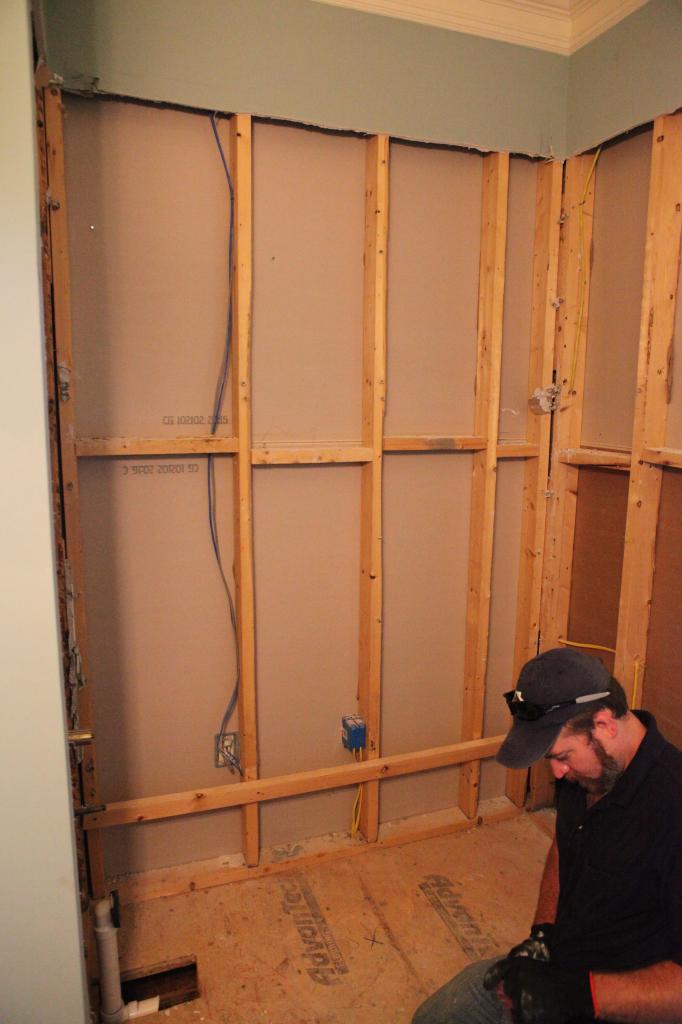
Once the drain was in, the plumber could start with the mud bed.
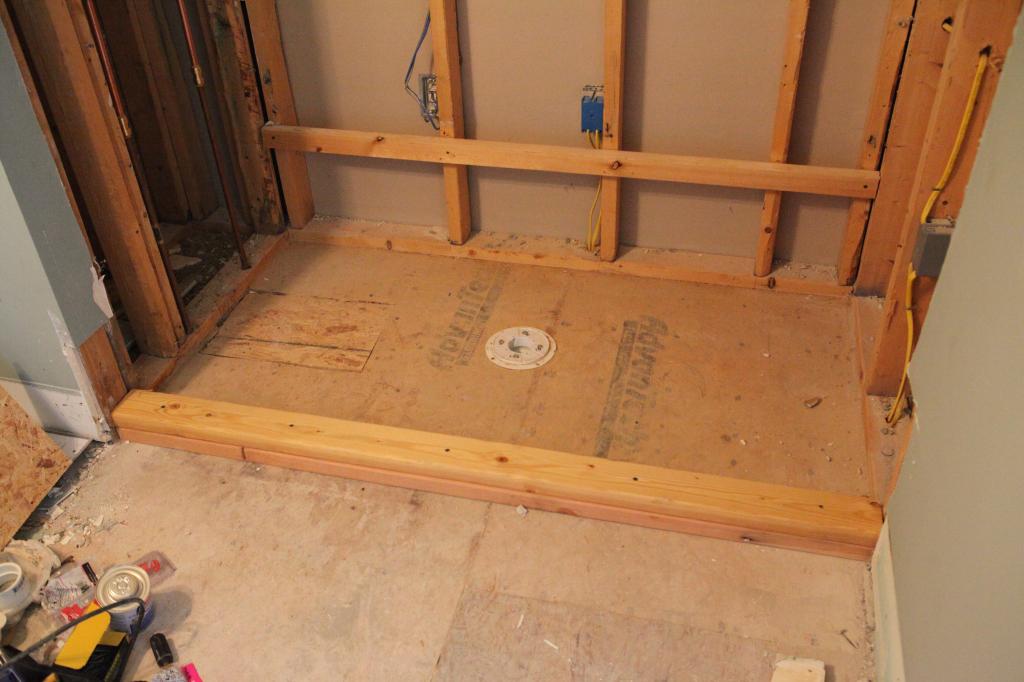
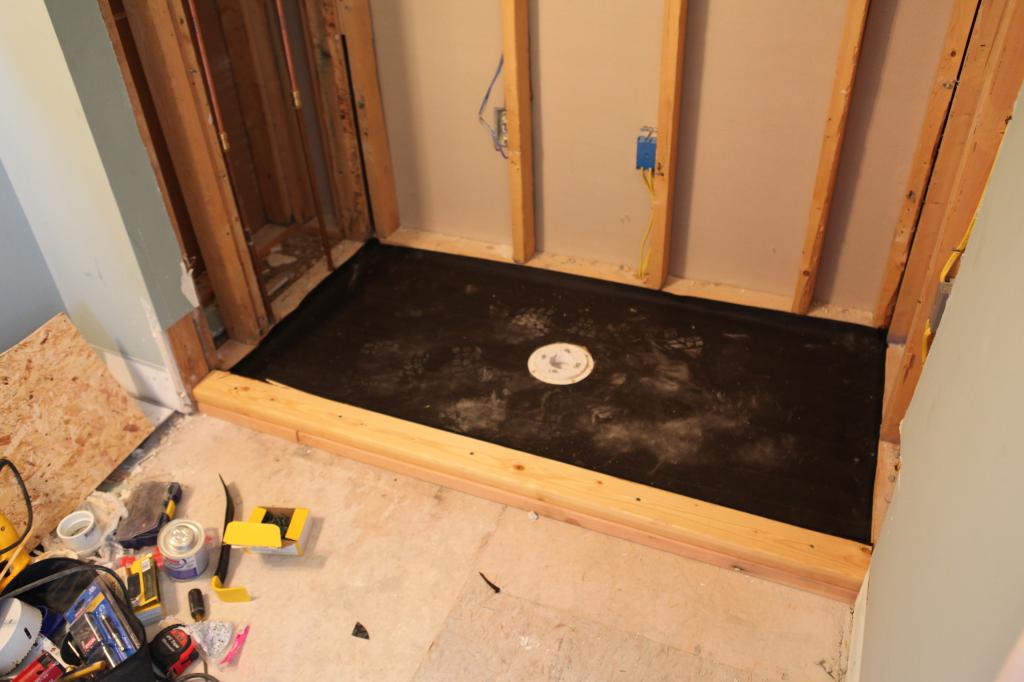
After reading a bunch of info, websites, and how-tos, basically it goes like this…there are a million ways to skin a cat. Also a million ways to mud a shower bed. This is the way we asked the plumber to do it….first lay down a layer of tar paper or roofing paper….
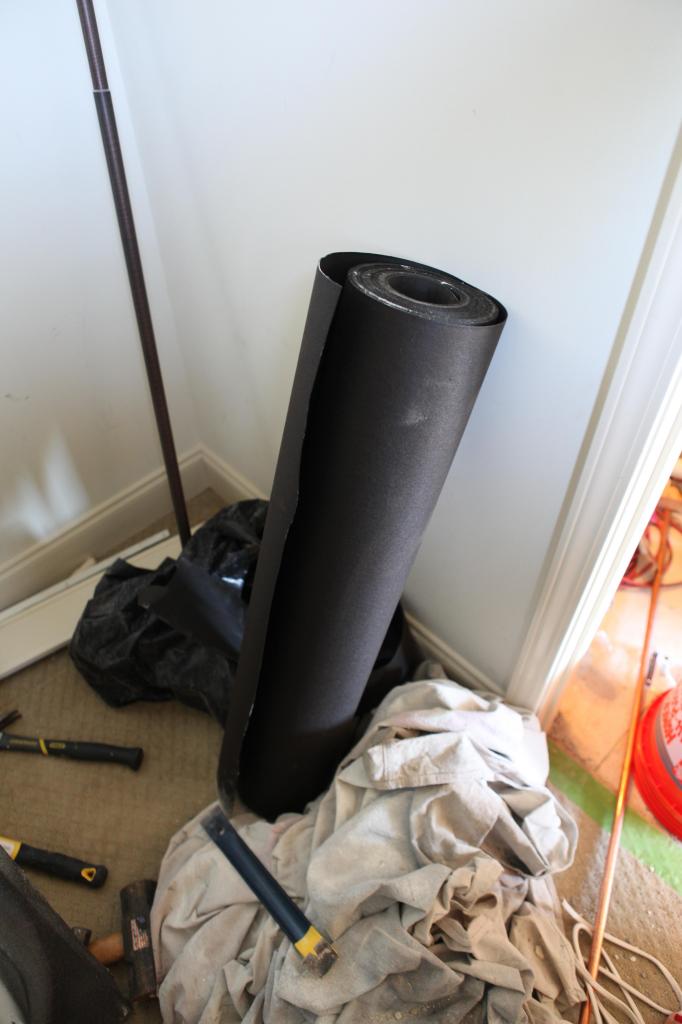
Make sure you unscrew your drain a little so it doesn’t get in the way.
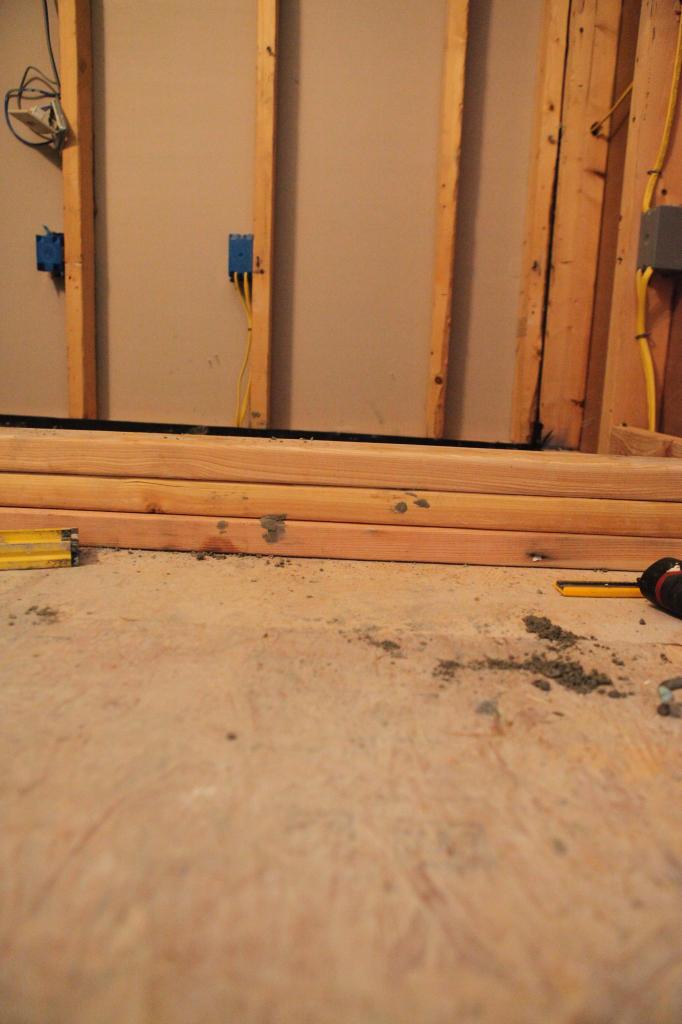
Build up your shower curb so that you have room for the bed, the tile, the thin set, etc. and still have a couple inches. Our plumber thought that two was plenty high enough but I knew that it wouldn’t be (I was going to be doing the tiling and I measured everything three times) so we asked him to add a third 2×4 to the top.
Then prep your surface by adding a layer of deck mud. This is a concrete mixture and you are basically just making it smooth for a slope down to the drain. This deck mud will dry and allow you to put your pan liner on top….making it all slope down to the drain.
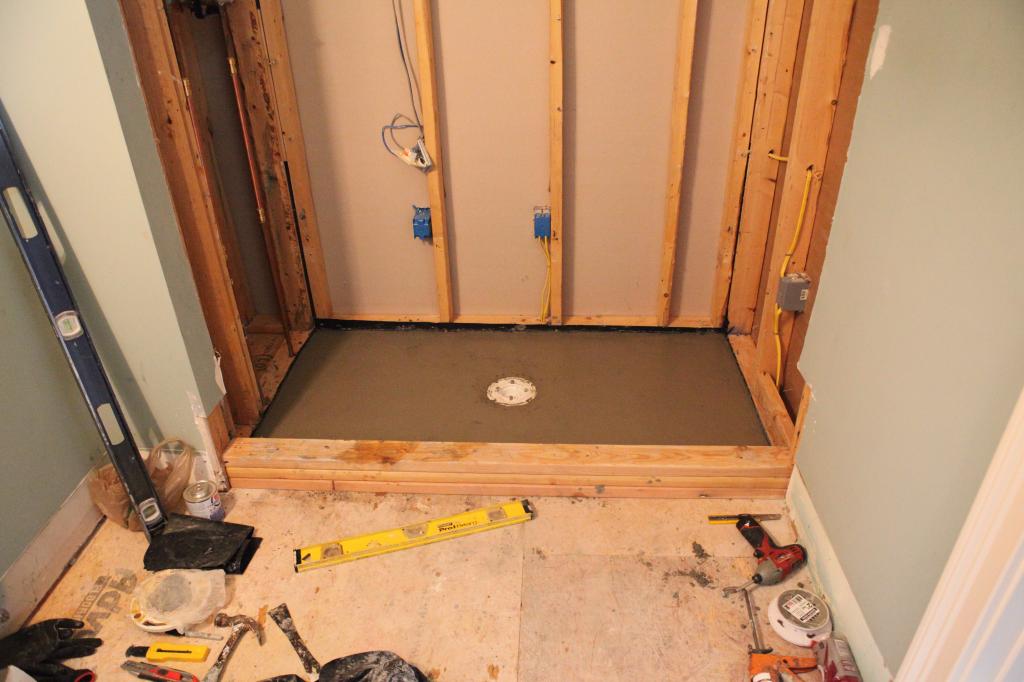
It needs to be smooth and not cover your drain. Basically you start in the center with the mud and you slope up toward your studs. You want it to go up 1/4″ for every linear foot. That means if your drain is two feet away from the farthest wall, you want it to be 1/4″ deep at the drain and then go up to 3/4″ at the wall. Keep the mud even around the perimeter.
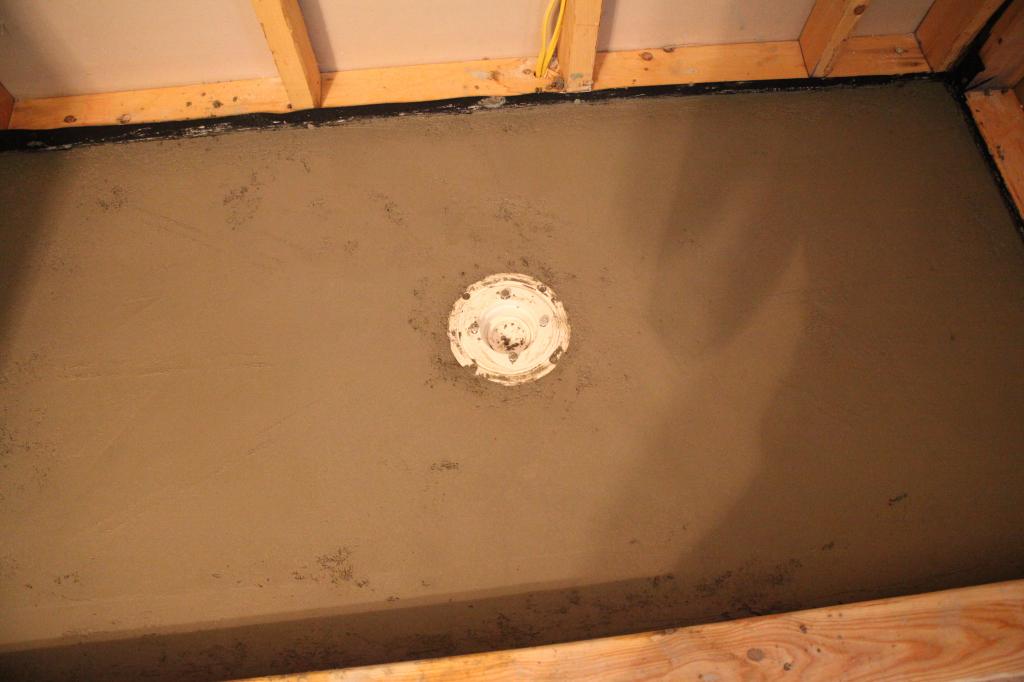
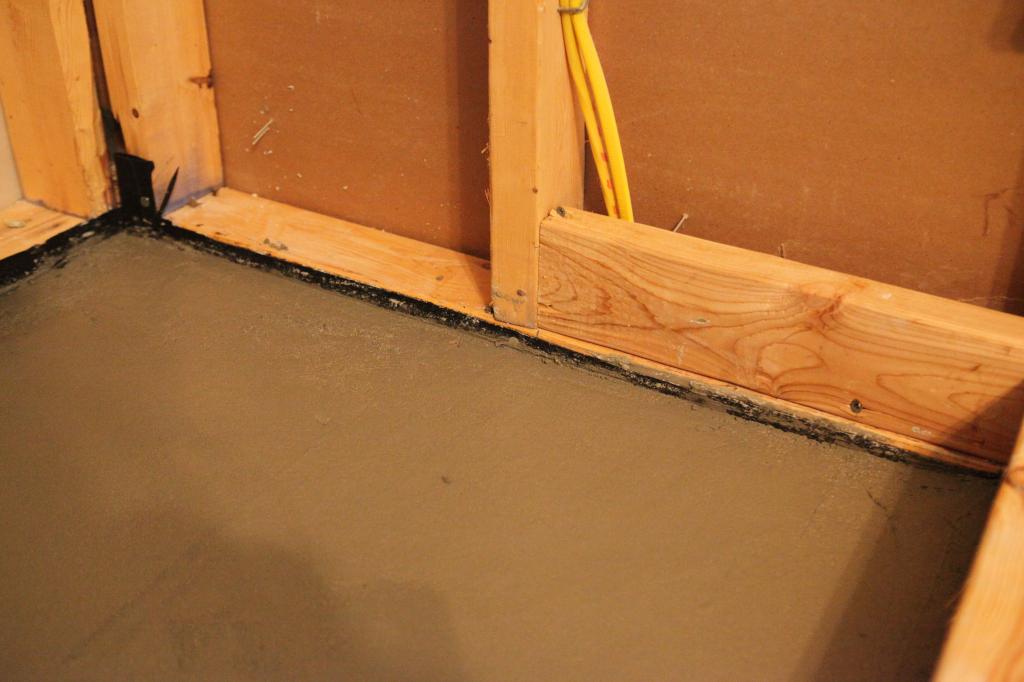
See how the tar paper is holding the mud in? Well, some people skip the tar paper step but we kept it because we didn’t want the boards underneath to suck moisture out of the concrete.
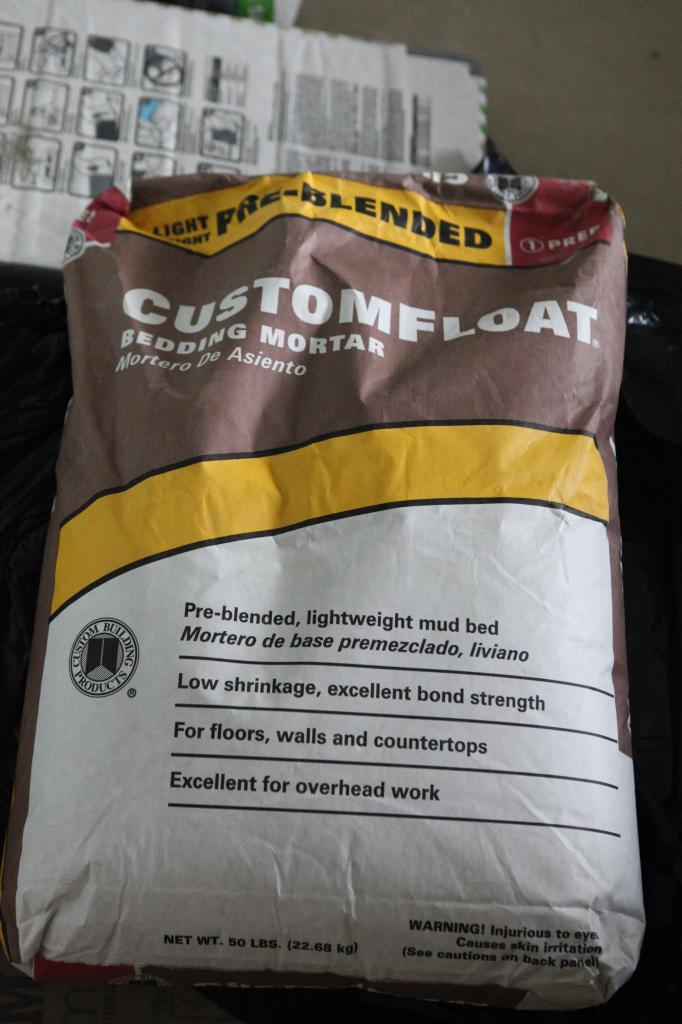
The mud mixture is really easy to work with….just mix it in a giant heavy duty trash bag by adding the mix and then just enough water to make it like damp sand. Jeremy was his assistant for part of this process and I took meticulous notes because I really want to do the mud bed next time. (also…apologies to the plumber who we were breathing down his neck). A flat edge trowel is your best friend in this process and there are loads of videos online that show people using 2×4’s just so that they could tamp it all down and make sure it was even.
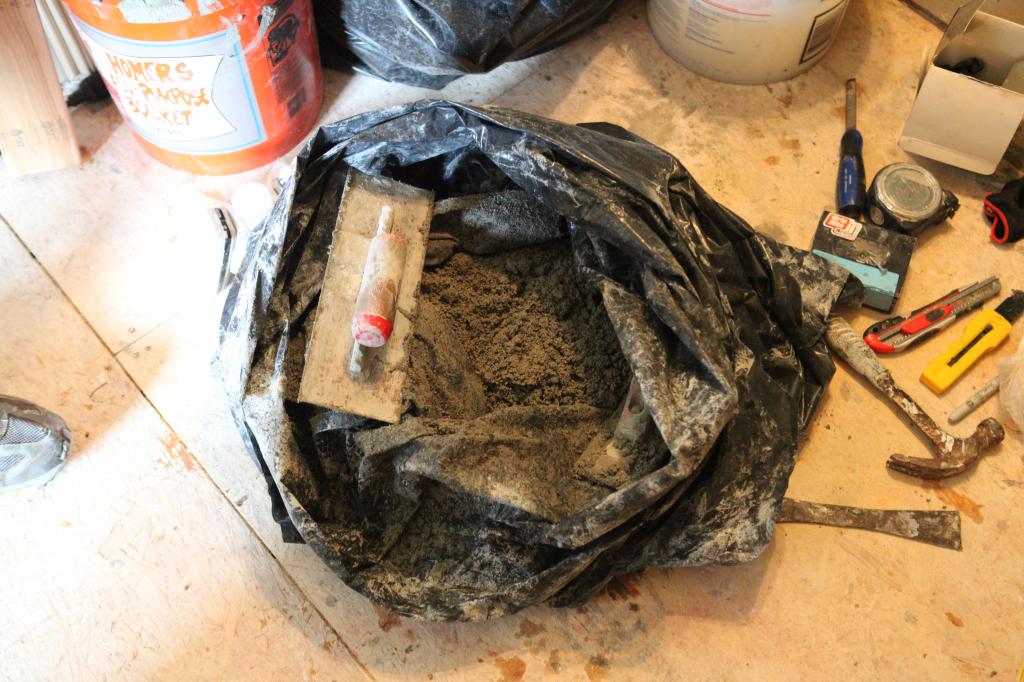
Here is the product we used….
Then you add the liner. It’s heavy duty and super thick. Basically, you just tack it to the studs at least three inches above the bed with staples. Its really important not to tear or puncture the liner (sometimes they call it a rubber membrane or vinyl bed, etc.) This liner gets laid down smooth and then folded at the corners to ensure that all your water gets to where it is supposed to go…down the drain.
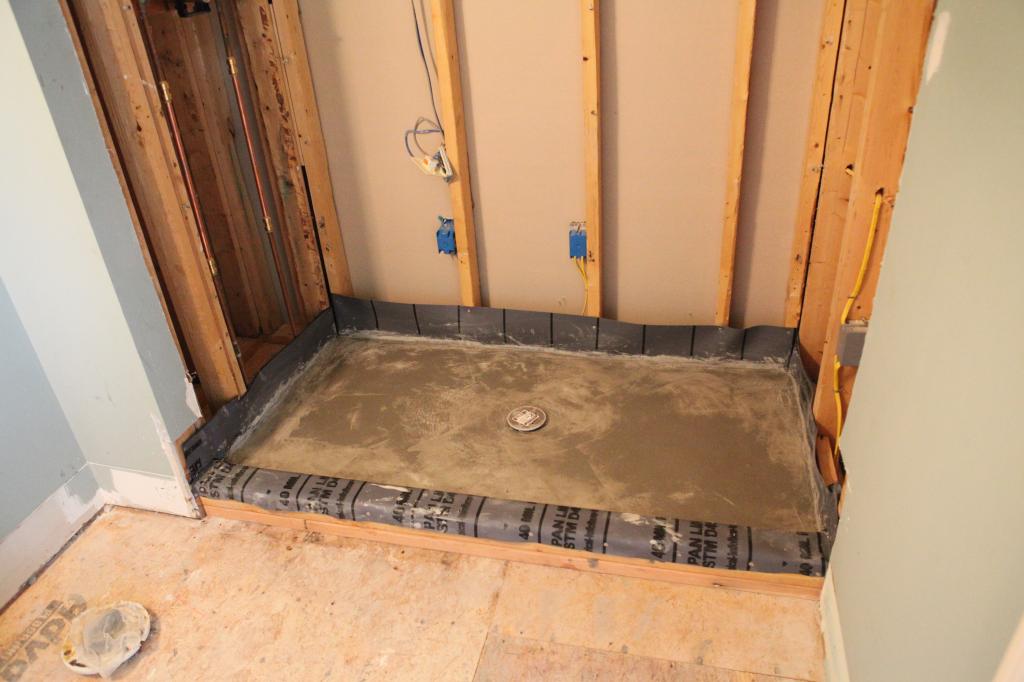
And you can see that the top layer of the shower pan was installed over the liner. I am so glad we hired this part out because we didn’t want to screw it up seeing as how it was our first time…and we didn’t have time for a redo. I watched the guy do it and it didn’t seem hard at all….just a lot of smoothing and checking.
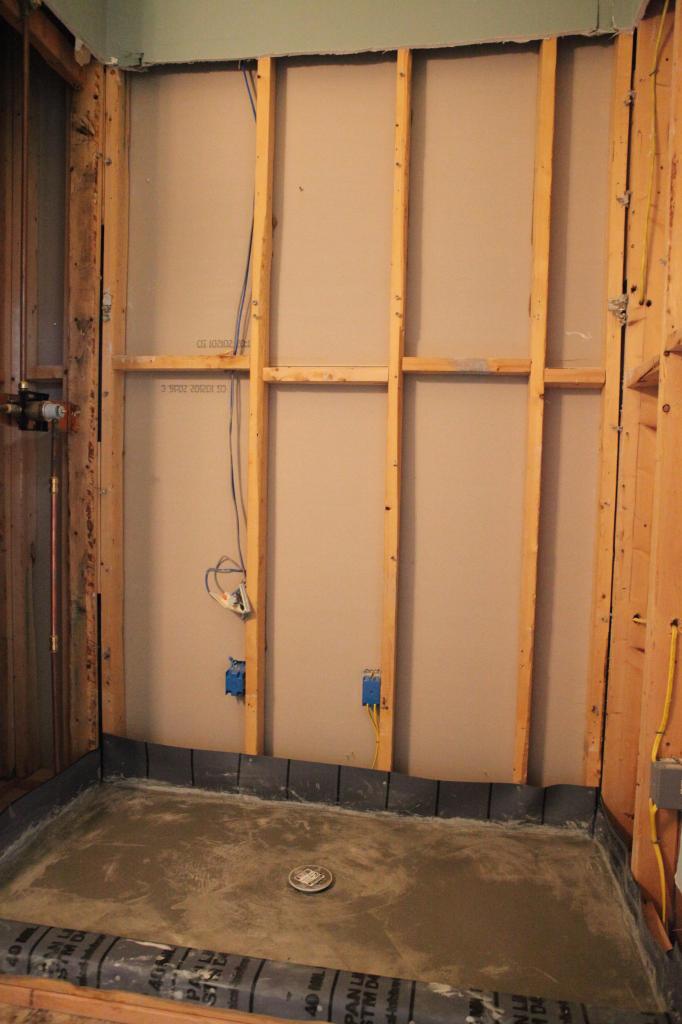
Then we had to wait for everything to dry. We waited a couple days and it was ready for us to stand on. Then came the part where we had to install the niche. Because we had already schedule the plumber and the handyman and were under a huge time crunch, we didn’t have the time before to adjust the studs for the niche. In hindsight…it would have been loads easier to do this process before the shower pan was installed.
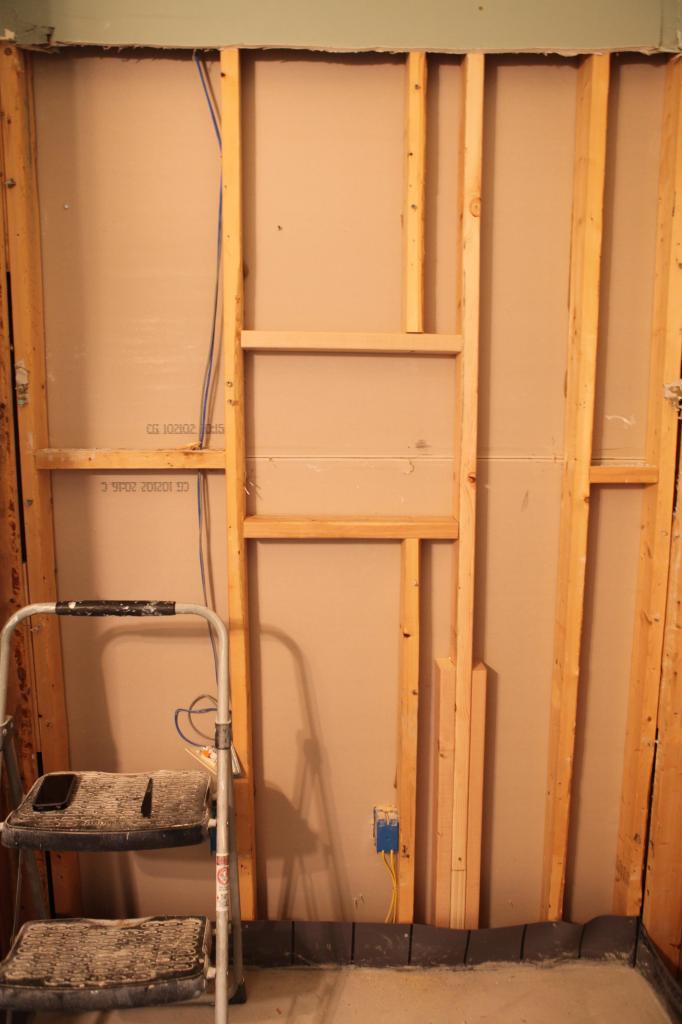
First, Jeremy removed the spacers between the studs.
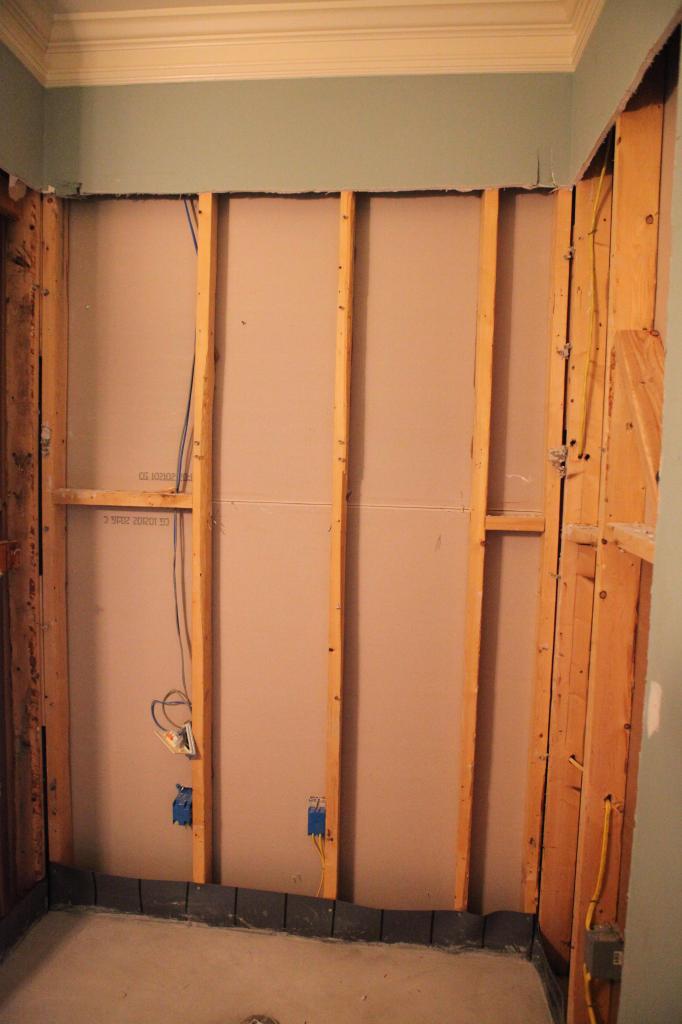
Then he had to move the center stud out the of the way…this was tough to get it back in place because we had the pan on the bottom and drywall on top. It was like a frankenstein job to get it all back in there and not ruin any of the drywall or the pan.
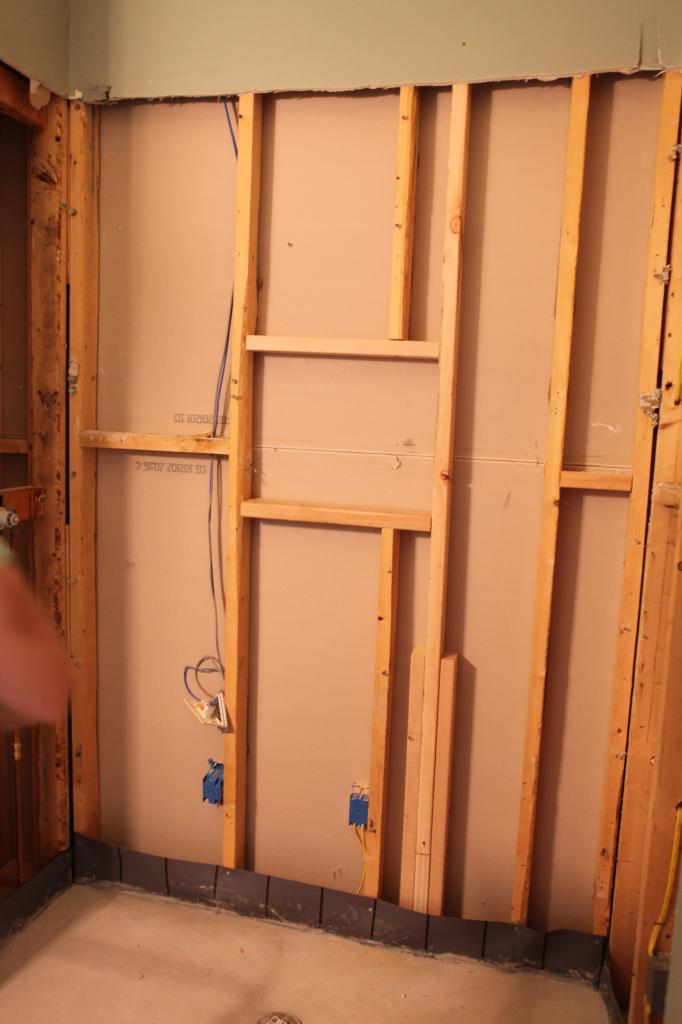
In the end, the 2×4’s allowed for a center niche that would be perfect for shampoo or washcloths or whatever!
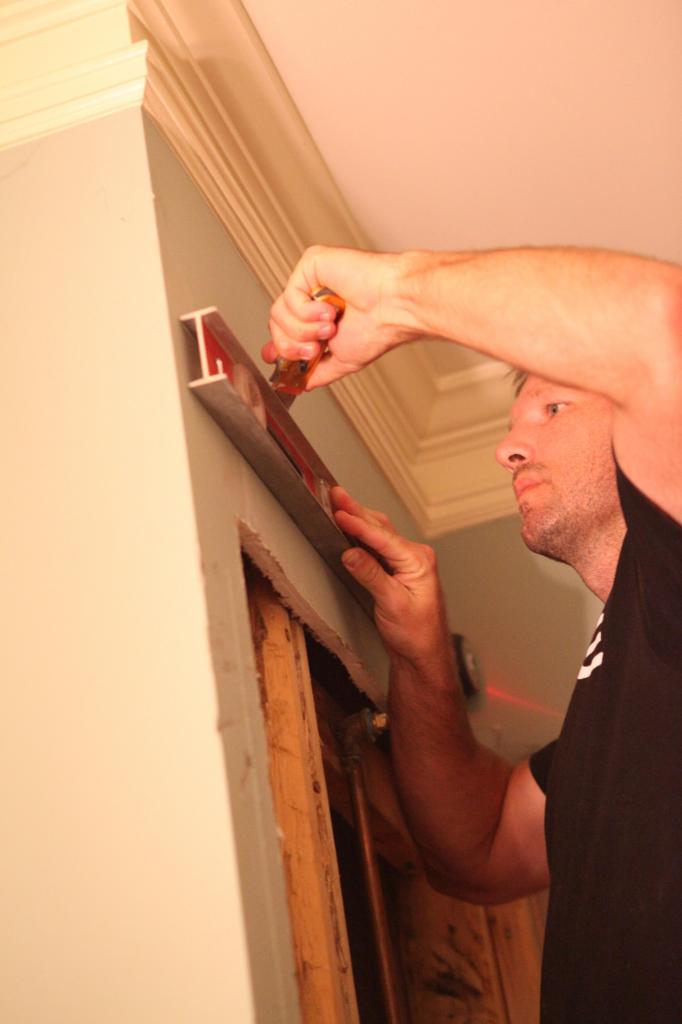
Then came our last bit of prep work….cleaning up the surrounding drywall. All the cut edges were crazy and jagged. We just set up the laser level on the wall and Jer scored the drywall with the box cutter.
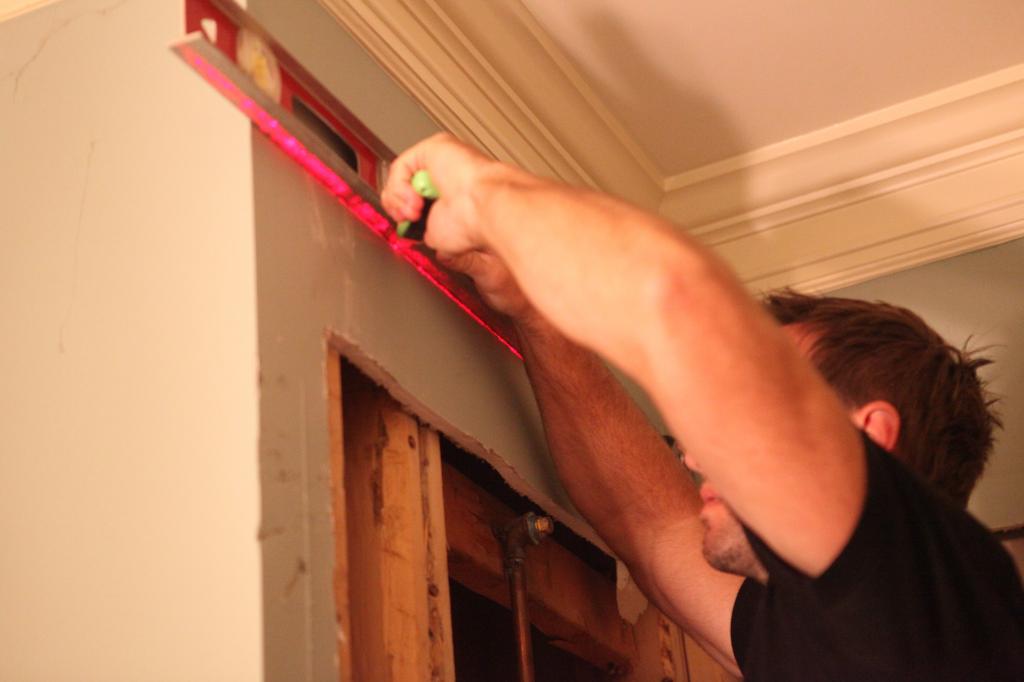
It took several passes and a bunch of muscle but eventually it was clean and ready for cement board!
Okay…so that is the first step in our bathroom process. The demo and the rough in were actually the easiest and the fastest part of the whole process but super vital in making sure the shower was functional. Next comes concrete board and then waterproofing, tiling, installation and decoration! I also have a bunch of behind-the-scenes photos for the videos that they shot…which was so fun to see and hear the tricks of the trade!
p.s. Thank you so much to everyone who had such kind words for us about the birthday recap and pregnancy announcement post. You guys were so supportive and sweet and literally made me feel even THAT much more excited about welcoming this little one to our family and to the world. Kisses for everyone!
That shower is stunning. You have some lucky guests who get to use this. They may try to stay longer. We redid our bathroom, but kept the drop in shower, for now. This is the next step, I am somehwhat overwhelmed with the idea of taking out, framing, and tiling it even though I am a big time DIYer. But I am antsy and eager to have a pretty shower like this once it is done.
Now you’re going to have to update your number 5 sign in the guest bath! 🙂 I can definitely think of worst tasks to add to the the to-do list. Yay for more babies!
Looks amazing and fun! Quick question, how hard was removing the tub? We have over email room left to do, and the tub is stumping us, like have to remove siding to get it out. Any tips would be helpful!
And auto correct for the win!
I love the new shower! Thanks for sharing the process. We currently have a HUGE jacuzzi from the 80s and are looking into eventually replacing it with a walk in shower. Unfortunately, the footprint of the shower would be 72 x 72 which doesn’t fit a standard shower pan. I was happy to see your mudding instructions and can’t wait to see the rest!
P.S. SOOOO excited for you guys to have number 4! I saw the number of comments and didn’t want to be redundant, but here I am! Congratulations! I have been following along since pre-Will so to see your family grow is so exciting! I am currently pregnant with number 2 (28 weeks) and am thrilled to be overlapping with one of your pregnancies (I know I am a HUGE dork!) Congrats again!
And to think you did all this while you are pregnant and didn’t even know it? Girl omg go take a nap already:-) congrats!
LOVE LOVE the new shower! The Hubby wants to update our bathroom like this, but I can’t let him take out our only tub! Love the cut out for the soap too, perfect!
I’m actually doing a full bathroom remodel and I’m having all the electrical and plumbing done. Like you, I’ll be doing all the tile work and fixture install myself. I even picked out the same vanity!
Looks great. I can’t wait to read more.
I love the renovated bathroom, it lols fantastic! Just wondering if you considered moving the shower taps to the far wall so they could be used without getting wet, or what the rationale was for having them under the shower head?
I am so overwhelmed looking at this. We need to do the same things to our bathroom and my hubs is not very handy. I totally laughed at the “low shrinkage” on the leveling bag. My pregnancy brain has turned me into a 12 year old!
I need to ask where the TP holder is. Our commode is in a similar spot and I wonder if it’s weird to have the holder on the wall too far back. But a pedestal holder is just something to move and trip over. What do we do here??
And congrats on #4. You guys make cute kids. 🙂
It’s in the top drawer. Although it is kinda weird at first, we love it now because it is hidden, still easily available, never needs changing and you don’t have to worry about the idea of a “splash zone”…yes, there was a whole discussion on it.
xo – kb
We did consider that when we were doing the plumbing and we skipped it because it is a rain head. If it had been more outward pointing, we probably would have moved them but it is easy to reach around the water stream and turn off the flow and still stay dry…so we saved the moolah.
xo – kb
My goodness, you guys are awesome! Sometimes I tell my husbands stories of what you and Jeremy accomplish. 😉 I’d like even 1/10th of your handy-ness.
Except it’s husband, singular. Only one of those for me, thank you very much.
Who won the sofa giveaway? I kept looking for an update to that post- I know my chances are small but I reallllly wanted that sofa haha!
Also I can’t imagine doing a reno like that with a camera crew- as most reno projects I am wearing stained t-shirts, sweatpants, a baseball hat, and have zero makeup on. No one wants to see that!
Brilliant! Thanks for sharing! 🙂
Why did you have to mention that cheesesteak????? Now I am soooo hungry! PS- Congrats on finding out about baby #4, what a great birthday present!
We have basically the same bathroom layout, so this is a good template to follow. Can you tell me why you didn’t opt to move the bumped out wall back to create a larger shower? Was it just a matter of increased cost to move the plumbing and framing? Or were there other issues that prevented you from expanding? Any insight would be super helpful!
We didn’t have the room to do that because the backside of that wall is flat and the upper wall in the living room. If we did expand, it would have meant framing out an entire upper balcony, changing the entire upper floor layout and lower structure which wouldn’t have been a good investment.
xo – kb
This is my half bathroom inspiration. Do you know the wall color by chance?
The original wall color? Or the one that we painted it?
xo – kb
The color you painted it not original
Where is the vanity from? I love it.
From Home Decorators Collection at the Home Depot 🙂
xo – kb
Your bathroom renovation looks amazing! Where did you get that canvas print above the toilet?
It’s from Home Decorators Collection.
xo – kb
We’re about to take on a project just like this, but I got a little confused by the pan/liner step. Did you do: tar paper –> mud then add the liner OVER the mud and up the sides a few inches to attach to the studs? And then do another layer of mud? I got a little lost and wanted to make sure I understood that correctly.
Thanks!
Tar paper, then mud, then liner and then mud. That is correct.
xo – kb