The good news is that I don’t have strep throat. The bad news is it is bronchitis and I am lurking around with my antibiotics, tylenol, an inhaler while leaving a trail of tissues. Since LJ and Will are also on antibiotics, you can imagine how fun the Bower house is right now. #likeatoddlerdancevideo
So since I have extra down time today I wanted to touch on some of the finishing touches in the guest bathroom. We have already talked about the demo & rough-in, the floor and wall prep, tiling, the niche & waterproofing….and now we are at the final stages! Today is all about the shower fixtures, painting and doing a little wall craft. That’s a whole lot for one post. Be warned. If you can remember way back to a couple months ago, I revealed the moodboard that had the rain head shower fixture, the frameless shower door and the oil rubbed bronze wall hooks.
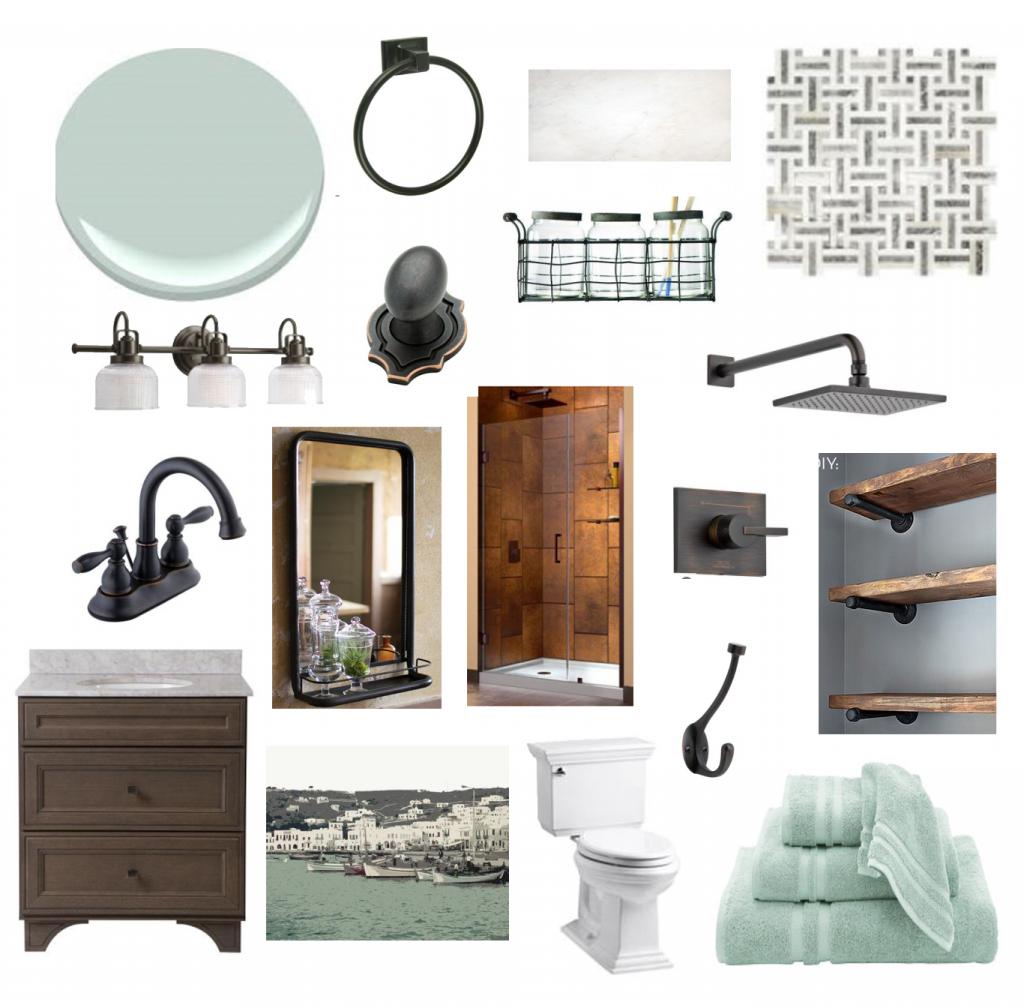
And you saw the finished product….
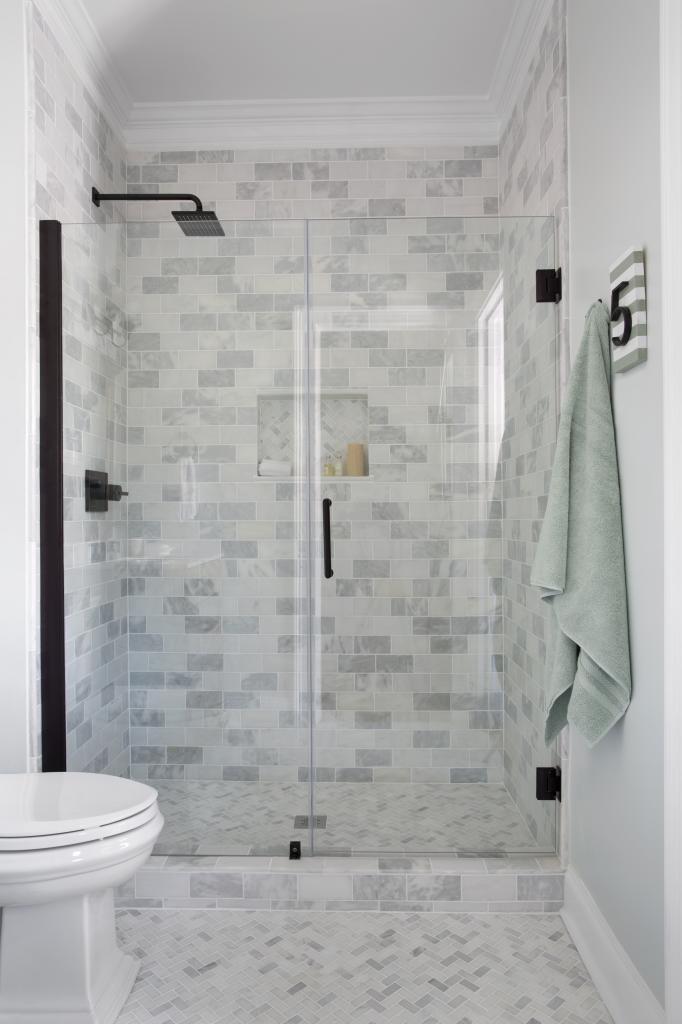
But how did we go from that a barely tiled surface to a finished shower surrounded by smooth walls? Well, I am so glad you asked.
Prepare for the blurriest photo evah. The tile cement board was flush with the drywall which meant that there needed to be an end tile…we went with a 12″ marble pencil tile that would extend to the edge of the blue tape…
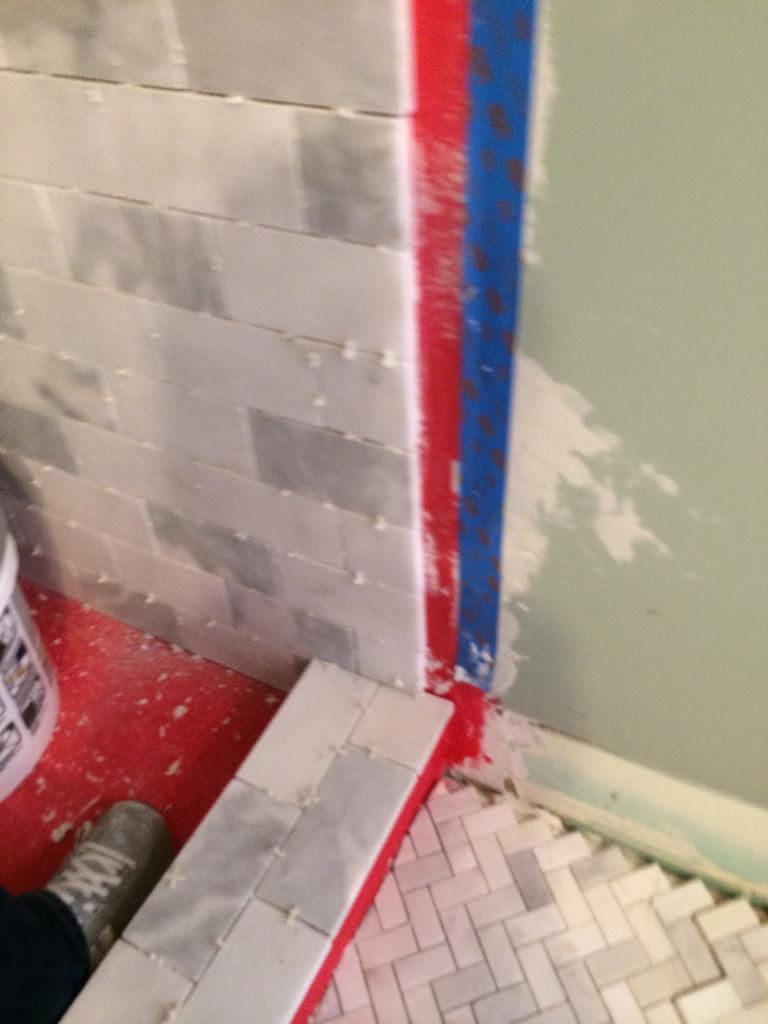
Obviously when you use mortar, there are gonna be some unclean lines. When I put up the pencil tile, it really finished off the tile wall but then we were left with various finishes on the drywall….not exactly paint ready.
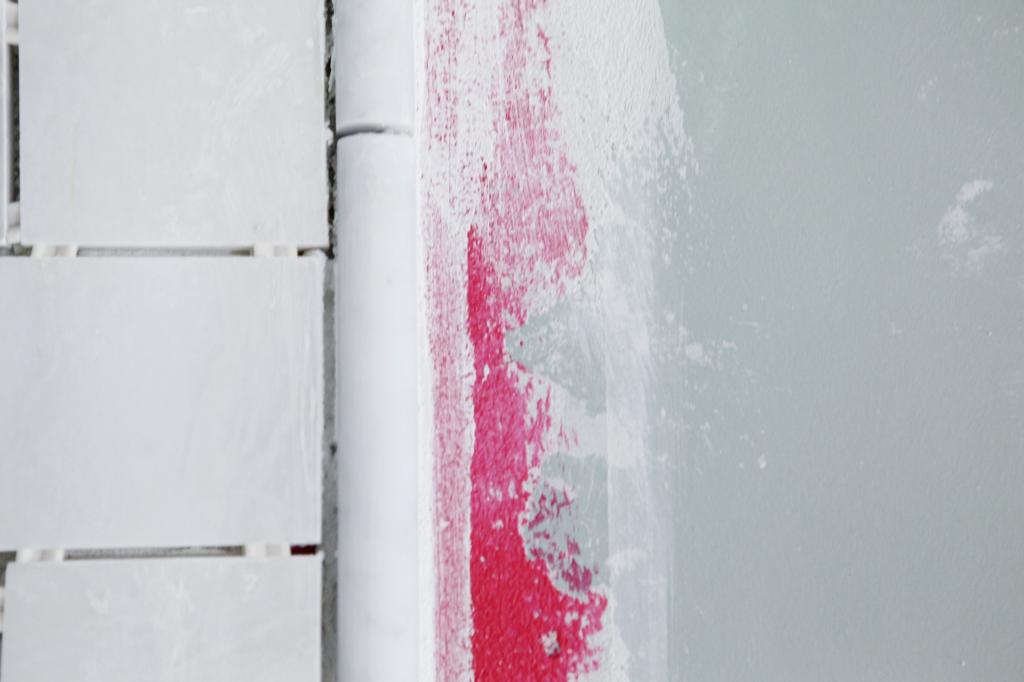
As you can see…there was the drywall, the first layer of mortar from when we did the cement board (gritty finish!), the red waterproofing (slick finish), and then more mortar.
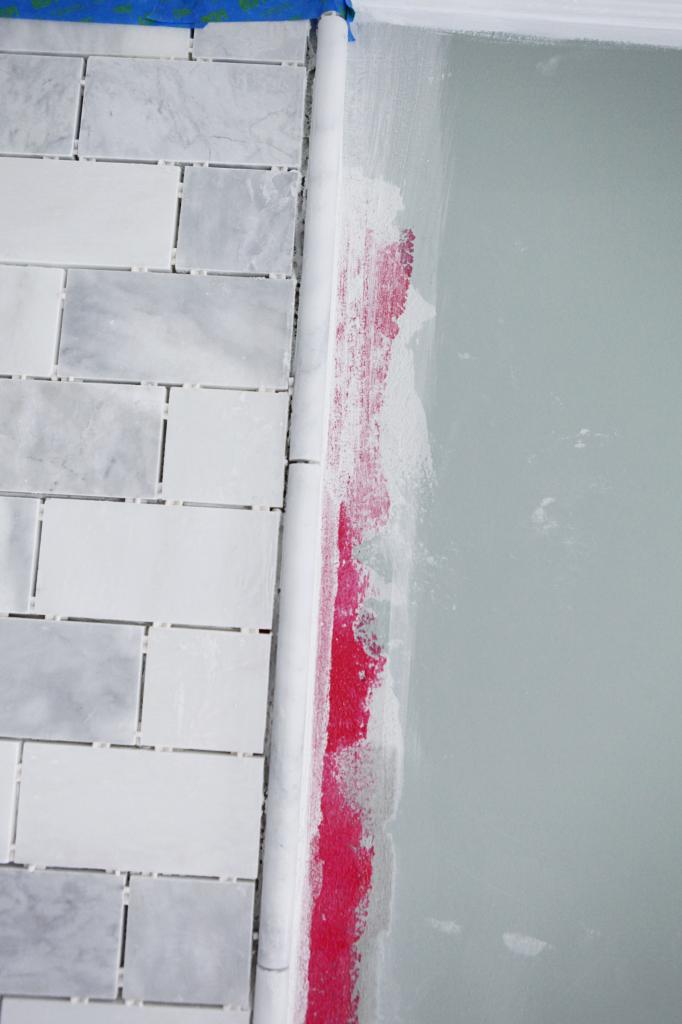
After a lot of research, I found that it was a super easy fix….just use spackle to cover the entire edge and smooth for paint.
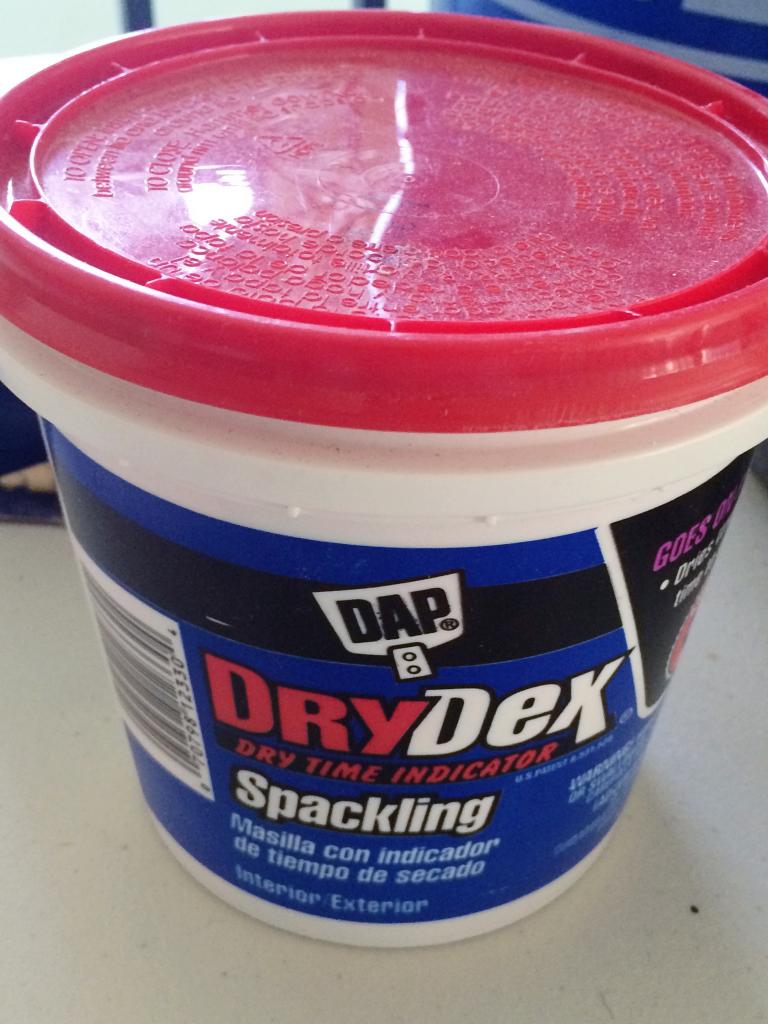
We went with this easy dry time indicator DryDex spackle. It’s not recommended for all situations but for this one it worked great. You smooth it on and it will be bright PINK and then when it drys, it turns white. It is the perfect product for people like me that need a neon sign when something is DONE.
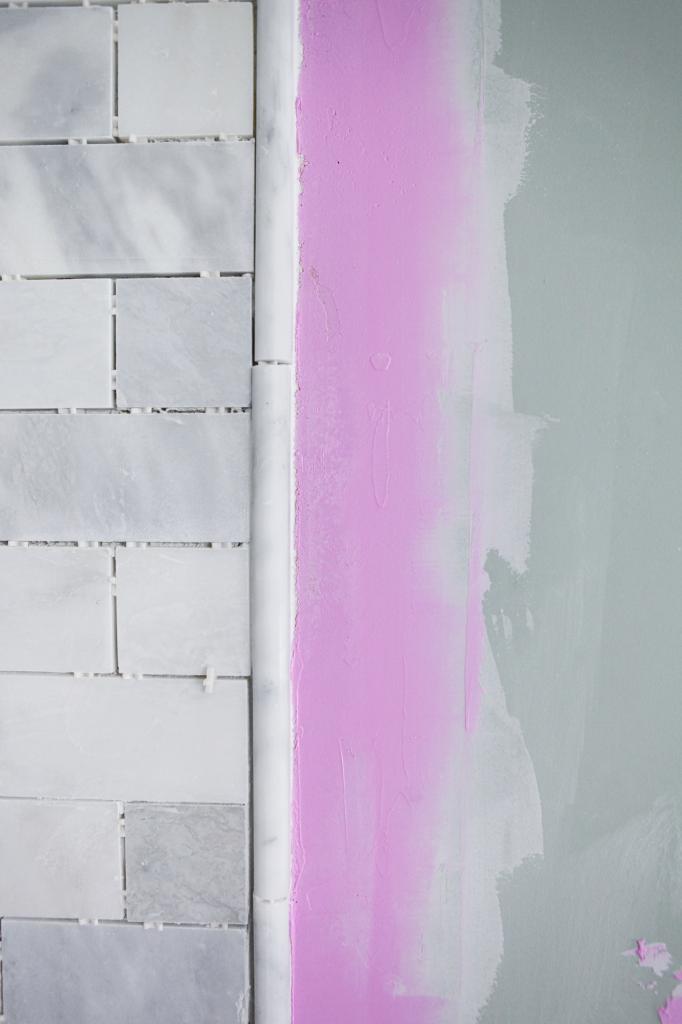
After it turns white, you sand it smooth (obviously you can’t wet sand this…don’t try…it’ll turn bright pink again) and then paint and caulk for a smooth and perfect finish.
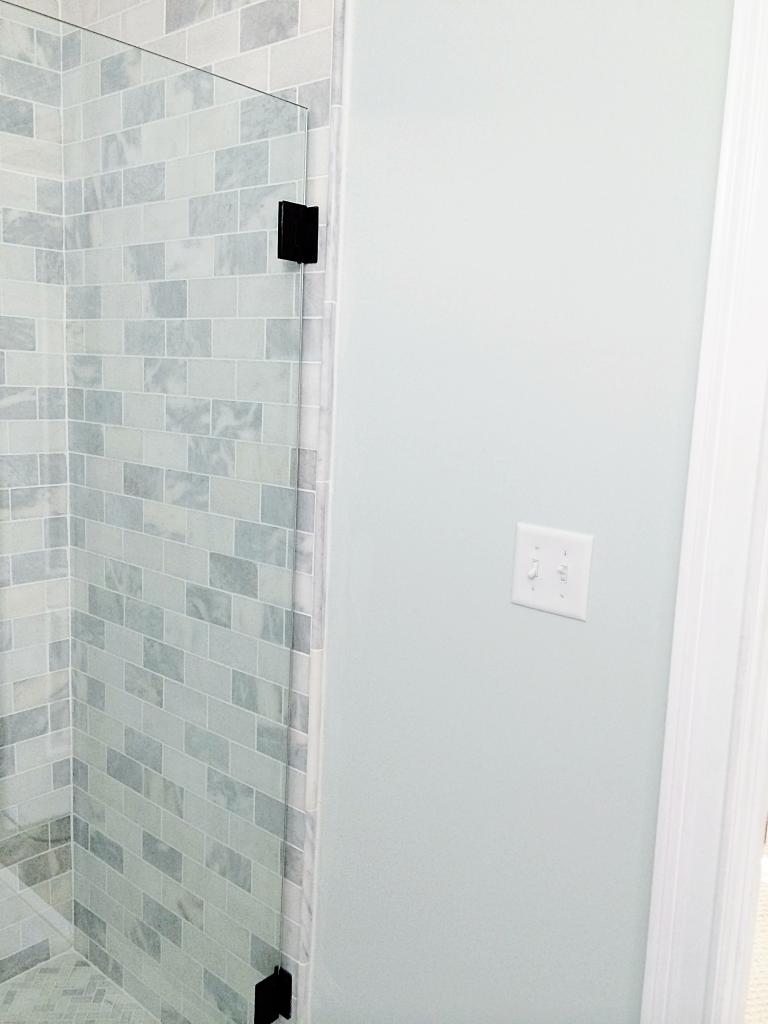
Speaking of paint…this is where we actually had to paint the entire bathroom. It should be said that as a blogger, I like to do things in a certain order….for clarity and to make it easier on me when I explain or photograph things. But the film crew had us tiling and painting and smiling really cheesy smiles at each other all at the same time. So you can see in this photo below that the tile wasn’t grouted, the trim was painted and the walls were not and we were dry fitting the toilet and vanity. It was complete out-of-order chaos.
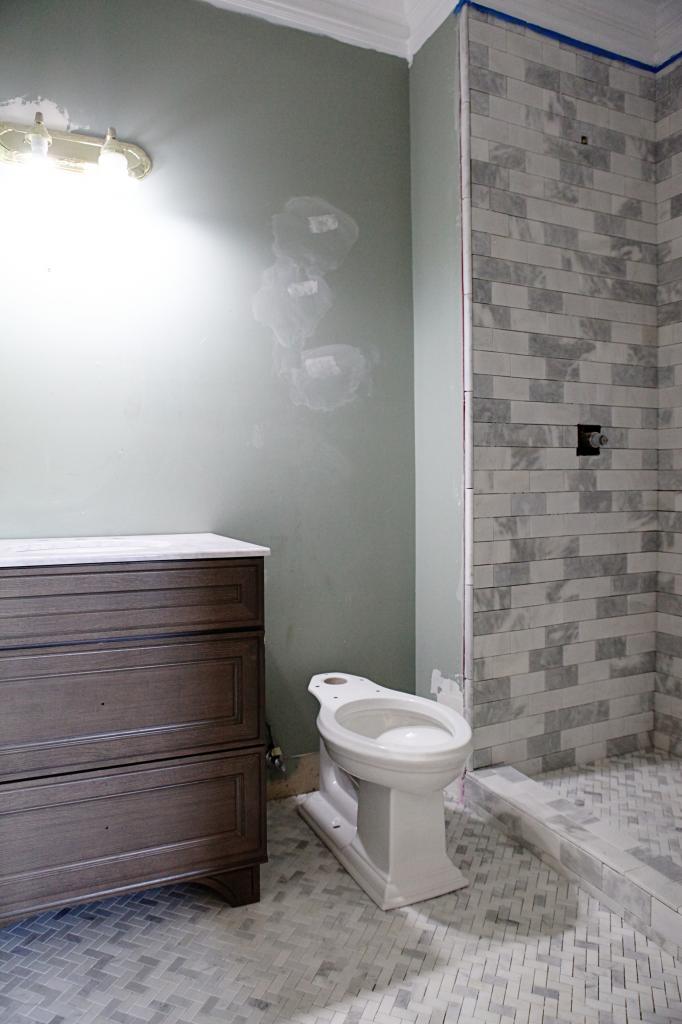
And even though the film crew did get Jeremy painting trim (he hates hates hates painting with a brush) he only did about two feet of trim for the cameras and then we had to come back to it later.
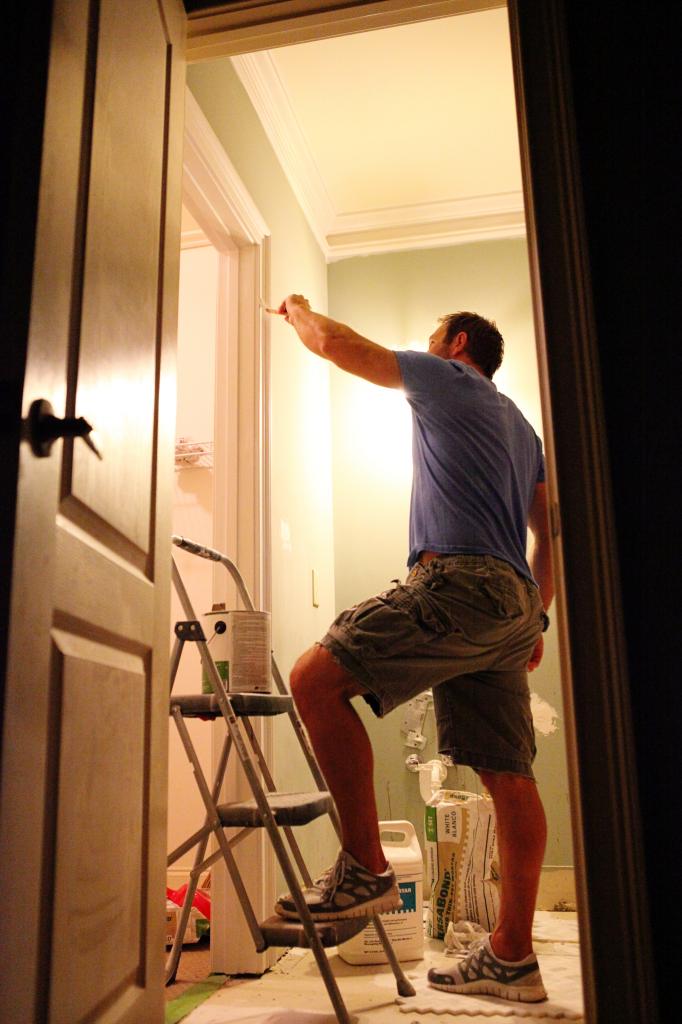
This is him priming all the trim (it takes one coat of primer and at least two coats of paint) so while I tiled, he painted. Let me tell you how many cheesy smiles were happening then….um…is there a number that is less than zero? And obviously with both of us in here, it meant that the babes were all locked in a closet. Or sleeping. Although, can you imagine how much we could get done with a closet-nanny?!
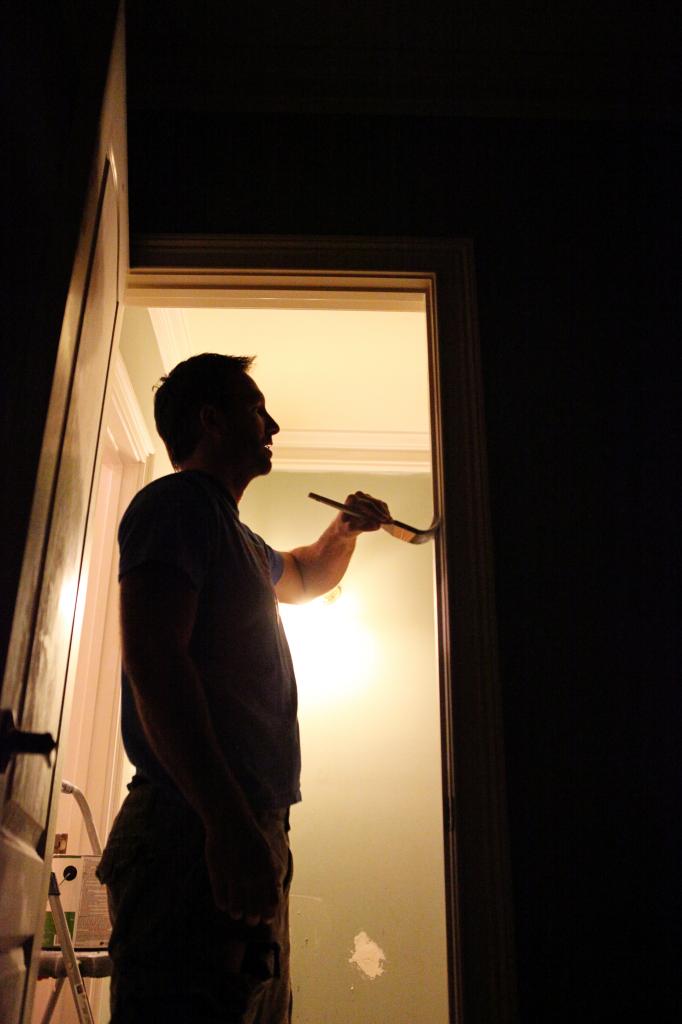
I painted the walls Behr’s Lime Light in eggshell. It is really a great spa-like color that is much lighter than the original color. And now for time-lapse painting (because you know that I am obsessed with time-lapse)….also my sincerest apologies about the unflattering angle. Don’t be jealous of my green Umbros.
Next up…shower fixtures. We went with the rain style shower head and I can not imagine a better fixture for this space. It really ups the chic feel and puts in a modern vibe. The arm itself was pretty easy to install and then Jer just had to screw on the rain head.
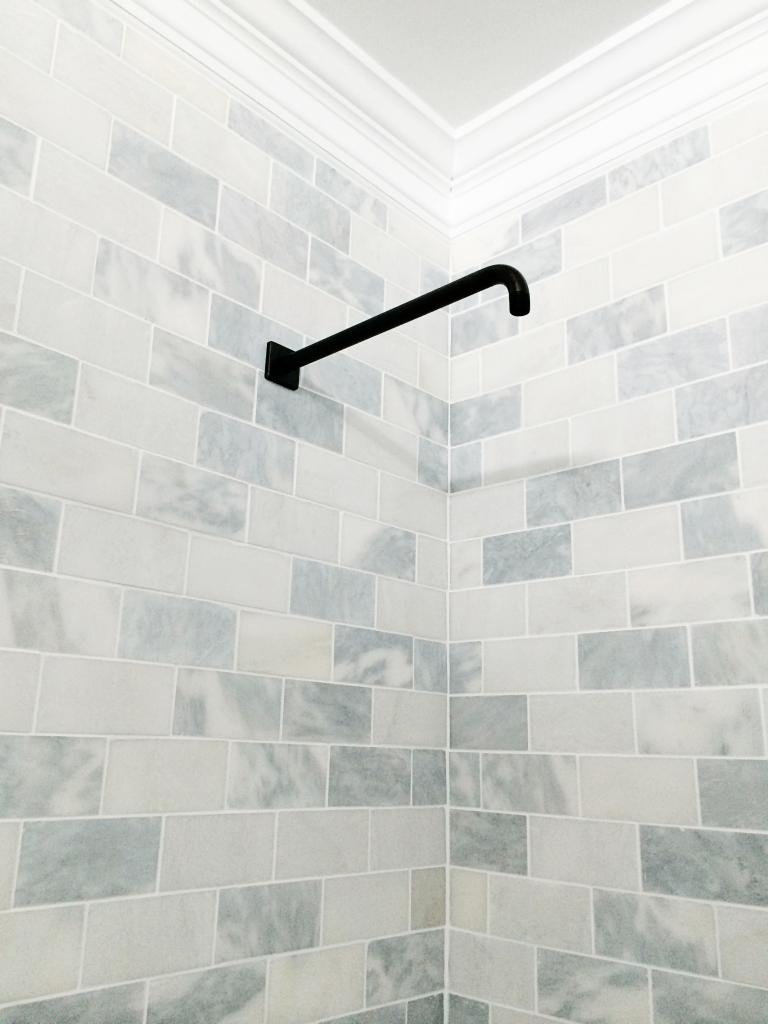
He also had to install the valve cover which was a little trickier. But in the end, he broke out those instructions and got it done 🙂
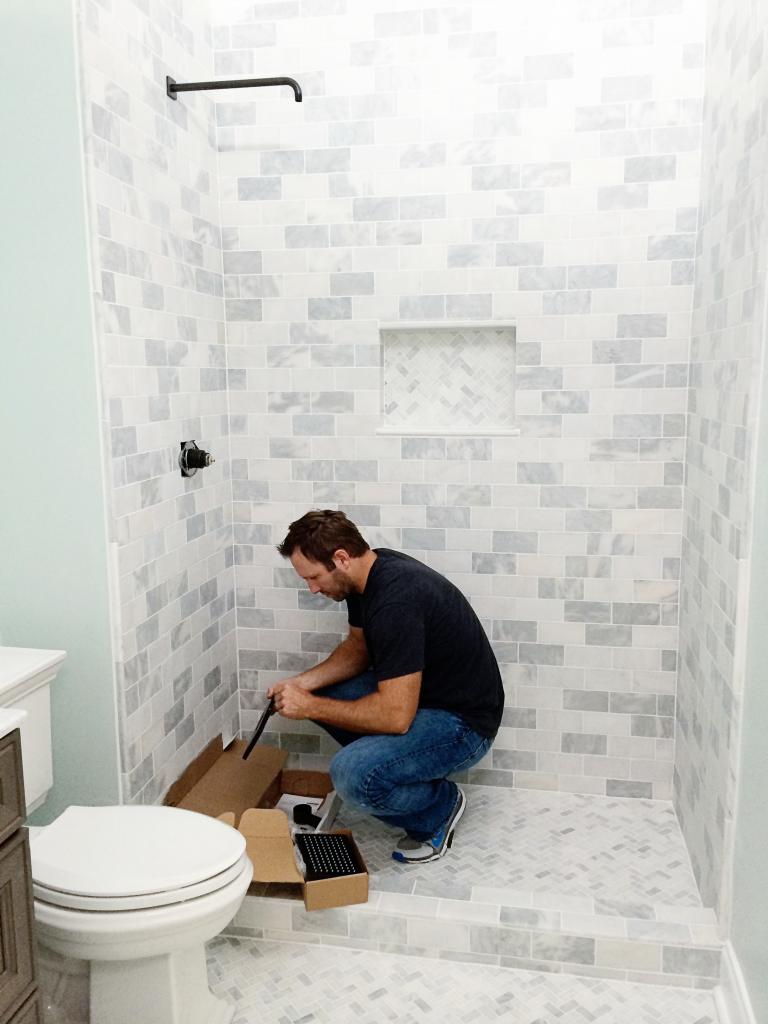
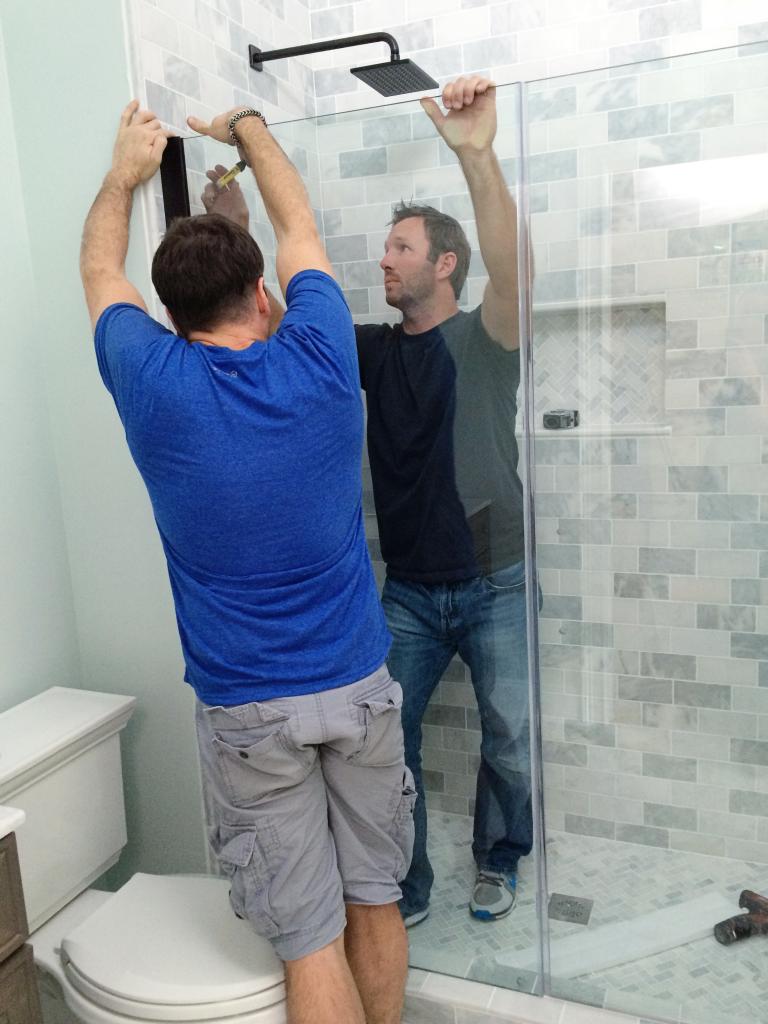
Oh and have you met David yet? He was a handyman that was hired to help us with random odd jobs during our film time. Like I said…we were on a time crunch and we had to utilize the daylight as best as possible. His biggest task the entire day was being the other set of hands for Jeremy to install the shower door while I did interviews.
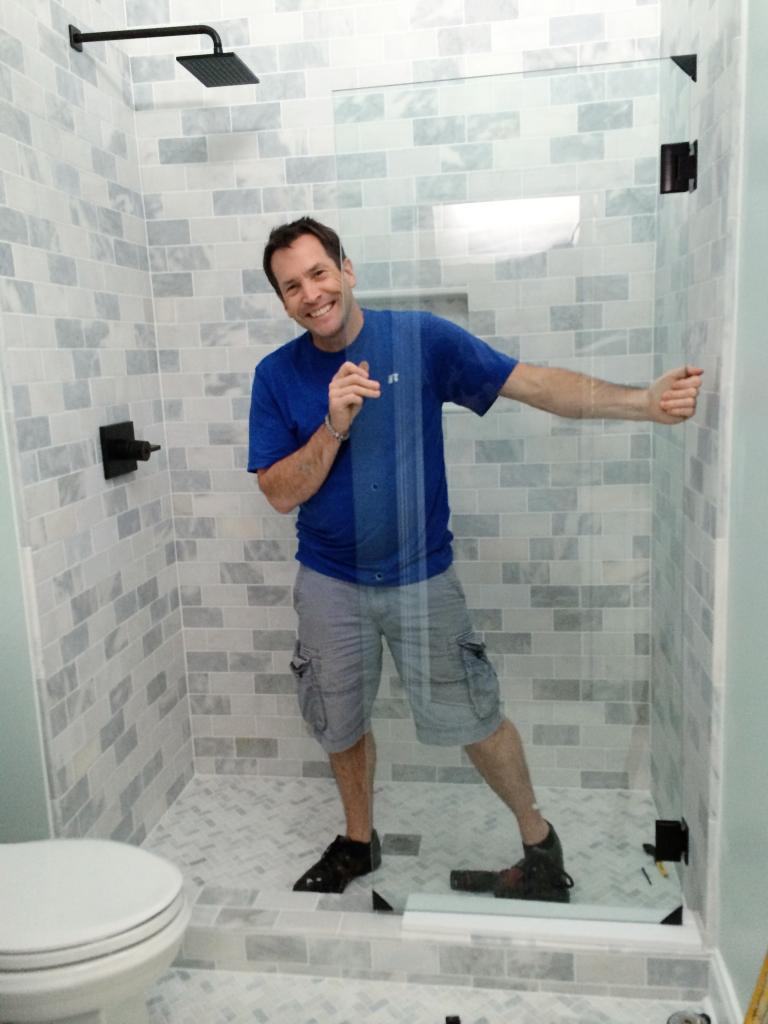
It was definitely a two person job. The instructions were clear but the entire time, I was nervous because it all depended on my tile job. If the wall was off or the curb was uneven or if I didn’t double check my plumb lines, it would have looked terrible OR it could hang completely wrong. To say I was nervous is a complete understatement.
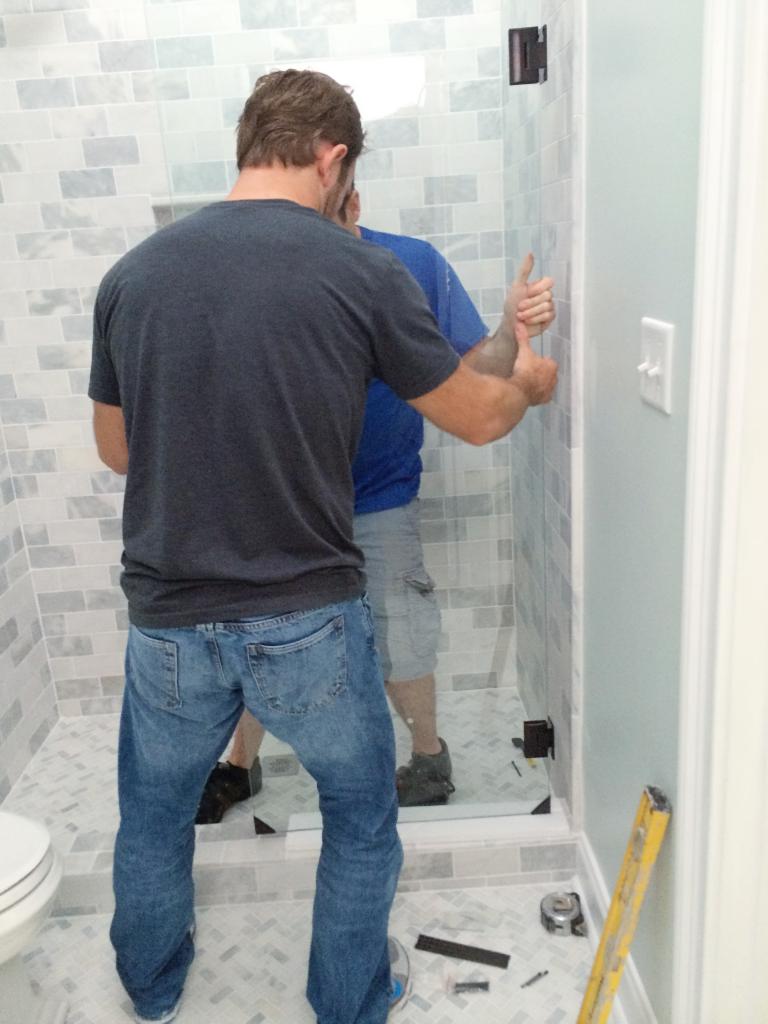
The hinges are no joke. They clamp and attach into the thick glass door and then you have to attach them into studs in the wall.
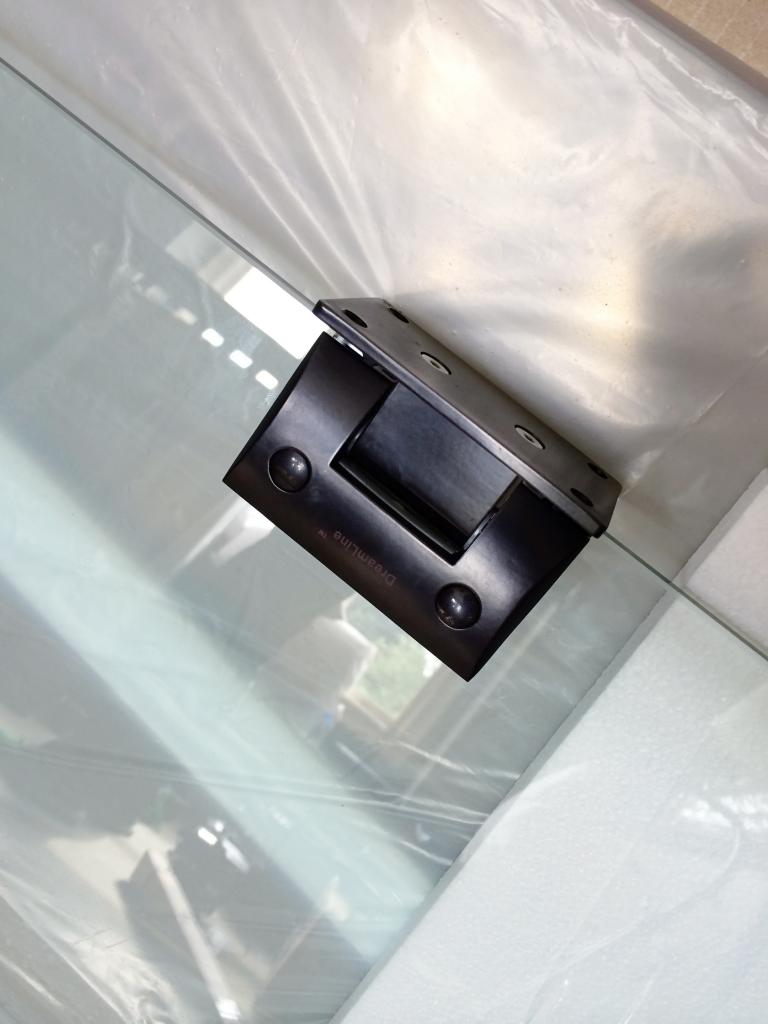
We had already marked the location for drilling on the tiles but that didn’t make it any easier to watch David drill into my tile job.
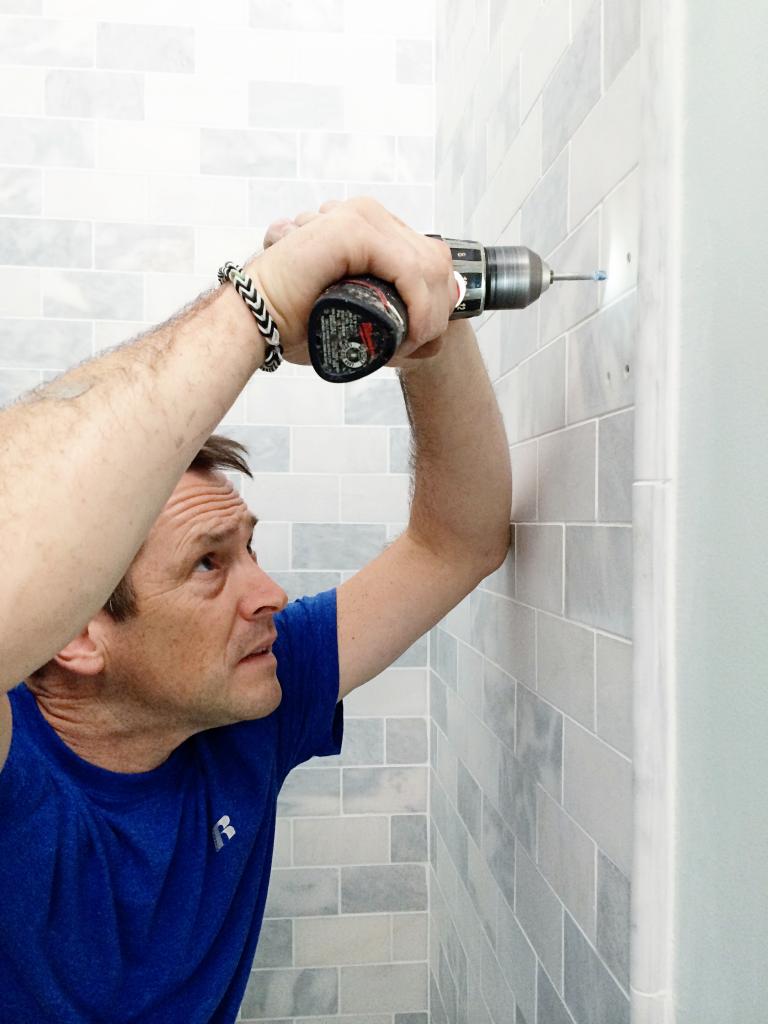
I told him that if he screwed up, I was gonna call his wife and give her permission to make sure he never forgot it. #kiddingnotkidding
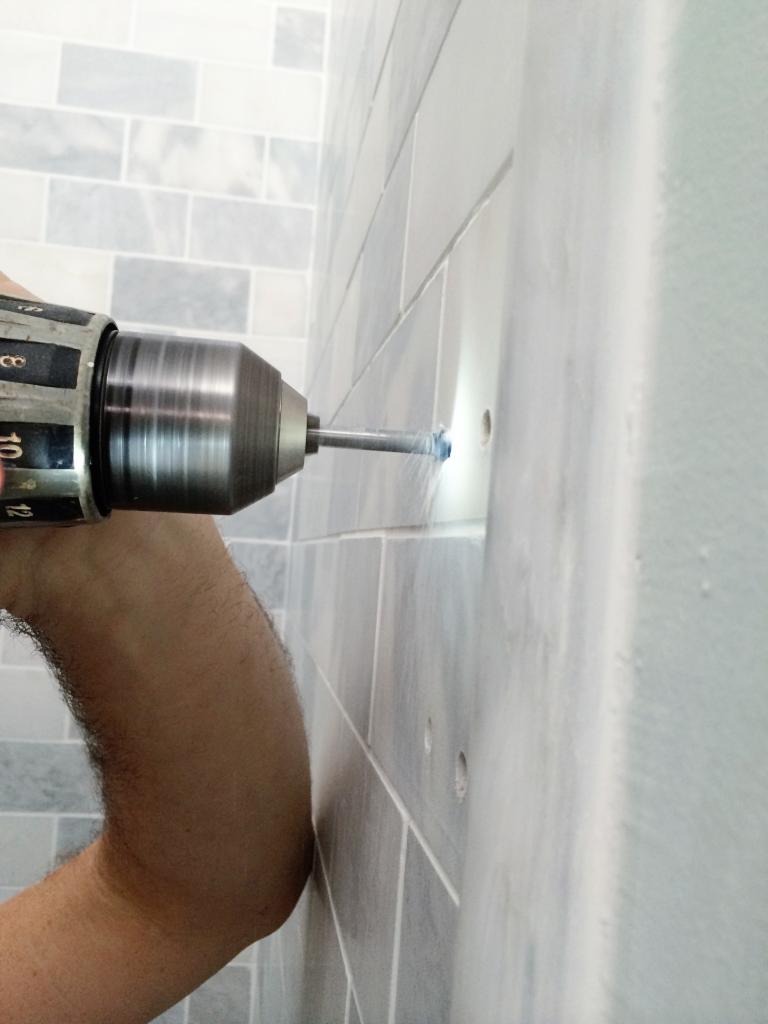
As soon as the holes were prepped and the door was ready for installation, the cameras came out and Jeremy finished the shower doors.
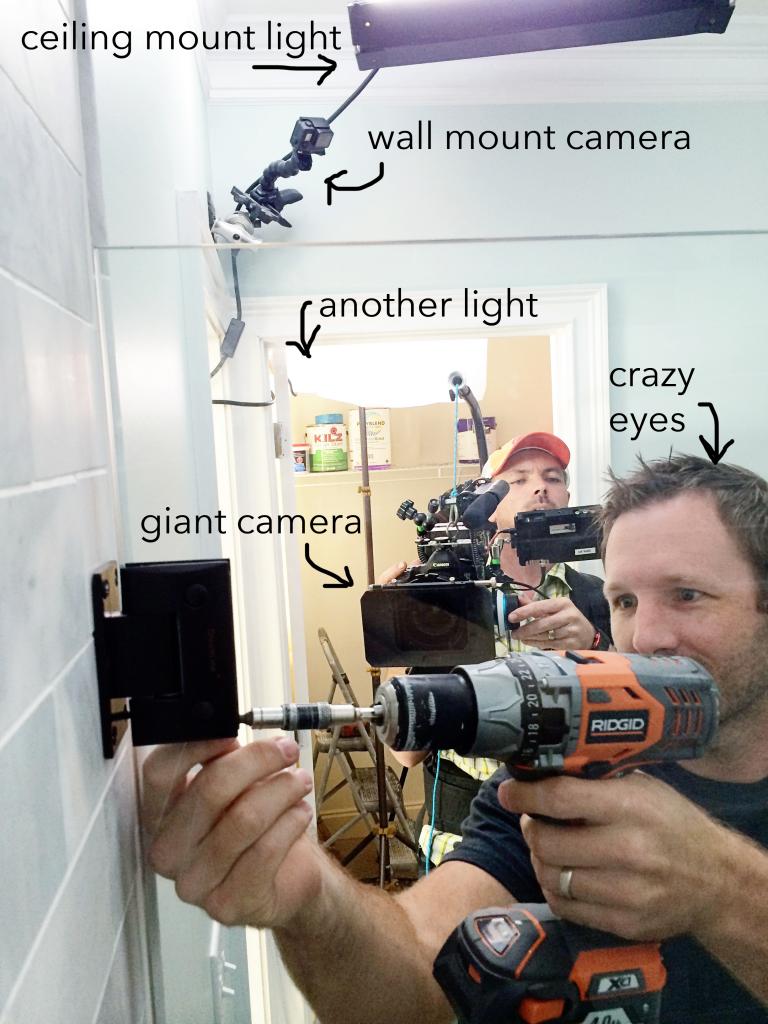
Then came time for the other side – the stationary side. It goes into a full wall clamp and I literally held my breath until it was done because I was so nervous that it wouldn’t line up. Thankfully it did and I didn’t have to admit to the whole world that I did a tile fail.
Ok so next up is this little area next to the shower door. Originally I planned for the artwork to hang there with two robe hooks underneath. But then the original plan went in the crapper. Well…it was already in the bathroom…but you know what I mean. I had to scrap that plan because I failed to realize the measurements of the artwork (it wouldn’t fit with breathing room around it) and then I didn’t realize how deep the original pill-top hooks were (what if a guest swung that door open too fast and too wide and busted it on a robe hook?! My life would be over!).

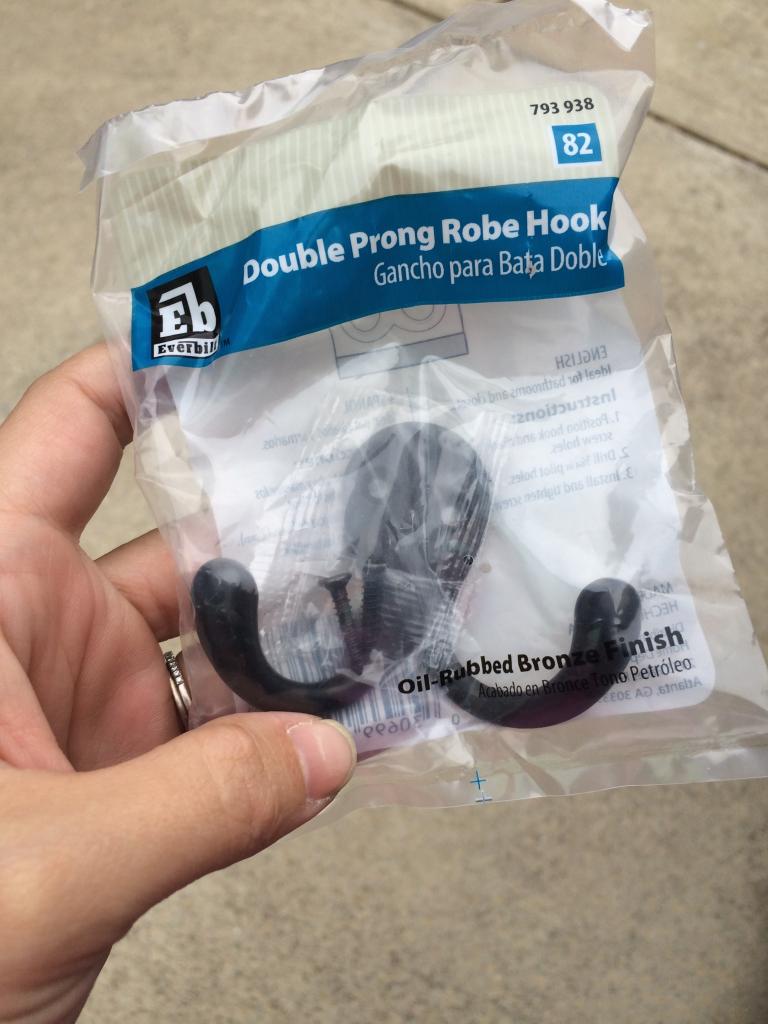
So instead I created a little sentimental craft piece and added a shallow double-prong robe hook.
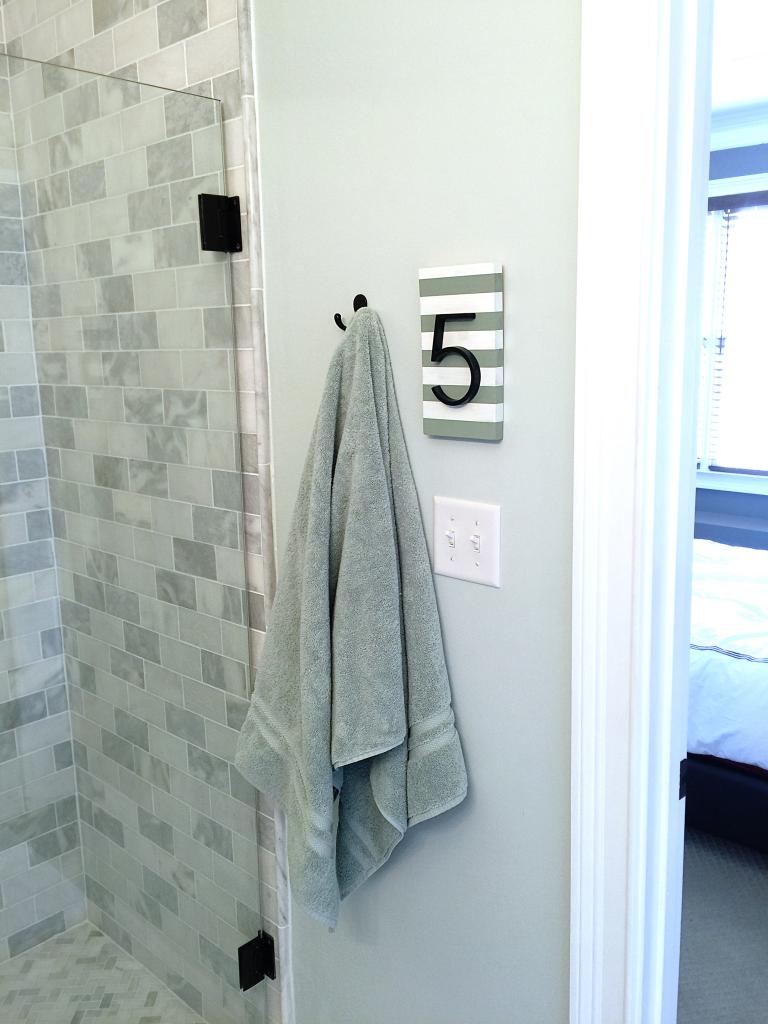
Please note that this isn’t the cutest hook in the world. Not even close. But it was the right color and it was in stock at Home Depot the morning I needed it. I think down the line I might want to change it out for something cute and with more personality. I do love this anchor hook from West Elm and these monogram hooks from Anthro.
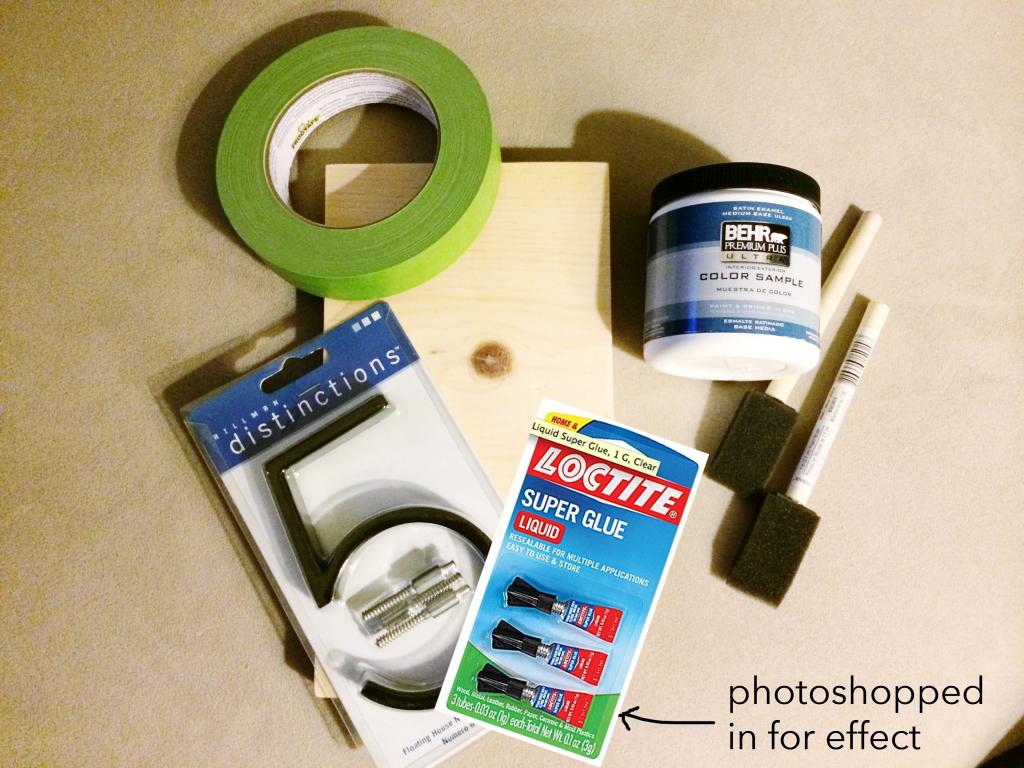
As for the number craft, I got everything from Home Depot and I made it the night before filming. It only took about thirty minutes and most of that was dry time.
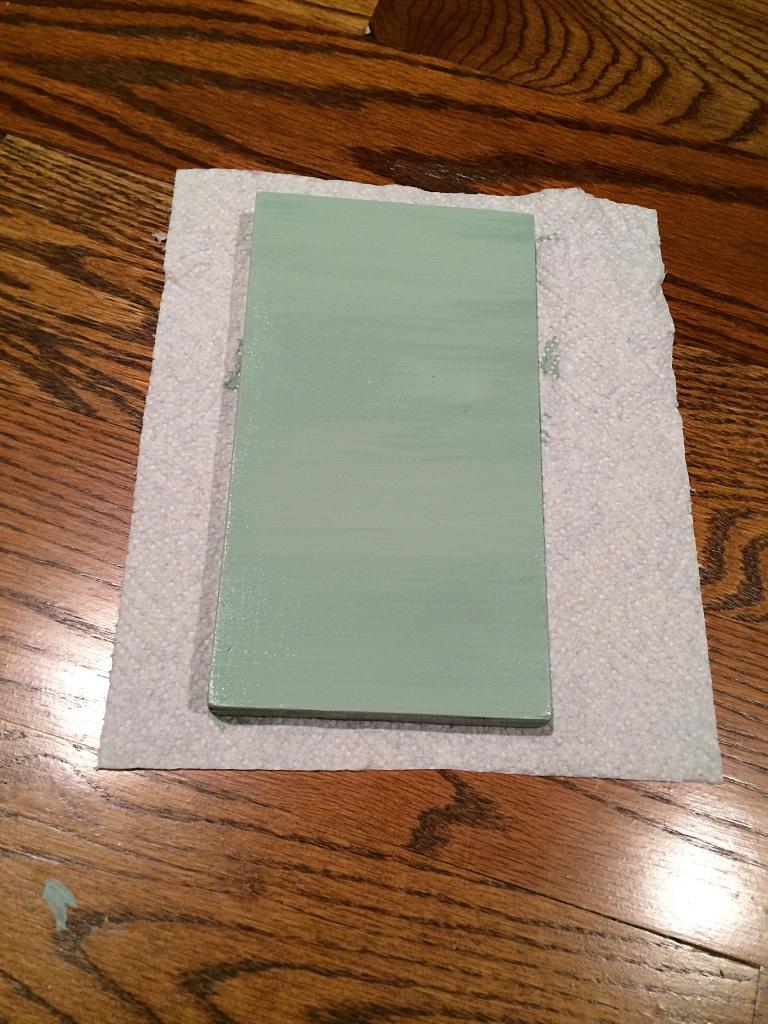
First I took a scrap wood board and sanded it down and painted it my base color.
Then I placed the painters tape on it at regular intervals. I used the tape to measure the spaces in-between so all the stripes were even.
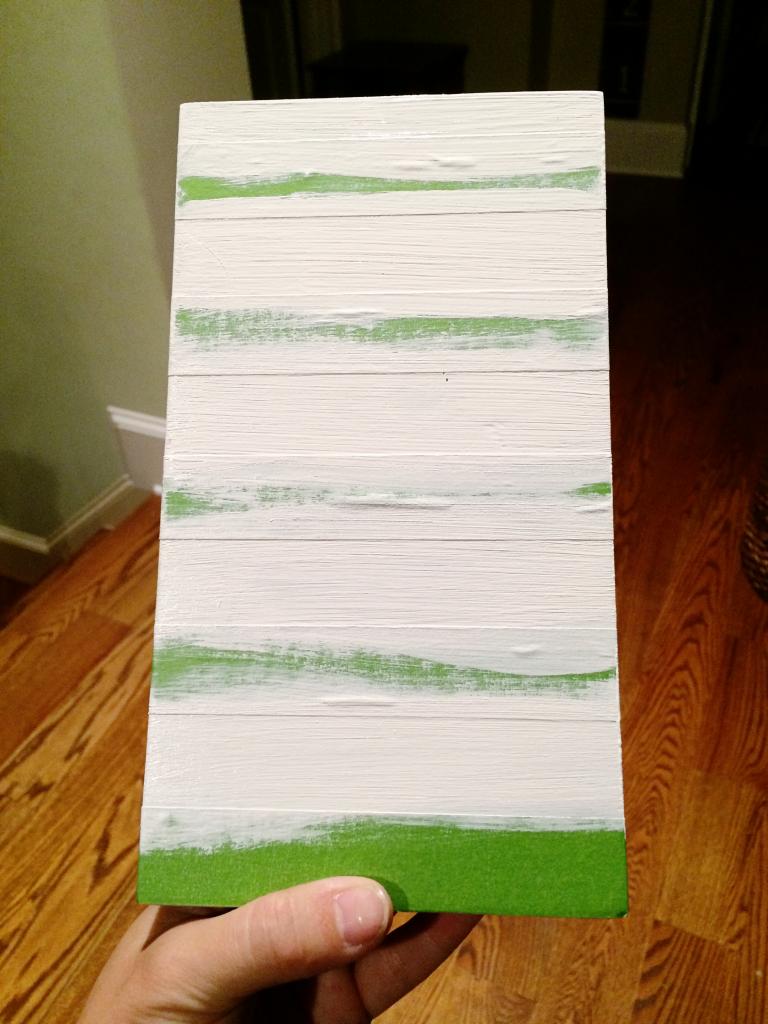
Then after the white paint was on there, I peeled back the tape to reveal the stripes. It helps the whole think look really finished if you wrap those stripes around the edges.
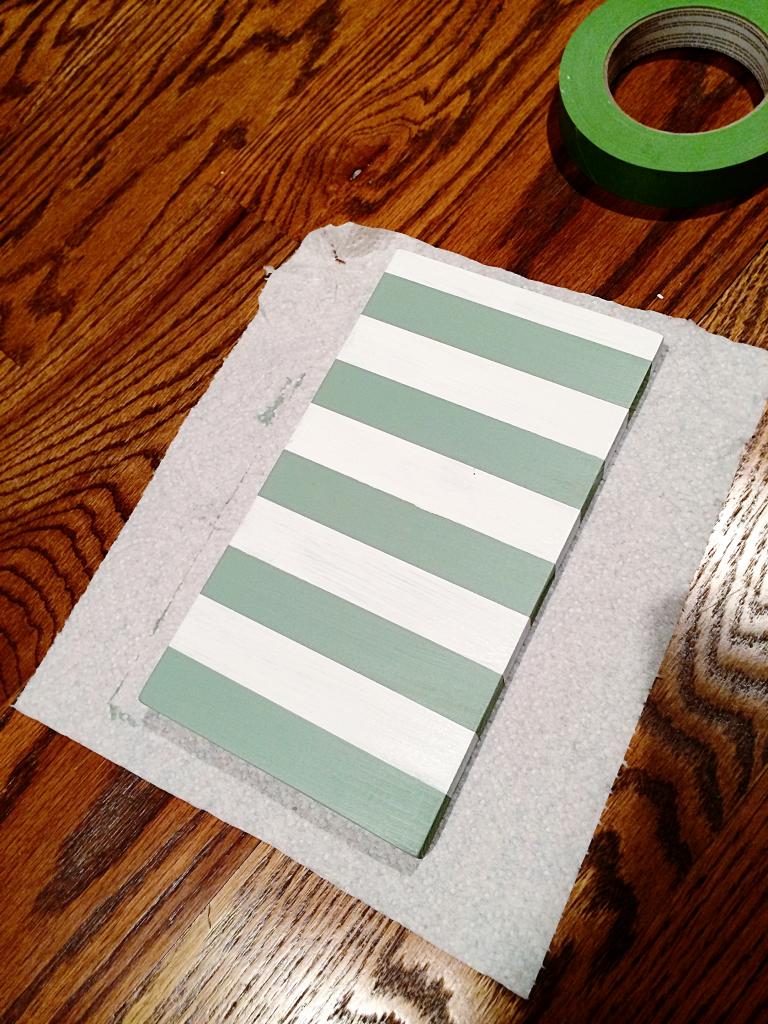
Then I just super glued the number on it. I wanted a super clean look and the glue was a better solution than drilling holes and potentially having something look off in the end. I added a little tooth hook on the back and hung it next to the robe hooks to make the wall look a little more complete.
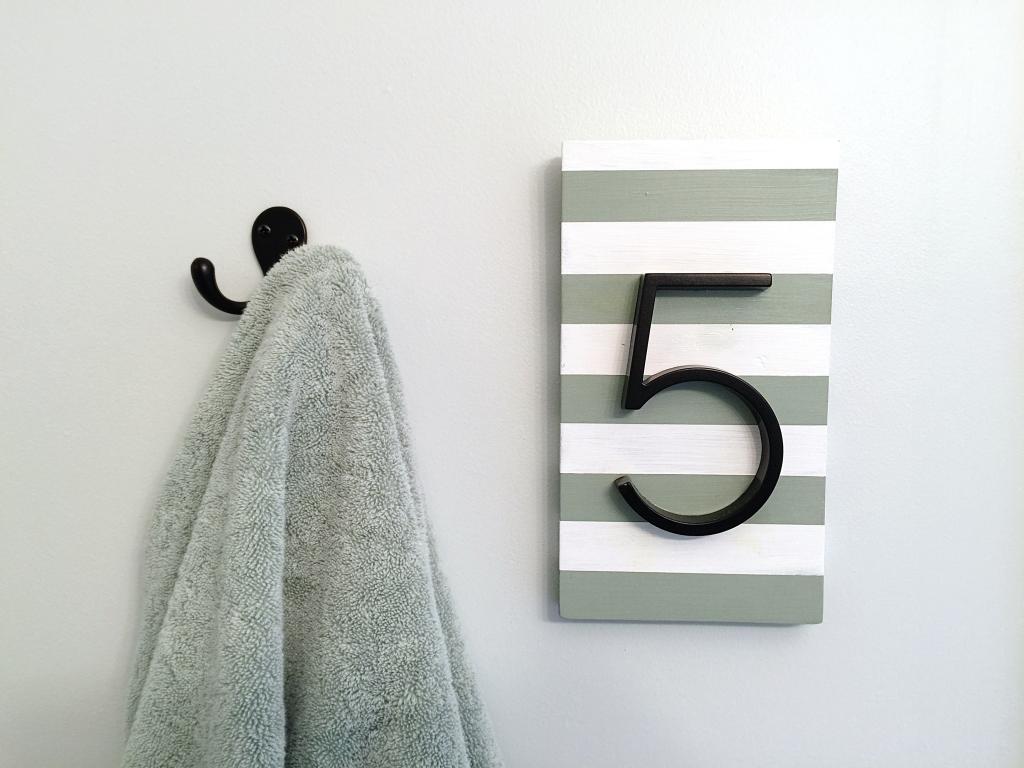
So there you have it….more on the bathroom….with still more to come! I have one more nitty gritty post – how we installed new thresholds and how we had to hone marble to do it! Ahh! Hardcore DIY info! And then a behind the scenes look at our first ever film experience. It involves a toilet in the front yard, a buffet in the driveway and Jeremy wearing makeup. It’s gonna be awesome 🙂
The shower door and rain head are divine! I was going to start our basement bathroom this weekend… and then a pipe burst #guessweregettingnewfloors…
I love Urban Outfitters for hooks! I just bought a bunch & made a hook wall :http://www.createbakecelebrate.com/2015/02/hook-wall.html
Cant wait for the inside info on the shoot!
Did I miss it?- why did you choose the #5? (if I had to guess, it’s cuz there are 5 of you living in your house?)
Oh Katie! You always seem to get a really bad illness when you are pregnant — right when you can barely take anything to help it!! I am soo sorry! Is Will feeling ok? I can’t believe that both Weston and LJ are on antibiotics — This is going to sound terrible, but I am jealous — both of my kids have had really terrible cough/colds but our ped always says its just a virus, and they wont give them anything — after 2 months of dealing with a terrible cough, you just want to give your kid something!!! KWIM?!?!
Hi Katie – Do you happen to have a link to (or the name of) the tile that is in the upper right corner of your mood board at the top of this post? That design would be great in my bathroom. Thanks 🙂
Nevermind! I just found it here 🙂 🙂
http://www.homedepot.com/p/Jeffrey-Court-Windswept-13-in-x-13-in-x-8-mm-Marble-Mosaic-Wall-Tile-99644/203774455?MERCH=REC-_-NavPLPHorizontal1_rr-_-NA-_-203774455-_-N
Why the number 5? For the 5 current Bowers?
My husband and I recently installed that shower door ourselves. It is actually pretty flexible as far as uneven walls goes — it comes with several thicknesses of clear plastic shims that can fit unnoticeably behind a hinge, and the hinges themselves, where they attach to the glass door, have some play in all directions. It is a very clever design. But I agree that it was totally nerve wracking to install. My husband came up with the idea of using moving straps (the kind you can use for moving heavy boxes) that fit on our forearms and ran under the door to support it. (He was on one side of the door with the ends of 2 straps on his arms, the straps ran underneath the door, and I was on the other side with the other ends of the 2 straps.) I am not known for my upper body strength, and the door is REALLY heavy and hard to grip, so the straps made it a million times easier.
Is the paint color more green or does is have a blue hue? I have a spa theme going on in our bathroom but our paint is just a shade too blue, so I’m looking to tone it down a bit. Thanks! Love the look of the bathroom!
Really… truly, I need you to come to my house.
You guys are freaking awesome!
Katie, how does the shower door work? Is there a gasket of some kind where the two pieces of glass meet? I love the look but can’t see how there’s not water everywhere when you use the shower. I desperately need a new shower door – hence, the question! Thanks!
Is this a “BAKING TWINS” announcement!?
Thanks for all of the background info on this project. In a few years, I’d like to re-tile my master bath and I’ve always been curious as to how the shower is installed.
Brilliant…once again!
super cute! I giggled a little when I realized your number craft is already outdated:)
Your shower is awesome! Can’t wait to see the final room. Hope you and your boys get well soon.
Oh no no!!! I definitely only have one kiddo in there!!!
xo kb
Yup! It was just sentimental art that at the time was appropriate…now it needs to be either a 4 or 6! (4 for four kids or 6 for six bowers)
xo kb
Yup.
xo kb
Better make that a number 6! 😉
Well, you’ve inspired my hubby and me to install YOUR new shower in OUR bathroom! Oy! We don’t of do DIY, but hoping with my dad’s help, and following your tutorials, we can be as successful as you! Ordering my sample tiles from Home Depot tonight just to check the color and hoping to start the demo in the next two weeks! Wish us luck!
This looks amazing! I love the colors you’ve chosen- definitely spa like! The tile looks awesome, and I really like the oil rubbed bronze accents. Well done!
I absolutely love your shower! I’ve saved all the posts with all the info your so graciously shared, because I really want to redo our very small master bath. Your shower is exactly what I want mine to look like. I’m hoping to get my husband on board to give it a try. Phew used to build houses for a living so he has the skills, it’s just we’ve gotten old and our body aches with all our projects. Lol! Great great job and thanks again for sharing!
Btw- I have 5’s all over my house because I have 3 kids plus us =5 and my husband was 5 out of 8 kids. I feel like it’s my blessed number!
Good luck! You’ll so awesome!
xo kb
Yeah they have both been sick for quite some time and it finally warranted antibiotics for infections. LJ just can’t beat the ear infections and Wills prone to bronchitis. I wish they were all just viral because it would be over already!!!
xo kb
I know that all the stuff with the shower and door was way more complicated and impressive but I really love the simple little 5 craft. Thanks for sharing all this with us!
Thanks for the tip on using the spackle on the edges where the mortar is. I was not sure what to do and have been staring at my shower for a month! 🙂
There is a thin rubber piece that goes between the doors and acts like a gasket.
xo – kb
It’s definitely a middle ground…depending on your computer the colors may show differently but the one that is most accurate on mine is the one with Jeremy squatting in the shower…that is true to color.
xo – kb
katie –
been working too much to visit lately
just caught up to the progress in the basement
your birthday !!!!
and your big (little bitty) news
happy for you and all the little bowers … boy or girl, your new child will be lucky to have you for a mom
take care of that bronchitis . . .maybe get some help just for a little while .. let someone else do your diy so you can rest .. .
and know that 529 is the thing you need most with kids too close together . . the big hit comes from 18 on ..
love, your friend library
Looks like that’s going to have to change soon…! 🙂
Where is the bathroom vanity from? Thanks!
It’s from Home Depot!
xo – kb
Hi Katie! Loving all these bathroom updates (wait, that sounded weird). Still hoping to hear about how you did the moulding at the top of the shower tile. Any chance that is coming in the behind-the-scenes video post? Maybe as a P.S.? Is that a thing on blog posts? If not, you could totally make it catch on, you trendsetter you.
We just tiled up to the existing crown…nothing special. Since we have tall ceilings and a fan in this space, there aren’t moisture issues and it looks good.
xo – kb
So you didn’t remove the crown and reinstall it over the top of the tile? You just tiled up to the edge of it on all sides? And did you just use caulk at the top to cover the seam?
Nope…we left it and tiled right up to the edge of it. I don’t think we even finished the top with caulk…I’ll have to go look…but nobody is tall enough to see it either way. I’ll see if I can post an update with a photo to the tiling post and I will come back and link to it when I do…will that help?
xo – kb
That would be so fantastic. You’re the best! Thank you!!!
What is the name of the paint color on the walls. I’m not seeing it listed. Thanks!
Behr’s Lime Light in eggshell 🙂
xo – kv