The mantel project is seriously one that is changing my life. It didn’t even dawn on me how much I would miss having a mantel (we have two fireplaces…both mantel-less) but holy night, it was like a black joy-sucking hole in my life. And now that I have one, I’ve redecorated it already three times. If I have said it once, I’ve said it a million times….a mantel is like a good husband….it will bring you flowers and chocolates, take care of the kids and give you foot rubs. Or it will just hold your stockings like a BOSS and you will be forever grateful.
Jeremy’s project for the Bower Build Off was to build and install a mantel for our fireplace in our living room. If you can recall, our fireplace was previously mantel free and heavy laden with the largest tv that I could possibly stomach in this room. The fact that the fireplace didn’t have a mantel made it feel very flat and not as finished as I would like.
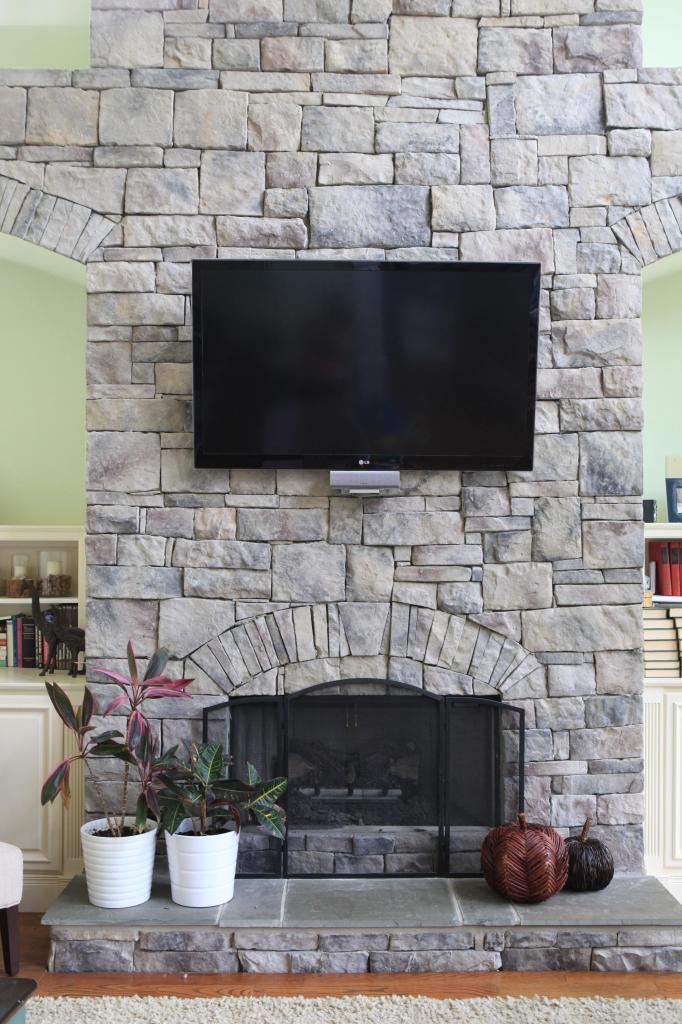
Our plan was to install a mantle last year but it was such a daunting task and Jeremy kept saying that he had a hard time finding a solid piece of wood that big (that didn’t cost an arm, leg, new Camaro, and seventeen gold doubloons). So when the build off came, he found Kristi’s Rough Hewn Fireplace Mantel post and we both agreed that if we couldn’t get a solid piece…the next best thing would be to fake it like Kristi did.
In order for us to first prep the surface, we decided on the size of the wood (it’s 6 feet long, 9 and a quarter inches tall, and ten inches deep) and marked how high we wanted it. The stone would have to be cut and removed. I say that like Oh no big deal…..let’s have a sandwich for lunch….the mail came in today….other low-impact statements. But in actuality, this was THE BIGGEST DEAL.
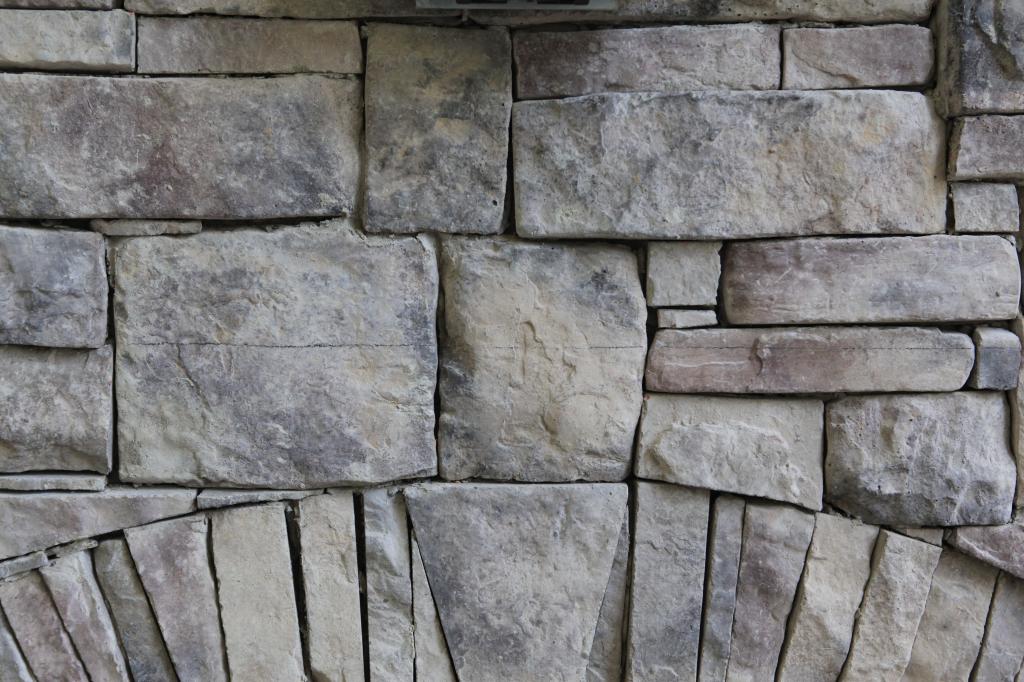
Using a diamond tipped blade on the circular saw, Jeremy cut the faux stone pieces right in place. I held the shop vac in front of the saw (at a safe distance of course because I rather like my fingers) so that he could see the line. I thought that originally he wanted me to hold it so that it would cut down on the dust….but trust me….there is no cutting down on the dust. It went EVERYWHERE. Like upstairs boys room on the other side of the house everywhere. The shop vac really was there to allow Jeremy to see where he was cutting. Otherwise, it was like trying to play connect-the-dots in the middle of a sandstorm.
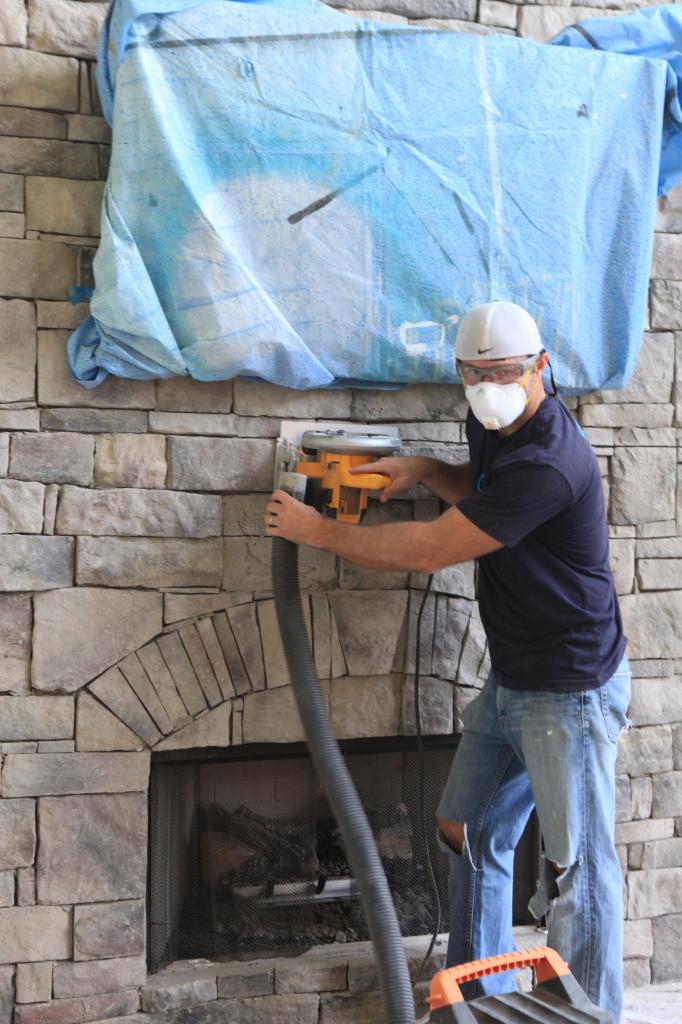
Jeremy was working on his The Voice audition. This is one of his signature moves.
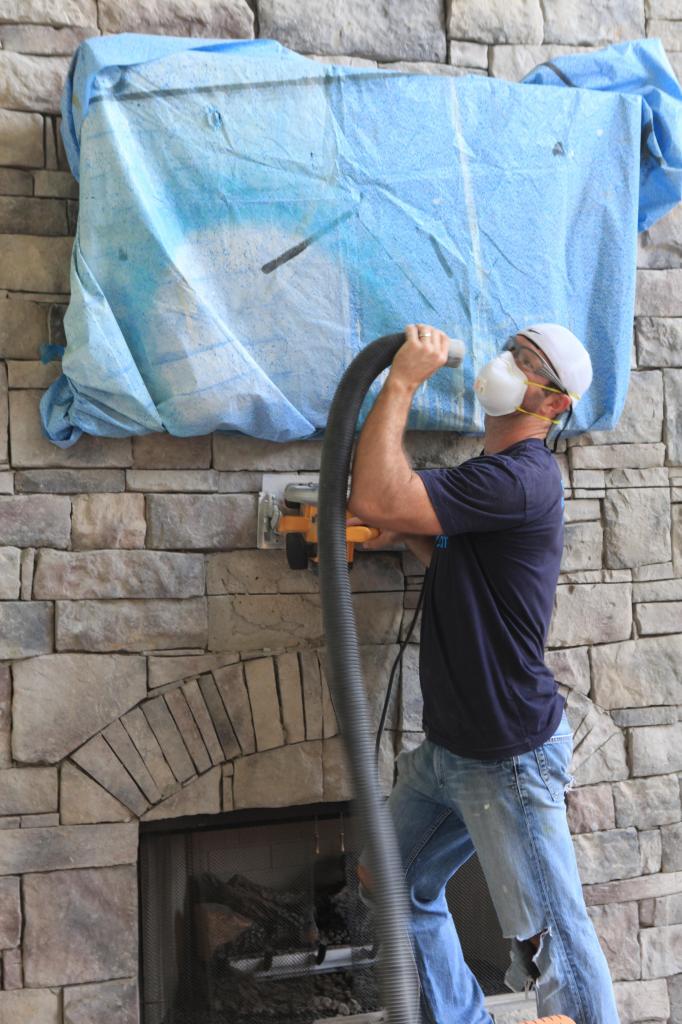
Once the rectangle was fully cut out, it was time to remove those stones. As you can see….some of the stones weren’t as secure as we would have liked.
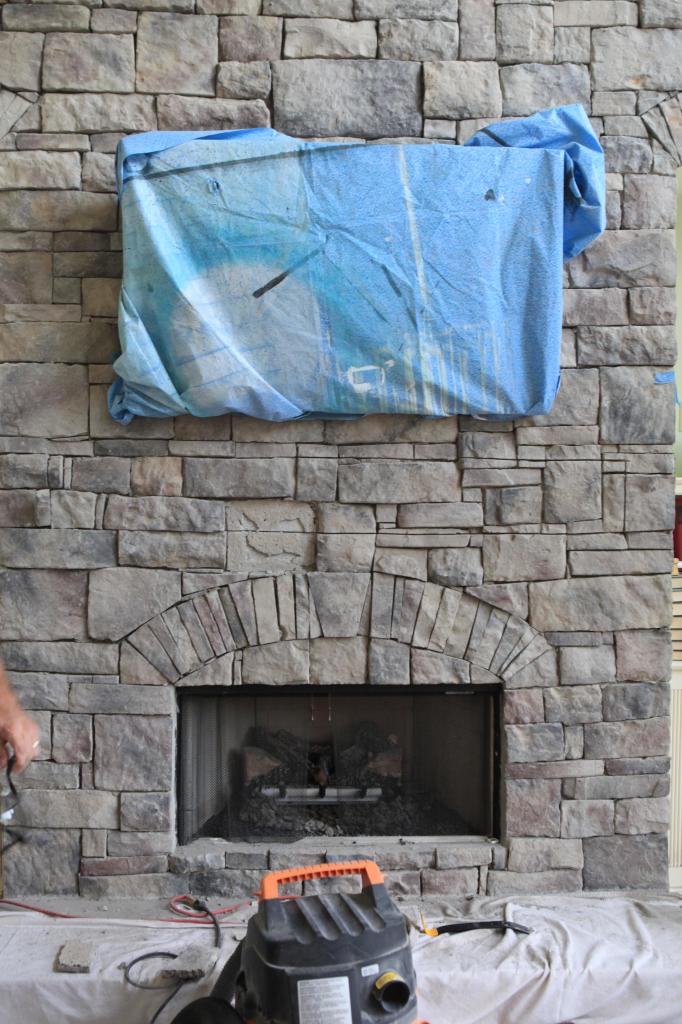
The ones that didn’t fall right off were chiseled off pretty easily.
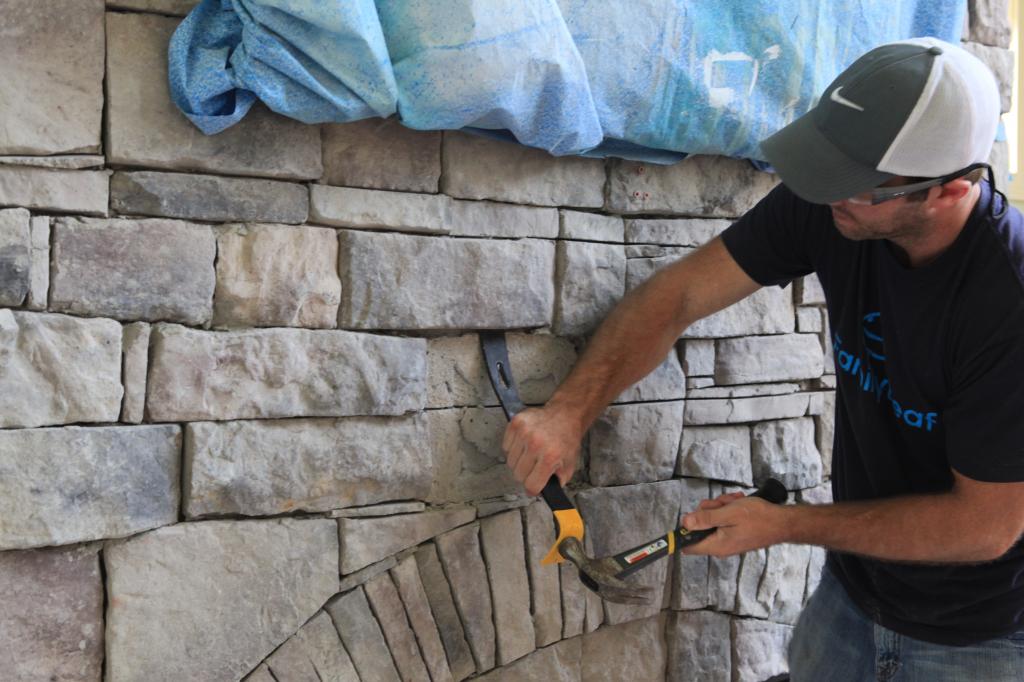
If you plan on trying this at home and you are chiseling and hammering….watch your head…we had a couple stones from way up high fall while hammering some down near the bottom.
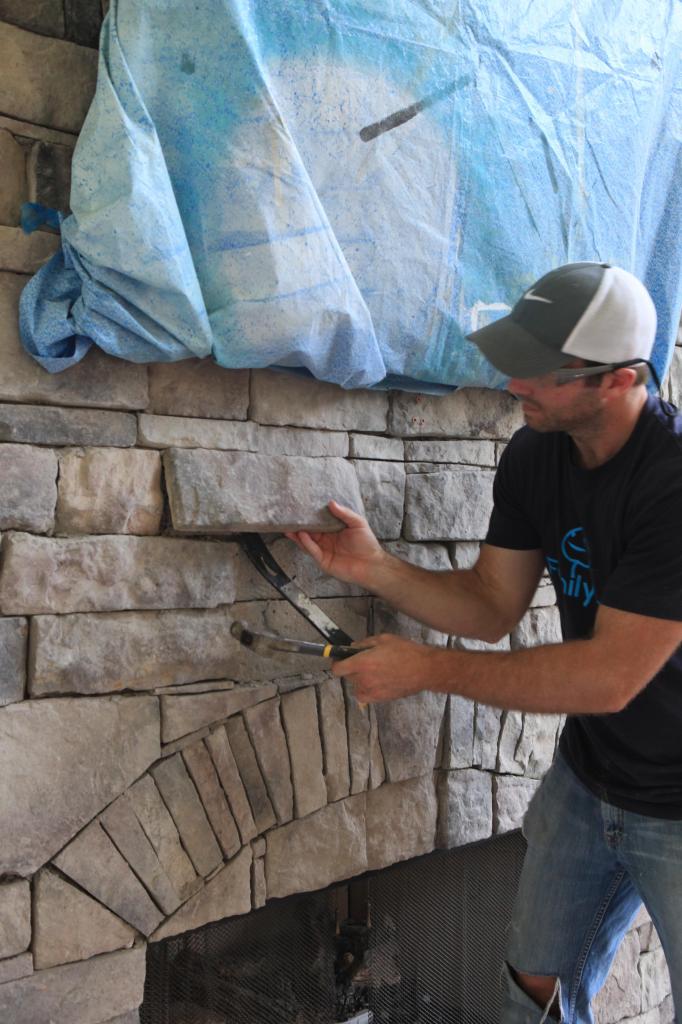
On our fireplace, I decided that the previous mortar would have to be completely removed on the surfaces where the mantel would sit. I just chipped away at it with the chisel and hammer and eventually it was smooth. For those into fireplace anatomy, under the mortar was a scratch coat of mortar mix that is applied to a metal lath. Metal lath is usually attached to studs that are covered with tar paper and the scratch coat.
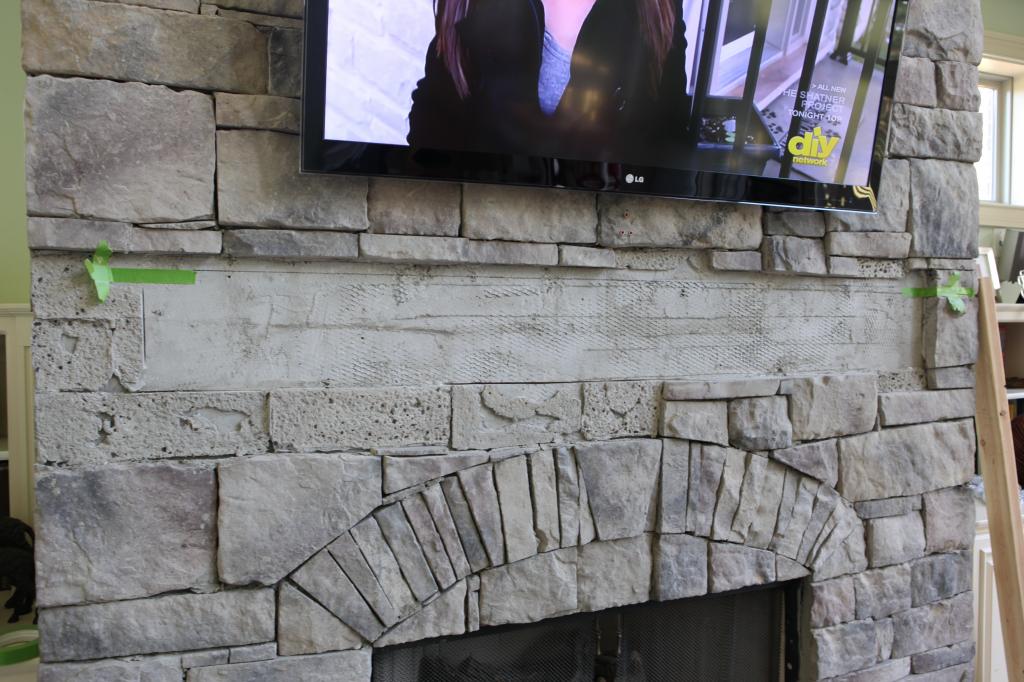
For the support piece (what holds the mantel in place), Jeremy attached a 2×4 cut to 62″ to the wall in the gap just under where the mantel would sit. He used heavy duty construction adhesive first.
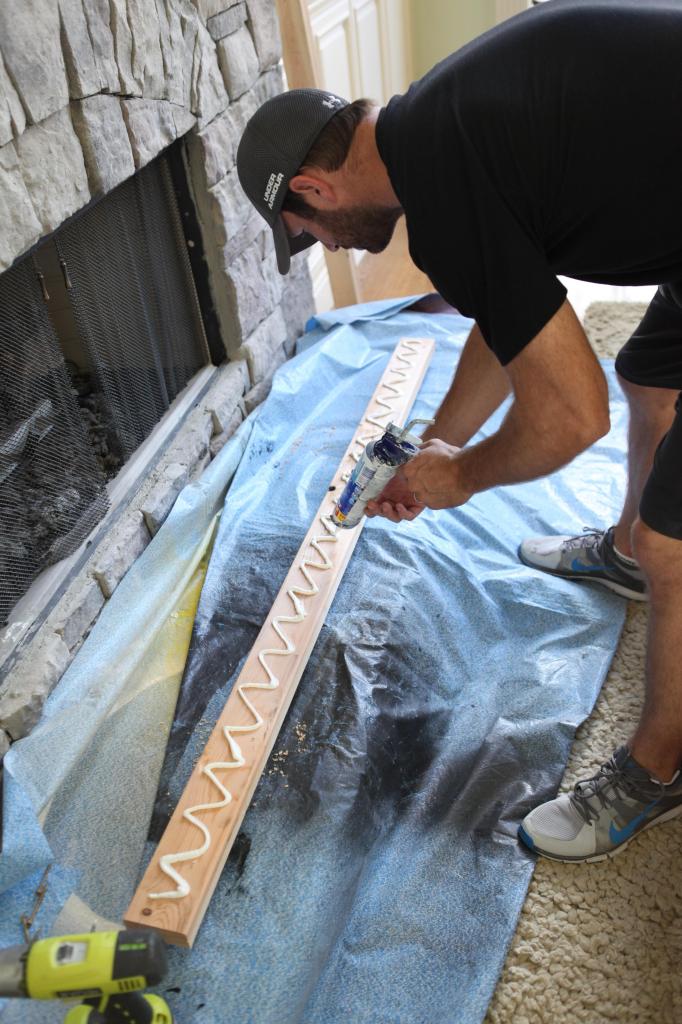
Oh and Jeremy’s dad was in town and was eager to help….I suggested cleaning up the mountains of dust from the stone cutting but apparently he heard the drill and could not be wooed away from the power tools.
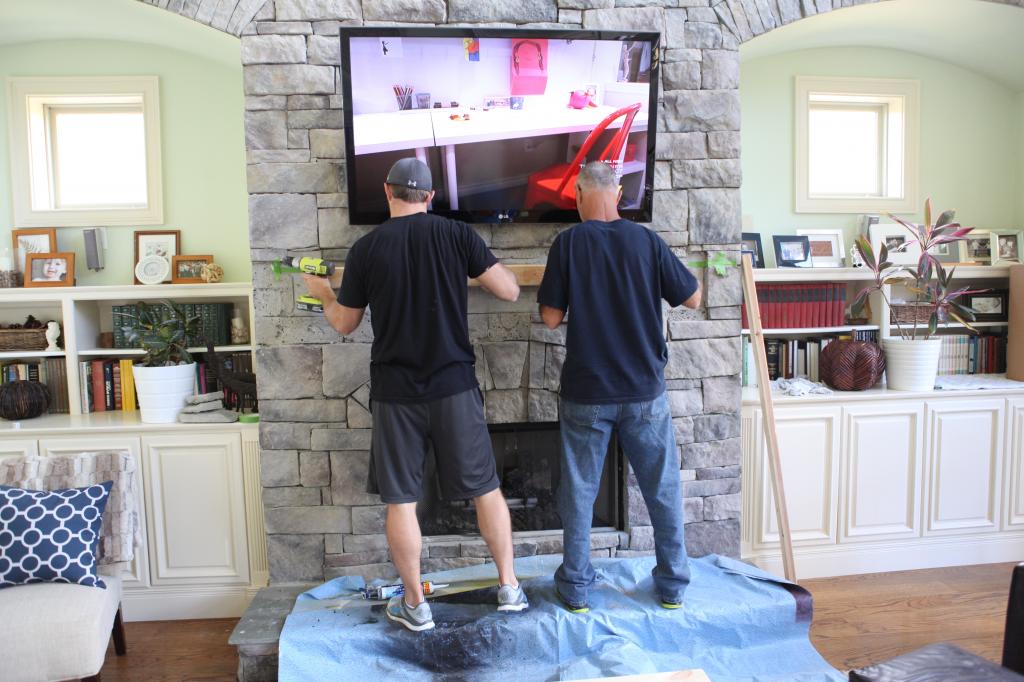
Then Jeremy attached the 2×4 to the studs under the metal lath using long screws.
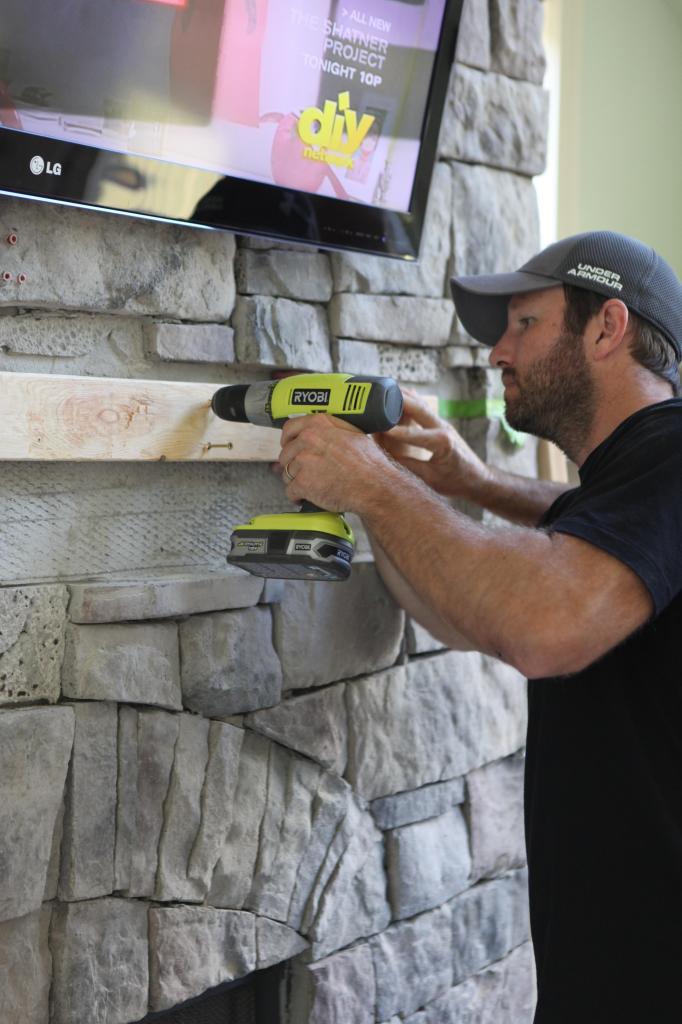
This is the first piece…
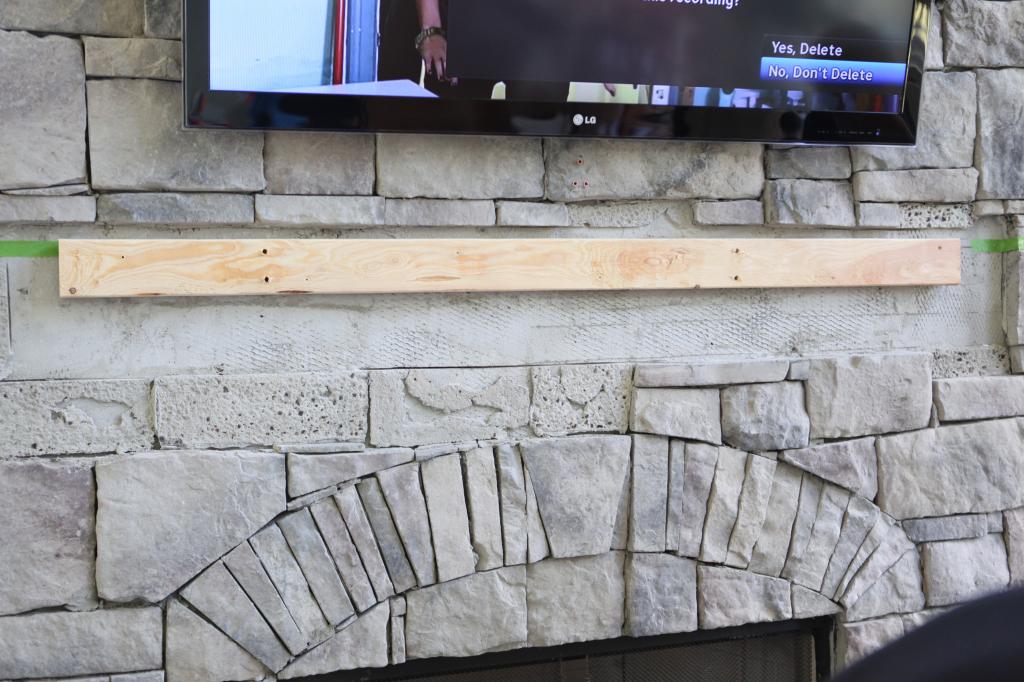
Then Jeremy attached another stud to the first. This creates a solid support piece that is deep enough to drive a screw into from the top and also makes it directly attached to the studs of the house.
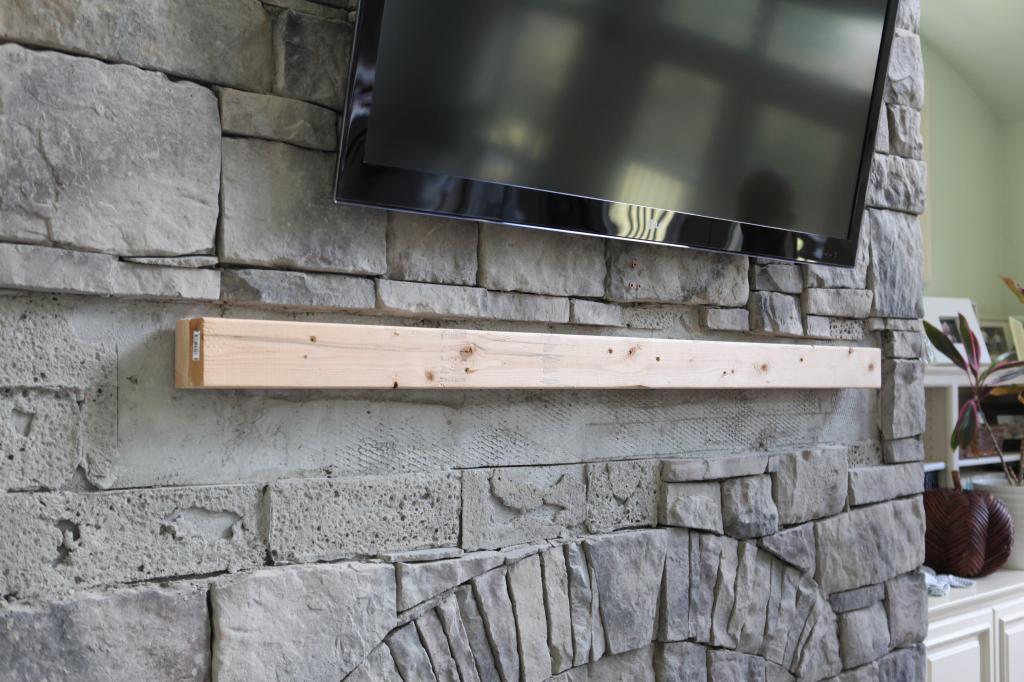
For extra measure, Jeremy added some 2×4’s for the outer edge support and more construction adhesive (Liquid Nails Heavy Duty).
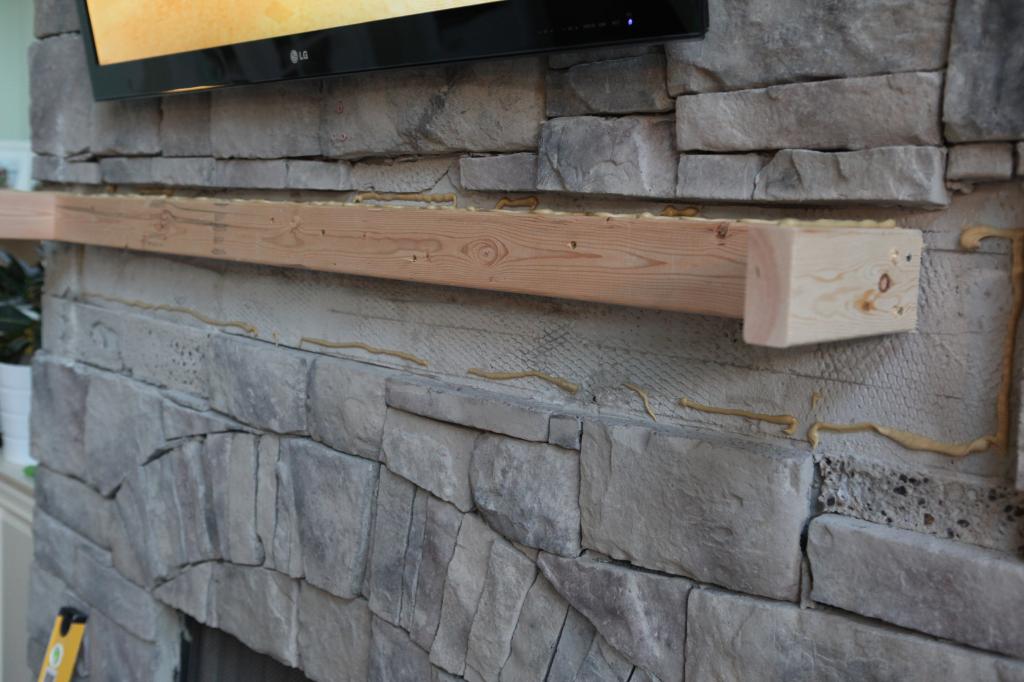
Rewind a bit and let me explain how he made our mantel box. This is the outer shell that slides over our supports and is what you can see.
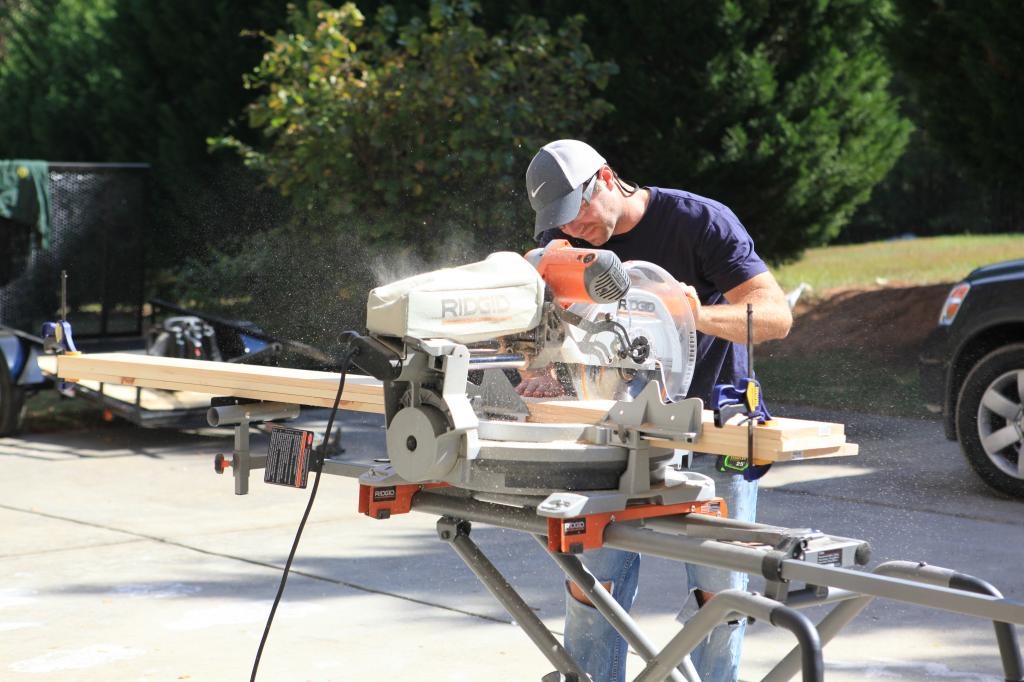
He started with cutting the boards to length. All of them are six feet long and the front of the mantel ended up being a piece of red oak while the rest were pine. We wanted the finished look to be red oak (it’s more pricey but usually higher end for furniture than pine) but at the first go-round, Jeremy actually made the box of all pine.
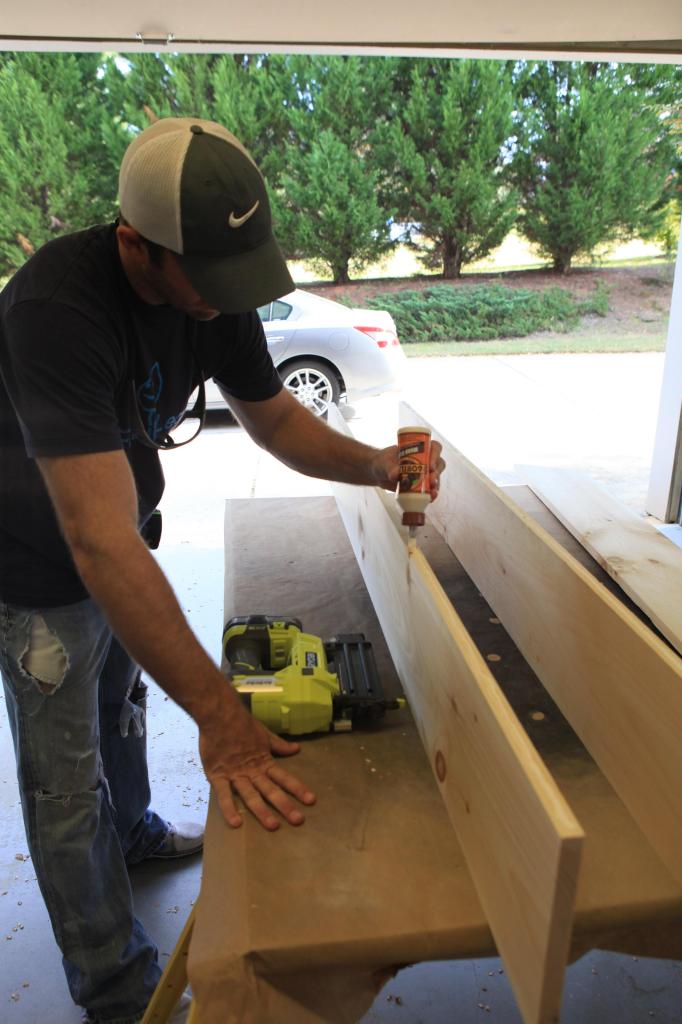
Basically you just piece the thing together with wood glue and a nail gun. As you can see, my kid is ready to build anything and the original mantel below had pine on the front.
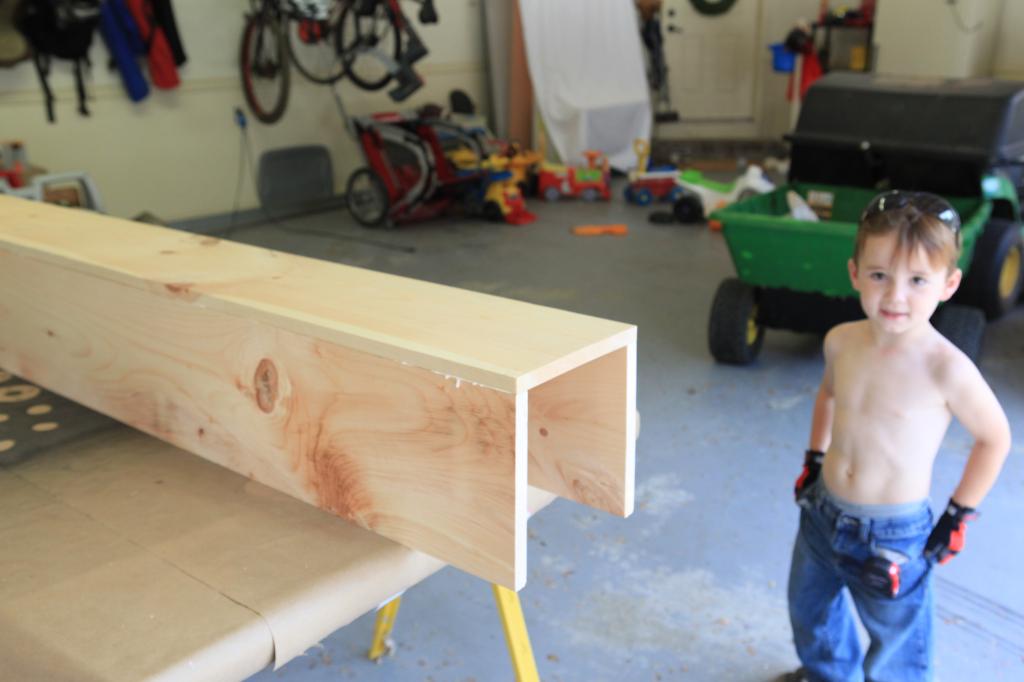
Glue and nail. Glue and nail. Repeat and love.
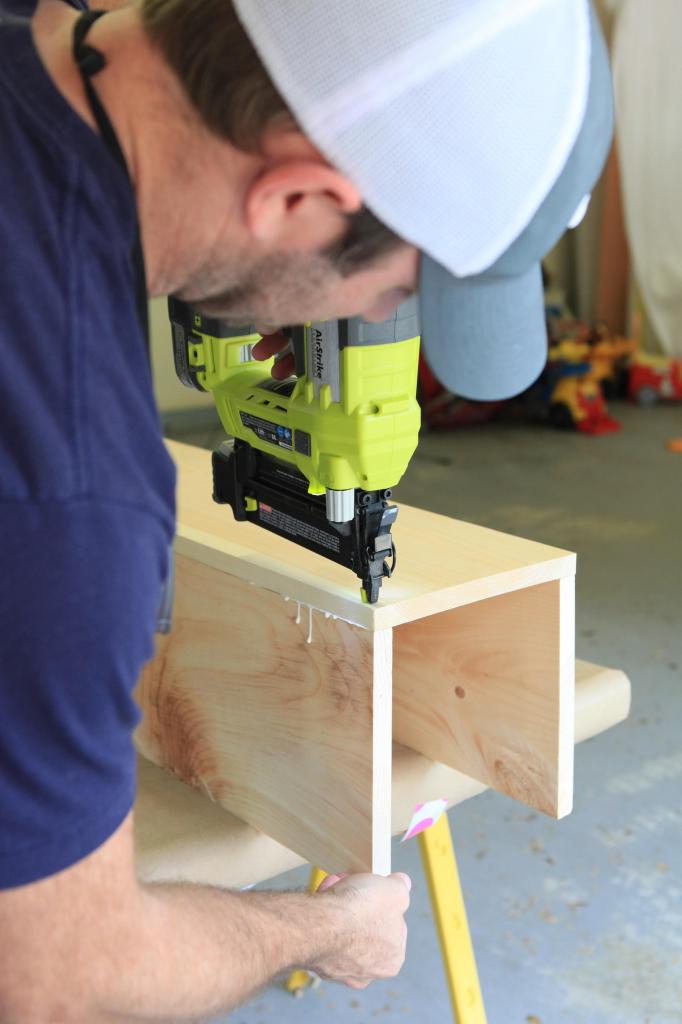
Then he added the inset ends. These were also pine cut to fit.
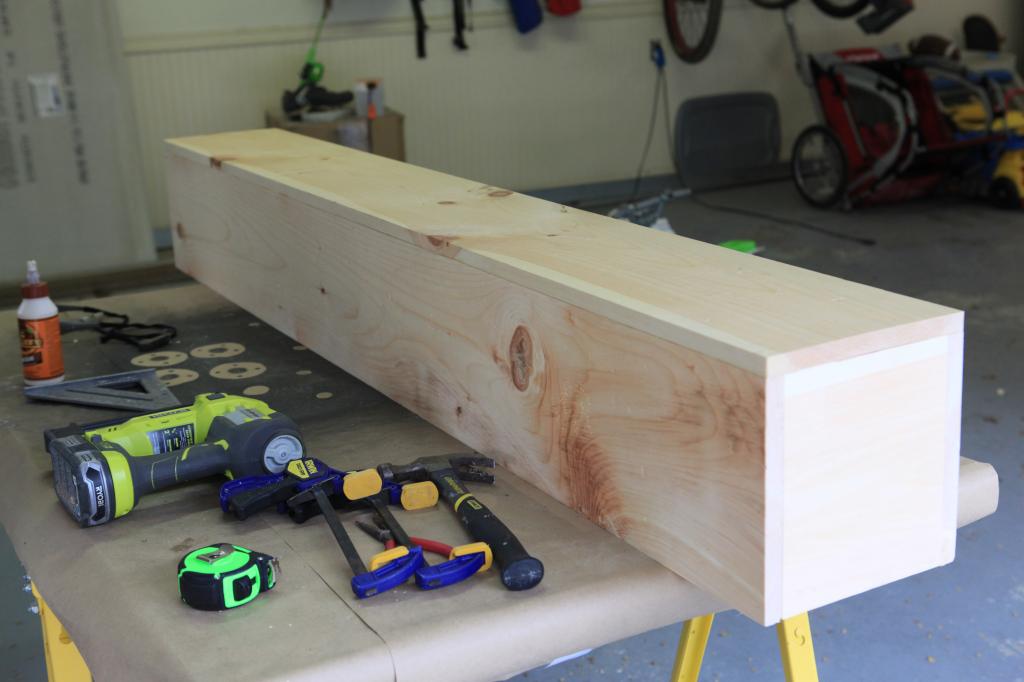
Okay so here is why we completely strayed from pine and went with red oak…when looking for veneer for the project, the only veneer we could find that was affordable and that was big enough was from Amazon and it was red oak. We ordered a 2×8 sheet of Red Oak Wood Veneer Plain Sliced 10 mil. It cost $22. (here is the link) The plan was to apply it to the sides and the top and bottom to make it all look like a solid piece of oak. A beam this size would cost at least $800. Crazy huh?!
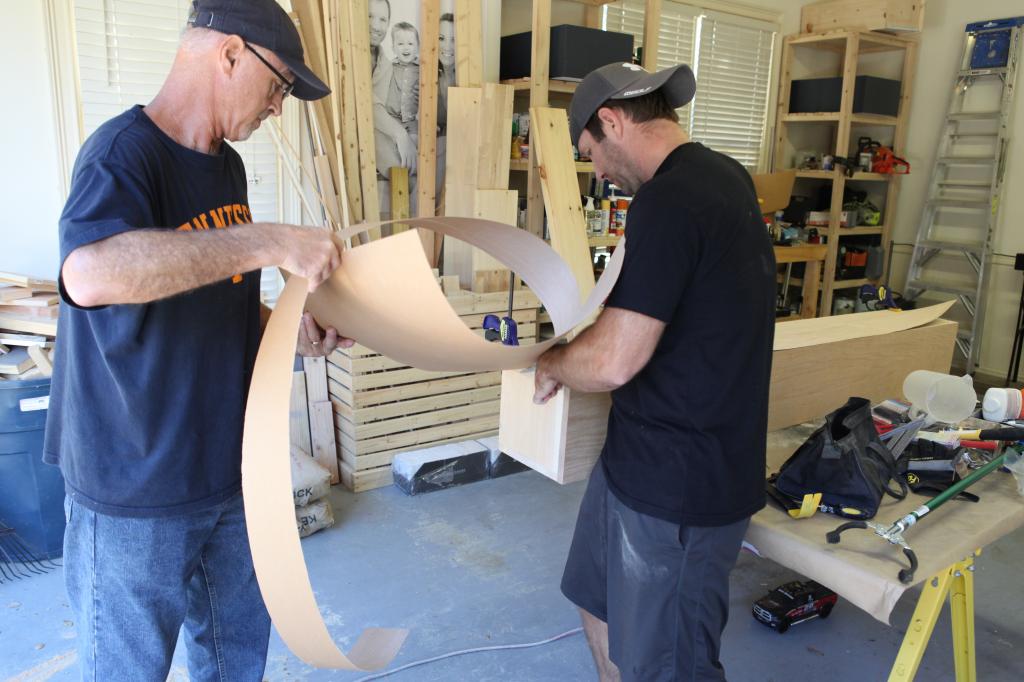
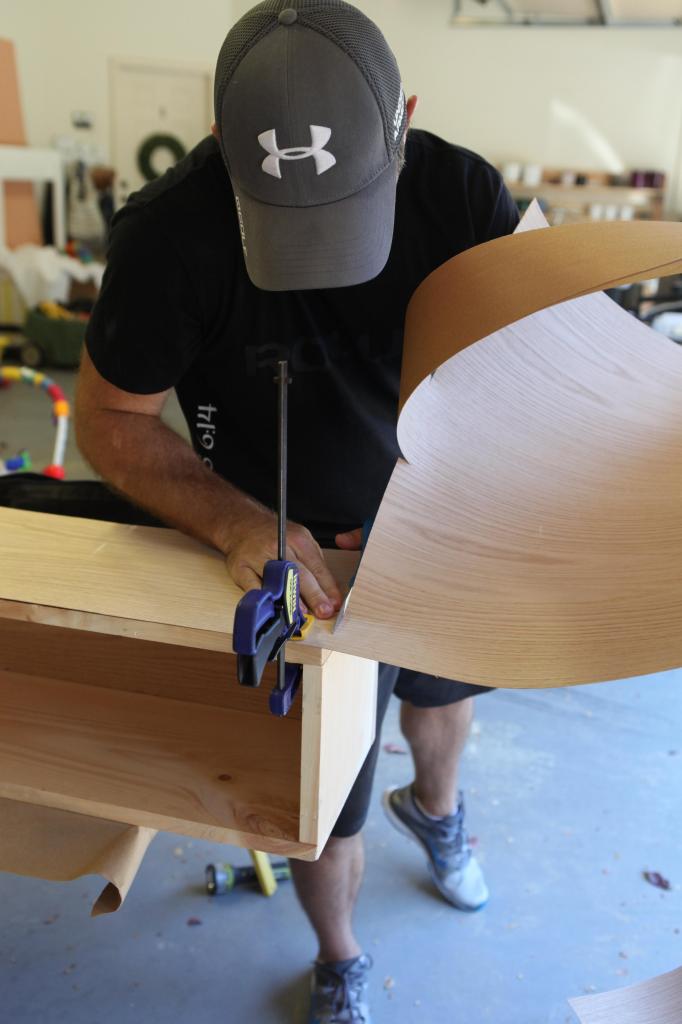
The first thing to do is to cut the veneer. Jeremy clamped it to the box in order to cut to size first.
Once everything was cut, he attached the veneer with high strength Contact Cement.
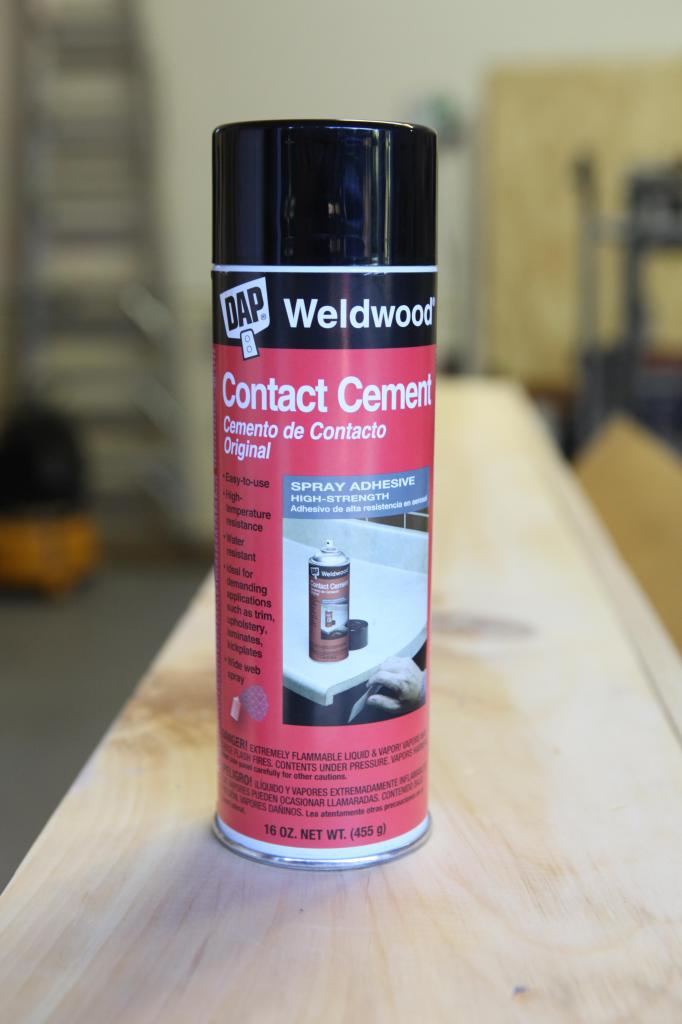
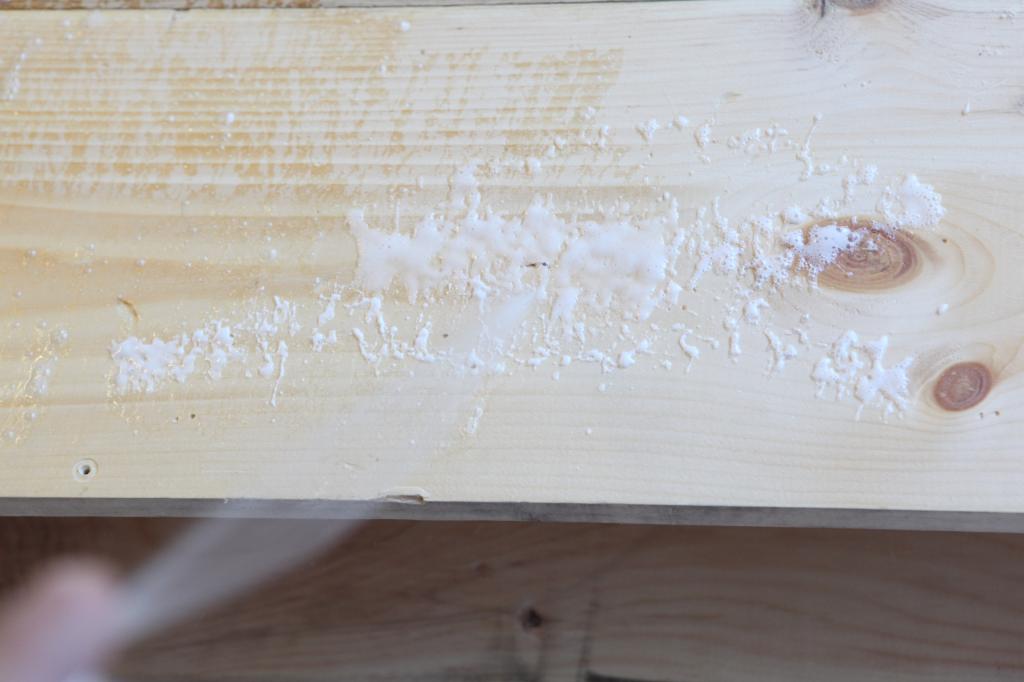
This stuff dries almost immediately….keep that in mind. That’s why you have to cut first. So first, tape anything off you need to protect…then spray on the backside of the wood veneer and on the surface you are going to veneer.
Then press it on and hold it in place till it sticks good. That took us about twenty seconds.
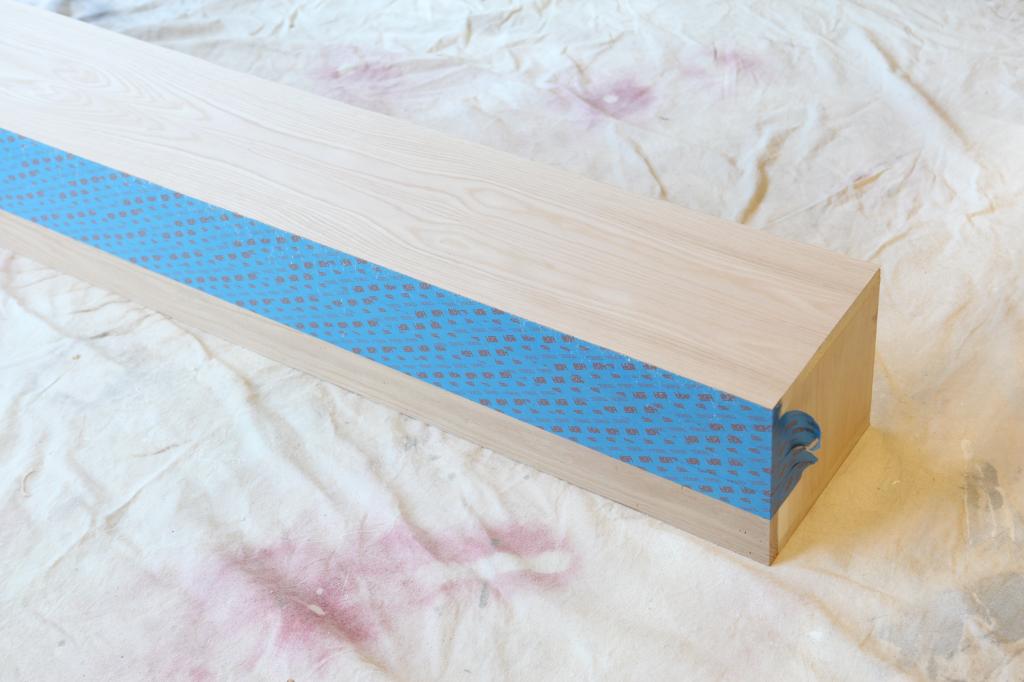
First veneer the top and bottom…then the sides.
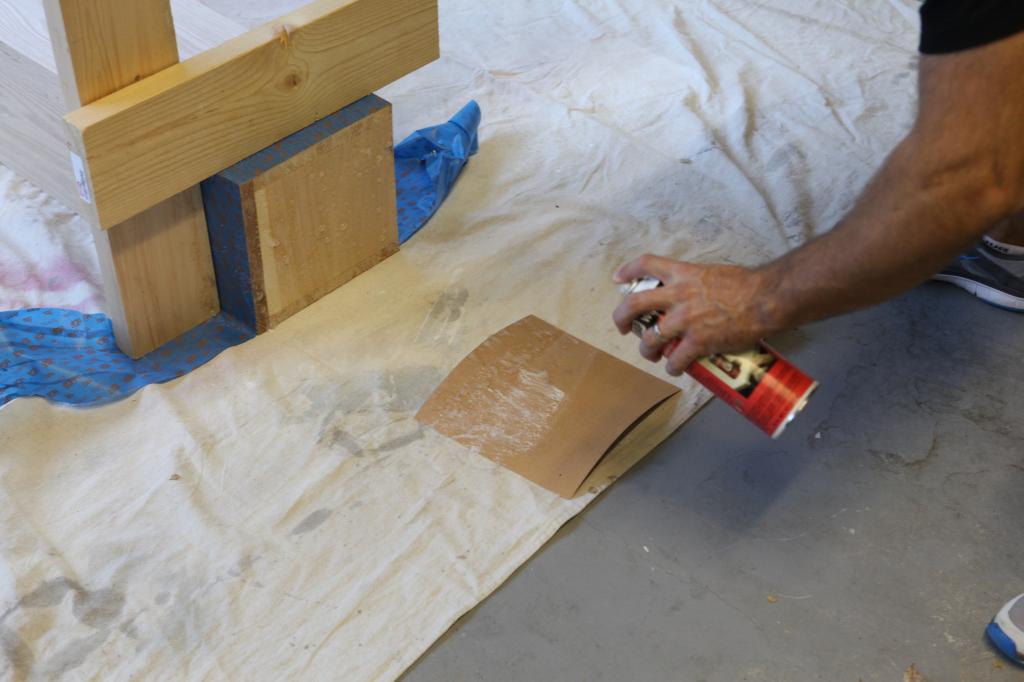
Make sure you have a little helper that can count to twenty 🙂
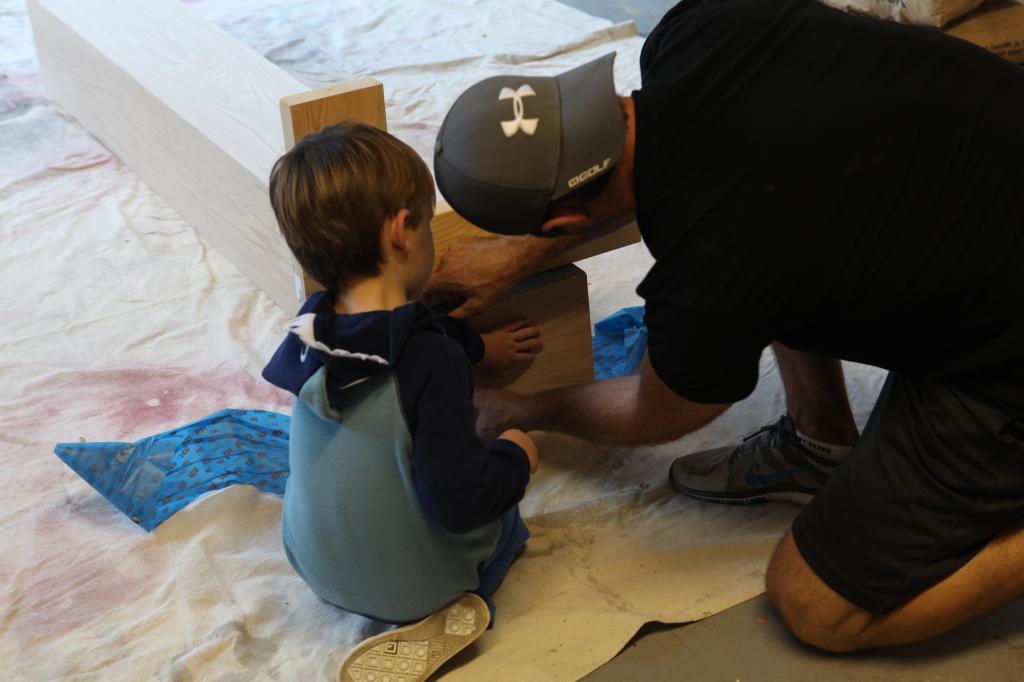
At this point, Jeremy let me help. I’m thankful because he isn’t really experienced in staining and polying and that takes a little practice. He tried to sand the edges but it was really slow going doing it by hand.
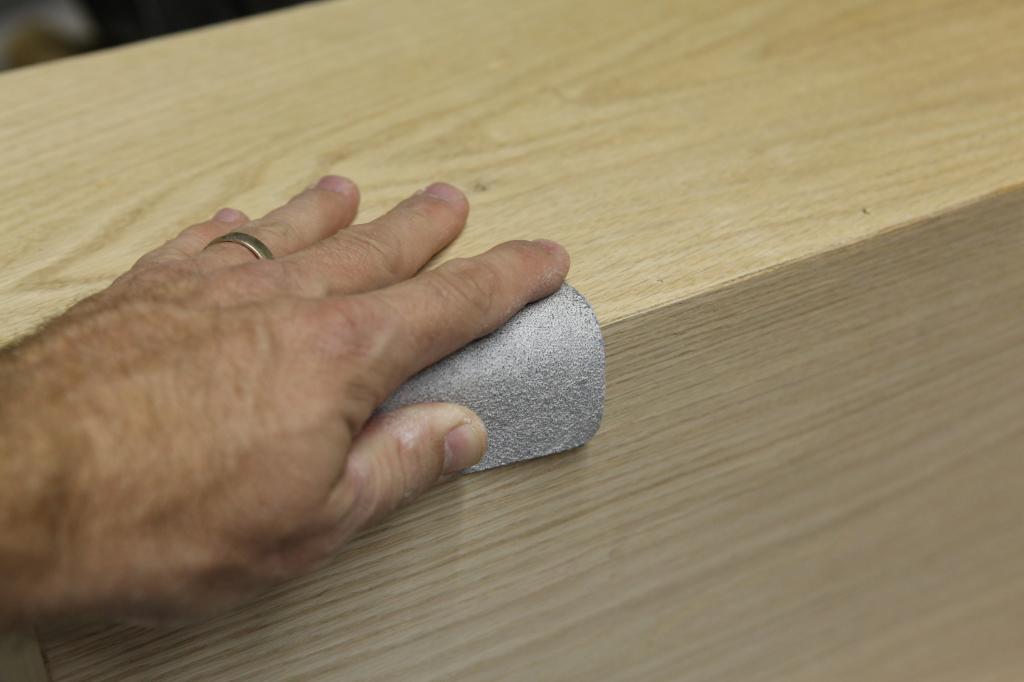
I busted out the sander and it worked great. It’s really important to get that contact cement on all the edges because you don’t want to sand and have a bubble show up.
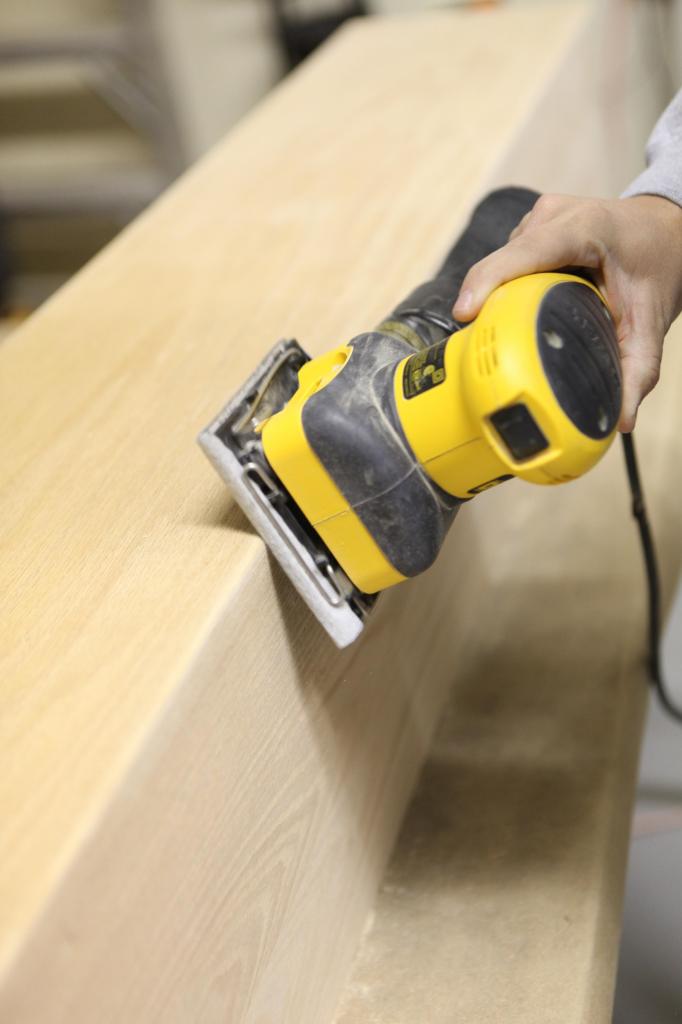
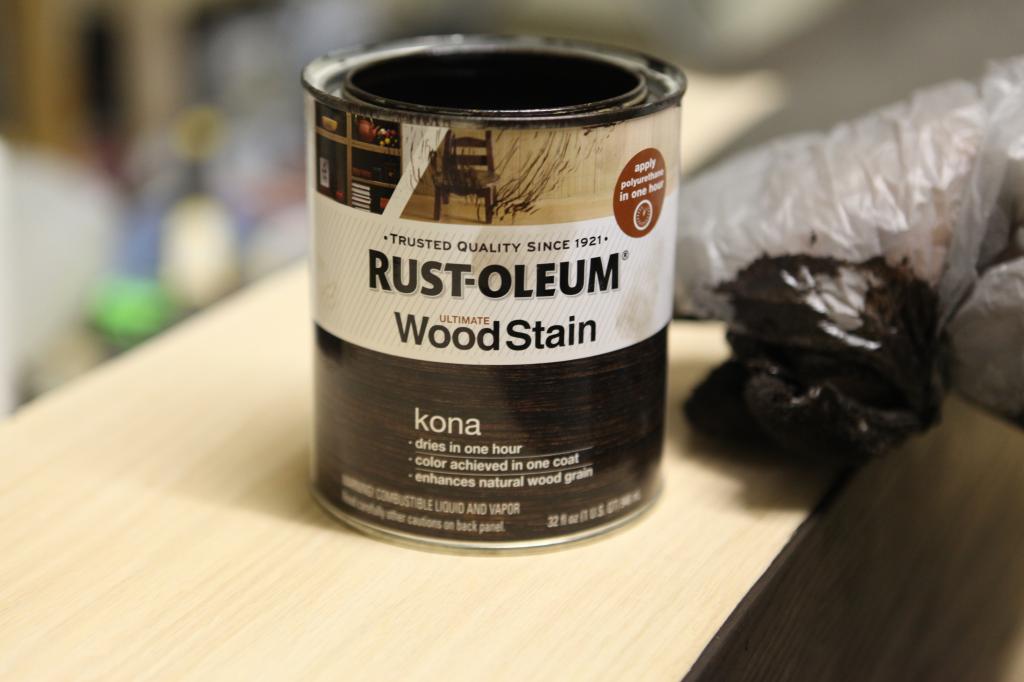
I stained it with my new favorite stain – Kona by Rustoleum. It is so dark and delicious. It reminds me of those beads the guys wear in Hawaii….the ones I’ve seen in pictures and Adam Sandler movies anyway 🙂
After it dried, I did two coats of Polycrylic with a super high grit sand between.
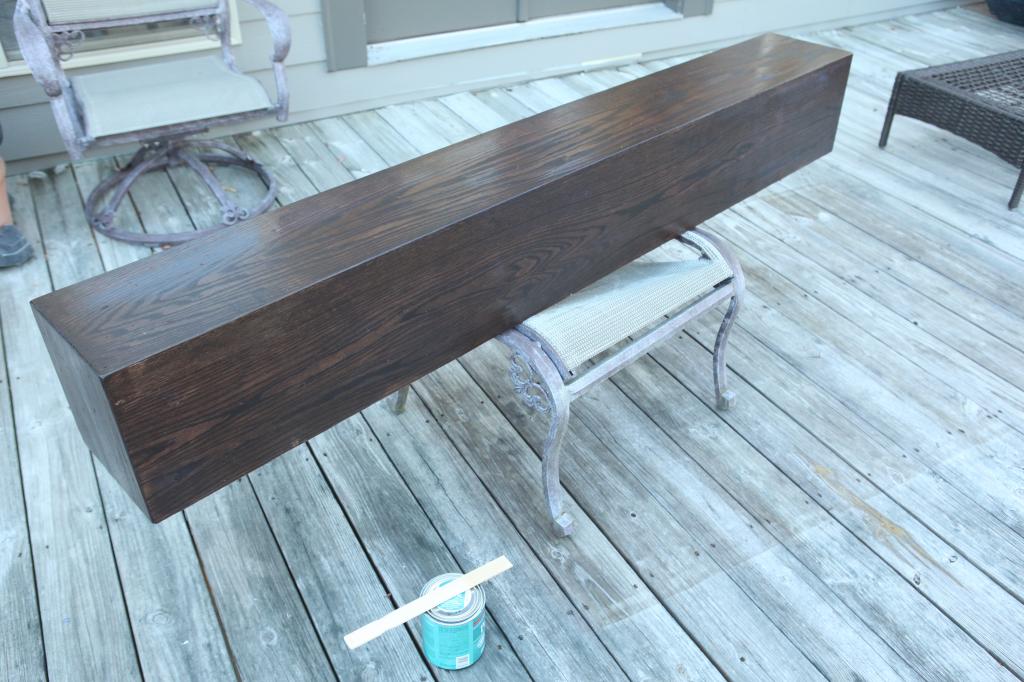
Time for install. The sleeve goes over the support and gets screwed in place from top before attaching all those fallen stones.

Easy peasy mantel LOVE.
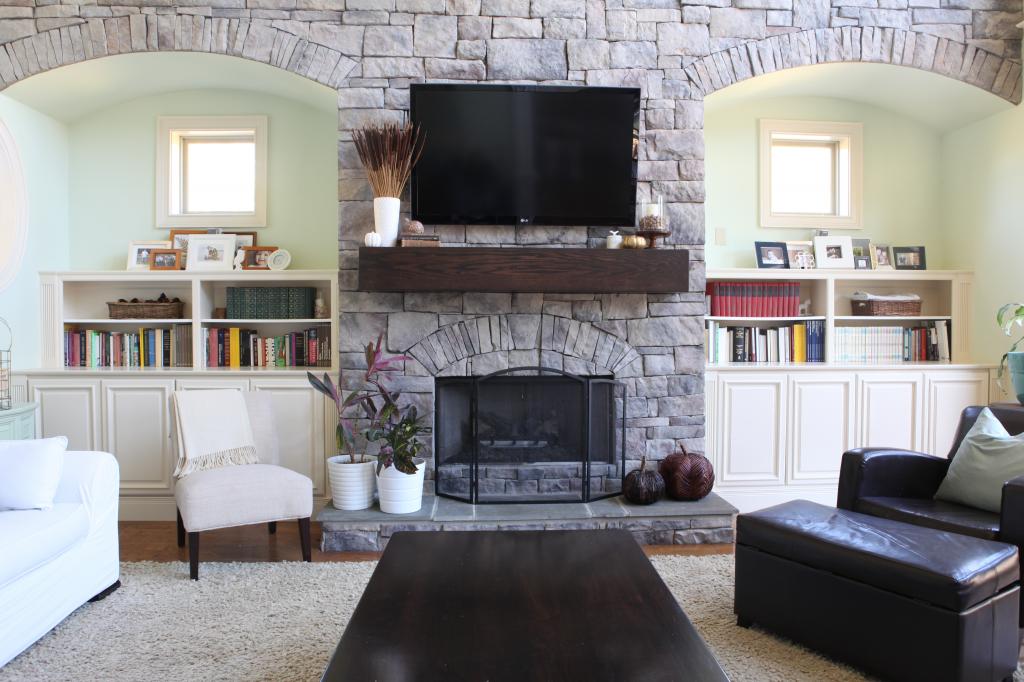
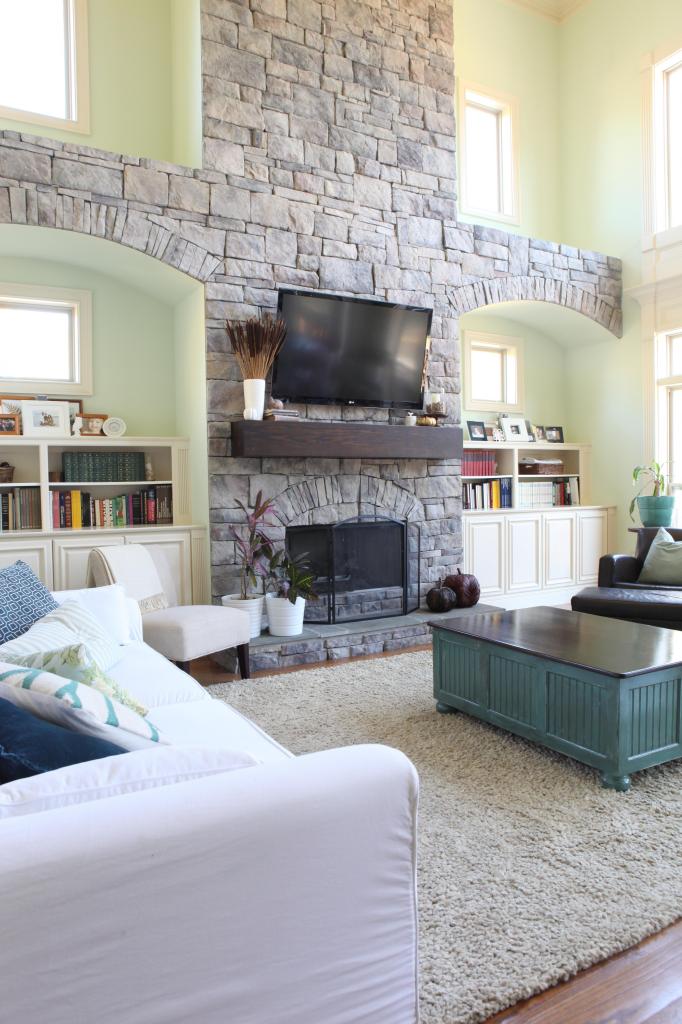
Jeremy told me at the planning stage that I wanted it too big. He thought that the ten inch front would be heavy looking but now he agrees that it is the perfect size. We needed that visual weight in such a HUGE room. Here’s the zoomed out version…complete with gold light fixture and tan trim and ceiling.
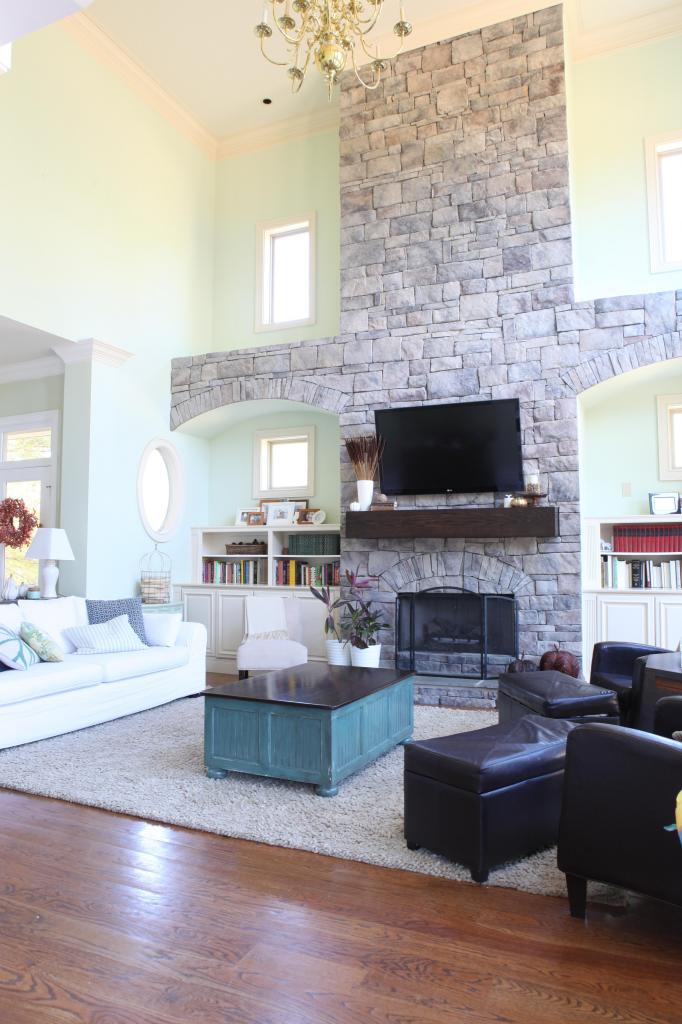
I love how chunky and solid it looks. Everyone who sees it says “oh is that new?” and they scratch their head in a confused non-dandruff kinda way….because it really does look like it should have always been there.
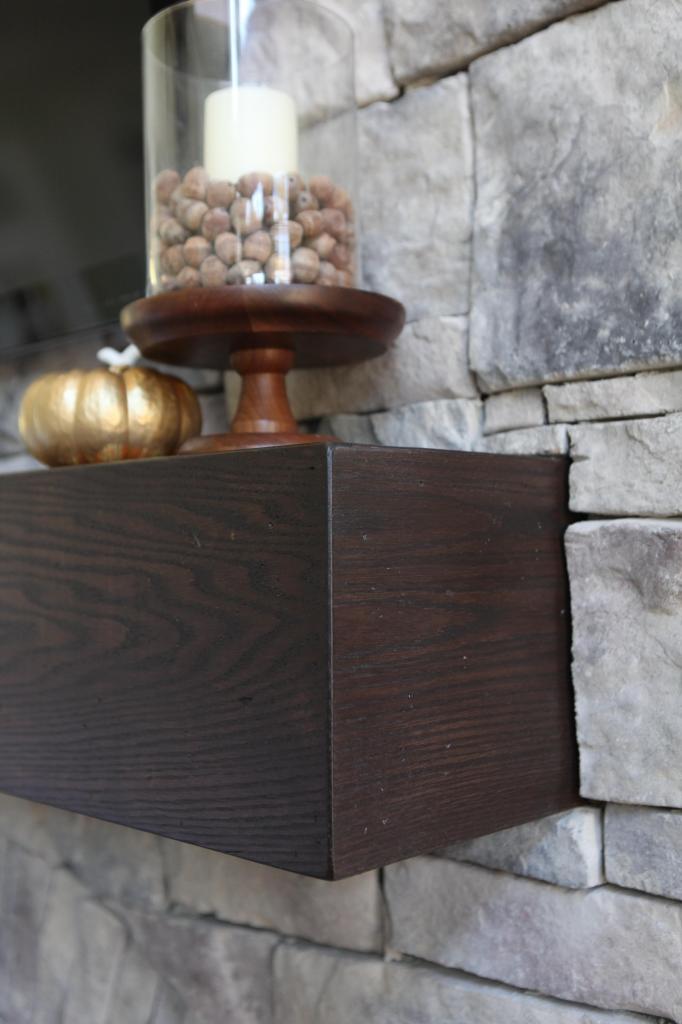
Jeremy still talks about how non-visible the veneer is. The sanding step really made it look like a solid piece of wood.
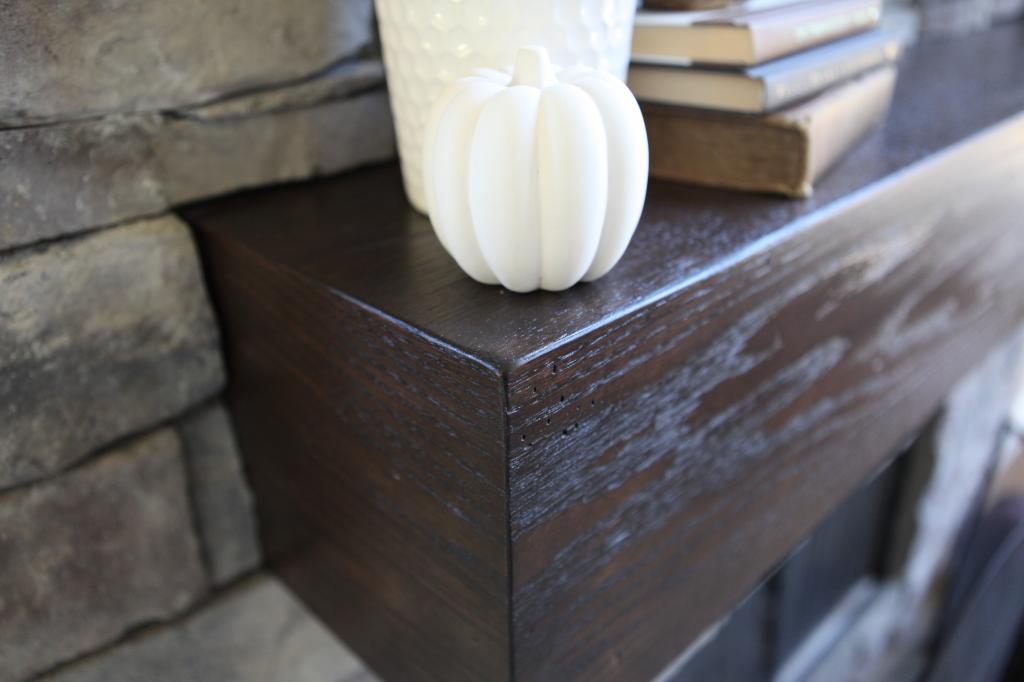
All of the little marks on it were a step I didn’t mention….we let the boys bang on it a bit before I stained it. They went at it with hammers and chisels and thought it was the best thing ever. I love that they helped with this project and it’s something I will always remember.
Cost Breakdown
Wood (oak [email protected] per ft) $43
Wood (pine) $23
Wood (2×4) $5
Veneer $22
Contact cement $16
Construction Adhesive $5
Stain, poly, sandpaper, screws, etc. – already owned $0
TOTAL – $114
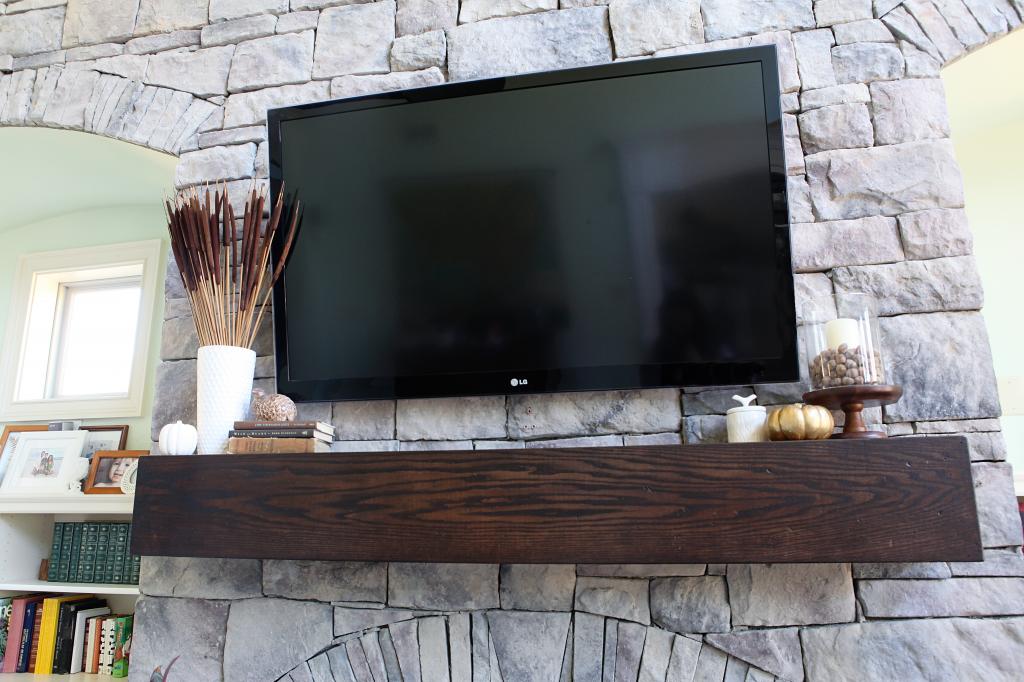
And because I know you love a good before and after….

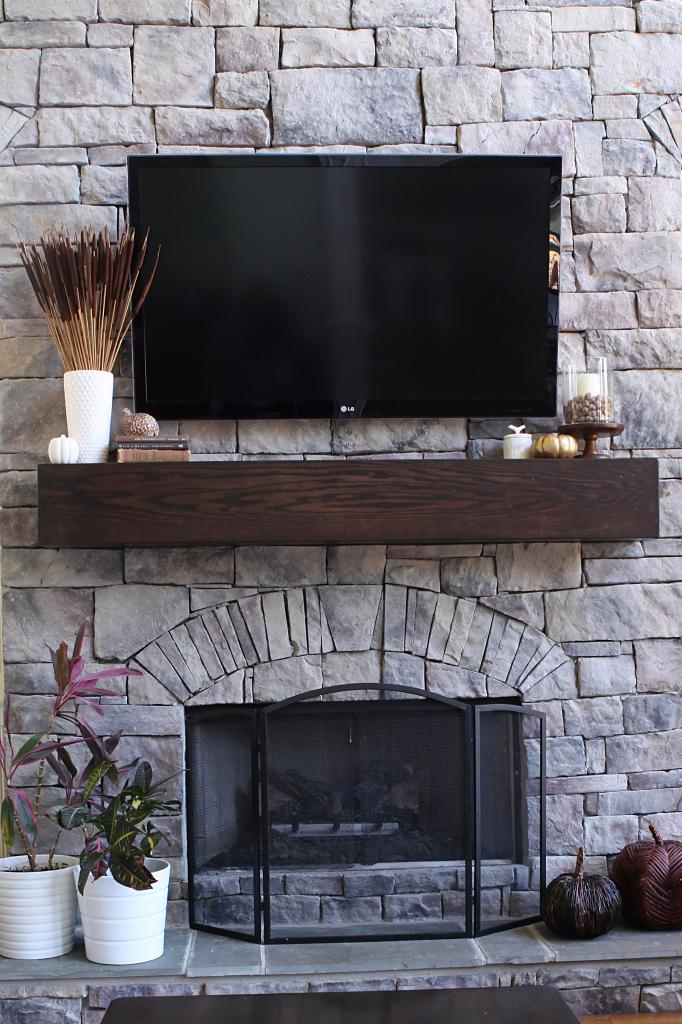
Stunning right!? I can’t wait to show you our Christmas decorations because they just make the whole room so very festive. I love it with stockings!!!
But now I am off to celebrate my main squeeze. Today is his birthday (he turns the big 3-8) and we have a hot date together (with a toddler and a baby and possibly a four-year old too). Happy christmas shopping this weekend!
Update : Looking for more info on something you see in our house? We have a Shop the Bower House page with paint colors and links to accessories, furniture and decor!

For the life of me I could not understand why there was a meth lab in your fireplace, then after reading it 4 times I realized it was metal lath. Hello, I have infants and I’m tired. Looks great though!
It looks so fabulous! I had absolutely no idea it was veneer!!
This looks great! Knowing that all of the work that went into it, I might just have to switch my vote over to Jeremy
HOLY SMOKES THIS IS MY FAVORITE THING YOU’VE DONE! And I’m a major Bower fan on the regular. Haha. Now I just need to figure out where I need one of these. Because I definitely need one.
YIKES! That’s a scary misread! I will never look at metal lath the same way again!
xo – kb
It looks so great! And here I thought it was just a big piece of wood shoved up there 😉
Don’t say that 🙂
xo – kb
It looks fantastic – thanks so much for sharing the tutorial! We have a faux stone fireplace wall as well… with no mantel 5 years after building the house. Now I know I can have one. We’ve always been concerned about what to do about the “rocks”.
Wow!!! That mantel looks AMAZEBALLS! Seriously love it! We are hoping to move and this looks perfect to beef up the mantel in the house we want to buy.
Wow this looks so great!!! Great job!!
looks great!! I voted for the other one but this is a close second!! It adds so much to the fireplace wall!
What a huge difference–it looks just wonderful! And fun to decorate too…
Wow! It is stunning. Great directions too, I think I can do it 🙂
Nice job. Really nice job. Well done to Jeremy, and you really have quite good taste, Katie.
So pretty and well done! It does look like it should’ve been there all along. Happy birthday to Jeremy! My hubby just turned the big 3-9, which is crazy! I can’t believe I married such an old man 😉 I hope you guys have a great time celebrating.
I know that you laid out costs for materials, but the cost for labor (if it wasn’t your sweet husband) would have been VERY big bucks. My husband declared a few years ago that he was done with the project building and I would have to pay for labor from then on.
I have imagined a project for many years of finishing a empty attic space accessed from the back of my son’s closet, but I need someone to frame the floor. The first estimate was enough to shock me to my senses. I never realized – I guess – that the labor can sometimes be the most important (and expensive) thing to pay for.
Great job all around. Beautiful house!
LOVE this transformation! You guys did a fabulous job!
Hi Katie,
I’m wondering how Jeremy knew where the studs were when he screwed in the first 2×4. You couldn’t just tap the wall to find the studs.
I feel for you in regards to all the dust. That’s the worst part of any home improvement.
I hope you enjoyed your date.
Most builders put studs at 16 inch centers so all he had to do was a nail test till he got one and then measured out. He nail tested both before attaching the boards. Hope this helps.
xo kb
Love the family portrait in the garage/workshop 😉
WOW! What a difference!
You guys are ridiculously handy! What does your hubby do for a living? How much research goes into tackling a project like this?
PS. Love your sassy blogging style! You keep me giggling!
Schwing! Looks great 🙂
lol @ “seventeen gold doubloons”.
This looks great! Like it was always meant to be there. Thanks for sharing your process, I built a similar mantel for our living room last December using a Kreg Jig.
It’s cool to hear how you changed it up with the contact cement and different adhesives for the red oak veneer. I will keep that in mind in case I ever decide to change up the look of mine in the future. I used iron on veneer which was a bit of a pain.
It’s been so much fun to decorate the mantel for every holiday!
We actually said that if we ever do it again, we would attempt the iron on veneer or the one that comes with adhesive but now that you say that it’s a pain…maybe this was better!
xo kb
Katie, you are a very blessed woman with a fantastic family! You seem to have a lot of sponsored posts and giveaways as well as being devoted to Christ, and so it would be wonderful to see a post on how you give back. Especially during the holidays.
We do a lot of local stuff (helping local families in need with food, money and item donations, volunteering time to serve, donating toys to local kids, etc.) and I am glad you asked that question because it is SO important. When we moved here, we decided that since there is a lot of poverty in Monroe that we would focus our efforts in this area but this year we also decided to get Will involved in the process because he is getting to the point where he understands what Christmas is all about and we are also allowing him to make some choices for donations to our favorite international charities. We also are huge fans of Operation Christmas Child and have done that every year with him since it is easier for him to understand. Most of the time we don’t talk about our giving online…not because we don’t want to encourage others to do it…but because it can be a fine line to walk and we don’t want to come across like we are humble-bragging (look at us! We are so blessed and so generous!) so that is why we probably won’t ever dedicate a whole post to that topic unless it’s for a good cause that we feel specifically needs more online awareness.
xo – kb
Oh wow! The before and after really show what a huge difference it made putting in the mantel!! I would never have guessed it was a veneer.
What a really well-thought through position and response.
He has a job in business. He’s always worked in different area of sales…so nothing like construction or building…and we google the crap outta stuff first. And we have a lot of friends that do work in construction so we always ask them for advice.
xo – kb
Love this mantel! It gives me hope we do do this once we put in our fireplace! I got to ask- where do you keep your components that go with your TV? I don’t see them at all in the pictures and I love that!!!
They are in the cabinet to the right of the mantel. They were already wired for that and we added some venting just to make sure nothing overheated.
xo – kb
Hi, Katie! What is the name of your fireplace stone and where did you get it? It’s beautiful!
It was here when we moved in so I have no idea.
xo – kb
Looks fantastic! Had a quick question on material choice: what made you choose red oak for the face of the mantel if it was going to be overlaid with veneer? I only ask as part of “googling the crap” out of my own mantel project. Thanks for the help! 🙂
The front of our mantel was not later veneered…just the sides and the top/bottom….since the front didn’t have seams, it didn’t need veneer 🙂
xo – kb
Hello! Thanks for this post! We are doing something similar but I had a question on how it has held up? Are you happy with the veneer? I have read we should use 20mil veneer instead of 10 mil if we are using contact cement. I wondered if you had any issues with this? I ordered the 10mil before I read this about the contact cement so now I’m questioning whether or not I should use a different adhesive. Thanks!
We haven’t had any issues so far but we really don’t mess with it a lot either.
xo – kb
Thanks! We won’t mess with ours either other than to change out decor. One last question… do you have a fire a lot in the fireplace? We have one constantly so I wondered if that effected it at all.
No not really. Maybe 2-3 times a year?
xo – kb
Beautiful can you tell me how you hung your tv?