Assault on your eyes!
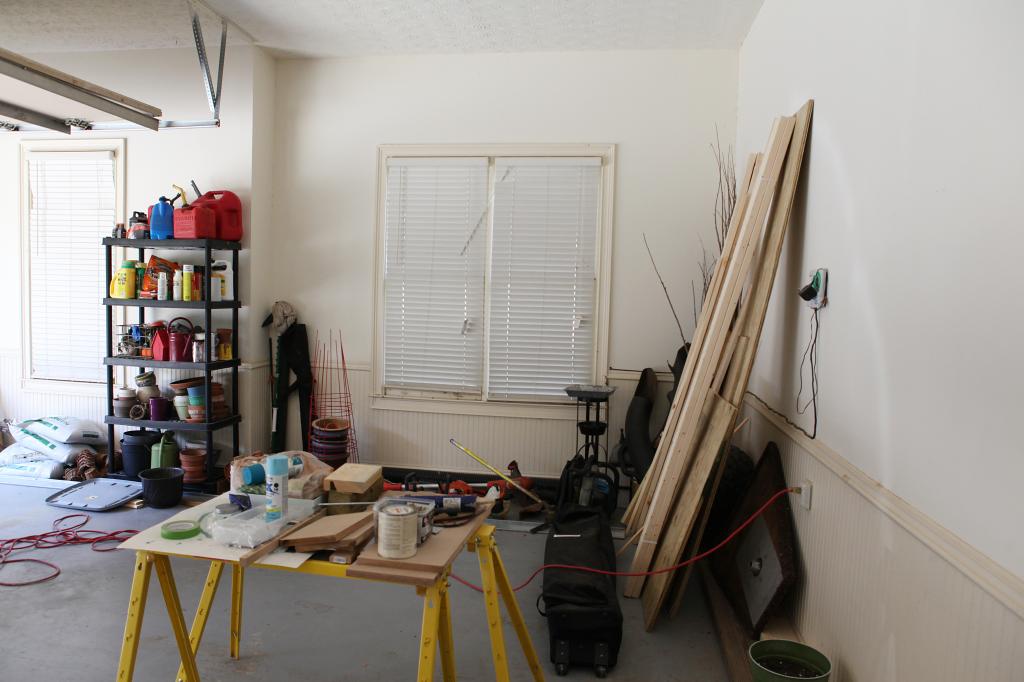
You are welcome.
Today we are floating in the middle of the ocean on our cruise (so far, it hasn’t gone quite as planned….as in, I didn’t plan on getting seasick. But hopefully these meds kick in soon.) so this post is actually coming to you during naptime. Hopefully this works #fingerscrossed
So in our disturbingly messy garage, we needed some additional storage. We already built a potting table to get the planting stuff consolidated into one area. Now we are onto the fun part – creating a workshop for our massive amounts of tools, paint and other DIY paraphernalia. Jeremy and I both are self-proclaimed tool junkies and we love gadgets, big and small, that help us build furniture, tackle room renovations and help us get things done around the house. In this space, we imagined that we would have storage all the way to the ceiling so that our stuff would be easier to find. Vertical storage is fun in the garage because we don’t need to access the stuff up high all the time.
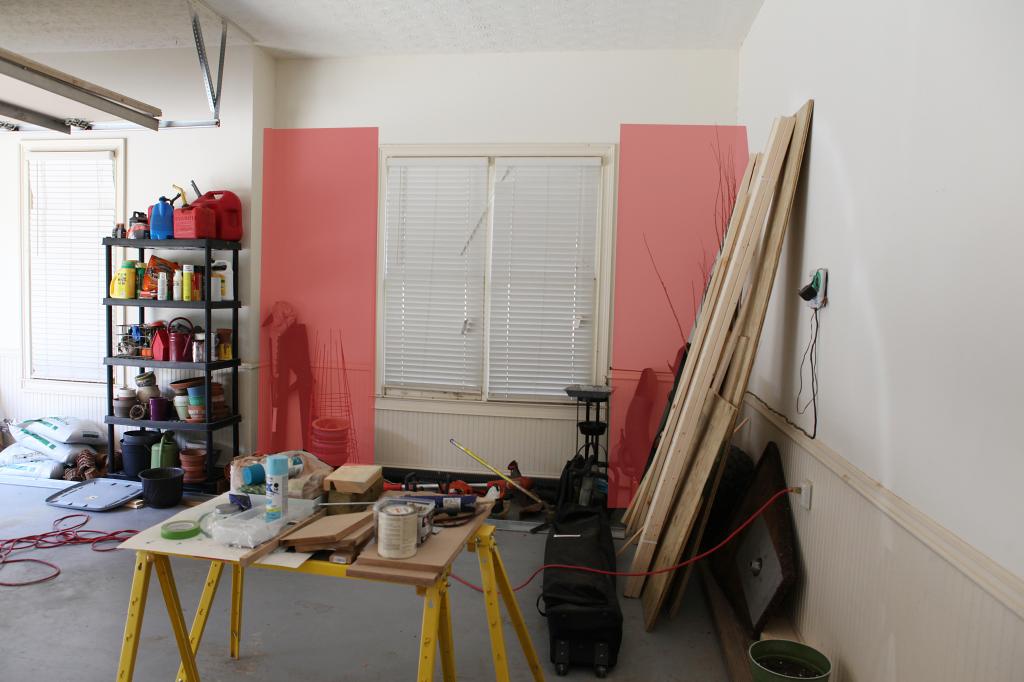
So we built these towers and they are way sturdier, taller and more purposeful than the plastic versions they sell at the store. We figured out that each one costs roughly $50 and a lot of that is in the screws. Who knew screws were so expensive? #politicianjoke
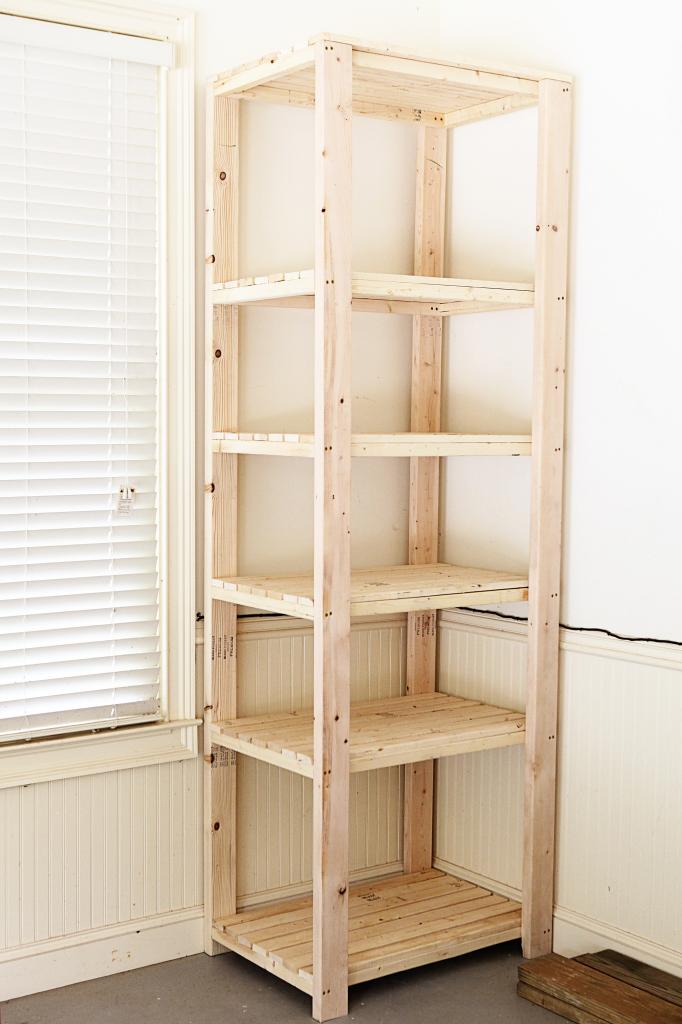
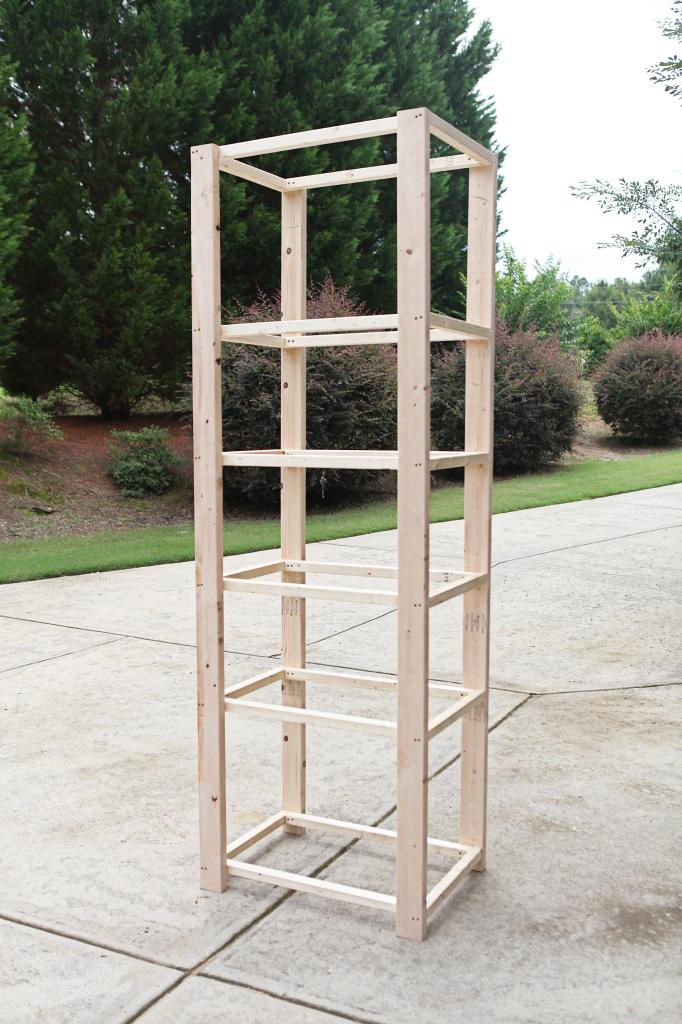
Jeremy saw that they had similar versions of this at Ikea but they weren’t nearly as tall as our version. We made ours eight feet tall and they have a couple shelves that fit plastic storage bins perfectly so that we can slide the seasonal stuff on there. I already have bins packed down with swim gear that are begging to be up high and away from abusive little hands.
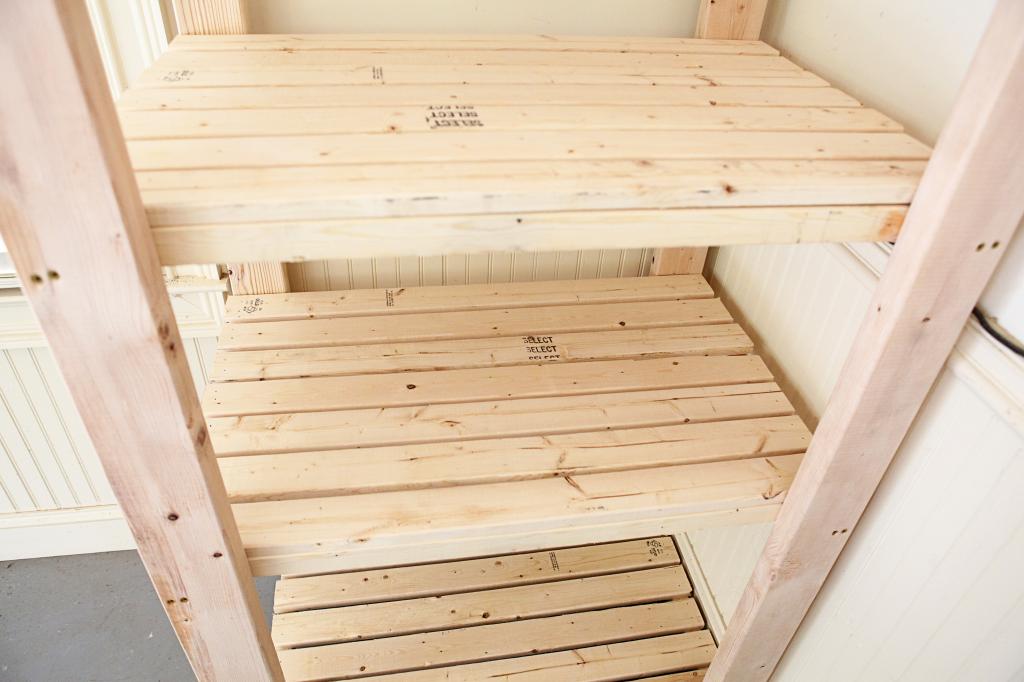
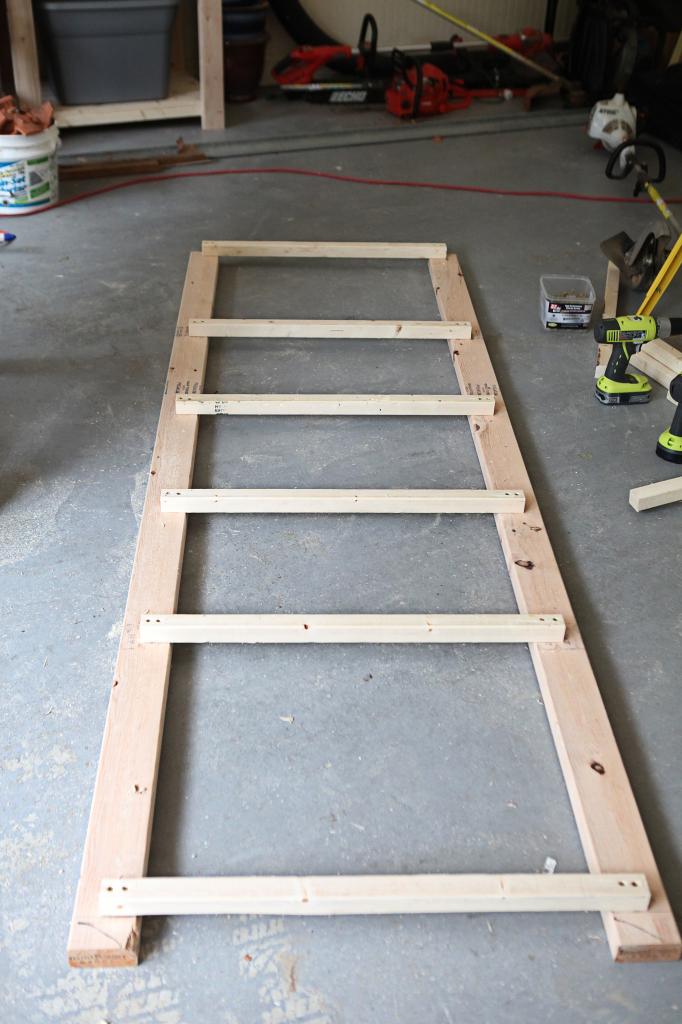
The four posts are just 2×4’s and are eight feet long. The shelves were attached at certain heights and one 2×2 away from the edge of the 2×4.
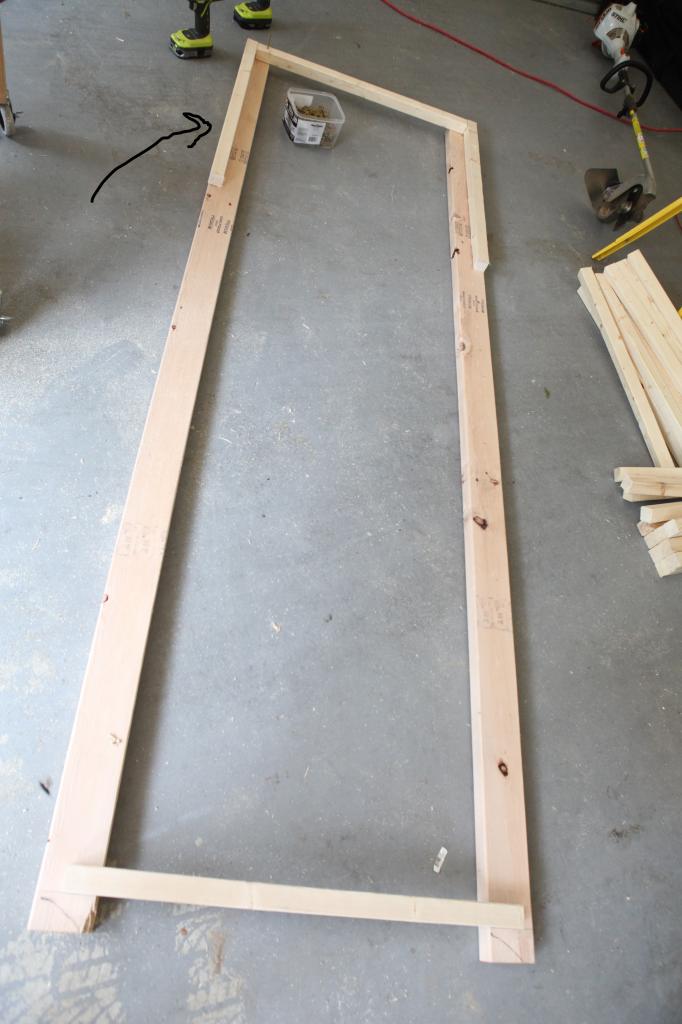
Basically the idea is to make a ladder-look-a-like. Each rung or shelf will be the support.
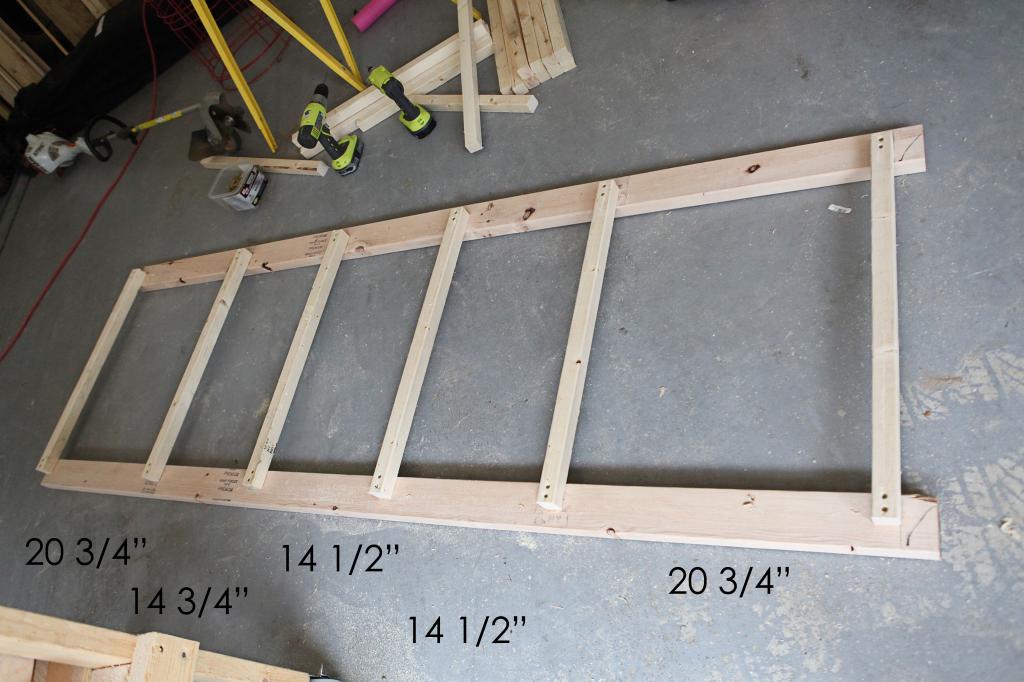
Here are the distances that we did…in case you have a tall garage and want to copy this plan.
We found the easiest way to fasten two ‘ladders’ together is to lean one and then place the shorter side pieces in between to line everything up before predrilling and screwing them together.
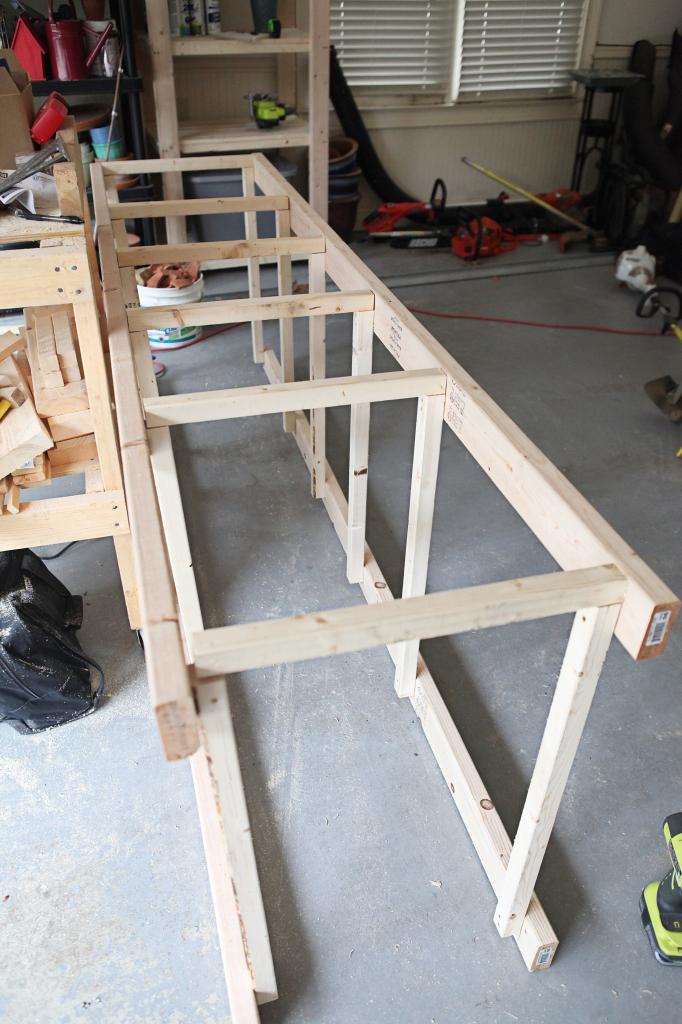
We used two screws…ya know…because Jeremy says that it is extra sturdy that way.
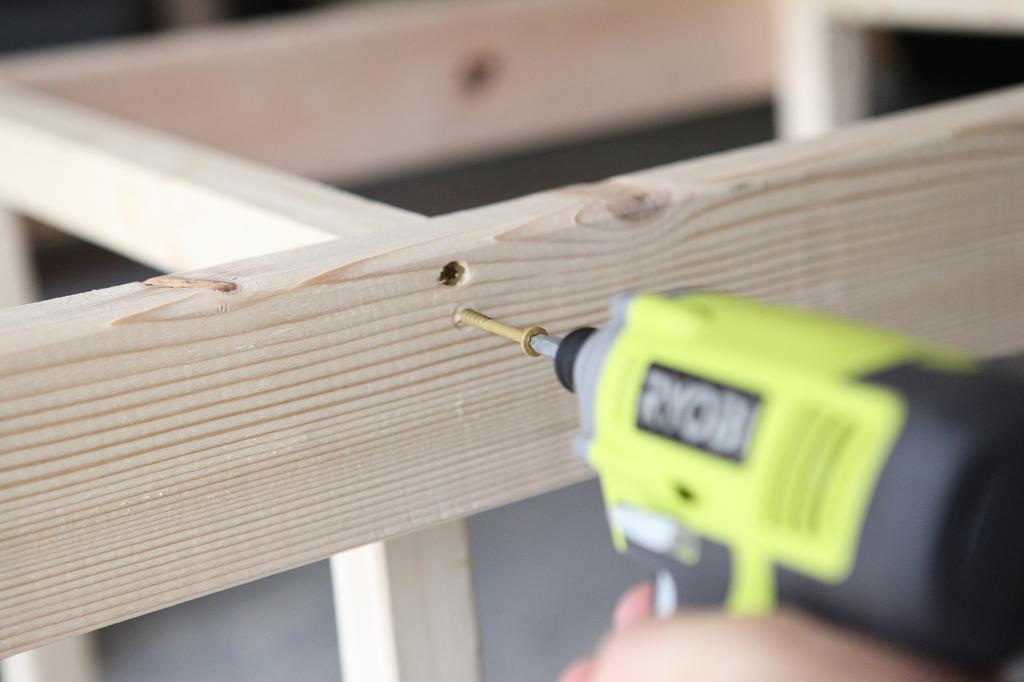
Once one side of supports is done, flip it over and do the same on the other side. The four legs are 2×4’s and the shelf supports are all 2×2’s.
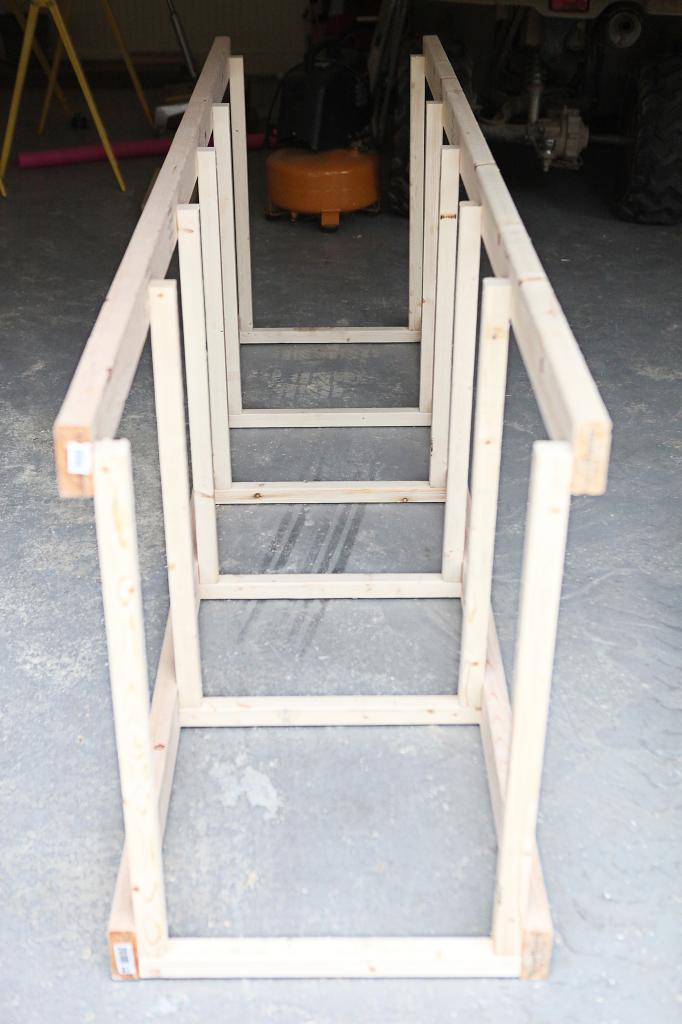
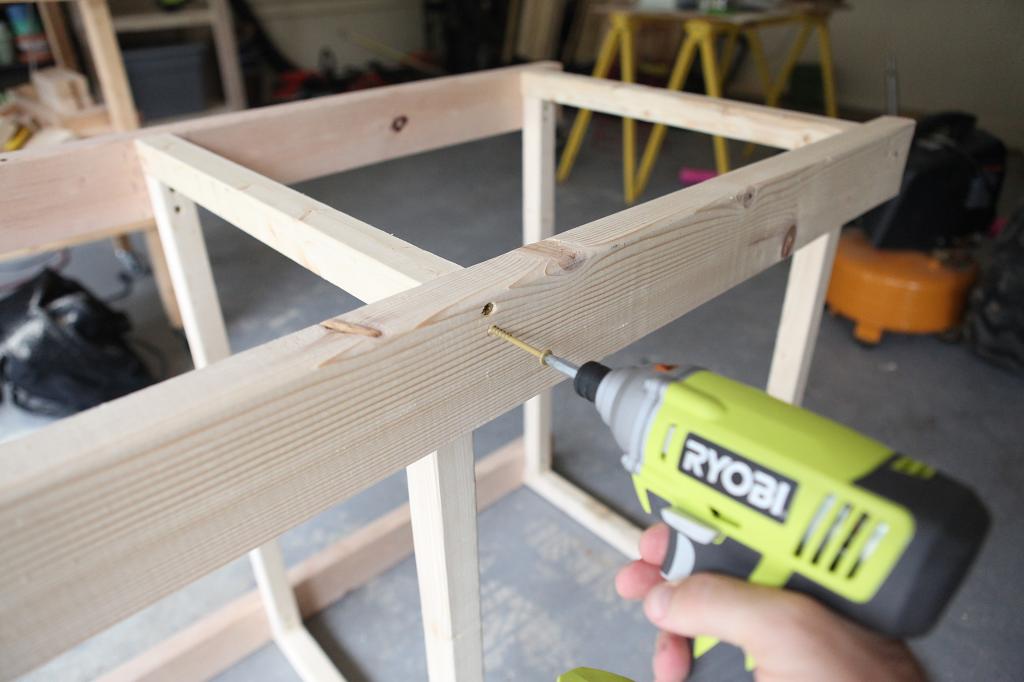
Again…double screw for max support.
After you are all done, you can flip it upright and see your basic structure.
This is not an ad or a sponsored thing…just a tidbit of DIY info…you need these Ryobi AirStrike tools. I am addicted. I love it to the degree of obsession. If it had its own house, I would be in the bushes watching it cook it’s mac n cheese.
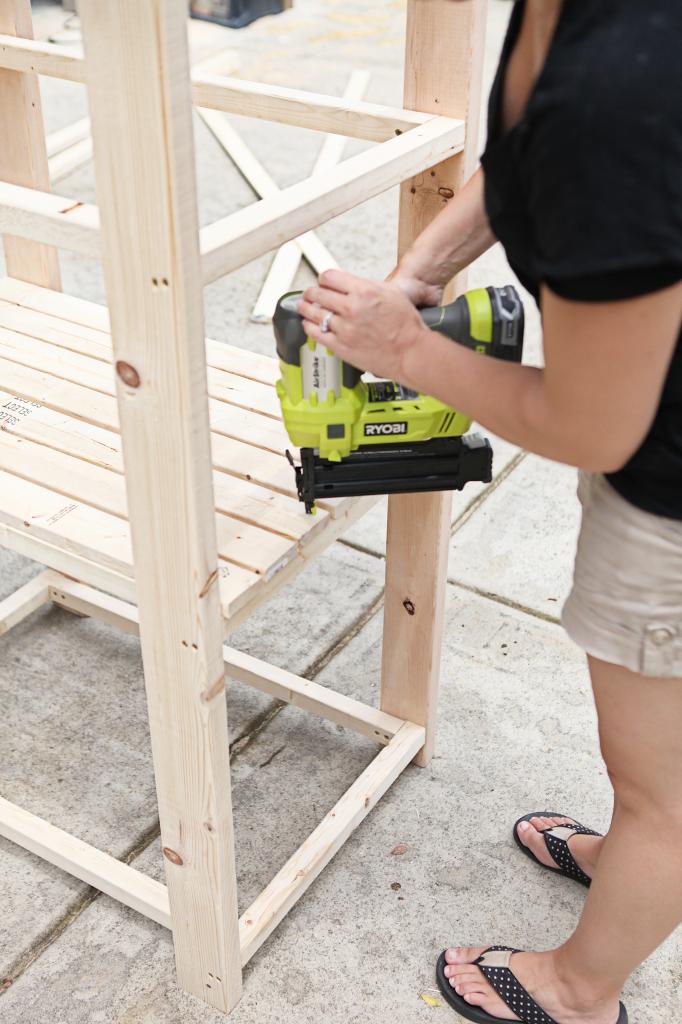
Lay out the 1×3’s and put a couple brad nails in each end. We actually saved some money by buying 2×3’s and ripping them in half. It was much cheaper to buy one 2×3 than two 1×3’s.
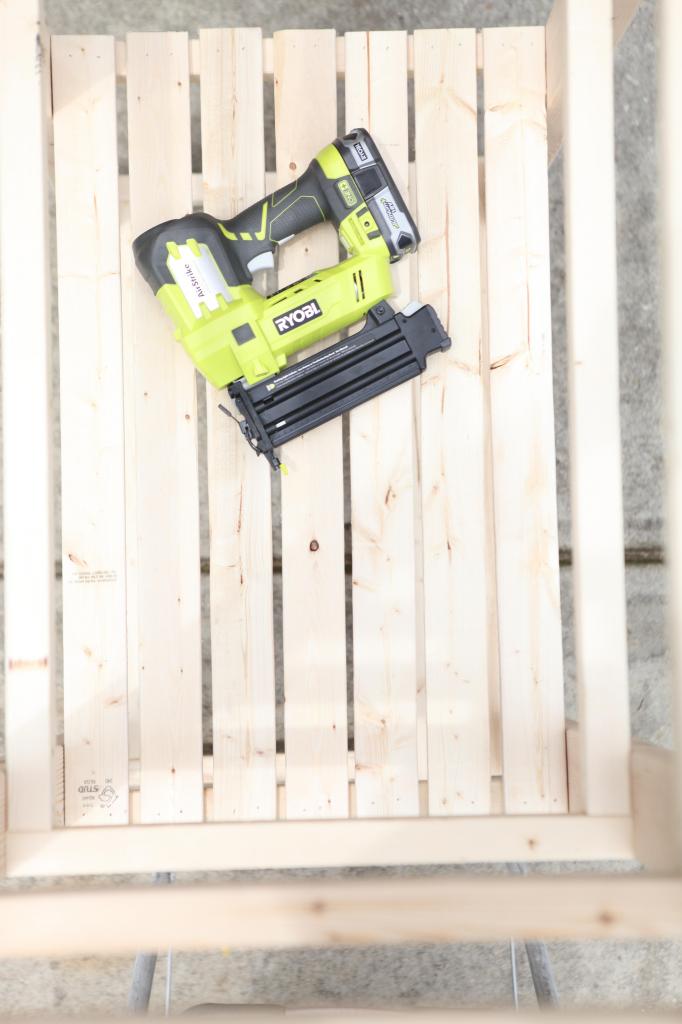
We built two and slid the old miter saw table between them. Jeremy got a new miter saw that doesn’t need a table (more on that later) so the old table will get a haircut and we plan on using it more as a worktable between the towers.
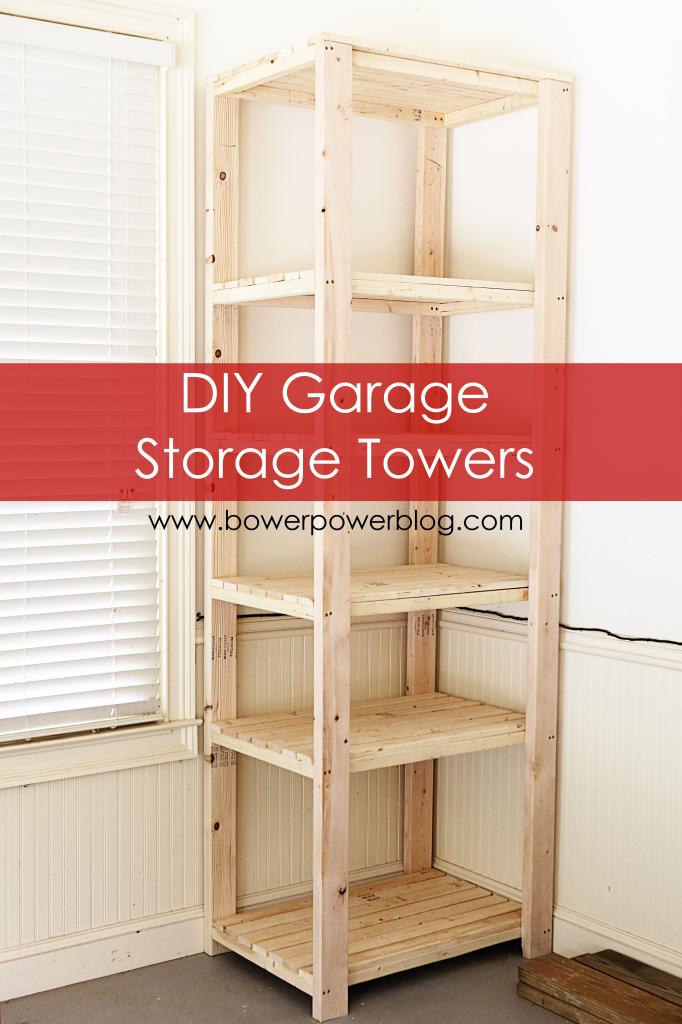
So a little progress in the future bower workshop. Oh and big news – this week we get to share what our ‘secret project’ was! It is so fun and exciting and I love being able to share things like this with you!
Update : Looking for more info on something you see in our house? We have a Shop the Bower House page with paint colors and links to accessories, furniture and decor!

Nice work! I need a tall storage shelf in my garage as well. Something like this would work perfectly.
Nice use of vertical space… I hope you also anchored them to the wall!
Hey Katie!
random question – it looks like you used coated screws, any reason you chose those over just regular gold screws?
Katie, I love you blog, and the new updated look. There are some days that I am just too busy to sit down and read , so I was wondering if you would consider putting like you last 3 or four post links on the first(home) page? It is kinda a pain to have to go back page by page to see what I missed. It would be a nicer feature to just have access to that on the home page.
Great job! Side note/question… Any tips for fellow woms on loosing baby weight or tips for post baby tummy? Your looking great!
Because it’s what we had 🙂
xo kb
Not really. I do recommend breastfeeding!
xo kn
I totally understand but I have so many readers and everyone wants something different. The reason we have only one post is because my images are high res and they load from n external site which takes time if your internet is slow. I have a lot of international readers that pay per minute of internet…so it was costing them a lot to read the most recent post. This way they pay less. It also helps because we can track activity better this way (specific interest in a post) and allows for additional revenue (helps pay for this blog and keeps it free!)
I do appreciate your willingness to click. I agree from a US reader stand point that it’s annoying but this was a compromise from having a magazine layout.
Xo kb
I love these! Great use of vertical space and those plastic ones never seem to last more than a few years.
Shannon
Fabulously Vintage
makes sense 🙂
Your honesty is so refreshing. That is why I love your post, okay, not the only reason but a great reason.
Hey – if you follow her in a reader like bloglovin you’ll be able to keep track of it a little easier. You can leave things read or unread til you have time.
What a practical, awesome project!
Do you have any tips for keeping everything square? I’m afraid that if I tried to build something like this the shelves would end up slanted/wonky.
How do you find time to build with three small kids? I am amazed at all of the DIY you get done!
Thanks for sharing!
http://thejoycediaries.blogspot.com
These look great! I love that those big plastic storage bins would tuck right in!
Pretty fancy garage with chair rail and beadboard!
Katie, I love how you started your post. You make me laugh out loud nearly every time I check in to your blog. Keep up the awesome.
My hubs made something very similar to this for our garage, and it has been wonderful. (He tested it by swinging from it like a monkey once he secured it to the walls. He called me out there to have me watch, because either he needed an audience to throw him bananas as a reward or he was afraid I might need to unbury him from the rubble if it wasn’t as sturdy as he thought.)
I know right?! Crazy.
xo – kb
Jeremy does a lot. He works from home now so we don’t lose 15-20 hrs each week to that commute!
xo – kb
My only tip is to search ‘square’ on Ana-white.com….she has amazing tips that we use.
xo – kb
Your hubs sounds like mine 🙂 Sturdy police!
xo – kb
Felicitaciones por tan explendida idea para realizar un mueble
I wish I had a garage. We have a carport with a laundry room. If I had a garage I could have a space to do my art work and keep a lot of my tools out there. Our back yard has space to add a garage so that could be a possibility. Anyways, I just wanted to say that I love the look of your garage and would love to try that if we ever get one built.
I also wondered if you ever have trouble with coming up with ideas for your blog. Sounds like you have quite a bit of stuff to check out. Love it so far and I like the shelves you guys made, very nice.
Thanks for sharing.
We get so many suggestions I doubt that we will ever run out of ideas!
xo – kb
hey Amber, just a tad confused(doesn’t take much for me)…..the picture you posted with the arrow drawn….are ther 3 1×3’s attached together…
Are you talking to me?
xo – kb
Dod this, Thank you!
My tools and storage are a mess and I love this for my tool pantry/ closet. Can’t wait to get everything organized!
Just a Quick Question,
Can you make a Buy list of How many 2×4, 2×2, 2×3 etc that you bought to make this so I know how many to buy? It would help a lot so I don’t need to keep running back and forth to Home Depot or Lowes when I run out or return them if I have to many?
Its all in the plan. It shows you how to cut them as well so that you don’t have tons of waste 🙂
xo – kb
I love your DIY garage tower. Do you have a detailed supply list that you used? Thanks!
This is a great project. What powers your staple gun?
It’s battery operated and all the pneumatic parts are built in so you don’t need a big air compressor!
xo – kb
I think this would work well even inside your home. I’ve been trying to look for shelving like this for my books. I really need to start doing my own thing, it’s so expensive to get good products in stores. The MDF shelf I purchased just broke with the weight of my medical books.