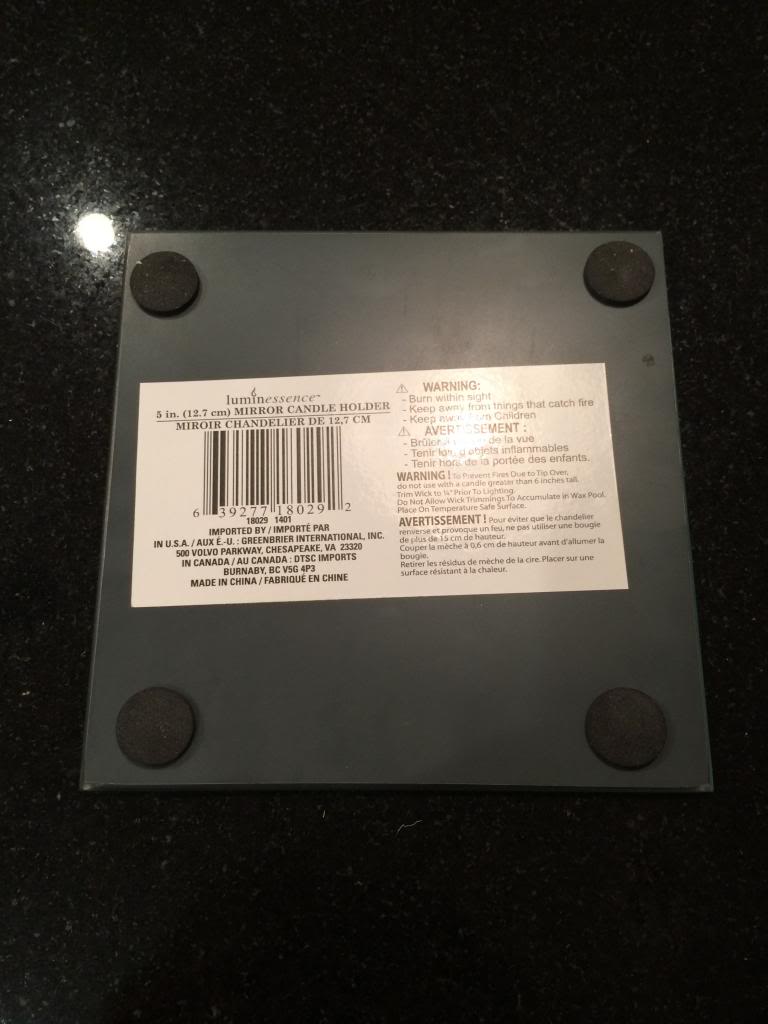
I was just walking along in the Dollar Tree…yelling at my kids like every other mom in Dollar Tree (why they put the breakable ceramic pumpkin-headed-cats at eyelevel with an almost two year old, I will never know) …when I saw these adorable mirrors. They are five inch candle holder mirrors and are beveled on the edges. Suddenly, picking up aisle two was in warp speed and I had twenty of these little mirrors in my buggy. I had an idea in mind and it looked a little like this…
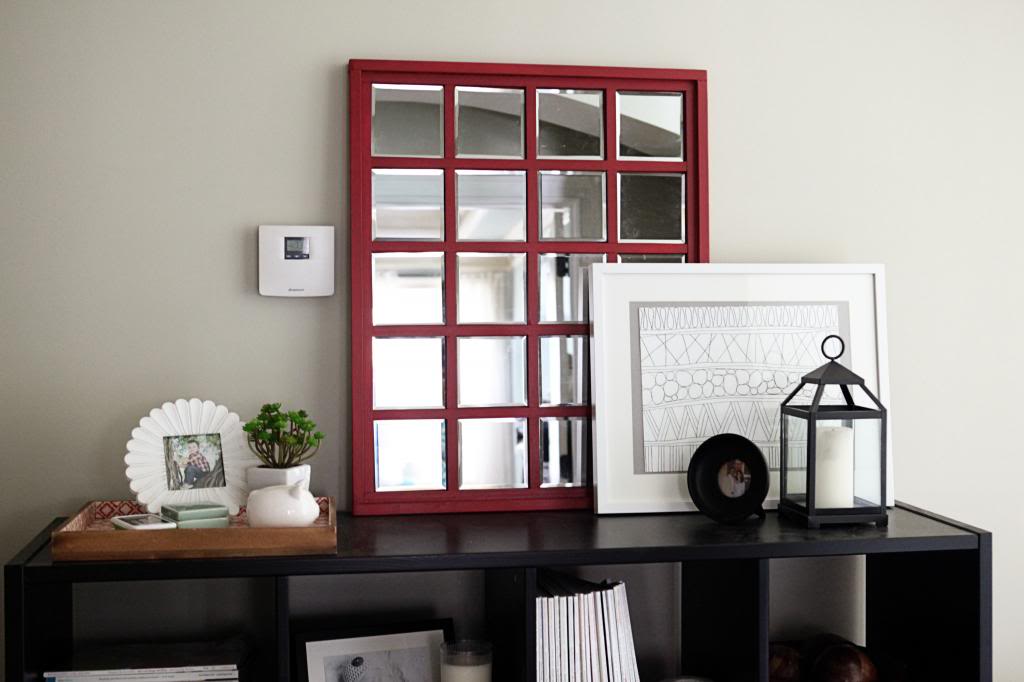
Cute, huh? It’s funny how you can take generally non-pretty stuff (dollar store stuff, wood, paint) and make it nice. It’s like cellulite. Put it on a baby bottom and suddenly it’s enough to bring the house down.
There are a ton of these make-your-own-mirror tutorials out there…so Pinterest that bad boy if you want more options. For our project, we had to buy a couple 2×1’s and a few 1×1’s. Keep in mind that a 1×1 isn’t really one inch by one inch and a 2×1 isn’t really two inches by one inch. I just listed the wood that way so you knew what you needed. The length measurement isn’t as squishy.
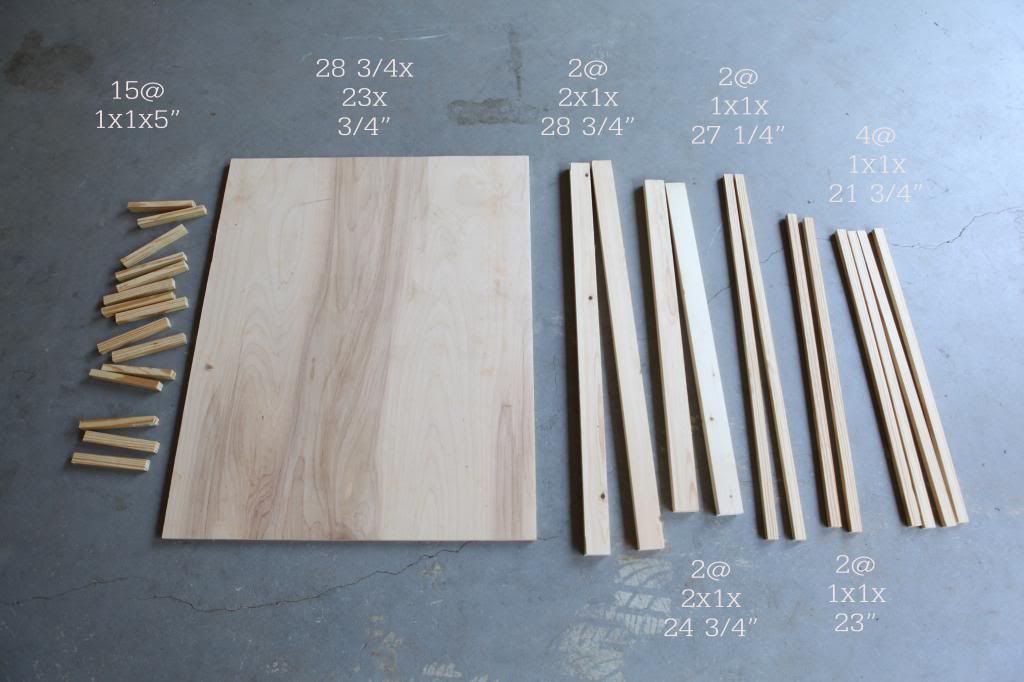
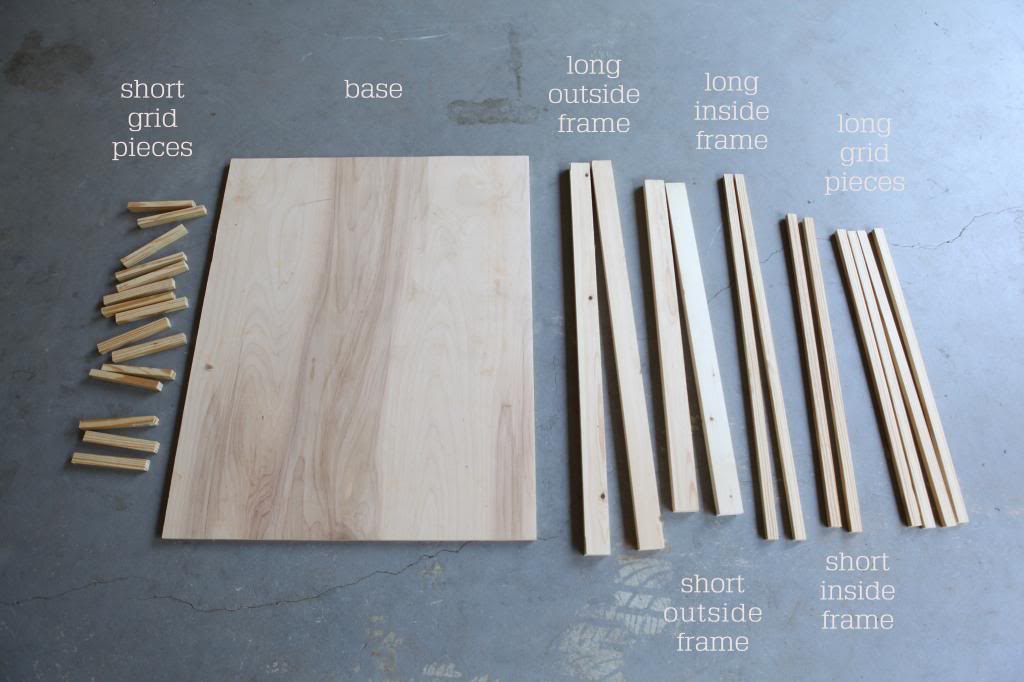
So basically you want to cut the wood and have it all ready to go. Sand it down pretty good too.
First step is assembling a base with outer frame. I liked this look because it is more finished from the sides. Also, this way it avoids using iron on veneer tape stuff. If you decide to abandon ship at this point – it would make a nice coffee table tray 🙂
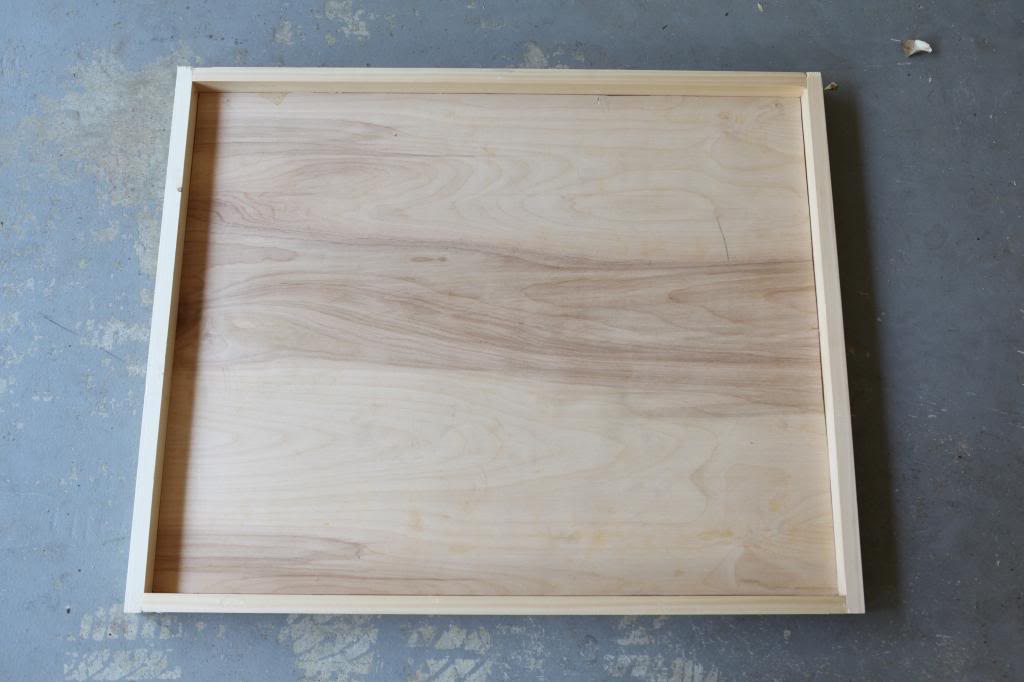
The edges are gonna line up like pictured below. There is an outer frame of the 2×1’s and an inner frame of the 1×1’s.
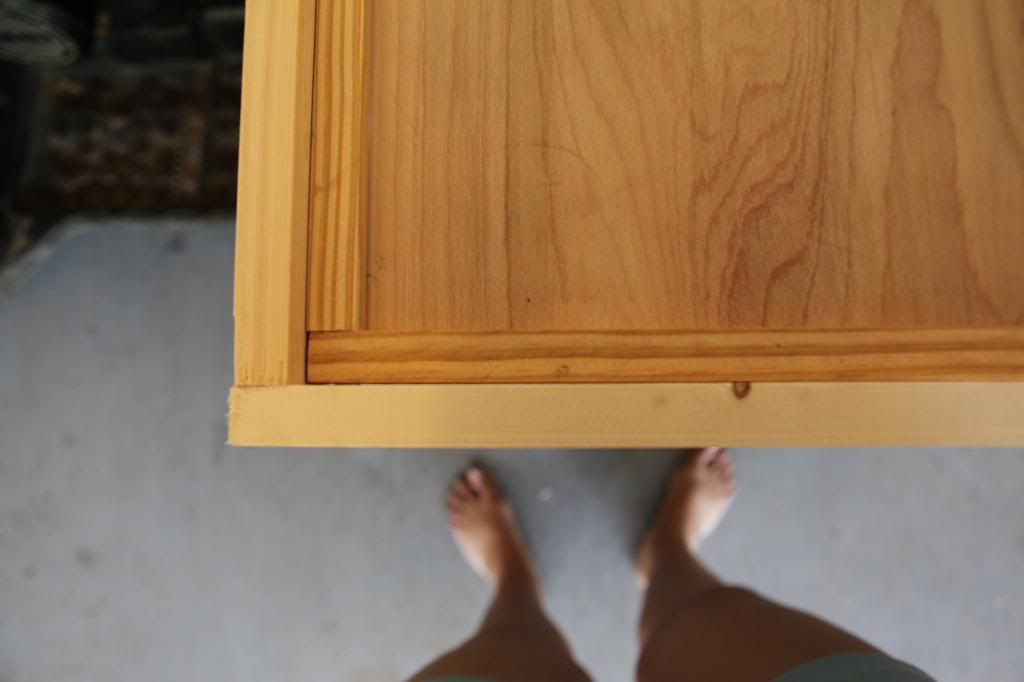
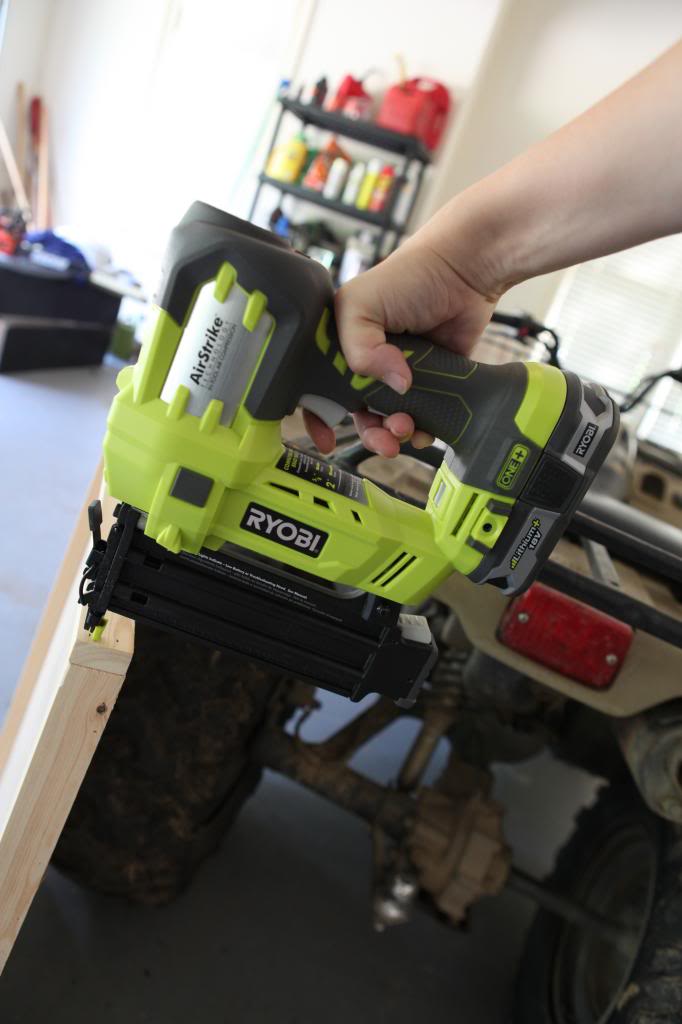
I fastened the outside frames with a slab of glue (does glue come in slabs? question of the year) and then I used a couple brads to fasten the whole thing. By the way…this is the Ryobi Airstrike. It’s like a staple gun on steroids. That’s an Ana White quote….from her show…Saving Alaska. Did you watch it? I still have both episodes on my DVR. I am so proud of her.
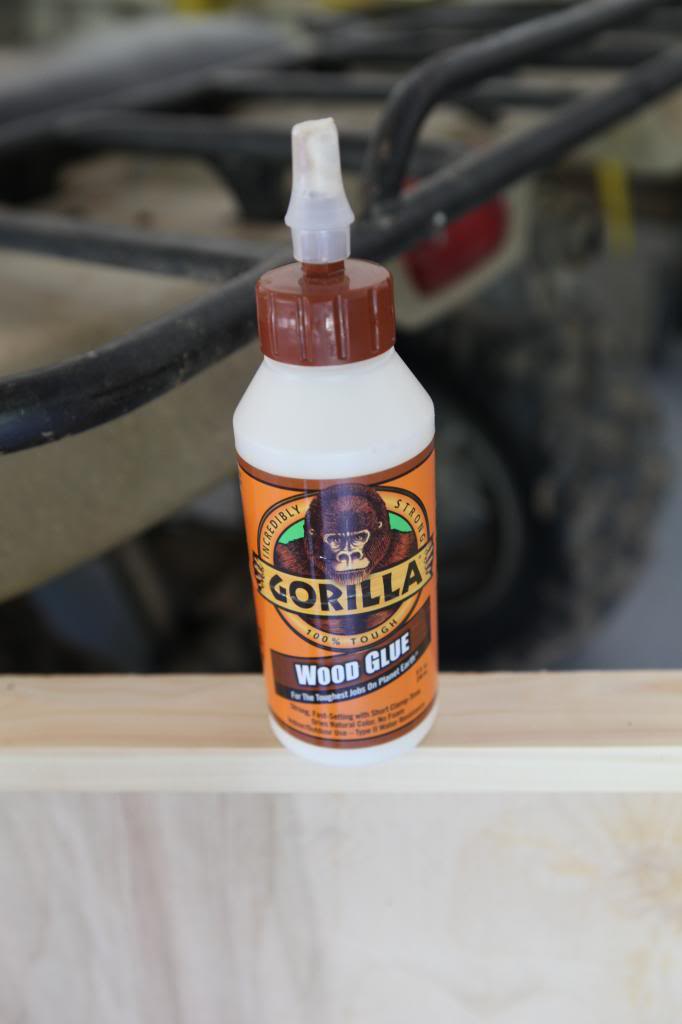
Anyhoo. The wood glue is basically your best friend in this project.
What I did was set up the entire project with the mirrors in place and then glued the wood grid pieces in. First the long grid pieces get glued then the shorter pieces.
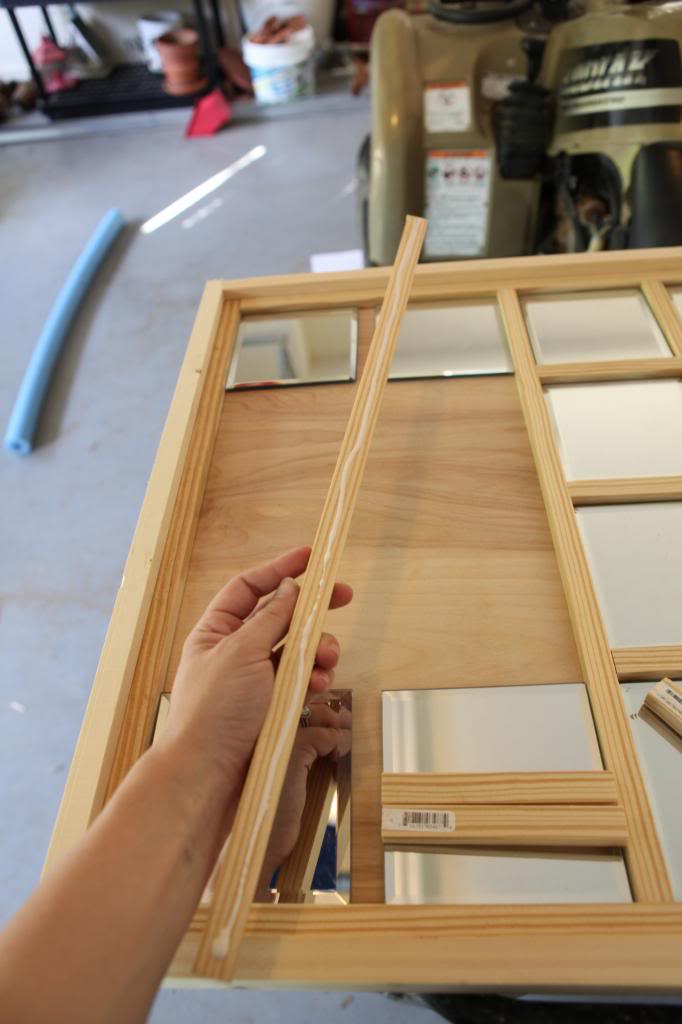
Some of the dollar mirrors aren’t perfectly square so it helps to do the wood pieces perfectly fit for each piece. I would have marked my mirrors too with numbers if that helped but I didn’t have that foresight.
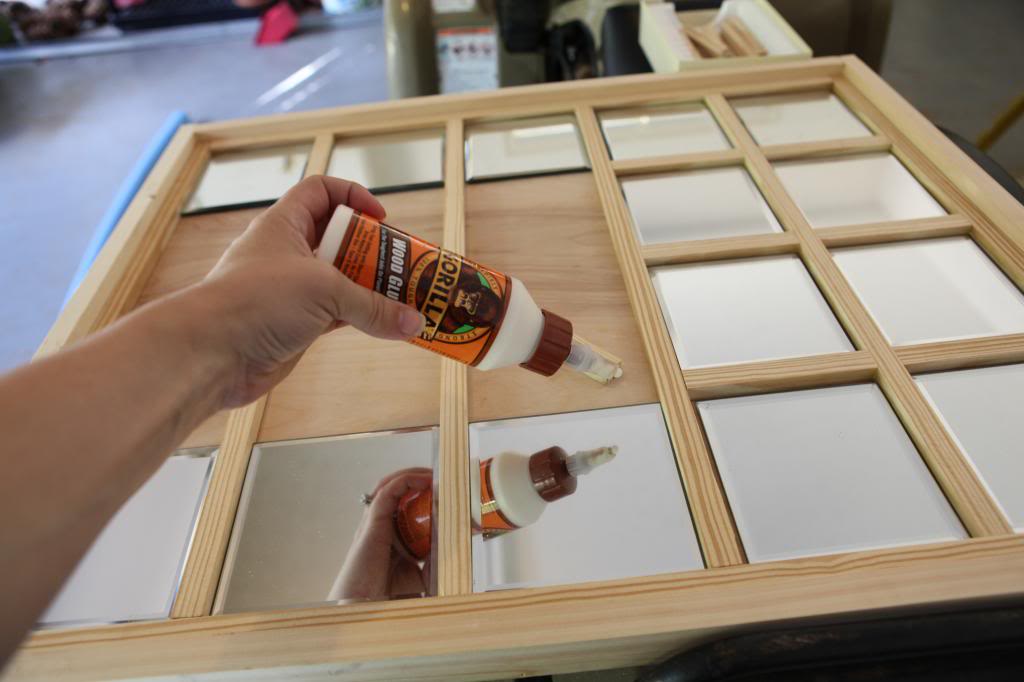
After all the wood pieces are in, it’s time to remove the mirrors. If you push on a corner of the mirror, the opposite corner will pop up 🙂
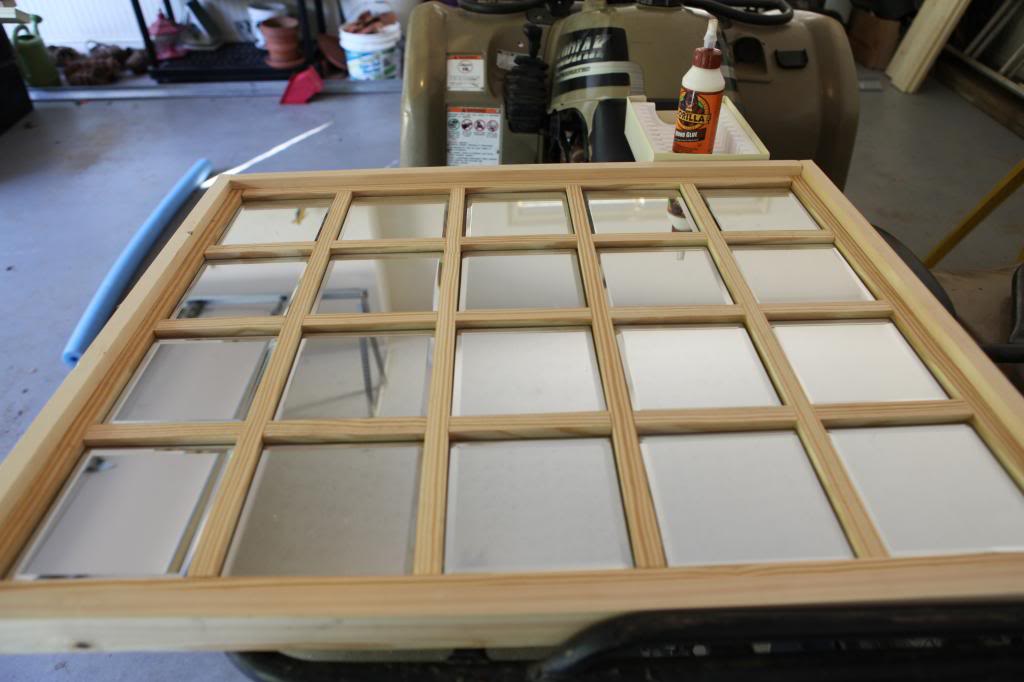
Sand any rough edges down one more time and then dust it and paint it your color of choice. Mine was Front Door Red (because I had that in leftover paint from our front door).
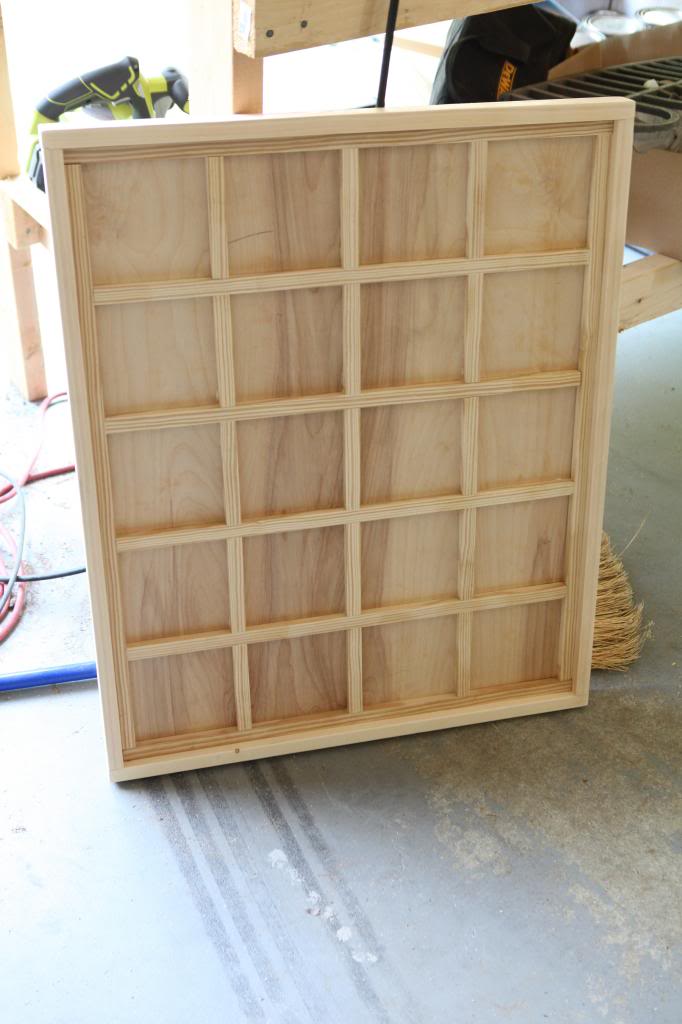
Now it’s time to remove the little foam thingies on the back of all the mirrors. All EIGHTY of them. I just used a fingernail but if you need to use a scraper, it would work too. You also want to remove the sticker.
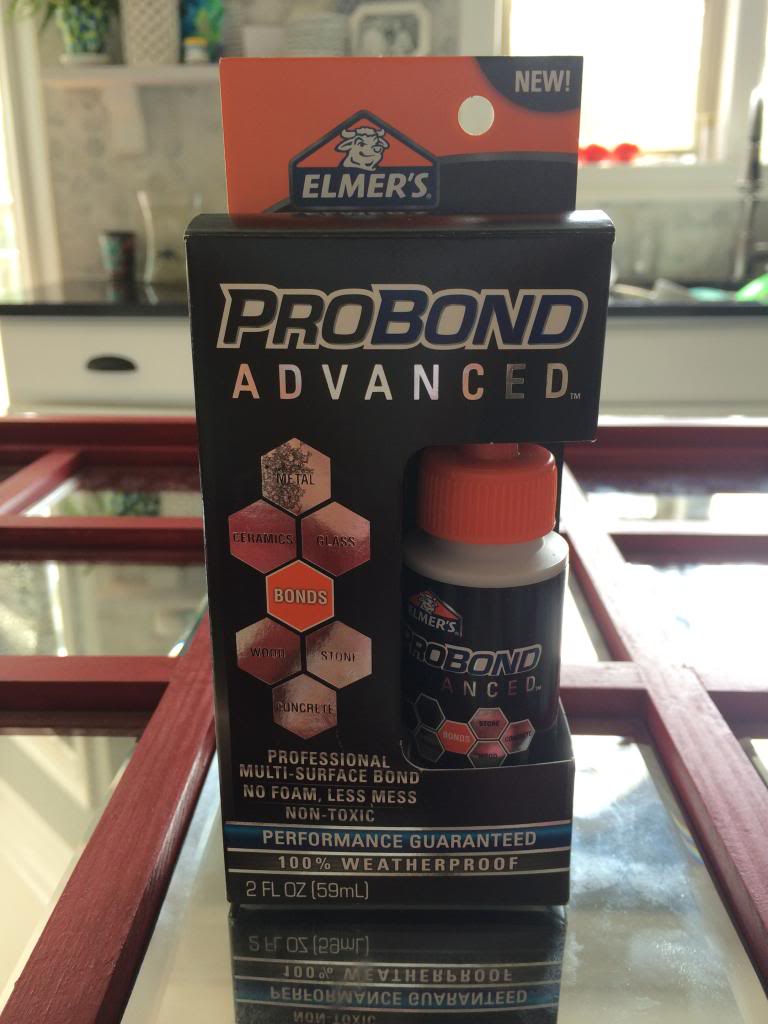
I used Elmer’s Pro Bond to adhere the mirrors in place – it bonds glass – which is something a lot of other glues and construction adhesives do not say they do. Other glues might be fine but I had no idea which one and I dreaded having a random mirror pop out and shatter leaving me with a custom space to fit.
Personally I LOVE it. I am on a red kick right now and this just makes my blood flow juicier. Is that a thing? When you feel your blood flow faster? It’s like on The Office when Dwight said that he could control his blood pressure. That’s me….I’m feeling my blood get…um….bloodier? I miss that show.
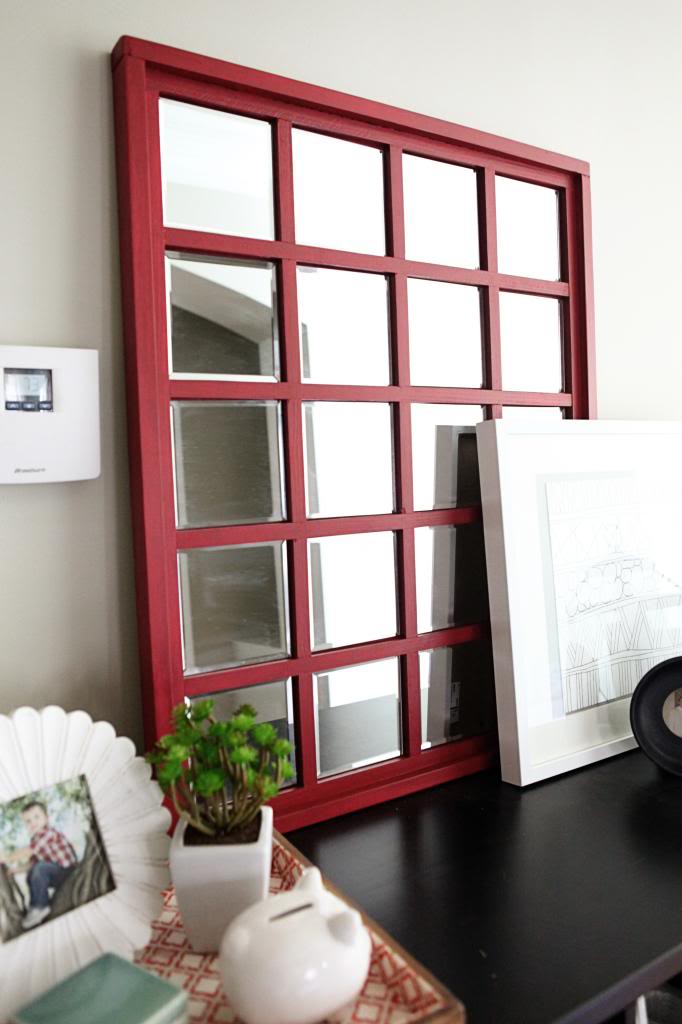
Overall, the mirror cost me about thirty dollars because I had some scrap wood I used and really my only expense was a 2×1 and the mirrors and the Pro Bond glue. Not the cheapest mirror ever but definitely impactful.
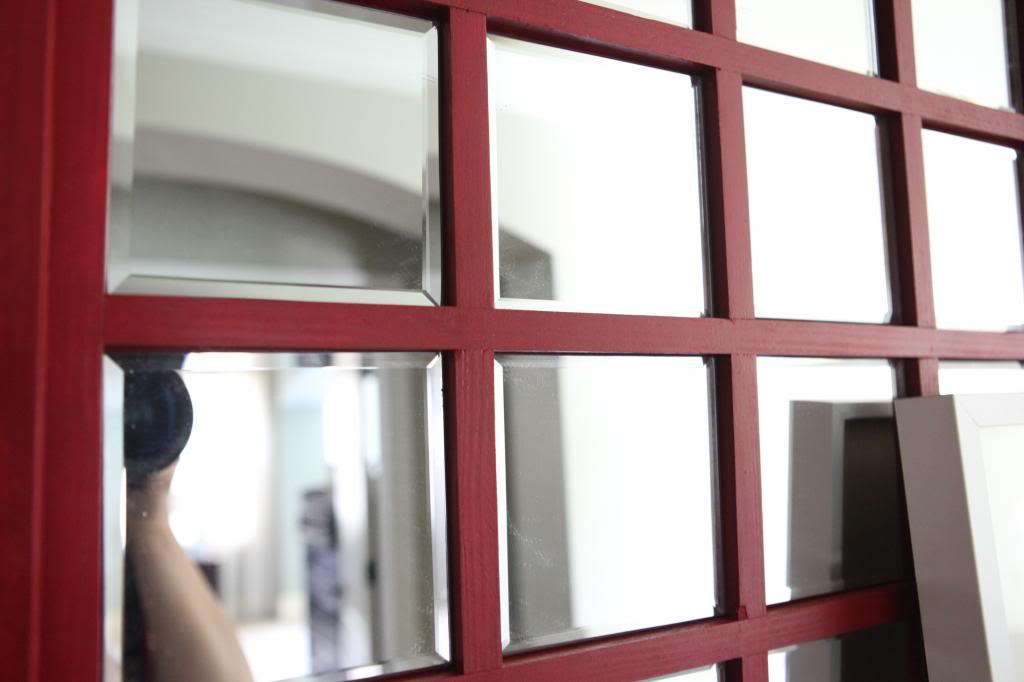
I was thinking about the other mirrors I have made or given a makeover in the past and this one is definitely a favorite. Along with all the others. Apparently I like a lot of stuff I make. I’m super humble like that.
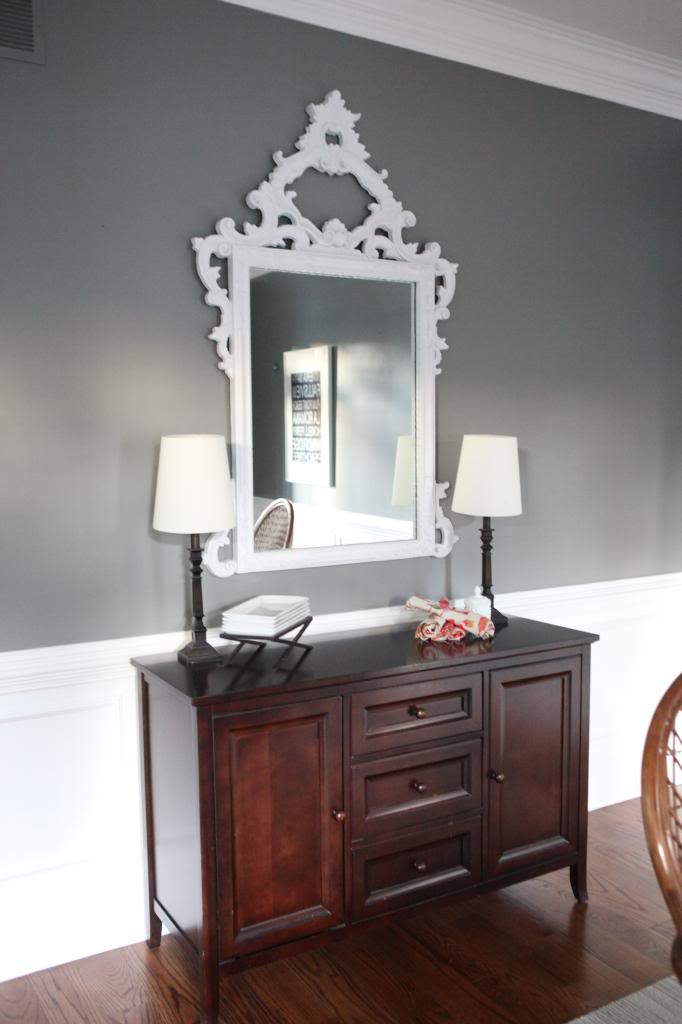
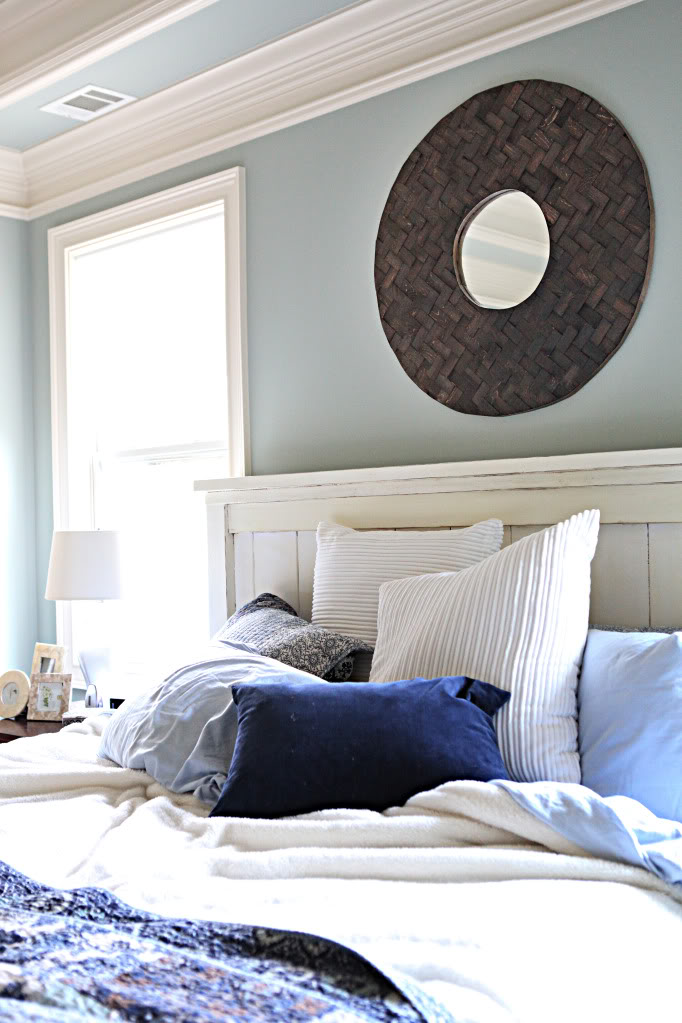
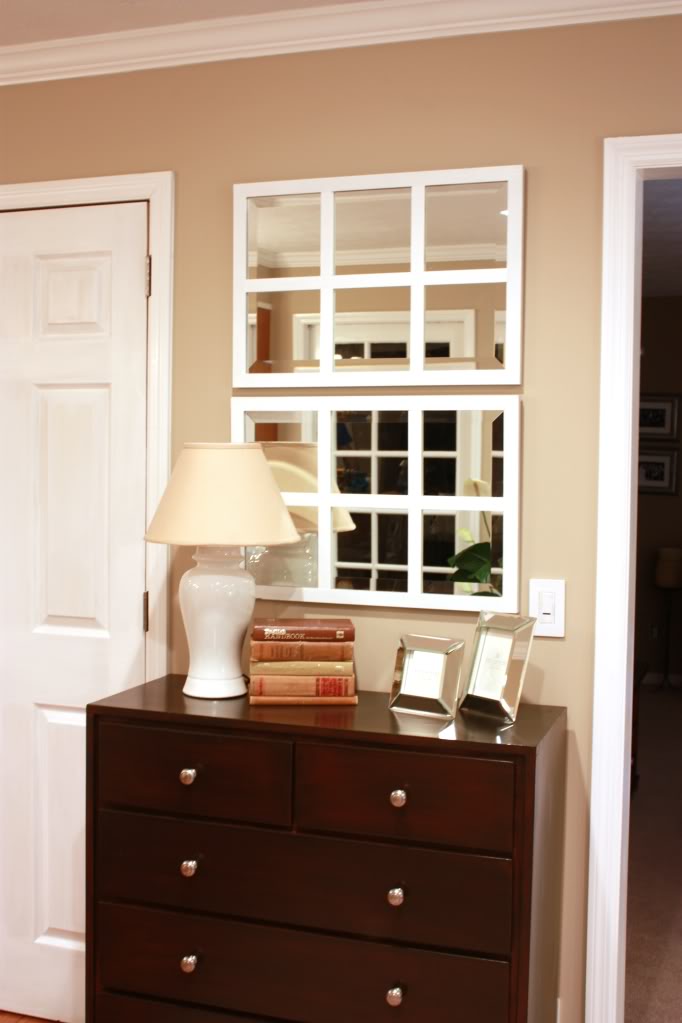
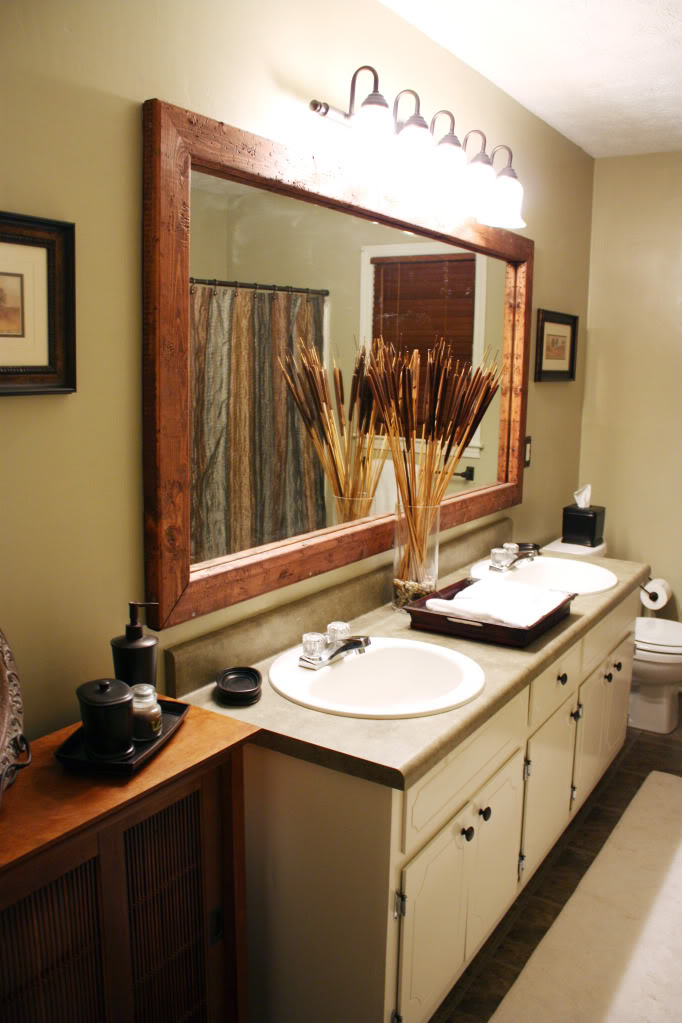
Wanna see more mirrors? Well, you don’t actually have to answer that….
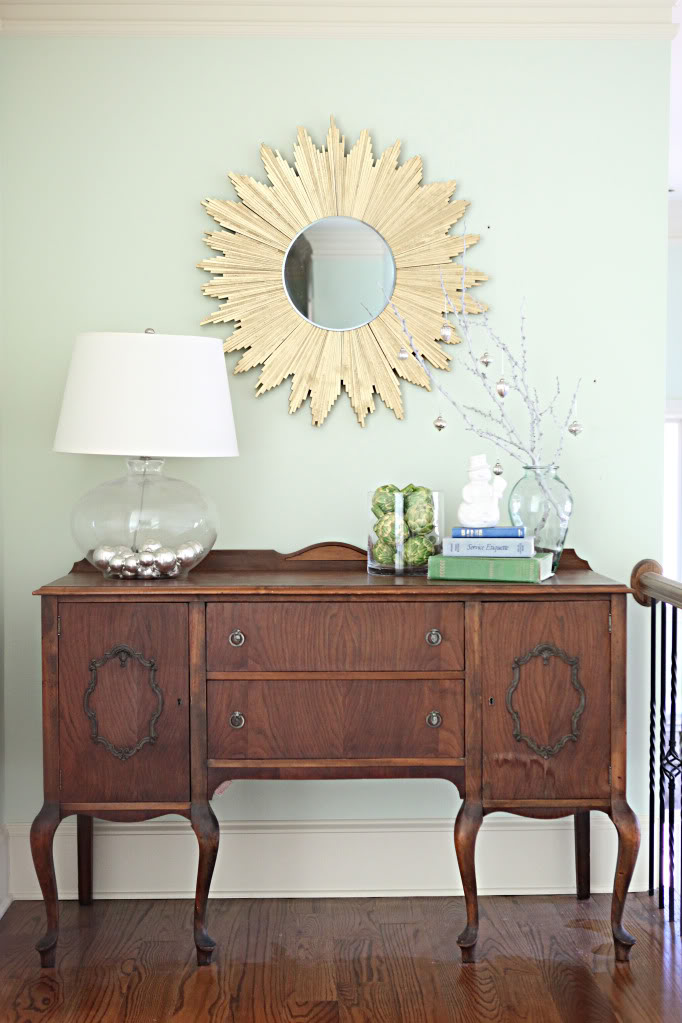
Gorgeous! I need to get back into my DIY roots and start doing some projects like this on the weekend.
You have some awesome skills!!
Love it and love the red!
So cute! And $30 is definitely better than this $600 beast from pottery barn!
http://www.potterybarn.com/products/eagan-multipanel-mirror/?pkey=e%7Cmirror%7C105%7Cbest%7C0%7Cviewall%7C24%7C%7C24&cm_src=PRODUCTSEARCH||NoFacet-_-NoFacet-_-%3Fcm_sp%3DMyRecs-_-LeftNav-_-Search%7CSku_Top_Marketing_Rule%7CMirror%20Search%20Term
You’re a genius, but you already knew that 🙂
LOVE that mirror!! Super CUTE!!
But the main reason that I commented today, was that I had to tell you that you really do make my day — you are soo funny and dare I say it..charming!! The “I am super humble like that” line, made me snort laugh at work!!! LOL! EMBARRASSING!! So just wanted to share the good feelings this morning!! 🙂
ALSO — the Weston rabid dog zombie video — I have pretty much had it on repeat on intstagram since you posted it — my 2 boys (my luke is 1 month younger than Weston) LOVE IT!! They both bark and laugh and carry on — and yell -play it again mommy when I try to turn it off!!! So, thank you for keeping my kids occupied with something for more than 5 minutes!!!
I love everything about this!
I have thing for mirrors. I cannot believe how expensive some of them can be. Love this DIY!! It looks fabulous!
I love this project! Thanks for sharing it. I love reading your blog – especially these fun little tutorials. 🙂
Nice! I really love the star mirror and you’ve got me thinking I need to make one. You didn’t trim any of the shims for that did you?
Super cute!! I haven’t been to a Dollar General in years but might have to stop in for some of those mirrors!
I really like everything you make, too, and this mirror is adorable! I am in awe that you saw the mirrors & envisioned this finished project–I have some good repurposing ideas, but yours are a-ma-zing!! I think I’ll make a trek to the Dollar Store this week. 🙂
What’s the status of the bower build off?
me to husband: she fricken made that. seriously. like fricken saw glass squares and thought hm i can make that into a huge mirror. fricken macgyver that katie bower is.
ahhh-mazing.
Nope! No trimming!
xo – kb
Hopefully Friday!
xo – kb
You have just given me the perfect use for my mirrored plates that I used for my wedding. It looks great 🙂
I love it. I want to pet it and look at my reflection in every square! Turned out amazing. Dollar Store, here I come.
Great job – I can’t believe the little mirrors are beveled as well. It has the look of something much more than $30 for sure. I love the red paint color – is that really the name of it and if so, who makes it, please? We are painting our front door red, too, if I ever decide on a red.
I love this. Though when I first started reading, I was confused. I saw the title and the picture of the red mirror in my blog feeder. I thought the title said Gold Mirror and saw the picture of the red and thought oh that’s the before! I can’t wait to see the after. Started reading and when you mentioned you painted it red, I was like waaaaaaaiiiiit, why is this called gold mirror then. And then I looked and saw that it actually said grid mirror. Oops.
I love this! I need to be more adventurous and make things.
Katie you are so talented! I love this!
Yup! It’s a Valspar paint color 🙂
xo – kb
Hey I just wanted to add how great this grid mirror would be to add to a room with no windows – I’ve had one in each house I have and I have casually looked for something like this to turn into a faux window – I would potentially put a curtain on it and everything to make it look more like a window.
I may just have to make it because I can’t find it online (searching “grid mirror”) for less than $400.
Thanks for the great post!
Katie – you are amazing! How on EARTH do you find the time to do this stuff?? I mean seriously! I have two boys ages 4.5 months and just-turned-3 and I can’t even fathom where I would fit in a project like this. And you have THREE boys! Maybe you could do a post on time-management, you must have a magic trick for finding extra minutes in a day 🙂 great job I looooove this!!
Awesome job!!! And spending the extra money on the glue was worth it, you had me worried there for a minute with the gorrilla glue LOL. Not only will they stay up (very important, as you mentioned) but if you don’t use a glue that is made for mirrors over time the mirror will “desilverize”, wrong glue = break down the back of the mirror, and eventually distorts the finish part that you see from the front, If that makes sense. (Lesson I learned the hard way…)
That.is.FABULOUS! So creative…and cheeeap. Good job! 🙂
This is actually really interesting, I was thinking of doing a project involving mirrors and this seems like something I could look further into.
Great job as always.
What a cool way to use some Dollar Store purchases! Impressed that you’d think of that on the fly.
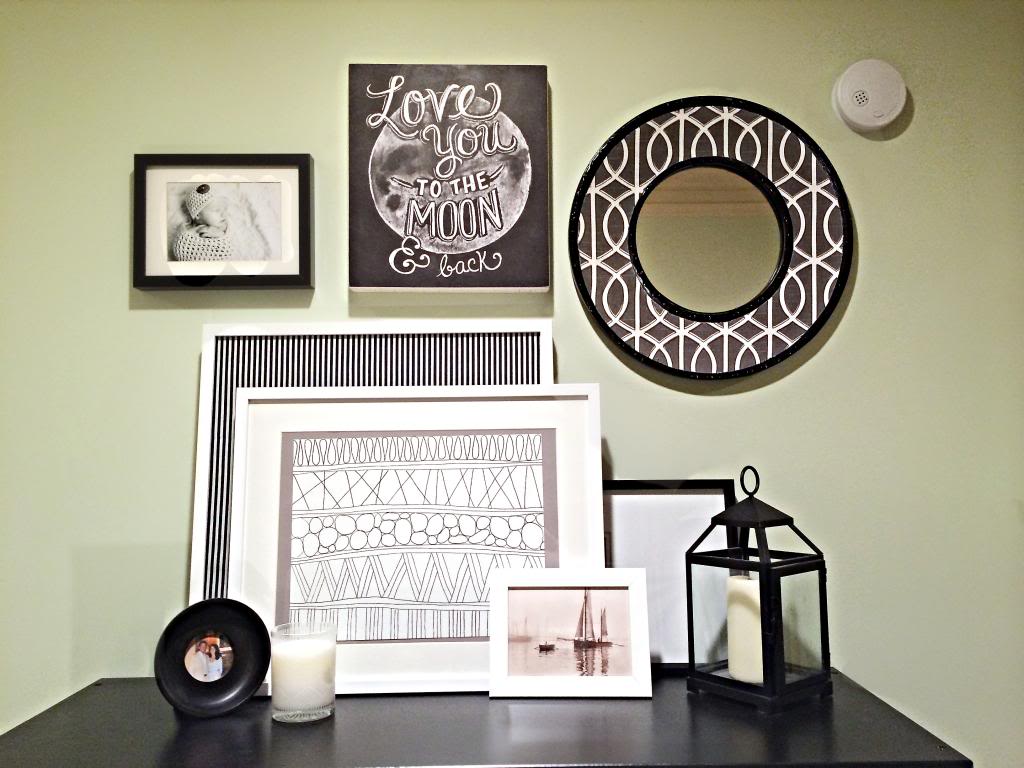
What is the link for the mirror with white grid looking frames over a dark dresser? The photo links to a post about a grid of herb pictures being hung over a guest bed. I’d love to see the other mirror post! thanks 🙂
Holy cow! That’s what I came over to comment on. Can’t believe the Pottery Barn version is $600. It’s big, but dang! It’s expensive. I love Katie’s version and the fact that you can paint it whatever color you want!
Great article!
Hi katie! You should do a house tour, I’d love to see how things have progressed 🙂
well done, u did a great job. the result is so cute. the warm red color is a pop for environment, to give everything around an emotion of excitement.
Ka-tie. This. just. changed. my. life.
I love it!! Cudos!
erg. It must be a broken url. I got go back and see if I can fix it. Thanks for letting me know!
xo – kb
I get lots of help!
xo – kb
Great job! 🙂 I have some similar candle mirrors left over from our wedding (8 years ago!) that I can’t seem to get rid of, and this would be the perfect project to use those up. Did you do any caulking at the wood seams? Just wondering about potential gaps…
I didn’t but if you had gaps, it certainly isn’t a bad idea!
xo – kb
Great job done! The mirror looks so finished. I would like to do this for my foyer too! But m not handy with a saw. Did you cut all the wood pieces yourself? Can I get those somewhere?
I did cut those myself but they usually have a little miter saw jig at most Home Depots and a hand saw that you can use to cut them yourself if you don’t have tools. They are also willing to help 🙂
xo – kb
Your heavy-duty stapler makes mine look like a wuzz. Yours is the thug of staplers. The red coloring on the frame is delicious!