Log side tables are nothing new. They have been around for a very long time. Stores sell them…like West Elm and Serena & Lily….and DIYers have been making them since the invention of trees. I’m sure Adam & Eve had a stump side table themselves.
Sooo….that being said….this is not something creative….just really really cheap. And a long time coming.
Jeremy’s dad came down in October (with the impending birth of his grandson nigh) and used his chainsaw to help cut down a few fallen trees in our woods. Our lot has a lot of wooded area and when trees fall across four-wheeling paths, it makes it hard for Jeremy and our four-wheel-lovin’ neighbors to get around. Jeremy has since bought a chainsaw…but at the time, we needed help. So Pastor Dad to the rescue! While they were headed down to the woods, I mentioned that I would like a few logs for outdoor side tables so if they had enough sections that would work, to cut a couple good ones to bring home. I’m sure that they would never mess with a very pregnant lady. Of course, they delivered.
I read that the logs have to sit awhile inside a garage for all the wood to dry out and the critters to crawl out. I took the definition of ‘a while’ as ‘six months’.
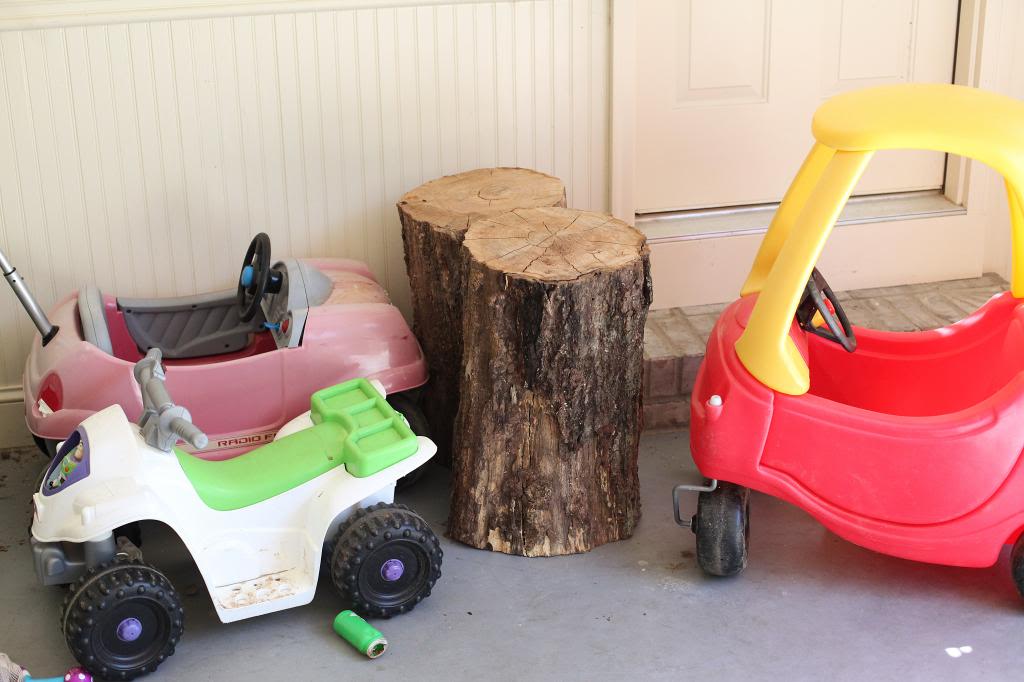
When Will told our friends at church that we had trees growing in our house, I knew it was time to start this project.
A lot of tutorials recommended using a hammer or a chisel or something to scrape the bark off. I had a lot of rot too that I had to remove…this is no joke of a task. I found the best way is to use a chisel and do it from top to bottom and then lay the log on it’s side and scrape it with the edge of the chisel like you would try to scrape the burnt bits off a piece of toast.
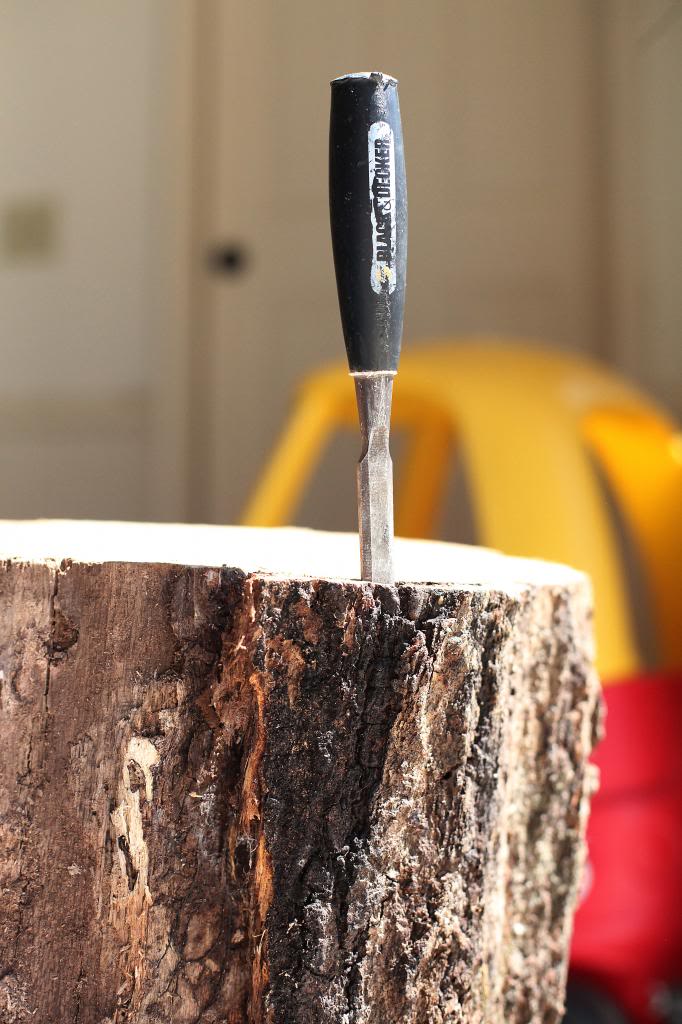
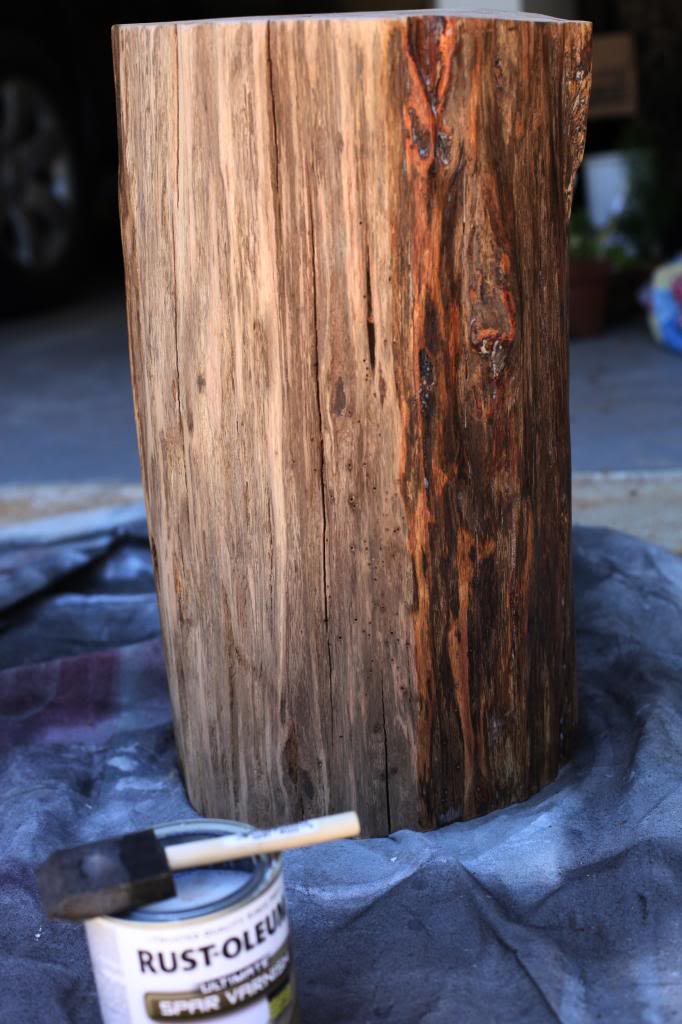
It will come fairly clean. It’s tedious and dusty work and I highly recommend wearing gloves and a mask because sometimes the log has a mind of it’s own. (see those little holes below and what looks like tiny worm trails next to them? that’s termite marks I believe, which are really common here in Georgia.)
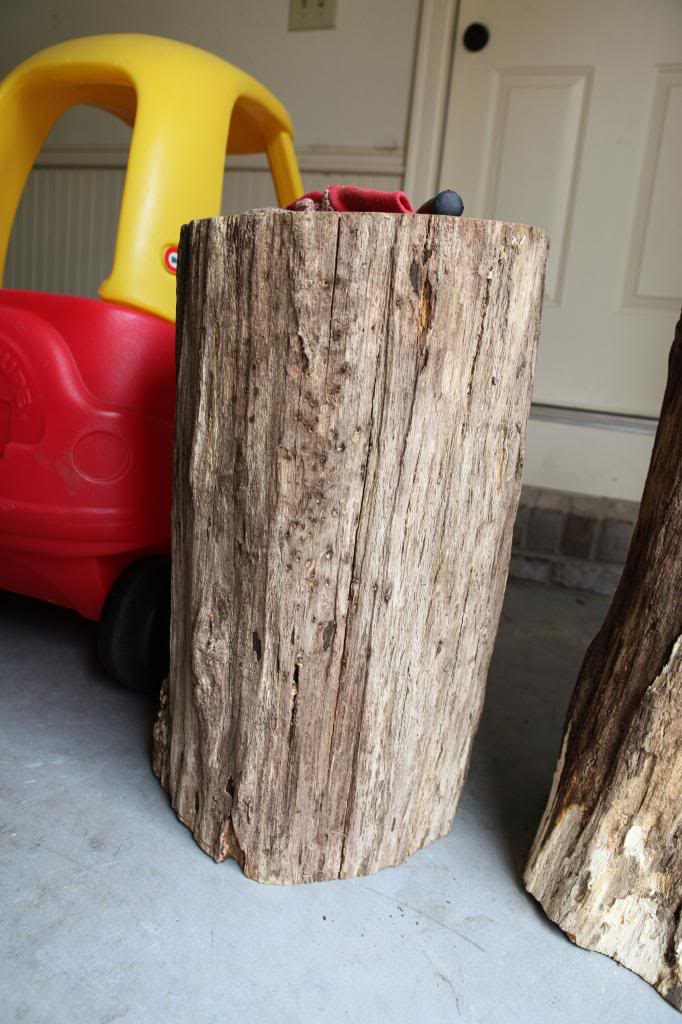
It doesn’t have to be perfectly clean because you will be taking some stuff off with the sander…you just want the major chunks off.
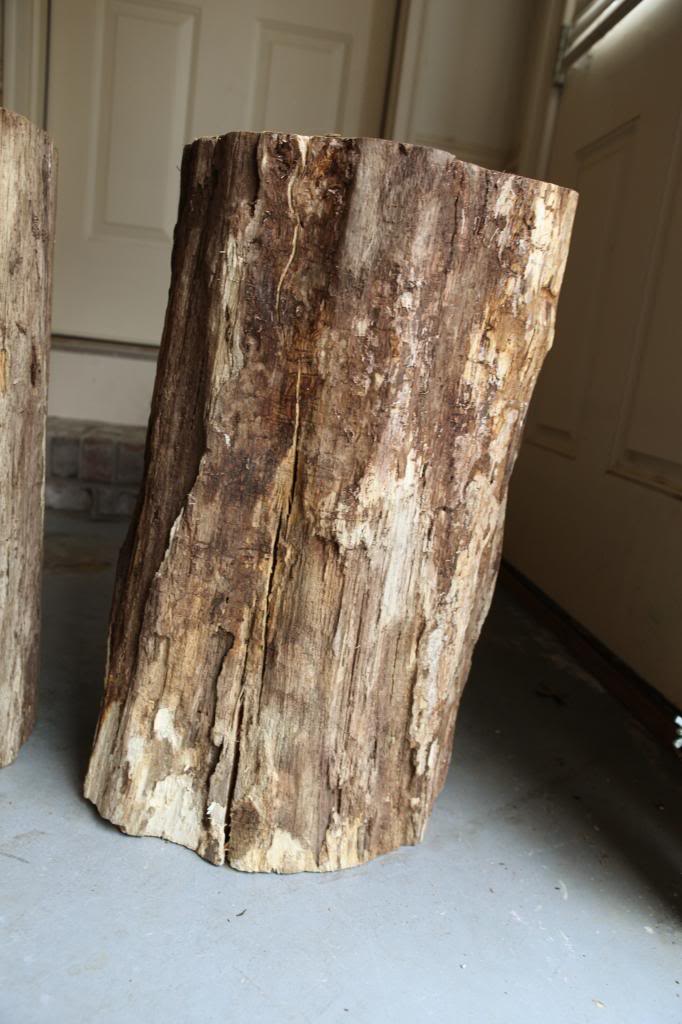
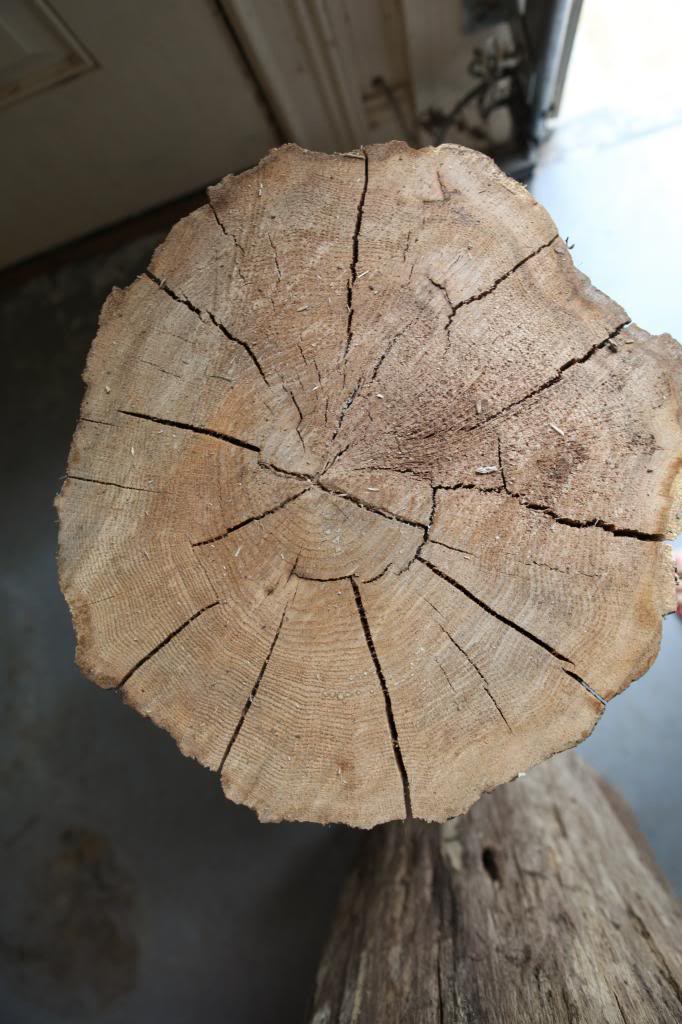
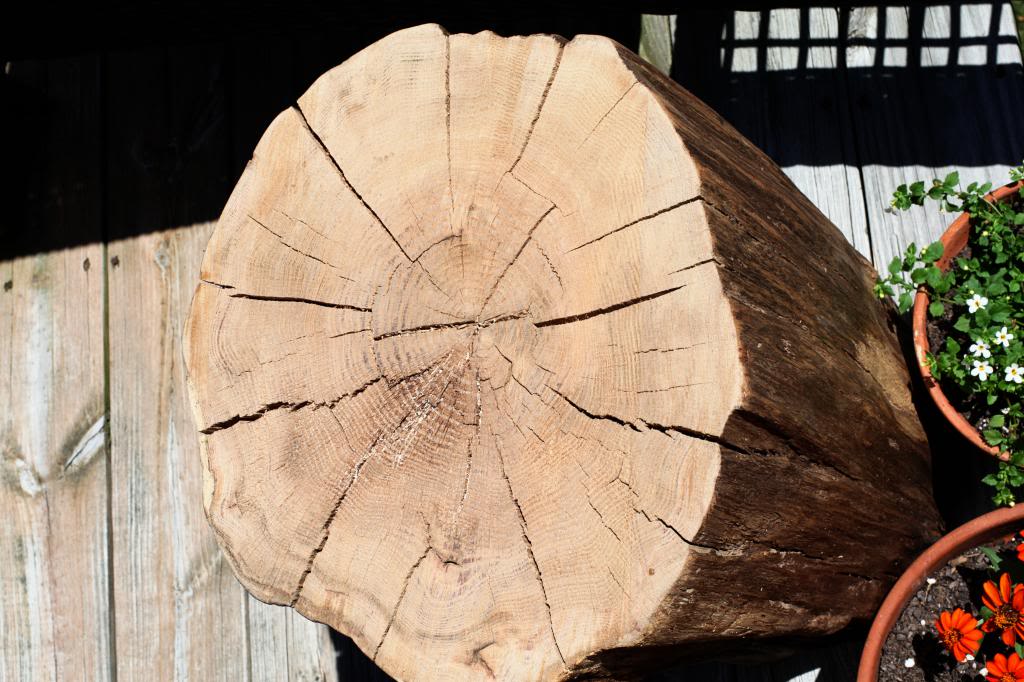
The top will have loads and loads of cracks…but they are all part of the individuality of the piece of wood…so don’t try to fill them or sand them away.
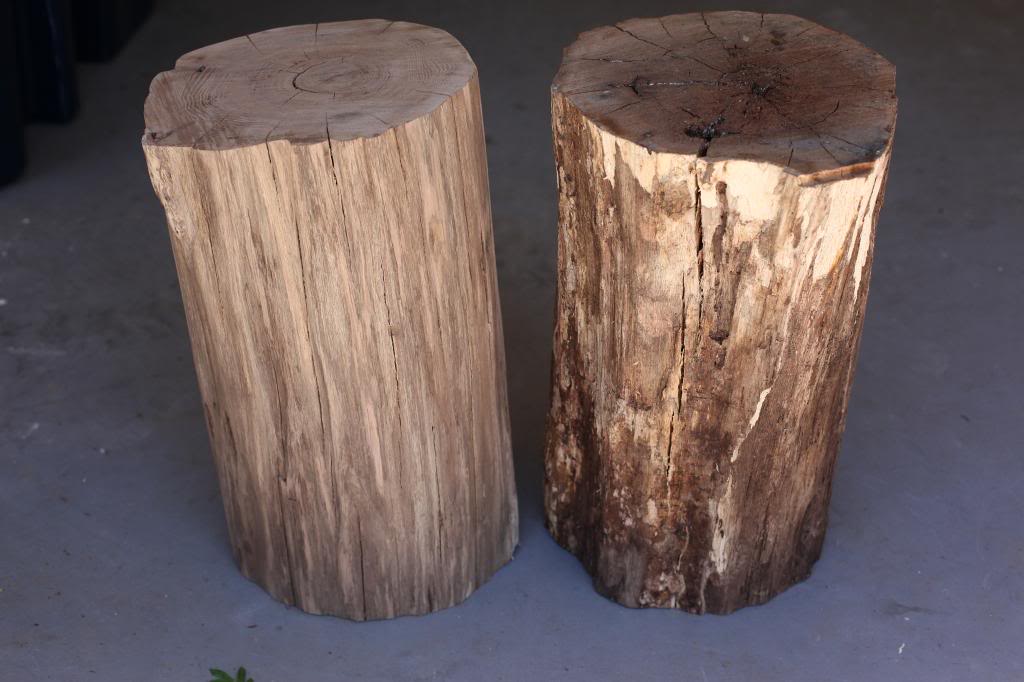
Then comes time for sanding. I used the lowest grit sandpaper I could find. Mine was 36 grit and it’s for stripping…which it did very nicely. The one below on the left is sanded and the one on the right is not….see how beautiful?
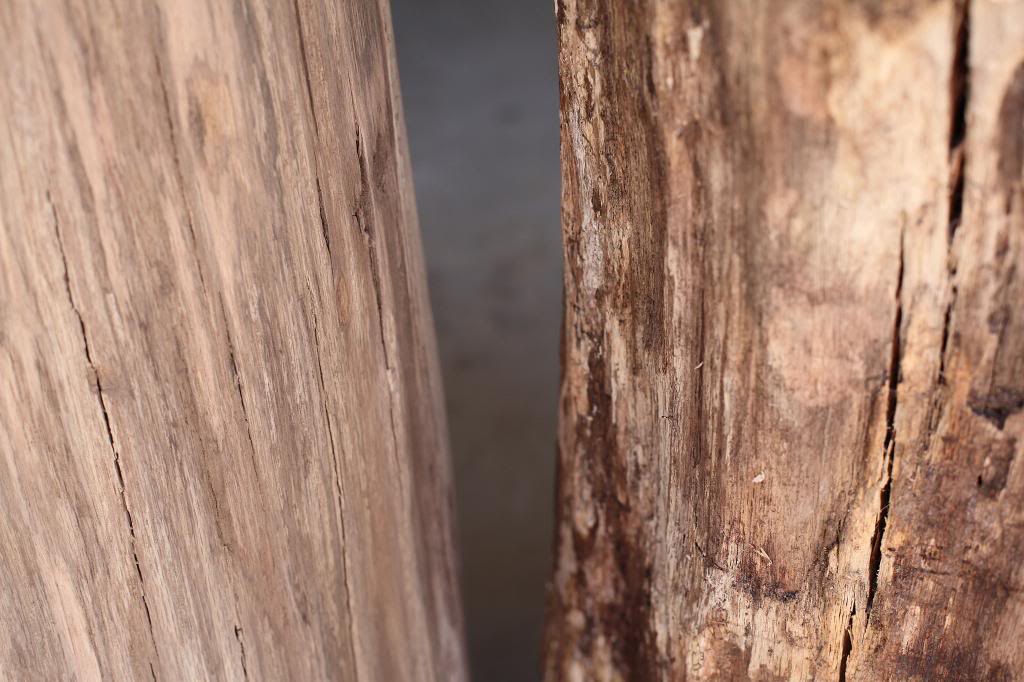
After I got the big stuff sanded off, I used 100 grit for smoothing it out and removing any noticeable splinters.
Then came time for varnish. Since my tables were gonna be staying outside, I went with Spar Varnish from Rustoleum (it’s what we used on our outdoor table and side tables and has held up nicely).
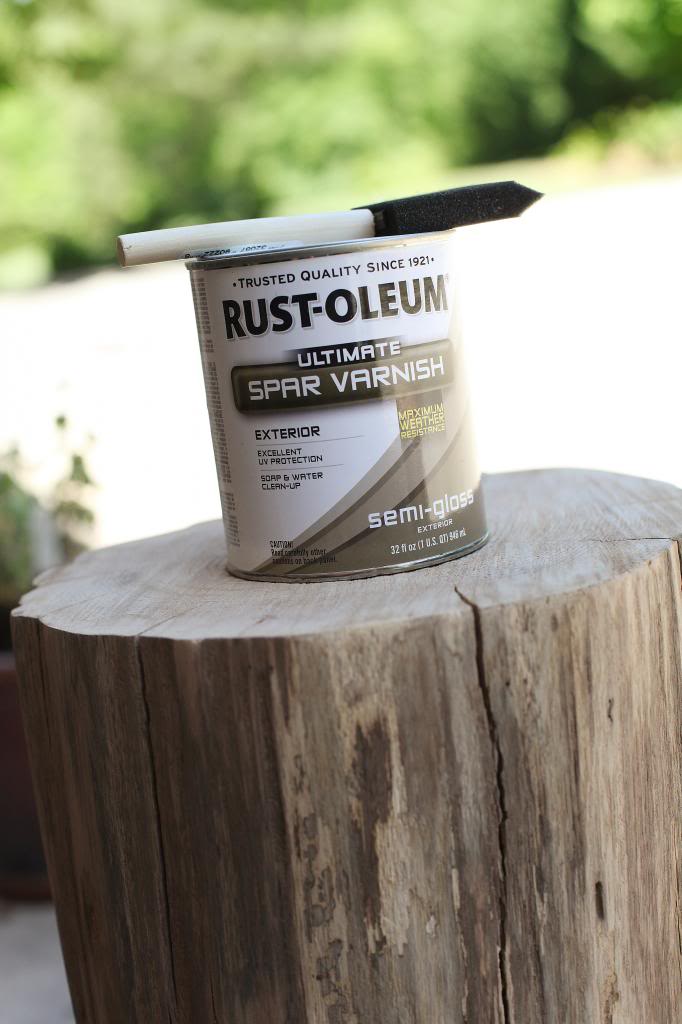
It makes the wood look darker at first…like not as gray or dry….more like it’s natural “after-a-morning-shower” type look.
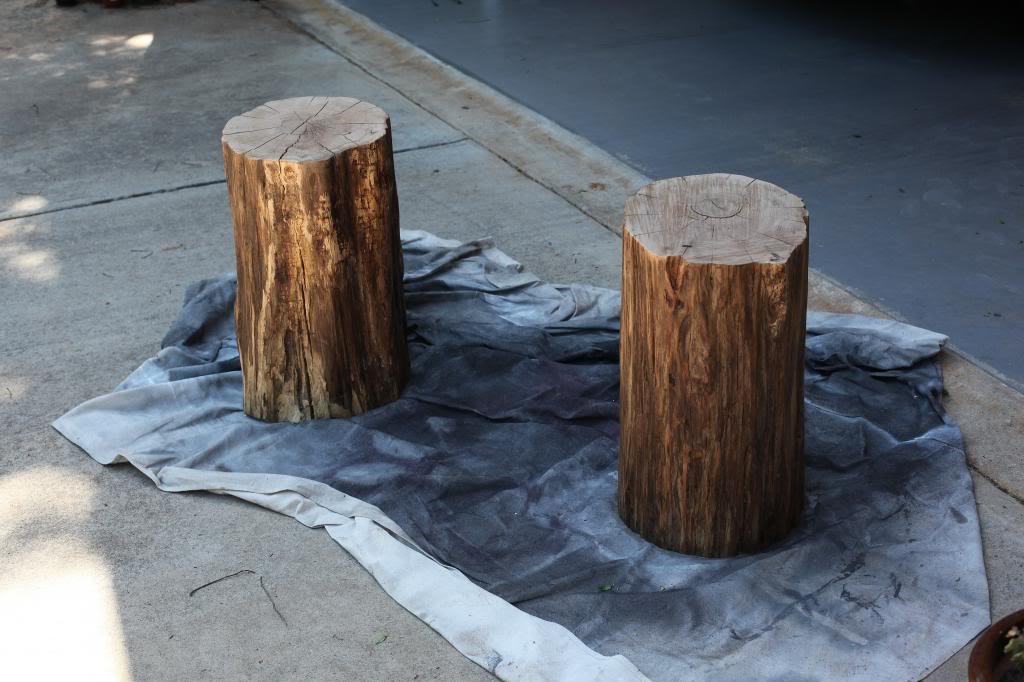
Here are both after two coats of varnish on the sides and nothing on the top. It’s pretty shocking how much beauty is in two stumps.
Then came time for the tops. After seeing quite a few with painted tops on the interwebs, I decided to do the same with mine. Of course, I wanted to use what I had on hand and this Behr Indoor/Outdoor Hi Gloss paint has been in my stock pile for a while.
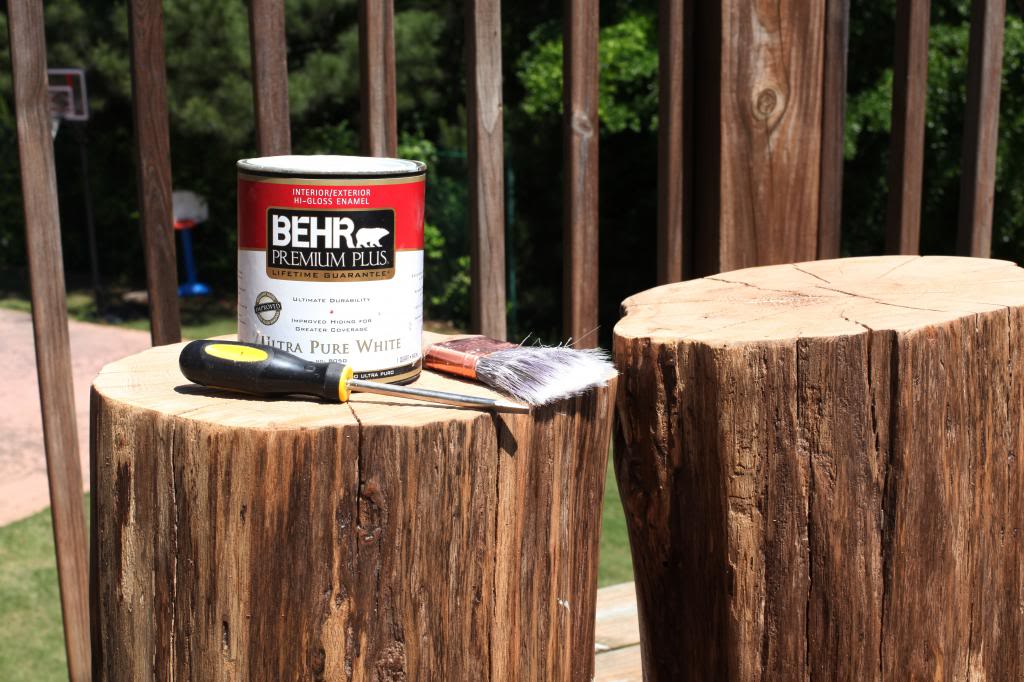
Here’s the top pre-paint…
and here she is now:
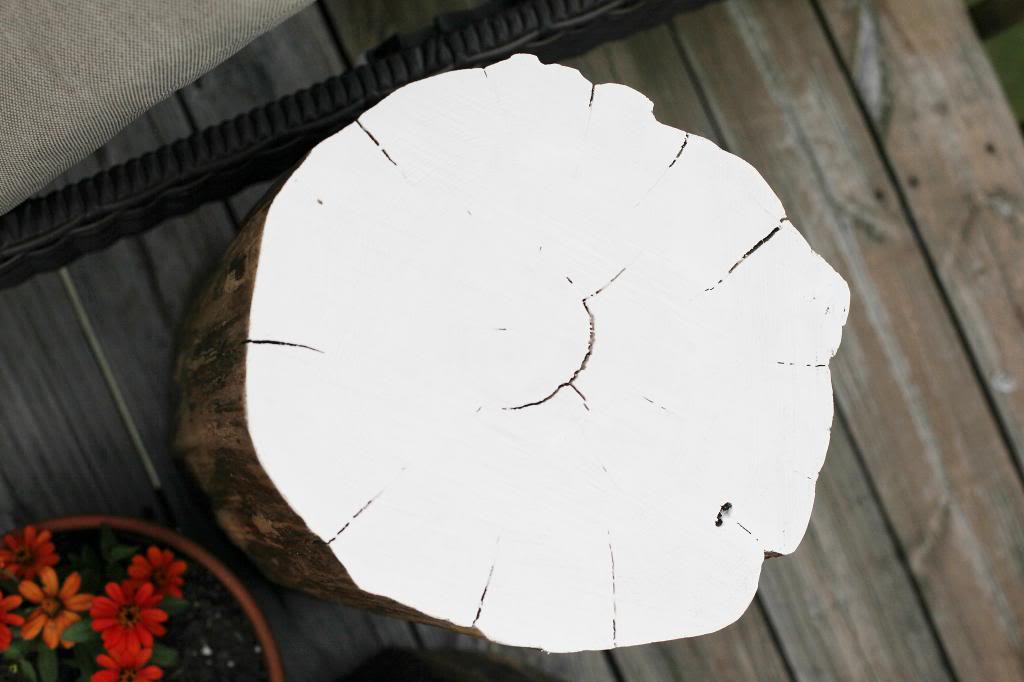
The edge was not perfect (I could always go back and sand and revarnish later if it bugs me) but for the most part, it was a fairly decent line. I didn’t tape or anything…just used a brush to stroke from the center to the edge.
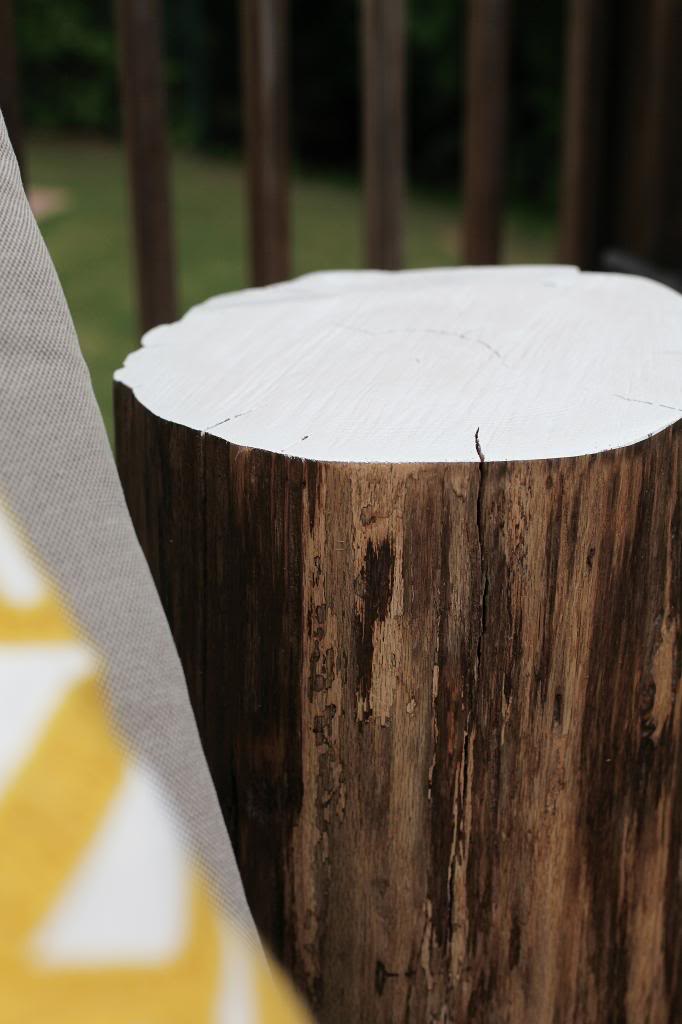
Personally I love them so so much. I think they work and look divine.
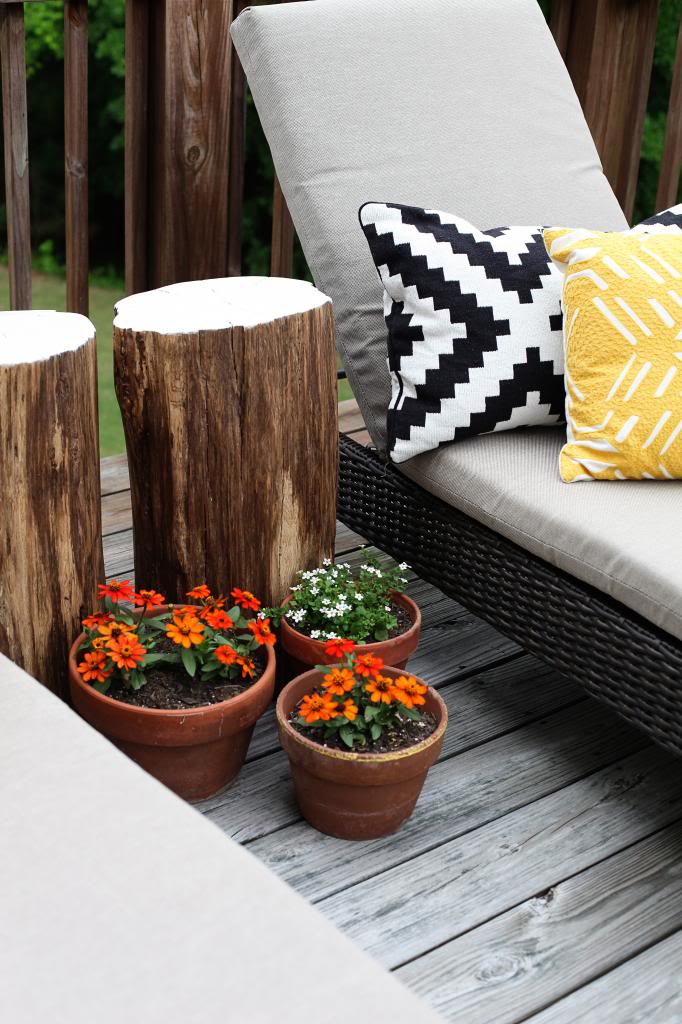
It’s perfect for a glass of Bahama Mama or a sippy cup of apple juice….and they are so darn honest looking. Is that possible? Can wood look honest? It’s just like they were always supposed to be there.
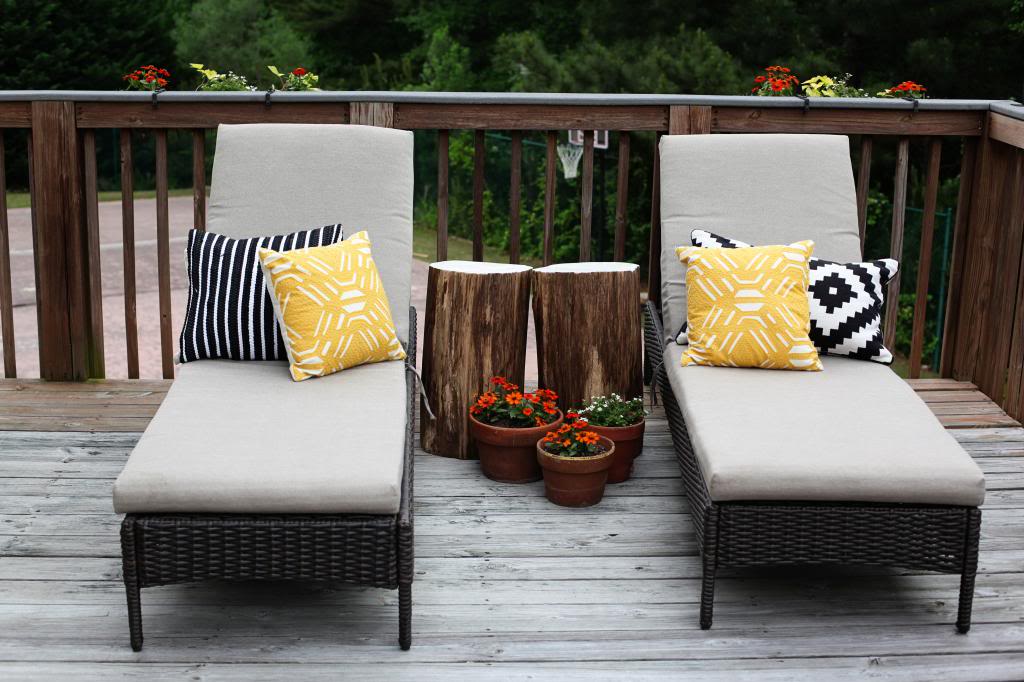
I do not recommend lifting them yourselves though…these beasts were HEAVY. I kept reciting “lift with your knees, not your back” and I still was sore.
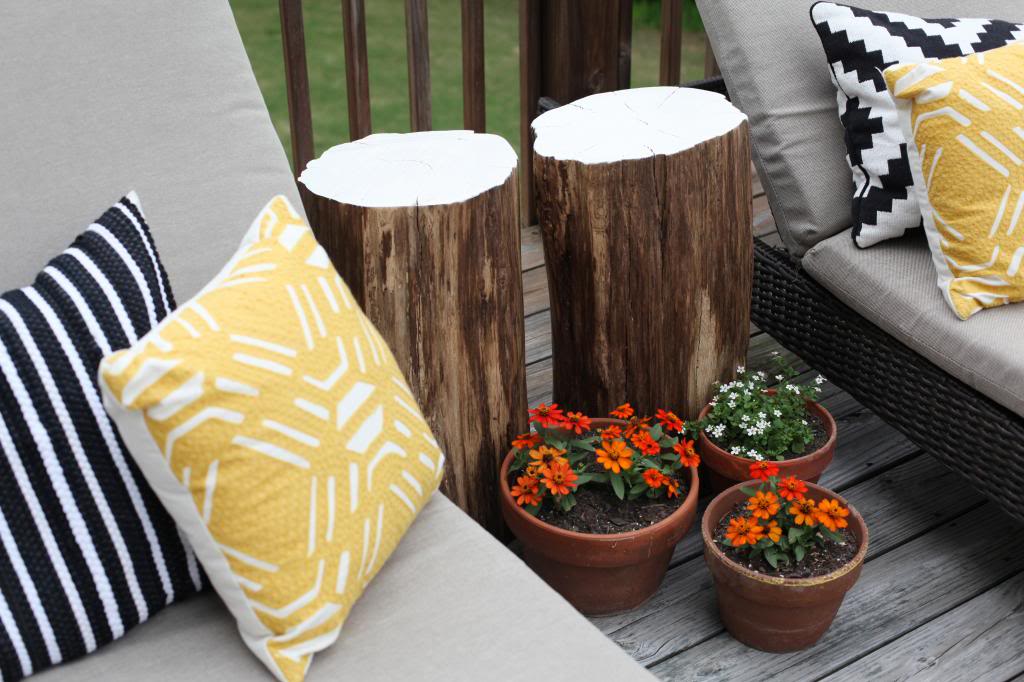
And you wanna know the best part? They were FREE! Yup. Zero dinero. No moolah. Absolutely positively free as a bird. Everything from the wood to the varnish to the paint to the sandpaper was absolutely free. Now who here loves them as much as I do!? Because honestly I don’t think that’s possible…
p.s. who is shocked I got through that entire posts without a single ‘wood’ or ‘stumpy’ joke?! ::mindblown::
p.p.s. today is the five year anniversary of this blog. holy moly. ::mindblownagain::
SUPER cute! I’m not a huge DIY-er but I feel like even I could tackle this! 🙂
Happy 5 years! Thank you!
I am doing this!!!!
I would have stabbed myself and ended up in the ER.
Yours are awesome. Would you mind just inviting us over so we can sit outside and enjoy yours instead?
Thanks in advance.
;D
Another great project Katie!
I lerve them!! Happy blogiversary!! I love your blog so much!
Love it! Perfect for little outside drink stands. Makes me wish I lived in the woods, too! 🙂
I love log tables, yours turned out great! You could add some casters to them so you can move them around easier =)
Um, does your house have a tennis/basketball court? That’s amazing.
Will’s comment cracked me up. Hopefully he wasn’t too sad when you had to move them outside, haha. I love the wood stump tables. I wouldn’t have thought of painting the tops, very clever! I recently saw another tutorial where they recommend wood filler in the cracks and I shouted (to my computer) “Nooooo! Whhyyyyyy?!” I’m so glad to know that it isn’t necessary!
More importantly, a hearty congratulations is in order. YAY!! Well done, Katie! I hope you and your family can take a bit of time to celebrate!
Ohh those came out gorgeous!! So wish I had a few trees to take down now LOL! Great job 🙂
Those are really cute tables! I like how the varnish on the sides turned out.
Love these! I’ll add it to my someday DIY list, there aren’t too many free logs hanging around on the streets of San Francisco! Love the white tops too, super cute!
Happy 5 year Blogiversary!
Happy, Happy, Happy Blogaversary!! Look forward to reading (and seeing those cutey pies) on a daily basis.
I thought you did make a “wood” joke, I actually read it “wood look divine”, then re-read and realized it wasn’t there…puns by osmosis? haha
I love this idea! These look great!
It’s a court but too short for a regulation tennis court. Jeremy wants to turn it into an everything-court…for basketball, pickleball, volleyball, etc.
And yes, it’s awesome for kids and wedding tents 🙂
xo – kb
Happy Blogaversary to you!! OMG, those stumps are sooooo divine! I wish I had those on my deck!! I love them I want them! Thanks for sharing, you are amazing!!
jealous. i want one!
i love how they’re leaning in like they’re hugging or kissing. sweet logs.
I really like this post! These look awesome! Love the white tops and never would of thought to do that but now can’t imagine them otherwise. Congrats on the five year mark- I’m relatively new to your site and have genuinely enjoyed your content thus far. cool project and love that it was free!!
These are super cute!! You’re brave, if I read a DIY that had the words “let all the critters crawl out” in it, that’d be where I quit!
I have visions of these draped in bright yellow doilies for a little bit of dress up too!
I am dying over this. I want to do this for my living room end table. I must get on the wood hunts stat. Thanks for posting this. Makes me think I could totally conquer doing it! It’d be like a John and Sherry “Dude, get on that already!”.
Happy Blogiversary 🙂 They turned out really great. You are right, there is something so beautiful about seeing that wood au naturel. I got the heebie geebies though when I saw the termite marks. Weren’t you worried about putting those stumps in the garage? What if critters decided to start munching on your house?
I love the white on top!
Happy 5 year anniversary!!!!!!! Love your stumps;)
Love this! More importantly, I love this blog! Here’s to five more!
these look AWESOME! and i agree, they totally look honest.
i’ve seen a tutorial for a log table before, and they recommended hollowing out the bottom so they’re not back-breaking heavy. it’s an extra step, more work, etc., but if the weight was REALLY a problem that might help! (i think the one i was reading, the thing was something like 300lbs!!)
oh, I wish I had a few of these guys “growing” in MY garage! 🙂 ha ha
they do absolutely look like they belong with those lounge chairs. Hope you’re enjoying a drink out there right about now.
Happy Blogaversary! How much life has changed over those 5 years….and so many possibilities for the next 5. Wishing you a future full of health & success.
Those are so cute! I love them!
Congrats on 5 years!
I LOVE these!!
haha, I was totally waiting for the wood or stumpy joke! These look great!
love your honest logs. i’ve thought about bringing some inside at my place. what type of sealant would you use in that case?
also, congrats on five years! that’s like a lifetime in bloggy-land.
They look great! Thanks so much for sharing all you do. I thoroughly LOVE your blog! Happy 5 year blogiversary!
Probably just polyeurathane 🙂
xo – kb
Termites are definitely common here. Most houses here have some sort of termite damage at one point or another. So no…not worried.
xo – kb
Love this! They look awesome on your deck/patio. Also happy blogiversary!!! Cheers to five more 😉
Happy 5 year anniversary! So exciting! The side tables look fantastic. You’re right–very honest indeed. 🙂 Hope you’re having a great week, Katie!
~Abby =)
I freakin’ love this
I’ve heard of people drilling out the inside (from the bottom), so it’s like an upside-down U. That way you still get the solid top but it’s a lot lighter to carry/move. Have you thought about doing that?
I really like this log tables. I’m thinking of doing this myself for our patio here in Austria. We have a lot of great Tree stumps waiting in the garden, but this six months dry out period…
Thanks so much for sharing! I fallow you around for four years now and I really LOVE your blog! Happy 5 year Blogaversary!!
Happy Anniversary! And those stump tables rock. I’m now hoping a tree falls down in my backyard (away from my house of course :o)
I love that you recite “lift with your knees not with your back” while you are working…I TOTALLY do the same thing!! It helps to remind yourself…and clearly it requires an out-loud reminder
~ J
Congrats on your five year blogaversary! I just recently found you and have been loving it. I now have 5 years of back posts to catch up on!
Oh this is great! My Dad just recently poured a stamped concrete patio for my husband & I in a slate green finish. These would absolutely finish the patio! Have to send the husband to the woods! 🙂
Happy anniversary! I think I started reading you in 2008, but I didn’t realize I found you when the blog was so young. Loved you from the start!
Happy Happy Blogiversary!!!!!!!!!!! Did you realize that wood is the traditional gift for the 5th anniversary or is it just a happy accident that this post on stumps went up the same day?
This project makes me think of my parent’s stump table at their camping spot. Except for them it’s a stump that is still in the ground from where my dad cut down a tree and he just nailed a piece of plywood on top to make a side table for their morning coffee. Gotta love redneck ingenuity!
Oh my goodness I LOVE these!!! Great job and thanks for the inspiration!
SERENDIPITY!
xo – kb
SOOOOO COOL! I love them 🙂
annnnnd HAPPY FIVE YEARS BOWER POWER BLOG!
Love this idea! We were planning on doing something similar in our backyard (amazing how long those logs have to dry out… I read up to a year somewhere) and I LOVE the idea of white or a solid color on top! Beautiful job.
Haha Love It!! 😀
Love the “honesty” of these side tables. And congrats on your blogiversary!
I’ve been thinking about doing this and you make it seem simpler than I thought it would be so thank you 🙂
Happy Blogaversary!!! Love the stumps! I would love to do that but all of our (4 trees) are still alive and kickin. How do you keep your cushions and pillows from fading and rotting outside?
We bring them in over the winter and they are supposed to be water resistant. I just tip them on their sides to help the water drain out and then if I know a big rain is coming and I have time, I’ll bring them in.
xo – kb
Love your stump tables! I have a nice log (stolen from the park down the street under cover of darkness… shhh, don’t tell) waiting in my garage also. After three months it may just be time to tackle that project now. I had scoured pinterest for tutorials, and cobbled together enough of an attack plan, but leave it to Katie Bower to put out a solid, comprehensive post on the subject. Thanks! And a very happy five year anniversary to you 🙂
Do it! Do it!
xo – kb
I had stumps just like these… complete with termite holes. I had about 12 of them that sat around a long kids table in our backyard. But the termites got the best of them and they started crumbling. Hope that doesn’t happen to yours! if you have a gigantic freezer try and freeze them!