Coffee table makeover! AhhH! Get pumped! Get stilettoed! Get your clothes off and run around!
(ok don’t…especially those of you at work. I’m not sure you could explain that one easily.)
And no I have no idea what get stilettoed means. It just came to the ole Bower brain and now I shall say it forever.
Back to the point…coffee table makeover. When we were kitchenless, I spent a lot of time in thrift stores. I was a regular. It was like Cheers when I walked in…everybody knew my name. And one time I was in one of my favorite stores (it was Park Avenue Thrift on Highway 29) and they had their furniture marked 50% off. That is like dangling money in front of Donald Trump….the kid is gonna go rabid. This orange and hunter green creation was originally $20 and I hustled my stroller with my pregnant belly over there to squat it before anyone else could.
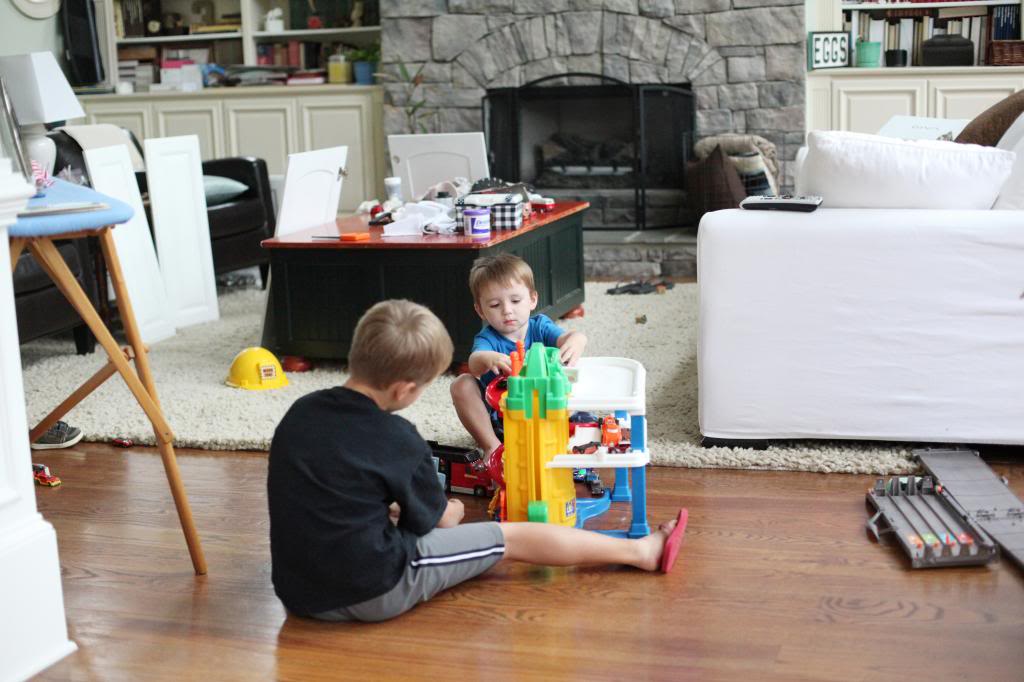
I waited a while to make it over….simmering on it…making sure that it was the right size before I invested any time. I’m extremely lazy like that. I knew I wanted a two-toned look…kinda like my kitchen table (which is in the same sight line if you are in either the kitchen or living room) so I got to working…first sanding the top…
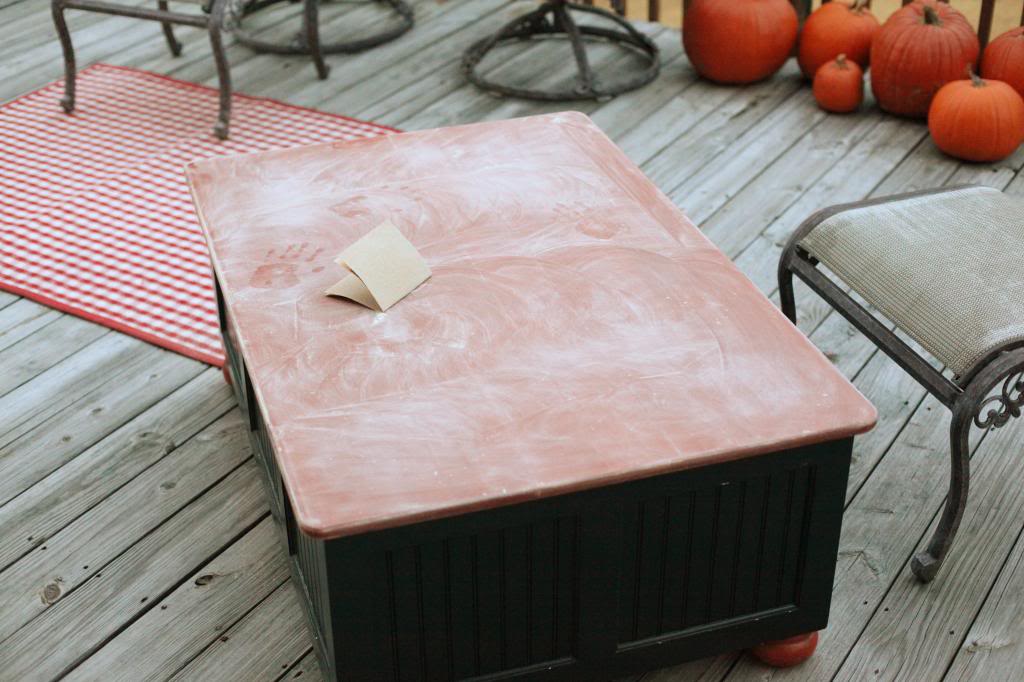
I just used a medium grit sandpaper to rough up the surface (wanna have some grit for the stain and paint to cling to…kinda like a mountain climber…you don’t expect the little dude to shimmy up a rock with no crannies) and wiped the entire surface down to remove any dust.
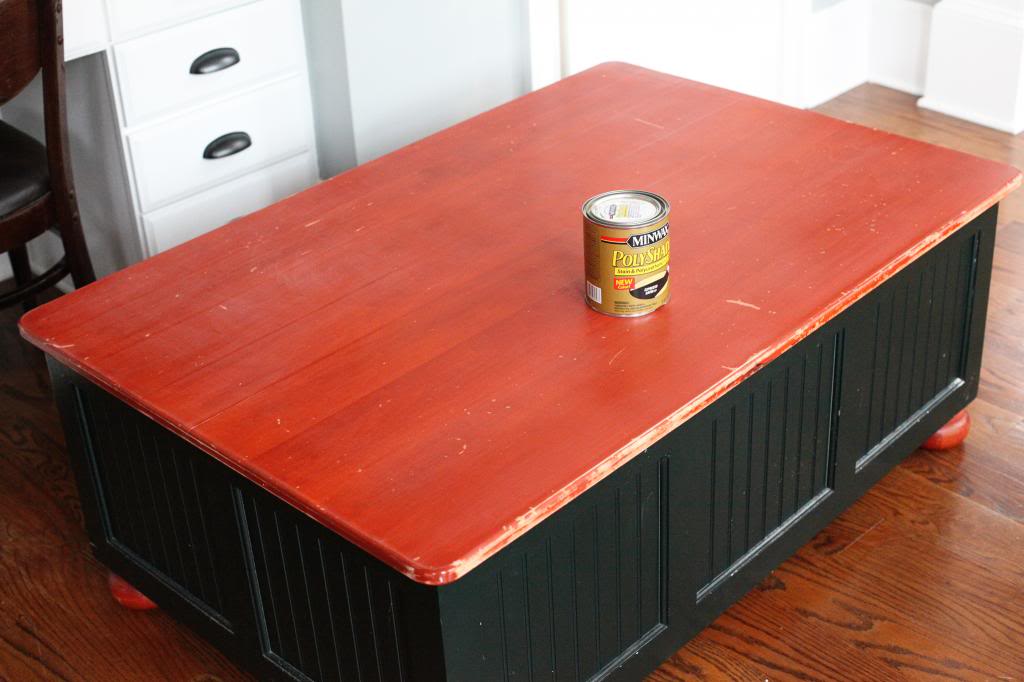
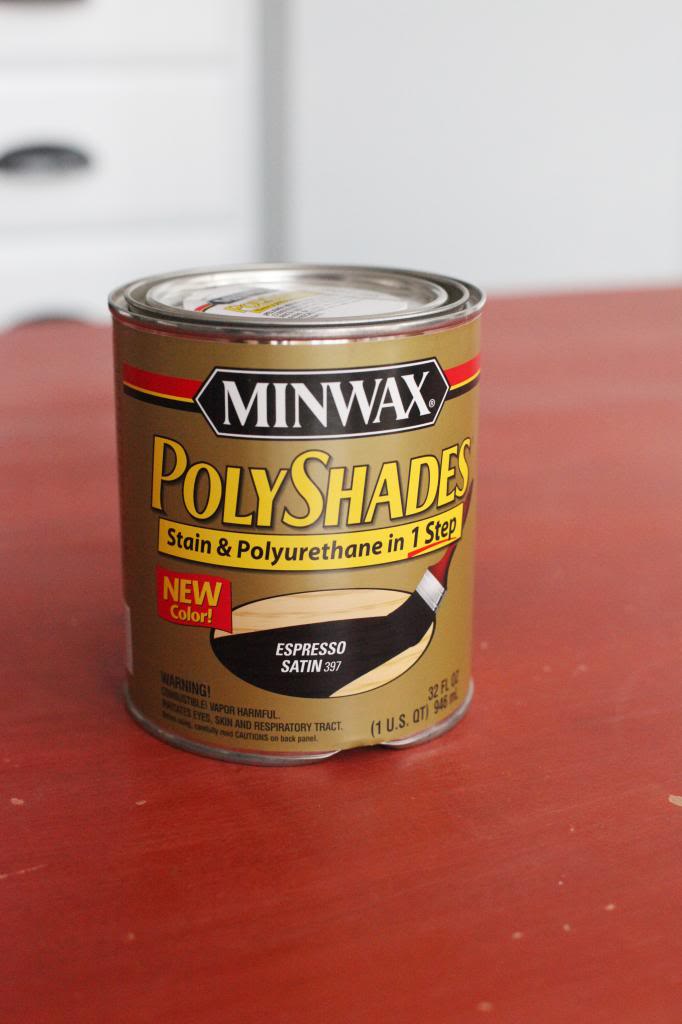
I love a dark dark top and the easiest way to get it is to use PolyShades. This is a polyuerathane with a stain in it….so it is ultra easy and fast…the only complaint I have about it is that you have to use foam brushes (which is extra cost) or clean your normal ones with paint thinner each and every time (tedious and time eater).
The key is to apply it in small segments really thin and quickly. I did about a square foot at a time and then once I got all the way across the length of the table, I took my sponge brush and dragged it lightly across the whole thing so that the grain looked continous. Here is how it looked after the first coat…
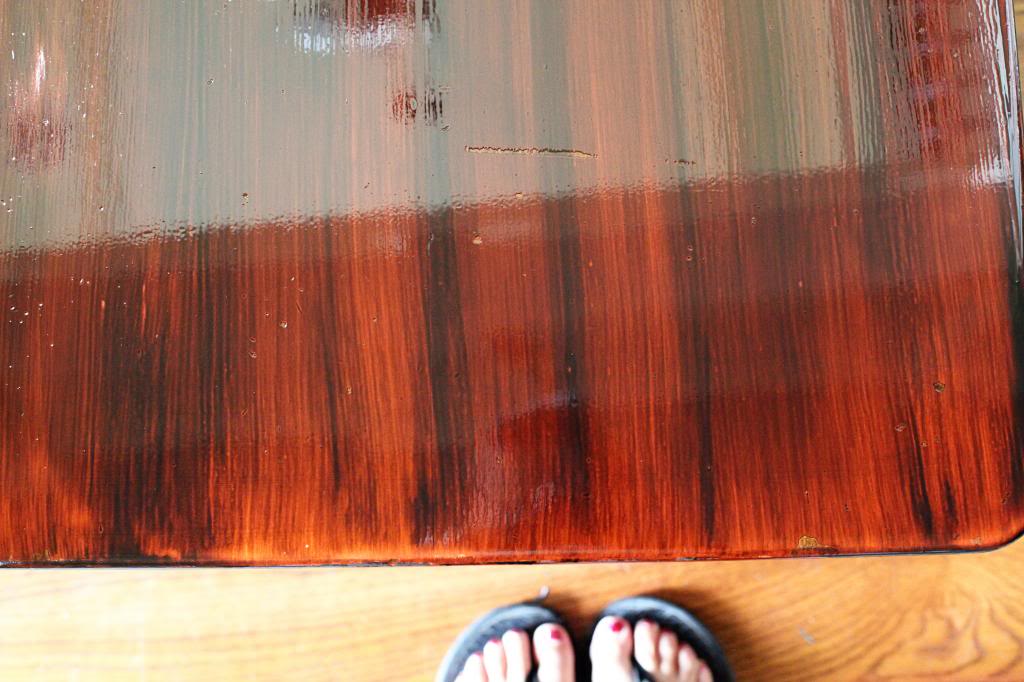
Yes, there were some slight flaws in the top…but let’s be honest, that doesn’t bother me enough to sand it down because I have two little boys and a boyfriend who believes in rowdiness.
Here is how it looked after two coats…
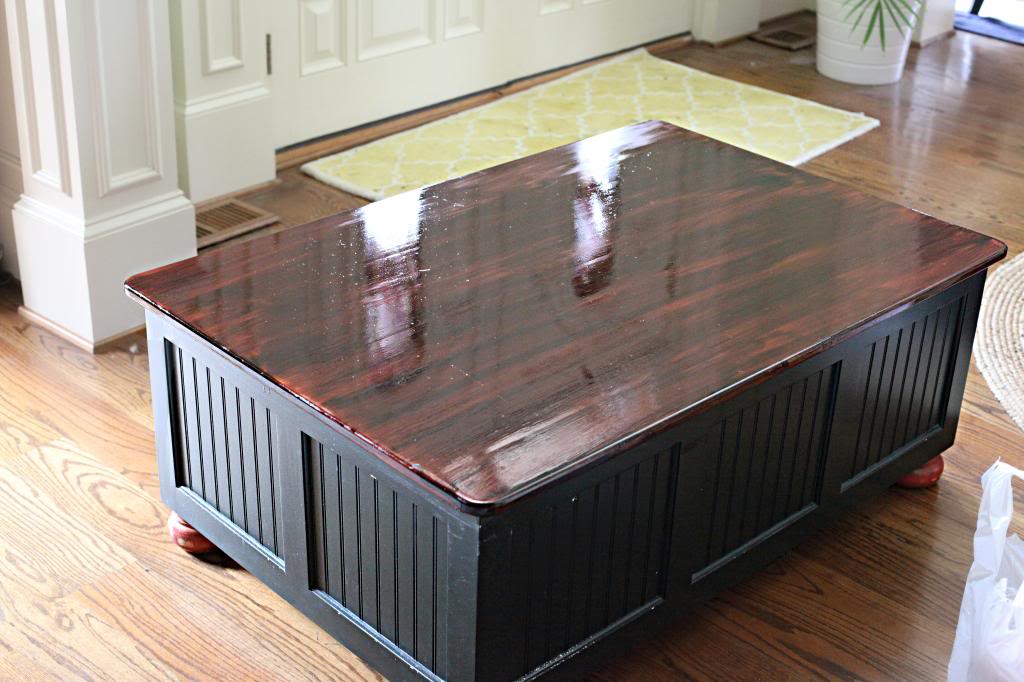
and here it is all complete. I had to do four coats on the top for complete coverage.
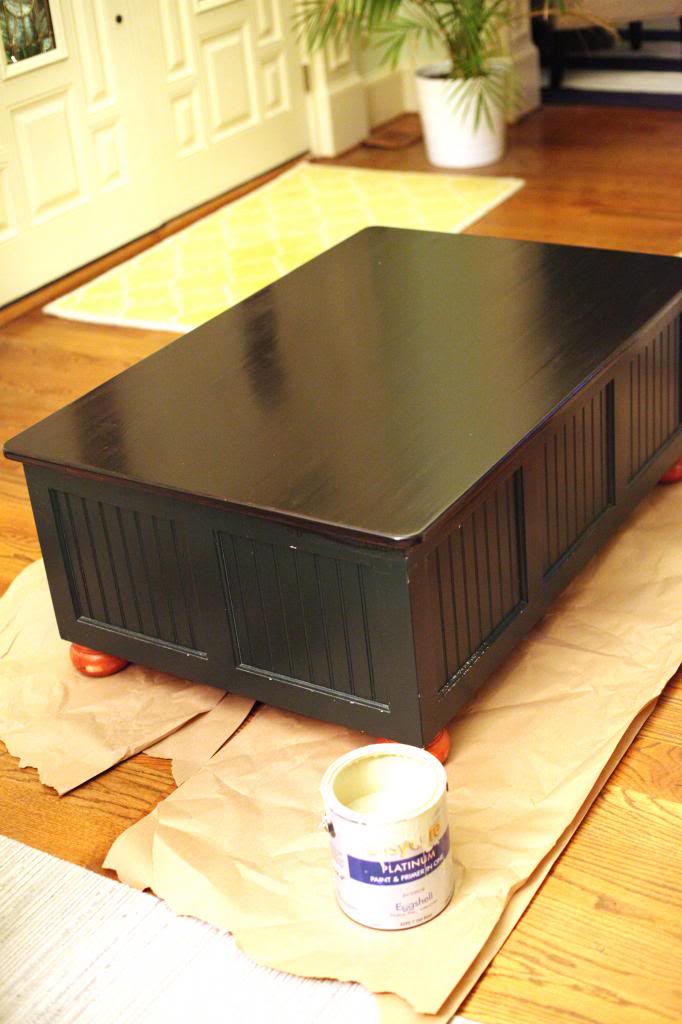
Then came time for the sides and feet. I didn’t have any primer on hand so I just grabbed some old paint and primer in one from our basement (it was the color of our basement walls) and used that as the primer instead.
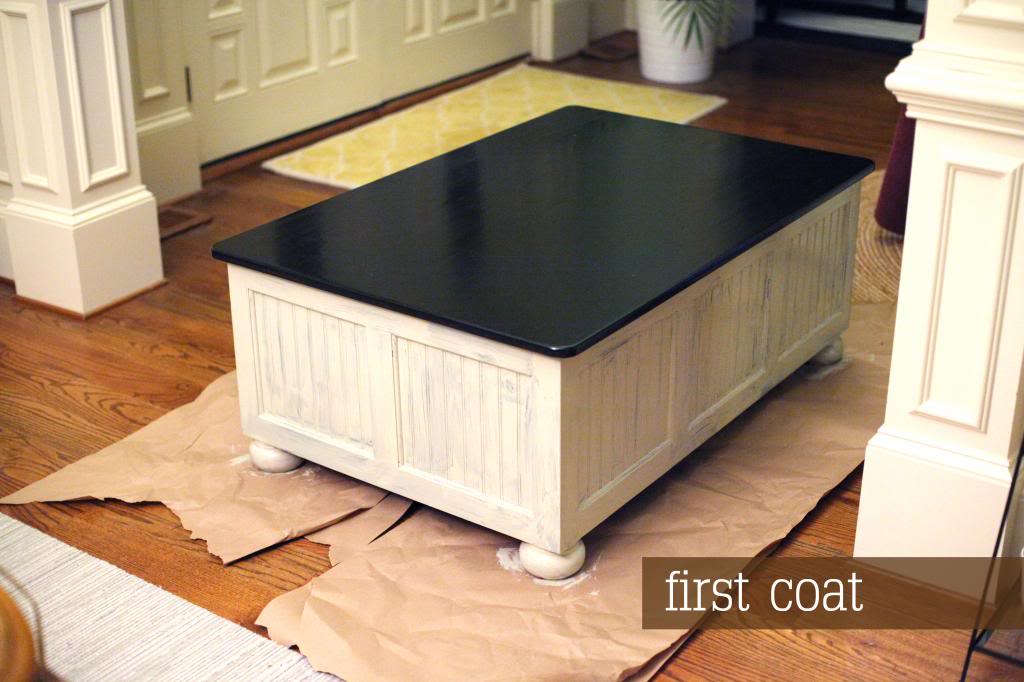
Then I went over with two more coats of the same white that I used for our trim…it’s just ultra bright white base from Valspar…
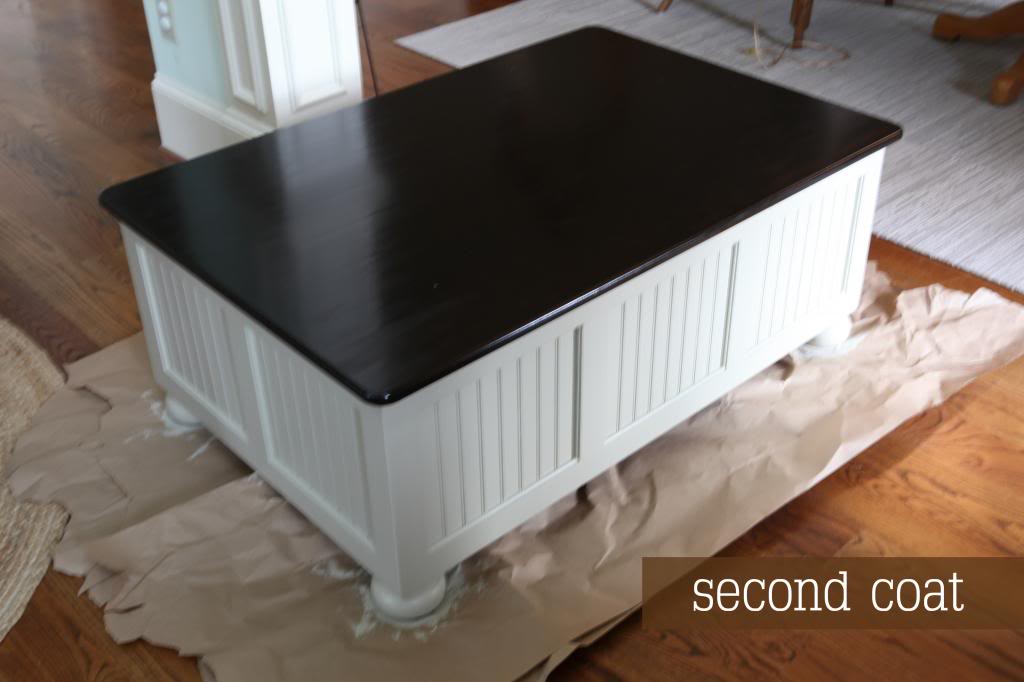
And now she looks like this:
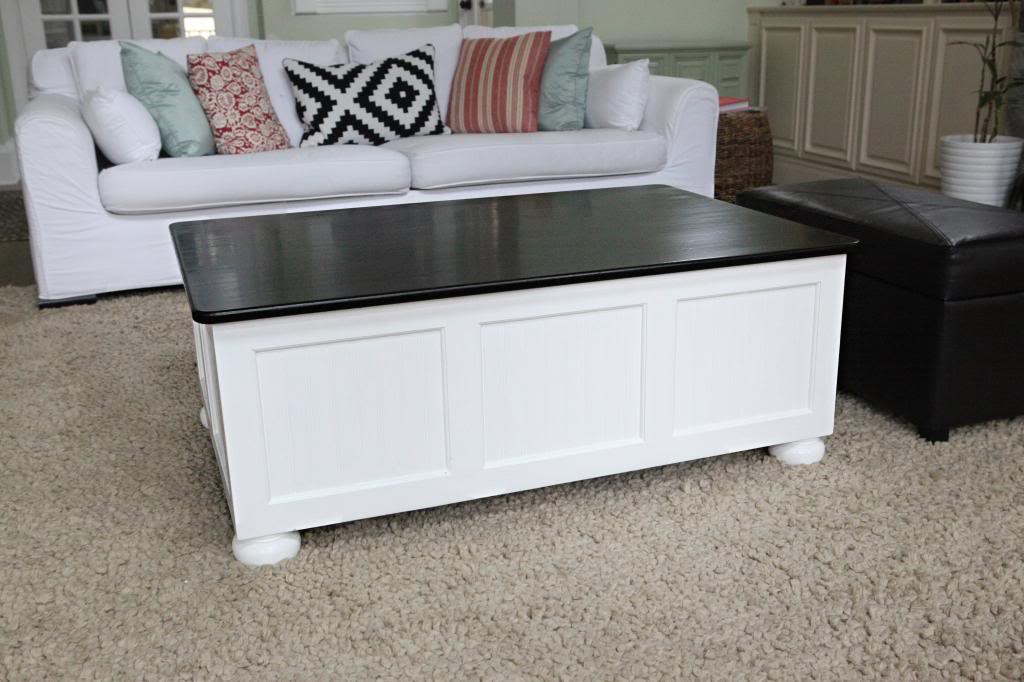
I’m thinking of glazing it to make the grooves and the details pop a little more. Plus, I think that it will look more intentional when Will scuffs up the pristine white sides.
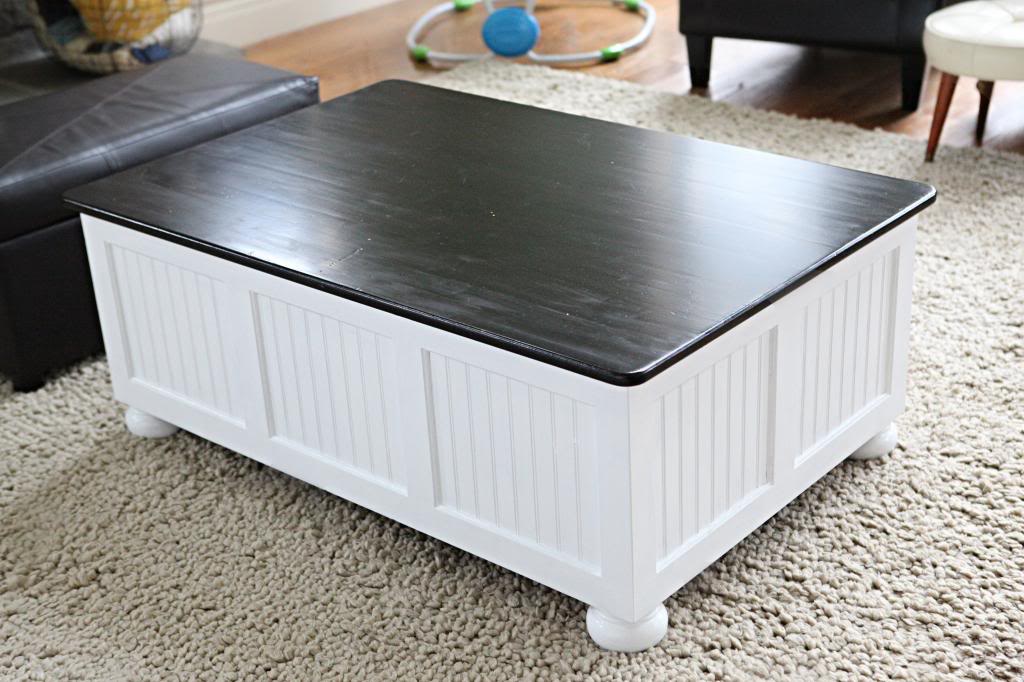
All in all, it took me about a week to make it over…just simply because I could only do one coat a night…but each PolyShade coat only took ten minutes and the sides only took me about twenty. So a total of two hours invested in this makeover.
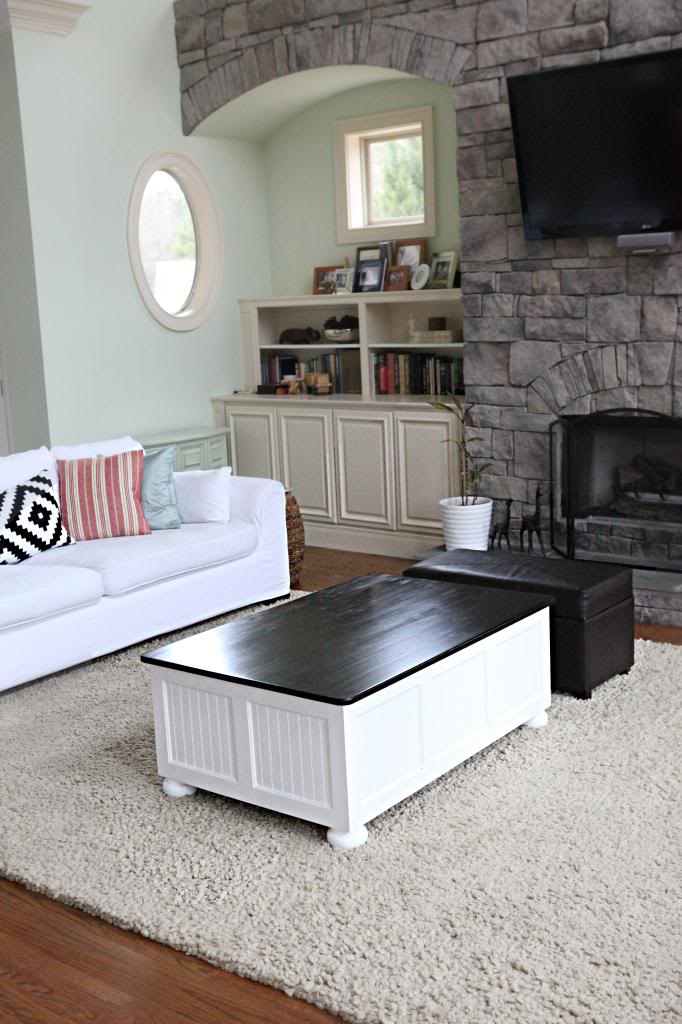
Ready for the side by sides?


Not too shabby, huh?! I’m totally stilettoed over it 🙂
p.s. you guys asked for a fabric flower tutorial…it’s coming…probably later today if I can get the boys to behave 🙂
Update : Looking for more info on something you see in our house? We have a Shop the Bower House page with paint colors and links to accessories, furniture and decor!

WOW, Katie…PERFECT!!!
Love it. I don’t know how you do these things with a newborn and a toddler. I haven’t taken on any projects that required opening a paint or stain can since I got a yellow lab puppy a little over a year ago. Unless paw prints across the hardwoods becomes a new trend I still have a few months to go!
Love how it turned out! The two tone is fabulous I mean stilletoedlous!
AWESOME job! I want something similar in my family room but I cannot find time to thrift shop! My son was born just a few days before yours, but I also have two others and have just returned back to work. 🙁 Is there storage in that bad-boy??
I like it! Looks really good. I might use that inspiration for some end-tables I have on my wish-to-do list.
Wow! I love it! That doesn’t even look like the same piece. Great job.
This looks great! Well worth the two hours you put into it! I can see it doubling as a train table too! (At least that’s what it would become with my little guys, lol!) Happy Friday!
~Abby =)
I love that so much! I love that you saw that through the eye watering paint. Nice work!
looks amazing!!
did you get new slip covers for your sofa too?
xo
I got stilettoed once, it hurt real bad…. In fact I dont want to talk about it. What I would like to talk about is PolyShade which I had not heard of before but now want to purchase and use immediately.
It looks awesome! I love the contrast of dark and white.
You got me with the “stilettoed ” at the end of the post. Totally just snorted cherry coke zero out of my nose. Thanks for that 🙂
All the white makes the trim in your house look even more tan than before. I’m wondering how much longer you’ll hold out before you paint it. Taking bets now! lol
Great job!! I love the two tone look. I wonder how it would look on our oval shaped table. Hmm, maybe I”ll try. Worst case scenario, I can just paint over it.
WOW! LOVE this 🙂 Came out awesome.. If you find another one can you refinish it and ship it to MA? KTHXBAI.
What a great piece — especially for $10 and a couple of hours work! I’m curious, it’s pretty substantial looking, does it have hidden storage? I didn’t see any hinges.
Great job on this table! What are some of your other favorite thrift stores in/around the Atlanta area? I’m relatively new to the area and it is difficult to determine where to find the good ones! I’m not afraid of a little driving time either. Any suggestions would be amazeballs! 🙂
I love it! What an amazing transformation.
Love this! I’m planning to make over our coffee table this summer. I pinned this so I remember to look back at your ideas 🙂
So Nice! Looks great katie!
Btw, are y’all going to continue the white painted trim and cabinets over to your living room too?
Katie, you amaze me with your energy! It looks great!
Hopefully! It’s just slow going because it takes so long to get anything done with two little guys!
xo – kb
It doesn’t but we’ve been brainstorming ways to make it extra storage!
xo – kb
I basically hit up thrift stores and Goodwills. Most of the Salvation Army’s are a little too pricey for me and I will try any thrift store at least once 🙂
xo – kb
Seriously.
xo – kb
Nope – still the original ones. I don’t think they make that sofa anymore so I’m kinda outta luck.
xo – kb
It’s awesome. I think it came out this year.
xo – kb
There isn’t. yet. I have Jeremy brainstorming ways to finish it to store all our extra pillows 🙂
xo – kb
Very nice transformation. I liked it even with only 1 coat of white on it.
Question: Why is the title of this post coffee maker? 🙂
It was supposed to be Coffee Table Maker but then I got tired and forgot to fix it.
xo – kb
This looks so cool, Katie! I used the same Minwax Polyshades on a coffee table too but ran out before I could get it quite as dark as yours. 🙂
http://annebronkema.wordpress.com/2013/01/14/dark-stained-wood-furniture-in-which-anne-composes-an-elaborate-story-around-kens-fictitious-thoughts/
LOVE this!! What a fantastic project. It looks so sturdy and solid, and the two tone look is gorgeous! Great work 🙂
It looks awesome! Great find!
Looks great! The black and white pillow also caught my eye. Where did you get it?
Hahaha, the title totally confused me and I thought you had a table reserved just for making coffee and you were making it over!
Queen of Hearts is a good one to scavenger around. There’s one in Buford near the Mall of GA that I frequent, and they also have one in Alpharetta & Marietta. I’ll have to check out Park Ave Thrift..never heard of it!
Love it! It turned out GREAT!
Ikea 🙂
xo – kb
Love this makeover. What an awesome find. I totally know how you feel about the 50% off at a thrift store. It seems like things just fly into my cart. It’s heaven!
Katie, I just love how bright and cheerful your home is! It is absolutely beautiful. I’m slowly transforming our home into one with more of a coastal/bright look (as quickly as my husband will allow! LOL!) WHY did all builders in 2007 make everything from tile to walls to carpet from shades of brown??
You read my freakin mind!! I have almost the same table, except it has drawers and it’s orangey all over. (barf) I have plans to stain the top dark and paint the base white but you beat me to it! But that just confirms that I like the look of the finished product, so that’s totally OK!! I agree tho, the grooves need a little highlight of some glaze. Woot woot! Go, team table!!
Lerve it! Way to go!
You never cease to amaze me, Katie!!
Well done, Katie! It is absolutely beautiful!
Good work! That looks so. much. better. Thrift stores finds are the best!
This turned out great!
Love a little furniture redo.
http://happinessiscreating.com/
Love it. $20 well spent!
We have a coffee table from West Elm that slides open for storage. Not sure how that would work with little ones, but just another idea for the brainstorming.
Gore-jus! I’ve been pondering / obsessing over how to paint our in-the-works coffee table, and now I know! Love, love, LOVE it!
That turned out really nice! And I love those small/different shaped/curtainless windows! So unique!
I have seen that PolyShades stuff in the stores, but never talked to anyone who had used it. I think it may be exactly what I am looking for. So, you didn’t have to sand down to the bare wood — just sanded enough to rough it up a little?
The table is absolutely beautiful. I am loving the two-tone look right now as well. Dying to try this with my kitchen table, but I haven’t convinced my hubby yet. He did say I could try it with our hand-me-down China cabinet though, and then we will decide about the table. I am going to show him your post so he can see it, too. 🙂
Correct. It’s like paint in that respect…you don’t have to strip it. It can go on top.
xo – kb
Love it!
Katie, what are your thoughts on milk paint or chalk paint for the white part then distressing it? I know to save money you used what you had on hand, but would you consider either of those paints if you had them? Have you used them before? Thanks, Stephanie
I love it! I wish we had more thrift shops where I live. I can never find good furniture here. But, my thrift shops do have some awesome clothes. I would say 90% of my wardrobe is thrifted.
I love the coffee table, and I love, love all the posts you have been doing. Yours is absolutely one of my favorite blogs. I have a quick question for you. Is that basket end table at the side of your couch the basket that is currently selling at target? I have been eyeing it for awhile now. I love how it looks in your space. Just curious!
I love the fact that there is no sanding involved – it looks so good. Our kitchen table was built by my husbands great-grandfather. Its awesome but needs to be stained/sealed – I have been afraid to do anything to it. I’m going to have to look into this stuff – it could be the ticket.
Katie, it looks gorgeous!! You did a great job and it looks perfect in that room.
Okay, this is brilliant. We have a dining room table that we stained last year and it looks terrible. This is exactly what I’d like to to it for attempt #2 at beautifying it. Thanks for spreading the wisdom!
You do have to sand. Let me just make sure you know that. It’s necessary for the polyshades to stick…it just doesn’t need to be fully stripped.
xo – kb
hmmm…well, personally I have not used milk paint…my mother came across milk paint WAY WAY back in the day (I think it was original milk paint – the kind that is only removable with lye) so I’ve not been interested. Chalk paint I have used in some small applications…but not for a piece of furniture. From everythig that I’ve read, it seems to be very cool because you don’t have to sand and it’ll apply to a ton of different materials. The uncool part is the money and the fact that you have to use wax. I’ve heard that the wax can actually be soft and hold dirt and you can’t repaint over the wax. Pros and cons.
xo – kb
I got mine at HomeGoods….haven’t yet seen the Target one!
xo – kb
Would you recommend the PolyShades for a whole kitchen table redo? I’m wondering how durable it is…
Probably not and here’s why…if you have even a speck of dust under the PolyShades, it could chip really easily and the entire color would come off…where as with a stain and separate poly, it would not. A kitchen table surface sees a lot of wiping action and so your chances of chippin some little bit of dust would be higher.
xo – kb
Katie you are so thug! Your song references make me giggle 🙂
Amazing Carpentry project. I think DIY people will go nuts over this. Its interesting how you can walk into a thriftstore (at least the ones here in Los Angeles) and pick up some old furniture and take it home and put in some work and get something amazing like this. Good Job
yes, I accidentally used polyshades minwax Gloss , but I really like the satin , i used three coats on my table and letting now to dry more …. would I be able to add few more coats with a satin finish to get the look that I really want ? or satin won’t work on gloss ? thank you
Hmmm…not sure. I would have to research that one.
xo – kb