If you are wondering what this post is about….it’s about caulking. Phonetics are awesome, right?!
You guys know that our kitchen backsplash is my very favorite thing in my house right now and that we spent a ton of time and effort installing it (you can read about how my 9 month pregnant belly got tiling done here!). But when we installed our range, there was a lot of vibrations from cutting the granite countertop. It made the grout between the backsplash and the counters crack. Enter the caulk.
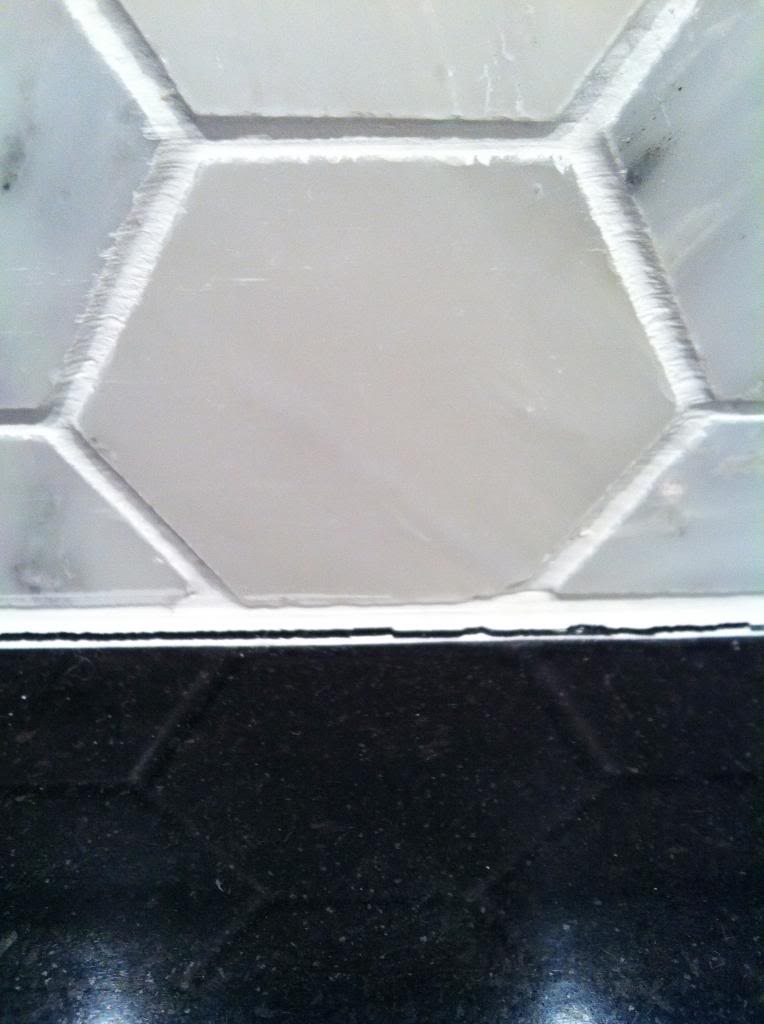
You can barely see it in most photos but it was there. A hairline crack in the grout line right above the counters begging for bacteria and dirt to hide inside.
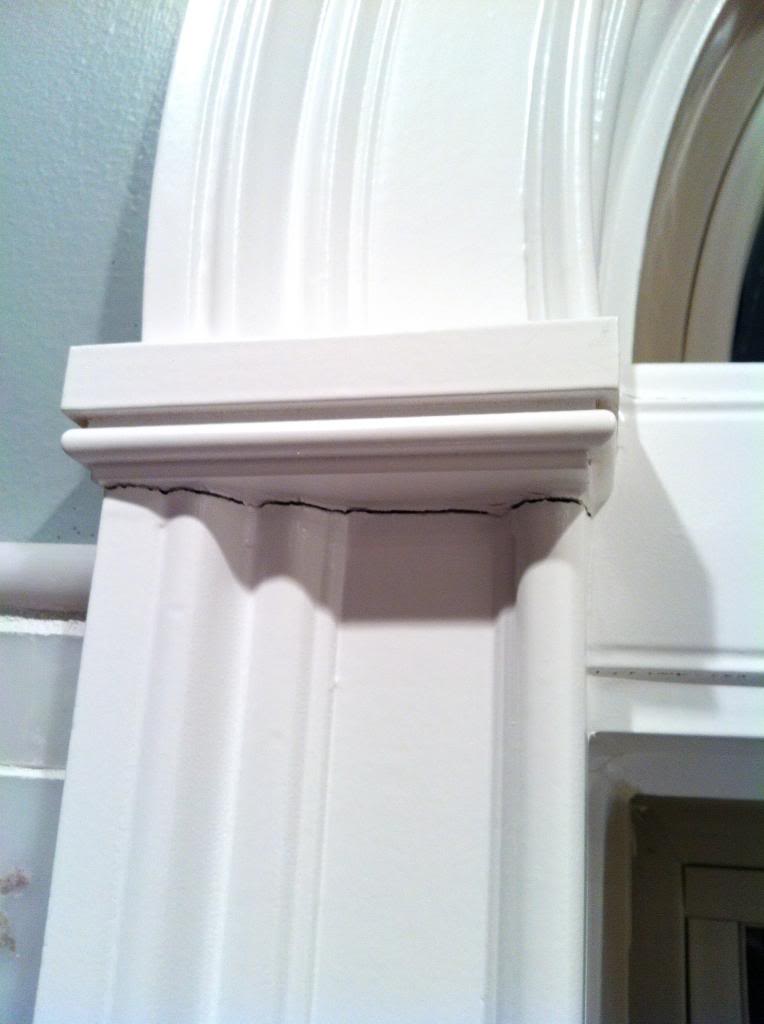
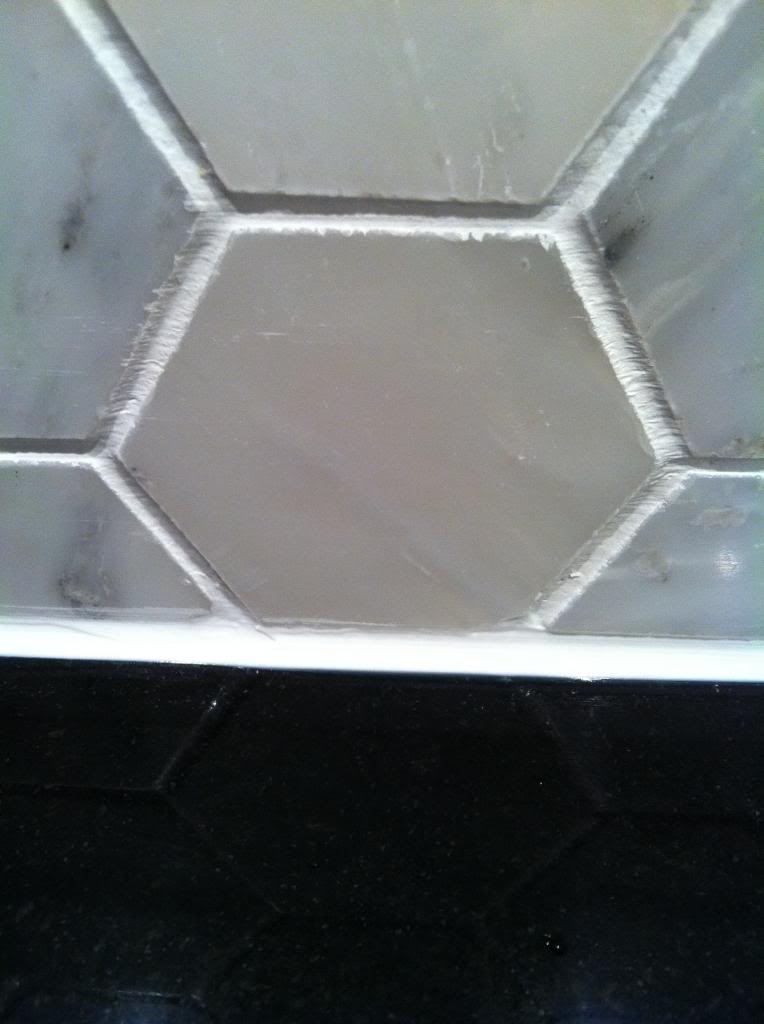
Here’s a closeup. Yup – more cracks than a Saturday Night Live episode. Oh and yes, the rest of the molding had little cracks here and there too. Not pretty.
My method for caulking is really simple. First I get a bowl of water and a big wad of paper towels. Using the appropriate type of caulk, I apply a thin line in two foot sections right into the crack. Then I use a wet finger at an angle to simultaneously wipe and press lightly. There will be excess so wipe that into the end of the line extending your section. Keep your finger wet. Smooth if necessary.
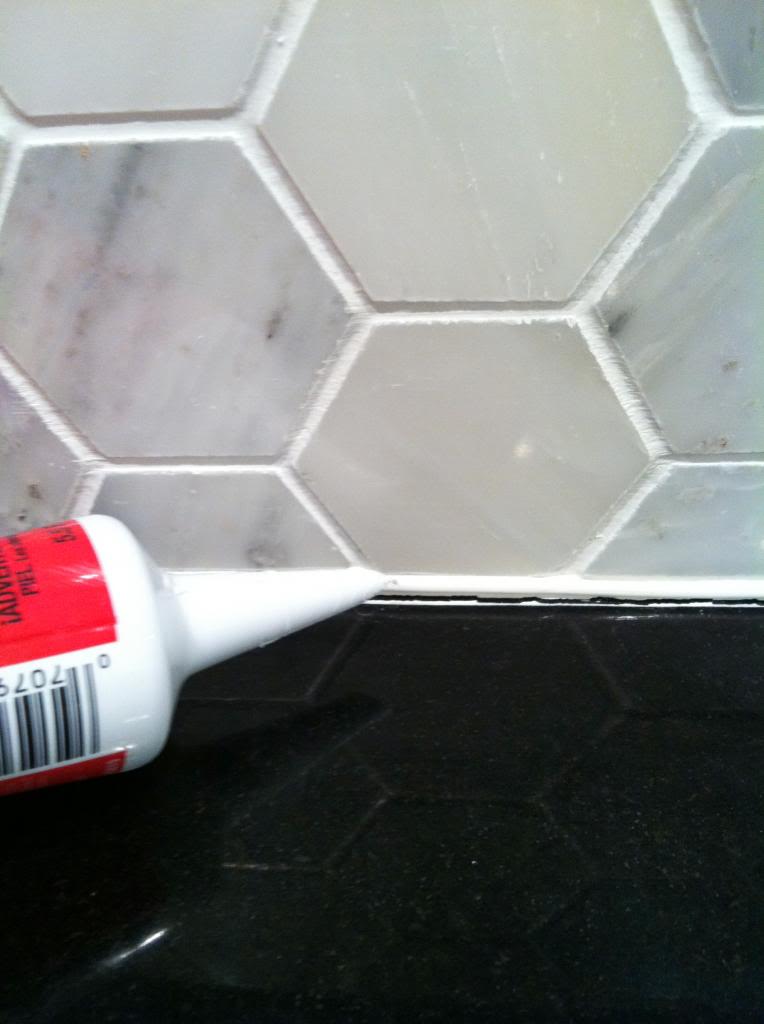
In the end, your grout line will hide a multitude of sins. It’s like Jesus’ blood in that respect.

Now you may remember from our last kitchen post that we have put in a new gas range. I love it. like forever ever. It boils water in three seconds. Okay…I might be exagerrating. But apparently there are no english words to describe my celebratory dance moves when I use the new stovetop. The closest ones are speechless and seizure and salmon-like.
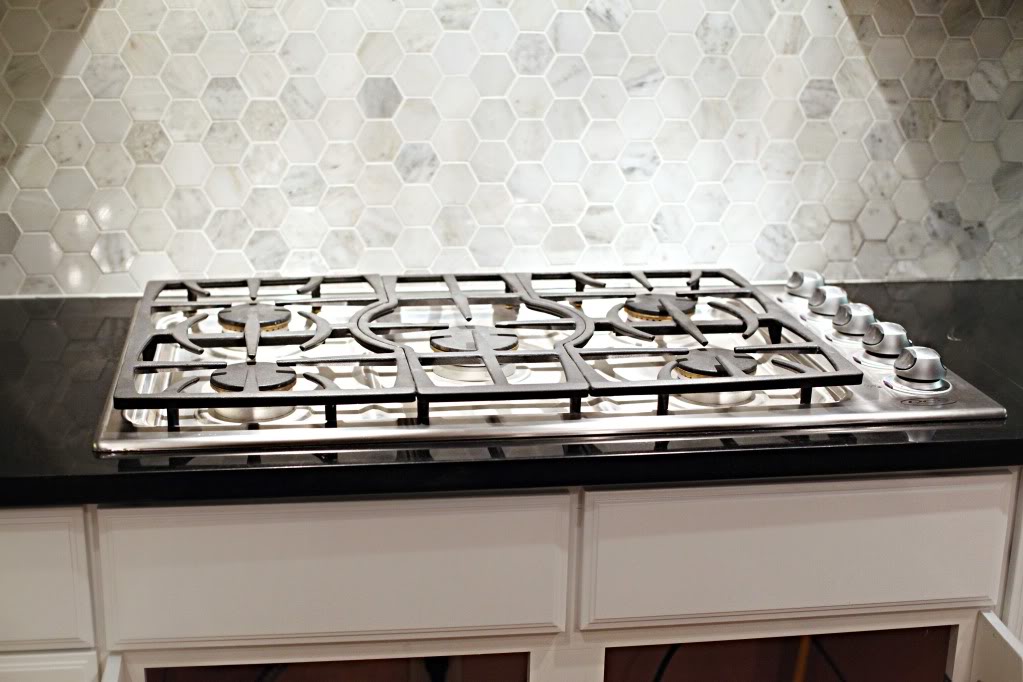
During the installation, we brainstormed ways to fix our little issue with the new stovetop…the gap in the back. Since the existing opening was slightly too deep, we had the new stovetop sitting on three sides of the countertop and the back had a quarter inch hole and the stove was left unsupported.
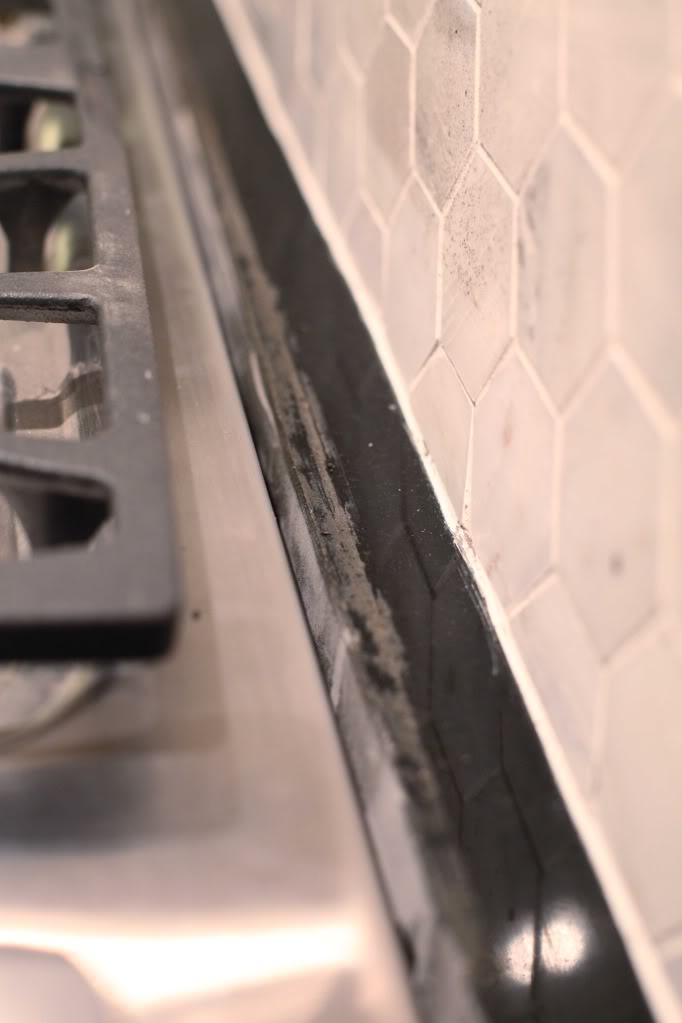
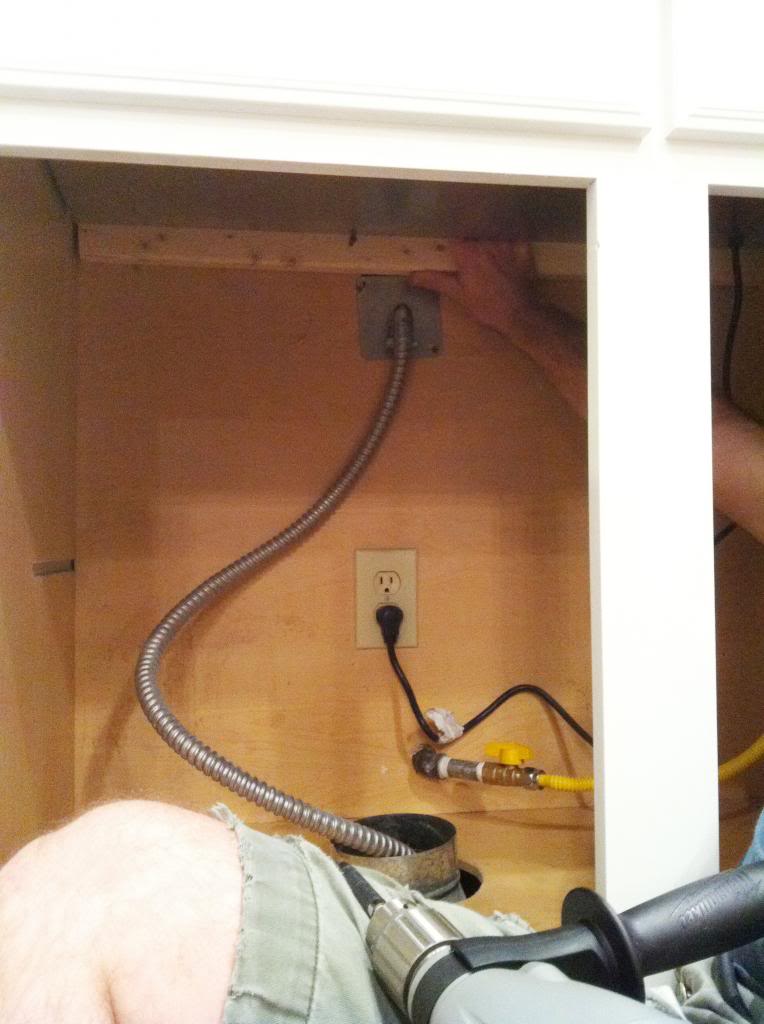
Jeremy used a 2×4 cut to length to slide up from the bottom to support the granite and the stove. The wood got screwed directly into the studs (through the cabinet). It was a super easy and quick fix.
Then came time to block that crack in the back. (that sounds like a DMX song)
I told Jer that I thought we could find a little bit of sheet metal to cut to length. So during one of our numerous HoPo visits (yes that is what us thugs call Home Depot), I spied this aluminum window cap for a buck. I told Jer that we should just pick it up because if it doesn’t work out, it’s just a dollar lost. I can’t even buy fried cheese with that.
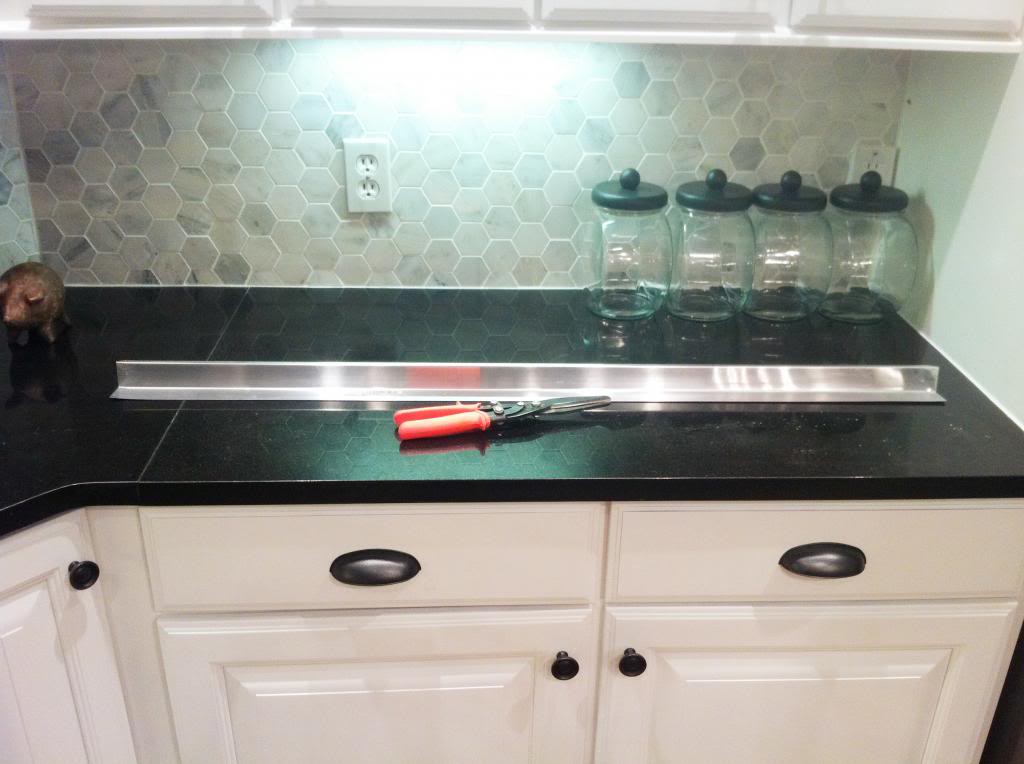
The first thing I did was cut the piece to length with metal snips.
Then I marked where to cut it with a little sharpie to slide down into the hole. The red dots show ya where I mentally marked my cut lines.
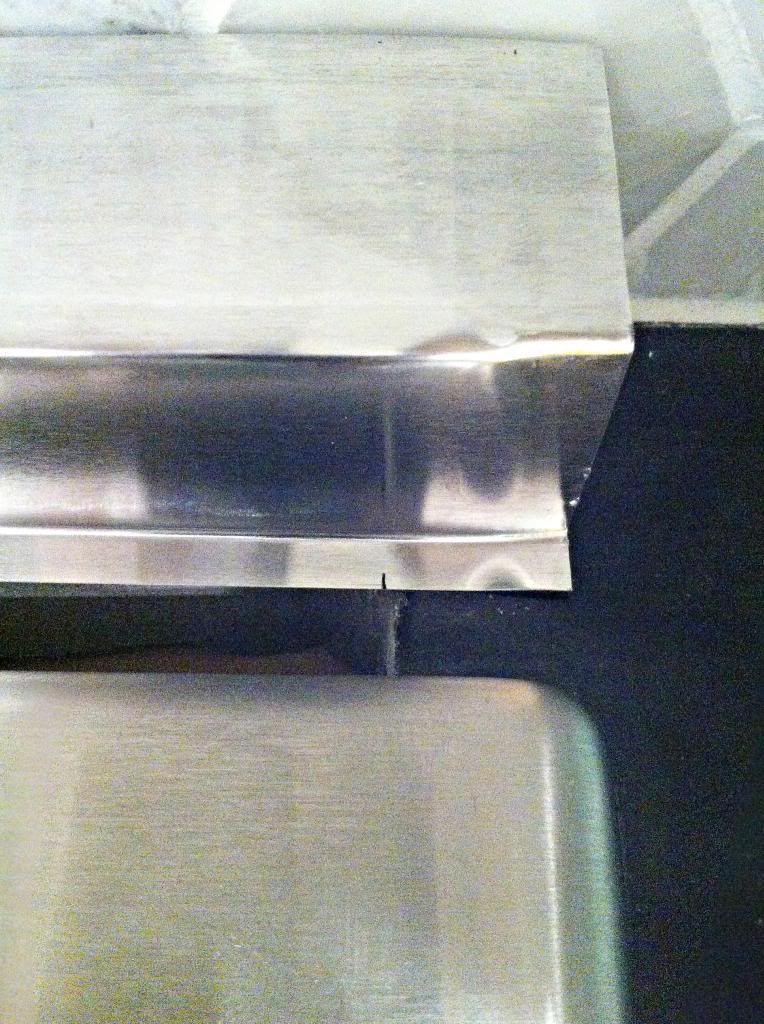
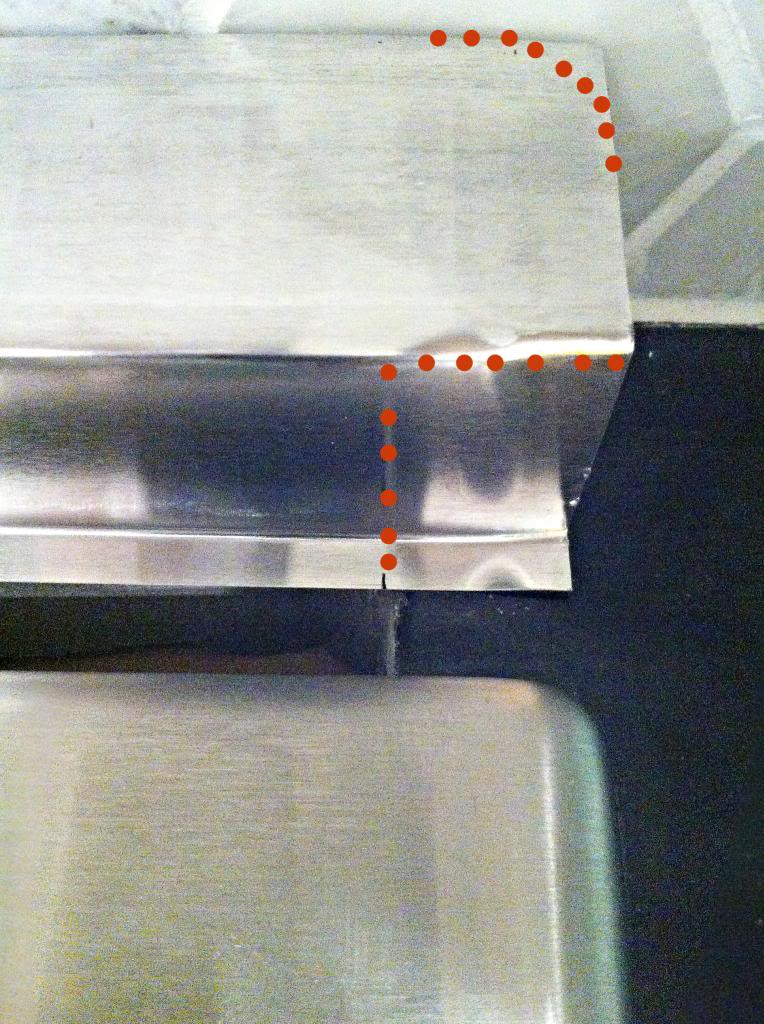
The snips cut aluminum really easily. They are just like scissors so there is no reason to be intimidated. Since the aluminum bends really easily, I had to be careful not to dent it where I couldn’t fix it.
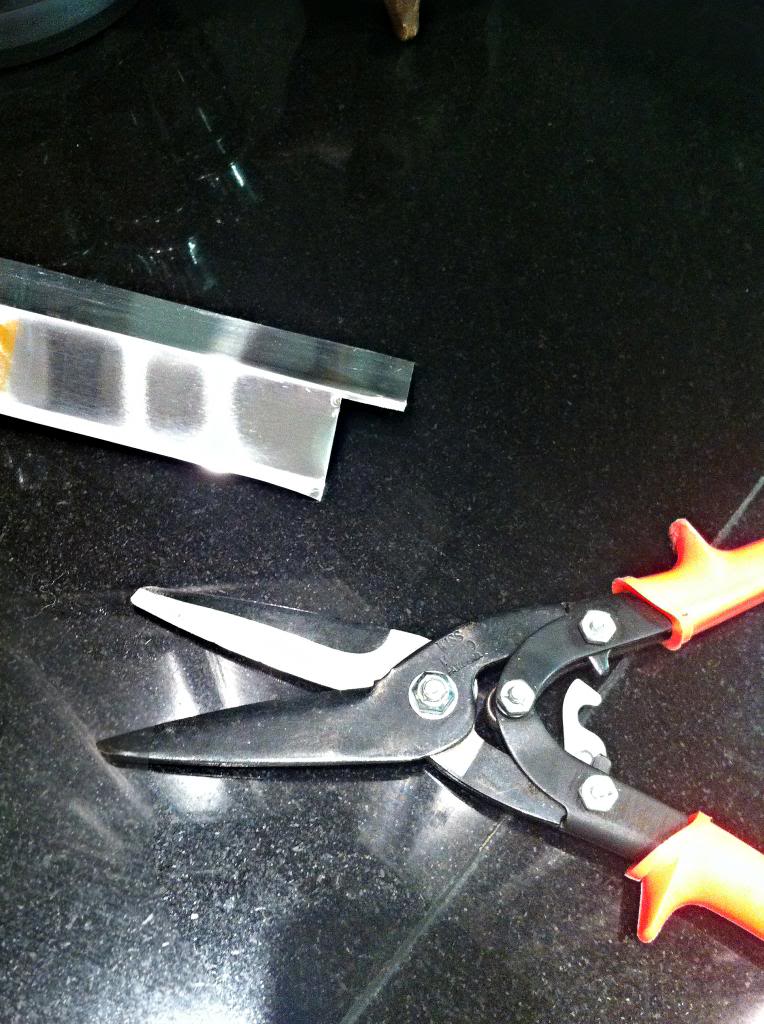
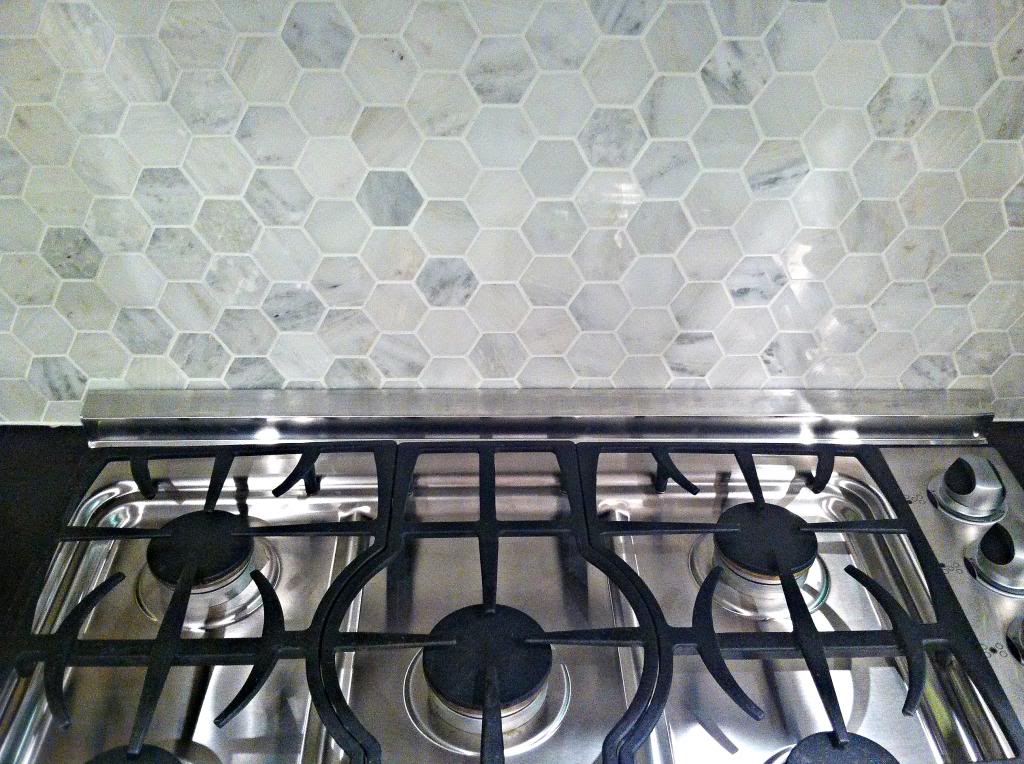
I trimmed the corner too to make it rounded like the stove. It just blended well that way. Installing it was as easy as pushing the aluminum directly down into the hole. Pop drop and lock never looked so good 🙂
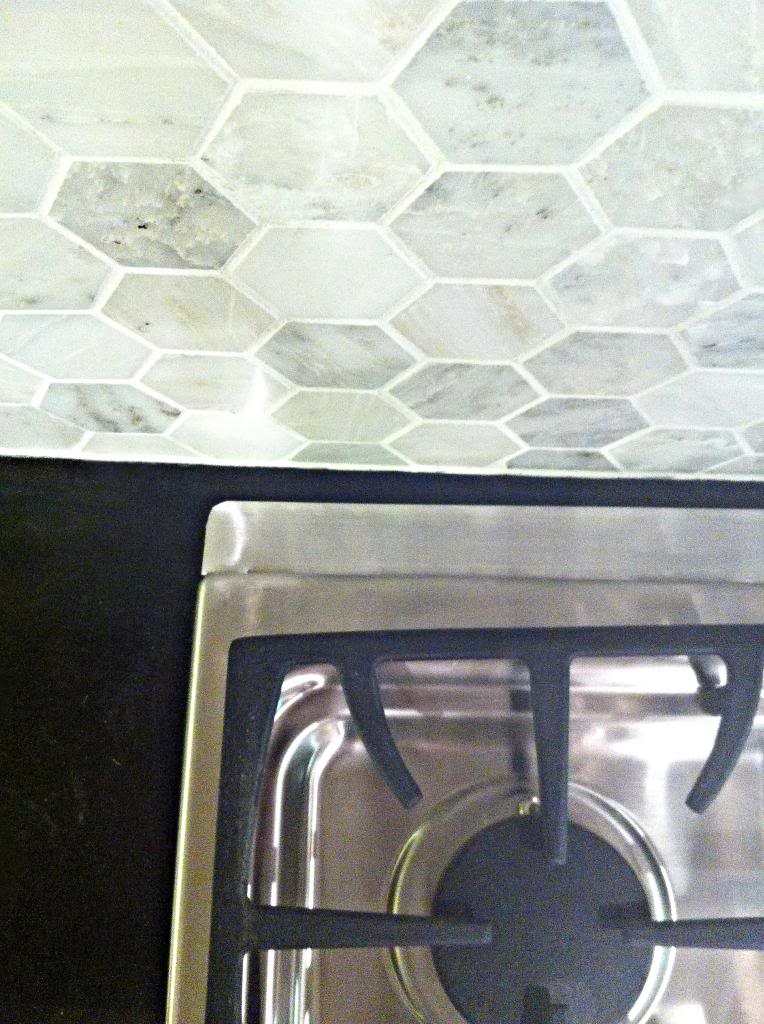
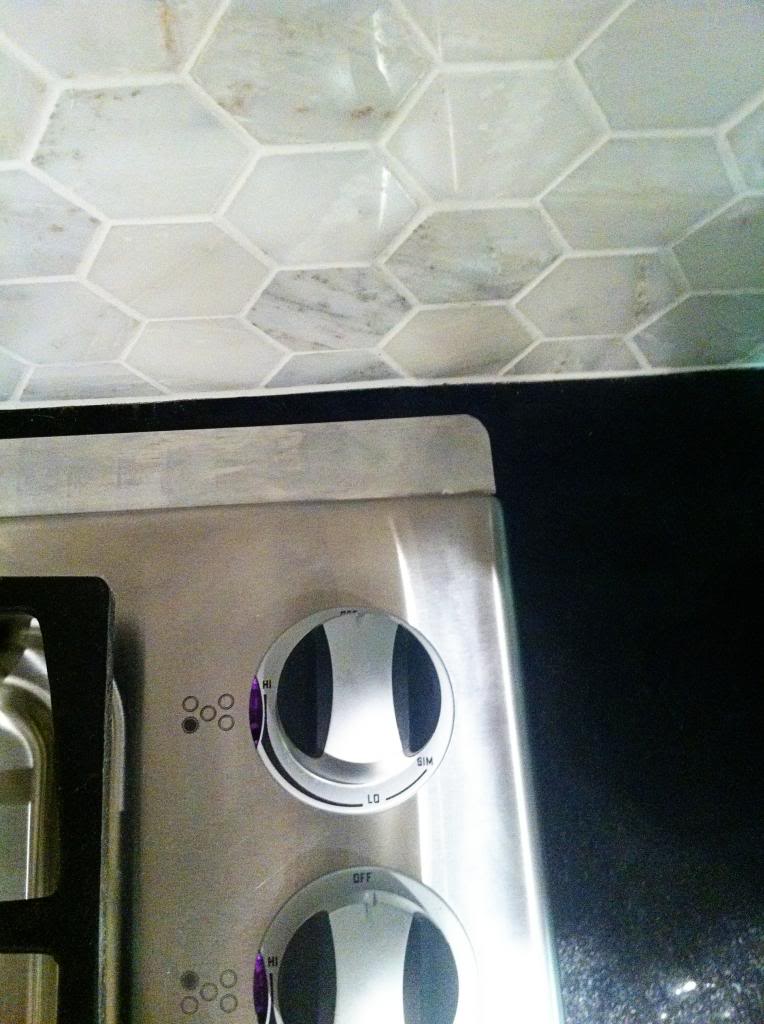
And one dollar never looked so good. And that is coming from a girl who buys deeply discounted housewares.
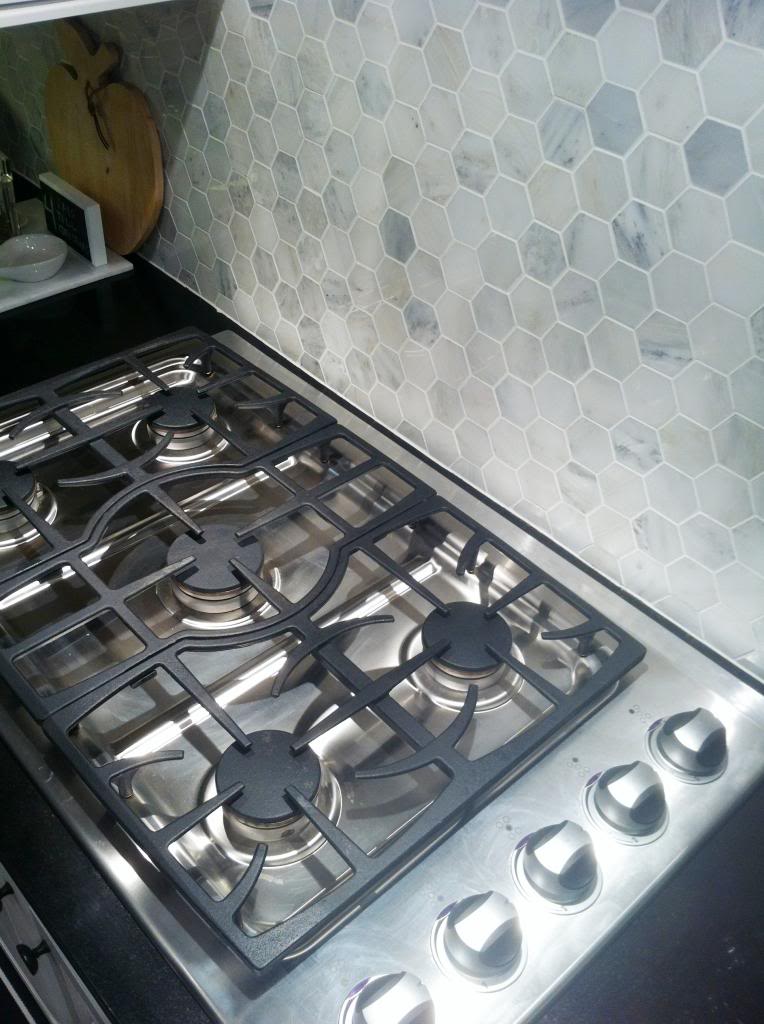
We did consider adding a little bit of construction adhesive to it to make it stick to the granite, but the reality is…this sucker doesn’t move. And it cleans up just fine (we’ve already done the spaghetti sauce splatter test to which it passed with flying colors….specifically the red color with little tiny bits of green).
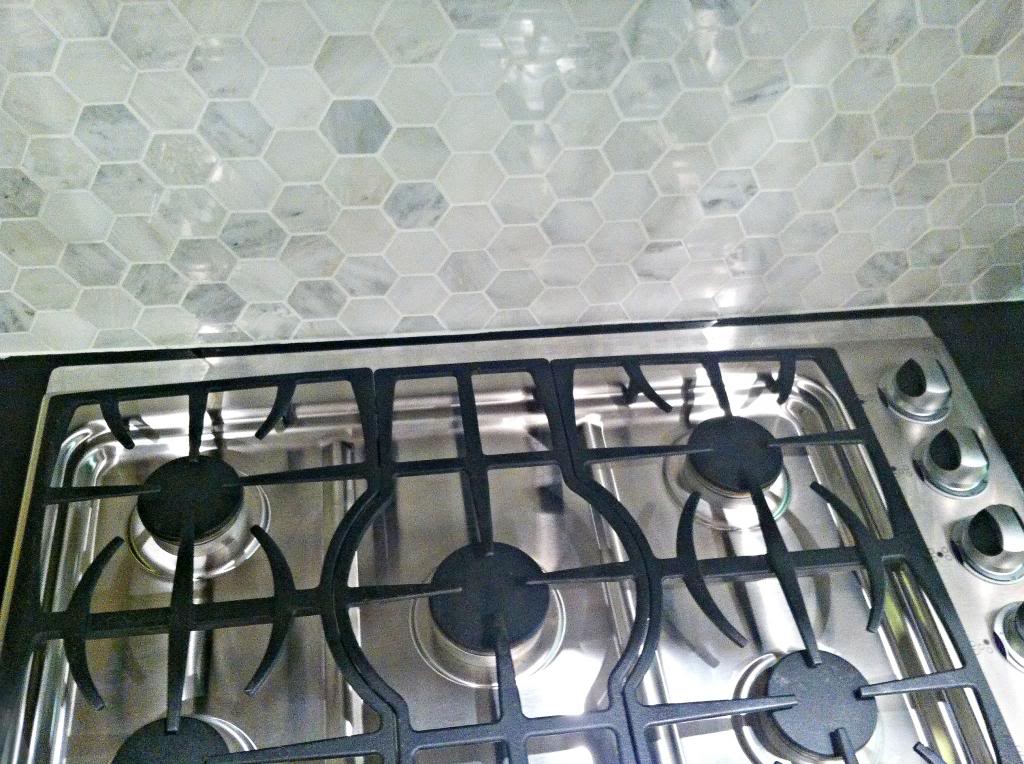
So that’s our el cheapo fixes to our kitchen. A one buck solution to block a gap and a little grout goes a long way, huh?! And because you know that no post about cracks would be complete without a Whitney quote….let’s all say it together (that includes you, Diane Sawyer)…crack is whack. Yes it is. It really is.
p.s. Can you believe I made it through that entire post without a single ‘that’s what she said’ joke?! I must be coming down with something.
I’m so in love with your kitchen! We pulled off our gross laminate back splash last year and just caulked between the counters and walls. I was shocked at how clean it made everything suddenly feel!
Looks GREAT! You come up with the best ideas, I am so jealous! Next time you are in Connecticut can you stay at my house??
Alright, just I totally did that dance when I began using our gas cooktop! We are never, ever getting back together {with an electric stove} 🙂
“In the end, your grout line will hide a multitude of sins. It’s like Jesus’ blood in that respect.”
This is the funniest thing I’ve read in awhile. Great post.
Pure. Genius.
Oh and the stove-top fix is neat too.
Seriously, you’re my fave.
Great tips. I’ve got some caulking to do myself…. specifically around molding.
Also: Jesus’ blood doesn’t hide our sins. His blood erases them and makes us new.
Thank you for sharing this – the grout on our backsplash is doing the same thing and I was wondering if I need to regrout or could caulk it. Our cracks look just like yours pictured, so I’m hopeful that some caulk and elbow grease is all we need – thanks again!
I love your backsplash too!
So many caulk jokes, so little time.
Looks great! I am dying to see the whole thing!!
Wow! I wondered how you would fix that gap behind the stove top and keep it looking nice. Great cheap fix and way to look outside the box! I’m DYING for a full kitchen shot. Are we there yet?
Brilliant! Just brilliant! It looks great………. clean, finished. I have serious stove envy 🙂
Congrats on the find and solution! There should be a post of $1 buys. We found a normally$35 or more wooden busy kid cube with a topper on it for $1 at our favorite thrift store.
How lucky….one dollar to fix that problem! Amazing:) looks great KB, as usual!!
The shiny cover up is the best trick!!
My kitchen counters are three inches higher than standard (my husband is super tall and he’s the cook, so he had them built that way) but it means that the stove is standing on blocks of wood to make it level with the counter–ugly, unfinished wood blocks. Solution? Sheet metal cut to size by a friend who has a machine shop. It wedges right in, blocks the view, and makes a fine kick plate too. That I can remove it and clean under the stove is, well, not a bonus, but at least handy!!
And I love your kitchen!
You seriously should be a comedian.. your sense of humor is freakin’ awesome.
I think I’ll start calling Home Depot HoPo now.. so thanks for that 😀
You are a caulk master!!
Katie, You must be rubbing off on me because as soon as I read the title of the post my mind went into the gutter!! LOL!!! Love reading your blog!! You should really write a book someday!!
Well done on the kitchen fixes!
Don’t worry…while you didn’t SAY “that’s what she said,” I was thinking it plenty while reading this. 🙂
Beautiful kitchen KT! 🙂 Kudos to you for doing it yourself!!
I just had counters and a backsplash installed and they put a bead of silicone to prevent cracking where the counters meet the backsplash. …just another idea. It dries clear and all you see is the color of the grout. It’s supposed to allow a little give and take.
I love your house projects but I want to see Weston’s birth story – part III, please.
That is an amazing fix!! I am going to be doing that same undescribeable dance in a few weeks when we get our new to us gas stove and oven. There is absolutely no comparison to cooking on gas!! I love, love, love everything you have done with your kitchen!!
The crack in the grout line would have bothered me too! It looks much more finished. And I was wondering what you were going to do with the gap behind the cook top. That $1 trim piece is amazing! It looks like it was meant to be there. Very impressive!
Was scrolling slowly while reading, and I thought for a moment that Jer’s bent knee was a crack of another sort! Hey…it seemed to fit with the theme of the post! 🙂
DMX was arrested up here in SC last week. I was trying to place a song that he sang and couldn’t. But now I can. HAHA!!
We need to caulk in our kitchens and bathrooms. I’m sure it would make the not so great rooms look better. I would feel better at the very least!
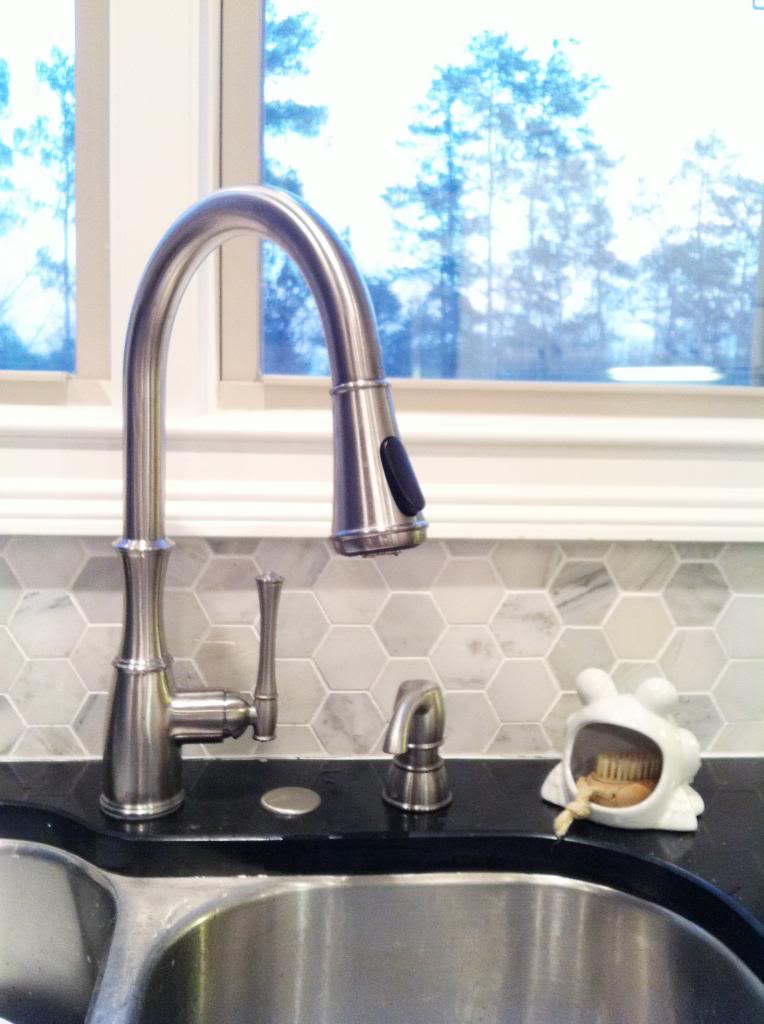
“Enter the caulk”. Haha I seriously love your posts. 🙂 And I also love that white frog on your sink. He is so cute!!
Love the title. Thanks for the caulk and block tips. 😉
http://happinessiscreating.com/
I just want to say that I LOVE your backsplash! It’s amazing! And how the light shines on the stove, it’s like a beam…
Caulk is the absolute best, isn’t it!? It just provides the nicest, seamless look. Plus can’t beat the price 😉
You, my friend, are one smart cookie. Love your ingenious (and cheap!) solutions to annoying problems.
I totally thought that Jer’s bent knee was the crack in question 🙂
I originally wanted to turn the post title into a song…like “caulk, block and drop it” (I’m totally picturing you doing the pop, lock and drop it while singing that btw) but then it kept sounding like something else that sounds similar to caulk block…it was all downhill from there. Maybe I read your blog too much 😉 lolol
That looks so good! I can’t wait to see what you have up your sleeve for baby Weston’s room! I am sure you will make it adorable!
Me too!
Great fix! Also, those dance moves you described? Sounds like the Harlem Shuffle – YouTube it!
I think caulk is the closet to magic there is – definitely one of my favorite inventions! How nerdy is that?! LOVE the backsplash, you two did an incredible job installing it!
Great post! Out of curiosity, did you seal your caulk? I have a rental and the caulk in my shower is forever getting nasty so I always bleach it, only to find it nasty a few weeks later. I’m wondering if this is because it’s not sealed?
Totally OFF TOPIC . . . . What’s going on with the other house? Last I heard you were deep cleaning after the old tenants left, getting ready to rent again?
So I’m not the only one. Especially if you scroll up so only a sliver of the blue jeans/knee part is visible above the caption.
Our agents found a tenant really quite fast. They had to show it 13 times but we had someone start their contract on the first of December (even though they didn’t move in till closer to the middle of the month). Thank goodness we have a family in there and we are just crossing our fingers that all goes well.
xo – kb
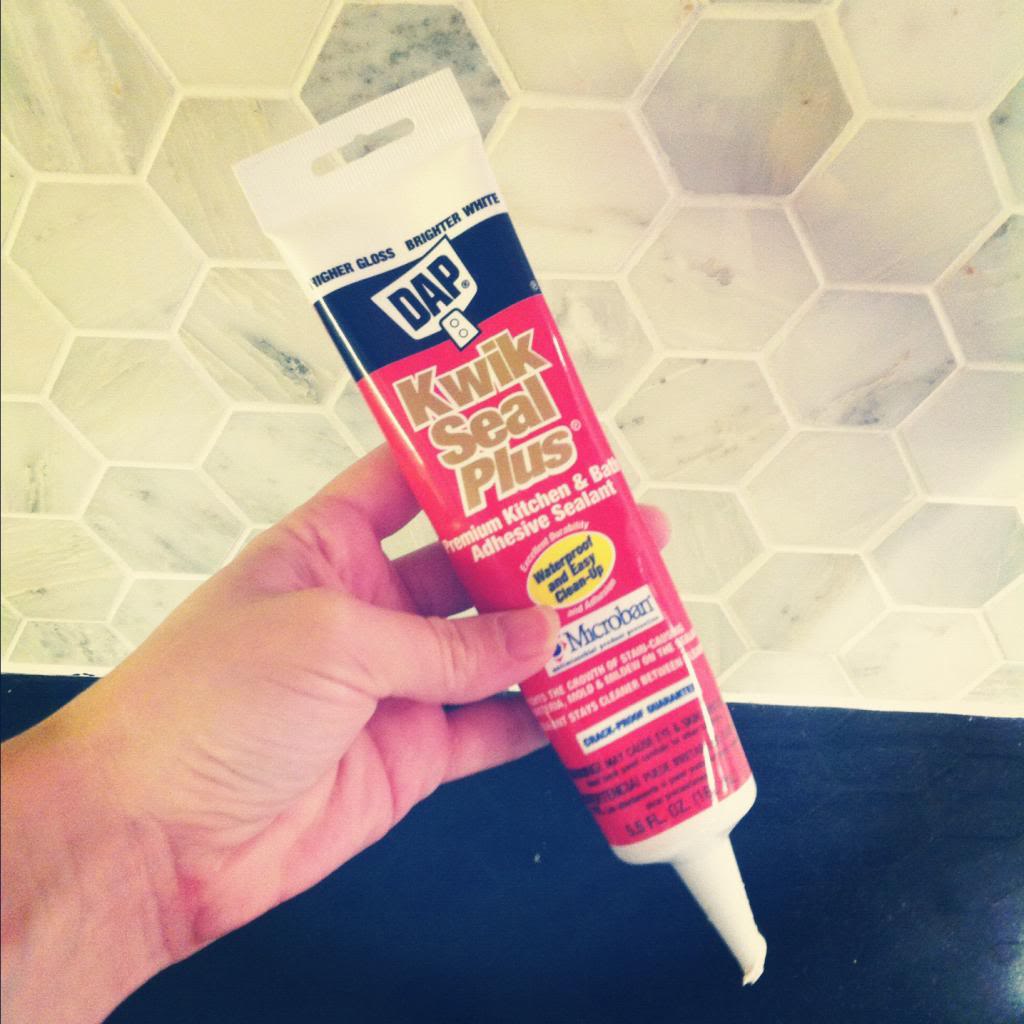
Well as you can see, we used a DAP Kwik Seal Plus. The description says “Premium adhesive caulk with MICROBAN® Antimicrobal Product Protection fights the growth of stain and odor-causing bacteria, mold and mildew on the caulk. Specially formulated siliconized latex provides maximum adhesion and flexibility for a watertight seal. Paintable. Easy water clean-up. Low odor. Backed by a Crack-Proof Guarantee”. It doesn’t require sealing…maybe you need a different product 🙂
xo – kb
I started laughing as soon as I read the title of this post! My husband and I had a long (ahem) “caulk” conversation not two days ago. We realized the pun works best when you almost shout the word. So we want to go to Home Depot and ask the sales associate…”I’m looking for CAULK. Can you point to where the CAULK is? How hard is it for a girl to get some CAULK around here?” 😀
Needless to say, I love your blog. 😉 And your kitchen looks amazing! There’s nothing a little caulk can’t fix…
I love this post especially the line “your grout line will hide a multitude of sins. It’s like Jesus’ blood in that respect”. I have the same problem in my kitchen and honestly, I didn’t know what to do 5 minutes ago before I read your post. And oh, I was about to decide to hire somebody who could save my kitchen and would have spent more. Thanks to this funny, interesting and very helpful post. I sure am SAVED!
Ahhh ok! See, I don’t know the first thing about these things 🙂 Thanks Katie … love your blog by the way!
The joint where the grout cracked really shouldn’t have had grout in it to begin with – it is a transition corner (change of direction/material). It should have been left empty during the grout process and then filled with grout completely since that material is flexible and will not crack (as easily). You ‘repair’ looks okay but may not last long term as the caulk had really nothing to grab onto and is just a surface covering on top of the grout.
The stove filler piece looks awesome though – I was really wondering what sort of ‘patch’ you were going to come up with that didn’t look ‘redneck’. WOW you impressed me with your follow through on that one!
We had done the grout right to the counter at our last house and always loved it…it cleaned up really easily and the consistency of a silicone next to grout drove me crazy…so it wasdefinitely a premeditated decision. I totally get why other people don’t though.
xo – kb