Before we headed to Destin, I had one request of Jeremy…that we carve out fifteen minutes one night to take a family photo.
Not a huge request….not life changing…but I’ve come to realize as a girl with a bulky, black, plastic, metallic and glass appendage permanently attached to my hand, it’s always best to forewarn the boyfriend. Let’s face it…most guys don’t jump at the chance to get their picture taken. And even though they appreciate having family photos, it’s not exactly what they want to do at the end of a long beach day. So in order for me to get my way (enter maniacal laughter here while I mime stirring my pot of brew), I make it very clear that a little photo-session is my only request (of course, I have to stick to that…even when there is a yardsale across vacation-town).
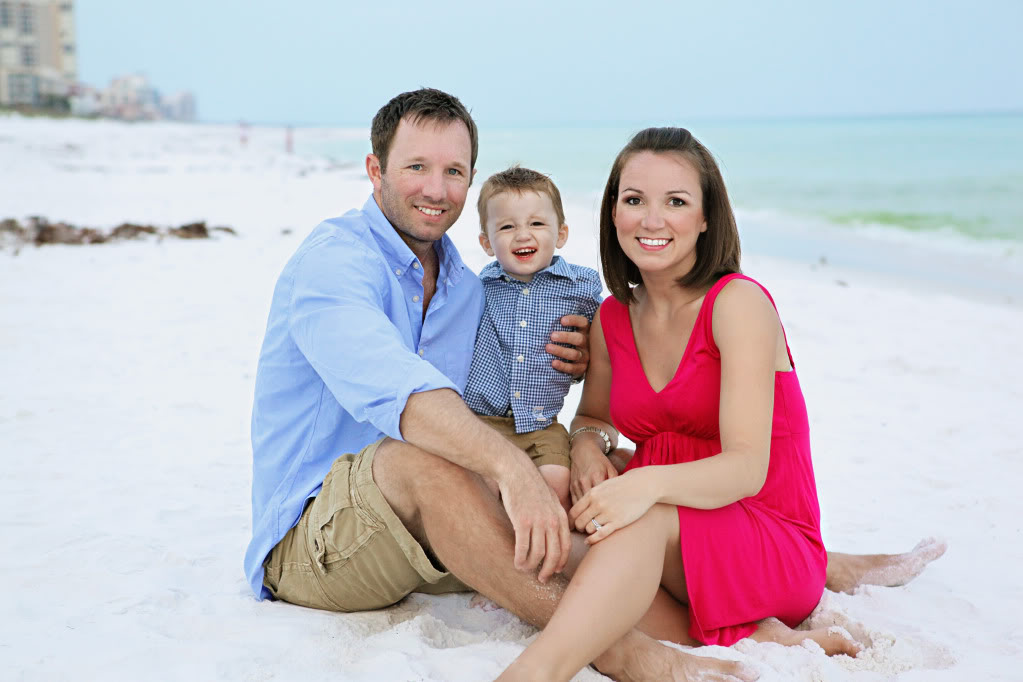
So anyhoo…one evening right before we were rushing out the door to dinner, we managed to snag some family photos. Of course, I also squeezed in some additional pictures of some of our friends while we were there. And I figured that I would share some of my tips – some things I learned while flopping around in the sand Baywatch style with my camera.
***Please note that all these photos were taken with a Canon 5D Mark II and my 24-70mm lens. No two lighting situations are the same – and I do post process – so the settings are pretty irrelevant. I recommend always using at least a 1/250 shutter speed for shooting children.
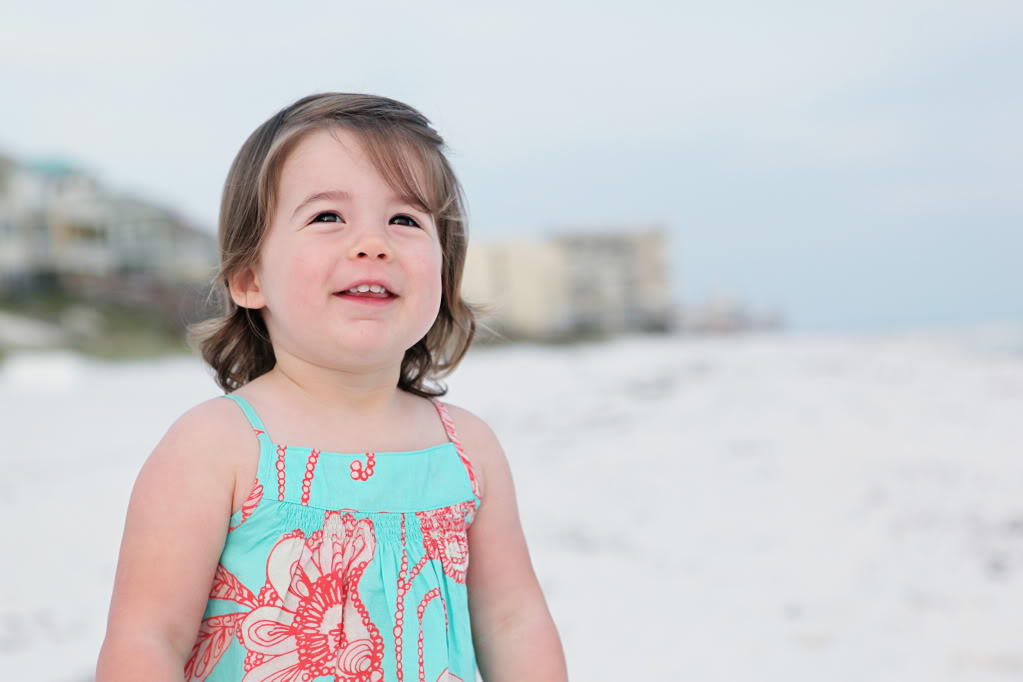
- Time it Right – The best time for any portrait photography is the couple of hours before sunset or right after sunrise. Same applies to the beach. I found that with this particular situation, it was best for me to get front-lighting…as in I am between my subject and the setting sun. The light source is directly in their face – not behind them – and ask all parents and friends and complete random strangers walking the beach, to stay behind you. With toddlers, it’s important to give them something to eat before getting started.
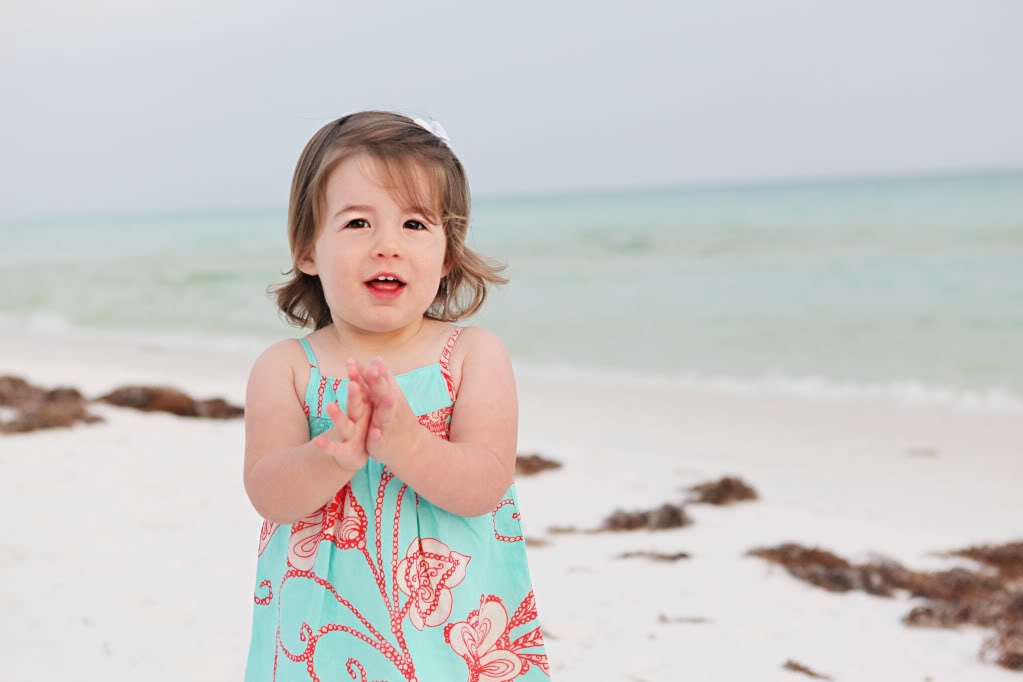
- Don’t Rush. See the photo up above? Slightly out of focus on her face – just enough to drive me insane. Even with my f-stop at 4.0 and my shutter speed high enough to catch a moth beating their little dusty wings – I rushed my focus and snapped before ready. Is it important to capture the expression (hey babies change those smiles super fast, right?!)…well, of course it is…so unless you are great at manually focusing really fast – put it on auto focus and let the camera do it’s job.
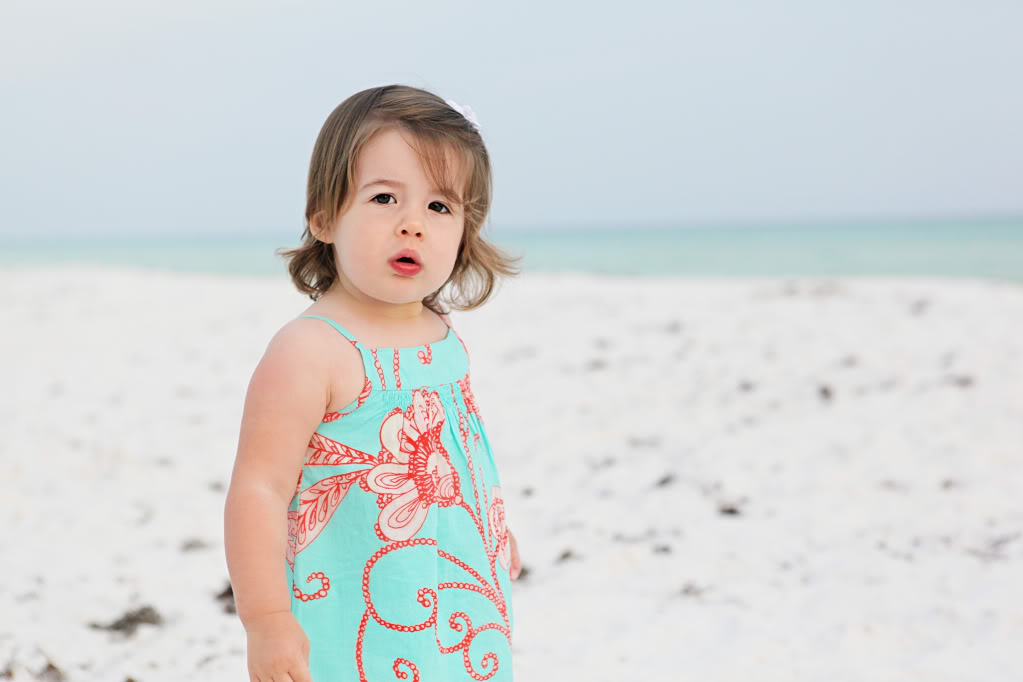
- Exposureing – Since I use natural light (no fill flash or external light source besides the sun), the lighting for me on portrait photography is usually just a smidge overexposed. It helps lighten up skin tones and give a more realistic look to folks. However, on the beach, I didn’t want to wash out the background and lose the sky and sea in overexposure. So I brought my exposure back to O and lightened my subject later in post processing…keeping my babe and beach too
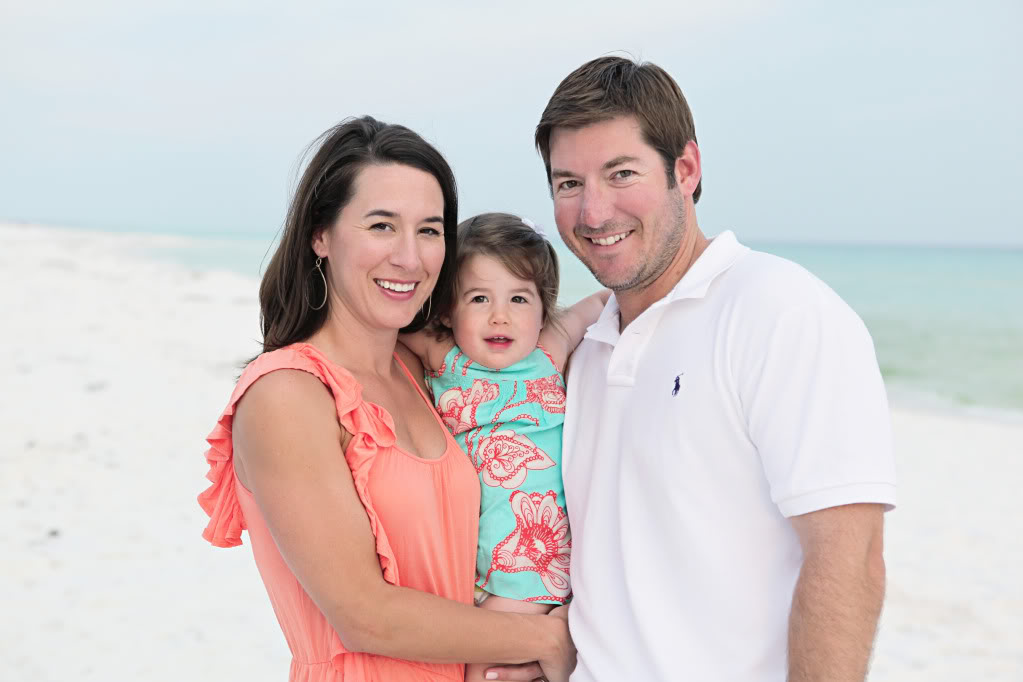
- (A tip for parents) No Fixing – I know. I know. I know. It’s important to you to have the perfect hair and the perfect dress and the perfect kids with the perfect hair and the perfect dress and the perfect everything. So you fix. We all do it. But seriously. You must stop. For one, you are shot-blocking yourself. While you are fixing your kid – they might be flashing that perfect smile or show serious interest in a bird or shell or do something absolutely adorable. Secondly, nobody likes to be fixed…including kids…it’s a fly in their bacon grease if you know what I mean. So fix them once when you get there – and leave them alone. The best thing you can fix is a smile on your face. permanently.
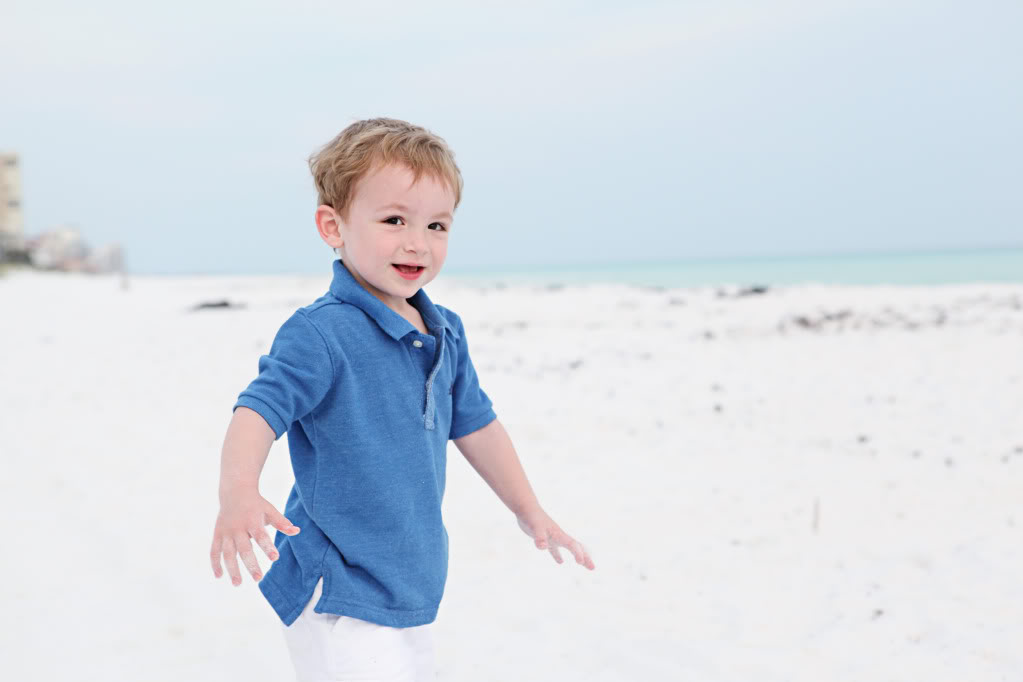
- Be fair – it’s not really fair to head out onto the beach and encourage a kid to be playful and get all happy running free and wild, and then say “Sit still here with Mommy & Daddy”. That in kid language is a FOUL. So try to do your still family photos first. It helps…it really does.
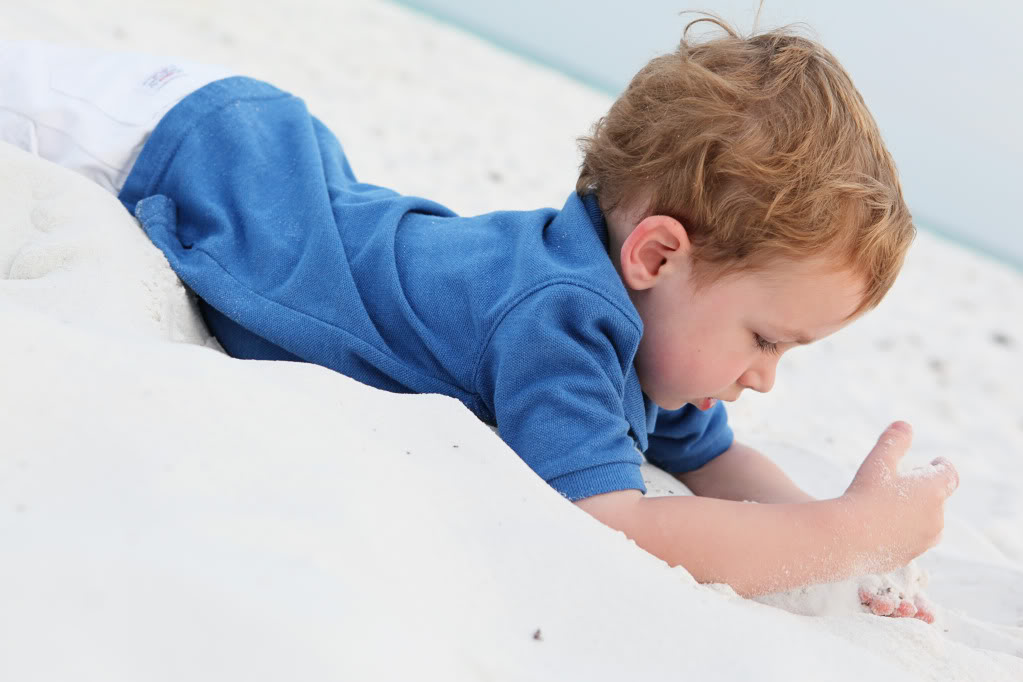
- Get Dirty & Wet – I’m not saying to tell the kids to go get soaked and roll around in the seaweed to the point of looking like a sea mammal in distress…but if they get a little splash on their shorts or a bit of sand on them – consider it just more evidence that they are having fun. After all – nobody looks at a picture and sees the sandy clothing of a smiling kid and says “what a shame their parents don’t love them more”.
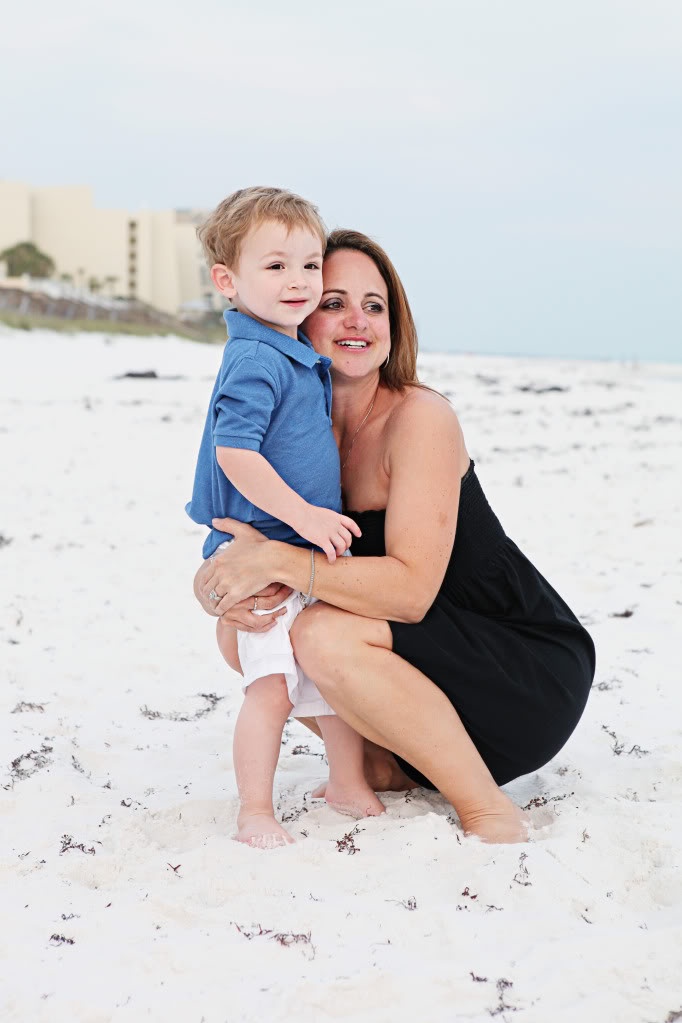
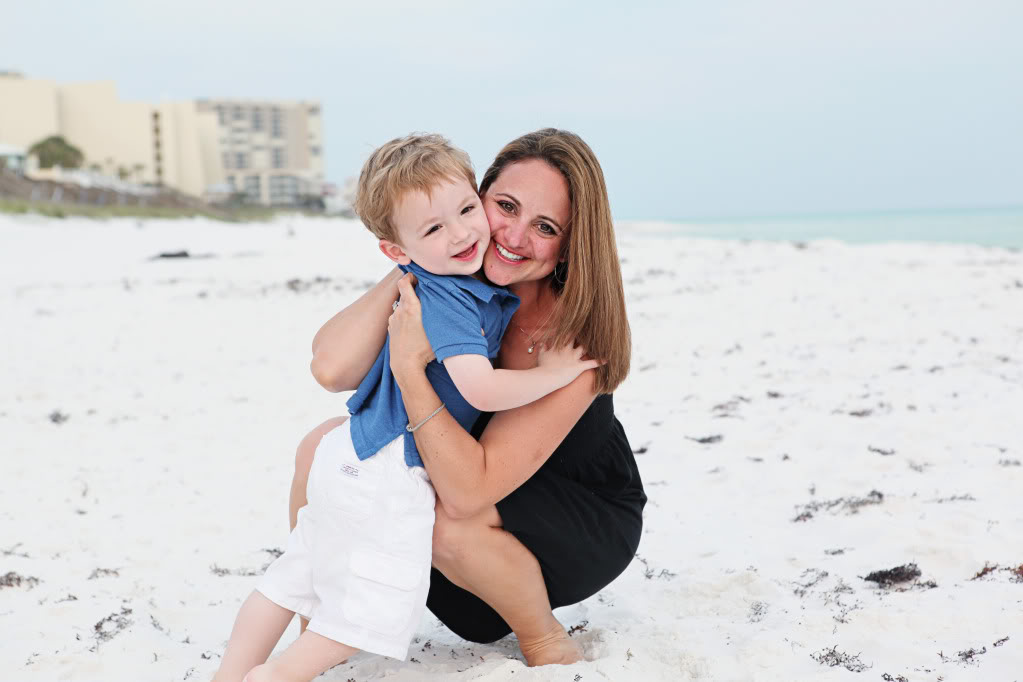
- Wear Sweatpants – I learned long ago that during photoshoots – you are kneeling, sitting, standing, squatting, laying, running and everything in between. So if you are out there to shoot your kids – it always helps me to wear a pair of capri-style sweatpants. The sand stays off my skin for the most part, if I kneel on shells, it doesn’t hurt as much and I am comfortable enough to run in the sand (gotta wear those little guys out!). Plus – you can throw a dress or skirt on over and slip them off for when it’s your turn to join in the photo.
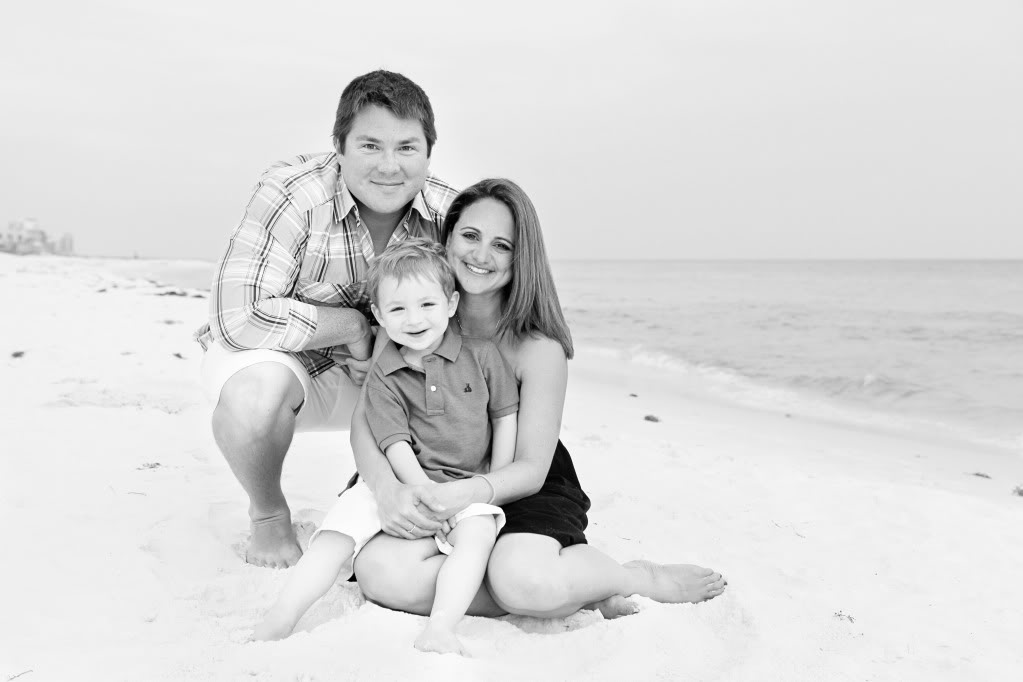
- Consider Color, Pattern & Texture – This is mostly to help you guys pick out clothing. Personally I don’t love the whole “khaki’s & white button down on every member of the family” thing. I feel like it helps to plan your outfits – but matching like that is more distracting to me. Consider the photo above – the entire ensemble matched (you can’t see it in b/w) but the plaid of Billy’s shirt is what really makes the photo work to me. A little pattern goes a long way. And personally I like lots of color – colorblocking with white on the beach (especially when the clothing item is white & texture-less) is a sure fire way to not pop. So pull out the color – texture and a little bit of simple pattern.
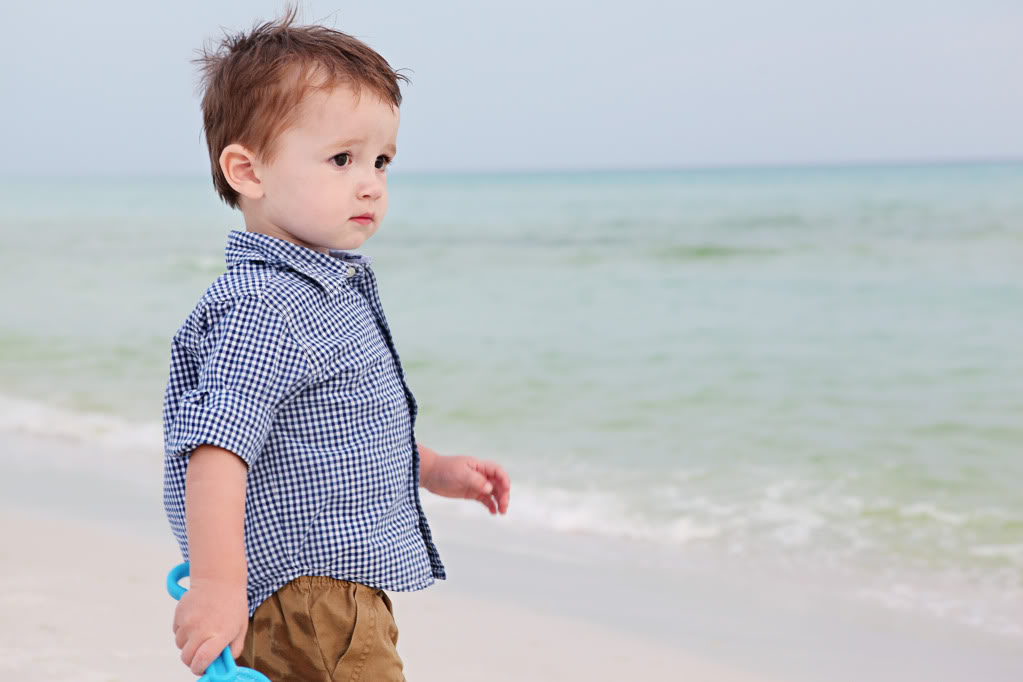
- Don’t Ban the Toys – Beach toys can be abnoxious…I get it. But aren’t you the one in charge of toys? Bring down a small bag with one or two toys that you don’t hate. Especially if you need to have a time-buyer…like I did. Will simply needed one small shovel and he was a happy camper. And if you snagged a shot (like the one above) where you don’t like the toy in the hand – a little cropping can make it disappear.
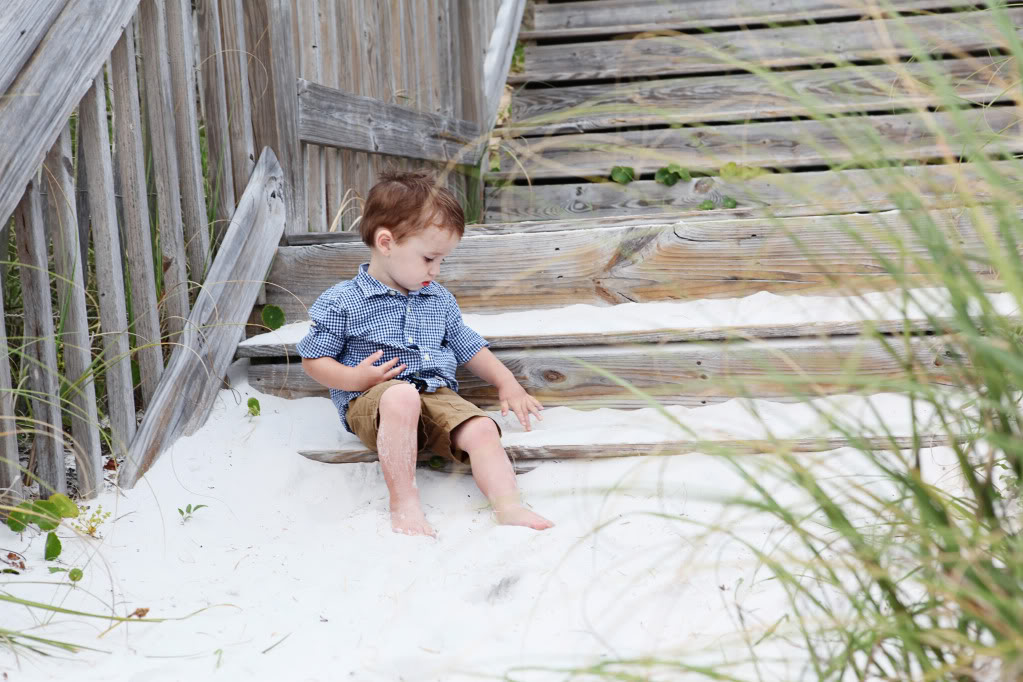
- Don’t neglect the Foreground – I personally think it’s always a great idea to have a few shots where things are not only in the background – but also something in the foreground – like tall grasses, a railing, or even a few of those beach chairs lined up in a row. Just remember to keep your aperature high enough to get all of your subject in focus and low enough to get your foreground and your background slightly out of it. I used around f/4.0 but could have gone smaller if my little man wasn’t so dang fast!
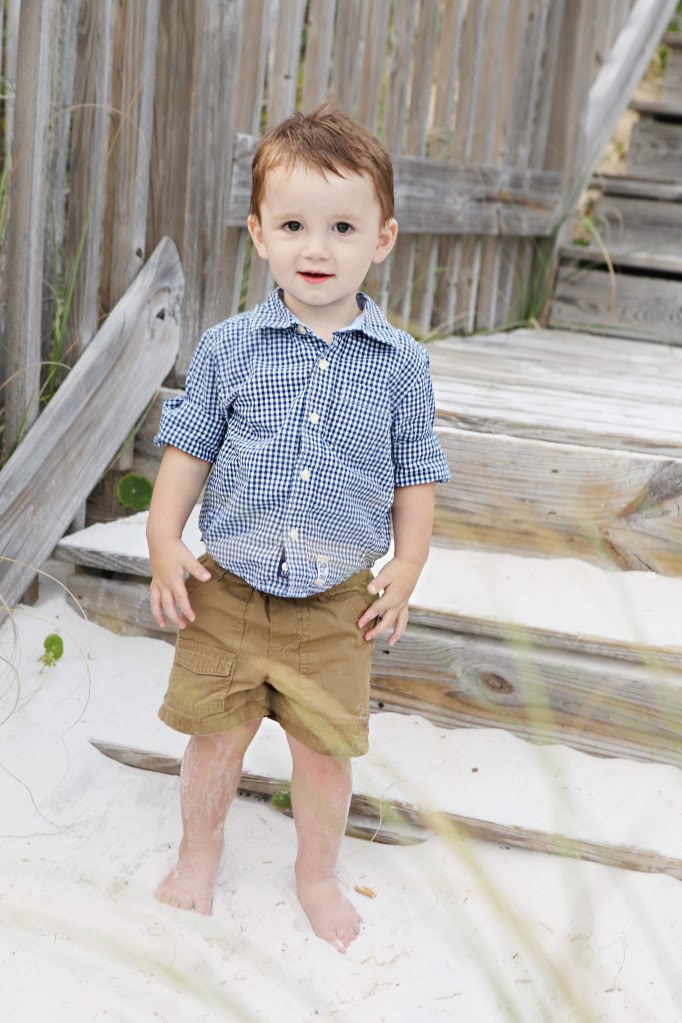
- Locations – Obviously there is a beautiful beach and ocean to use as a backdrop…but also, don’t neglect the dunes, the public stairs, even some of the lush landscaping of resorts, hotels or your rental. There are even some great spots where the salty sea winds have battered painted walls and created loads of texture. Plus – kids love change. Will was literally having a breakdown before coming to the stairs. He had waited for his turn too long and was over this whole photoshoot thing. But once we changed locations – he turned into a totally different toddler.
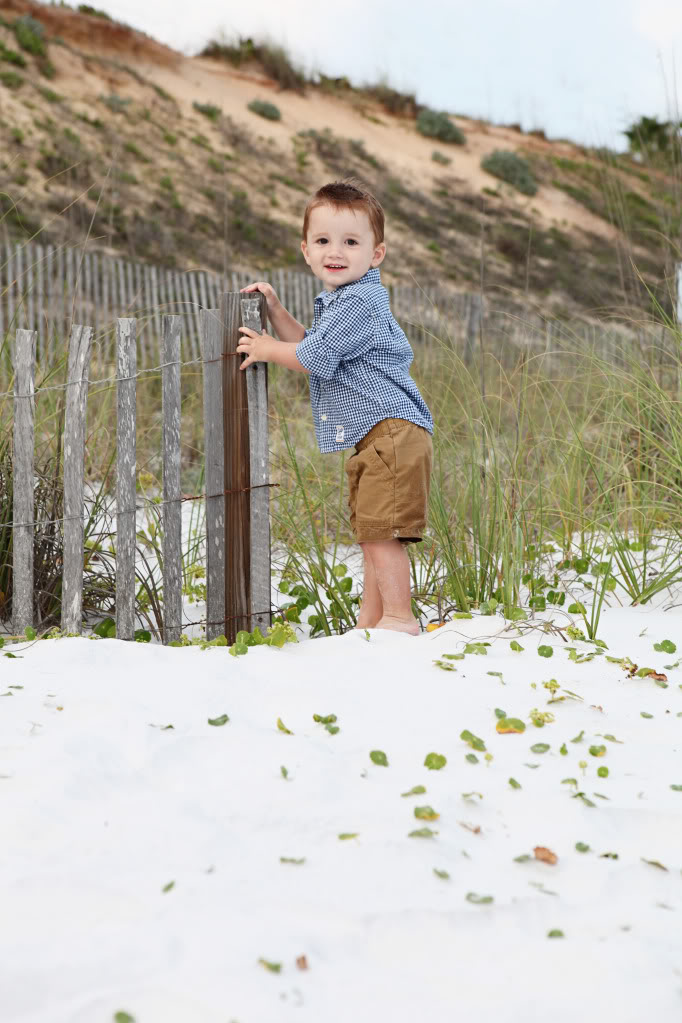
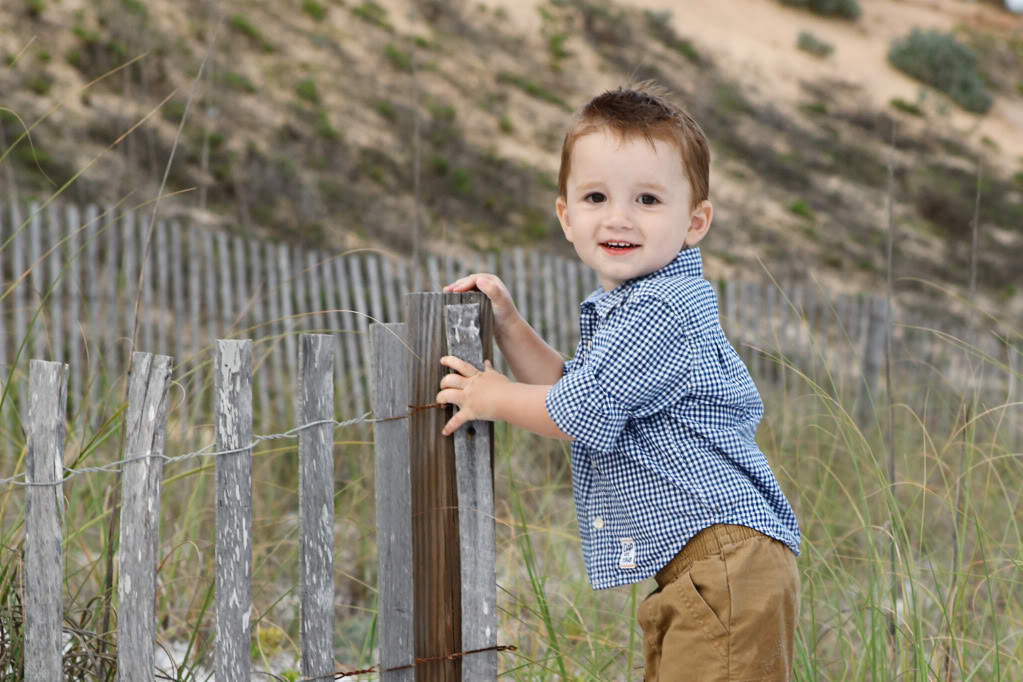
- To Crop or Not to Crop – The photos above are my best example of how a crop could be done well. Personally I love the vertical oriented photo – but if I was going to crop for a particular frame and wanted to use this photo, I need to remember not to cut off legs or arms at joints. Does that make sense? Cropping needs to happen on thighs or shins…not knees or ankles. Also – remember to crop your photos so your subject is still in the 3rds…not directly in the center.
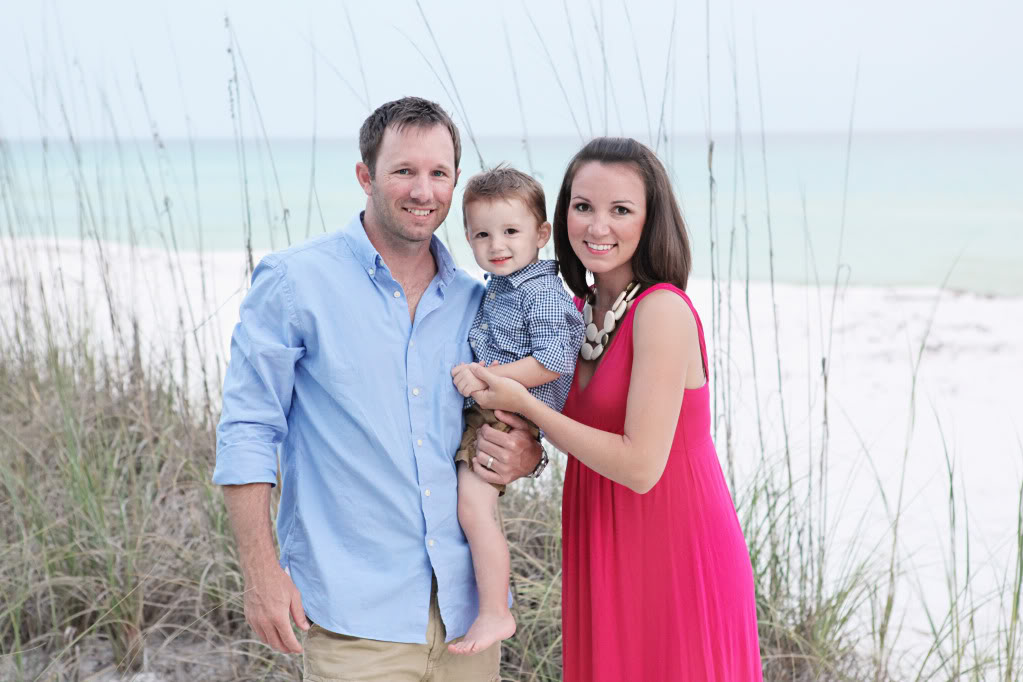
- Family & Self portraits – Personally I use a tripod and a wireless remote control
but there are a number of ways to do self photos successfully. Just remember to have a person or a thing take the place of you while you set things up. Focus the camera (I like to up the aperature a little just in case there is any shifting away or toward the camera during the transition) and then switch it onto manual focus so the camera doesn’t automatically refocus. And then remember to take several shots so you have plenty of options.
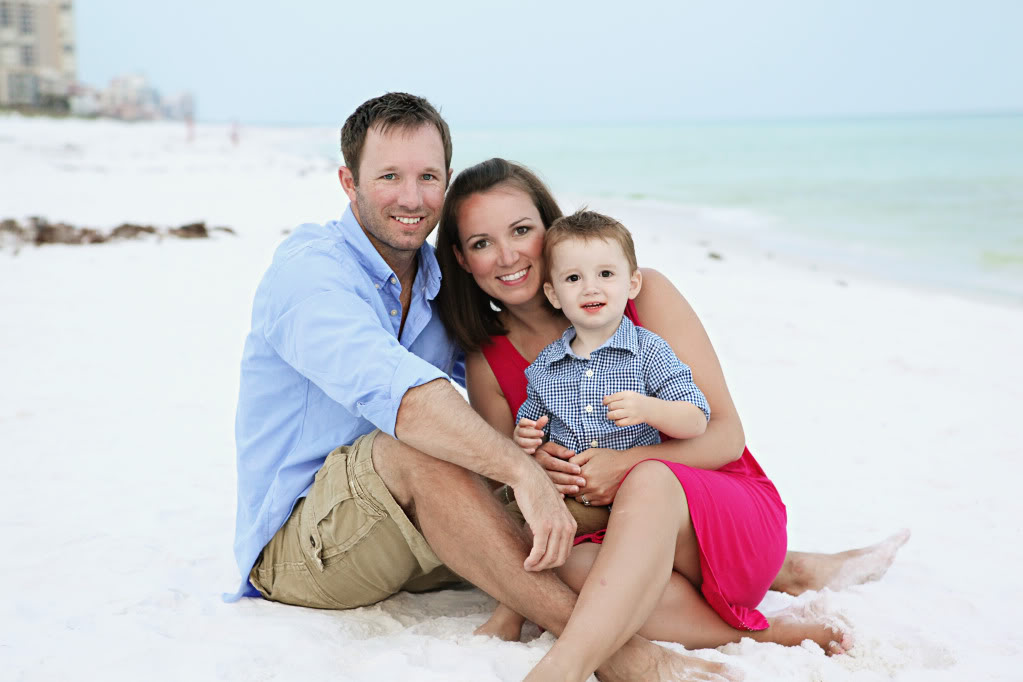
- Less is More – Another clothing tip…less is more. Granted you don’t wanna be that gal that is taking family photos with a barely-there shirt on…but being shoeless, simple or no accessories (I took a look at the photo above and decided to nix the necklace for future family pics) and simple clothing choices and less props – it definitely helps keep that focus on your happy faces and the beautiful scenery.
- Additional Tips –
- When in doubt, meter for the face.
- Always focus on eyes.
- Silver/white reflectors work great if you need more light
- Too much light brought out squinters? Wait till the sun sets a little and then start over.
- UV filters can help protect your camera from the elements
- Change lenses inside a clean pillow case to avoid sand getting into your camera
- Keep your hands as sand free as possible. A sprinkle of baby power helps keep it from sticking!
Hope this helps a little all you moms who are looking to snag some photos at the beach this summer. Happy shooting!

Katie! Those photos are gorgeous! You look amazing and I just love the pics of the other families as well. Thank you for the great tips… I am definitely one to “fix” things in the middle of a photo session.
OK Katie I am going to be the moron who doesn’t ask a question about cameras and photography and instead asks, “Where did you get that cute dress???” Haha I have been looking for something similar that I can wear a bra with (don’t do the whole strapless thing) and that fits the bill perfectly. Thanks in advance…and your pics are pretty nice too!
Thanks for the great tips! I am just getting into photography and I found this post so helpful and inspiring! You are so helpful and kind! Keep up the good work!
Such a useful post. Thanks so much!
Love these tips…thank you! I’m very new to using my camera and have slowly been getting better pictures. We’re traveling to Hilton Head, SC in July and I am totally going to have a photo session on the beach. Thanks again
Let’s see. The hubs and I are thinking about trying in 3-5 years… maybe I’ll have learned to use my DSLR by then? There is so much to remember and check and set and balance that by the time I’ve got my camera set up the shot is gone. My photos of our Europe trip turned out okay, but I’m sure that had I known a little more about our old Rebel XS they’d have been much better.
I guess the key is practice, practice, practice?
Great post and even greater pics, KB! Everyone looks wonderful, and you should wear hot pink more often, it’s a good color on you.
One thing I usually find myself doing for beach pics is upping the contrast/blacks a little bit more than I would for non-beach shots. I’m not always lucky enough to take the photos during the golden hour, especially if we’re just day-tripping to the Jersey shore, so to keep the subject really popping off the sand, I think increasing the contrast helps a bit and keeps things from getting too washed out.
Nice photo tips! Your family pictures turned out beautiful!
wow, am I first?
Thanks a LOT for taking the time to explain it all so thoroughly!
Beautiful pix!!!
Hey Katie, I love your photos! I was wondering, what UV Filter do you have for your camera?
Thanks,
Laura
So super helpful! Only now I’ll need to go back to the beach and start all over!!:)
I love your dress, Katie! You look great. Where did you get it?
Beautiful pictures, but I have to disagree with you about matching/coordinating clothing (I think exactly matching is boring, but coordinating is lovely). When I look at your last photo, all I see is RED DRESS!!!! A blue or khaki color that coordinated with the guys would have made me see faces first, not RED DRESS.
thank you X 1,000,000!! We are headed to Gulf Shores in about 4 weeks and I already knew a beach photo session was on the list. Now I will feel prepared!!!!
Although I like the photo where you still have the necklace, because that cute dress falls so gorgeously on you, my favorite photo is where the three of you are sitting and you’re holding Will. That one has the best composition – a little bit of your fuchsia dress is in the middle of the photo, and a little bit is on the side, so the photo is not too side heavy, but more balanced. A bit of blue in J’s shirt on the left and a bit of blue in W’s shirt on the right – nice symmetry, without it being too obvious. And the fuchsia dress makes a great contrasty background for Will to stand out more nicely. Also, in that photo, you three are all close and intertwined and you read like ONE, like LOVE. And you all look like happy campers! The photo is definitely frame worthy!
Beautiful photos! You guys are such a cute family!
Great post Katie! First of all the photos are gorgeous! Love them. Second, thanks for sharing so many tips. I feel more confident attempting our next little photo shoot
Hey Katie,
Just wondering where that dress is from? Looks comfy and I am just about 2 weeks behind you in pregnancy and thought that would be a good thing for the summer. Thanks!
Great photos, thanks for the tips!
It’s from Banana Republic outlet – I got it about three years ago but I know that sometimes that they carry similar designs.
xo – kb
This is so helpful! I don’t have kids but I do have a dog, haha. I had a crappy digital camera a while ago that had a “kids and pets” setting, I always laughed at it but now I realize that when taking pictures kids and pets are almost the same thing. Thanks for the great information! You have the cutest family!
Thanks for sharing your tips, Katie! Your photos are always so gorgeous, and the fact that you’re self-taught is amazing. Gives me and my little Canon & “nifty fifty” hope!
awesome tips katie! thanks – we are headed to lbi in a week and i’m so excited to try all this out!
one question – is the brightness in the face from editing or is it the settings on the camera? i can never seem to get the right brightness – my pics seem to look either too dark or too bright and i play around with the settings but it never seems right. i think sometimes i shoot too late in the day – 11ish? – and i know that’s a boo boo…. any thoughts?
OOh – that is a good tip. I did boost my contrast for editing – forgot to talk about it…so I’m glad you are around Ann
xo – kb
Oh yes. I have a love-hate relationship with practice
xo – kb
I have a few – but the one I used here was just a standard B+W.
Here’s the link:
B+W UV filter
xo – kb
It’s a few years old (I actually wore it on the babymoon for Will!) – it’s from Banana Factory Store but I often see similar designs there in different colors.
xo – kb
Coordinating is definitely the way to go. I thought I said that matching – all the same – was not my cup of tea…but as far as I see it, blue and pink goes well
xo – kb
I have that same issue! I love it when dresses have bigger straps to cover the bra but still have a cute neckline. Mine is from Banana outlet – a few years back but they still carry it sometimes in different colors
xo – kb
It’s definitely important for you to meter off the face – but don’t be afraid to go just a smidge darker and then lighten in post processing. Oh and yes – 11ish is probably way too late to shoot unless you are under a covered shady area.
xo – kb
Ohmagah–the FIXING! As a fellow photog, I’ve had so many parents block the shot with their incessant fixing that it sometimes makes me want to scream. Hopefully everyone will take note form this post and just let their little ones have fun. The best shoots I have are always the ones where the parents are super laid-back!
Hey Katie,
Quick question. I’ve noticed lately some of your posts call Jeremy your boyfriend and some your husband and referencing marriage.
Which is it!?
haha…you can read all about it in a link at the bottom of the About Us page…but yes, he’s my husband…and yes, he’s my boyfriend…and yes, I do reference marriage
xo – kb
Love these tips! I just purchased my first digital SLR and am having a BLAST learning how to use it.
Great tips – thanks for sharing!
Great tips – I love that you end up with wonderful photos while keeping it real.
Being from Idaho doesn’t allow for a whole lot of beach photography (um, basically NONE), but I may be headed to a beachy place this summer and your tips will come in very handy!
Miss Katie B, while I love your pics I’m mighty disappointed that you are obscuring the baby belly in every shot! First leaning forward/flowy dress, Will, strategic arm placement…when are we going to get bump update???
Ha…that was not intentional. I just get into whatever position feels most natural…not to obscure anything…although if you stick around for the Destin Part Deux, you will see your fair share of the bump
xo – kb
Just curious—did you keep your aperture at 4.0 for the family photos too since it appears that you are on the same plane? I understand apertuure and DOF well, but what is “on the same plane” still confuses me! Lol
On the same plane means basically that one person isn’t closer or farther away from the camera. All the focal points (in this case – all three members of the family) would be relatively the same distance from the lens. The Depth of Field applies to this but also to the overall photo…so you can have focal points farther away – like say a family in front of a sign ten meters back that you want in focus too…thus, your family is on the same plane but you need your depth of field to be large to capture both the family and the sign. Make sense? Okay – now…with certain lenses, depending on how far you are away from the subjects, the depth of field can change…so all that to say – 4.0 was a good aperature setting for the depth of field I needed to capture.
xo – kb
Love the photos! But I wish you would have posted this a week ago I just downloaded our beach photos (um, all 1200 of them. eeek!) and am anxious to start going through them! Fingers crossed a few turned out half as nice as yours. I especially love the baby powder and pillow case tips – thanks for taking the time to share!
Beautiful pictures and awesome tips, but where is the cute guy with no uterus? lol thanks for the tips!
Great tips..thank you. Great pics too!!
haha…Torrey the boy and his girlfriend headed to the resturaunt to save us all seats
xo – kb
GREAT!!! suggestions! I’m just getting into photography, and even though it seems like everyone says the same things, it reminds me we all run through the same checklists to get our shots to turn out. I have a fun trip planned for this afternoon, and hope my friend will be a willing participant in some experimentation. Thanks for letting us into your world!
I think you are the world’s cutest family! Great photos as always! We are heading to FL soon and now I am even more excited {and I didn’t think that was possible!}
xoxo,
Jen
I’ll take it if you preface that we’re only second to you Jen
xo – kb
Do you have the 16-35mm lens? Just wondering how the filter works… thanks!
This is so incredibly helpful!! I’m so glad I read this now – we’re on the Outer Banks and headed to the sand dunes, so it’s time to try out some of your suggestions! Thanks Katie!
Nope. I considered it but found more recommendations for the 24-70 and the 85mm so I went with those first. Gotta save up I guess!
xo – kb
Gorgeous pics Katie … I need to read up on how to take a decent photo I’m one for the shot gun approach. I take a 1000 and hope that there are 4 or 5 goodies in there somewhere.
Lovely post.
Blown away by the gorgeousness!! You are so talented Katie and your family is beautiful.
What a great post! You have a gorgeous family, and you are very informative. I always learn something. Keep it up!