For the past three years I have promised a how-to on our old bedroom’s draped wall.
It’s this one:
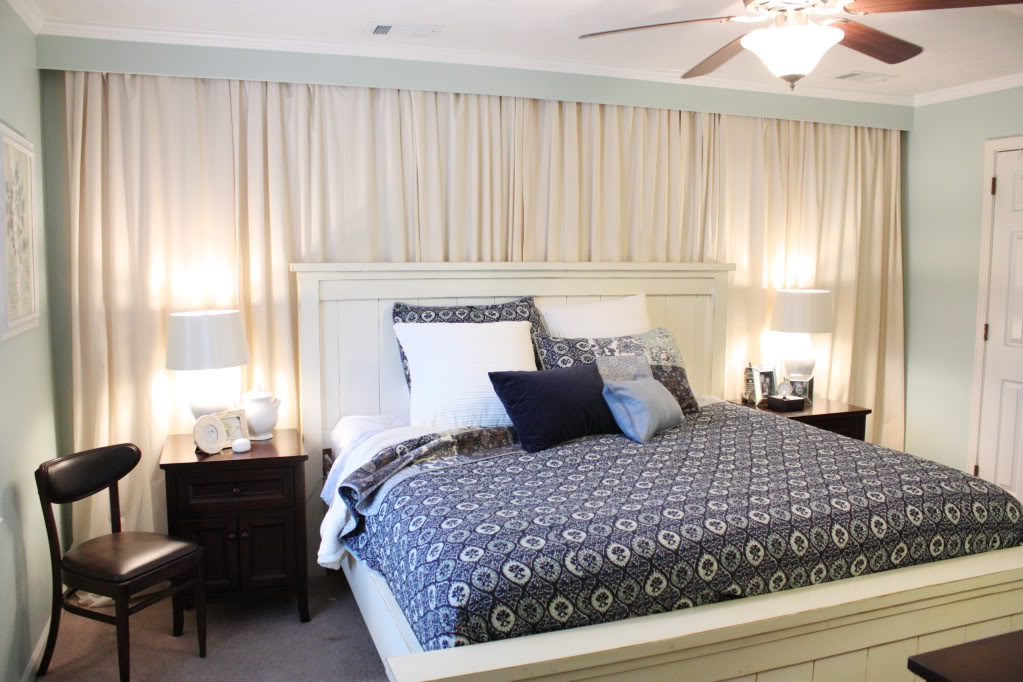
Did you know that it was a solution to an off center window?
If you can’t beat it, hide it behind a curtain and pretend it doesn’t exist.
Same principle works for forehead acne, muffin tops and those darn unpopular thighs of mine that touch.
Anyhoo…I literally have received hundreds of emails from fine looking folks (yes I can see through my computer to the people and every single one was PHAT…tryin to bring that back) who are looking to repeat the same technique…and I have told them that it’s coming.
IT’s HERE! IT’s TIME! IT’s the easiest thing ever!
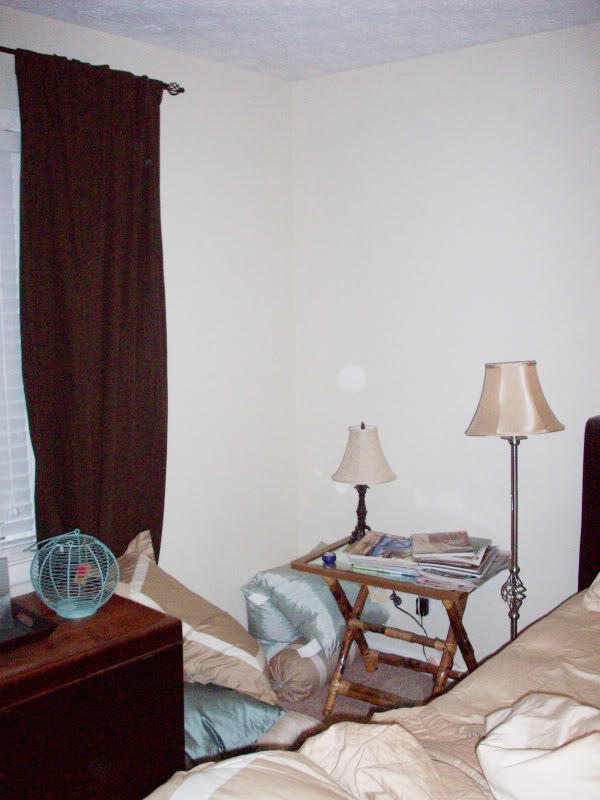
First a little blast from the past….we started out with a large room that had one big wall with one off center window on one side of the bed.
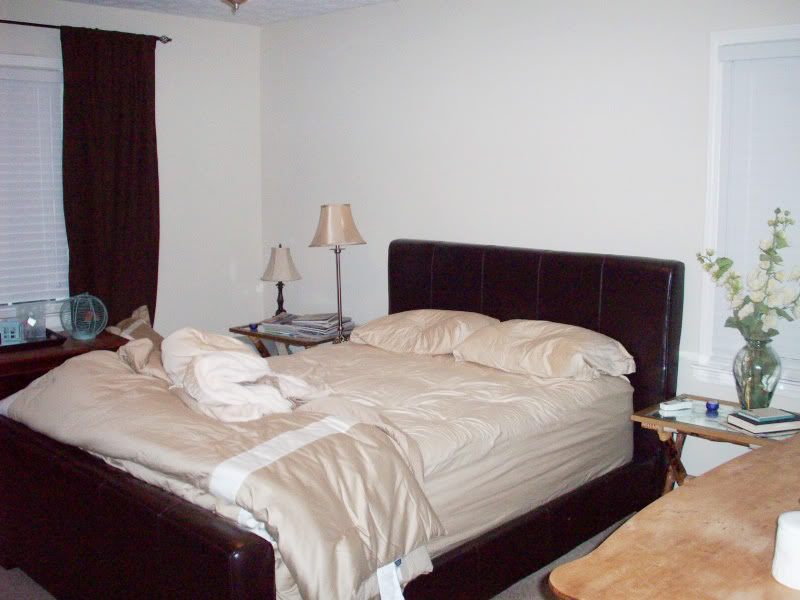
We tried to put the bed on this wall – centered on the window – with the brown curtains covering the entire space behind it – but no dice. The queen bed plus two nightstands was just too wide. not that we actually had nightstands. but it was a dream.
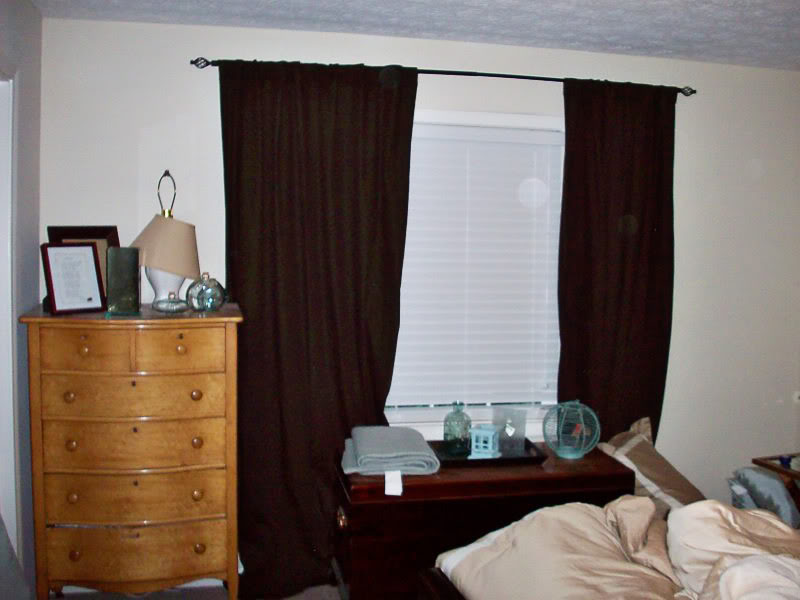
So we put the bed on the big wall.
But what does a girl do to balance out the window?
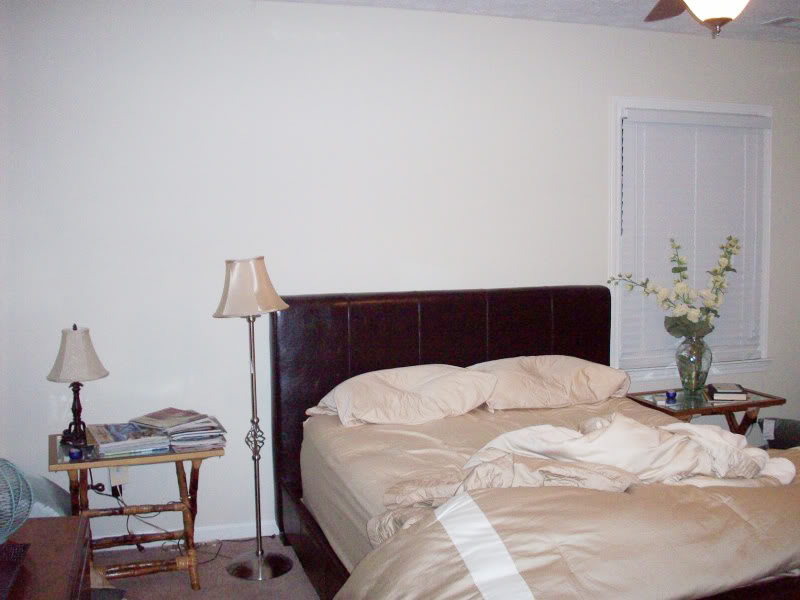
Obviously I could have hung something large on this side – like a mirror…or artwork. But then I found some inspiration that planted a brain worm about creating a caccoon…
So after we draped the entire wall with neutral (and uber cheap) Ikea curtains, we added a header to make it look like a seamless built in.
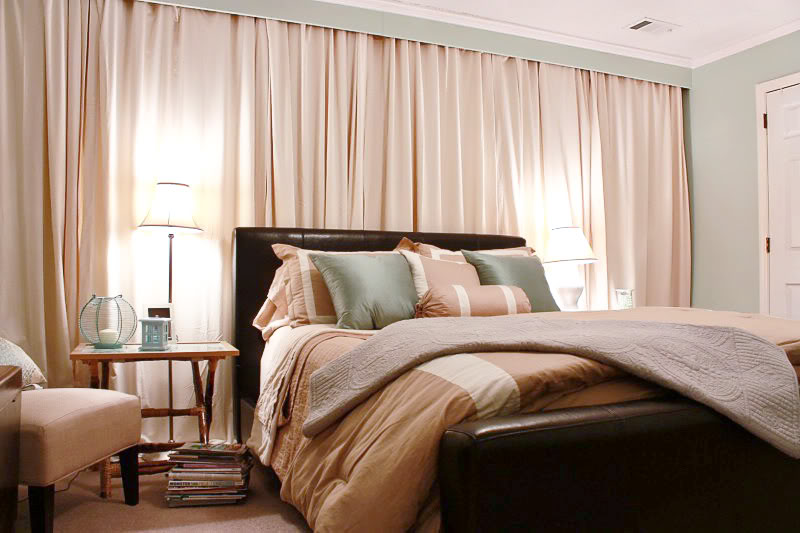
It really helped make the room look larger…
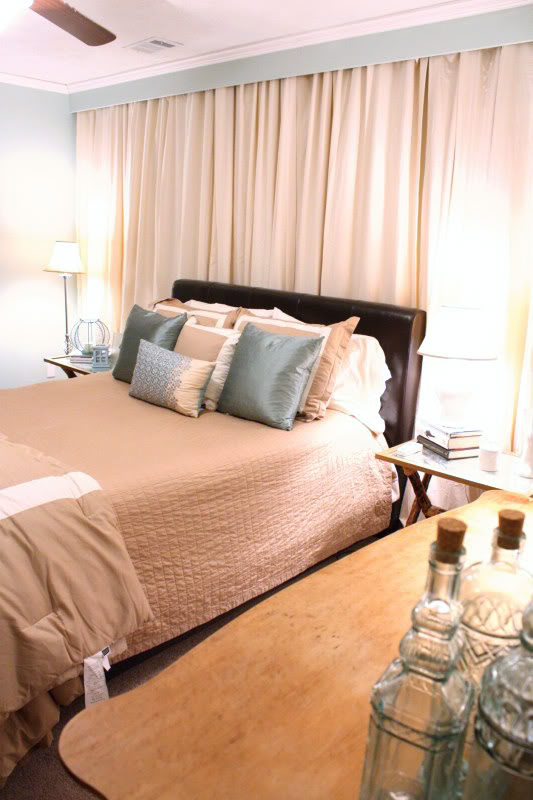
plus it blocked that darned window.
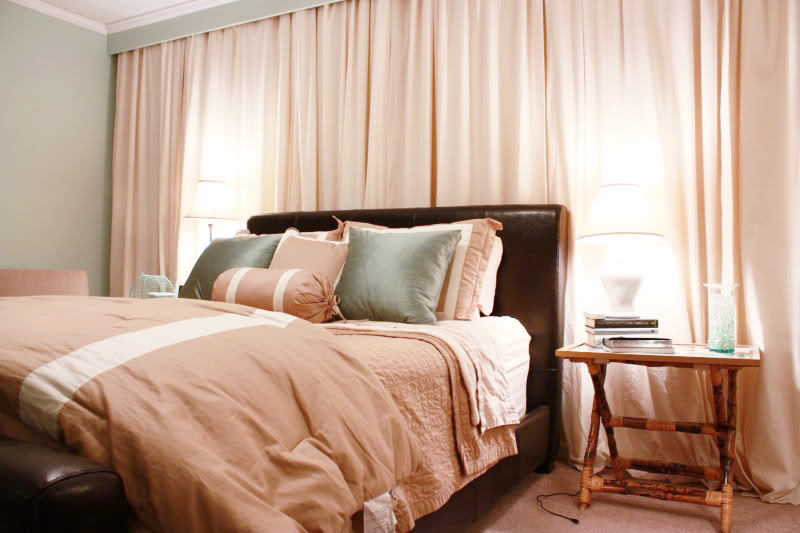
Okay – so that was phase one…
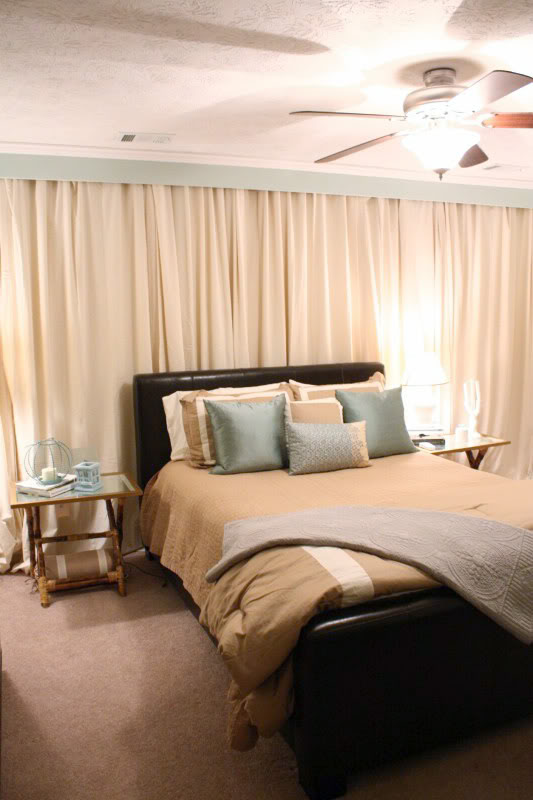
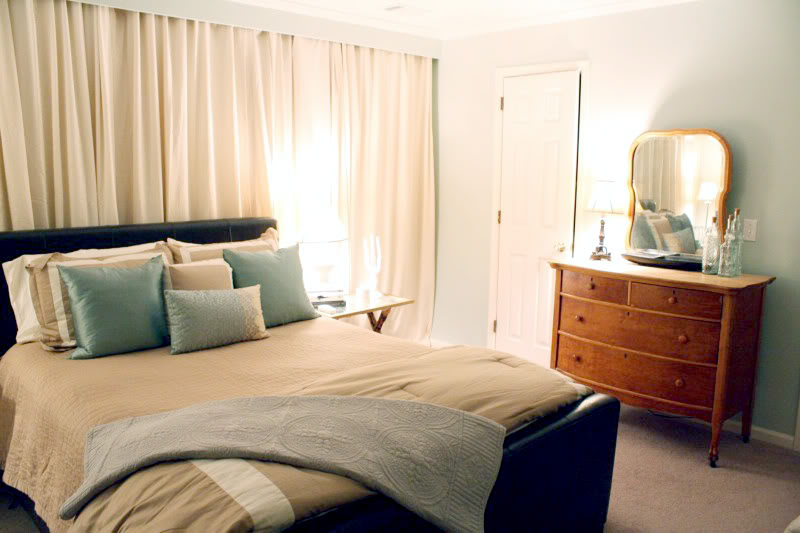
During phase 2, we included some new side tables (Canopy line at Walmart) and hung some art over the drapes too (it was really simple since two curtains met right there…all I had to do was use an extra long nail and pulled the curtains to hide any gap behind the frame).
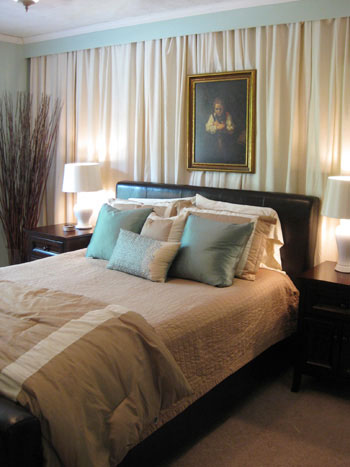
Then came a point where we decided to pop to a king sized bed…(note the blocked window shades are open here and you can see the outline)
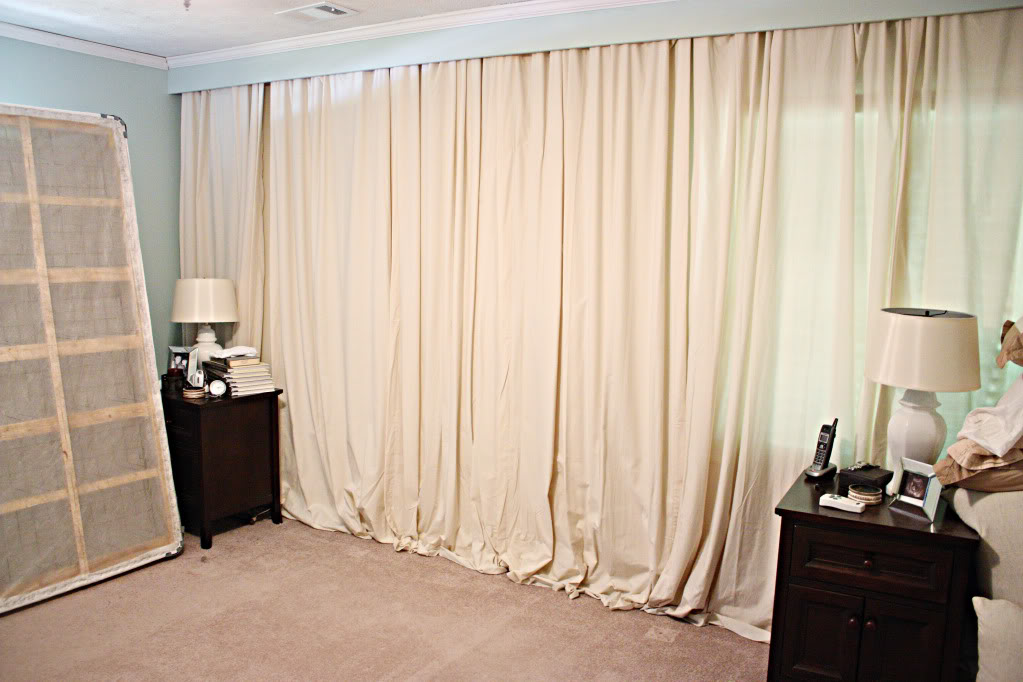
So phase three…new bed, new bedding….same curtains…
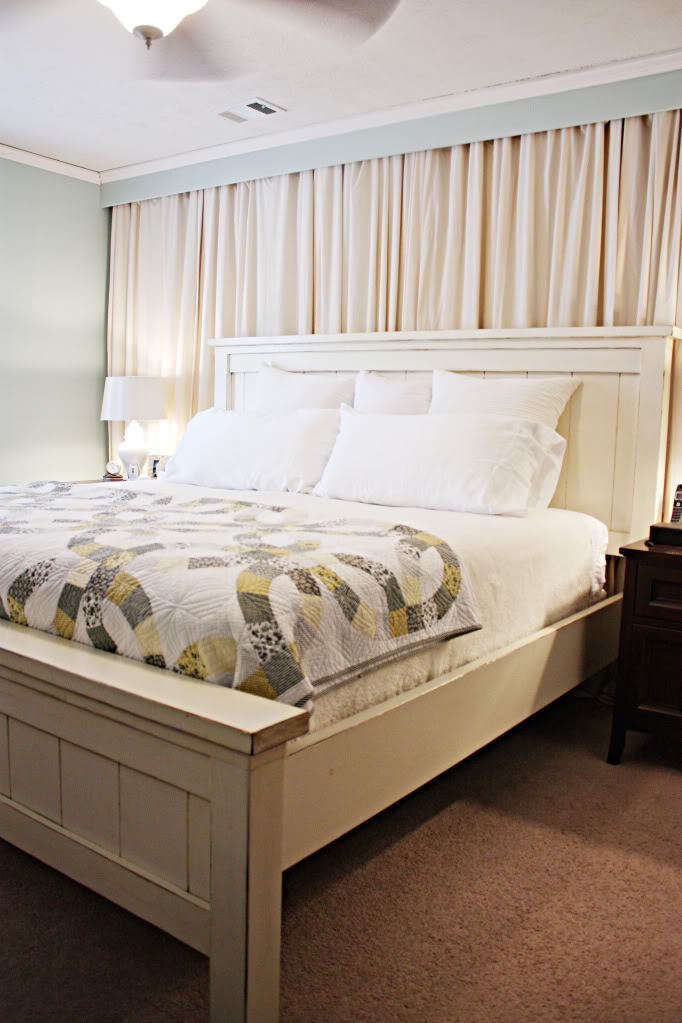
With the new king sized bed (yay for Jeremy’s handiwork) it meant that the blocked window was an absolute must-have. With the queen bed centered in the room, the edge of the bed frame extended over the window about three inches…but with the new king sized bed, it went practically a third of the window…so even if we had tried to balance out the window with a large art piece or mirror, it would have looked weirder than a turkey born with a head of a cat.
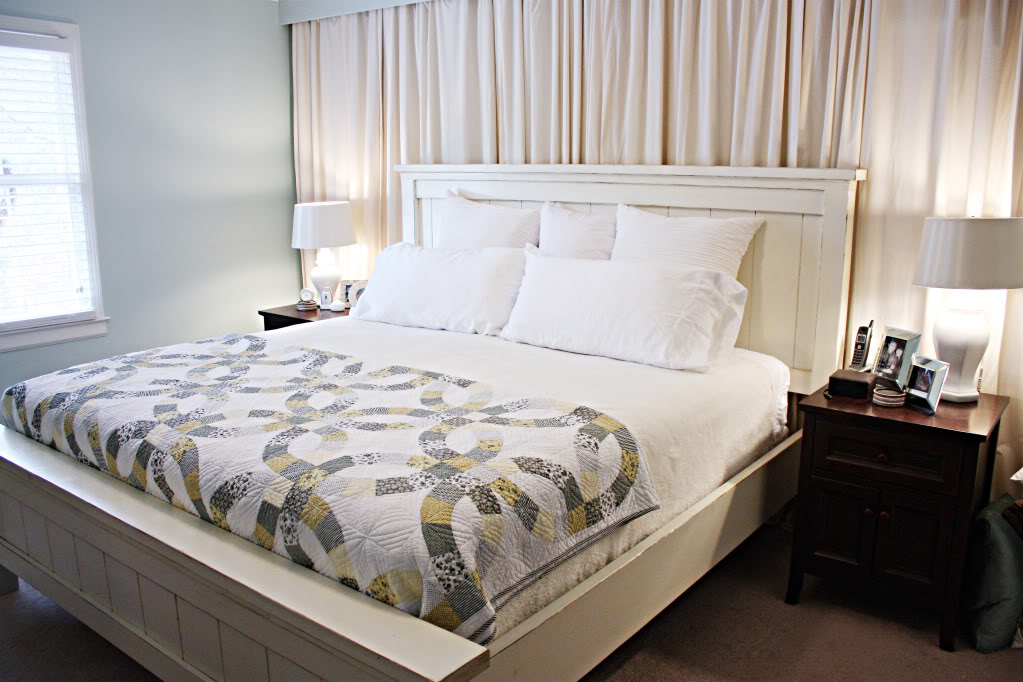
Phase four was all about the bedding…I finally got a king sized quilt and shams…
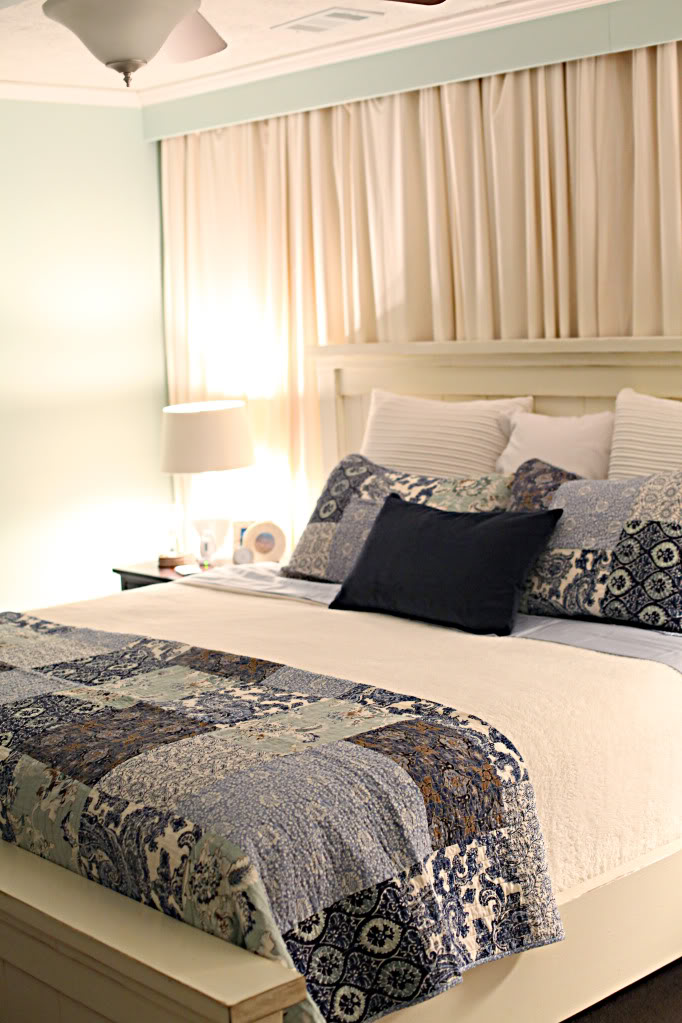
And they were (heavenly chimes please) REVERSIBLE. There is nothing I like more than two sided stuff. I like both sides of my boyfriend, bacon, and bedding. That should be my tagline.

And when we moved out from the old house, we left the entire thing intact. We figured that it was odd to remove all of the curtains when they were built-in.
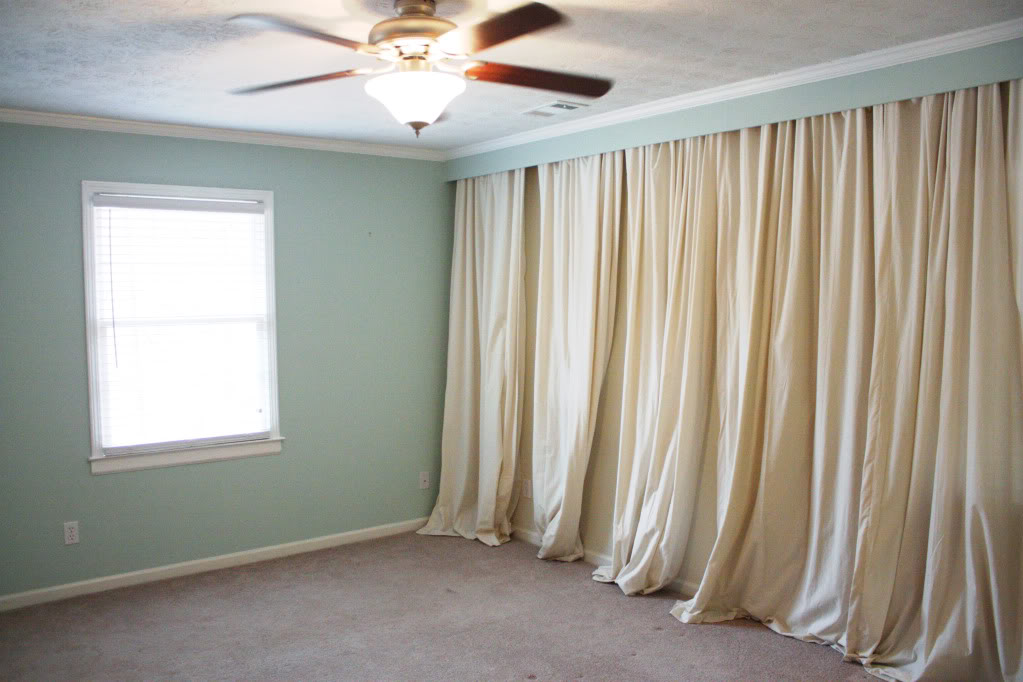
Okay – so now that you got the full blow-by-blow of the bedroom shananigans (well not all of them…wink wink), here’s how we did it….

First you have to install your curtain rods on the wall. I used two different sets with two very long extendable curtain rods. It’s important to put the curtain support brackets into the drywall with anchors…leave the studs for your header support. AND HERE’s the OTHER IMPORTANT BOLD LETTERED INFO: use extendable curtain rods!!! If you fail to do that – those drapes are gonna be up there with no way to launder them. yuck.
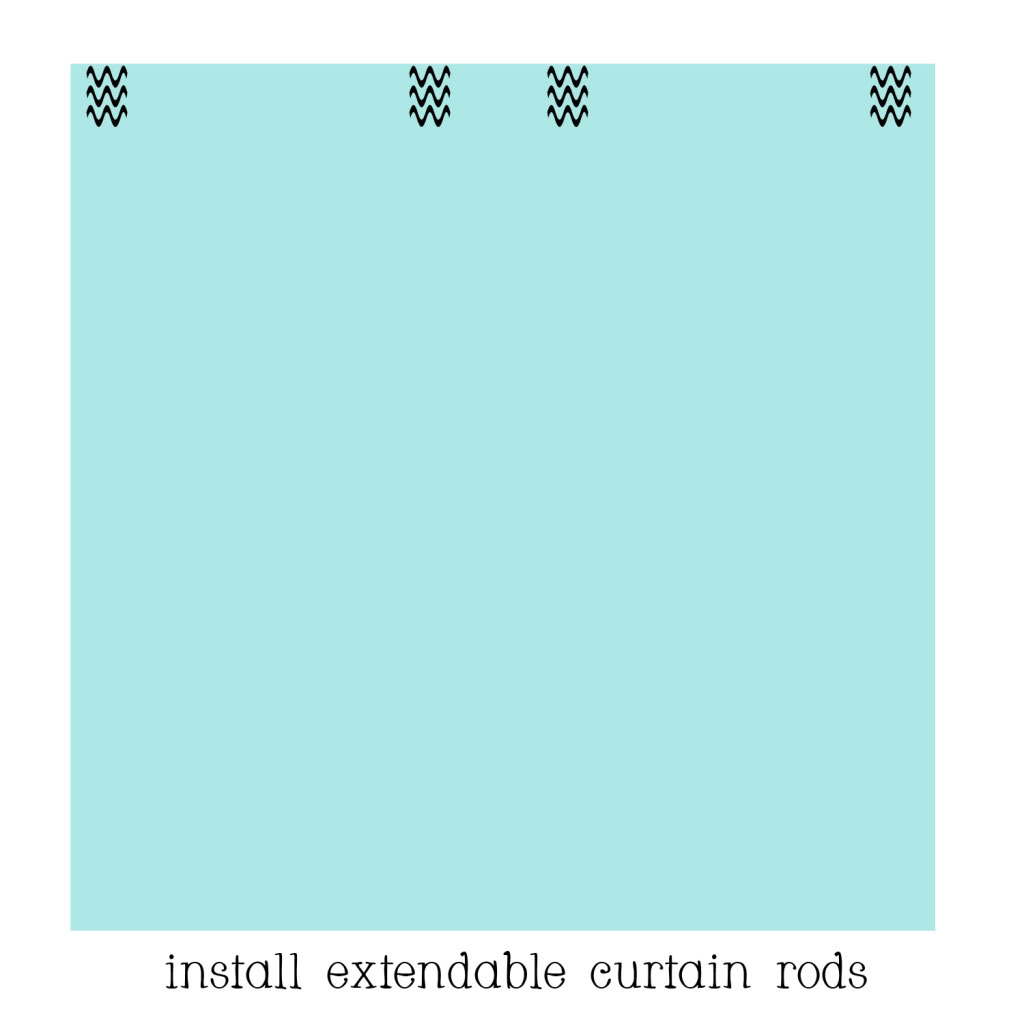
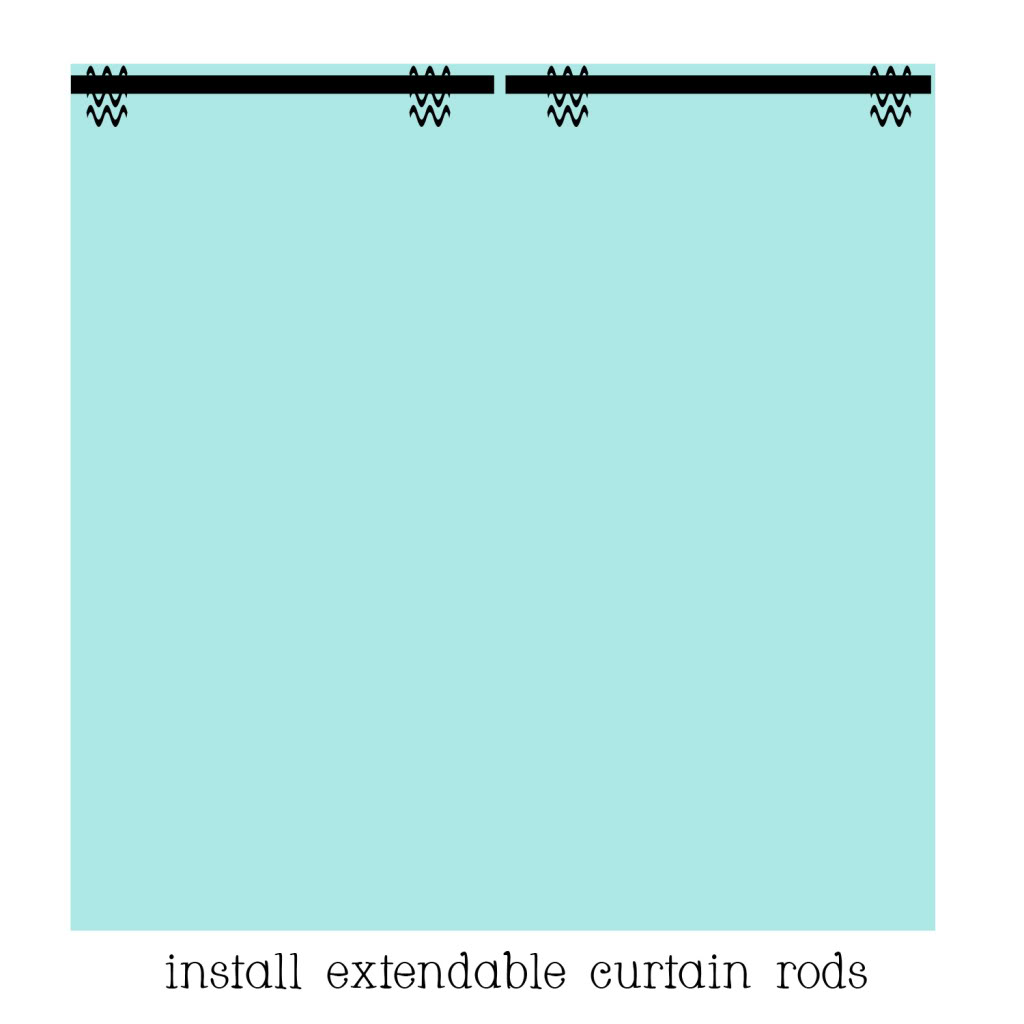
Okay – now that you have the anchored brackets up – put in your curtain rods.
Now you are gonna add some two by fours on either side of the brackets. You want them deep enough so that they extend beyond your curtain brackets. This is what is gonna support your header.
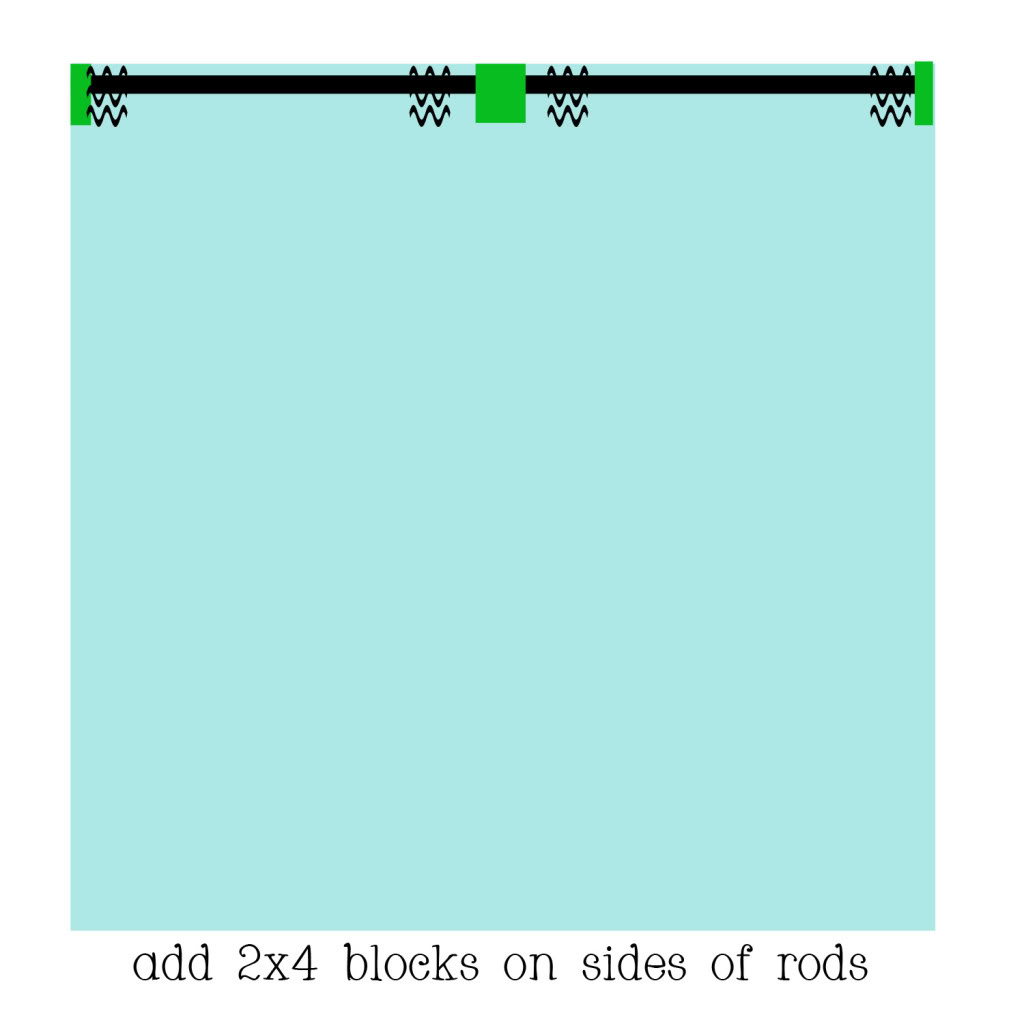
Now you are gonna take some more 2×4’s and put them below the curtain rods. This is key for proper support. Make sure you put them directly into the studs. And this will also mean that your curtain rods are now permanently built in. Your curtains you can switch up and loop around the studs because the curtain rods are extendable…but it means the rods are probably gonna be too long to remove.
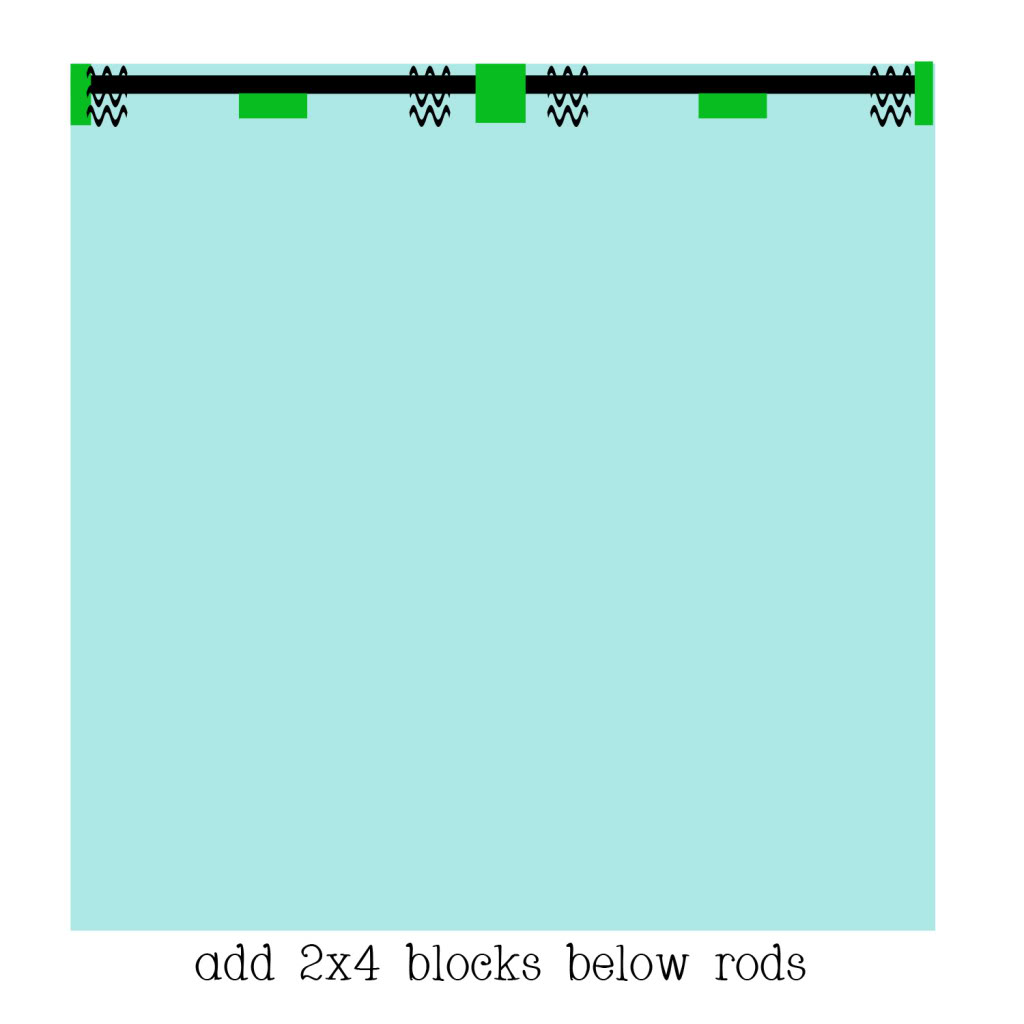
Now take a couple pieces of drywall and add to the studs. Fasten those bad boys down.
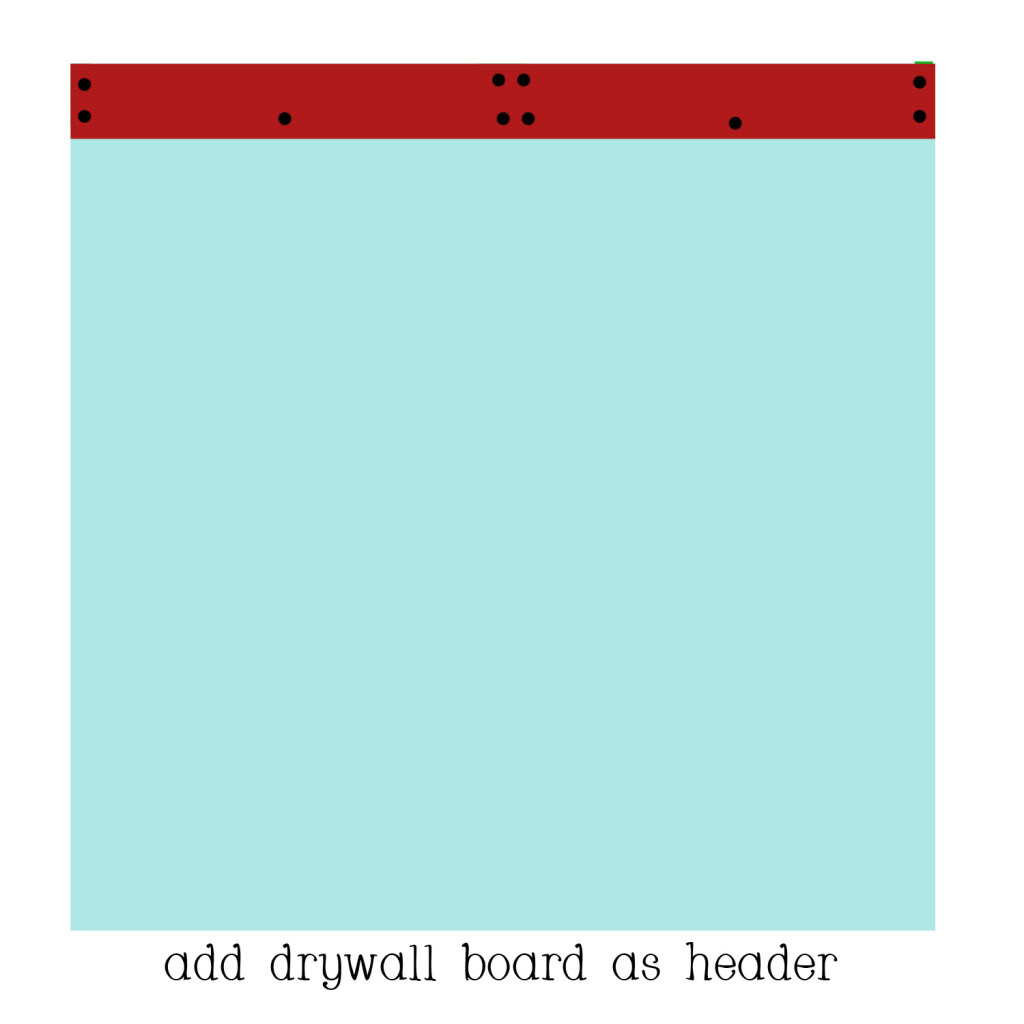
Add some crown to complete the built in look.
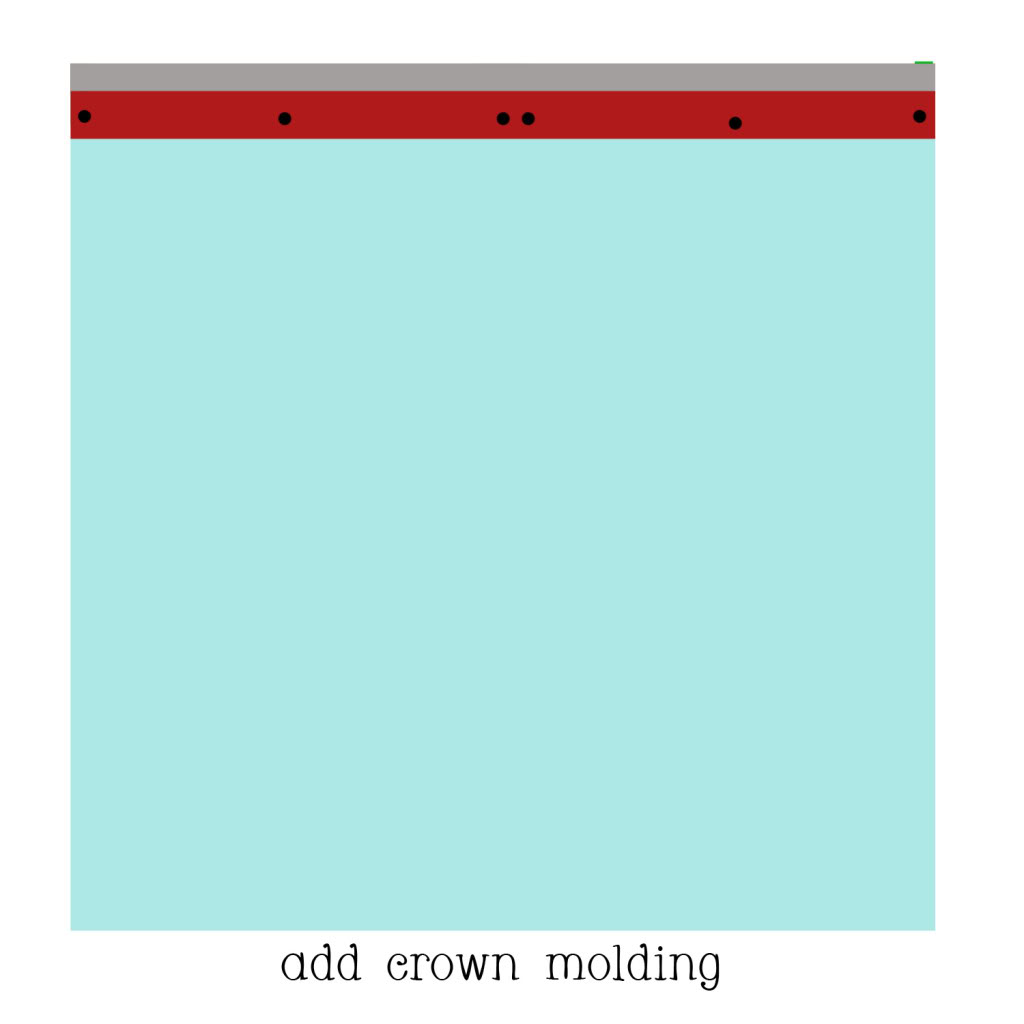
Caulk, paint and finally add some of those curtains!
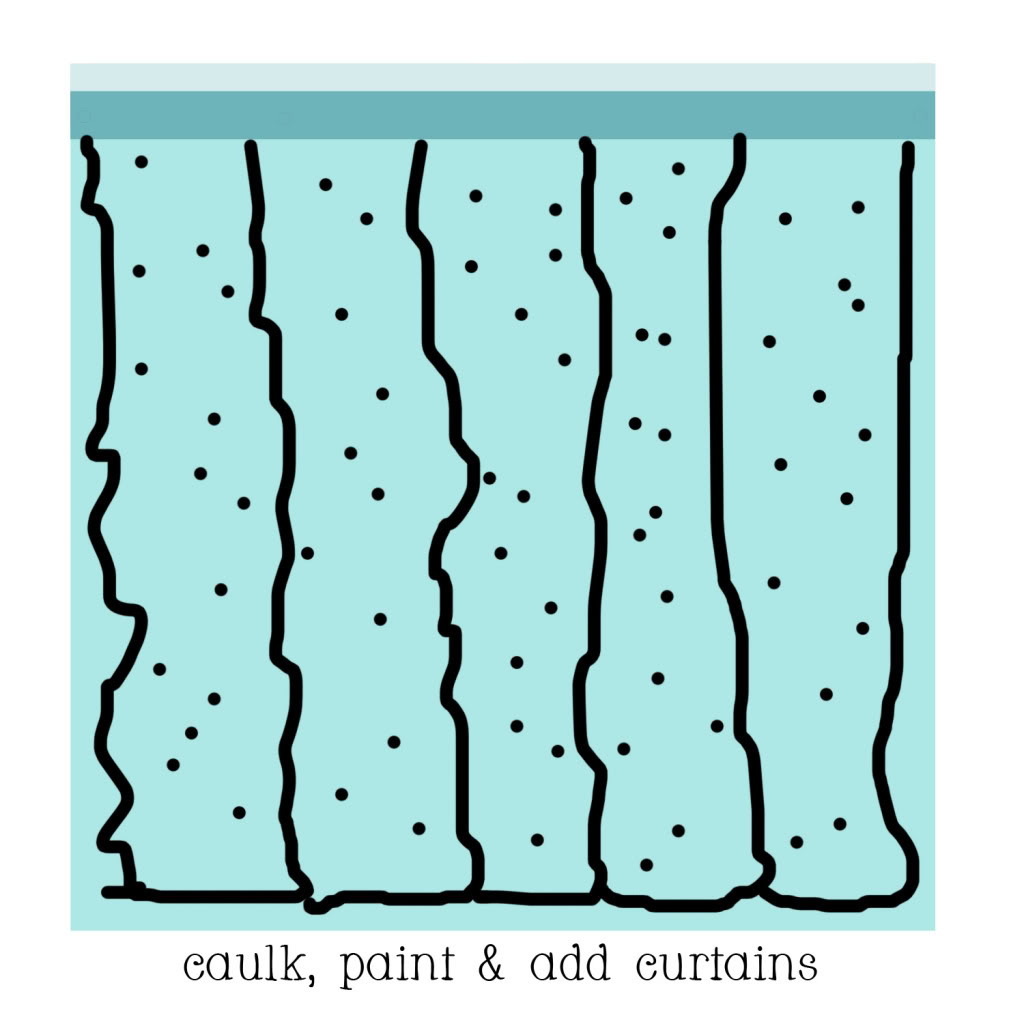
Celebrate like Pippy Longstocking with a weird hat who can simultaneously do the Michael Jackson lean, the robot and the bootyshake.

For some more visual aides that don’t involve my very artistic freehand drawings….
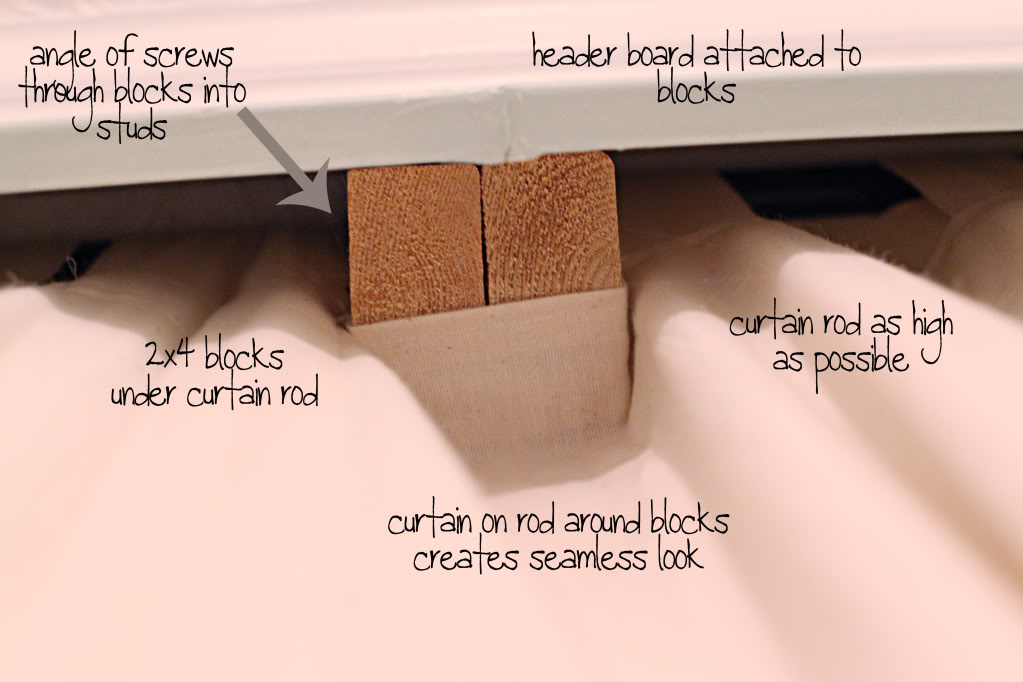
here is the picture of the corner of the wall. Note the curtain rod is extending to the wall and the blocks are screwed together and into the studs. The blocks are also lower than the curtain rod – so I could adjust it as far out or in as I wanted.
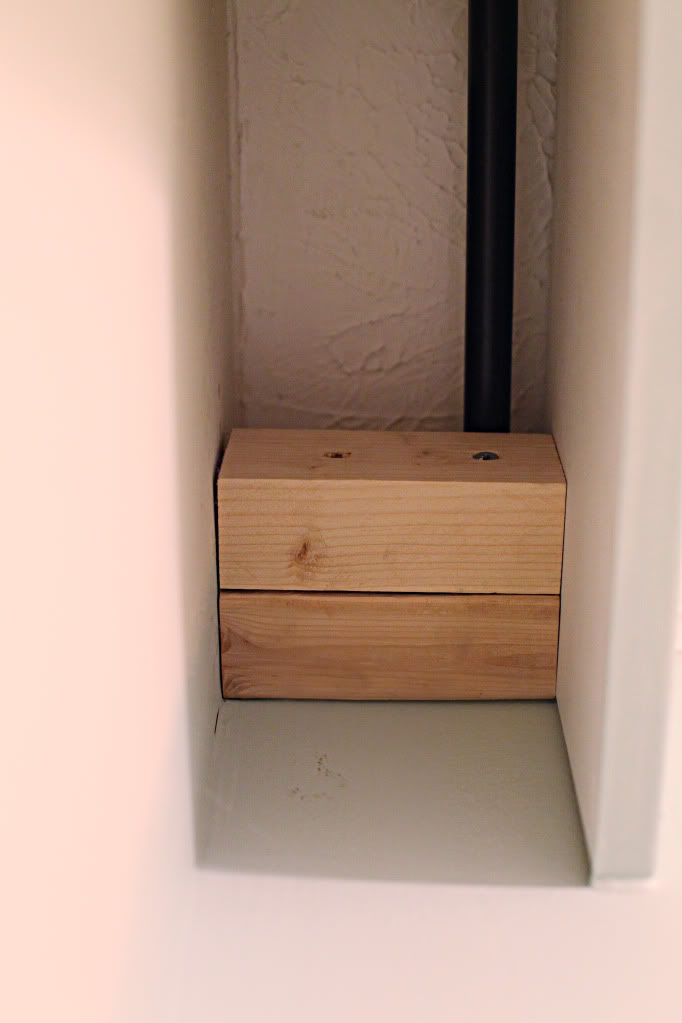
Here is the center of the header….we used two pieces of drywall that met in the middle – so that is why we had a double block here in the center.
See how I looped the curtain around the bottom of the blocks so that it looked really seamless? Oh and note that tab curtains are really really important.
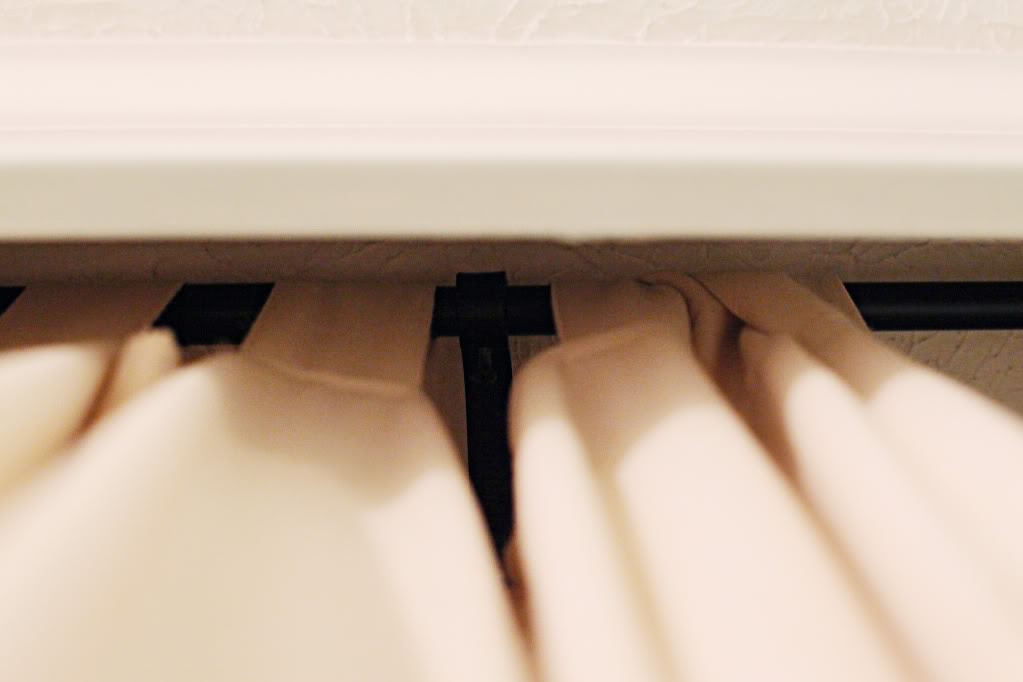
This is what it looks like when the brackets are without the blocks…and note the curtains on the right hand side. I would loop the curtains over one another when I had two meeting…it made it look more like one giant curtain vs. two.
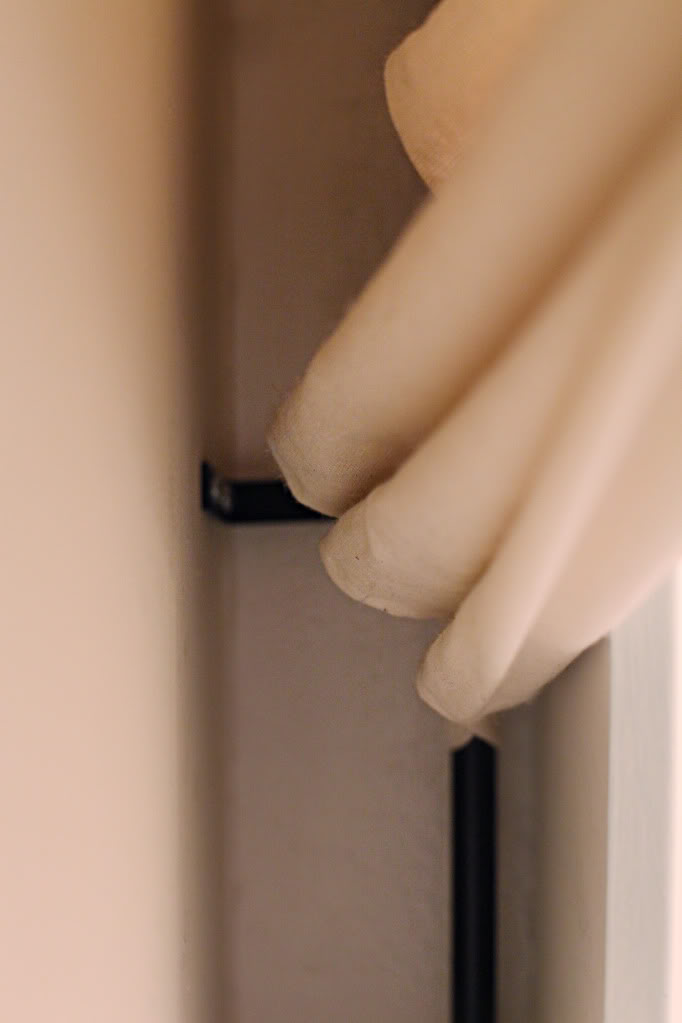
And here is the looking up at a bracket angle. See how close the drywall piece is to the curtain rod? The bracket is what gives you the clearance to hide the window.
So that’s it. A bunch of blocks to block an off center window. But in the end, I’m glad we had that obstacle – because it forced us to create that bedroom cacoon…and now I am a beautiful butterfly. You knew that was coming, didn’t you? Sorry to bug ya 🙂
ahhh I’m being attacked by a killer cheeseball!
p.s. my dad told me yesterday that he voted for me in the Homies thing. dude. do you know how much that meant to me?! I was beginning to wonder if he knew what my blog was called. It totally made my day. and just in case he’s reading now…daddy – I love you and those were just nominations. the top six go to the finalist round…which I’ve never made top ten…so I consider my current status in both the DIY category and the Home Design category a raging success. kinda like you 🙂
p.p.s. Dude! Katie! Give credit where credit is due! My bad. My original inspiration for the wall of curtains (Atlanta Homes Magazine) and the header (my darling friend Sherry’s old bedroom) a meeting of the minds. Click here to read all about it!
I have that leather bed! love it in a room done in golds, yellows, and blues. starry night by van gough is above my bed and ties it together perfectly!
awww your dad sounds super-supportive.
Thank you Thank you Thank you!! I have been going thru old posts looking for the how to on this, it makes a huge difference on the room. We live in a cookie cutter ( everything is builder grade) hearthstone home and I’m doing everything I can to add some character to make our home unique. Thank you for the step by step instructions!!
I love the curtain wall! It really does seem to make the room look bigger! And I really enjoyed your drawings. You are quite the dancer!
So cool! I love the curtained wall. I wonder if I can get that to work in my room…
Did Jeremy build your bed? It’s amazing! I’ve been looking for something similar, and if he did build it- no wonder I couldn’t find it 🙂
Aw, Yay Dad!
I know you’re being self-deprecating, but the comments about your weight/thighs/muffin-top bum me out a little. I think you’re gorgeous (like girl-next-door hot!) and it saddens me to think that you might not see it in those few extra pounds. Be in love with you (because we all are) and f the rest.
That aside, thanks for the tutorial 🙂 Your blog is one of the first I read everyday via Google Reader, and I adore your sense of humor.
This might be one of my favorite bedroom makeovers ever! The curtains looks so elegant and high-end. I’m trying to figure out how to do something similar in the new condo we’ll be renting without doing permanent damage to the walls that will impact our security deposit! 🙂
This was a very creative project! I couldn’t even begin to dream it up if I tried. That’s why there’s Katie Bower. 🙂
p.s. Dad’s are awesome.
Hey Katie- did you always leave the other window in the room uncovered? Were more drapes in the room overkill-ish?
I always loved the way that wall looked in your bedroom. Having a wall full of curtains just looked so dreamy. Do you think you’ll try to recreate this look in the new house?
This could NOT have come at a better time! I pinned this the other day because we are thinking about doing something similar in our bedroom and went back through your old posts (including “creating a cacoon”) and didn’t see the “how to” for your curtain wall.
Thanks for the write up, here’s hoping I can convince the Hubbs we need to do this and it all goes well!
It looks like such a hard to make custom piece, but you make it look so easy!! I love the way it really fancifies the room!
Also, loving Pippi’s hat!
Um, regarding the new king sized bed: “yay for Jeremy’s handiwork???” Are you saying Jer built that king sized bed?? If that’s the case, there’s NO HOPE for me to build that fierce toy box as I simply cannot comprehend the insane skill level possessed by your husband (that I, in fact, and completely and hopelessly lacking).
((sigh))
Gorgeous makeover, btw. And your drawings are amazing. 🙂
Those curtains made all the difference in the world…great job!
Awesome tutorial!!! I loved that look so much. Thanks for sharing… and thanks for the laugh this morning…I seriously laughed out loud, all alone in my office… lol glad no one walked by.
Actually the bed was super easy (aside from the fact that it was heavy as all get out) but Ana White’s plan was simple to follow…you could build it 🙂
xo – kb
Probably not since our ceilings are so high…it would be nice but really pricey to find curtains that long.
xo – kb
I did…but there were plans at one point for complimenting window treatment…just never got around to it 🙂
xo – kb
haha…you are too sweet. Don’t worry about me – I am just realistic. I got problem areas…just like most people…and not afraid to admit it…and I am also not afraid to say that I photoshop myself whenever I deem appropriate 🙂
xo – kb
He sure did. Here’s the link if you wanna check it out.
xo – kb
I love reading your blog, it always make me laugh while providing some great ideas. Where did you get your bedding from? I love the colors and the fact that it’s reversible too. Thanks for sharing!
Do you know the name of curtains and where they came from? Thanks so much:-)
I love this! I’d always wondered how/why you extended the curtains (I didn’t start reading until after you moved).
Best.tagline.EVER!!!! I may just have to borrow it (with proper credit, natch)
Looks great! Where did you get your extendable rods?
Thanks!
Looking fancy!
I wish I could do something similar but here in Arizona we live near a lot of citrus trees so we get a lot of bark scorpions in the summer. I’d be afraid that scorpions would climb up the curtains and attack us in our sleep! EEEK, you’re so lucky you can have stuff touching the ground. Jealous.
Thank you for posting this – I heart you, Katie Bower! If I wasn’t at work, I’d totally be doing the Pippy Longstocking dance. 🙂
And your note about your dad made me tear up. Hope your day is a great one.
Haha Keryn, I always save Katie’s posts for last… like saving the whip cream from frappuccino.
OMG! I cannot believe you just did this! I have literally been reading all of your archives whenever I have downtime to figure out whether you had a tutorial on this exact thing (after searching “master” and “curtains” and coming up with nothing). This is exactly what I was looking for. I’m thinking of doing this with a hidden closet behind it for my daughters’ (closetless) bedroom…thanks sooo much!!! Ok, I will still keep reading the archives though because you’re so darn entertaining…
…love the evolution of your bedroom, in your first house.
..I just voted for you….and found that you’re voted for 3 categories: “home design blog”, Best DIY blog”…AND “Best Family blog”. You got all 3 of my votes 🙂 cuz your blog rocks!
Aww thanks Melissa – I am soo grateful to you!
xo – kb
Oh my lands end…that is probably the freakiest thing I’ve ever heard.
xo – kb
I got mine at Ikea…but they sell them at lots of places.
xo – kb
All I know was that they are the cheap cheap cheapest at Ikea.
xo – kb
It was from JC Penneys 🙂
xo – kb
just gave you my vote- cause I’m awesome like that 🙂 fingers crossed for midnight! you so deserve it!
did you make the cubbies in Will’s room from Ana’s plans too? I could scroll back to find out…but this seems easier-ha!
“There is nothing I like more than two sided stuff. I like both sides of my boyfriend, bacon, and bedding.”
That is the funniest thing I’ve read in a long time. You’re hysterical. 🙂
Uggggh. You are sooo not funny. At all. Your house is quite ugly. The only reason your blog has any “popularity” is because of YoungHouseLove. Why are you trying to be them? Why aren’t you funny? We will never know the answers to these questions. So you should just go away and stop blogging. Do the world a favor.
Katie, dear, we ALL like both sides of your boyfriend! (Has anyone ever complained that there are too many pictures of Jeremy? No? Didn’t think so!) I’m redecorating our bedroom this spring, and also have an off-center window. I was planning to curtain the whole wall, but wasn’t quite sure how to do it. Thanks to you, I now know exactly what to do. You’ve saved me a lot of time and a whole bunch of trouble. (I’m sure that man of mine will appreciate not having to deal with one of my hissy-fits.)
Love that curtained wall!
I voted for you in both categories! Just wanted to say thanks for always keepin it real. That sets you apart from a lot of other bloggers and what makes me love your blog so much. That and the frequent mentions of the 3 B’s (boyfriends, bacon, and babies). Who wouldn’t love that?? 🙂
Aimee
My goodness, that turned out so great. Your bedroom is grand, gorgeous and like an upscale B$B/personal hotel.
Wow. Sounds like I need to up your dosage of the Bower Power koolaid stat! 🙂
xo kb
just the dose of sunshine i needed to get my day going!
hope that person feels better about herself after saying those things.
Loved those curtains. Katie, I don’t know how to approach this nicely, but your comments about your weight are awful. MOST women have more problem areas than you and when you complain about your thighs touching.. how do you think that makes people feel who have maybe 70 lb to lose for example and you are basically saying that even your body isn’t good enough when most people would say it is. I know its your body and you have a right to say what you want but it is only hurtful to your own self esteem and often time others’.
Her house is unfinished, first off… Secondly, what does your house look like? Cuz its pretty easy to
spew crap to ppl while hiding behind your computer….
I totally understand what you are saying Francis – and I think that it’s hard for us humans in general to ever think we are good enough…especially when it comes to how we look. I have to be honest though – I compare my post-baby-body to my college days body…we all compare, don’t we…and it’s not to discourage anyone – it’s just to show that we all judge ourselves and think there’s room for improvement when it comes to our shell. Sorry if it’s annoying.
xo – kb
Love this idea! I think adding the header really makes all the difference, and is not really that complicated. What is the paint color you used for the walls? It is such a great and warm feeling blue!
http://pinterest.com/pin/242068548691146942/
Bacon Roses!!!
Hi Katie, I have always loved this curtain wall, and I’m so glad to see the tutorial! We had a really hard time finding a bed with a short enough headboard not to block the window behind it, and we eventually gave up and are living with the partially-blocked window look. I think this curtain wall would be a very pretty solution for us.
A few questions though…Do the 2×4’s that go below the curtain rods need to be deep enough so the rods can sit on top and be supported? Also, do you know the approximate cost of this project? I know you did it a while ago so I’m not looking for specifics, but if you could even give a rough estimate, that would be very helpful in convincing my husband that this needs to be our next project. 🙂
Love the curtain wall, you totally inspired me to do this in my bedroom. My wall was shorter (and I’m lazier…) so we just used a 2×6 for the header and screwed it into the ceiling with l-brackets.
Thought it might be useful info for someone with not as much length to hold up. Yours looks much more professional though!
Um, this is a total rip off of yhl’s original bedroom. I remember that this is in fact how you guys became friends: bc you emailed her a pic of your copied bedroom “inspired” by theirs. Since sherry has done so much for you, I’m amazed you didn’t give her a smidge of credit about this project. Ugh! And this copycat blog is a finalist for the Homies?!!!!
haha…That’s RIGHT! I did find the inspiration for our header from Sher’s old bedroom header! I’ll edit it to make sure she get’s the link! And I should probably credit the old Atlanta Magazine because they are the ones that inspired the wall of curtains 🙂 Good thing she’s my best friend – hopefully I can beg her forgiveness 🙂
xo – kb
Hi there! Love this idea…love the header and love the curtains! You said that they are Ikea curtains? What is the name and how long are they! Currently, our king size bed is in the middle of the windows, but we are needing to move the bed over which will split one of the windows, so that my husband will have more room on his side for transferring out of his wheel chair. I love that you used drywall for the header and trimmed it out nicely with crown. Thanks so much! Tammy
I don’t remember the name but I do remember that they were 101″ long.
xo – kb
Looks gorgeous and high end!
How many pairs of curtains did you get? My wall is 154 inches, the panels are 57 inches, having a hard time figuring out how many pairs are needed.
Our wall had four pairs (eight curtains)…which I would think would look plenty full on a wall of 154″. I think you can safely assume the curtains would take up half of their width…making it perfect for six to eight curtains.
xo – kb
Im.curious how I dressed your other window? I have an off set window with a king sized bed as well, and I’m considering wall-to-wall curtains, but I dont know what to do with the other window? A shade, blinds, more curtains seems like too much…
We just did a regular rod with curtains to the floor 🙂
xo – kb