First post of the new year involves 2 of my many MANY resolutions (um, I think I have about thirty).
#1 Resolution – Make our house a little more like our home.
#2 Resolution – Become more organized. (aka – make “homes” for our junk)
So obviously when Lowe’s Creative Ideas magazine offered up a challenge to create a toy box (cute theme for December – aka: the Month of Toys) I was all about it. Dude, if toys were sequins, Will would be Lady Gaga…except without all the money. IF ONLY! So we need storage. Not only would a toy box be a great idea for the excessive number of plastic things that light up and play music while teaching some crucial tidbit of information – like animal noises…but it would also make me feel like this house belongs to us. I know that sounds crazy. But having custom built furniture for our spaces makes those spaces feel more complete…more finished…more like this is a permanent home instead of just a temporary place for our stuff. It sounds even crazier when I try to explain it. So let’s not continue on that path of insanity…
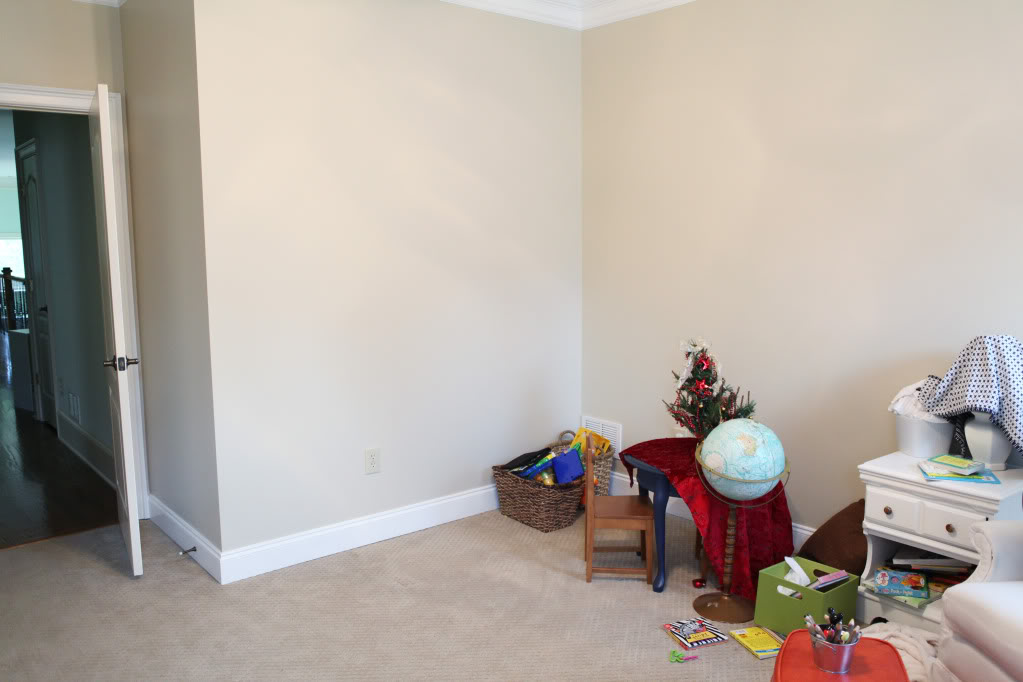
Here’s the space where I wanted a toy-storage-palooza:
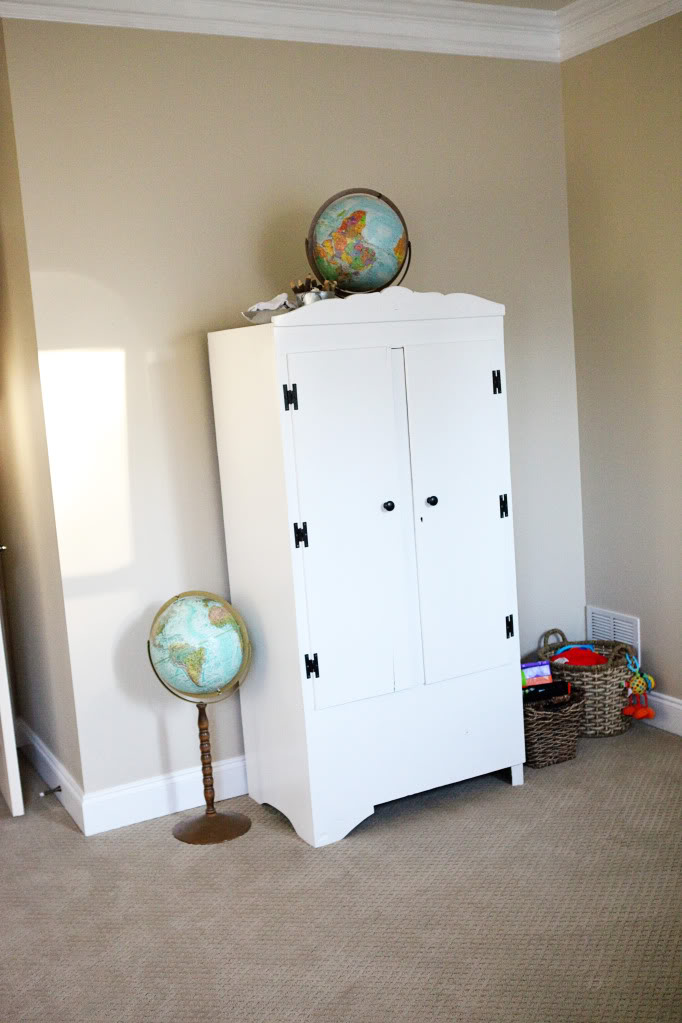
(Note the freshly painted room sporting the vent in the corner – that will come into the planning process later)
I told Jer that I wanted a toy area that Will could do all by himself. A standard toy chest that opened from the top would be unrealisticl right now (our twenty month old is not tall enough to open the lid much less access the toys) and dangerous for his little fingers (if the top came slamming down)…so I decided that whatever we built for his room would have to open from the front (vs. the top) and that way the newly-fangled “lid” (aka the front) would also be a great area for Matchbox cars to be driven on…anything for my baby to think I’m remotely cool 🙂
I found a plan on Miss Ana White’s little project archive that would work perfectly (with modifications) so we measured the space and decided that we would need two toy box bases (here’s the plan for one with an open front) …with a hinged front “lid” on each that would keep his digits safe and still allow clearance on the side with the air conditioning intake vent. And we also wanted to splurge on some upper cubbies for additional storage.
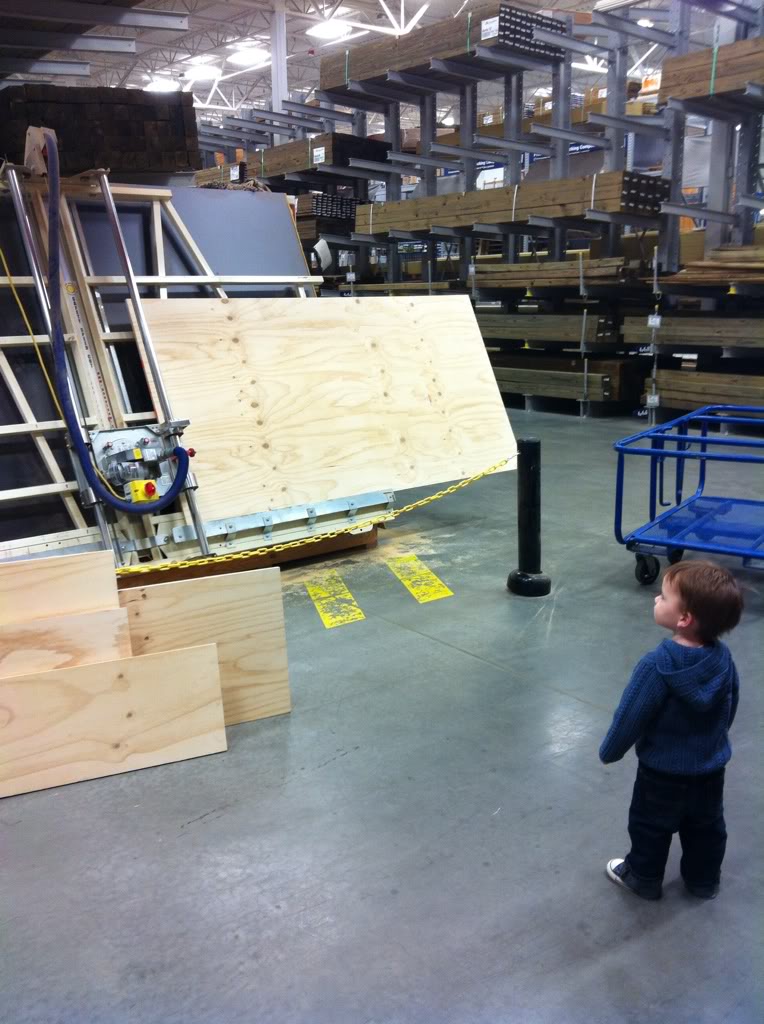
The guy at Lowe’s helped us cut the boards into more manageable pieces so that Jer could perfectly cut the pieces to the right size.
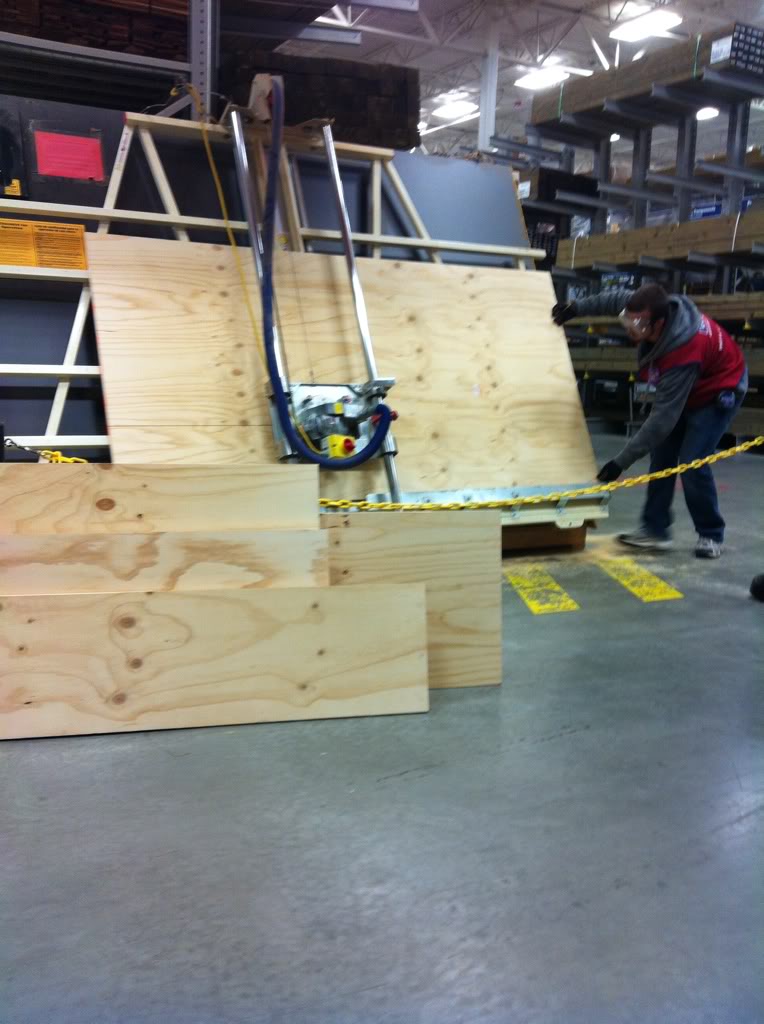
We personally do not recommend letting the guys at your local home improvement store cut all your pieces…ESPECIALLY if you need them to be perfectly square. Unless you stink at cutting. Then…well…let them do it and invest in sandpaper 🙂
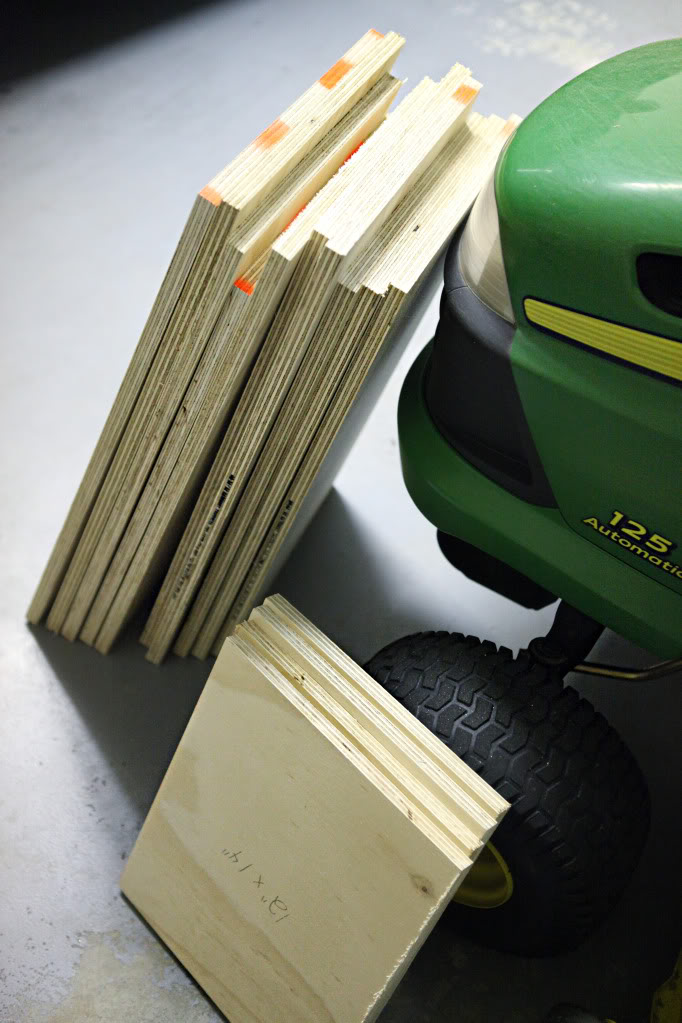
Jer set up shop in the garage to build and finish the pieces. It’s warmer in there than the basement and outside and when you are working with bare hands it helps to have feeling in your hands. Unless nailing your numb fingers to wood is your thing…I know that it probably is for someone out there…
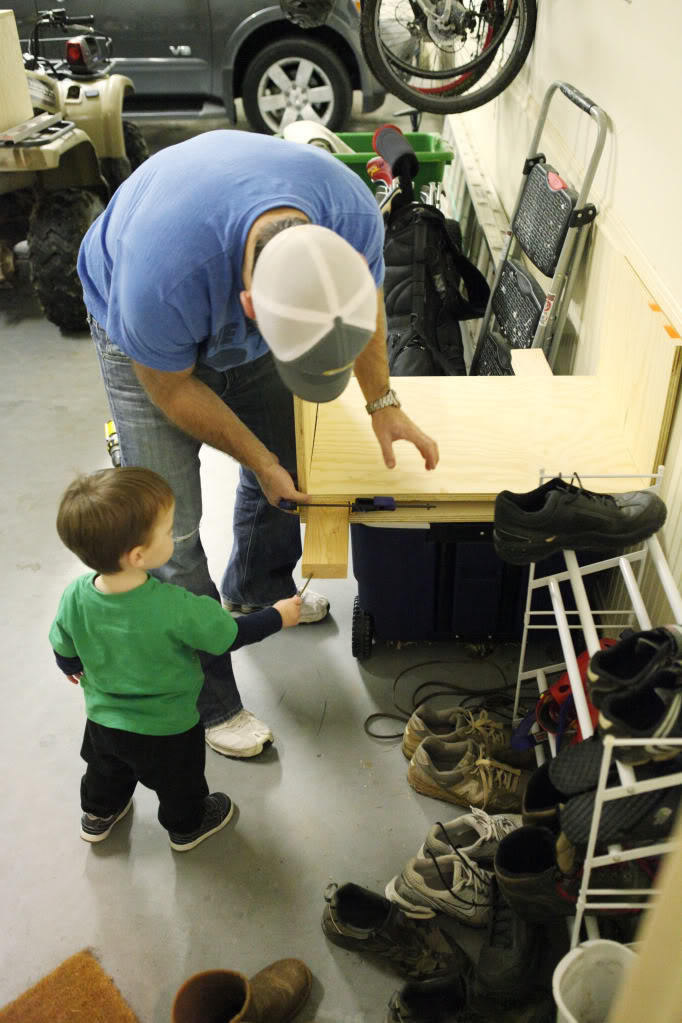
Note our very cool workbench…pun intended…
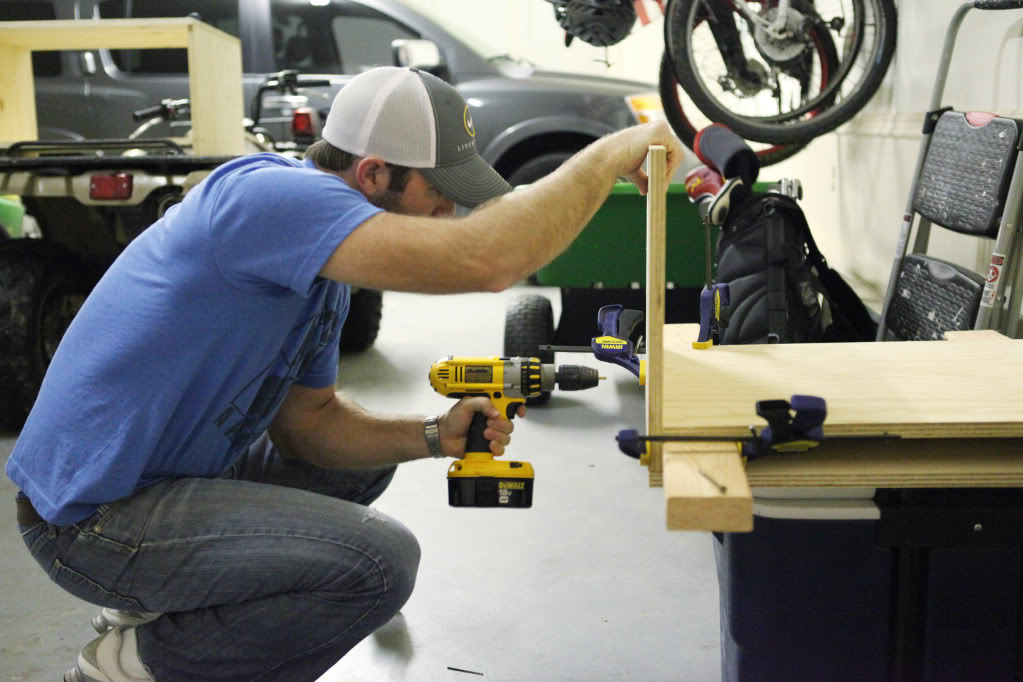
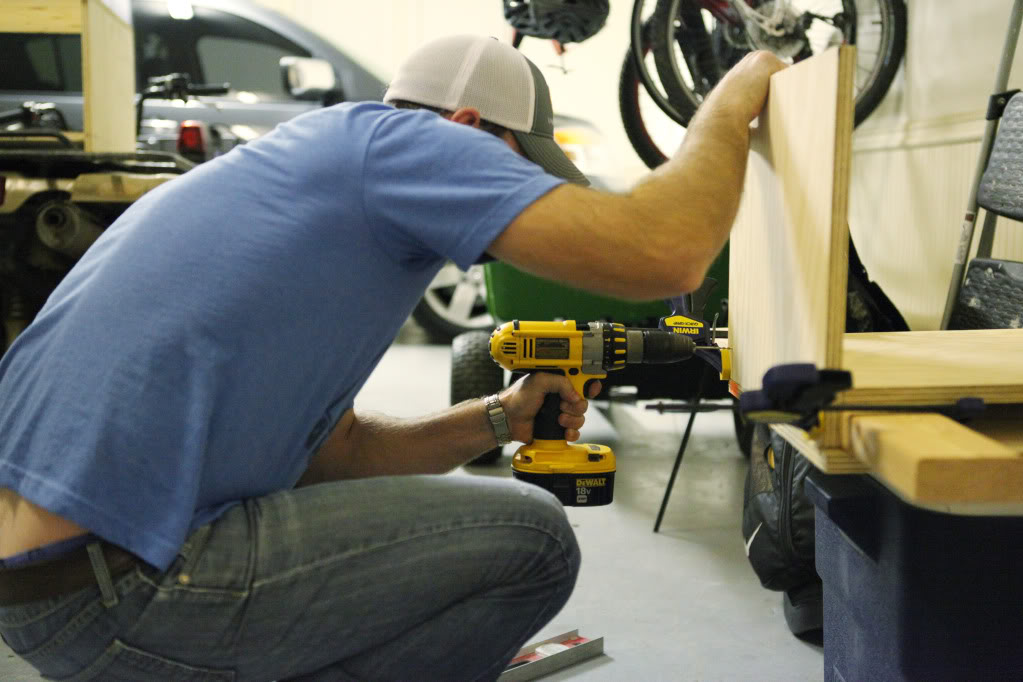
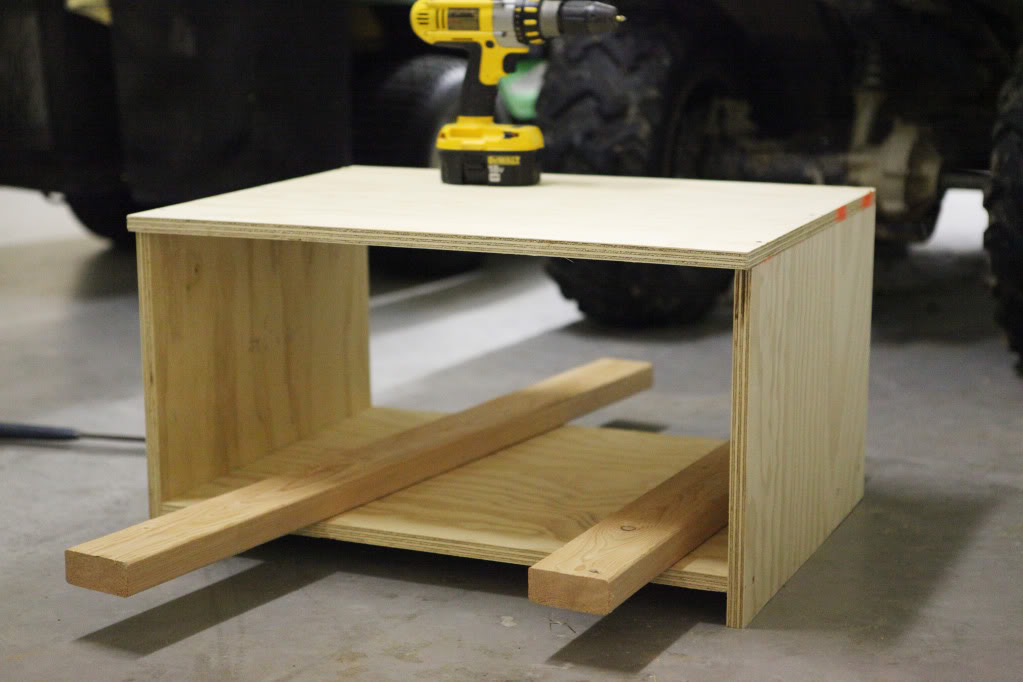
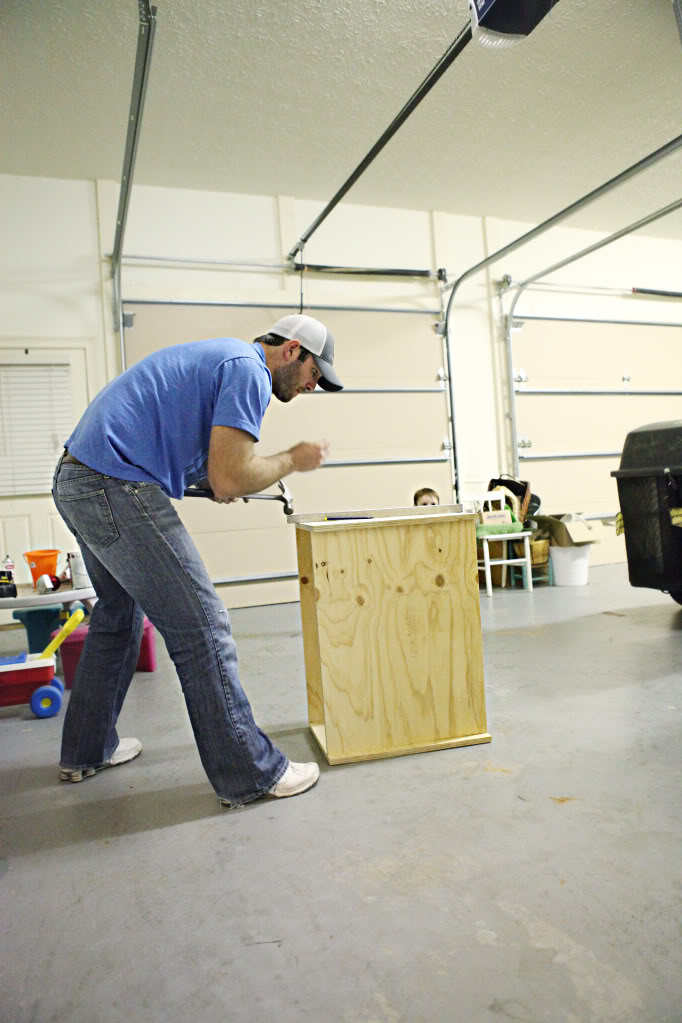
Jer predrilled for all the screws before assembling…
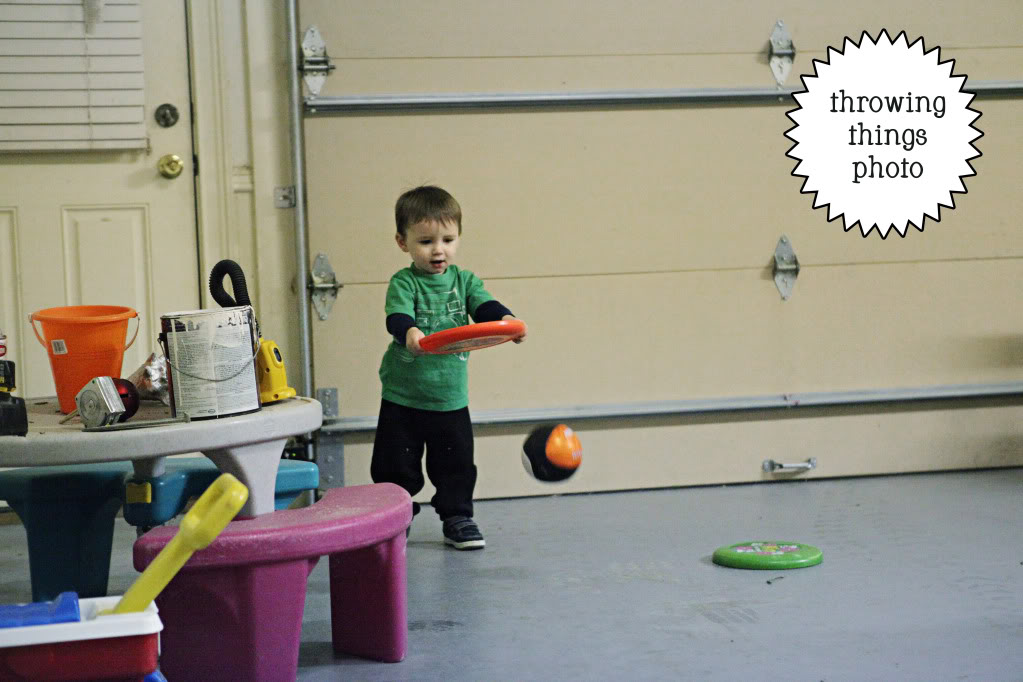
and our little man decided that it was perfect time to get his ‘throw’ on…
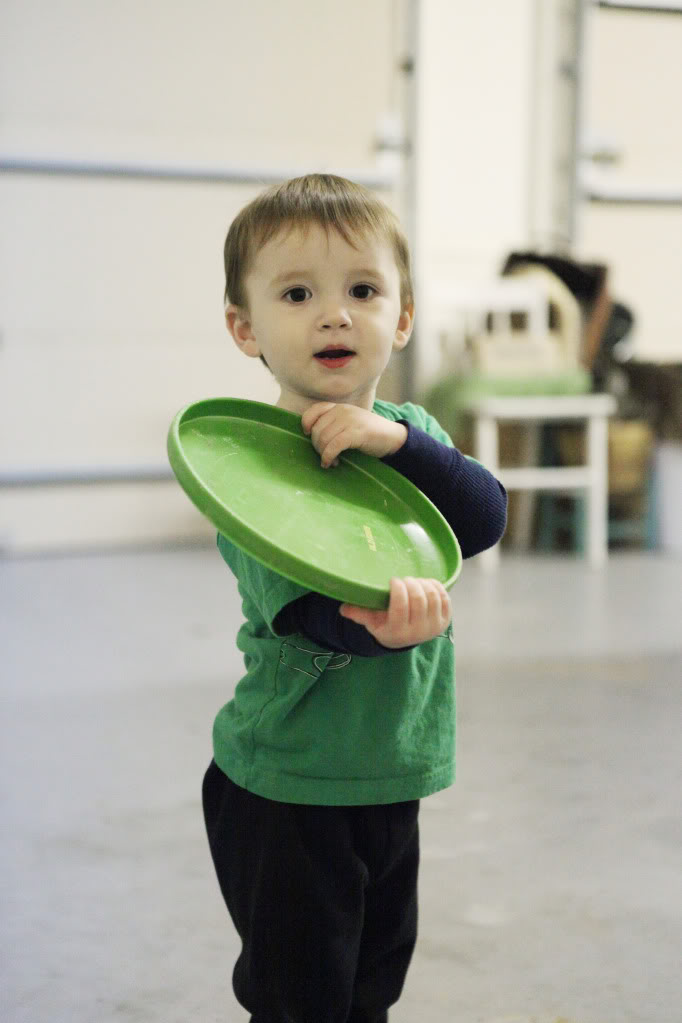
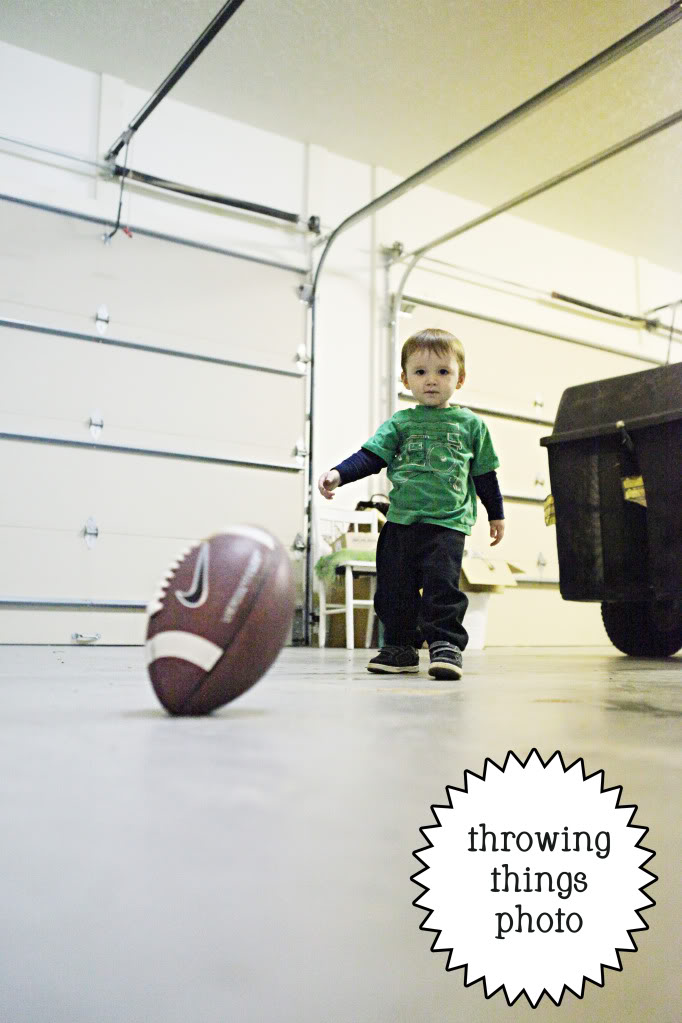
really this photo should be labeled “throwing things with other things photo”.
and this one would be “throwing things then kicking the same thing photo”
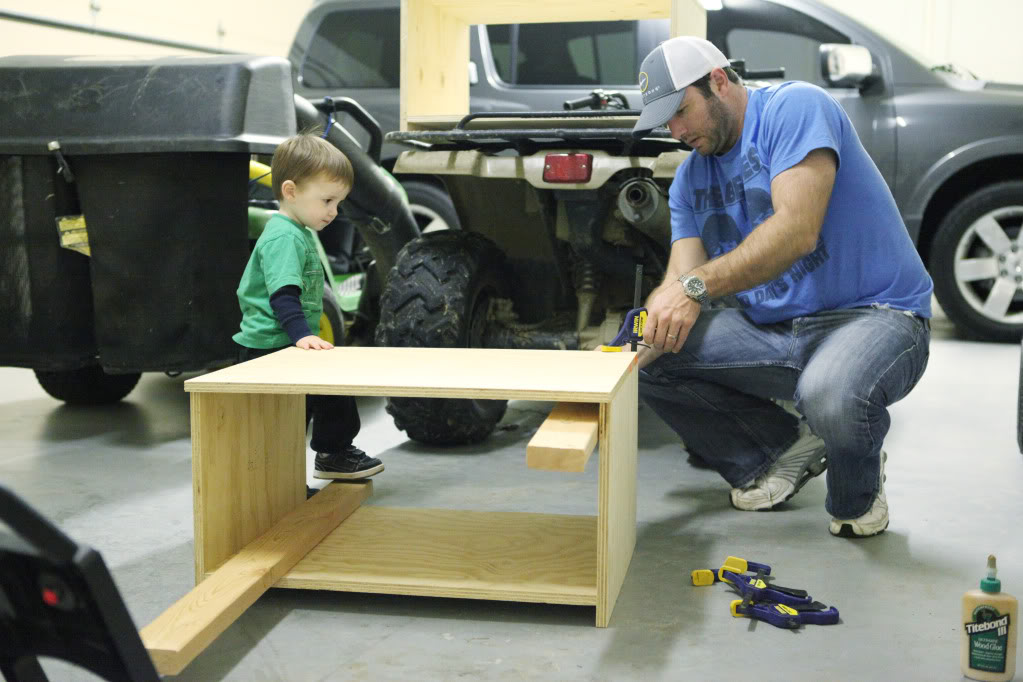
And to answer the question of what we do with Will when we are doing projects – he is either napping (when we do stuff that he can’t be around – like fumey paint or lots of sawdust from sanding) or he is right there in the mix. Jer and I decided a long time ago that we would let our kid learn by being around…and thank goodness, Will is interested in observing and helping whenever he can.
So here is the start of the base toy box…a square.
One of the main differences between our modified version and Ana’s original plan was that ours was built lower to the ground. We made our “legs” shorter…exactly the depth of a 2×4 so that it would accomodate our new hinged door and eliminate the need for trim molding – so it would be sleek and modern in front.
Will giving the baby kisses in the camera 🙂
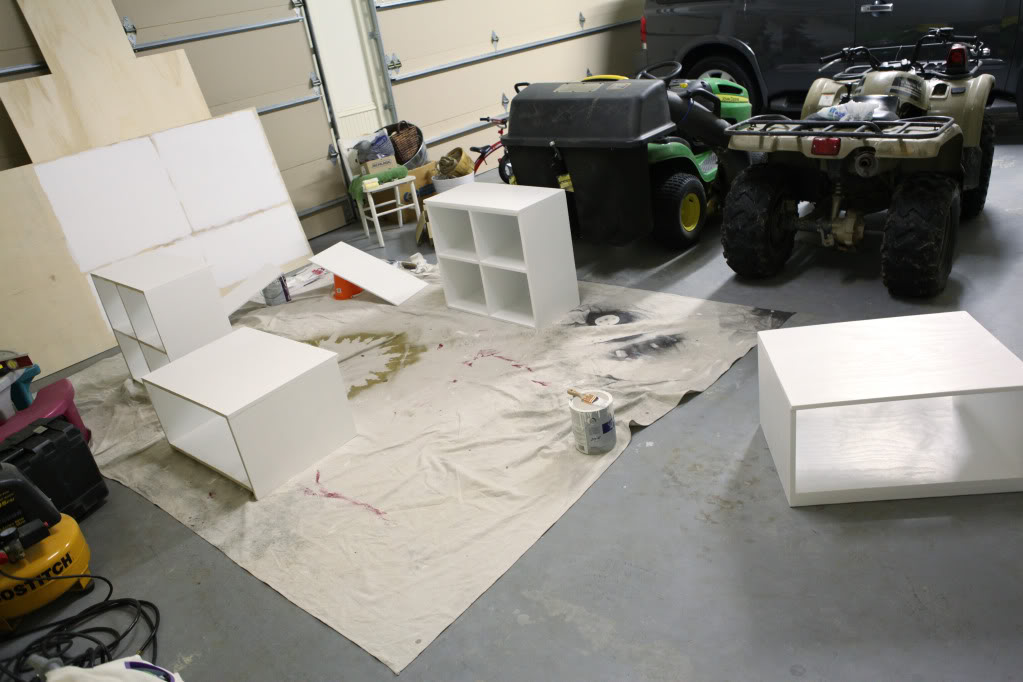
So after Jer finished assembling all the pieces…
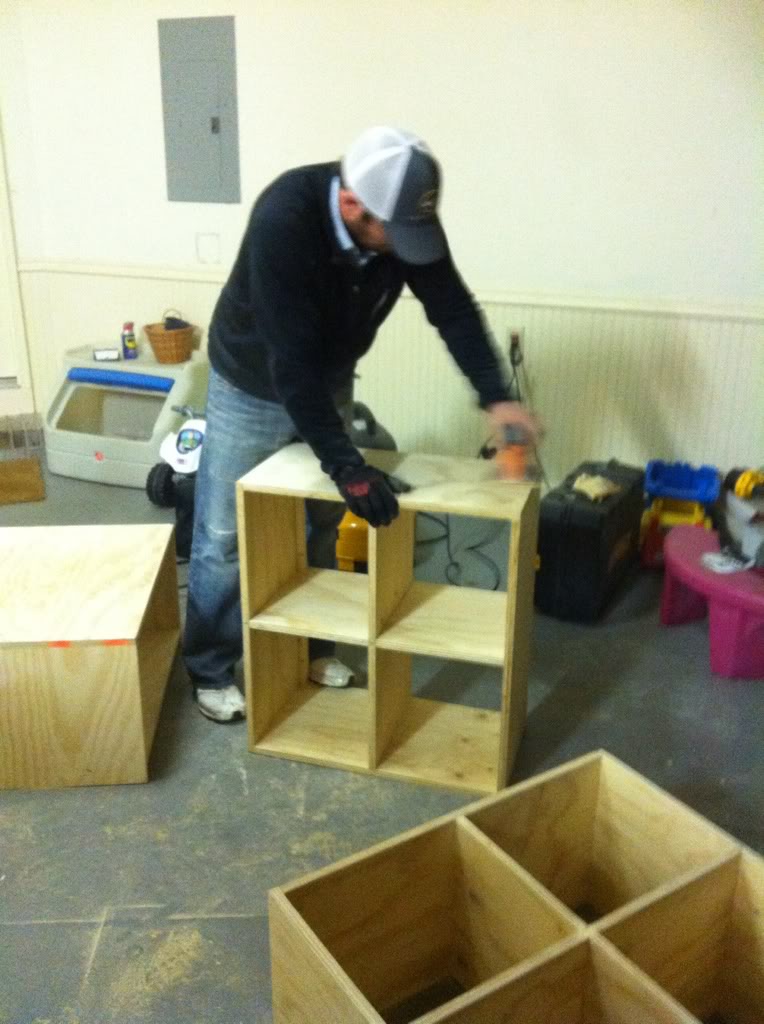
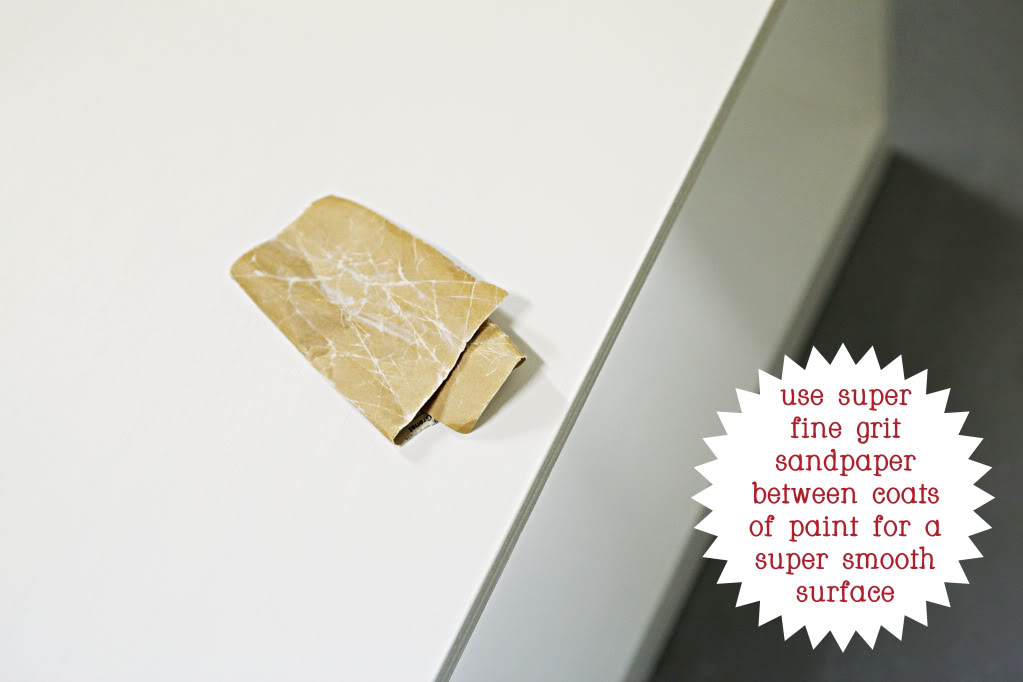
I filled them with wood putty. All the seams, holes and little hammer marks got a quick fill. Then came time for sanding. I wanted a super smooth finish – so that meant tons of sanding of the plywood. All the flat surfaces got it with a reciprocating sander and the rest we did by hand. (for those wondering, we did it first with a coarse 60 grit, then medium, then super fine…it takes some time but the prep work makes any furniture SOO much better)
Then painting. We did three coats of paint-n-primer in one, using a small cubby brush for the corners and a mini foam roller for everything else.
And here is my number one tip for painting furniture –
The morning that we were going to install the unit, I was soo giddy. I eagerly awaited Jer to return home…
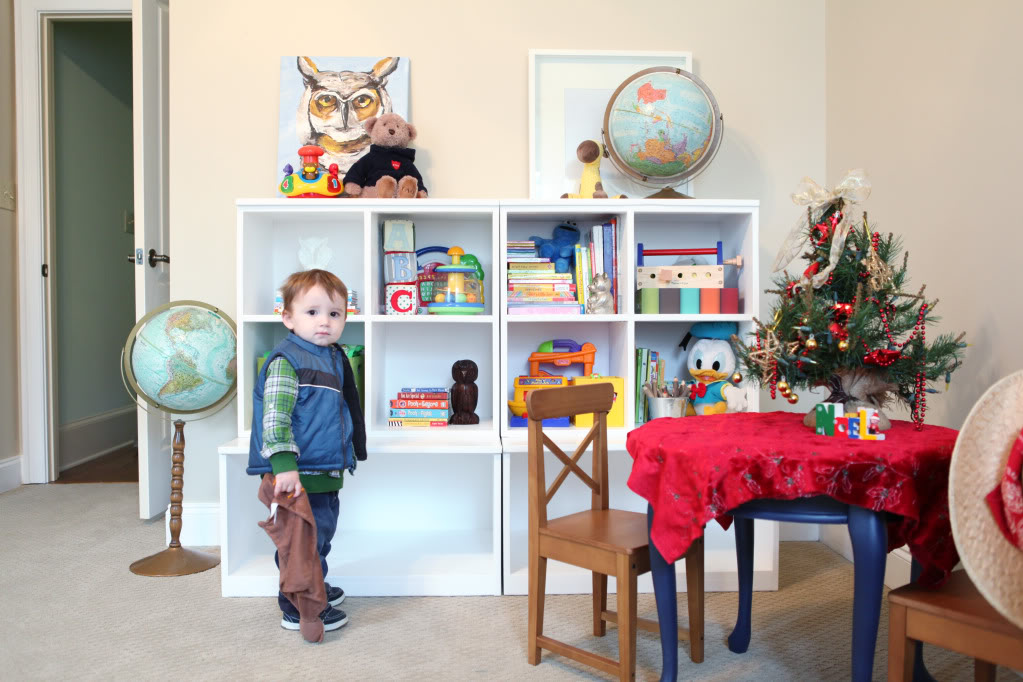
then I decided to not wait and just do whatever I could…moving these into the room and starting to play on styling them with Will’s toys.
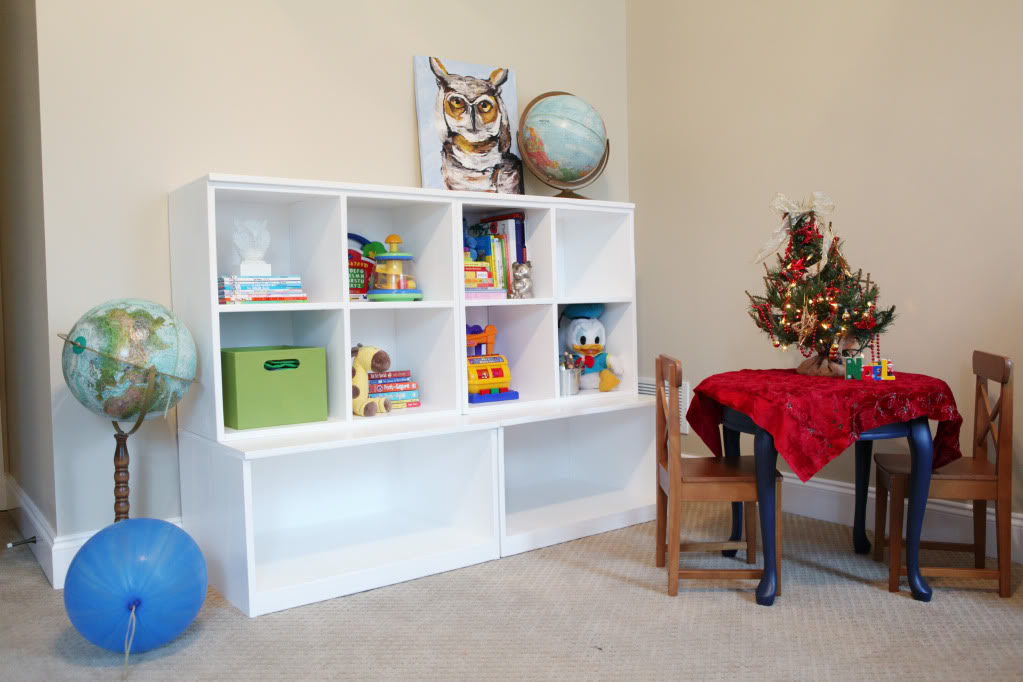
You like Will’s christmas tree? He did it all by himself (with a little help with the bow). The next Nate Berkus if I do say so myself 🙂
And FINALLY Jer got home from a day of golf with my dad and he started on installing the doors. Will assisted.
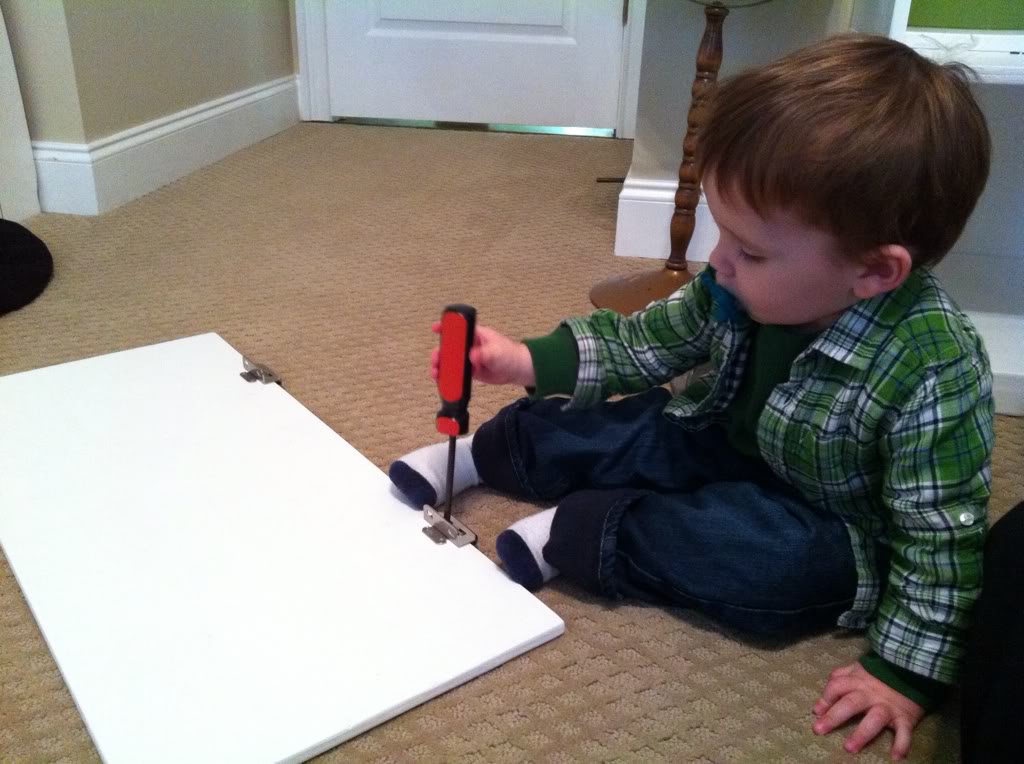
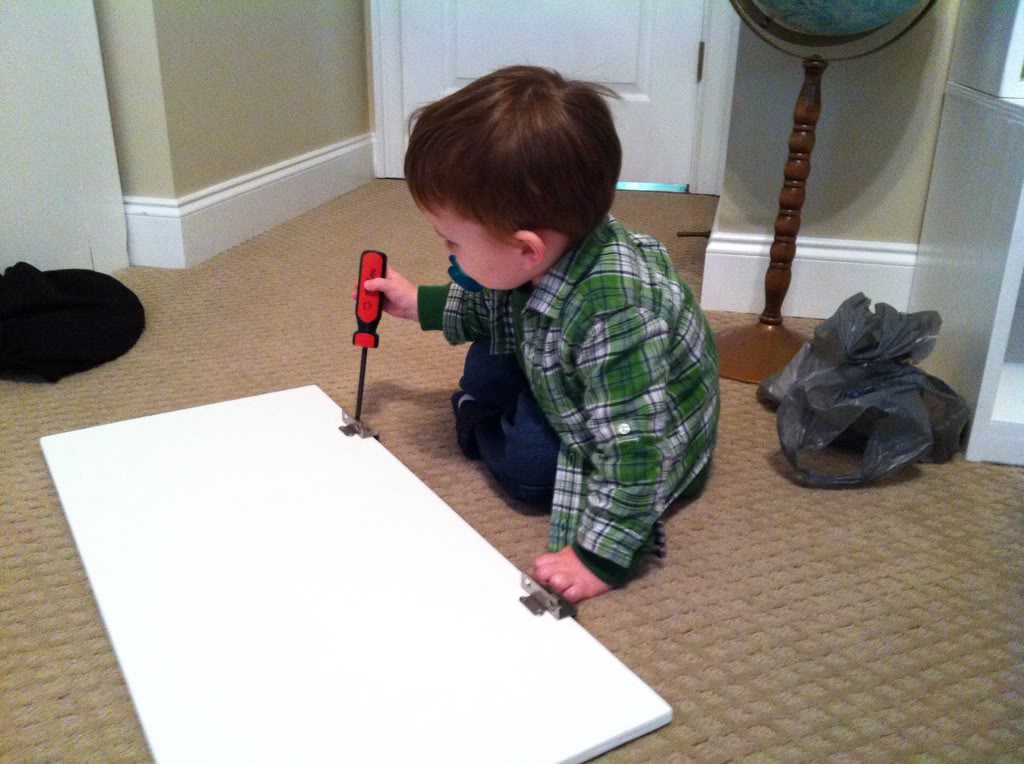
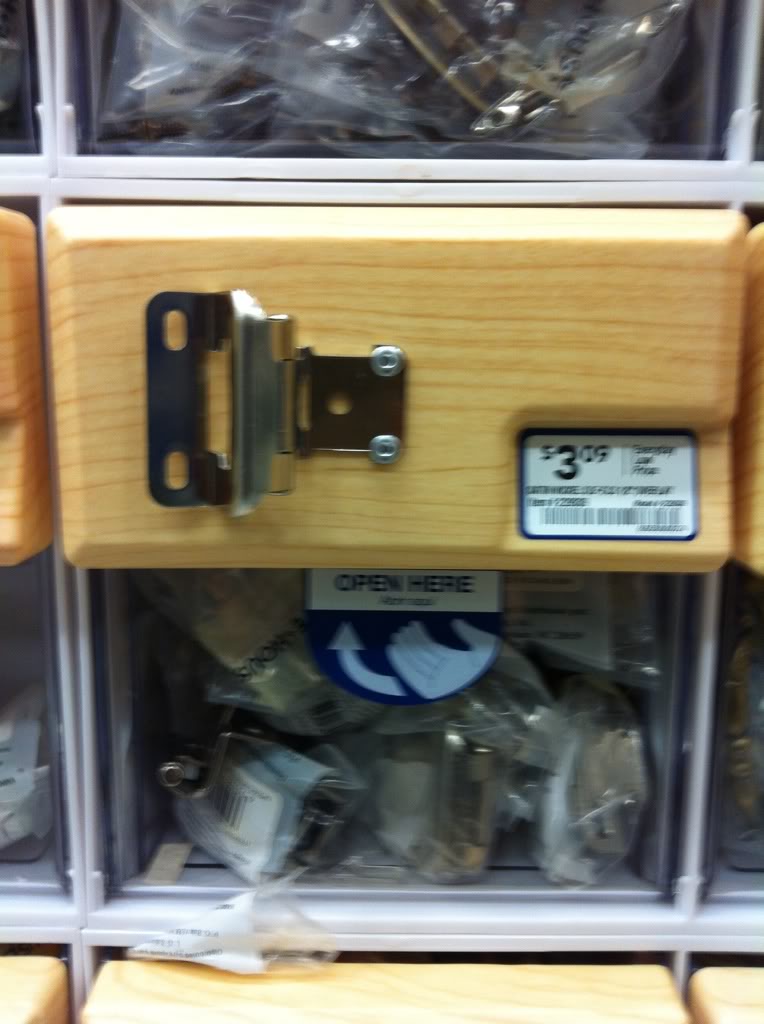
The hinges we used were full inset hinges with a self-closing feature…so if Will can lift the door up to a certain point, the door does the rest. And the knobs we used were these sleek modern ones (third from the top middle row) mostly because we figured Will could get both his grubby little hands in there to pull down the door.
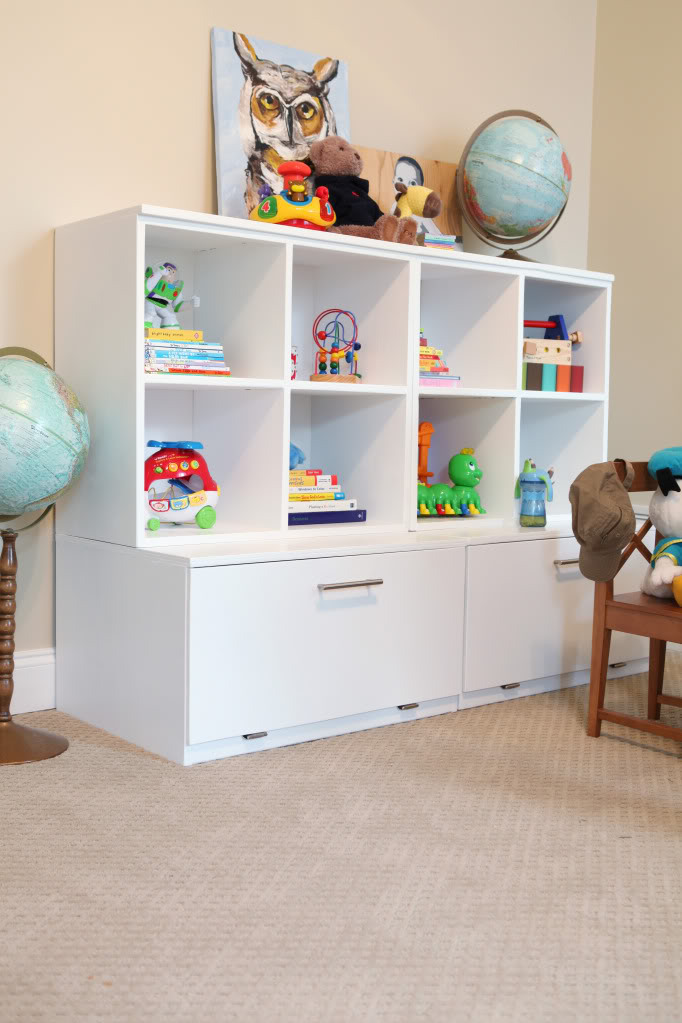
And now give me a drumroll or some spotlights or give me an envelope or something – because I would like to show you the winner of the award for best storage for Will’s room:
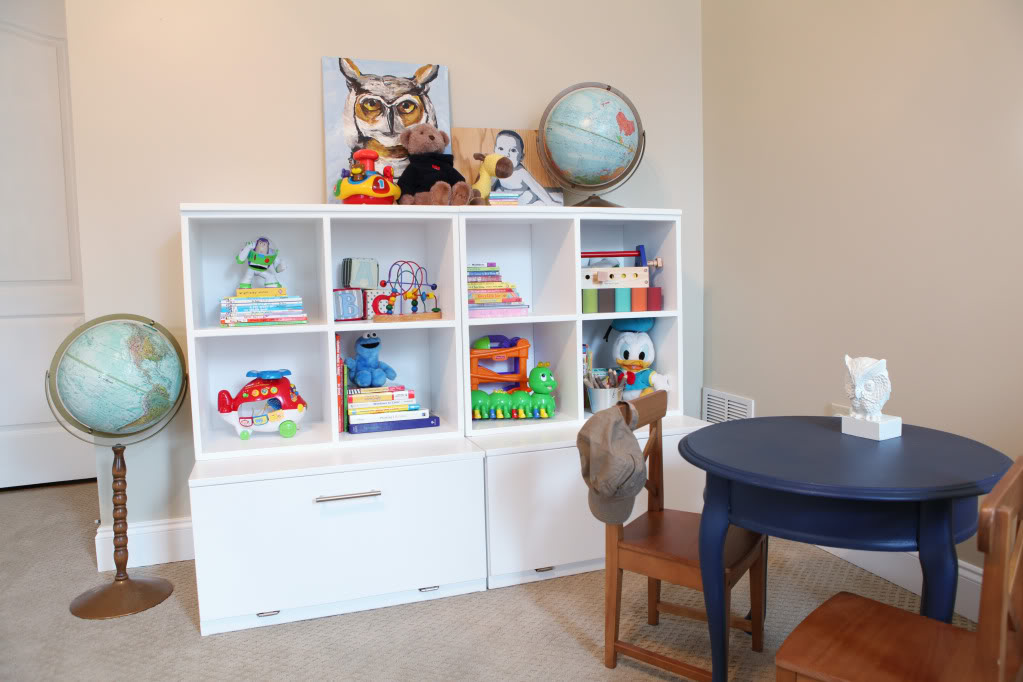
I LOVE it. Like totally bragging about it to the checkout lady at Kroger kinda love it.
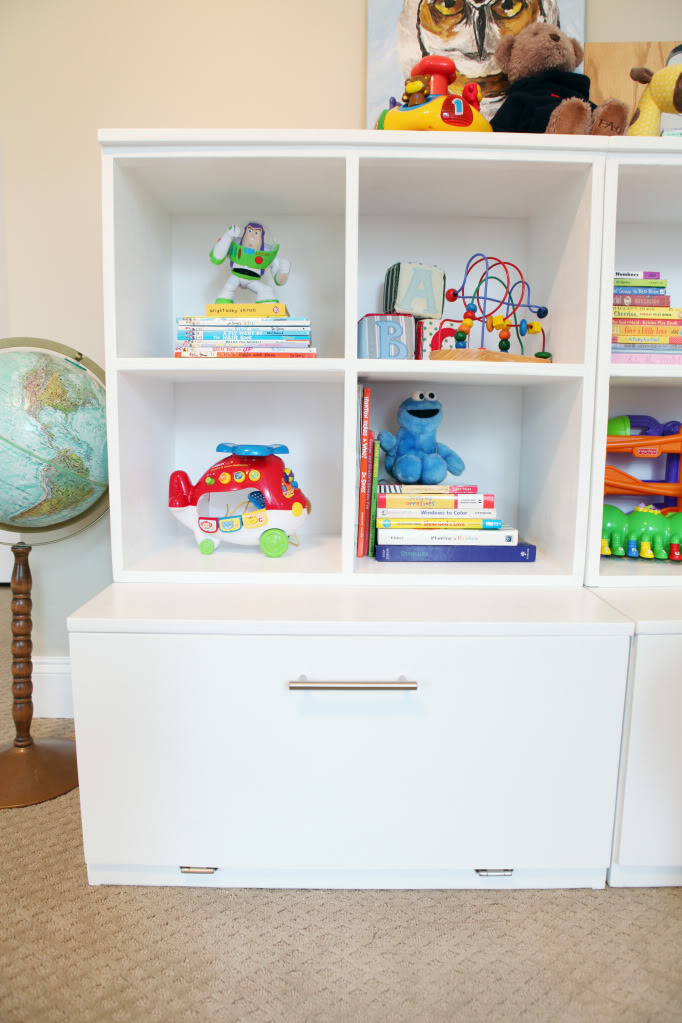
And the storage below holds these old bins perfectly…
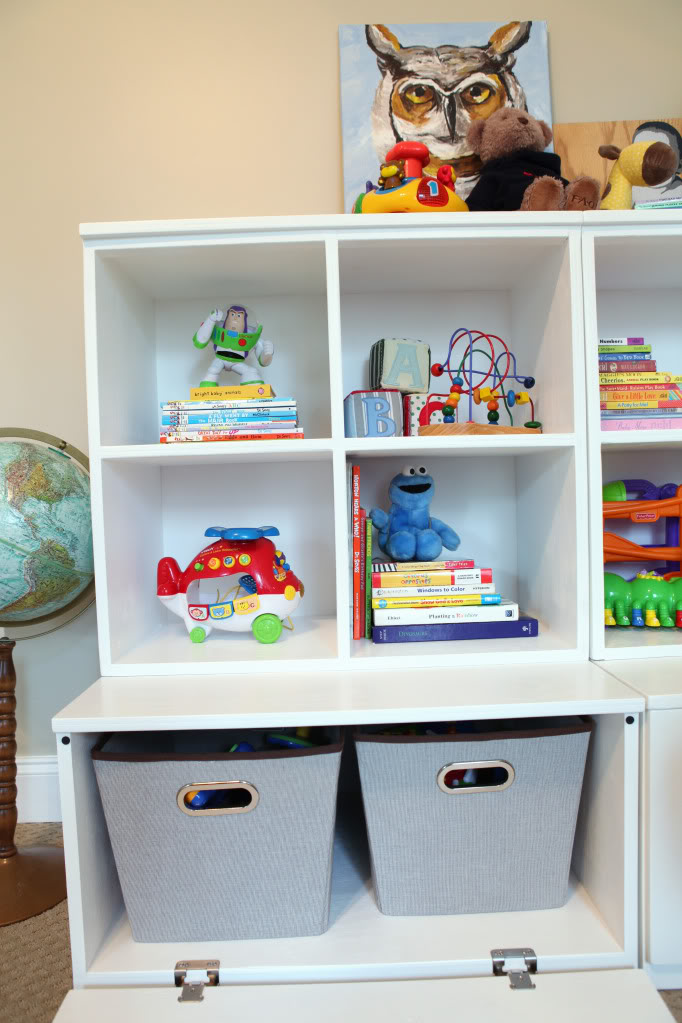
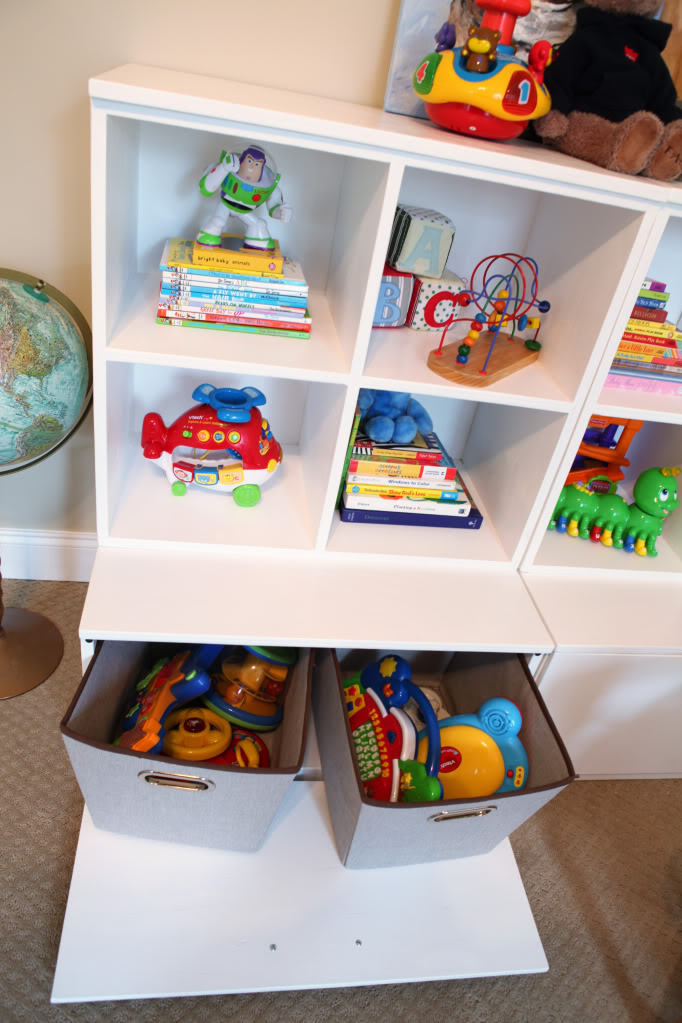
And it still allows for clearance for the intake vent 🙂
And it can grow with him.
And we can always add more cubbies or another layer with shelves if we want to later.
And it’s kid friendly because it’s just his height.
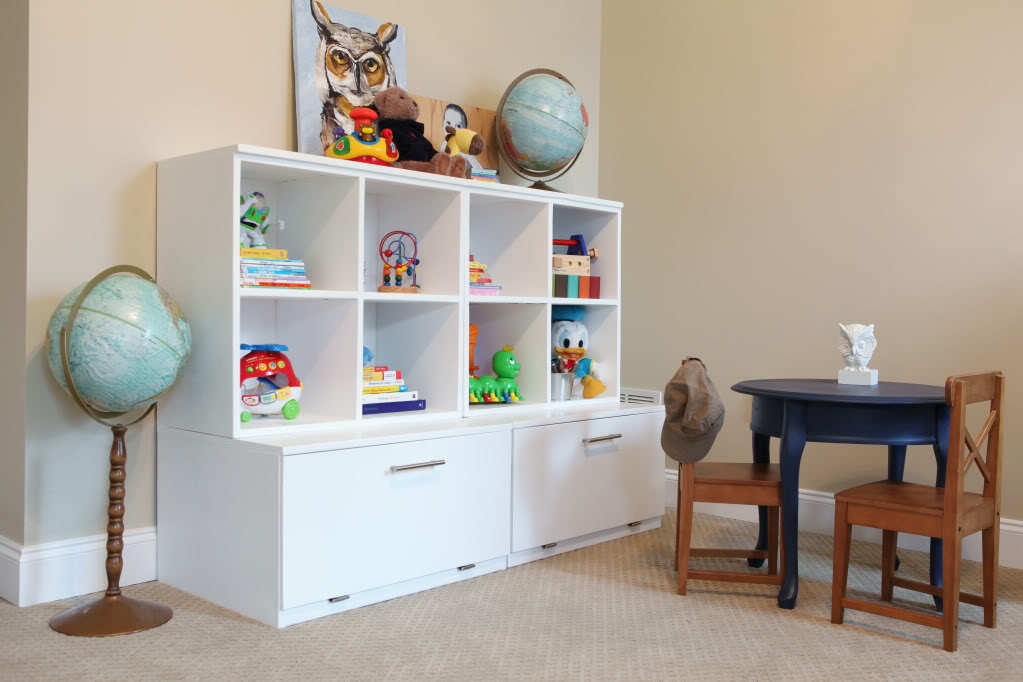
And Will loves it. Bonus Bower points 🙂
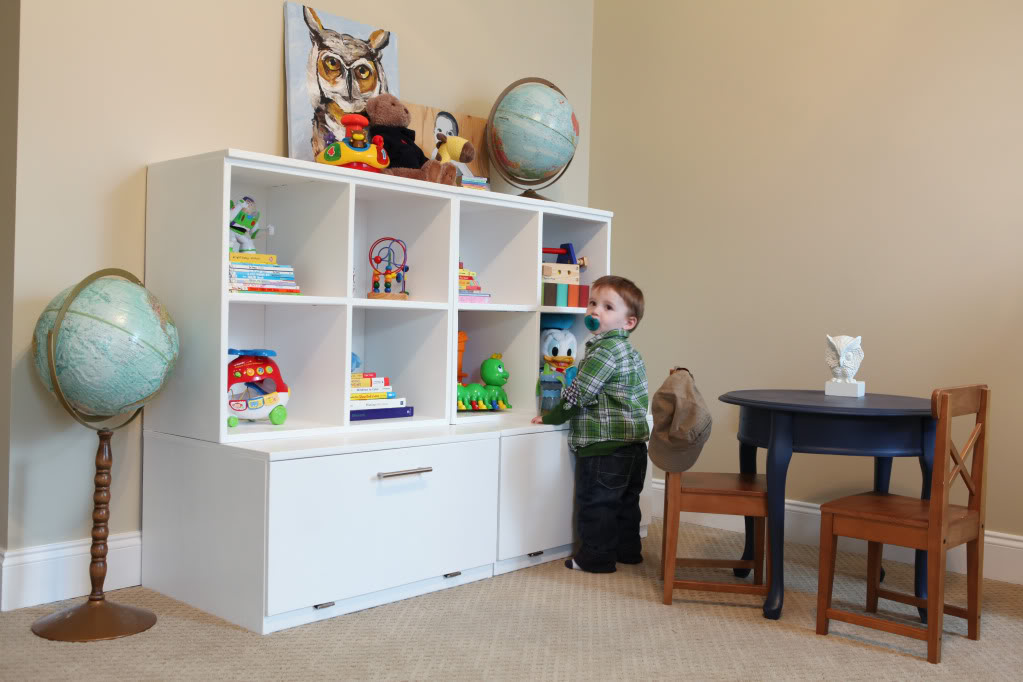
The first thing he did was take Baby Donald out and had a chat with him about the state of the economy.
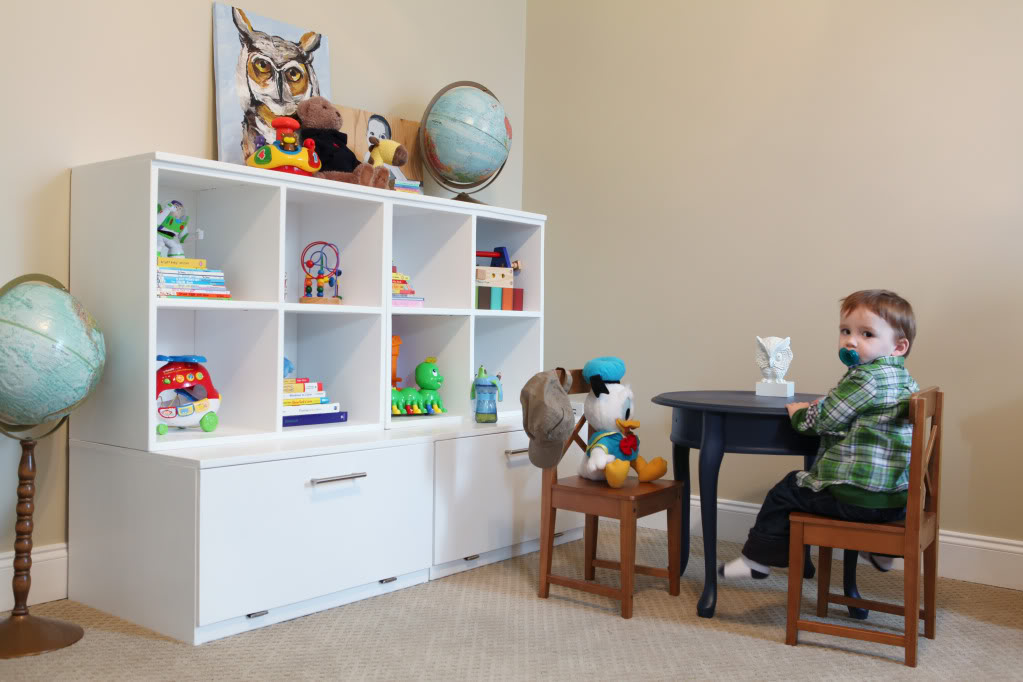
There’s no finger pointing Will when it comes to political debate.
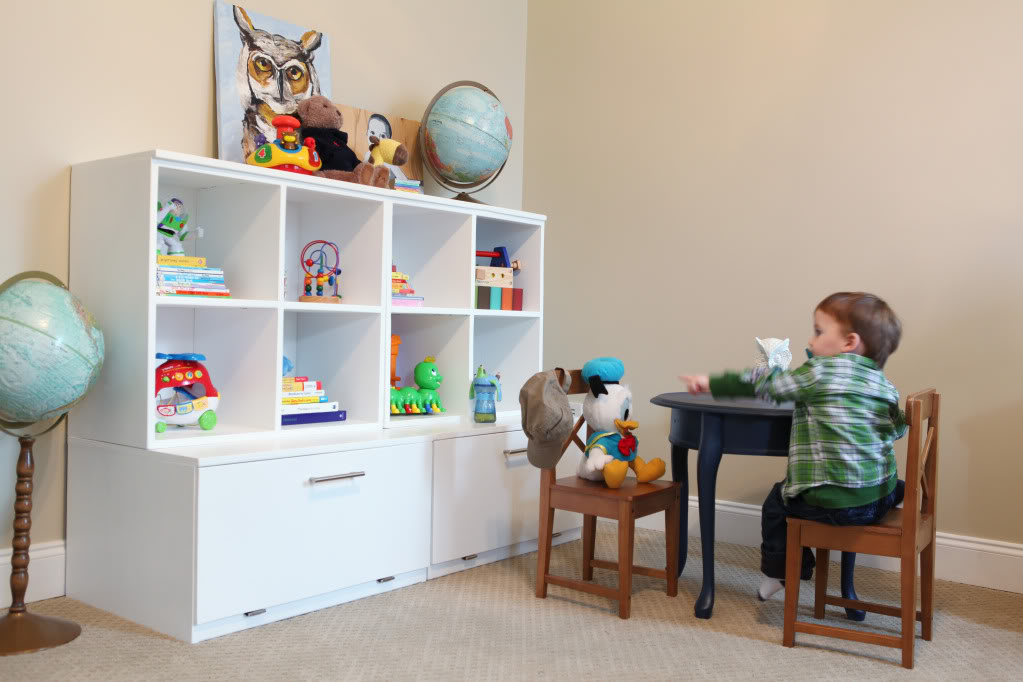
No but seriously, it is perfect and I can’t wait to do the rest of the room now to see how it finishes up.
Oh and I just want to say – of course, I appreciate the fact that Lowe’s Creative Ideas Magazine gave us a little giftcard to help start us with this project – I do… very much…BUT more importantly, I want to thank them for allowing me to participate in this month’s challenge because of a different reason. One of the perks was that they allowed us to choose a charity to give a $100 donation to…we decided on Operation Christmas Child…which is run by Samaritan’s Purse…and it provides shoeboxes of toys and goodies (like toothbrushes, little candies, and even just pencils) to children who don’t get anything for Christmas. It is something I have been involved with for many many years and I am so glad that together LCI magazine and Bower Power were able to help provide more toy-boxes to kids in need. So if you can – go over to their facebook page and tell them KUDOS on encouraging those kinds of blogger-company-charity type relationships!
p.s. I had to retype this post three times – so if I missed anything in the post – it’s due to me being COMPLETELY over writing about this toy box. If you need more info, I’ll do my best to answer the questions in the comments 🙂
Adorable, so great to see that something so “simple” to construct can look so good and not all homemadey (yes, I too make up words). 🙂
LOVE the crisp white with all the colorful toys and the little blue table with the fancy legs—it really makes the otherwise basic tan room look so much more lived in and interesting. Great job, definitely worth the wait and having to type the post 3 times.
One question—what finish paint did you use? Semigloss?
Ann
Adorable! I love all the storage! Will’s toys look great there too 🙂
I love the way this turned out! Aside from being adorable, it looks totally functional and something that can grow with him!
Yup – the same as our trim – semi-gloss paint in pastel white base (no colorant added!)
xo – kb
Was the only dimension change you made the height of the “legs”??? I love the size and want to make something similar for my daughter’s room! Also, how much would you say you spent on this project…I love budget breakdowns! 🙂 Thanks!
Well, the lumber was about $130…with a lot leftover. And the hinges were $7 (for both with tax) and the handles were $10 (for both with tax)…the paint, sandpaper, screws, nails, wood filler and tools we all had on hand – so it was about $150. And Lowes Creative Ideas gave us a $100 giftcard…and we shelled out the rest. And the dimensions were the same – for everything except the the height of the legs (and we had to modify the backs to cover the larger opening and the doors were obviously added on too).
xo – kb
That looks great!!!
-Diana
Since my kids are grown, I believe I need one of those for my office!
Looks great, thanks for the budget breakdown above! Sorry you had to retype the post so many times, I remember that happening to me before with school papers, its the worst! I wanted to know do the “doors” touch the ground when opened? Because my 14 month old son would be sitting/standing/climbing all over the open doors and would probably snap them off!
This looks fantastic!! I love it. It’s perfect for that space and the perfect size. Well done! I’d totally brag to the checkout girl too.
Wow, they look great! Nicely done!
One question (I’m trying to see into the mind of a good designer, which you obviously are): did you consider painting the inside (back) wall of the open cubes an “accent” color, or would that be too busy with the toys there? I’d be interested to hear your opinion.
I love Samaritan’s Purse too.
Looks fantastic. Congrats.
Excellent! I love the new paint in the room, too. It looks great.
We do Samaritan’s Purse with our daughters every year. I love that organization.
I love it!! It is so perfect! And much better than a regular toy box for him to smash his fingers with… my sisters and I smashed many fingers in our toy boxes…
This really turned out so well! I love it. It looks a lot like the Pottery Barn Kids version but for so much less money. I love how the door opens down so he can’t smash his fingers.
That is great. Way to go. I’m sure he’ll treasure it for years since mommy and daddy made it for him. And fun for him to look back at the pics of it being built! Nice job!
Love love love it!!!! Off I go to Pin it…
Question for you on sanding between coats of paint…what do you use to wipe down after sanding? So, it’s paint, dry, sand, wipe (with ??), then repeat (paint, dry, sand, wipe), until your final coat of paint?
Yes. That is the process. You sand first – with the three different types of sandpaper – then paint, dry, sand with super fine only, wipe down with a damp rag or a tack cloth or even a microfiber cloth (anything that will ensure all the dust is off) then start with the paint again 🙂
xo – kb
Great job, Katie. Good planning, practical and really a handsome solution for a problem that is not going to go away (all the stuff kids have!). Keep up the great work–I don’t reply often but I sure read your blog a lot and appreciate your frank, fresh and down-to-earth style. Bonne année!
amazing!! i want one. make that two (for the boys’ new rooms—did you see?).
ps—after seeing this on the same day as a certain play kitchen, i think you and sherry should team up to design a line of kid furniture. i’ll be looking out for the “young house bower” line soon! can i place my order now?
I did consider it…but seeing as how we already had so much interest going on with all the toys and books and things, there was really no need for an additional color pop or high contrast. I’m sure it wouldn’t look bad but I like a clean white slate with a rainbow of hues splattered on top vs. two colors – one an accent color and one white with all that ‘interest’…if that makes any sense.
xo – kb
The door handles sit on the ground…making the door actually parallel to the floor. It’s perfectly flat – which is a perfect future spot for ‘roads’ for Will to drive his cars on…and we did a test to see how sturdy the doors are sitting on the hinges and the door handle – and they are super secure. Also, because the doors are made of thick 3/4 inch plywood, they are solid enough to support Will…and Cole 🙂
xo – kb
That toy storage totally ROCKS! You guys are really amazing. We spent over $100 on a standard cube type storage at Target and it’s nowhere as nice looking or big as yours. I’m jealous! Good for you guys for doing it yourselves!
Love it! Nice work!
We just turned one of the guest bedrooms into a playroom for our 16 month old yesterday so we could definitely use a cool storage unit like this!
Are the table and chairs a Goodwill find? They are fabulous!
That is the nicest toy storage unit I’ve ever seen!! You and Jer did a great job!
The chairs were actually $10 each at Ikea – they were clearanced out for some reason. And the table was a side table from his old nursery 🙂
xo – kb
I love this! It looks really nice and I love that it’s custom. I get what you mean about making your home your own. We have our home on the market right now, and it’s hard because we never know if we’ll be staying here for a long time or not. It’s a very uneasy feeling. And I must say I love that you include will in projects, I think it’s our job as parents to teach our children as much as we can. Believe me his wife will be singing your praise one day when her husband can do so much around the house!
I would like one of these for my own bedroom. I don’t think I’m too old either…
Looks great!
Great job! It is also great that this piece will grow with him and he could use it for other things (sports equipment, etc.). That would be so neat if when all grown up, he could take it to his house one day and pass it on to his kids 😉 Well done!
Love this. Building a toy storage solution for our little girl (She’s almost 21 months) is on our to-do list this year. Hopefully sooner, rather than later. This is so darling! Way to go!
I love these! So simple, but so cute. And I like how you arranged his toys 🙂 Can I ask what you used all of the 2x4s for in those pics? I am clueless to this kind of building, and really want to make something, so I am picking apart pics to figure it out! And looking at Ana’s tute….
Perfect toy storage! Very cool.
Couldn’t help but notice the little blue table with chairs. Love those!
I was reading this (cause that sounds like a heck of a good tip) and realized I have some microfiber cloth towels for the kitchen that I hate…and should now be able to repurpose! Woot!
Katie, this looks great. The pull-down doors are super cute. I have a brag post on Ana’s site for the Cameron-inspired cubby wall we did for our son’s room! And we volunteered for a day at our local Operation Christmas Child drop-off center during Collection Week. I got tears in my eyes when I saw the storage room with thousands of shoe boxes!
Happy New Year! xo
Love it! I foresee this being built for our basement playroom soon!
Looks fab! Ana White rocks. I stalk her site every day and have built several items from it. You do, too!
Love it!!!
Love the owl painting. Who is the artist?
Did I hear mention of a baby ? 🙂
This is so nice! That would be perfect for my daughter’s room. Glad you mentioned Operation Christmas Child. I’ve done something similar in the past for the United Way where you actually create the toiletry shoeboxes yourself and always wondered if there was someplace that did that for children with stuff they would care about. I’ll definitely look into for next Christmas.
This is so perfect, and will be for many years to come. Great job!My boys are 13 and 17 now, and if we had one of those, I could totally still see them using those units in their rooms.
Happy New Year!
I serously was just thinking this morning how I wanted to make something just like this for my kids toys. Do you think you could share the measurements / plans? I bet people would purchase a pdf from you, you should think about that as another way to make some cash. Also – we love operation christmas child. I’ve been doing that since I was a kid myself. Now it’s something we like to do with our own kids. Awesome job, now good luck keeping it looking that cute. I guess you’ll have to start will out young and teach him how to stage his toys. We always let our kids help and our son is daddy’s helper. My husband loves it. Now he’s 5 and he sees stuff in ppls trash and says “we should get that, daddy could fix it” Lol!
Hmmm… I know you said you were tired of questions about a possible pregnancy, but what else could you mean by: “Will giving the baby kisses in the camera”? Is another great Bower Power project on the way?
It looks great!! Did you say that Will was giving the baby kisses!?!? I sure hope so!! That would be a great Christmas present!!
I wanted to share something with you that made me LOL. I googled “baby man cave” because I want to redecorate my son’s room with some ruggedness. I viewed images and lo and behold I recognized a picture…. Will’s nursery from your first house. The other images are really weird and not what I was hoping to show up at all. But rest well knowing that you created what some might consider a “baby man cave” the first time around. Can’t wait to see how Will’s room turns out in the end.
It looks great! Perfect for Will. I love that you can add more cubbies as he gets older and can reach 🙂 A much better option that flimsy store bought cubbies! Good job. Also, SO excited Will does not have to live in a salmon colored room any longer 🙂
Love it! It looks amazing in the newly painted room! Perfect storage solution & it looks awesome!
This unit looks great! And I love the idea of adding more cubes as he gets older. I’m betting it could even be used as a hutch of sort atop a future desk or something. Really nice job. 🙂
That looks so great; I love it! Amazing job. It will definitely come in handy for a long time. And I think you’re right – custom pieces like that really help make the room (and the house).
Hilarious. This might be interupting-Jeremy’s-workday-worthy 🙂
xo – kb
No. We call him Baby and he sees himself in the lens…so he is giving himself (the baby) kisses 🙂
xo – kb
I only wish. Got the bad news today actually. Sucks. Sucks sucks sucks.
xo – kb
Love it – he’s a mini dumpster diver 🙂
And I will try to post the measurements later today for ya!
xo – kb
Nope. No baby. No pregnancy. Just Will kissing himself (he sees himself – the baby- in the lens).
xo – kb
My friend Brook did it for me as a baby shower gift 🙂
xo – kb
The 2×4’s Jer is using in the photos is to keep everything square…he clamps them on and then the pieces can’t splay out (splay is a word, right?!) while he’s drilling them together.
xo – kb
I love this – His room is looking more like a big boy room! I love the transformation – you’ve got to be doing some major happy dances! I can’t wait to see what else you have planned.
I DID see your rooms! HOLY MOLEY! I am dying over everything….the giant giraffe, the flying planes, the new bedding, THOSE HEADBOARDS!…and I’m so glad that your big surprise was accomplished without a hitch. I actually told Jer Christmas Eve – I hope Holly gets her boys moved tonight so their Christmas surprise won’t be spoiled. He had no idea what I was talking about…of course…so I took ten minutes to explain to him the entire plan 🙂 Oh and by the way – your christmas card is up front and center on our hanger thingie. Those boys are too cute I tell ya…too dang cute.
xo – kb
I am literally green with envy. I want one for my boy’s nursery!! Seriously though, you and Sherry should start the baby furniture biz together 🙂
Wow, I’m so impressed that you guys made that! I look forward to seeing you finish decorating Will’s room – I always love your decorating posts!
That looks amazing! I can’t even hang a shelf, wah wah.
Are the shelves staying organized at all?
I’m sorry Katie. I hear you on the frustrations of trying to conceive. It’s a trying battle.
Oh darn!! That is a good reminder that Will is still a baby and you get to spend this precious time with just him!! I know how hard it can be to wait and trust His timing, but He always gets it right!!
xoxo
Love it! If you’re at all Type A like me, you may find that keeping those open cubbies as nice looking in the long haul is tough. Apparently three year olds don’t understand decorative storage! 🙂 I find myself going into our Playroom in the evenings and straightening up the shelves a bit after bedtime. I’m not proud of it. Here’s what it looks like: http://oneprojectatatime.blogspot.com/2011/10/o-is-for-organization.html
Great job on the toy box and great job on choosing a charity. My family and I have been involved with OCC for a long time, too.
Oh yes. The one thing that we did up front was use toys in the cubbies that he doesn’t spend a lot of time with…and the books are for bedtime, so it’s easy to grab a stack and read them to him when he’s ready for sleep. In general we go downstairs a lot to play with cars – we spend a lot of time with cars…so this is pretty much a cinch to clean.
xo – kb
I love it! You guys did a fantastic job and I bet Will loves it!
Sucks doesn’t begin to describe it! We’re at 6 years and 7 months waiting for our first non-fur baby. Praying you get your BFP soon!
Dude…that sucks. I had a friend who tried for ten years! TEN YEARS! And she would literally want to slap me in the face if I complained about two months…so I know you probably want to tackle anyone who said pretty much anything 🙂
xo – kb
Love it. How long do you think it took from start to finish (paint drying time included)? I have to be specific because I could totally see myself being like, “Oh, that took 6 hours? So if I start tonight, it will be ready by tomorrow morning?” I’m not really a scratch-builder. Obviously.
Safety-girl Lori has to ask: Did you bolt the top parts to the wall? and/or to the bases? On that note, I seriously need some psychotherapy or something, because when you mentioned boys standing on the doors and that the handles touch the floor, I was all “finger guillotine!!!”
I LOVE how it turned out! Nice job you guys. PS Merry Christmas and Happy New Year! Can’t wait to see all your projects in 2012.
Major Bower points!Great job!!! I love how a charity is mixed into tis too…my boyfriend and I each did a box this year for Sumaritans purse… I decided that this is going to be one of our Christmas traditions.
That looks amazing. Perfect for storage and Will can reach everything. He is so so cute.
None of the blog photos have been loading for me in the past 1-2 weeks. Kind of a bummer. Wondering if anyone else has mentioned technical difficulties?
So my 3 year old caught me showing my hubby this post, and she quickly demanded that “Papa make that right now, Please!”
It’s like she read my mind. I’m sending this to my Dad right now in hopes that he can help me with yet another project. (I’d ask hubby, but he’s not too handy with the power tools)
i love it! great work katie + boyfriend. 🙂 also…. i heart operation Christmas child too! just today i was looking for a church in the general area we’re moving to by searching for one that might have a drop off for it at their church. ha! weird how i was thinking about it and you did something about it! yay for organization… and organizations who are cool.
I thought we were gunna get this post on NYE!!!
Yup – that was the original plan. Hopefully it was worth the wait 🙂
xo – kb
Not that I know of. The photos are all from Photobucket – so maybe it’s a firewall thing? Perhaps they can be bypassed somehow to allow for photobucket to load pictures. Otherwise, I recommend to people to use a reader 🙂
xo – kb
We secured the pieces together…but not to the wall. They are really short – I mean, Will’s as tall as it, so if we did another level we would probably need to fasten the thing to the wall but right now, it’s not top heavy. And it took about 2 hours to cut the wood…2 hours to build…2 to sand…then we did painting over the course of three days…and about another hour to fasten the backs and the doors. So what’s that add up to?
xo – kb
Oh my goodness, I LOVE it!!! It is absolutely perfect for the space. I love the fact that it is so functional and yet looks so sleek.
My new year’s resolution is to get my house organized too. The fact that you have already made great headway on yours makes me feel inadequate. Haha. Guess I better do SOMETHING.
It turned out great! We are doing something similar for little ones life, but one question… Ana white’s plans call for a kreg jig or counter sinking screws, did you do this or use another method?
Katie- It absolutely was! I’m a stay at home mom to two little guys: Gunner-2.5 and Nash (Potato:)-9 months and I can hardly find the time to read your blog let alone sit down and write one!!! I appreciate you taking the precious moments when the babe is sleeping to tell us all what’s going on in your life! Thank you and God Bless!
Don’t let the haters get to you. 1) A post not going up “on time” on a Saturday over the holidays shouldn’t be such a travesty and 2) People deserve t0 be compensated for their work and if you’re getting to read for free, you should accept the occasional ad/partnership/sponsor.
Sheesh. Don’t people know there’s other things like the Katy/Russell breakup to obsess about?
This is my first time commenting (although I have been following for quite some time), because I am absolutely smitten with this toy storage! I have been looking at storage to fill up an entire wall in what is soon to be our nursery, and the closest I have come to finding something I like is the Ikea Expedit, but I wasn’t crazy about the storage being all open. This is a perfect compromise and seems like something that can grow with our twins. Plus, they will each get one cubby. Thanks for sharing!
I had a friend who complained to me that it took her 4 months to get pregnant with her 3rd child. At first, it upset me, but I realized that whether it’s the 4th, 10th or 79th month the hurt is still there. Any woman who deals with the pain of infertility feels the same pain and learns a lot about herself. It took a couple years, but that’s what I learned (among other things). I also have to keep reminding myself (6 years and 7 months later) that God has a plan. I used to want to scream when people said that, but He does have a plan. If you haven’t already, you might want to check out the book “When the Cradle is Empty”. I bought it a few years ago and have passed it around to other people. Whatever you do, remember that you’re not alone. 1 in 6 American couples of child bearing age struggle with infertility. I did a blog post you might also want to read: http://thisdiylife.wordpress.com/2011/05/08/if-you-want-me-to/
Thanks! God bless!
Off to google Katy/Russell…is this Russell Crowe? I didn’t know he was with someone. I guess google will answer all 🙂
xo – kb
We pre-drilled and used what we had…I think they were just 2 1/2 inch wood screws. Jer tried to sink them a little..and then I wood filled over them 🙂
xo – kb
Katie – This turned out awesome! I bow down to you (and the boyfriend) for the mad skillz and DIY attitude. Wish I had the patience and time to even think about tackling something like this . . . our kids could really use some more efficient toy storage.
Wow Katie, this is amazing. You guys have done such a great job!
Thanks so much for the timeline info. Four days… I am very impressed. I’d probably crack before the paint was dry and try to sand it or something and ruin the whole thing. This is why I get my DIY fix vicariously for right now, I guess!
LOVE it! Functional and attractive. Perfect combination in my book. Great job!
LOVE it! Functional and attractive. Perfect combination in my book. Great job!
Awesome, I want one!
Yep it does!
First – Will is adorable. Second – I love the toy storage!! Third – what is that picture of Will on the top of the storage unit? Looks like a painting/picture?! That’s maybe done on wood? Love it.
Katie, hope you know I was joking about the post not being up on NYE- I know you are a busy momma and I appreciate any and all of your posts.. so Im not too sure why Im considered a “hater” and it certainly wasnt a travesty in my life.
Also, for babygate… Im thinkin’ that the baby Gods are making you wait so that you & Sherry can be preggers together again 🙂
Oh Good…I’m glad you were just joking because I actually got some guff about it not being up on time 🙂
xo – kb
Yup – it’s from Modern Bird Studios. Here’s a post about it 🙂
xo – kb
Yeah I was referring to those that truly were angry. 🙂 And Katy/Russell = Katy Perry and Russell Brand. Riveting stuff I tell you…
Who the heck is Russell Brand?
Man I am so far behind in my celebrity gossip. I think I’m like eight years late.
xo – kb
Katie, I can forgive you for the post coming up late but how the hell do you not know who Russell Brand is? Thats unforgivable!!! Funniest man alive.
But back to the post… My favorite thing about you blog is actually how it isnt predicatble, we never know how many posts a day we are going to get, or what the content will be… Photos of Will, House stuff, etc… Yours is the only blog I read daily because I find others predicatble :0 So keep up the unpredictable and youtbe Russell!! 🙂
Off to Youtube directly after comment approving 🙂
xo – kb
Can you explain how you did the open cubby spaces above the closed storage? How are the cross pieces (the shelves) made and secured? Hoping I can convince my guy to make these for our little guy (who’s the same age as Will btw 🙂 Looks awesome!
Jer secured the bottom upright to the bottom of the box…and the top upright to the middle shelf…and then from behind used diagonal screws to secure it to the other side once it was assembled. Does that make sense? You can see how Ana did here’s by punching in ‘Cubbies” into her search box 🙂
xo – kb
WOW. Love the unit! I am trying to turn our loft into a toy storage area that is friendly on the eyes. This looks perfect. Thanks for the idea!
Love love love this! It’s the perfect size for the kiddos and I love your styling! I hope Will and Donald enjoyed their chat! I shared on my fb too.
Ginger
Katie, amazing! Thanks for the shout out! Happy New Year!
Keep the kids close no matter what you’re doing!! My son Adam was with daddy as soon as he could walk, and NOTHING was thrown out until it was ‘adamized’ meaning torn apart to see how it works. As soon as new things came in the house, they were “fixed” to make them work better, lol. And this Christmas my daughter’s boyfriend didn’t feel it was right that he got a sweeper from his parents and our daughter got a dremel multimax tool. Both my kids are engineers now and I couldn’t be prouder. I love reading about your family, Thank you!! Kathy
No Ana – THANK YOU! Your plans are like bacon…and that’s saying something 🙂
xo – kb
That is really nice, I really want to make something similar for the office so I can store some of my crafting stash, so thanks for sharing!
Okay. I am DYING to have this amazing toy box storage solution in the kids’ playroom in our new house. My question is (and I apologize if you answered this somewhere): what was the total cost for all of the supplies to make the toy box? I know Lowe’s hooked you up with a gift card or what-not, but I’d like to know approximately how much you spent in total, including the gift card. Thanks in advance for your response! LOVE your blog, btw… 😉
It was about $150 total. But we already had the paint, sandpaper, nails, screws and tools…so keep that in mind. The majority of the money went toward the wood (but we do have a bunch leftover) and hardware 🙂
Hope this helps!
xo – kb
This totally helps! Thanks! I thought it’d be a lot more than that! I asked my FIL to make it for me but he declined, so I’m gonna give it a go myself! One other thing, though… Did you connect the pieces together at all? Or is it just two boxes with two cubbies all smooshed together but not connected by screws, etc.? I just cannot get over how much I LOVE LOVE LOVE this toy box. With an almost 5-year-old daughter and 2-year-old son, AND a brand new home we’re building — complete with a designated play room — I think this will be THE most perfectest, adorable storage solution! Now to go about figuring out decor for the rest of the new house…!? Eeeeek!
The entire thing is four seperate pieces. Two bases and two tops (each one has four cubbies formed from a cross formation in the center). You can connect them all together if you want…we didn’t just simply because it is really heavy 🙂
xo – kb
Ok now I am over here at the toy storage link…. I love the hinged door. I already got my wood cut to do the drawers, but I am scared of messing those up, how did you do the hinged door? Meaning, did you just measure that opening to cover the front? I will probably have to go back and get a new cut. It looks like it overlaps the front of the low unit rather than fall inside the frame like a drawer front would. I know it was 8 months ago… and pregnancy brain is probably in full force… just wondering…
Yes – it was definitely larger than the opening…but you could use a piano hinge and make an exact fit work too if you don’t wanna spend the extra moolah!
xo – kb
Hi! Love this idea. I just had to comment that I love the table and chairs. Do you happen to remember where they are from? I know it was a while back, but a Momma’s gotta ask! 🙂
The little table is just a side table I had from the thrift store. I see them a lot and this one I sprayed blue. The chairs are from Ikea and they still carry the white version…they are relatively affordable!
xo – kb
Couldnt find if you mentioned how much the whole project cost. I have been looking for something like this. Maybe my guy can build it since he is handy with tools. Lol.
I can’t remember right now…I imagine under $100 for wood, paint, and hardware.
xo – kb
I think I must have missed it lol but where’s the need list? Like measurements n what kind of wood. Please thanks I really really really love it.
Go to the link on Ana White’s site. It tells you the cut list 🙂
xo – kb
I know it’s been a while, but I came across this awesome project and had to share it as “Brag Post of the Day” on our Facebook page!
Check it out https://www.facebook.com/knockoffwood, will post at 2:30 p.m. AKST today.
Did you end up putting trim on the front? When I was reading, you said you made a 2×4 with shorter to accommodate the hinges. But the picture with the hinges show it has trim. I am just to make sure because I am so building this for my 3 yr. old son.
So the bottom of the box is roughly one 2×4 from the floor…that gap was covered with a ripped piece of plywood. That trim pieces is what we attached the hinges to. Does that make sense?
xo – kb
That makes sense.
We were inspired by your project and decided to try it ourselves. We decided to go bigger ( 36in x 54in for each structure) and found that the bottom door was much too heavy and we worried about our little one getting hurt as he will inevitably slam or drop the heavy door on the floor. Instead we opted for doors that open sideways. We do not have carpet so this setup seems safer. We will post a picture when it is complete. Just wanted to give a word of caution to those wanting to go bigger.
Great job! I can’t wait to see the finished product!
xo – kb