Once we got rid of the biohazard wall color and replaced the bathroom sconces, the bathroom was beginning to look a little less vomit-inducing and a lot cleaner and brighter. But that vanity…yeah, it was driving me insane.
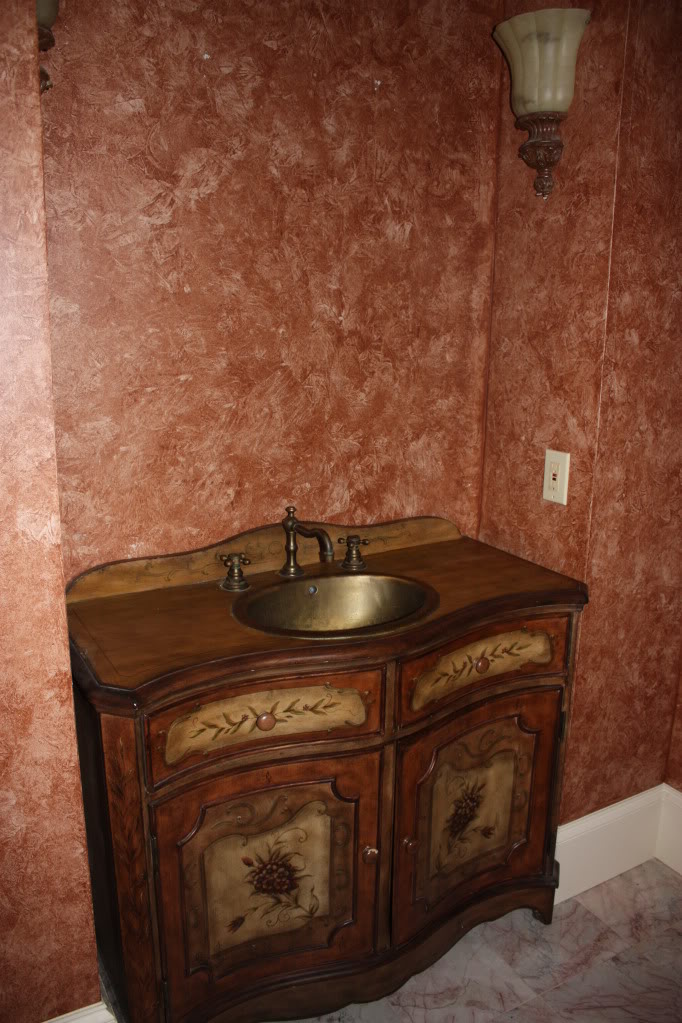
The handpainted flowers had to go…and since the lines were still good and the piece fit the alcove area perfectly, I just couldn’t justify starting from scratch. It needed to be repainted in a bad way. And I loved the idea of a two-toned vanity. The wood top could stay as is and since it had a little red detail, I thought it would be only natural that the base section should be red too.
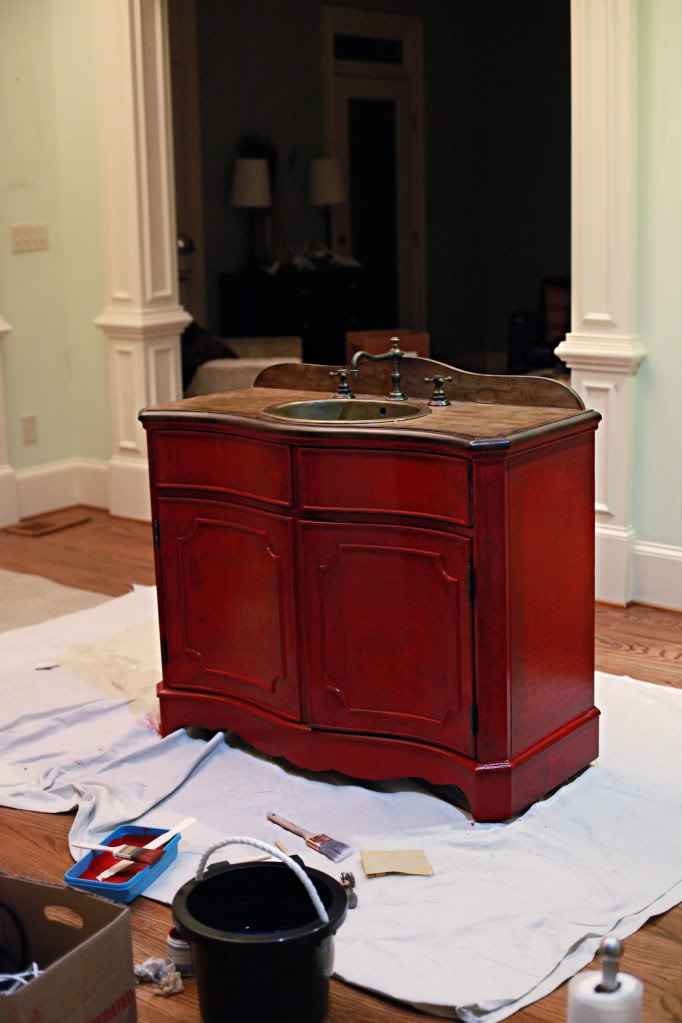
Here it is after only one coat. Yes – you can still see some of the original painting.
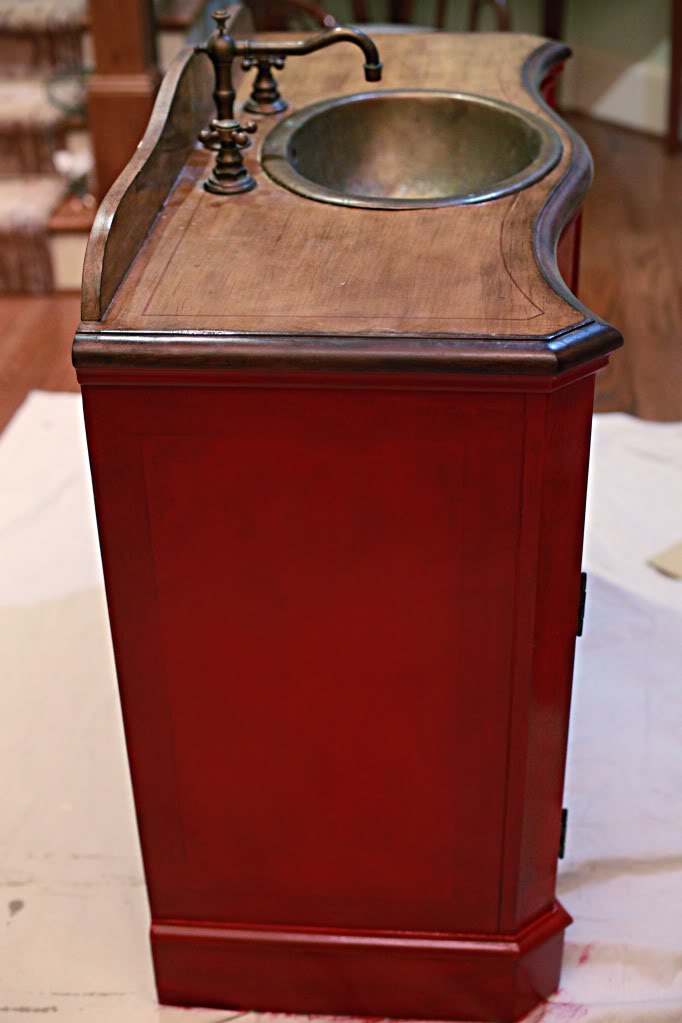
I ended up doing three coats…finally got all the hydrangeas covered up with that third one.
Not to change the subject, but aren’t those drawers groovy?! I totally jumped up and down. It was like I had discovered secret tunnels in our walls.
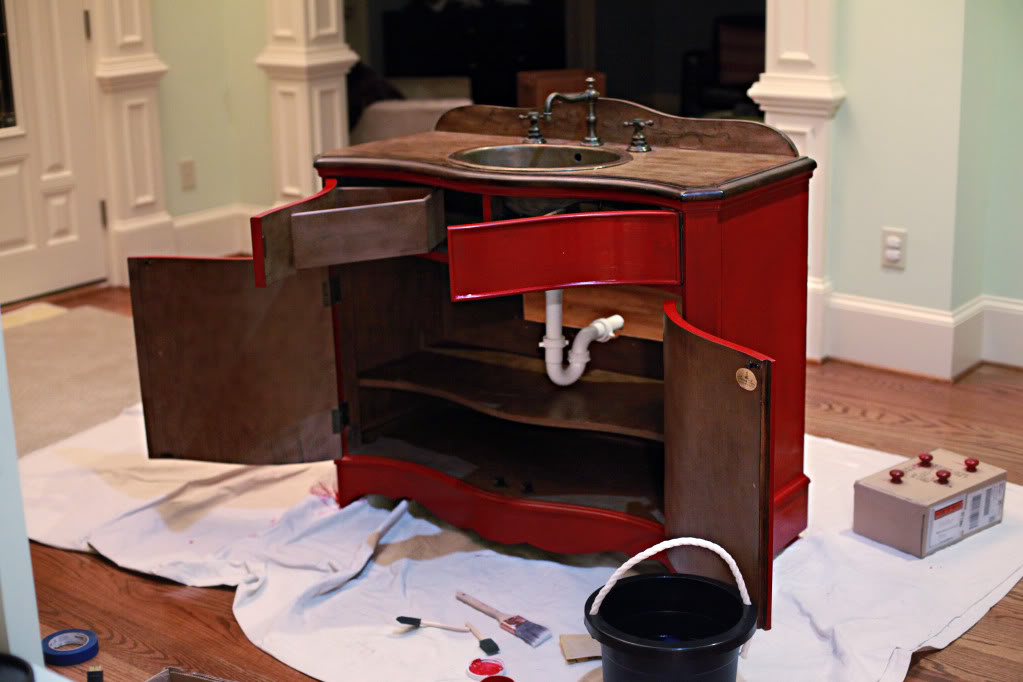
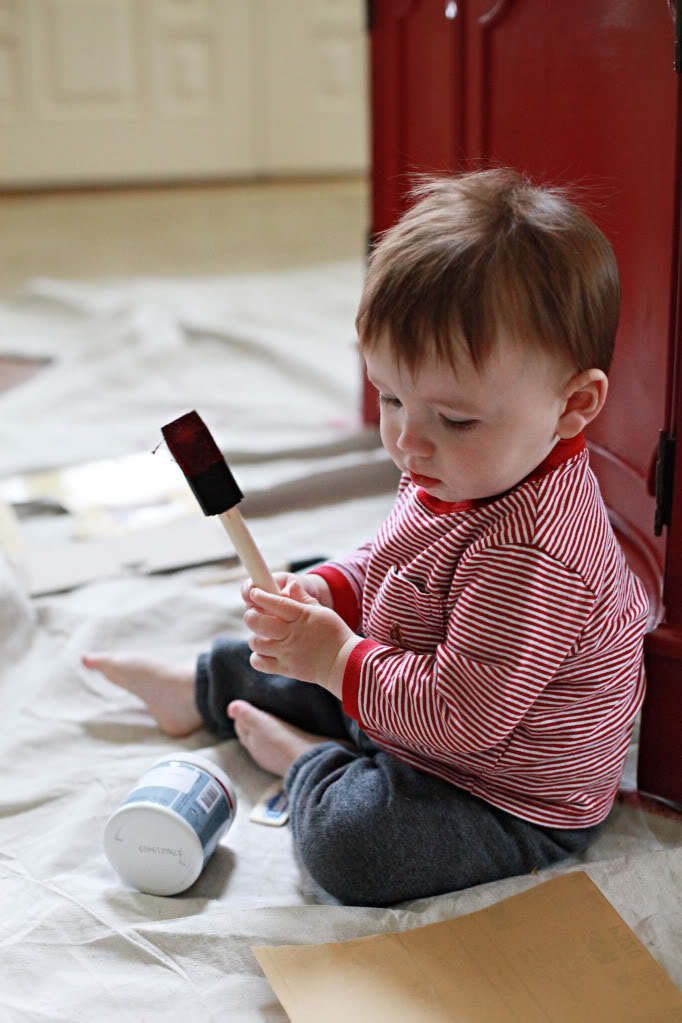
We totally put this little guy to work. I swear as soon as he is old enough to understand “lightly sand with 320 grit”, he is getting a job. And as you can see, we used a sample paint can for the vanity….yup…$3 sampler. Which leads me to my next point…I learned at Lowe’s that certain paints have certain bases…and if you are going to purchase red paint, it is better to go with Valspar…because they have a red base. Funny huh?
Anyhoo…after the three coats were on, we slid it back into place to see how it looked.
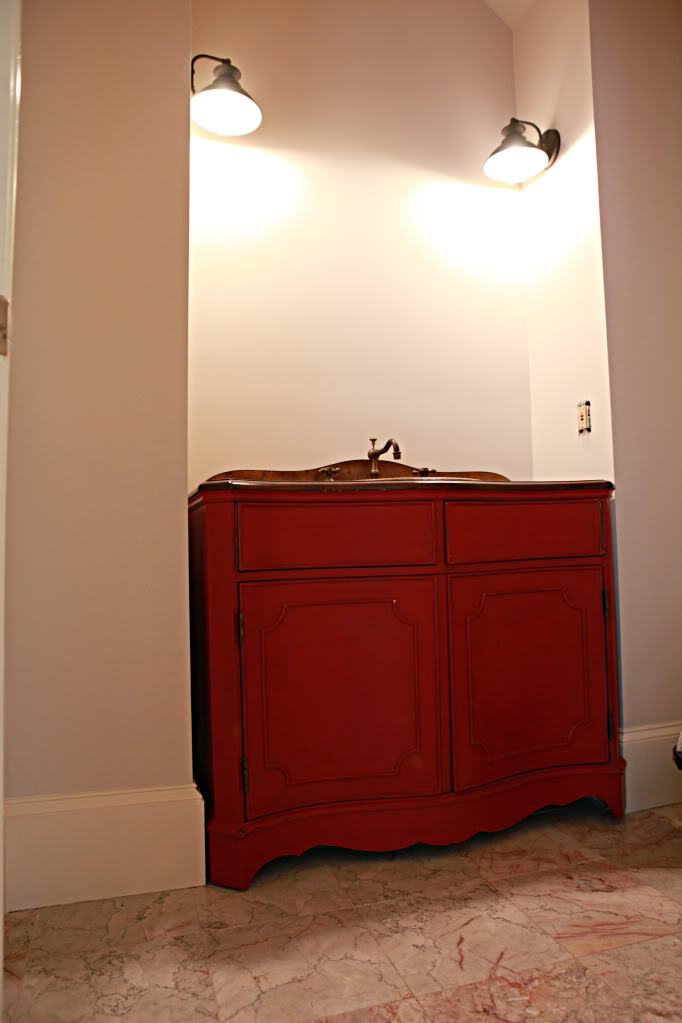
Way better than before…but it was definitely missing something. It was like the paint finish just looked too new. too finished. too flat and way too bright. I wanted to add some depth…so I decided that I would glaze it.
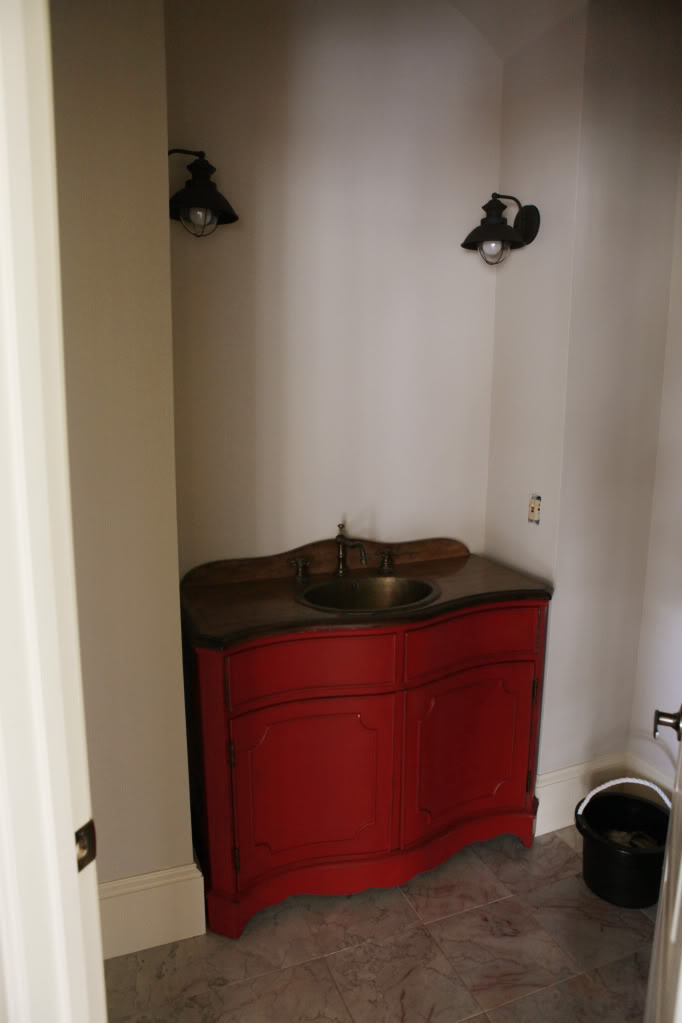
The glazing actually worked like a charm. It added texture and brought out the little nooks and crannies and corners of the drawers and doors. I love it.
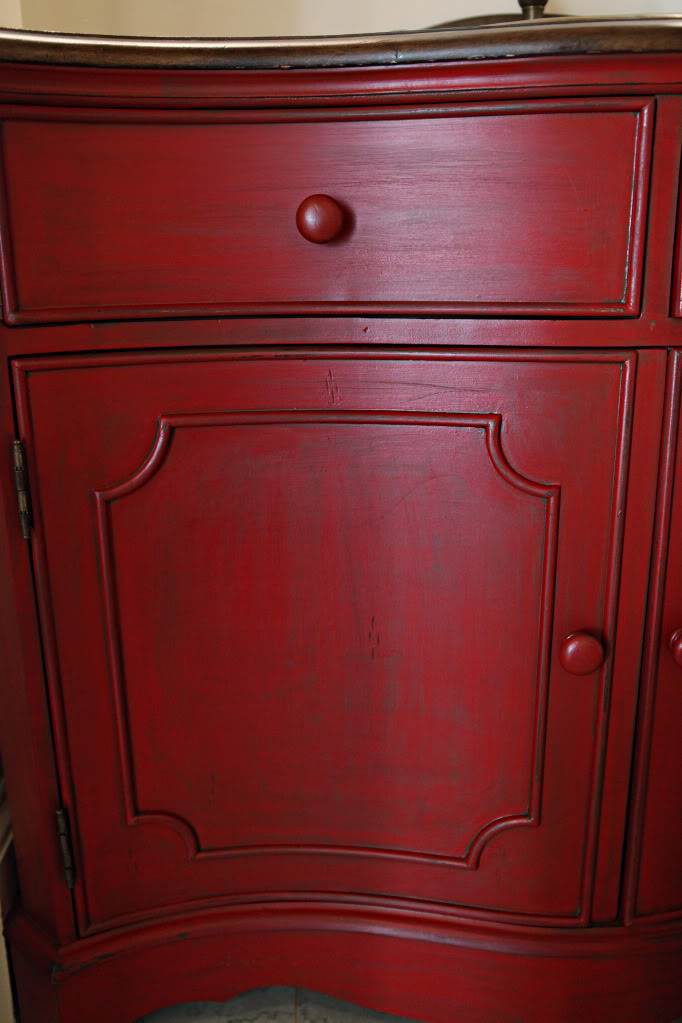
I decided to leave the top as is because 1. it needed a complete overhaul as some of the protective finish had cracked and warped the underlying wood and 2. I didn’t want the mess with the sink and faucets and 3. I was being lazy.
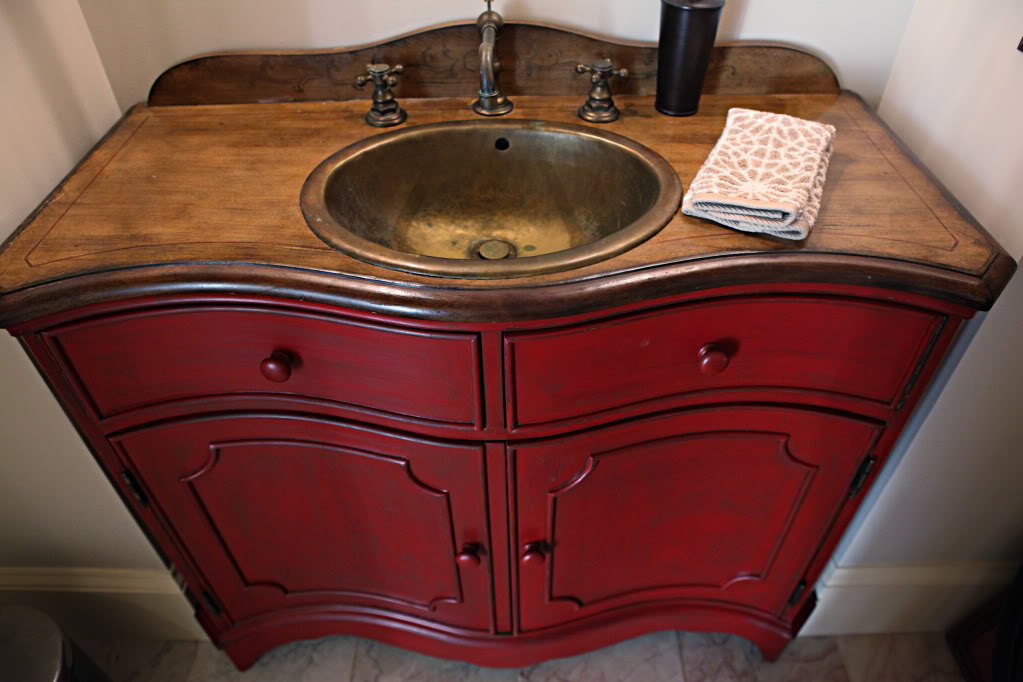
Overall, I love it. It looks so much more me than the flowers. I mean seriously…I didn’t even have flowers at our wedding…why would I keep the ones on the bathroom vanity?
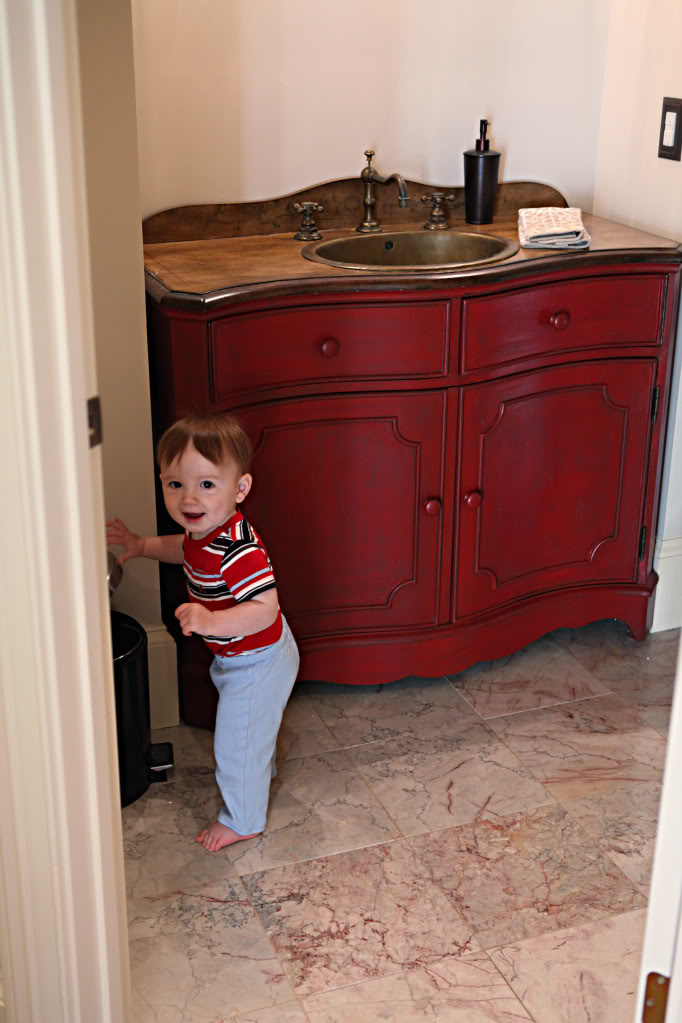
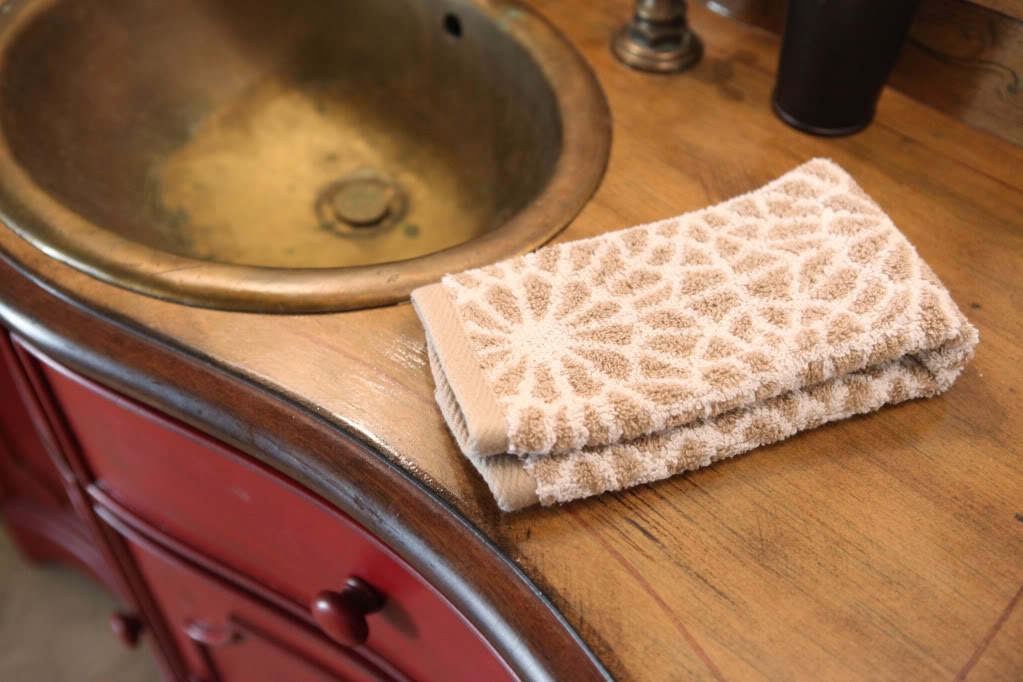
And just in case you were wondering, we decided to snag a couple new fingertip towels at Target for the new loo. Aren’t they cute? Yes I realize that they look like flowers directly after my tangent about not loving flowers. It’s called irony folks…
And that is how we took the bathroom vanity from insane to humane….


p.s. If you were wondering about my how-to, I removed the hardware, sanded lightly with a fine grit sandpaper all the surfaces that were going to be painted, cleaned off any dust and debris, painted a thin coat, sanded with a ‘between-coat’ sandpaper, applied another thin coat, sanded again, thin coat third time, sanded again and then glazed using this process but left more paint on the piece to give it an older, browner finish. Also, I used vertical and horizontal strokes when removing the glaze to get the textural finish. That’s it!
MUCH better. I can sleep well tonight knowing that your bathroom is 1000% better-looking than when you first bought the house. Love the red (vanity…not walls..). Well done, kb!
Those hand towels definitely look more graphic-art-design than flower to me. So don’t worry, you’re off the hook 😉
Ahhh, that looks amazing! Great job.
It’s starting to come together. Can’t wait to see what else you put into this space.
The bathroom is starting to really come together! And you have the cutest helper ever!
It looks great!!
I’m glad to see that scary wall colour is gone, I’ve never seen anything like it! ;D
Great job!!
It looks great!
One little tip for bases: when painting an item (or wall) red, use a blue base. It seems strange, but it really does help hold the red colour more.
Cheers!
Absolutely LOVE your title to this post 🙂 Caught my eye right away! Ofcourse the “new” vanity looks great too! Nice job!
It looks amazing! Great update for an even better price.
Looks a million times better – I love the glazing part! Now you just need some of these http://www.worldmarket.com/product/index.jsp?productId=4393518 to finish it off 🙂
really looks great!!!
That vanity looks great! Do you want to come to my house??? I have all kinds of projects that need work!
The glazing really made the difference, you’re right! I’ve never heard of sanding between paint coats…what’s the benefit?
Looks so much better! I’ve seen the 3M ‘between-coat’ sandpaper, which grit do you use between coats?
Absolutely LOVE the vanity! Even if it’s not your first pick… it just goes so well and the glazing really makes it pop! And I would SO KEEP the wood top… the red and the wood just go together like PB and J! Great job!
Right choice on the glaze; it completely made the look. Looks beautiful! (And that baby is way too adorable. He’s totally hogging the attention from the wonderful new vanity.)
Awesome before & after!! I just bought those same towels at Tar-jay a week or two ago and love them…they’re fun but still fairly neutral.
Hi! Found your blog through YHL and have really enjoyed your writing (especially the engagement story), your photos and your DIY projects and today project is no exception. Very nicely done. You have a good eye for what works. The bathroom has been transformed and looks great.
That looks so much better, KB!
SUCH an improvement! Seriously, those previous owners were on crack when they painted those walls, and I can only guess they were still high when they purchased the be-flowered vanity. Looks awesome now!
I was totally hoping you would keep the vanity! It looks great and I love the glazing effect (I may need to do this someday!).
My son LOVES the dishwasher…I swear when he is old enough he will be in charge of loading the dishwasher! Now I can hardly keep him away from the dirty dishes!
Lori
http://www.wom-mom.com
This looks a million times better! And to be honest – I’m glad you didn’t replace the vanity. I loved the lines but that the flower design was baaaad.
What do you mean by between coat sandpaper? Is there a certain kind to use? I’m about to start refinishing some pieces in my home and I want them to look great. One of them is almost exactly like the white dresser you refinished and had in your old kitchen. I have been drooling over your dresser and found mine on Craigslist for $20 yesterday. Can’t wait to get started.
I’m really glad you glazed it after. I thought it looked too flat too and was afraid you were done at that point. What a huge improvement!
Dear LORD that looks so much better. I was hoping you were gonna do something with that vanity! Great job and the glaze was a perfect touch!
BTW your new blog look is awesome! My fav yet.
Swoon!! 1)The vanity’s shape is gorgeous 2)Love the red 3) The glazing totally did the trick- love love love!
It looks fantastic! Are you planning to put up a mirror? 🙂
What I’m wondering is…WHERE IS THE MIRROR? Did it have one that you hated? or are you going to DIY one? Love the red btw!
Beautiful, Katie. And I see that little stinker trying to get into the trash can! lol
No flowers at your wedding? Weirdo. 😉 xo
I like it! Glad you glazed it. That vanity was too pretty (on top at least) to ditch it. Nice save!
The bathroom never had a mirror so we definitely wanted to put something up there. We are not gonna DIY one although the thought passed through our minds!
xo – kb
Oh yes – it is already up and I love it. Stay tuned for the update!
xo – kb
It is just super high grit count sandpaper – like 320 or higher. And it is sometimes labeled as “between coat”….it helps a lot to get that super smooth finish.
xo – kb
Thats the stuff I use! It is awesome for getting that super smooth finish.
xo – kb
The benefit of between-coat sandpaper is creating a super-finely-smooth finish. It makes it less streaky from paint strokes…and looks more like a professionally finished piece.
xo – kb
Wow! What a difference! I love the “after” picture with Will. It’s too cute.
Thanks for sharing your work. Love it.
Tiffany @ The Nest Effect
http://www.thenesteffect.com
That looks so good!!!
NICE!
I love the pop of the red vanity. Can’t wait to see the finished room!
Nice work 🙂 🙂 I’m glad you left the top “naked”, too. I think it adds nice contrast!
Red wash with glaze, I love it! Color washes in general are the loves of my life. 🙂
Love it! And now, once again, I am inspired to paint and glaze something…
It looks great! I love the color! Can you tell me the paint brand and paint color that you used? I’d like to use this color for a hutch in my kitchen
Did one sampler can of paint cover the entire vanity? The can looks so small!
Yup! I bought two…but ended up using only one. Crazy good coverage too…I mean, I thought I would only get two coats out of it…but alas!
xo – kb
Man, sherry is really pimpin you out lately! what a great friend! you def deserve the shout outs though. loving the new bathroom- night & day.
haha…yeah, she is a great friend…even without all the blog mentions 🙂
xo – kb
I think the original counter top on the vanity looks really good with the red. It brings it out more. So glad you kept it, even if it was out of laziness. Oh .. and those other two points you mentioned, but I’m sure it was 99% laziness. 😉 hehe .. it would of been for me.
SO much better
I just can’t get how anyone could possibly have liked the old bathroom walls!? They truely look blood smeared. You did a great job on the whole project. Love the “new” vanity!!
What was the name of the paint color you used? Thanks!