About two months ago, we were up to our elbows in water. actually it was ankles. I don’t think our basement would have survived elbow-height flooding. The overall damage from our impromptu ankle-cooling swimming pool was minimal. (sigh of relief) But the stress? The stress of knowing that we had a leaky basement had us quaking in our New Balances every time we saw a gray cloud.
Our leaky basement needed a hero.
and fast!
Dooo-da-Dooooo! (that is heroic theme music for all you who are confused.)
Enter True Value.
We are ever so thankful to True Value for allowing us to squeeze into the DIY BlogSquad…and that opportunity not only helped us save our new basement from future flooding, but it also cleared up my skin (less stress) and reduced the number of cusswords that were tossed at any local Weatherman bearing bad news.

So let’s review how bad our basement really was, shall we?
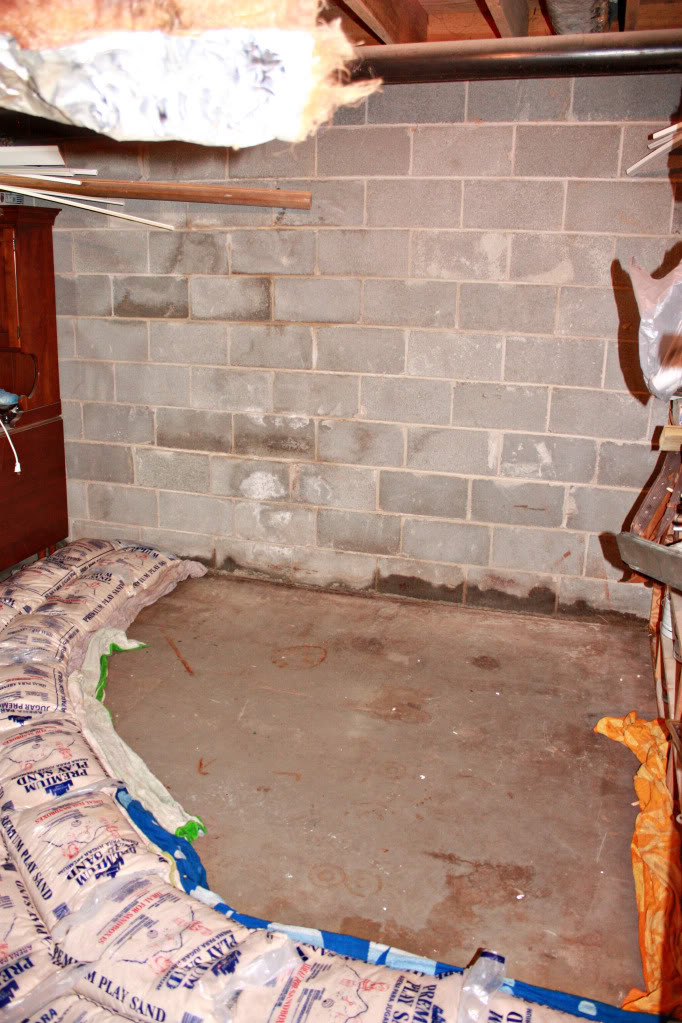
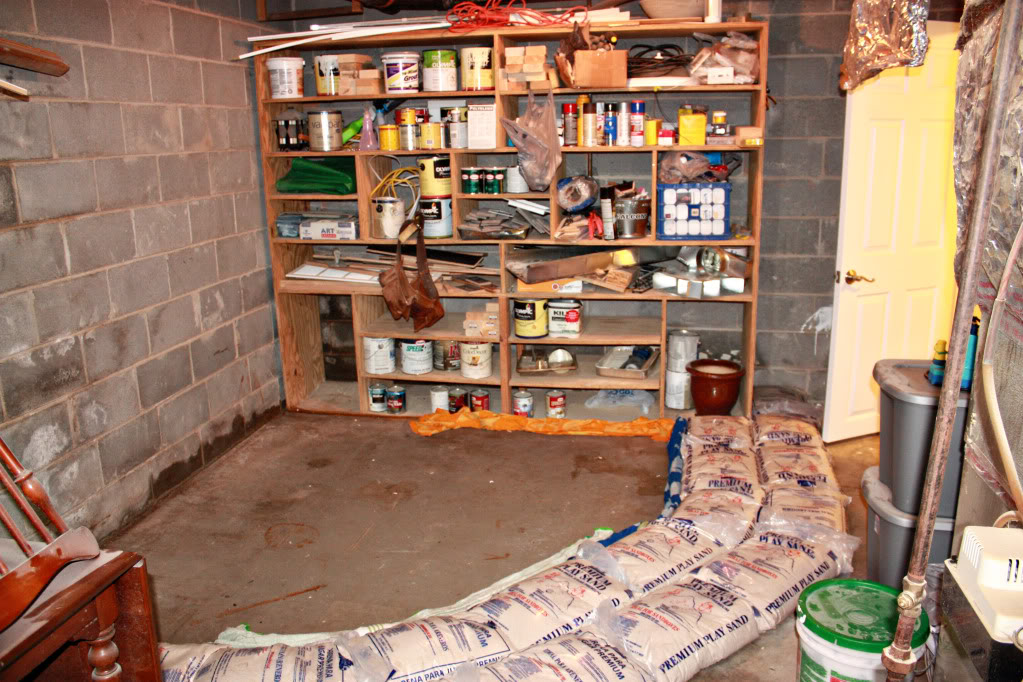
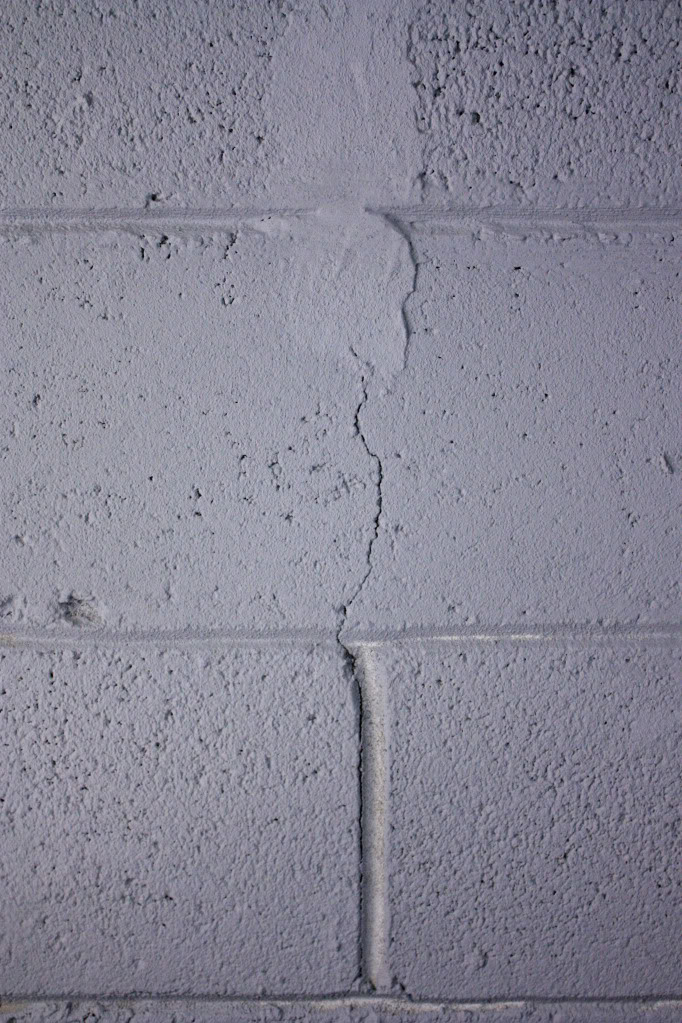
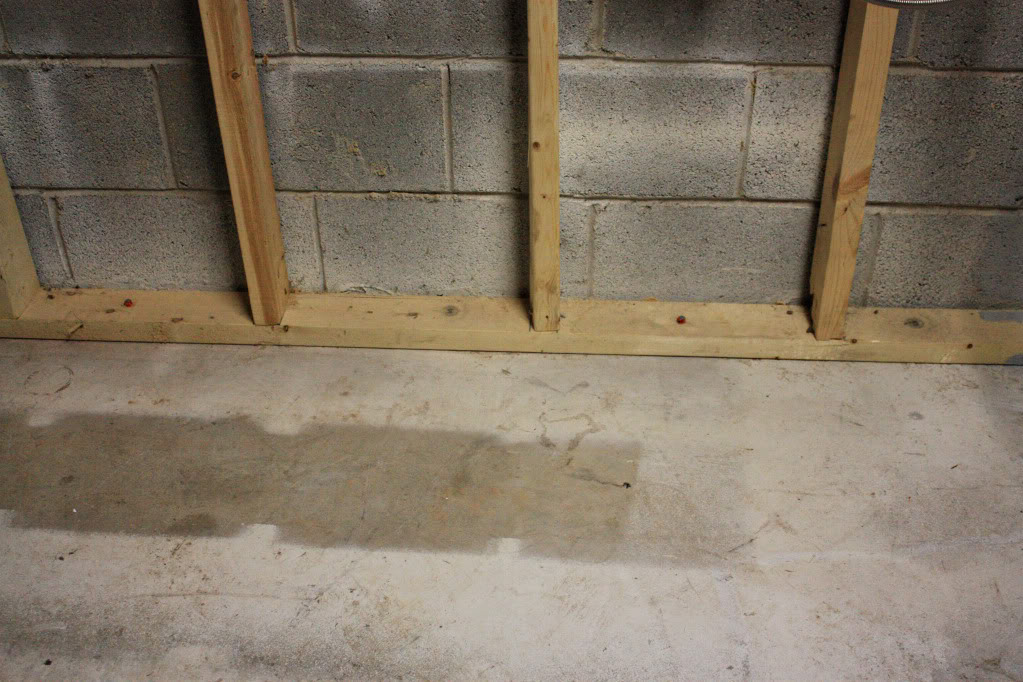
You can see where our slab-and-wall joint had sprung a leak. eww.
So in order to keep this from never happening again, we consulted Mr. True Value Helpfulman and Mr. Google. Both were in agreement. What we needed was to patch the leak with hydraulic cement and then Drylock the entire area to create a moisture barrier. Off we went to get supplies.
STEP 1 – BUY SUPPLIES
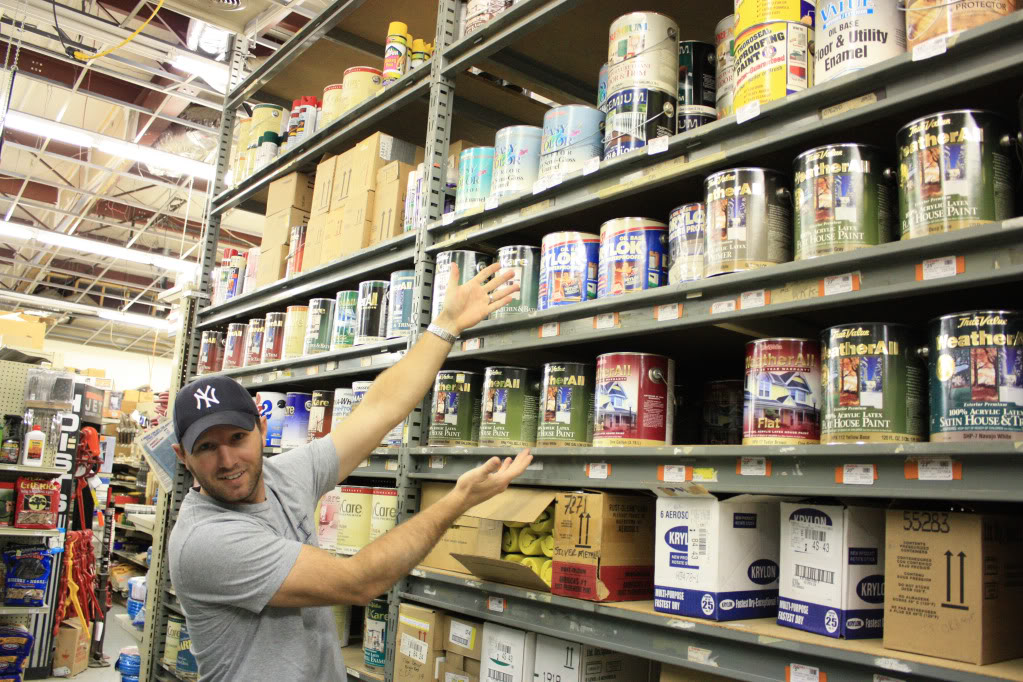
Drylock was our number one purchase for this project. We calculated that we needed about 10 cans of the OIL-BASED Drylock in order to waterproof the entire floor and the cinder block wall that ran the entire width of our foundation. Since this area was going to get finished over – we didn’t care what color (it comes in white, gray and beige). And we knew from prior experience that in order to apply the waterproofing, we needed several CHEAP brushes (you’ll want to toss them afterwards) and a roller with a heavy nap.
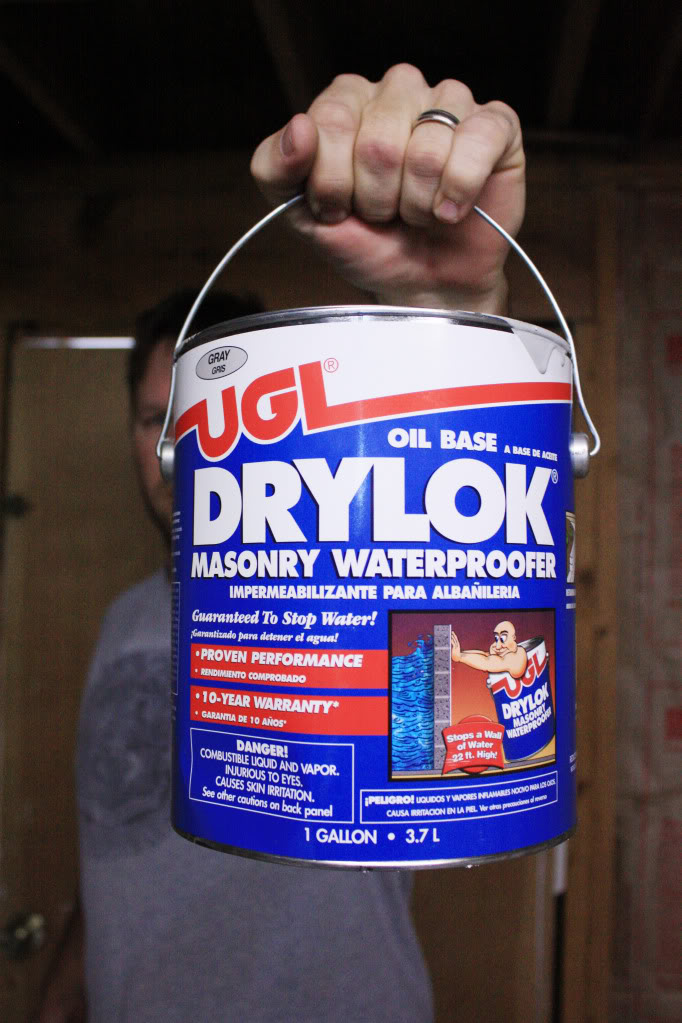
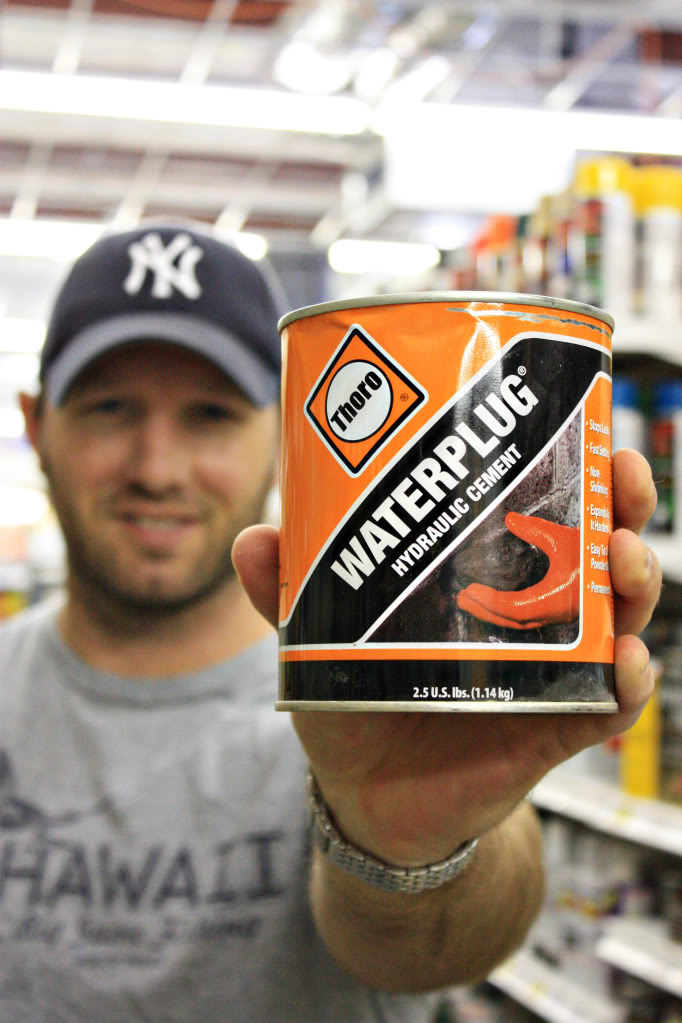
Number two on our TO-BUY list was the hydraulic cement.
I found out from my research that most cement actually shrinks ever-so-slightly as it dries. This can be bad if that cement is your slab (like ours). It can actually shrink away just a hair from the cinder walls and as time goes by, water can erode at that crack till you are surfing the muddy waters. Also, hydrostatic pressure can cause minor cracks in your cinder walls – which if left up to H2O – can cause MAJOR problems. So it is important to fill those cracks.
Hydraulic cement does the opposite of ordinary Portland cement – it expands. So if you stuff this filler into your cracks – it should increase slightly in size, filling the hole and preventing any future leakage (heehee…c’mon. Who doesn’t laugh at ‘leakage’?!?!)
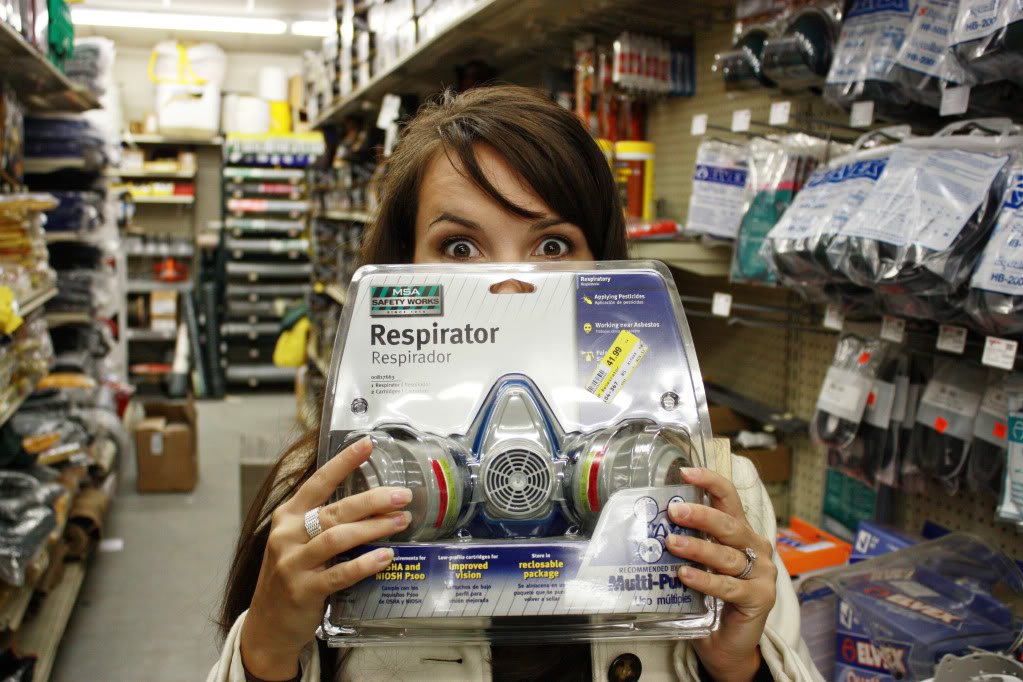
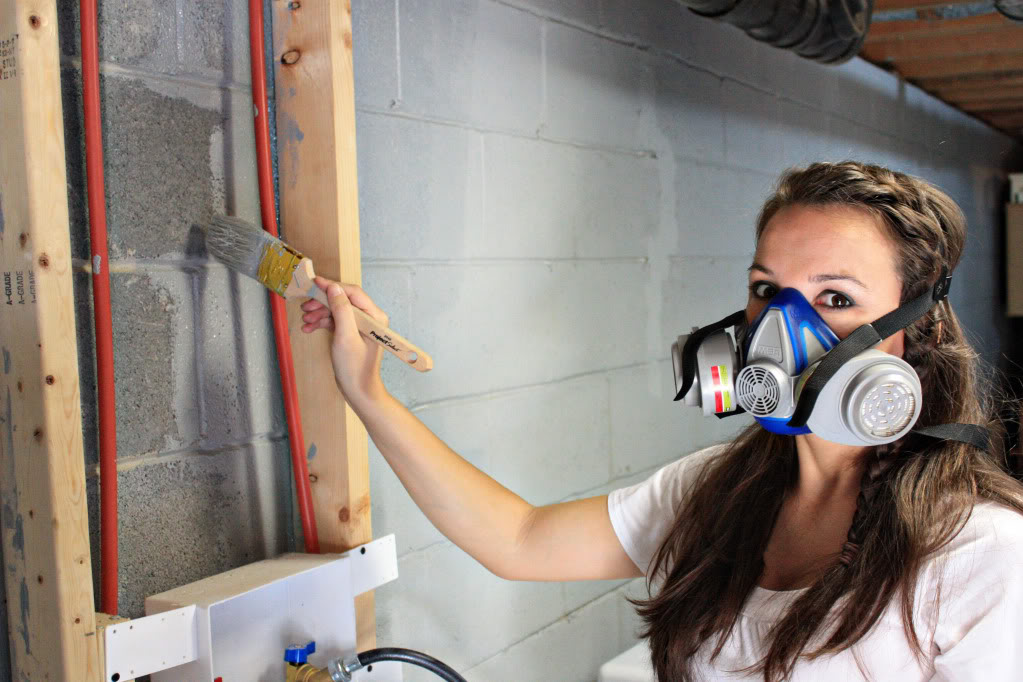
Last item on our TO-BUY list was this mask – which would come in handy blocking those 10 cans of Drylock fumes. Plus, it looks like the next hot accessory to me. Like the bangles, pearls & crucifix necklaces were to Madonna, I get credit for the respirator look.
STEP 2 – FILL THOSE CRACKS
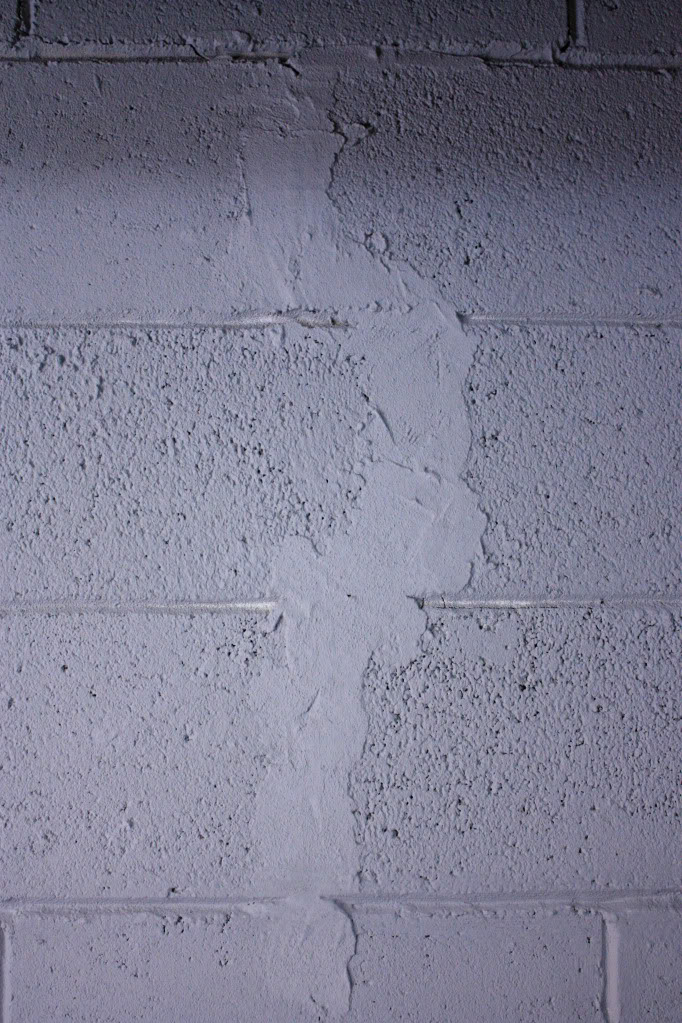
Hydraulic cement is super easy to use. First clean your surface and remove any loose dirt or dust. Then just mix the material with enough water to create a mixture between a putty and a heavy batter. Then you are going to ‘ice your cake’ so to speak. Using a trowel (or your hands or a putty knife) work the hydraulic cement into all the cracks and allow to set. Drylock can be applied directly over the dried area.
STEP 3 – PREPARE TO DRYLOCK
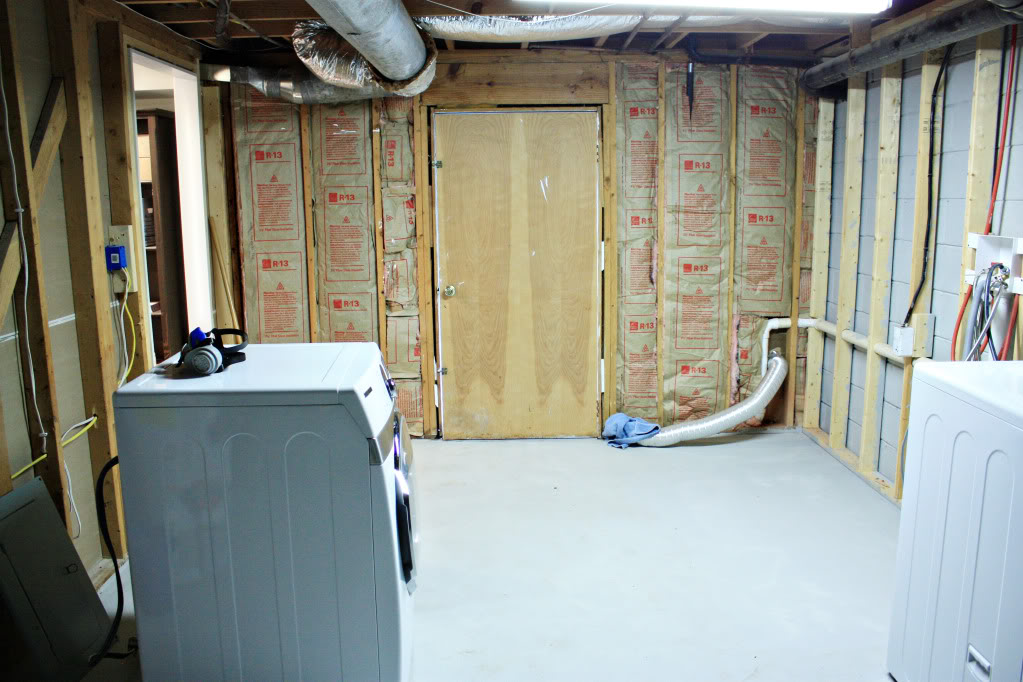
The space that we were preparing was really large and we use part of it as a storage space for very important stuff. It’s a bunch of junk (let’s not mince words, kay?) – so we split it into two sections. The section that had the most leaking was the first space we tackled (and when I say we, I mean Jeremy & Torrey – dude, I am pregnant and have strict doctor’s orders not to lift anything over 25 lbs and to not get high on Drylock.) The space that I helped with was over here:
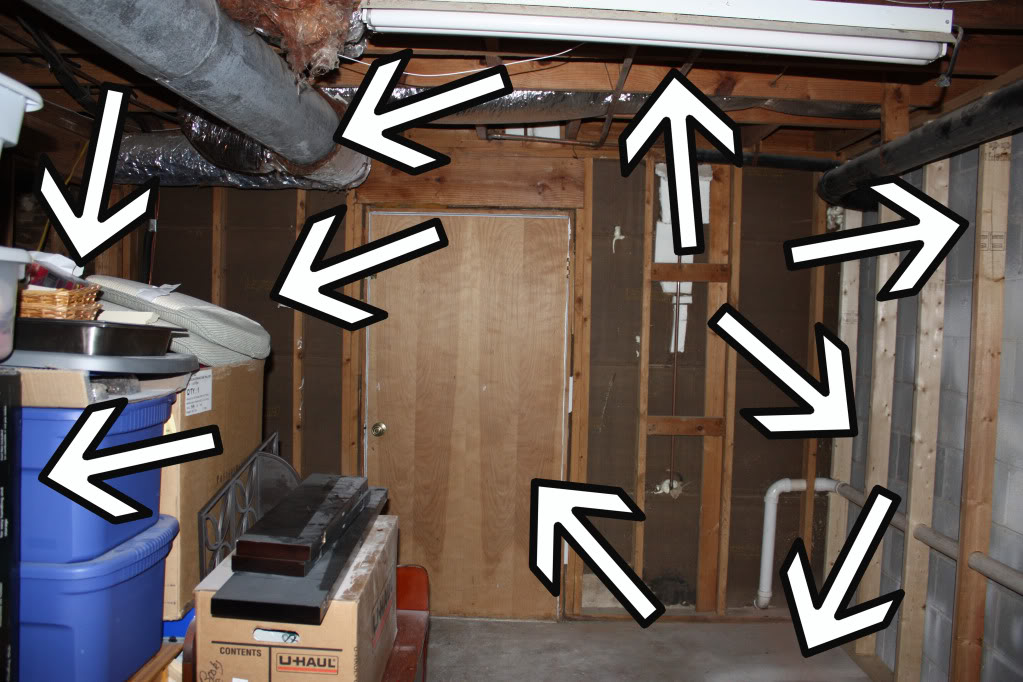
Yes – the other end of the basement – where the future laundry room will go.
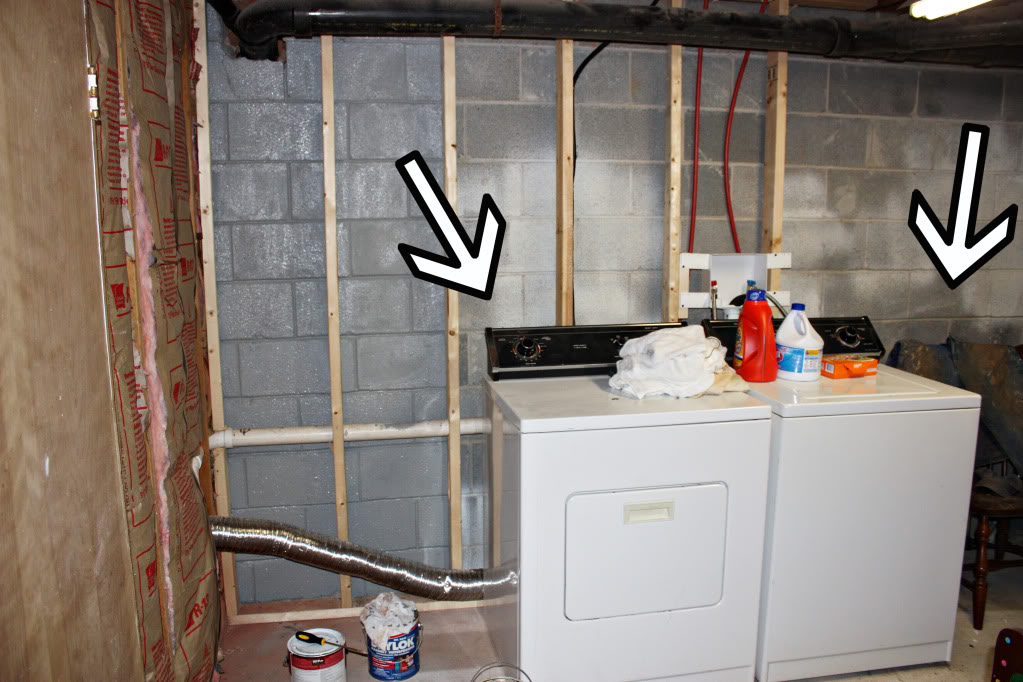
First we cleared the area of all the highly important stuff (aka junk) and swept the walls and floor. Then we gathered our supplies and opened the door for ventilation. Even if you have a mask on, any additional ventilation will help with the fumes. (clarification: the Drylock fumes. Any other fumes will be at your own risk!)
STEP 4 – BRUSH IT IN
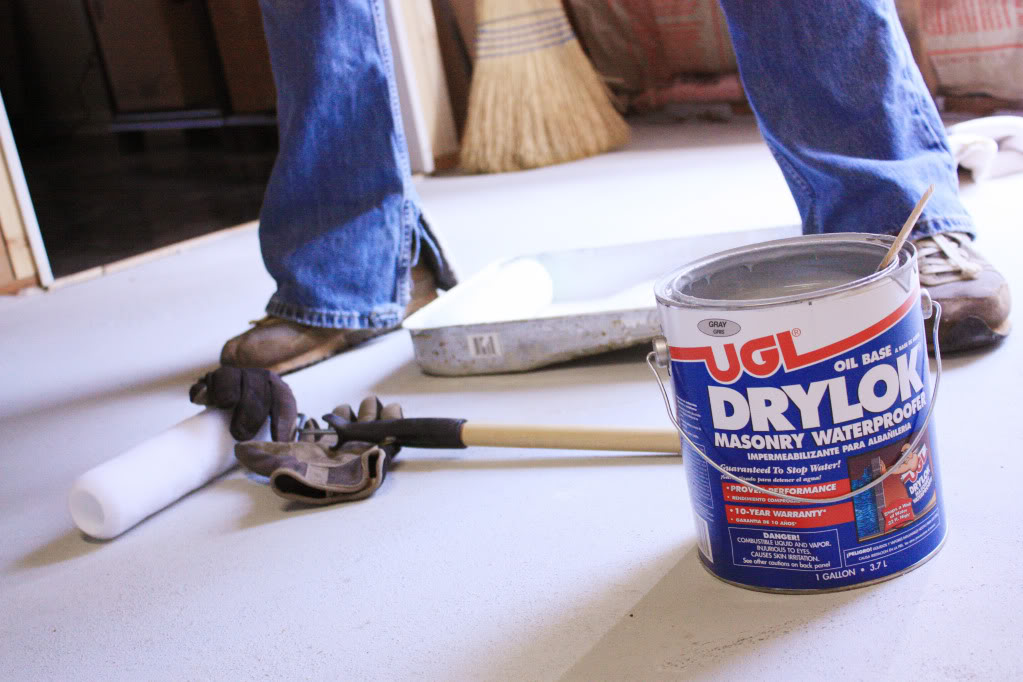
According to the Drylock instructions, you will need to apply the watersealant with a brush. In our experience, we prefer a different twist on the recommended method to get best results. First we brush the Drylock into the cracks. Points for us for following instructions 🙂 But then we go that extra mile: Go on to Step 5.
STEP 5: KEEP IT ROLLIN’
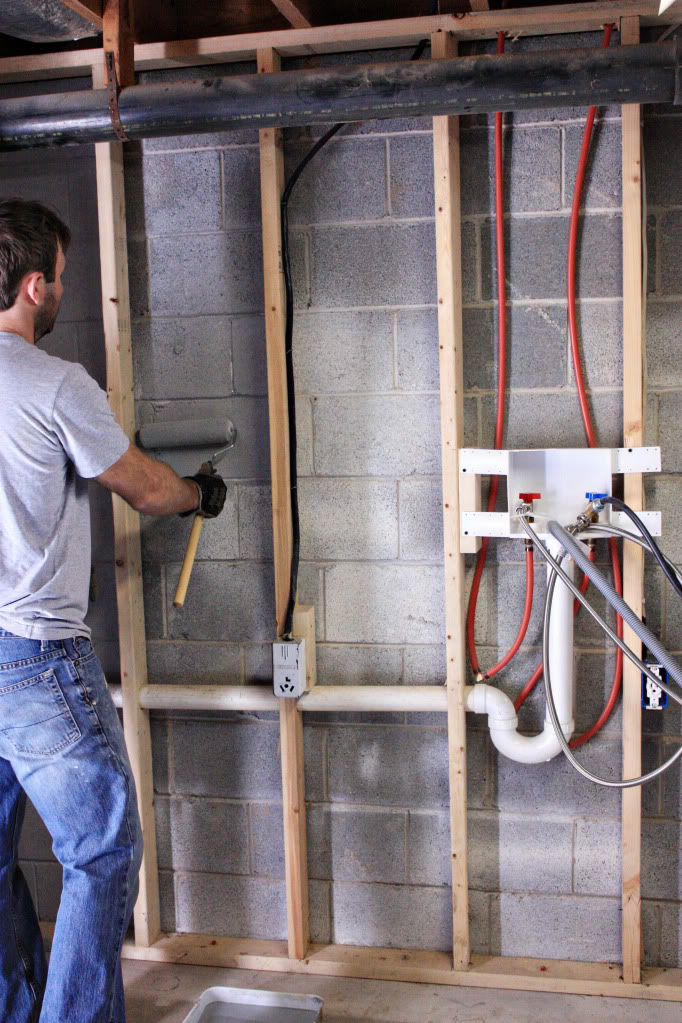
We go the extra mile by pouring more Drylock into a painting pan and using a roller for a primer coat on the walls.
Since the first coat must be ridiculously thick (think mayo on a ham&cheese sandwich), the roller helps get ALOT of the necessary Drylock up onto the walls. It’s sortof like makeup – first we spotcheck, then we apply foundation. Foundation doesn’t hide the blemishes, it just evens things out a bit. Same here.
STEP 6 – BRUSH YOUR SHOULDERS OFF
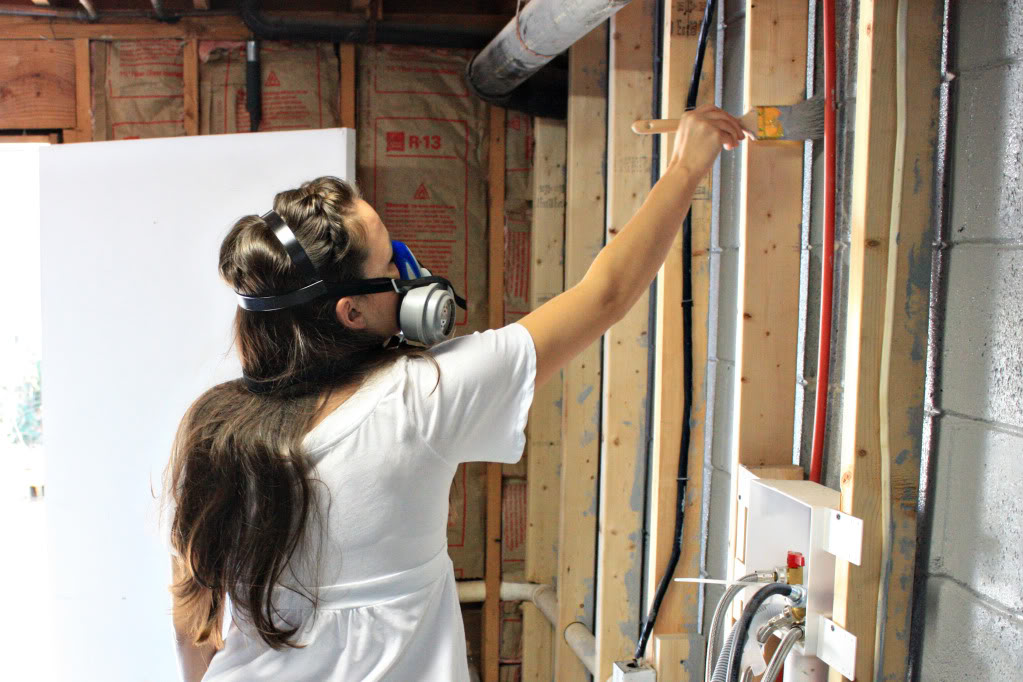
After the base coat is up – IMMEDIATELY apply the drylock VERY THICKLY onto the cinder block walls with a brush. Again. Be certain to get behind studs, into the mortar lines and fill any small pin-holes with a healthy dosage of Drylock. This is not Black Friday….it’s not time to be frugal. This first coat needs to be thick (thus the three step process) because it is going to be the first line of defense against the moisture terrorist.
STEP 7 – SEAL THE SLAB
Using a roller, apply the drylock to the floor as well. Remember, this isn’t your waistline – THICK is your friend.
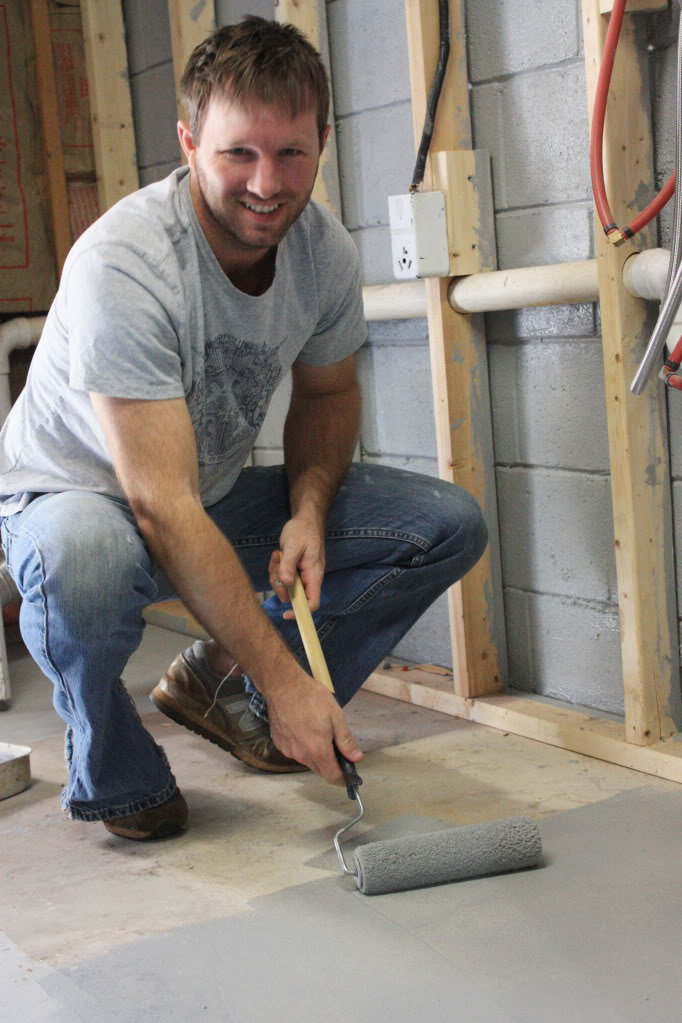
Any odd areas (like corners or along 2×4’s) that the roller won’t cover properly can be sealed by applying the Drylock with a brush.
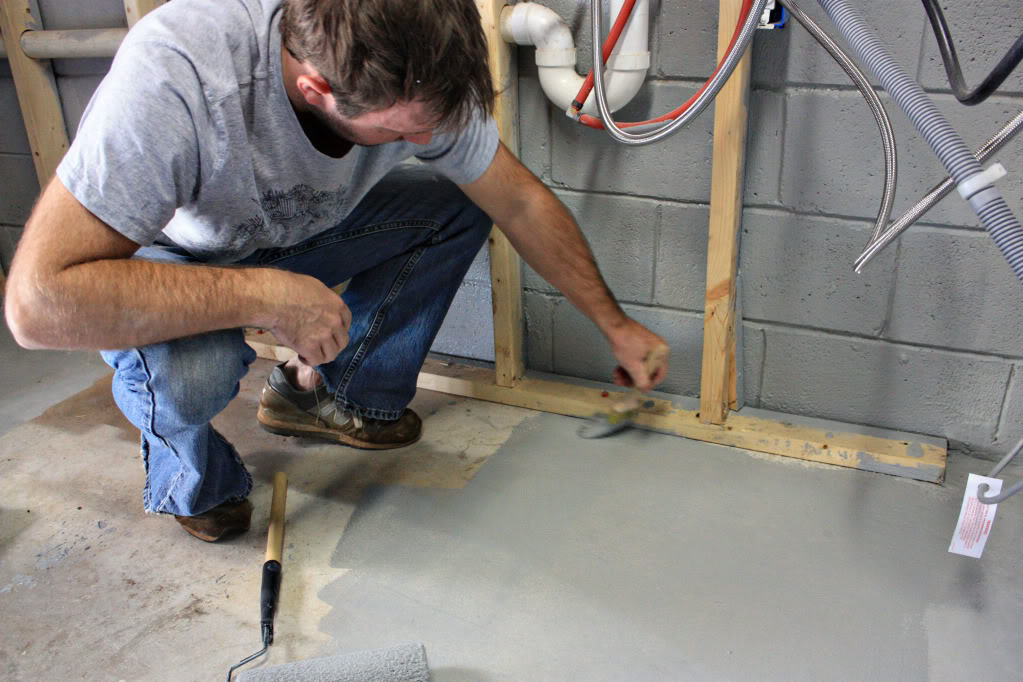
STEP 8 – REPEAT STEPS 4-7
After ample drying time (it differs according to temperature and moisture in the air), repeat the steps 4-7 (BRUSH, ROLL, BRUSH, ROLL, BRUSH) for best results. Since the fumes were so strong in our house, we opted to take that opportunity to eat out a bunch (yay for Taco Bell & Jr. Bacon Cheeseburgers!) and spend a little more time at friends houses while the basement dried. And when we were home – all we had to do was open the basement door to air out any pesky fumes.
STEP 9 – CELEBRATE YOUR VERY DRY(locked) BASEMENT
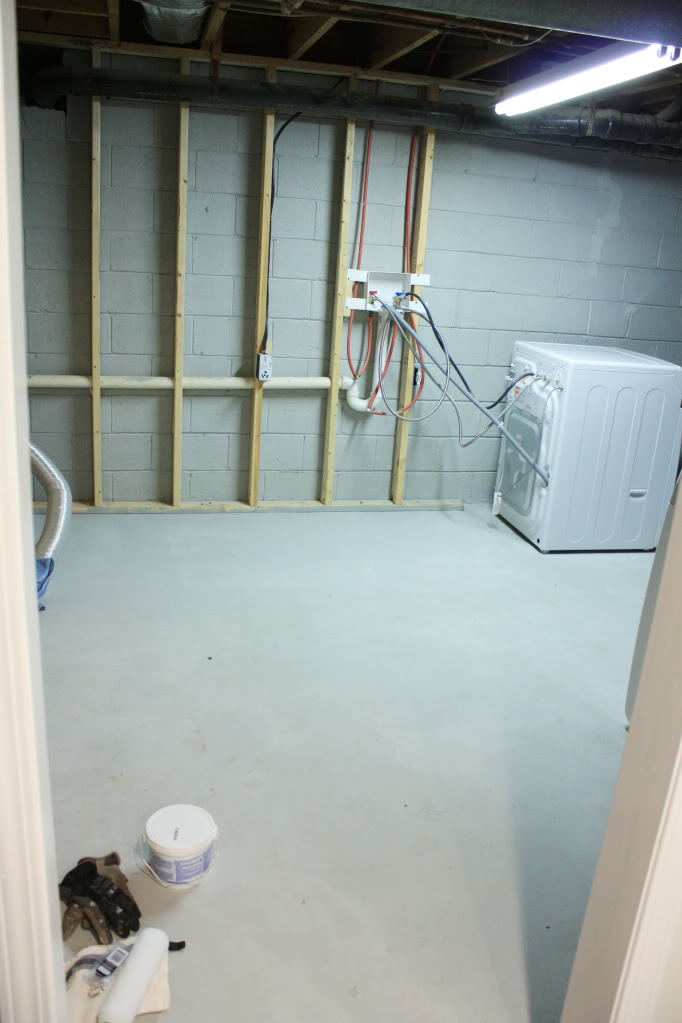
Break out the radio. Turn up the Britney. or the Lady Gaga. Or the Soundtrack to Titanic. Whatever floats your boat…get it? heehee…and….
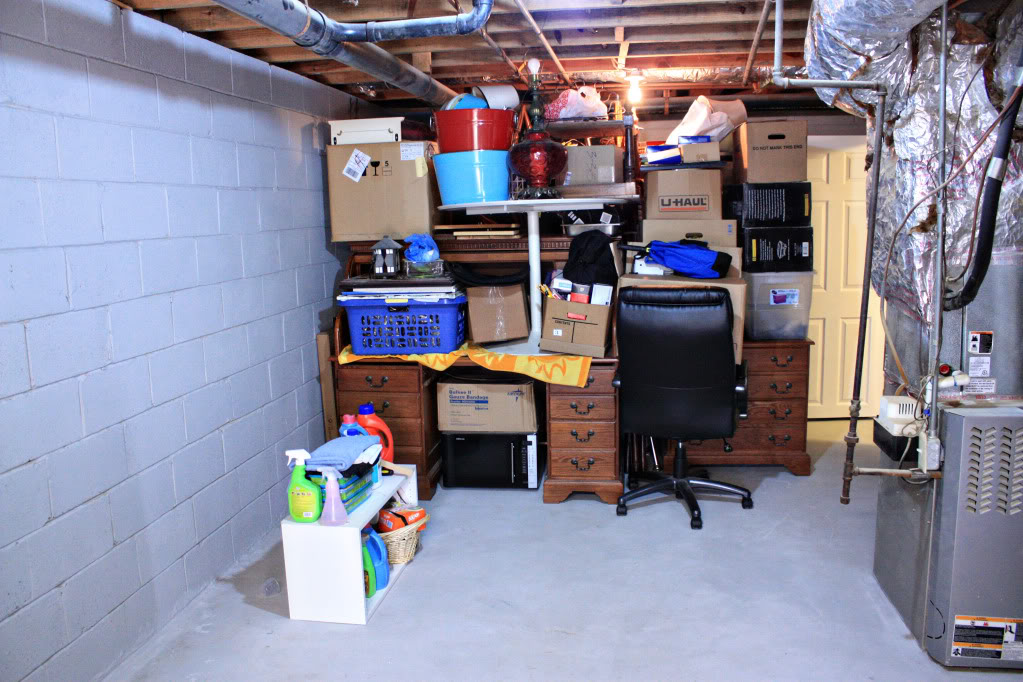
….start the bootie shakin. Heck, throw a little robot and hand jive in while you are at it because….
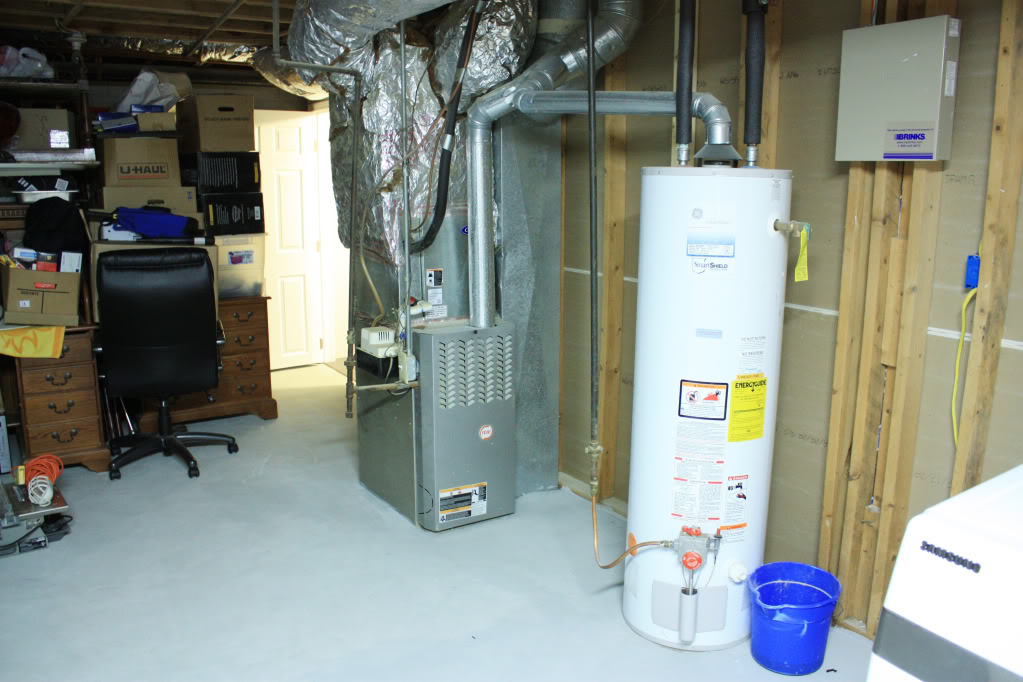
….you have a very dry & sealed basement. And nothing (not even the thick rain cloud outside), NOTHING will get your spirits down (or your basement wet, moldy or mildewy).
So there you have it – all the steps you need to waterseal your basement. This is especially important if you ever plan on finishing the spaces down there or installing insulation or if you don’t like spending three days wading in water as it soaks your storage boxes. Whatever your cup of tea (or should I say cup of murky water?), I would definitely recommend taking the time and money to invest in sealing up those cracks…listen to the voice of experience here. It can help save you a huge headache, not to mention wrinkly fingers.
Any questions? I’ll do my best to answer them. But really I would like to hear about your experience with flooding…any flood victims out there? Anyone already drylock? Any tips for future drylockers of America? Do share.
Next up – planning a moodboard for the laundry room (YAY!)
FOR MORE DRYLOCKING FROM A FELLOW DIY SQUADER – CHECK OUT HOW JOHN & SHERRY WORKED THROUGH THEIR MILDEW ISSUES TO GET A NEWLY FINISHED SPACE.
“I was one of five bloggers selected by True Value to work on the DIY Squad. I have been compensated for my time commitment to the program and my DIY project as well as my posts about my experience. I have also been compensated for the materials needed for my DIY project. However, my opinions are entirely my own and I have not been paid to publish positive comments.”
we were victims of the recent GA floods as well… since our basement was already finished, we had a drainage system installed so that we didn’t have to tear apart the whole basement and drylock. it’s not installed… now time to fix drywall and carpet! 🙂
I am definitely going to be referring back to this when we get to this stage in our renovation. Right now I just stay far, far away from our basement!
You two worked so hard on that space – I can’t wait to see it at completion.
Happy Thanksgiving to you and your growing family!
I’m not trying to be snarky, but why is it that you and Sherry over at Young House Love seem to write about the exact same topics?
Hi Ann!
Hmm…interesting question. I guess that the best way to answer it is to say that we both share a passion for home improvement (and in this case, watersealing our home). Maybe that is what brought us together as friends. And as much as we have in common, I encourage you to see our differences as well – Young House Love is a huge blog that focuses only on HOME (and their little dog Burger) related information…whereas here at little ole Bower Power, I like to talk about anything and everything that strikes my fancy – be it my family, my friends and of course, bacon. Stick around for future posts – unlike the Petersiks storage space, this moisture-free-basement will be turning into a laundry area….which I hope will satisfy your desire to see some different info 🙂
XO – Katie
I like your blog, but um, i have to agree, you guys kinda copy Sherry and John a wee bit TOO much. They are too nice to say anything, but let’s get some original content, hmmmm? Sorry, not trying to be mean…
Please ignore the posters above!! So what if you talk about some of the same things! Your both doing renos on your much loved homes, of course some posts will share content! Keep up the good blogging!!
How much water got into your basement? How frequently? My lovely basement leaks 1-2x in spring and again in fall. Not a terrible amount – the lower two cinderblocks get damp and I get a few puddles <1" deep. However I cannot place any organic matter directly on floor w/o it swelling up, etc.
I was going to dryloc but have held off b/c of the stuff online about the stuff blistering from hydrostatic pressure. An alternative would be to install an interior drainage system (~$5000 eep!).
What's your take?
hmm…interesting problem you got there. We only got the water in there during the recent flooding (our puddle was over 2″deep)…we blame a overly saturated ground and cracks between our walls & slab…but prior to that, we did have a little issue with moisture. I could tell because wood furniture that was in storage would sometimes have mildew on it when we pulled it out. As for your situation, can you identify where the water is coming from? Hydraulic cement can patch the cracks and joints if you know there is a definitely leak. But if it is just your blocks seeping, I would recommend Drylocking and then perhaps installing a french drain on the exterior area that would redistribute the future water. The french drain can help your water-overload on those two lower cinderblocks as well as any future blistering. And the overall cost of a french drain & drylock would be substantially less than the cost of an interior drainage system or mold/mildew treatments. But that’s just my take – you might want to ask a local professional for more details specific to your area.
XO – KB
Personally, I think it’s helpful that your blog and Young House Love’s include some similar topics because your spaces are different, and it allows novice renovator wannabees like myself to get multiple perspectives on the same process.
Keep doing what you’re doing! I love your blog!
Abby
Thanks Abby. Honestly it used to bother me when people thought we were copying people…but now we know that we are definitely going to have overlap of topics because we have similar interests (and non-similar ones…like they like green products and I like photography)…and when it comes to processes like drylocking, I mean, don’t thousands of people drylock their basement every year? ABP and YHL just happen to do it and blog about it 🙂
xo – kb
Thank you for sharing your project, I am for sure going to try it. I did have one question… How much did the materials cost you? Thanks for all your help!!
Heide
Shoot…this was a long time ago so I have no idea now. I’d look it up on your local home improvement website.
xo – kb
These are really good tips. We had a plumbing issue that caused a minor flood in the basement, it a large puddle we needed to mop but we realized we need to waterproof the basement just in case we had another emergency like that, but worse. Thanks for sharing, I’ll be showing this to my husband when we get home.
We have cracks in the cement foundation flooring of our basement. No moisture gets in so far. Would this method work to seal the cracks? Thanks.
I have a crack in my poured-wall foundation, would this approach work for my situation? I really don’t want to fix it from the outside, a bit costly.
Look at the product label to see if your cracks are the size that they recommend using this for! I also recommend looking at any outside downspouts to make sure all rainwater is getting guided away from your house! Hope this helps!
xo – kb
It depends! This is for water sealing but we had no foundational issues. It’s always best to look at the product to see if it is recommended for the crack size you have. Not all cracks are created equal 🙂 If you have consistent water issues in your foundation – it might require a lot more work than patching. And make sure you also look around for your exterior downspouts to ensure all rain water is guided away from your foundation. Hope this helps!
xo – kb
I just recently bought my first home. My basement will DEFINITELY need dry-lock. My basement has a combo brick and cinder block wall. Will the products work for me? It looked like you basement only had the cinder block walls.
Thanks,
Carole
Hmmm…interesting question. I don’t know honestly. I would have to look on the can and see. If you read the back of the label and it works for all types of masonry then you should be good to go.
xo – kb
Curious – it’s been a few years – have you had any leaks?? Would love an update!!!!
We actually rent this house currently and no…we haven’t heard from the renters of any leaks so YAY!
xo – kb