Recently some friends asked us how our fireplace project was coming.
I just started laughing because this update was old news. really old. Like Ellen is a Lesby kinda old.
But just to revisit this little ditty of a project, here is the play-by-play (as best as I can recall) of how we changed our brick fireplace to an updated slate surround & hearth complete with mantle.
Looking through that giant hole in the wall, you can see where our fireplace is located in the den.
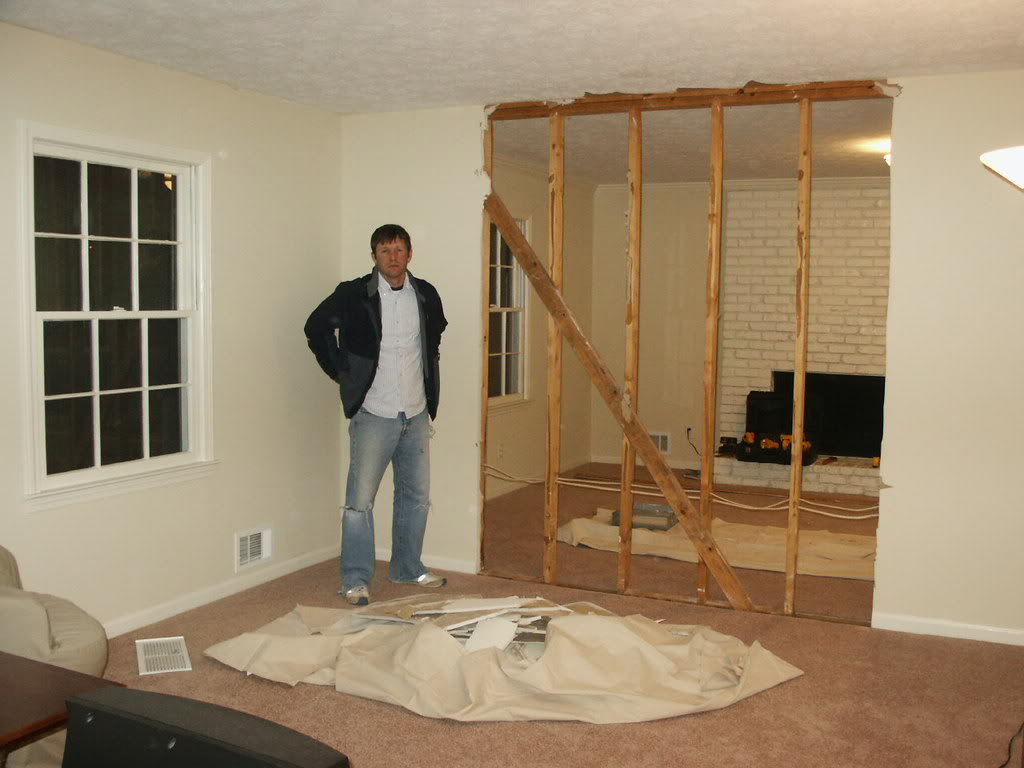
We tore out the hole to connect the den to the living room and create more flow between the two rooms. We also decided to tear out the 1970’s paneling (that the previous owners failed to paint correctly) and install new insulation and new drywall. But the fireplace was still a confusing mess.
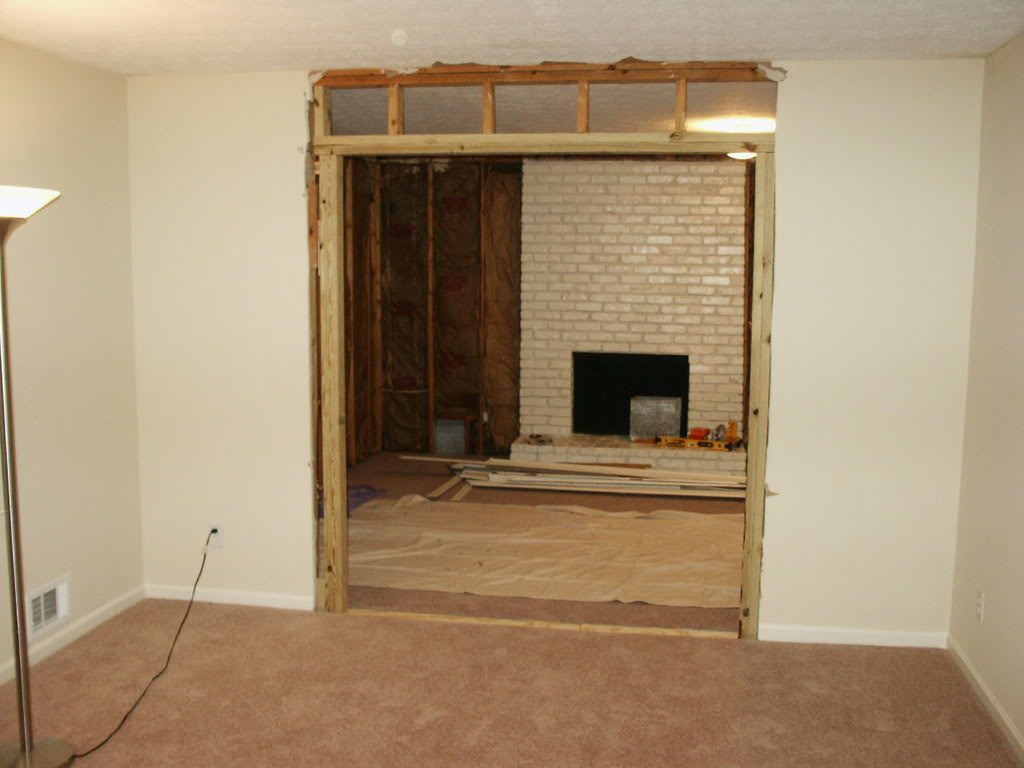
The bricks were in poor condition, many cracked and crumbling – making the installation of a mantle directly ontop of the brick impossible. And instead of mending the broken bricks & mortar correctly, the patchwork was done with solid concrete that was rock hard. Also, the previous owners had applied one coat of latex paint without bothering with such details as cleaning the bricks first. It was a mess and both Jeremy & I wanted something that would appeal to a more traditional asthetic.
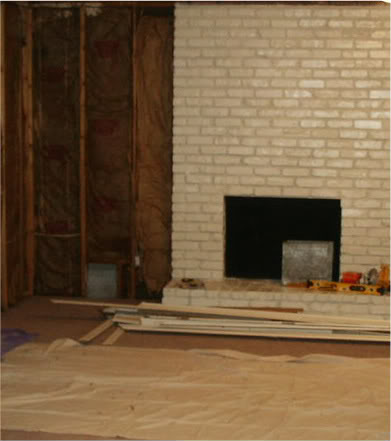
So we went to the task of attaching furring strips to the upper part of the fireplace as well as the sides. Basically anywhere that drywall would go, we placed some vertical furring strips (which are basically just pieces of wood that are long and thin). We attempted to attach the strips with a hammer drill but the brick and the mortar was too hard to penetrate, so Jeremy ended up using a PAT (powder-actuated tool) that looks like a gun with a trigger and utilizes gunpowder and drive pins (similar to nails but with a little plastic piece on the head that makes it compatible with the gun).
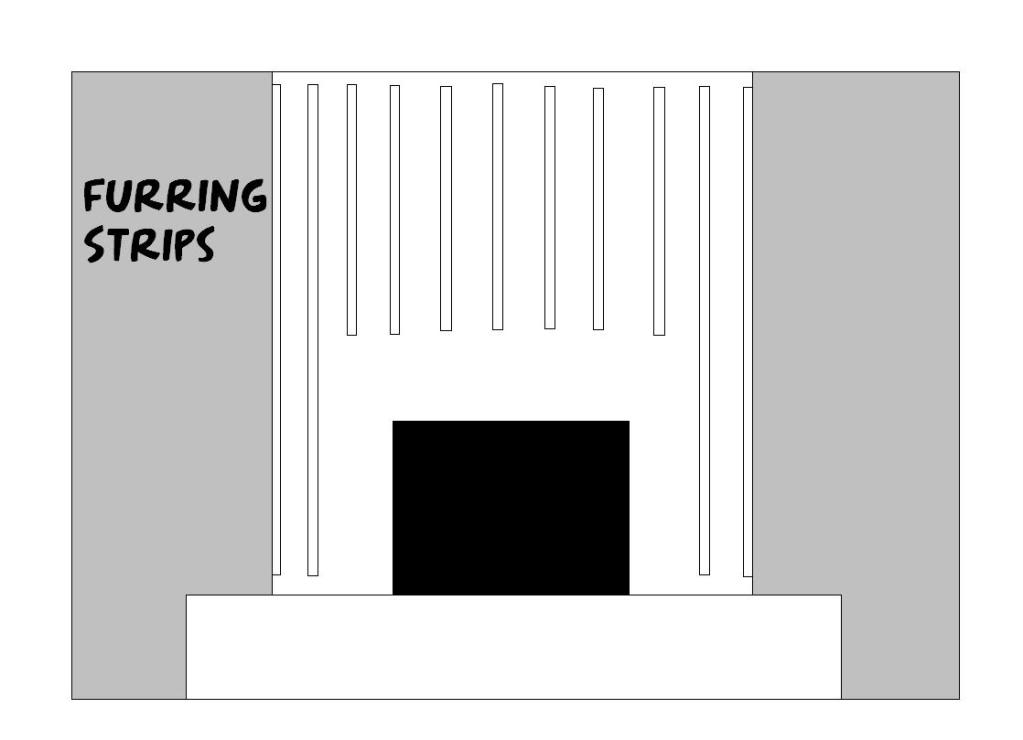
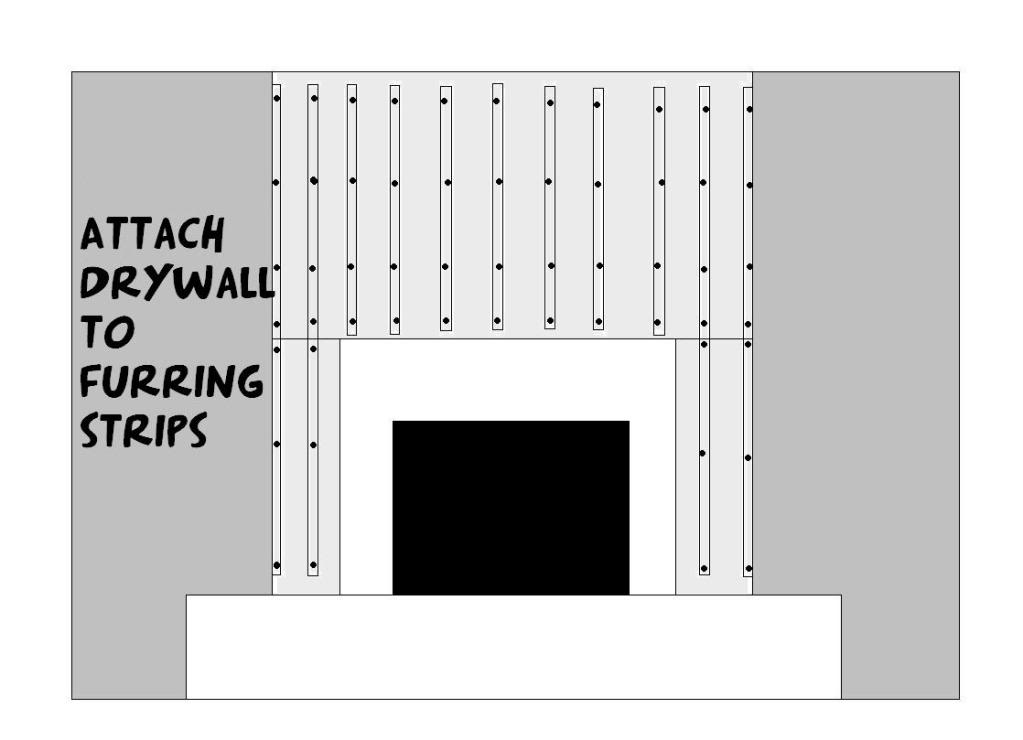
Attaching drywall to the furring strips is similar to regular installation. The only issue with attaching the drywall to furring strips is that we had to mark the location of the strips prior to screwing in the drywall. After we attached the drywall, we mudded the holes and made the fireplace look seamless with the rest of the wall.
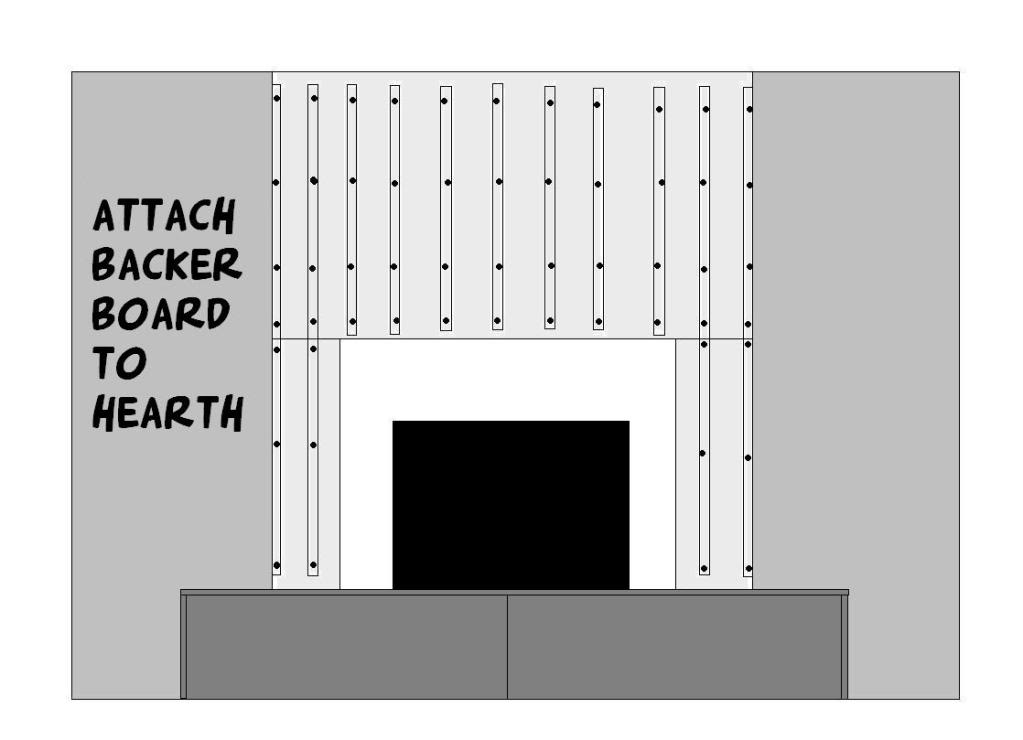
Then we attached the backer board to the hearth and the surround. Again, Jeremy used the PAT for a few spots and then also was able to use the hammer drill on some softer mortar spots.
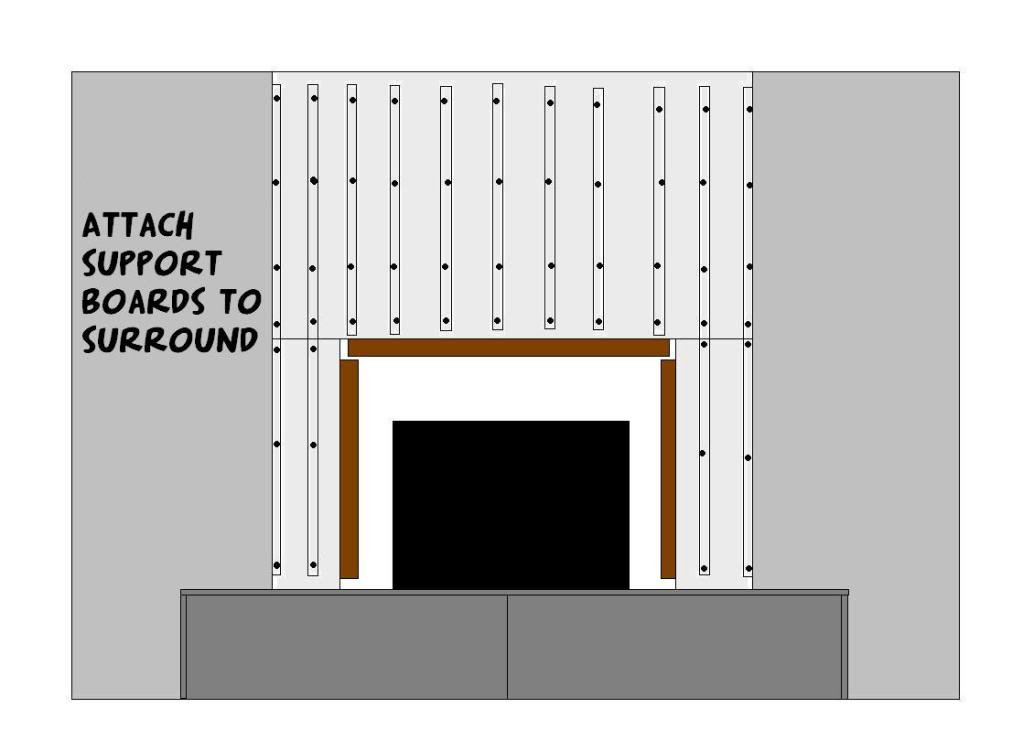
Then we attached support boards to the surround. Since we had already purchased the mantle, it took us a few moments to calculate how wide and tall the location of the support boards needed to be. I believe we used 2×4’s and again, my boyfriend got to pretend he was bad bad Leroy Brown (with the concrete gun).
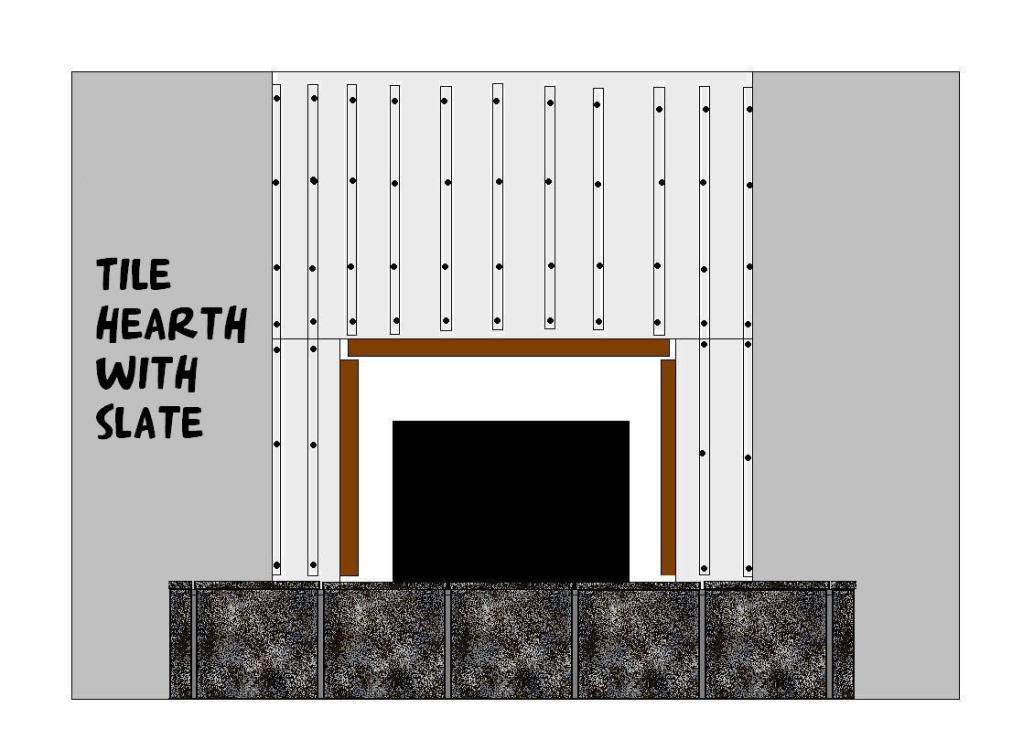
Soon it was time for tiling. We chose the cheapest slate tile we could find – it was on sale at Home Depot and I got to attaching the stone to the hearth. First I did the vertical sides and then the top so that the horizontal tiles would cap off the sides of the little stoop.
I also tiled the surround with the slate. Applying the tile right up to the support beams and cutting the tiles down to a size that would look even and balanced was the hardest part. But with the help from my trusty pocket calculator (also known as my cell phone) it was calculated in a jiffy and Jeremy cut me the tiles to size.
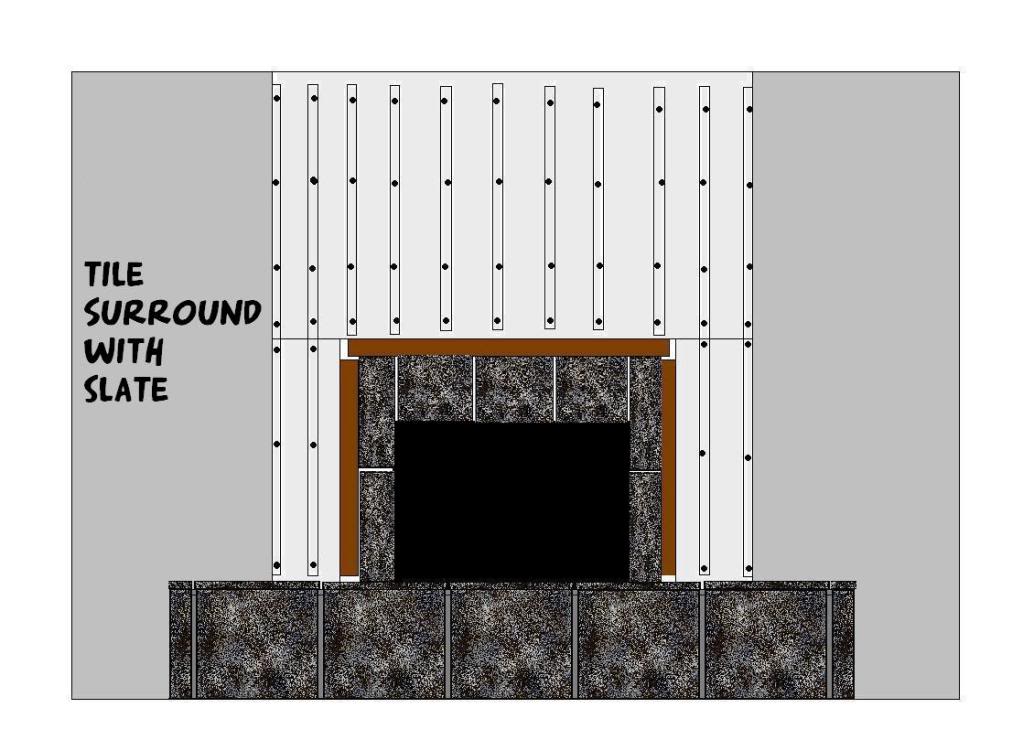
After the grout was left to dry on the surround and the hearth, we were finally able to attach the mantle and legs. Since we already did the math to make sure the wood supports would fit perfectly underneath the newly fabricated mantle and legs, it was really easy to attach with wood screws and then finish it out with some trim and wood putty.
My boyfriend found a place that sold custom solid wood mantles and their warehouse was needing some inventory to be cleared out. So Jeremy went in armed with the correct measurements up front (and $50) and got a brand new mantle of his choice. This was really scary for a control freak like me – but I think my boyfriend picked out a pretty classic style.
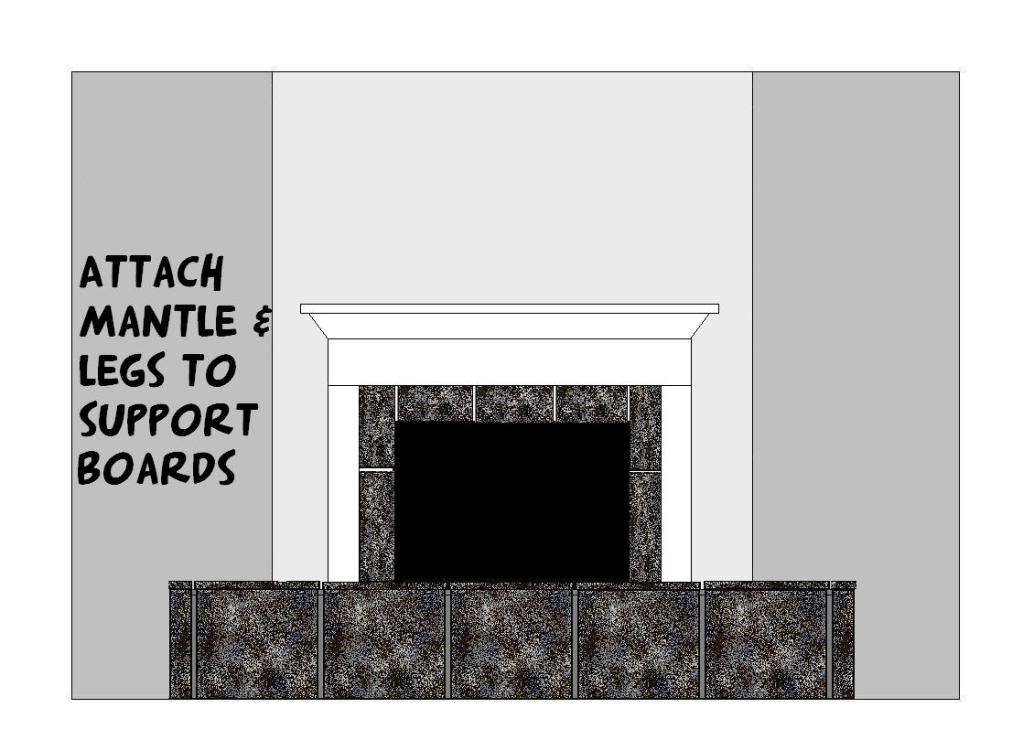
Our last step was to paint the entire thing.
So there you have it – a little recap of how we turned our fireplace from drab to fab.
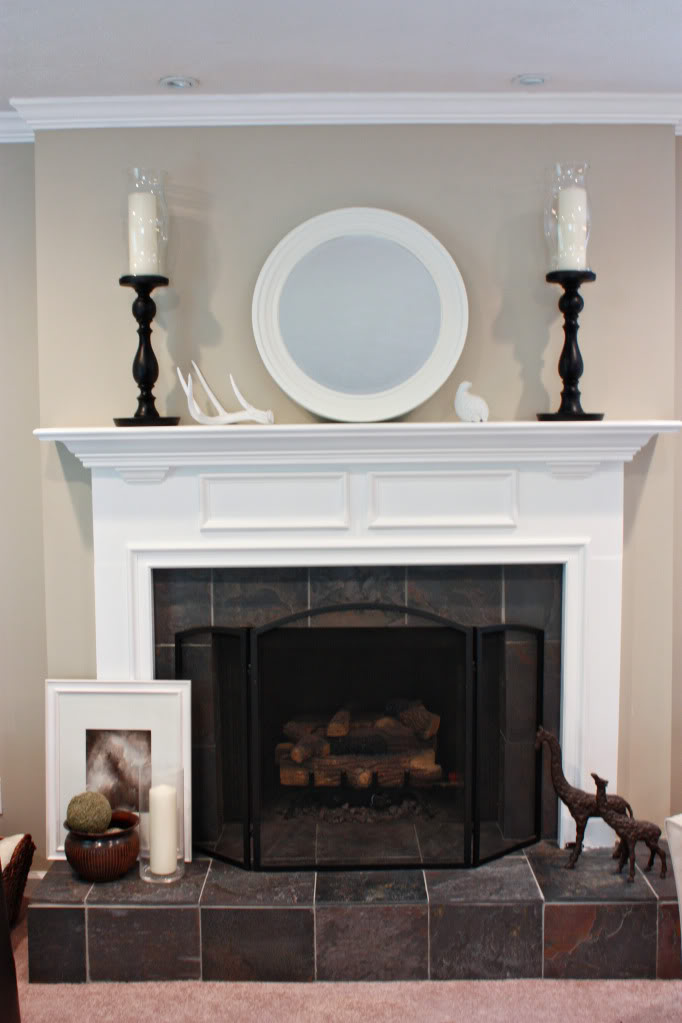
So what do you think? Have you ever refurbed a fireplace before? How bout tiling with slate – any issues like me with the uneven sides? Maybe you liked the brick better before and now this is just too traditional for your style? Whatever the burning thoughts, please do share – you know your comments light my fire 🙂
Wow! It looks completely different! I love it!! Now if I only had a fireplace that I could refurbish…maybe I can sneak into someones house and redo their fireplace. You know kinda like a fireplace fairy ; )
So funny that you’re posting this now because I am in the middle of a fireplace re-do. Luckily, our 80s tract house has a prefab insert so we just tore the old brick down that was just laid onto drywall. Not even durock behind (which I thought was weird). Anyway, now I have a mess until I set the stone veneer this weekend.
Anywho, isn’t the Hilti gun a blast!? Ha! Pun not intended. Really. But it really is kind of fun to shoot those power-actuated fasteners (did that when I was laying 3/4″ solid flooring on concrete – wouldn’t do it again, btw).
This is an epistle. As for slate, after laying 1000 sf in my last house, you just have to accept the unevenness of it (not the easiest thing for an OCD person). It is what it is – but that’s what makes it beautiful! I’m sure if I splurged for higher priced slate it would have been less “rustic” and more uniform.
Definitely just said, “wow!” Outloud. That’s amazing. Good job!
That is an out of the world transformation!!!
I have a brick fireplace that I would love to convert to a more traditional look, but I’m having a hard time making the decision of what to do! Yours looks great- very inspiring!!
I’ll say it again, “Wow”. You did such a great job and the slate just makes it for me.
OMG! I’m feeling totally inspired, what a ridiculously awesome transformation!! We tackled a fireplace renovation, but not with our own two hands like you guys. http://itsgreattobehome.net/2009/03/17/flashback-fireplace-transformation/ I’m so impressed!
Great transformation. We have a huge outdated brick fireplace that we’ll be needing to redo one of these days. I’ll make sure to bookmark this post and come back to it later on!
This is an incredible transformation, and I love the “after” so much more than the “before”. I’m always amazed at how much patience the two of you must have in order to end up with such amazing finished products!
Oh my gosh that sounds like a serious project. I love the end result!
Between your house and Sherry & John @ YHL I’m itching to buy a home and renovate…won’t happen too soon but I’m saving up the ideas. I love the dark tile and the white mantle – looks great!
I think the slate tiles and new mantle look absolutely fabulous!
Your diagrams make it so clear how you did it too. Thanks for sharing.
Katie, that is so freakin amazing. I don’t know if you remember me, we emailed awhile back when you were considering adding panel molding to your dining room. Well, I just started a blog and put my finished dining room pics out there. You are definitely listed as a ‘must read’ on my blog! Come check it out if you have some free time!
I love your fireplace!
We bought our first house in 1995, an 80s built home. The back wall of the living room was taken up by a horrible rock wall, 2 windows (NOT centered to the room), a fireplace (centered to the room), and a rock hearth – not centered to the fireplace. I know, right?!
One night in the middle of dinner my husband put down his fork, went to the garage, came back with a sledge hammer and started pounding away rock. Took a couple of weeks, but he ripped out the fireplace, bumped out the wall (which included new siding outside), and installed a new fireplace, complete with tile and mantel. He did a great job, though he never did finish that dinner. 🙂
That update my be old news, but Oh My Goodness! I got so excited reading that post! I have a brick foreplace, and I got a new custom mantle surround. Part of the brick still shows, and I want it gone! This gives me the get up and go to get it finished! I would have NEVER guessed your fireplace looked like that before. It’s gorgeous! Katie you got it going on girlfriend!
This is very inspiring, but have a question. We have a house built in 2002 and the red brick fireplace has an arch at the top of the opening. If we redo it, would like to make it straight across since nothing else in the house is curved like that. How would you suggest we do that? Seems like we would need to add cement/brick to the arch prior to tiling.
Excellent job!!
Mark – I hear your dilemma – and after checking with your local building department, I would look to see first if you can remove the bricks that create the arch without damage to the structural integrity of the entire fireplace. If you can just simply chisel out the arched bricks and create a square opening, this might be your easiest way to square things off. Since most fireboxes are square – it will be easy to transition. But keep in mind that if you enlarge the opening of the fireplace, this can affect the amount of smoke that can be released into your home…and a set of ventless gas logs would be your best friend at this point. The appearance of the outside bricks won’t matter since your thinset and tiles will cover up any knicks or cracks. If that doesn’t work, then you are on the right track with needing to use brick or firebrick to square off your corners (and maybe even enlist the help of an angle iron to hold everything in place!). If I were you, I would be sure to talk to someone that has masonry experience – especially if you want this to be a working regular fireplace.
Hope this helps!
XO – Katie
Our new build didn’t come with a mantle or a hearth really. Just a row of tile surround. We could pay extra for a mantle, but they offered 2 options: a cheapo picture rail or mucho dinero for a full wall of faux stone surround (we loved the look but the budget and practicality of it, made us think twice.) so we opted for nada with the intention of adding a mantle at a later date.
A week later I saw one in a magazine that I fell head over heels for. I have my mom the magazine and asked her if she could make it. Once we moved in, she took measurements and got to work. She brought it by and installed it last month! I love it! Best of all, it was free!(cost her less than $200 to build too!)
Check out my blog for pics!
loooks great!!!!!!!!!!
Right before we moved out of our house and turned it into a rental we did this: http://doitmeesh.wordpress.com/2010/08/11/fireplace/ Don’t ask me what I was thinking with the black wall, you tend to get crazy when your husband is gone for 7 months at a time!
wow I never realized this had such a transformation! who knew! it looks so perfect now! wish you had inprogress photos though.
Hi Katie,
So I’m up to here in my reading! As it happens we are in the middle of a big fireplace re-do. Ours is all red brick with a red brick mantle and two red brick columns from floor to ceiling, one on either side. What were they thinking? Who makes a mantle out of bricks?
Anyhoo, we are making it all one vertical level, floor-to-ceiling, with 2×4 framing on the top half and metal studs on the fireplace half, then cement-boarding the whole thing and covering with stacked stone tile. My new hearth (slate tiles, like yours) will be on the floor instead of up against the FP, and the opening for the FP will be partway up the stone wall. I hope it will look awesome!
You guys did a wonderful job on yours!
It sounds awesome! Good luck and happy hearthing 🙂
xo – kb