Our basement transformation was like hard liquor – it took me from disgust to lust. And I am back to show you step by step how we conquered our beast of a basement. First, let me say this: we do not finish basements for a living.
We don’t finish much of anything for a living.
We don’t finish much of anything around the house period.
Except mint chocolate chip ice cream.
Breyers brand.
melted slightly in the microwave. hmmm.
I am saying this because I don’t want you to get the wrong idea about us. Neither Jeremy & I have ever worked on a house before tackling this one. And neither of us have any training on the how’s, what’s, and whatchamacallit’s that home improvement undertakings require…unless you count Google-ing as formal training and that random 18-year-old-Lowe’s-worker as our professor in all-things-home-renovation. So needless to say – we are rookies (just like some of you out there) with less than 2 years of renovation skills under our belt. And also, let me say that if we can do it…so can you. You can do it! With the help of Mr. Google of course – assuming you have internet.
Which I would assume that it is safe to say you do indeed have access to the web – seeing as how you are reading this.
So I am not gonna give you a extensive tutorial on how to screw in drywall, or how to pick a mudding trowel, or how to paint a wall…that is for Mr. Google to do…what I am gonna do is just share with you some of the photos and highlights of how we went from a studded out basement to a finished space. Feel freer than William Wallace to ask any questions in the comment section…mmkay?
Previously, our space was in dire need of help.
Back in 08 we worked on the bedroom space – which you can look through the studs and see the living space beyond the ‘wall’.
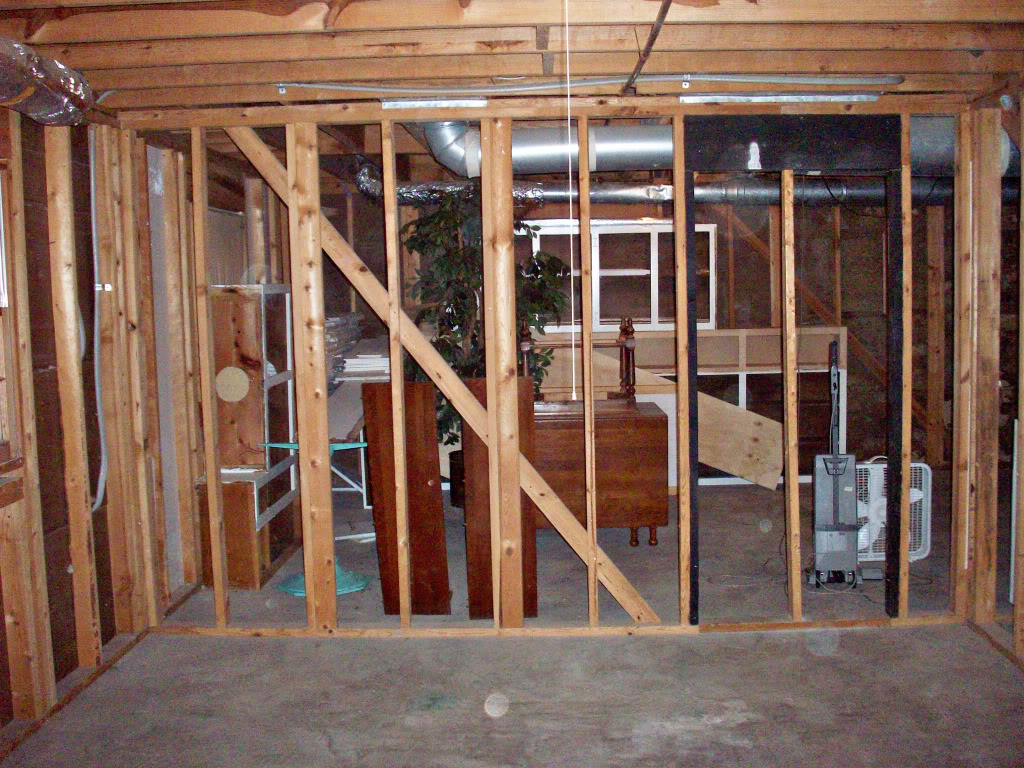
And we were actually able to put the drywall up.
But that is where the progress stopped.
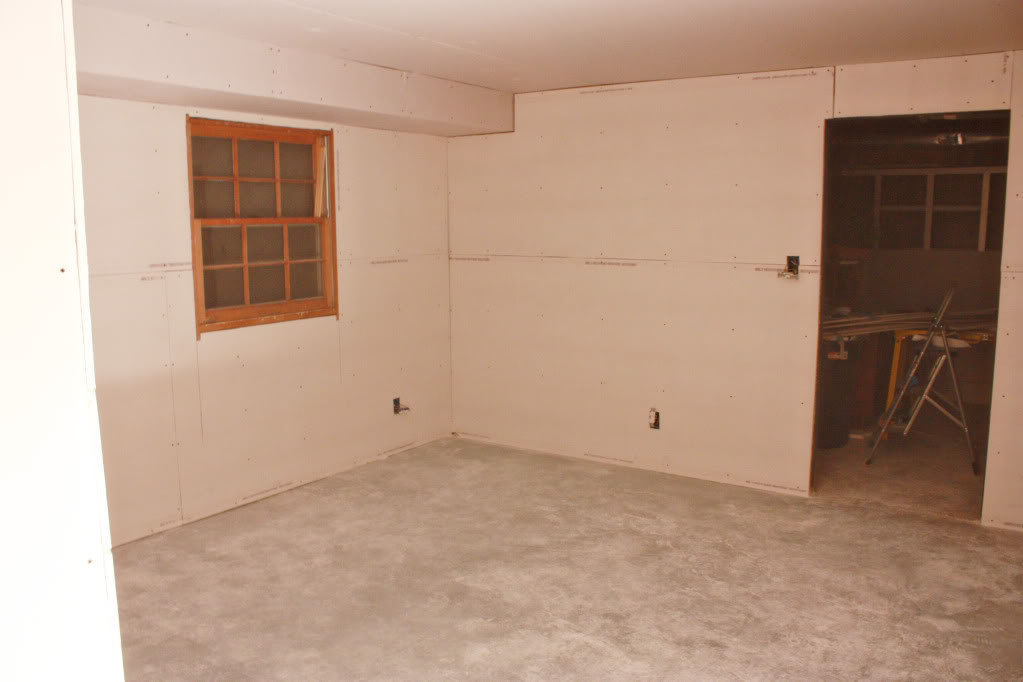
And the other side of the bedroom needed a closet to make it qualify as a bedroom. So we studded it out, built a closet, fixed the ductwork, and drywalled it.
Then we realized that we made the closet too close to the box we built around the ductwork and there would be no way to install trim around the closet doors. Rookie move. So then we had to fix the door opening so that the trimwork would fit…basically start over.
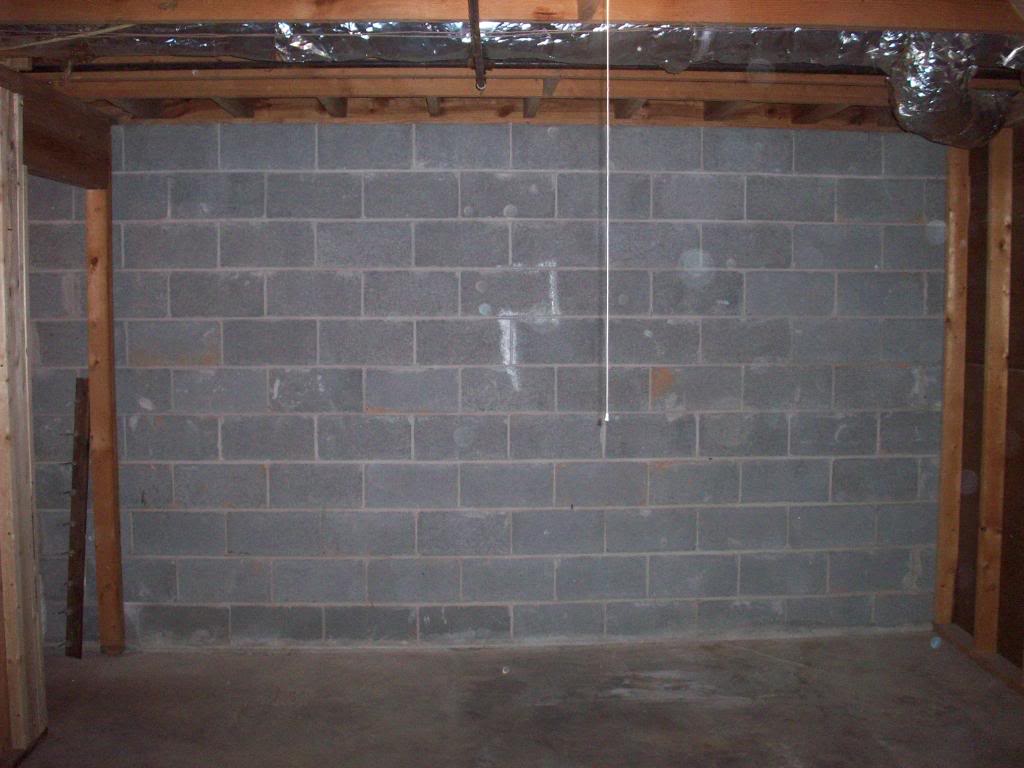

(enter 6 months of no work on the basement here)
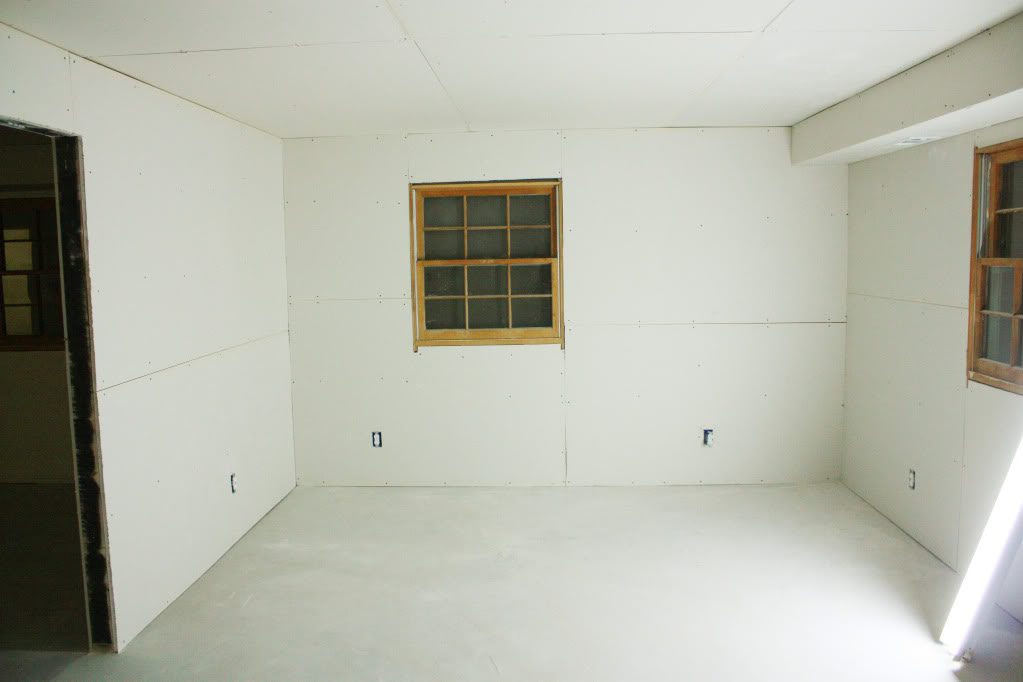
After half a year of no work on the basement we suggest to Torrey that he move in down there. But it looked like this –
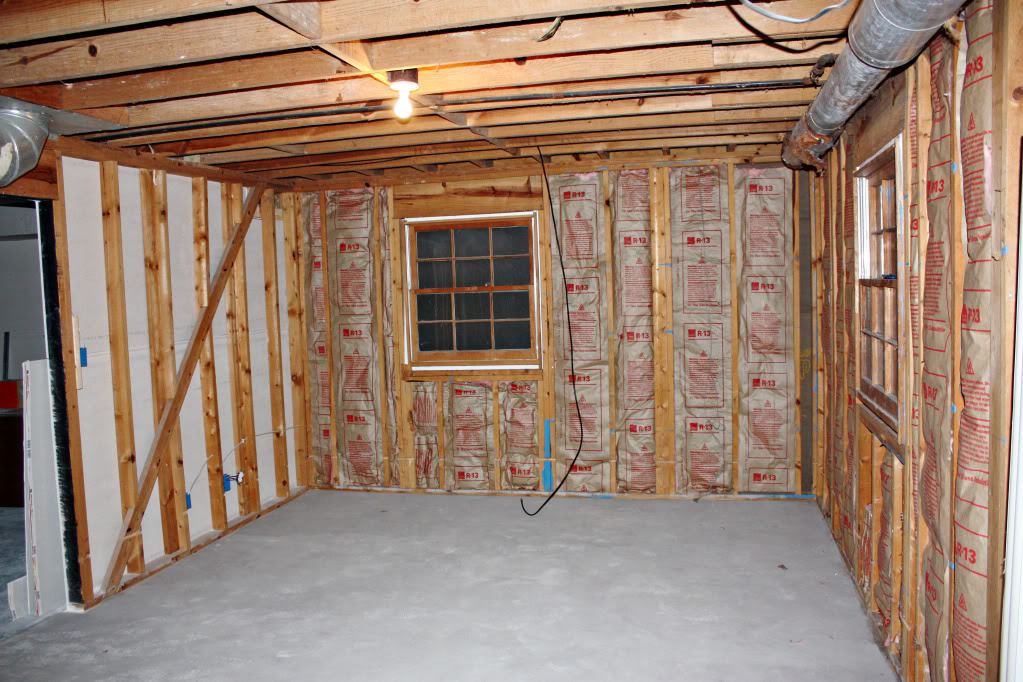
When he accepted, the boys got to work right away with fixing ductwork so it wasn’t like Shakira’s hair – just a tangled mess. And soon they were installing the drywall.
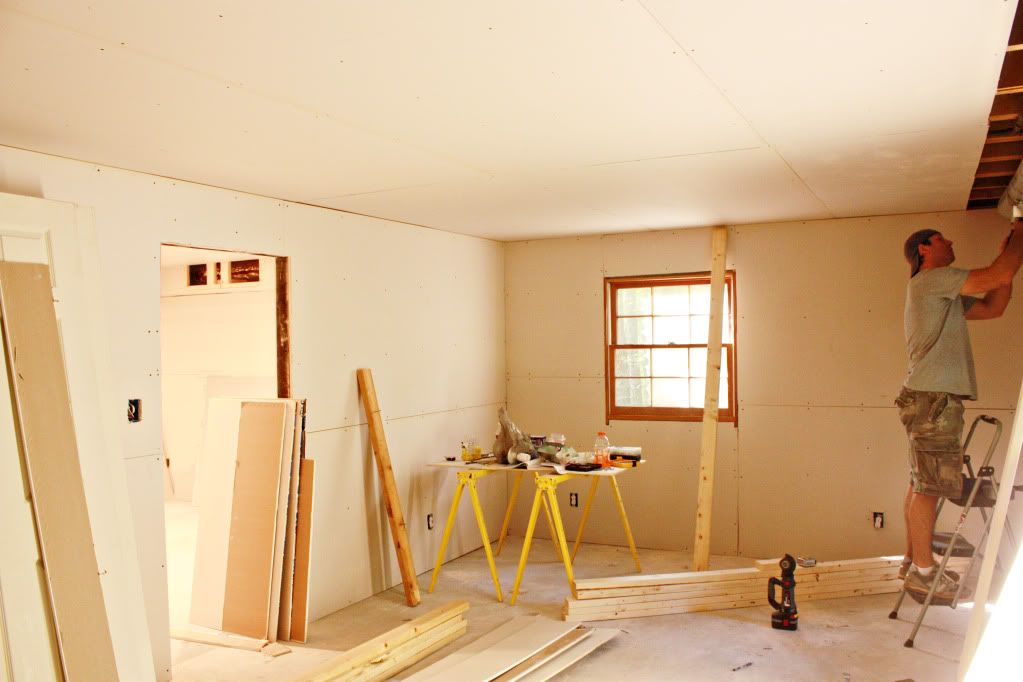
There is Torrey cutting the drywall. And you can see the ducts that Jeremy was wrestlin.
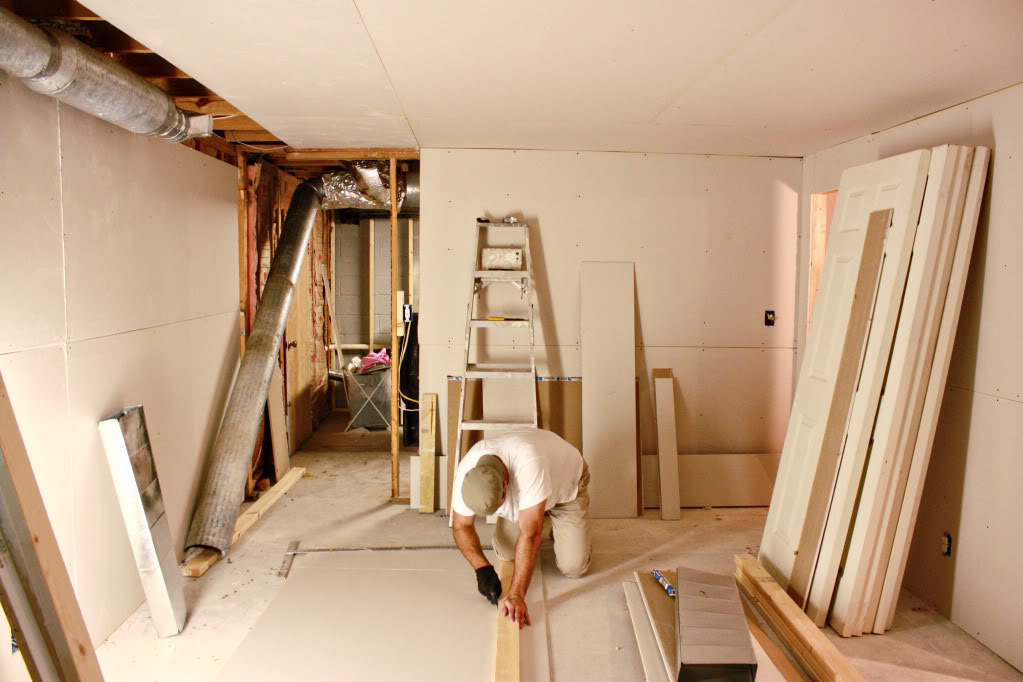
The hardest part of the living space was building another box for the ducts. We built one for the bedroom too. You may have seen those boxes in basements before – the vents are inside. And after the drywall was attached, it was ready for a mud man.
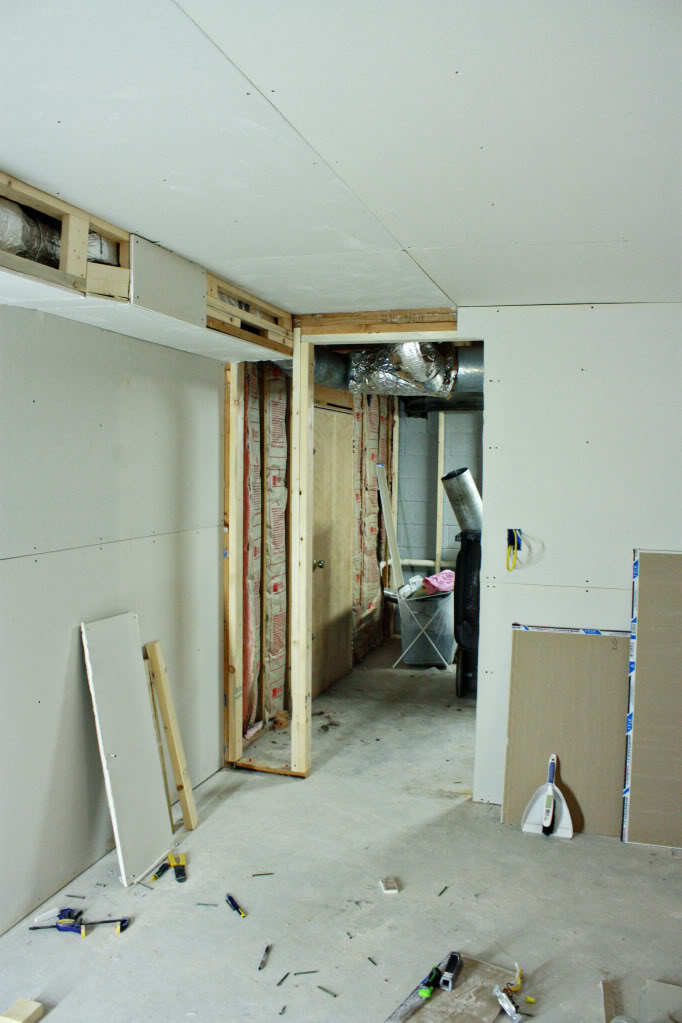
We decided to drywall the ceiling as well as the walls so that we could have a flat finished look. A dead giveaway that a basement is, well, a basement is that they have dropped ceilings. People install dropped ceilings to save money, maintain access to pipes, ductwork and electrical work, and because they are easier to fix. Our decision to have a flat finished ceiling was purely aesthetic. It was like nose job for our basement. And it didn’t even have a deviated septum 🙂
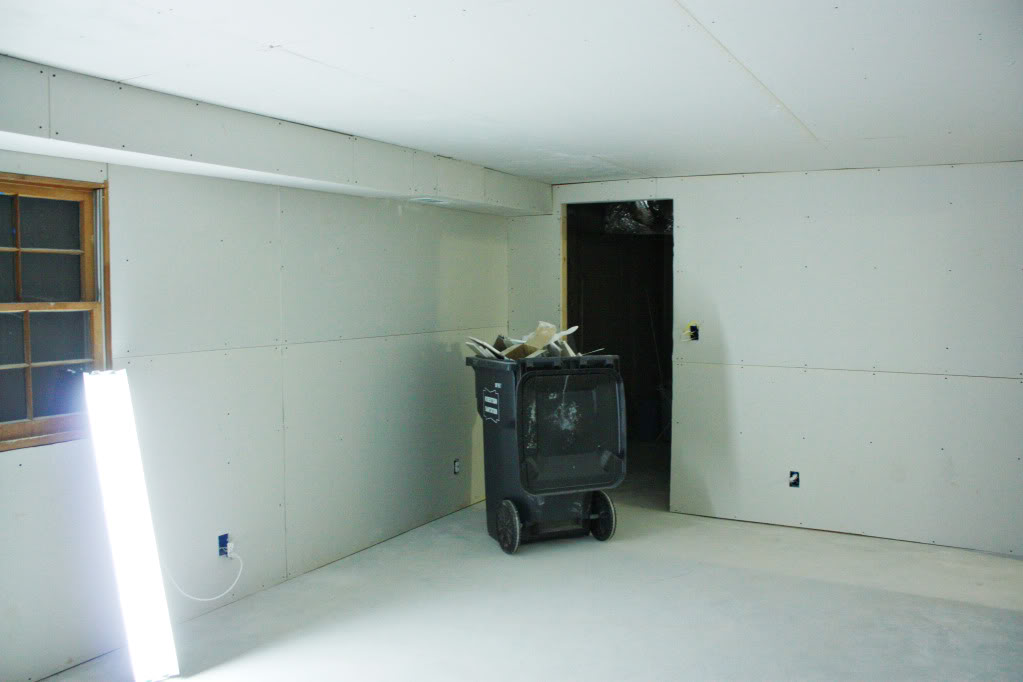
It always amazes me that drywall can make such a difference in completing a room. But we have a far way to go to take this from drywalled to finished.

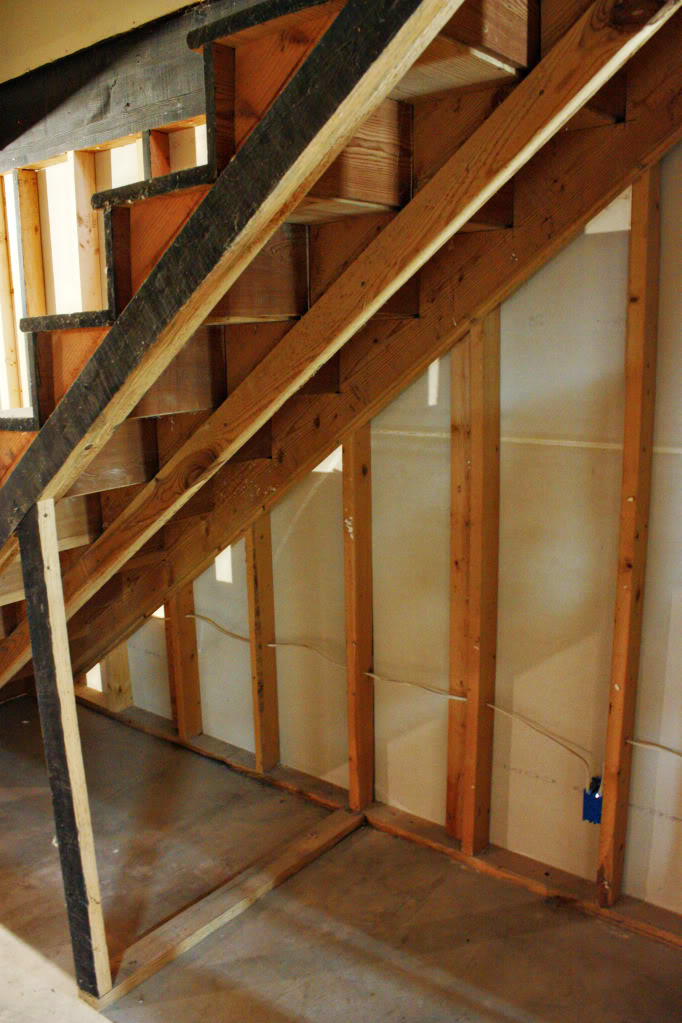
Our biggest problem area to drywall was the stairway and the hall.
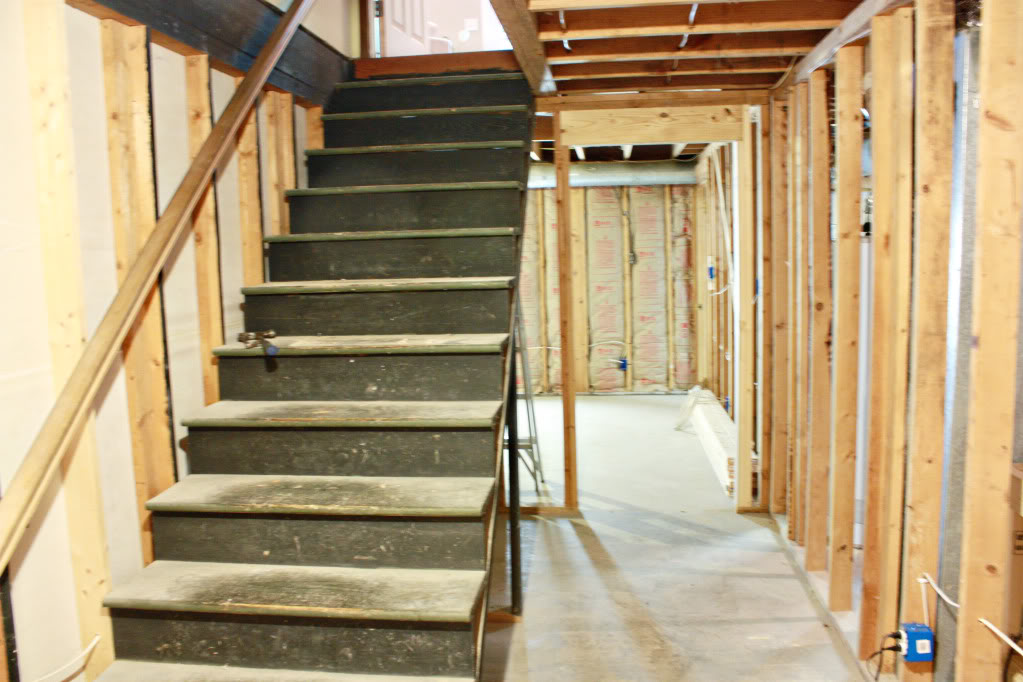
The stairway was going to be expensive to replace.
And it butted up right to the studs of the wall – not allowing room for the drywall.
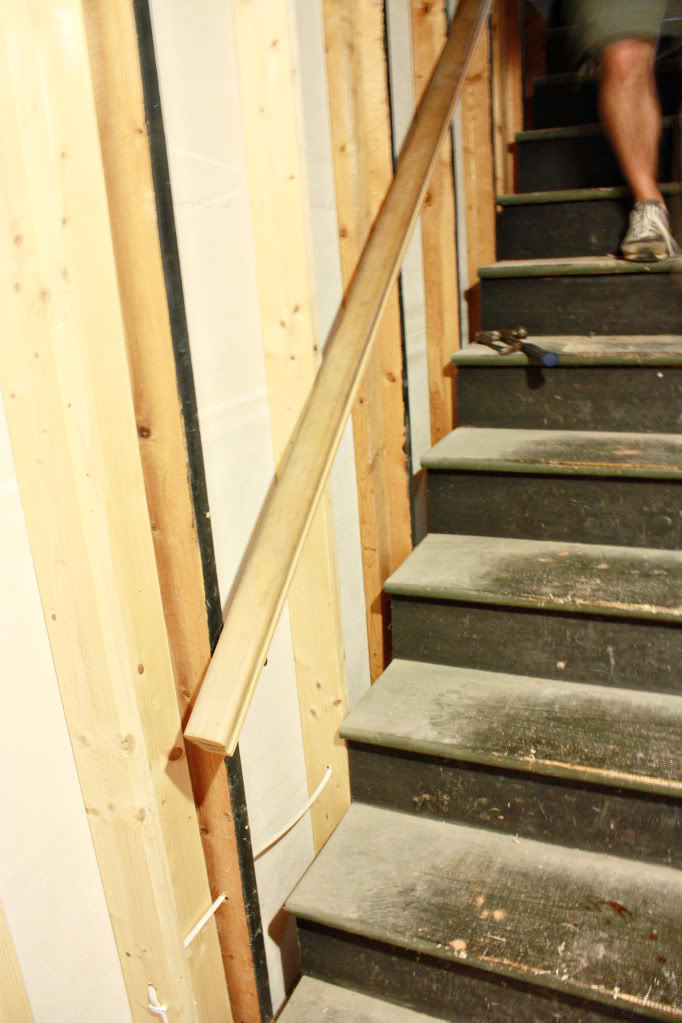
The other problem was that we needed to build a wall on the other side so that little kids don’t fall off and die, so that adults won’t see the side of the steps and shun us from the community for not replacing the stairs (and for killing their little Johnny) and so that we could have a nook under the stairs for storage.
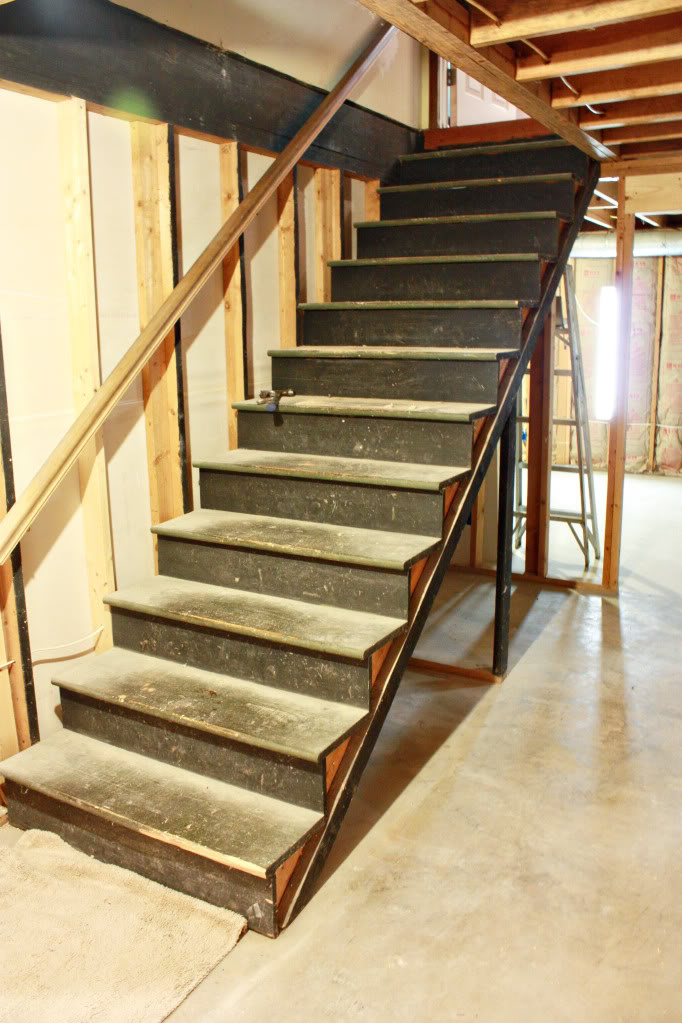
The nook was big enough to only fit a certain amount of storage boxes, but hey, every little bit of space helps!
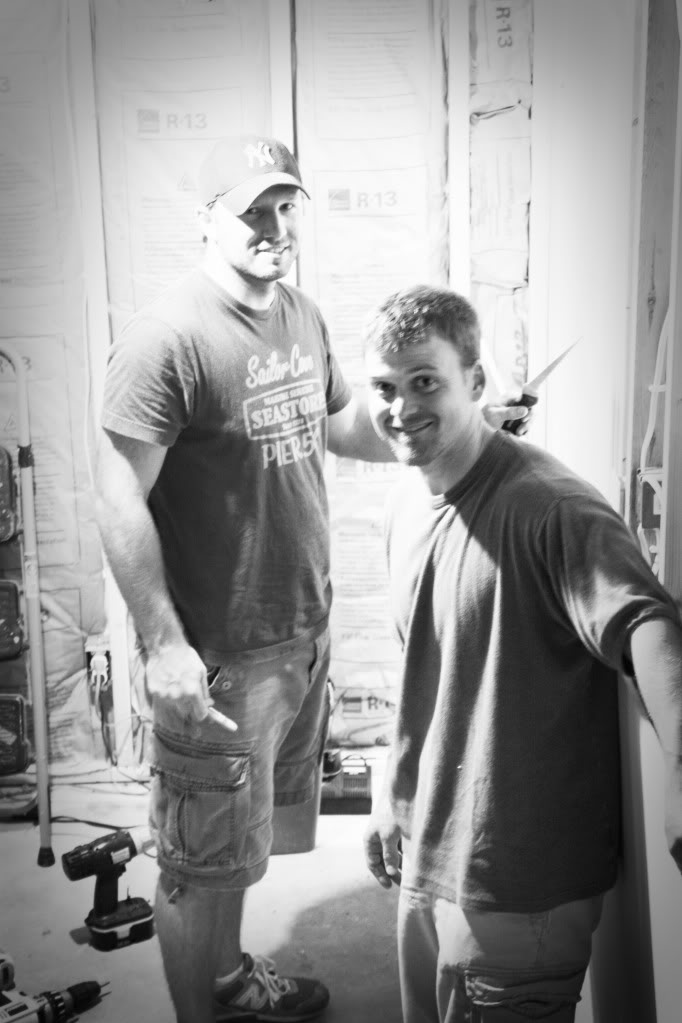
Enter Jeremy & our friend Jade.
Jade is one of those good buddies that would drop everything to come help.
Plus he’s strong – so those drywall boards don’t stand a chance.
So the first thing they did was remove the banister and the steps. They also removed the toothlike third step brace (called a stringer) but left the other two. After drywalling, they were able to attach the stringer back to the ledger (the board that connects to the floor I am taking a picture from.
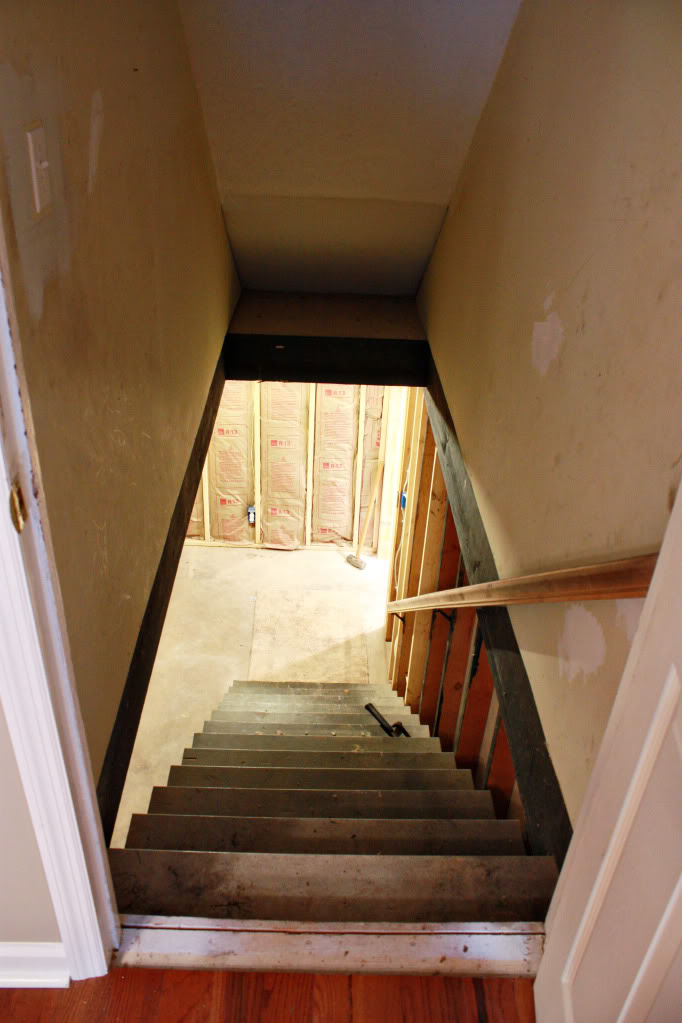
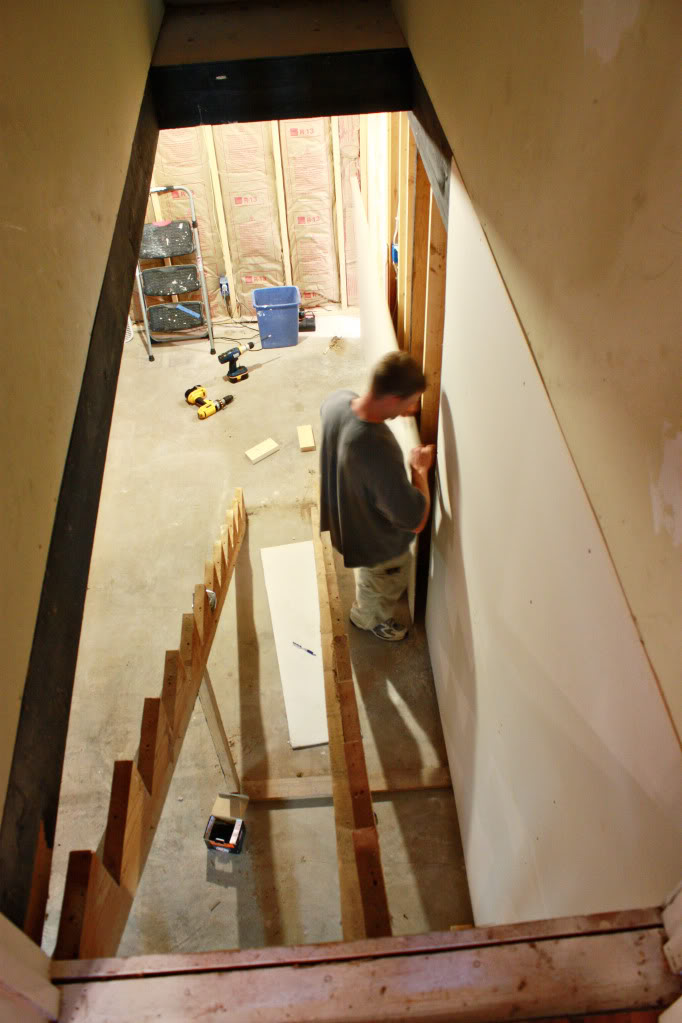
It was kinda crazy that the previous owners didn’t just finish this wall before. The already did the top half (see the old yellow drywall?). We only needed to drywall up to that point and then our mud man would make them look seemless.
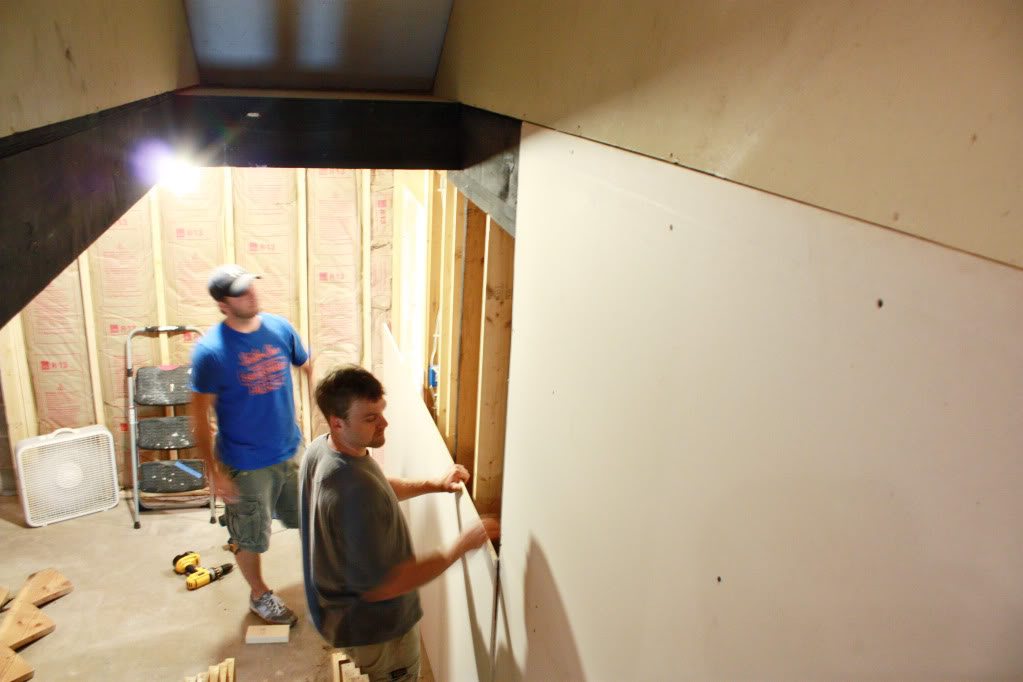
The other side of the stairs was quite tricky.
I drew a picture for Jeremy on how I think it should be. Basically we needed a stud sandwich. Did you girls just perk up? I thought so.
But our stud sandwich would have to be a set of studs between two sheets of drywall.
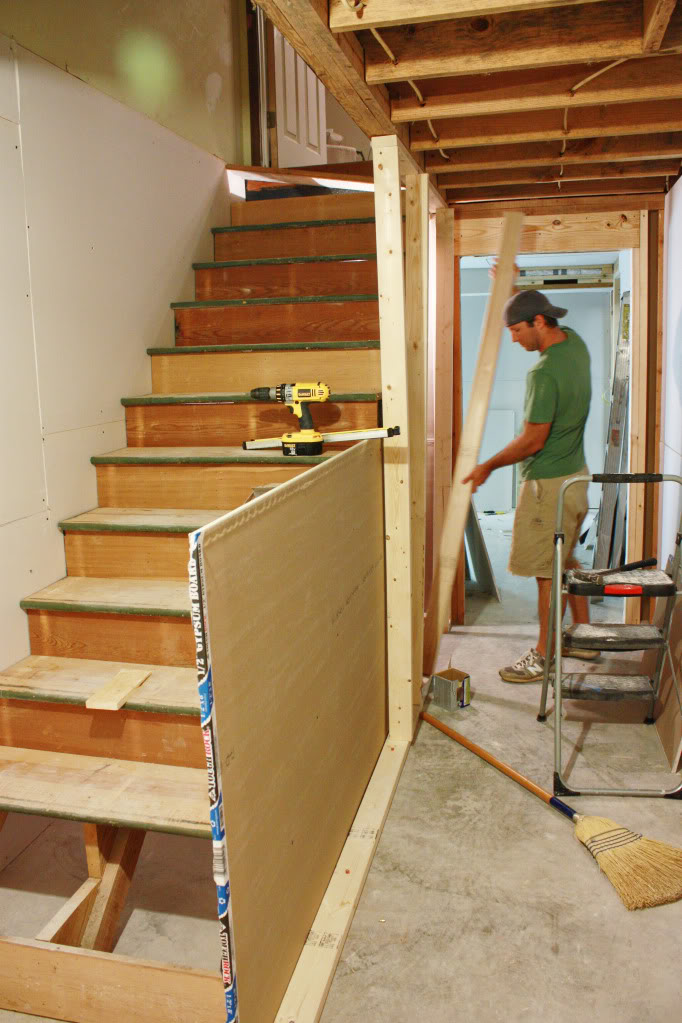
And there it is!
The long slanted stud will get trimmed out and fitted with balusters for a short handrail. The steps got flipped over so that the less worn side shows and we only had to replace two from damage.
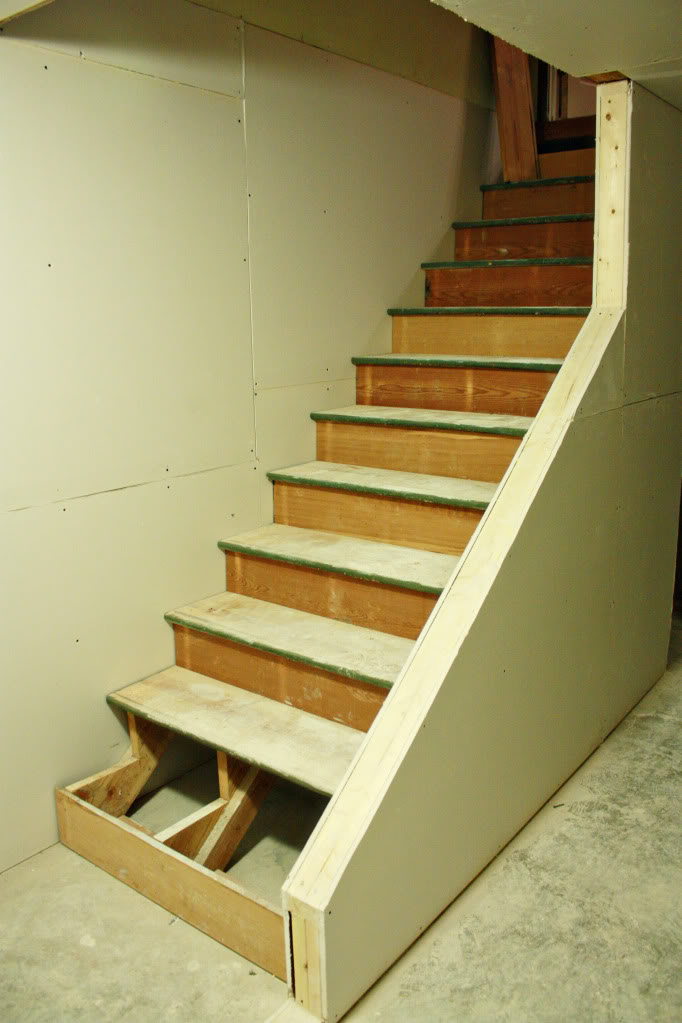
And there it is – one completely drywalled basement ready for joint compound to smooth out the cracks and make it look like an actual wall. If only they made joint compound for our faces.
If only 🙂
As always, great job Katie! I am really impressed that you guys decided to remove the stairs to tackle the drywall problem.
I’m so glad someone else likes microwaved ice cream. The basement space looks great and is definitely a lovely addition to your home. But, I also hope you got building permits and all that for your space!
ya’ll are always tackling something! I’m jealous! sometimes! 😉
Looking good! So the access to storage under your stairs is from the back?
Also, they do make spackle for your face – http://www.amazon.com/Laura-Geller-Spackle/dp/B000IEOHEI
Man, you have a lot of studs in that basement! 🙂 That is great that you have so many friends who are willing to help with your renovations. We are also working on our basement, and there will be much drywalling, mudding and sanding involved. Blech. 🙂
You are amazing. Absolutely amazing. Want me to buy you a plane ticket to CO? We don’t have a basement finishing project going on right now or anything. Nope.
What an amazing transformation in the basement when you posted the reveal. Now that you take us down to the studs, seems like a whole lot of work you guys accomplished!
I’m impressed that you pushed through to finish that project… I would have been overwhelmed with all of the work that needed to be done. It was worth it, great job!
As far as DIY goes, you guys are awesomely talented. Great post. Not a lot of people appreciate how much hard works goes into a simple looking room.
Wow – you guys are my heros. Do you get lots of time off or do you have more weekends then me? Cuase I have NO clue how you guys find time to do all of this stuff!
This post could not have come at a better time. My husband and I will be attempting this very slowly over the next few months and we are definitely newbies. Thanks for the inspiration! It looks fabulous!
“Stud Sandwich” – yummy.
It looks so amazing. It definitely looks professional. We don’t have a basement to finish (sob) but if we ever do, you have thoroughly convinced me to do a “real” sceiiling. That and the recessed lighting makes the room. Seriously.
you two (and your friends) have skillz (to pay the billz — you just bring it out in me!). the part about not finishing anything in the house but ice cream made me laugh out loud. somehow I am buying a new carton of ice cream every week!
I have to say… I love mint chocolate chip, but Turkey Hill brand is the best ever! 🙂
Your basement looks lovely after all that hard work! I must confess that I burnt my dinner while checking out the gorgeous studs working in your basement.
Wow. That looks like so stinkin’ much work!!! Great job! And thanks for asnwering my question about the steps – I thought you sanded them all down (crazy for punishment!) but flipping them over sounds MUCH better, i.e. smarter!!! That’s why you’re doing it and not me!
Y’all have done an amazing job with that space! Being a hands-on or visual learner, I cannot thank you enough for the pics. The drywall leading to our basement is plagued with nail pops and other flaws and I’ve considered replacing vs repairing but couldn’t figure out how to do it because of the stairs. Your pics gave me an insight as to how things look under the surface, which makes me much less leery of possibly tackling it.
Oh, and “stud sandwich”, where do I sign up?!