A yard sale to end all yard sales.
That was what Little Debbie (aka mom) had about a month ago. Seriously. The picture below was taken after it was over. It was larger than most multi-family sales. She made about $1000. And I took home a whole car load of stuff.
It was totally righteous…dude. (I said that in my best Keanu voice by the way)
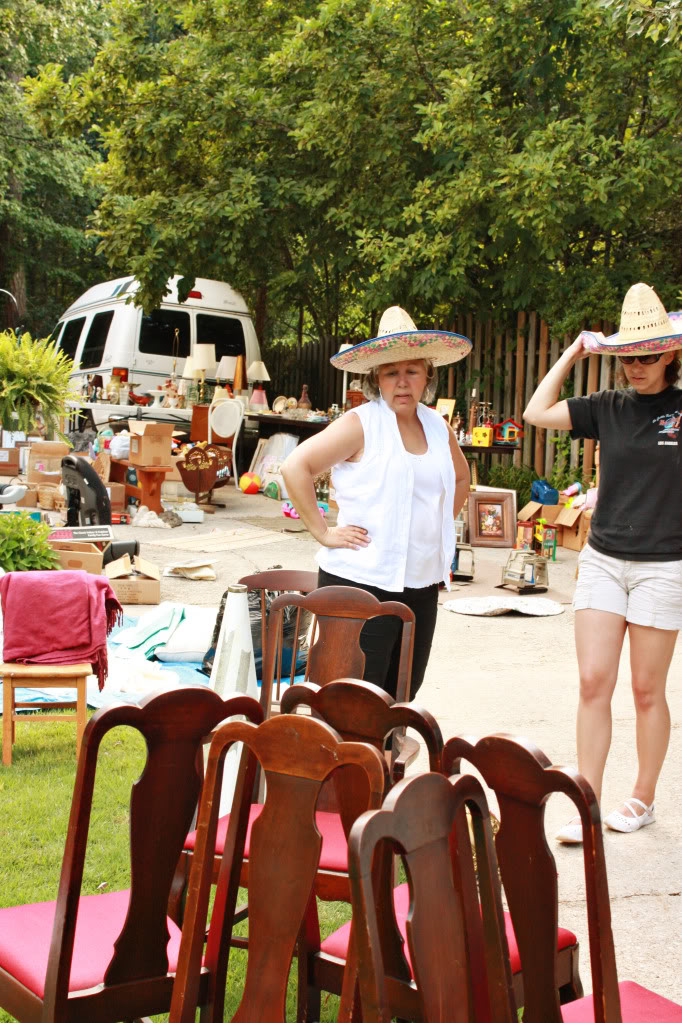
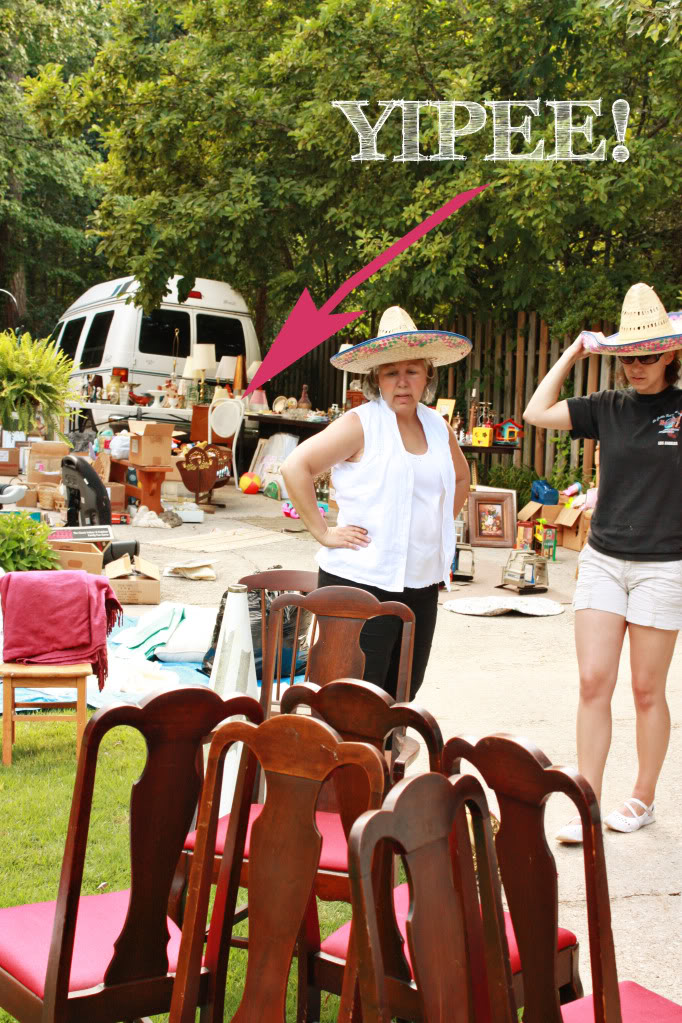
So you can imagine that some of those items that I smushed into my Honda are gonna make it onto zee blog. The chair that she was trying to sell off (the one below with the giant arrow…yeah…that one) was definitely a keeper.
But it needed some tweaking.
Here’s what it looked like before:
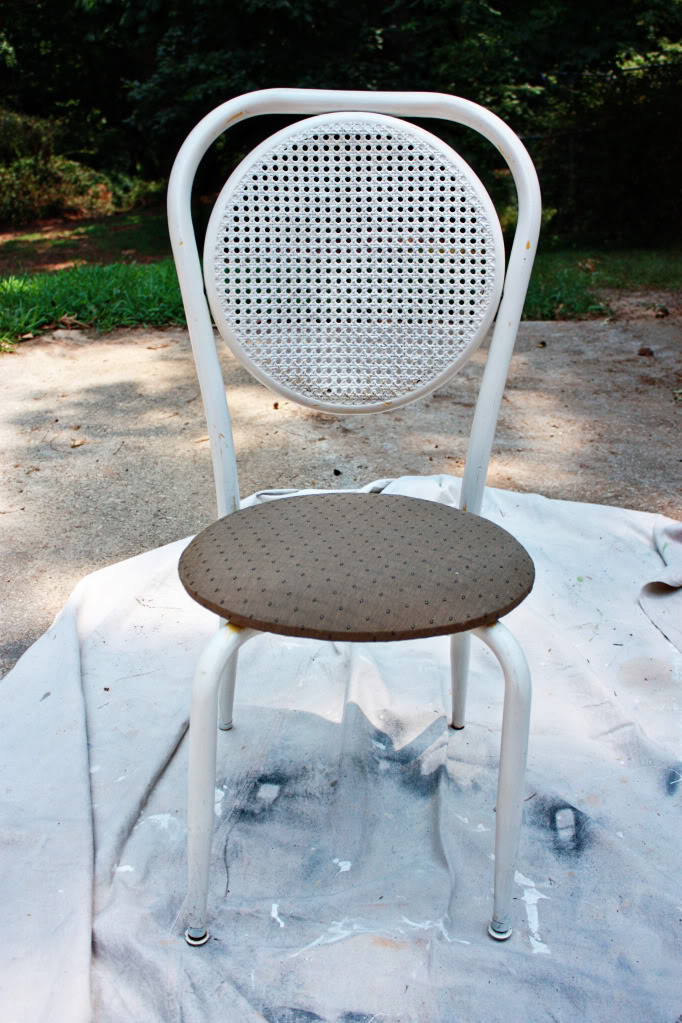
The entire thing was dirty from sitting in the basement.
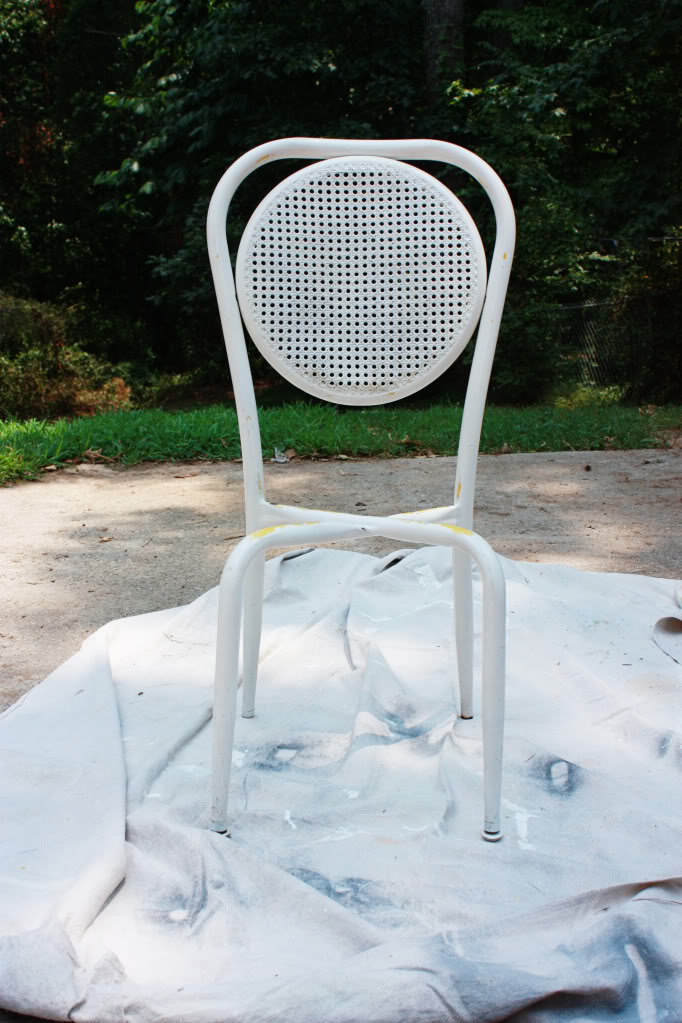
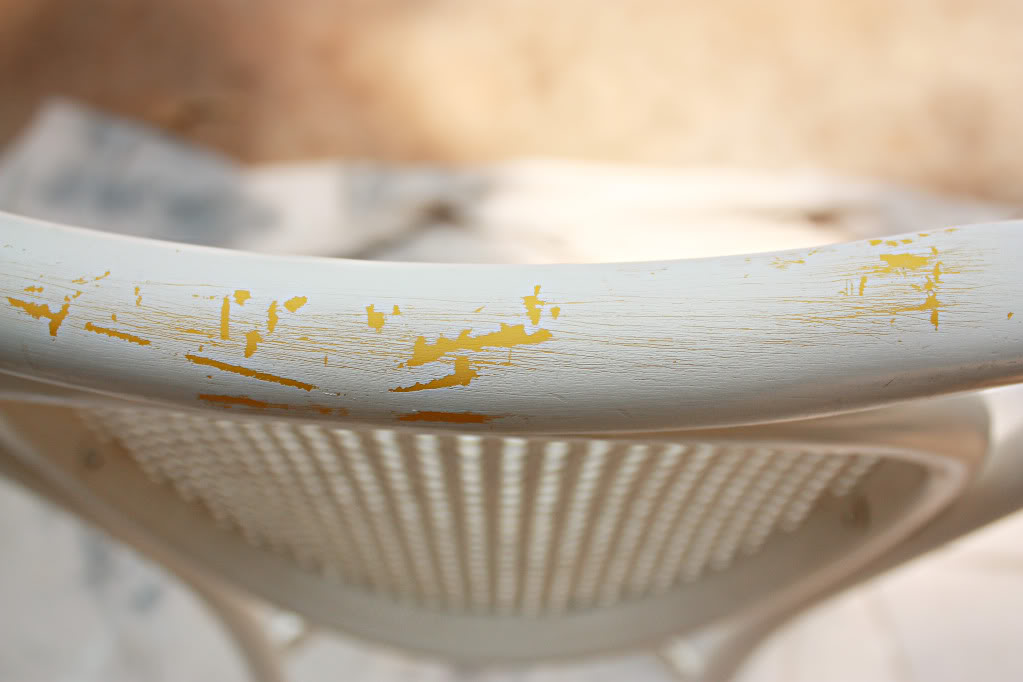
And the white paint was chipping off.
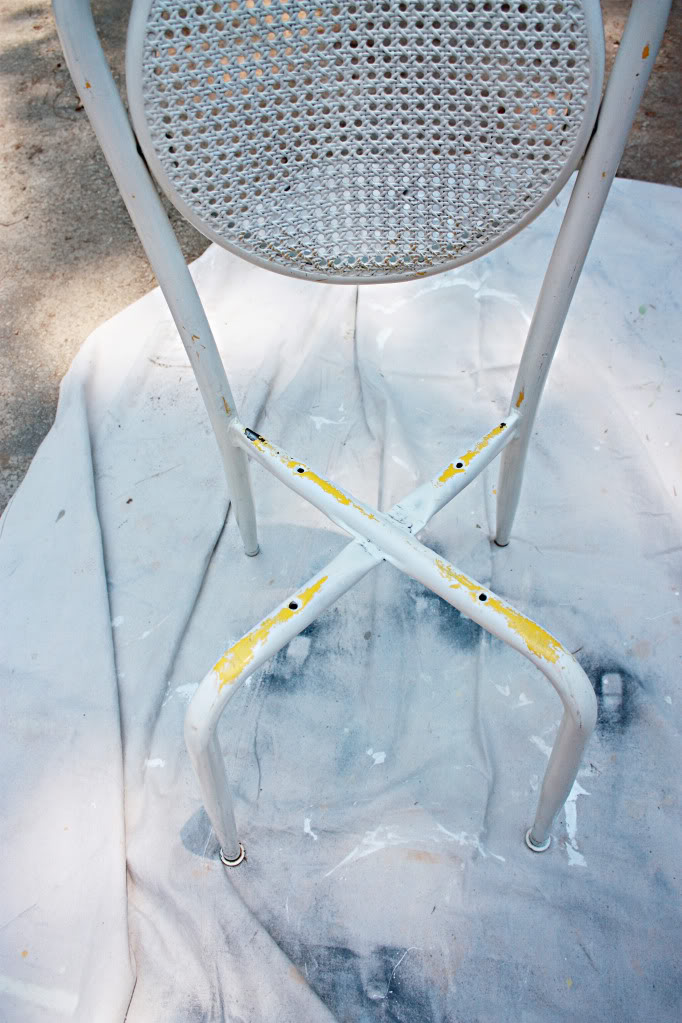
Can you see the bits of yellow peeking through?
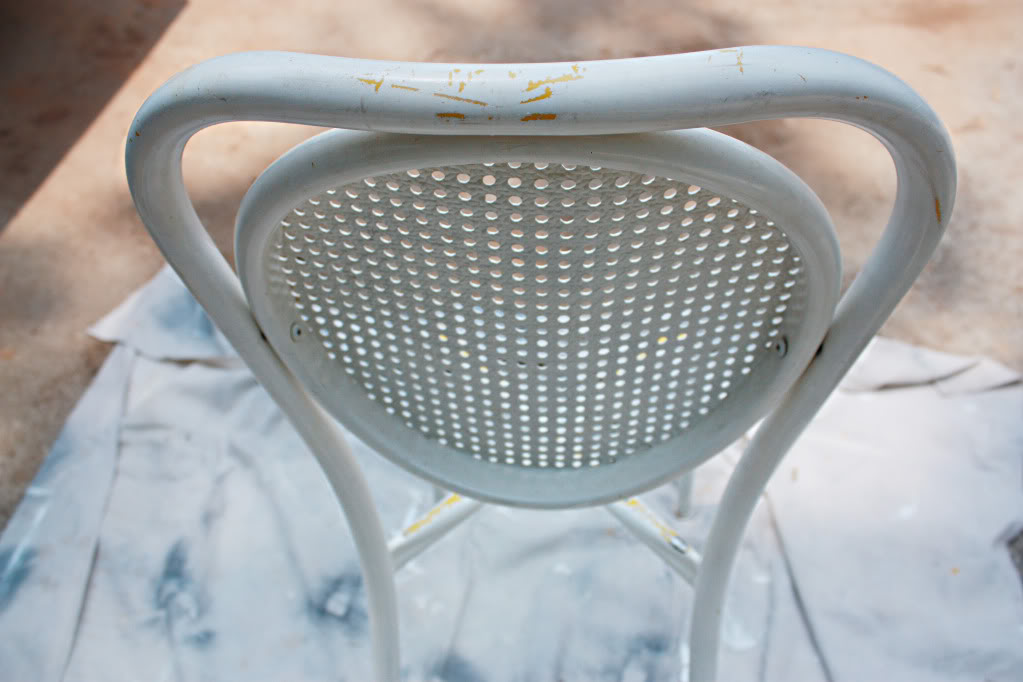
So after a quick wet-rag-attack, I took a wire brush to it with the upmost care.
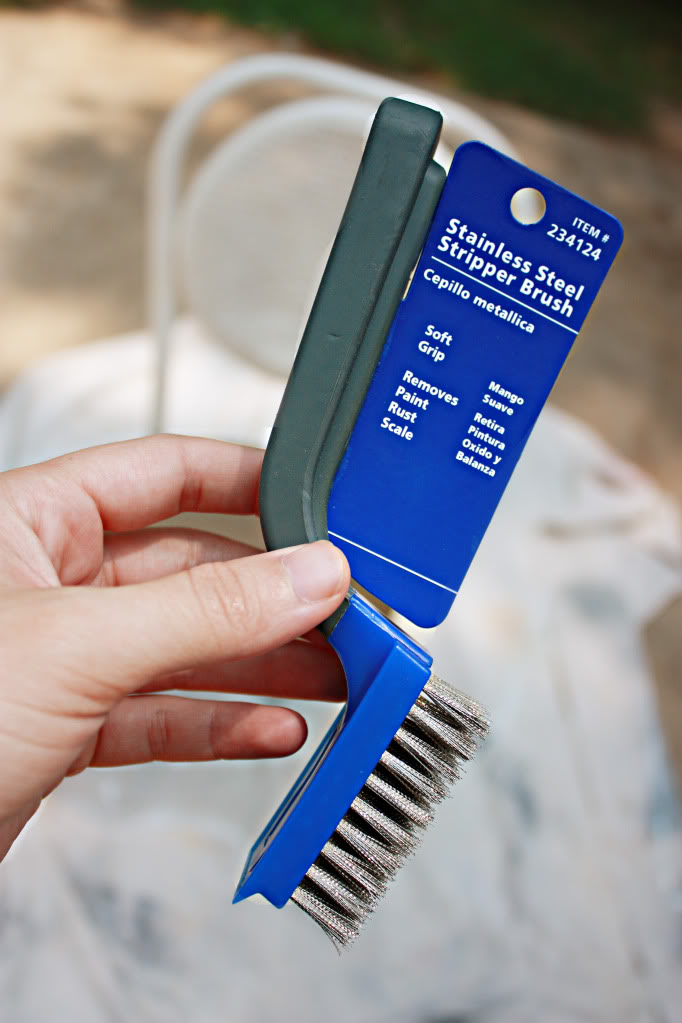
I removed the extra peeling paint by lightly brushing it back and forth over the chipped areas.
eversolightly.
hollygolightly.
keiraknightly.
…who I just loved in Bend it like Beckham…um…strike that from the record…I meant, Pride and Prejudice 🙂
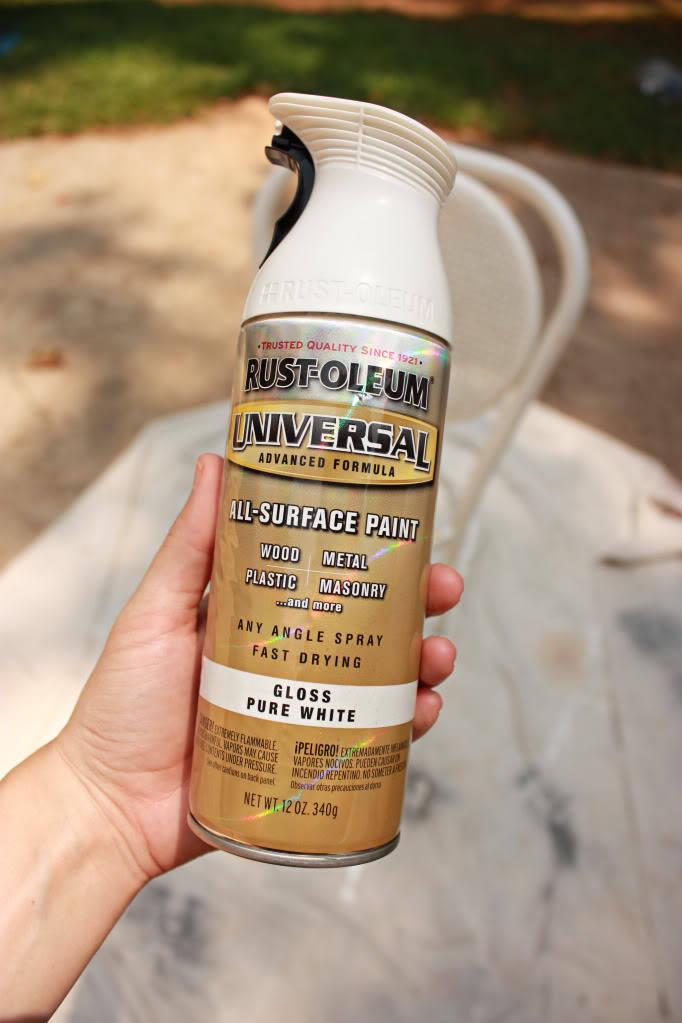
After another quick wet-rag-wipedown, I pulled out the trusty spraypaint. I use the Rustoleum Pure White in Gloss…I love the trigger…my finger never suffers from crampage. We girls get enough of that already. No point in subjecting pointer to more. Plus this stuff sticks to everything.
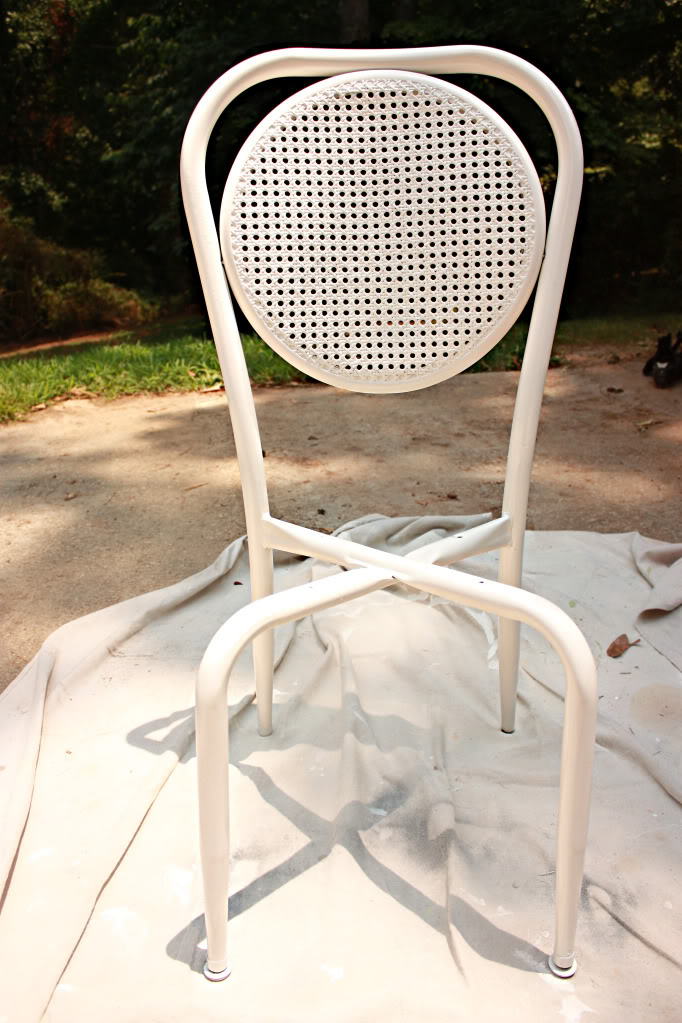
A couple thin coats later, we have a nicely spruced up white chair frame that is new and clean.
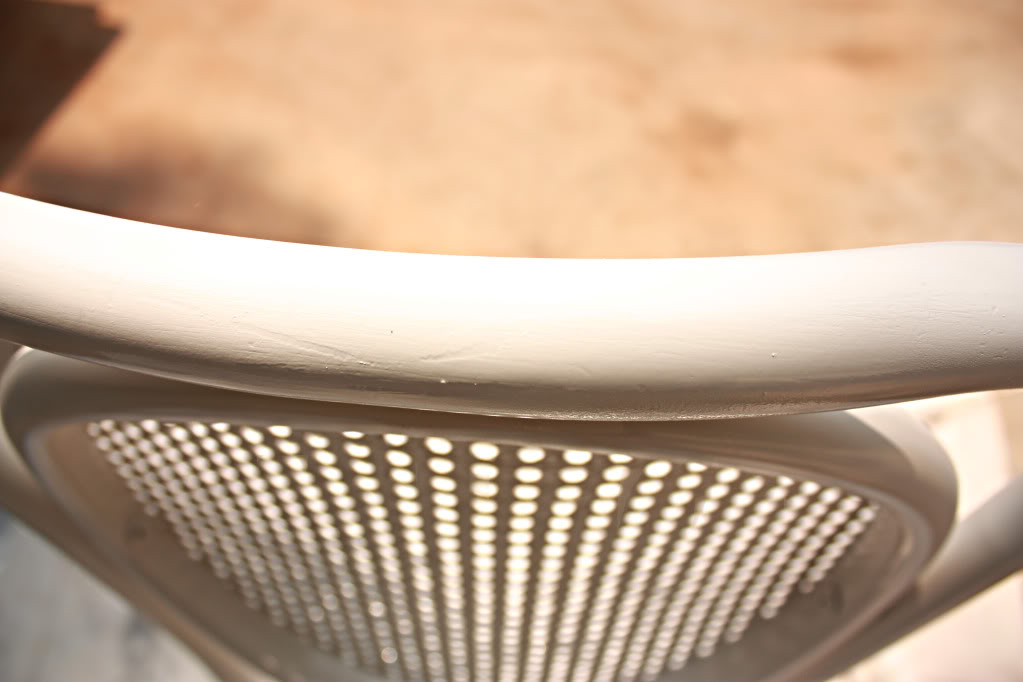
And even the areas that had MAJOR paint gauges were so much better. Now there is only minor evidence of the past life.
Moving on. Now is the time to change that seat cover.
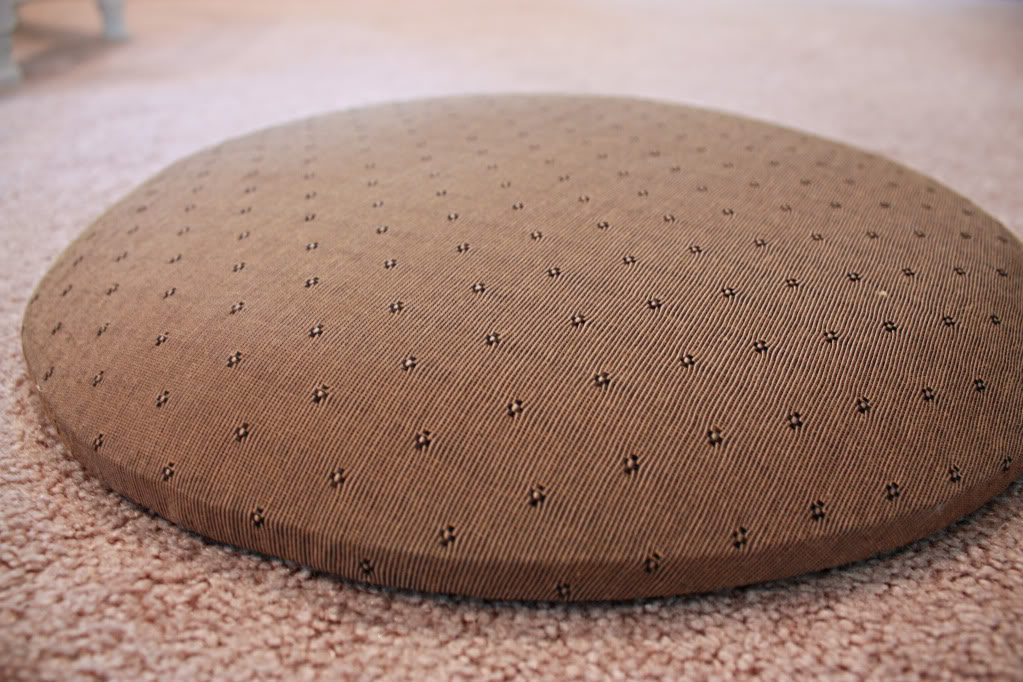
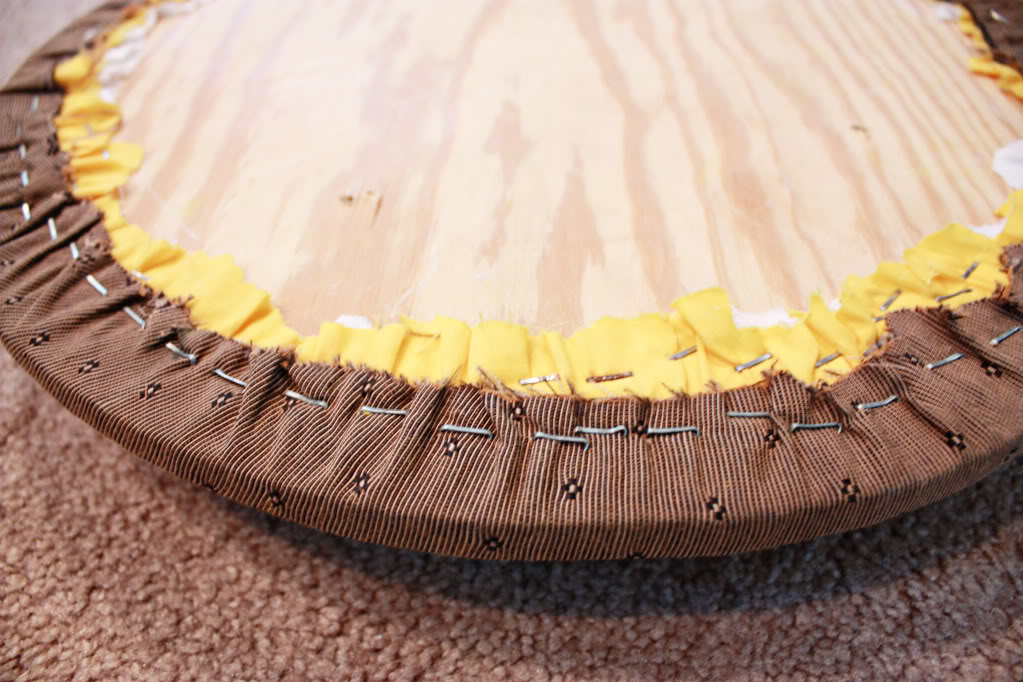
Apparently mom had covered this seat before. That there is yellow fabric underneath the current brown layer. I imagine this chair was all yellow with a yellow seat…how fun!
I finally got to use my electric staple gun. Holycowbazooka. It is awesomely better than my old manual one. Totally worth every cent.
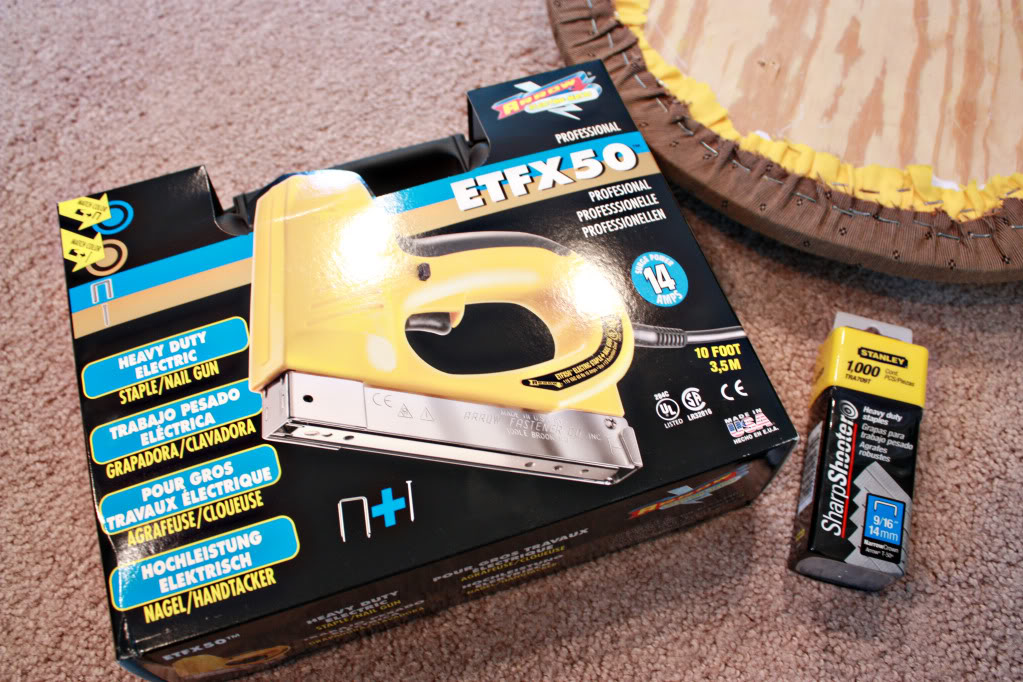
I decided to remove the brown fabric because it was really thick and I wanted to make sure the staples could get through to the wood. So after prying out all the old staples with a flathead screwdriver, I cut my piece of fabric for the seat.
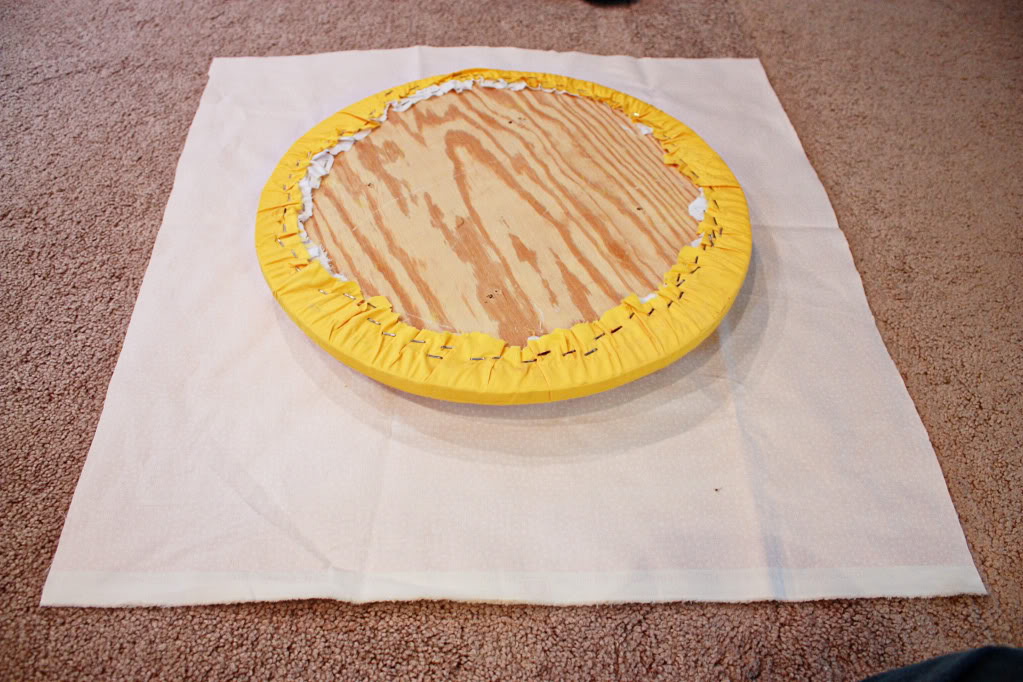
I folded it over once before fastening with the first staple.
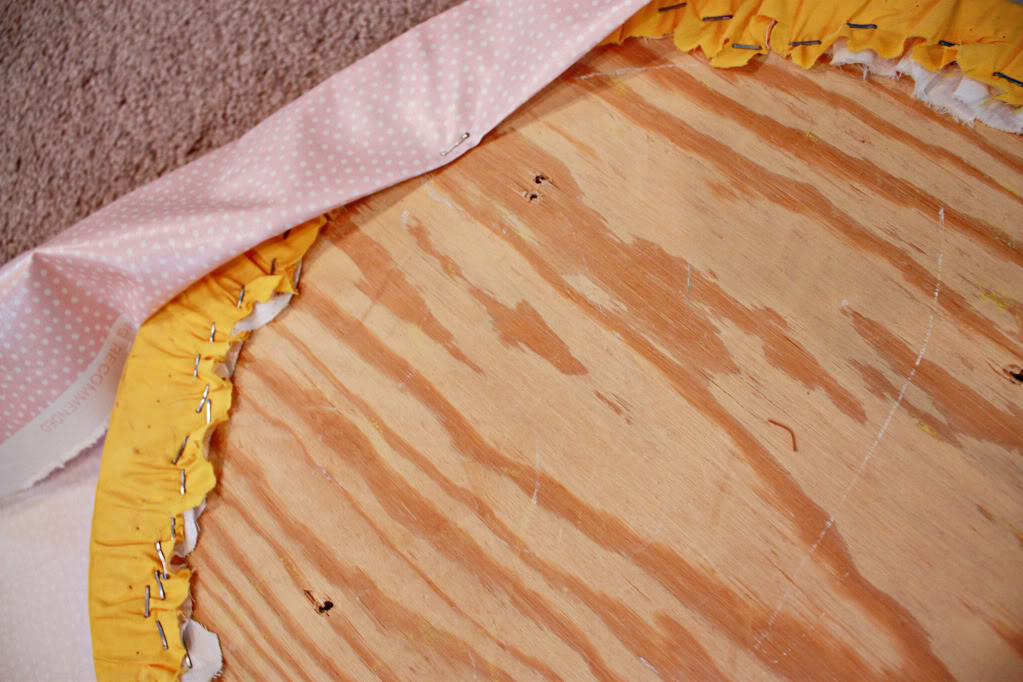
Then I pulled the fabric taunt and fastened the opposite side. After doing all four sides, I was ready for gathering and stapling action.
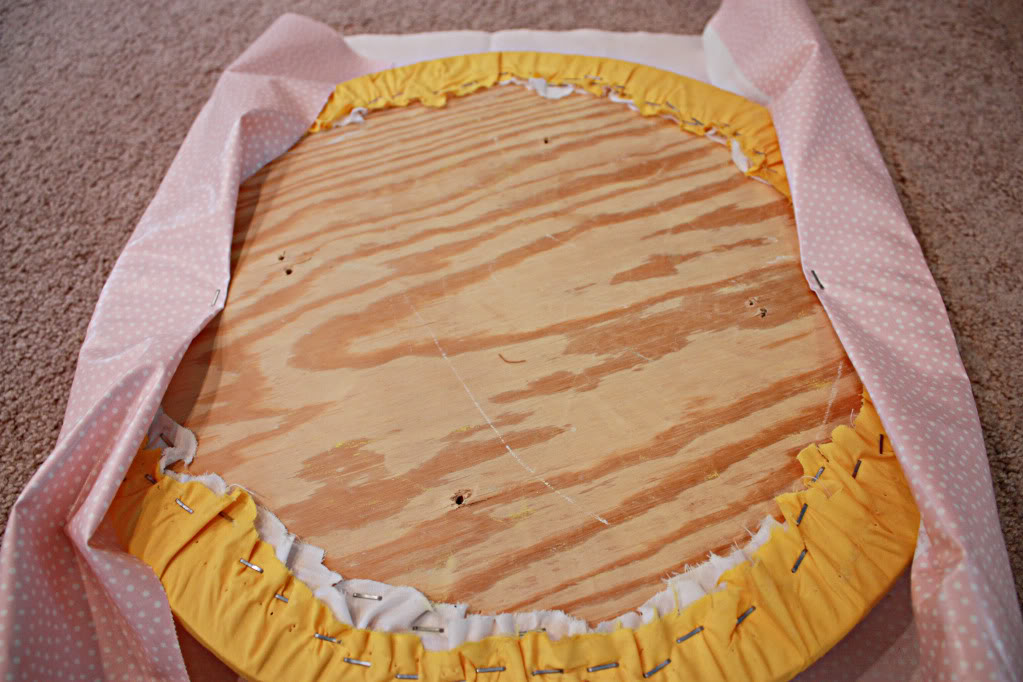
I just continued to pull the fabric until the seat part of the chair was smooth. Then I would fold under and staple.
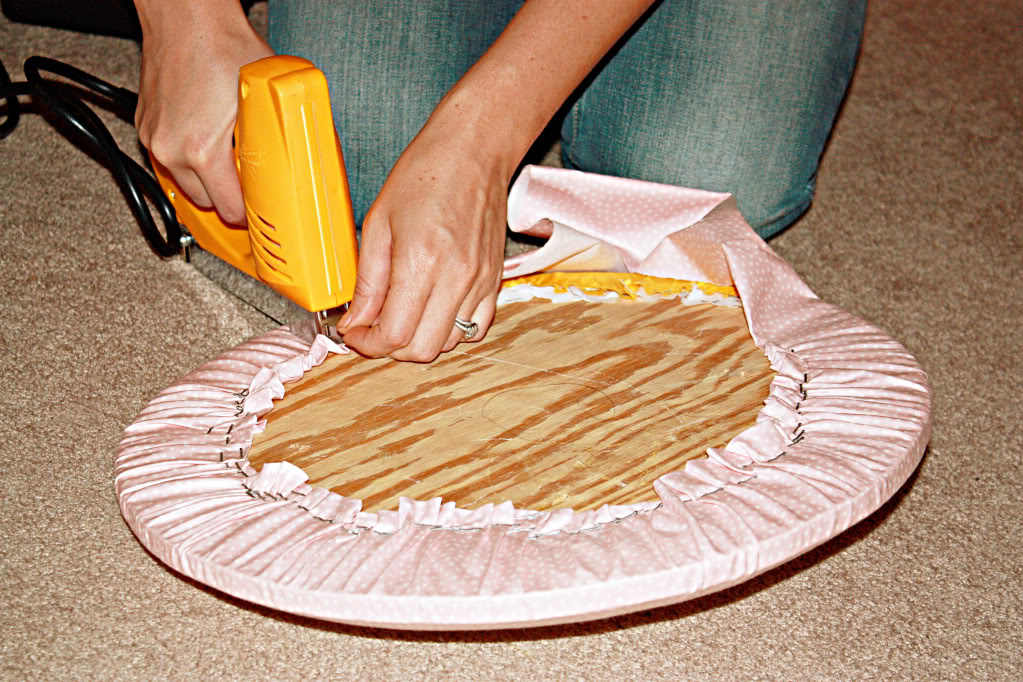
Ok – so after about ten minutes of prepping & spraypainting and 20 minutes of chair recovering, my chair was complete. And the cost – $1 for 1 yard of fabric…the spray paint had been from a previous project. So one buck. One buckeroo. Uno dinero. (wait…I don’t know spanish.yikes.)
I love it.
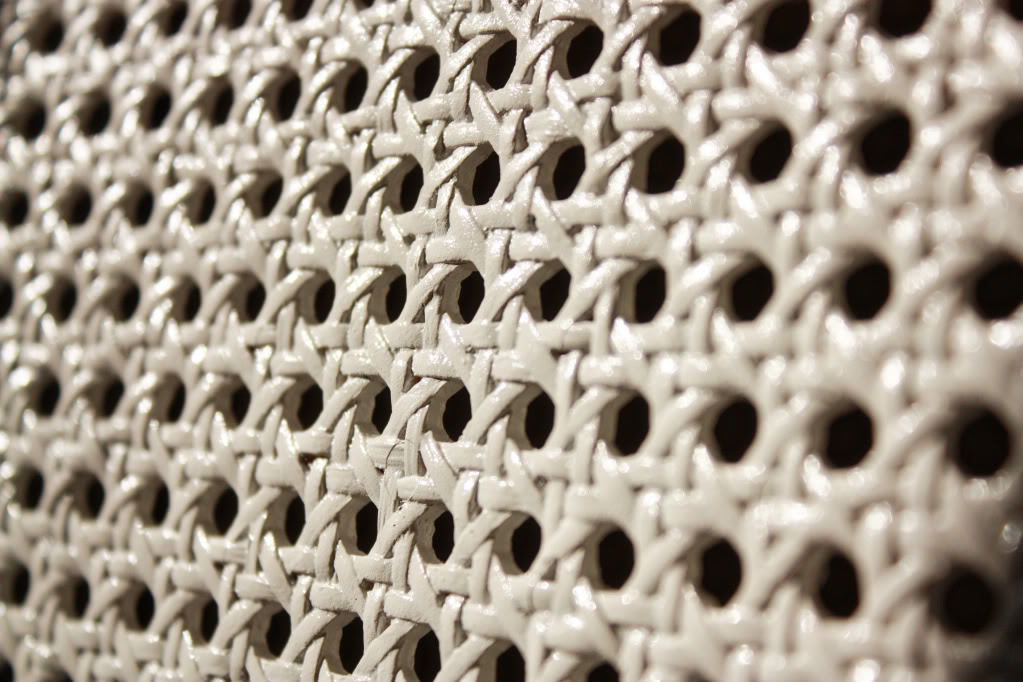
I love the woven back of the chair. I am slain with cane…ing.
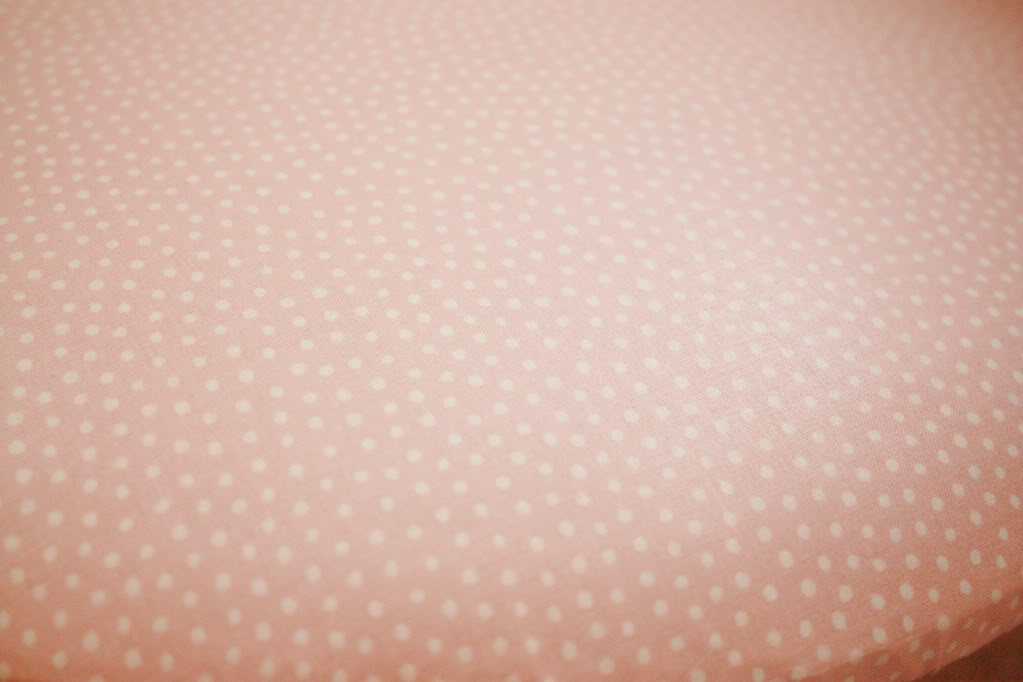
I love the pink polka dot fabric.
And I love that it looks so pretty in my dressing room.
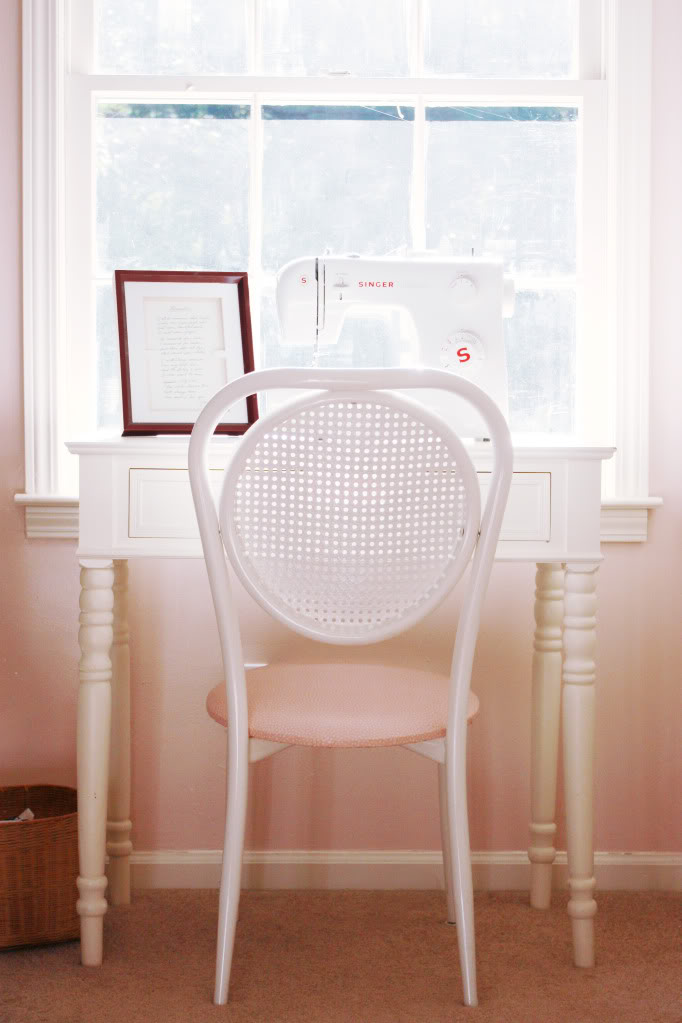
Now I have to spraypaint my desk a nice bright white and it will be the bee’s knees.
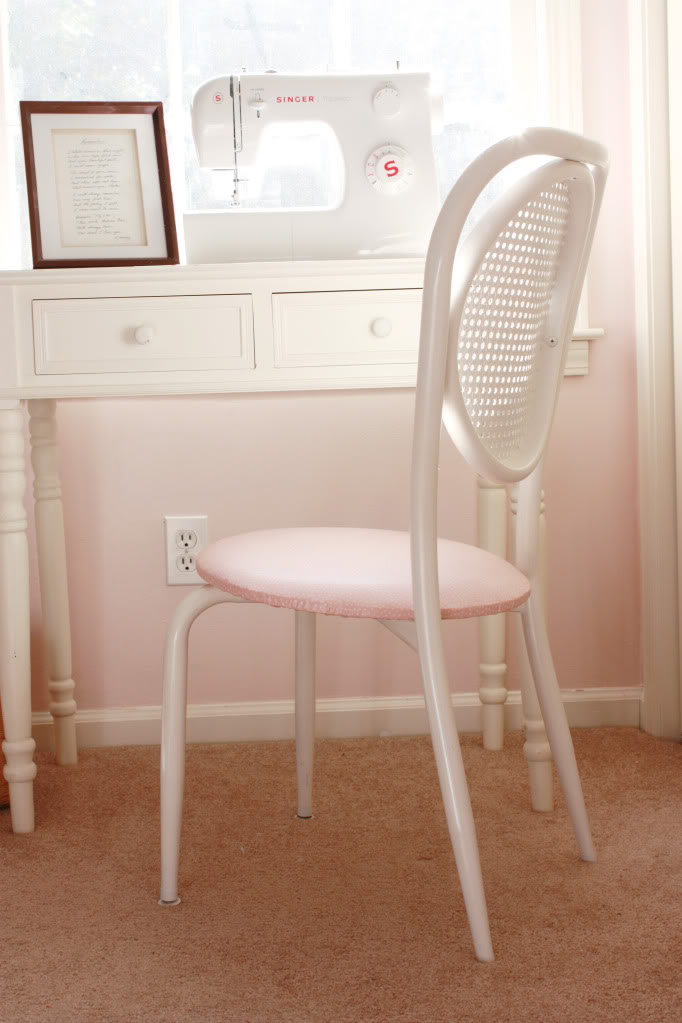
A perfect little perch for sewing. Funny how one thing always leads to another. One fair chair = painting a desk & trim on my to-do list. Oh well, a home owner’s work is like MJ news…it never ends.
So have you redone a chair lately? Was it a painting & fabric redo? Did you learn anything along the way that you would like to forewarn people about? Like…do not staple your hand…it will hurt. and possibly bleed. or do not spraypaint your eye. It will hurt. and possibly hurt alot. Do tell. Happy Stapling!
For more upholstery giggles, check out the Youngster’s post on upholstering a chair.
***Little Debbie updated me on the origins of the chair – here’s a segment of what she wrote: “Hey Katie, I thought I’d set the record straight. I never used the yellow chair with a yellow seat cover at the same time. In fact, I got that chair out of someone’s garbage and painted it white right away! I am glad that you can use the chair now for sewing. PS – God was the first recycler – did you know that the earth has the same amount of water that it contained at creation? It just keeps recycling over and over, round and round! Amazing and thought provokingly true!! Love you!”
That’s my mom – able to dumpster dive for free furniture and provide little lessons along the way! THANKS ma…love you too!
love it! it looks so great in your dressing room!
Eek! That little chair is adorable at your sewing perch. I just put my little sewing room together over the weekend and was loving the green walls (that the previous owners painted – we just moved), until I saw this. Now I want to paint it all pink.
Anyways, nice work. I just finished recovering 2 chairs and my only advice is that you should consider ironing your fabric first. I used a thicker fabric and even though I pulled tight, it was a bit wrinkly until I ironed it. I plan to show off my new creations on my blog (homeinthecountry.wordpress.com) later this week! 🙂
LOL! Love the MJ reference! You are too funny.
I recently redid our dining room chairs (my first chair project ever!)
You can see photos here:
http://readyfiredaim.blogspot.com/2009/06/our-dining-room-chairs-before-and-after.html
I love our fancy staple gun too… quite useful I’ve found. I actually have a chair in the garage that I stole from my mom’s garage sale to redo for our office. You make it look easy breezy, miss. Great work.
tres cute!
totally off topic here – my free can of paint came from glidden today! ty again for posting about the free paint. my dresser’s gonna look like the shiznit when i’m done 🙂
That chair is totally adorable! I want to go out and buy an old chair to refinish now!
Hear that ya’ll? a little tip that I think would be too helpful to forgo: A little ironing goes a long way!
Hi Joolz – YAY! I just got mine too! I can’t wait to do my little project with it! You absolutely must show me your dresser redo so don’t forget to take before and after pics!
XO – Katie
cool beans…love the detail in this post.
Um, are those sombreros still available?
The chair is so pretty and girly, it looks awesome. I love the skinny little legs on it, in fact I’m jealous of those skinny little legs. Job well done Mrs Bower.
Great job on the chair; I love it!
I read the below post right after I read yours, and this chick has the same staple gun. Crazy when that happens. Thought you might enjoy the post.
http://www.theblahblahblahger.com/2009/07/tool-talk-tuesday-with-mrs-limstone-and.html
seat looks great! i am in search of a cute sewing chair like this too!
http://anhesty.blogspot.com
Oh it’s so cute! That pink fabric is adorable and looks perfect in the room. I can only aspire to be so crafty!
It looks great. Thanks for the detailed post- but how did you detach and reattach the seat? I see for holes on the seat and chair. Did you have to make ne holes to reattach the chair?
I recovered some bar stools that were left in our house. Since I painted the kitchen, the old fabric didn’t match. I found some tea towels on sale at World Market that matched wonderfully. Unfortunately, I had to use the manual stapler and it was NOT as easy as yours looked.
Actually Taryn I didn’t need new holes. The ones that were previously there lined up with the holes on the legs of the chair and after a quick measurement, a couple flat-tipped screws through the legs into the board did just the trick. I guess we could have done it with glue too though 🙂
XO – Katie
beautiful what a way to give a old chair a new life. I am defiantly going to try it with my old dinning room chairs