Excuse me. I am late getting this to you because I was pressure washing a playroom rug that was being turned into a canvas by a certain 1 year old and his newest find – the kids brown paint.
But I’m super excited to share this with you because MY PLANTS WERE DYING AND WE CAN NOT HAVE THAT.
Today we are talking drainage. Not the kind you get from allergy season or a particularly bad cold. Drainage as in, the kind that if it doesn’t exist, it kills even the hardiest of plants. So my house is on a little hill. The driveway actually slopes toward the house and in the past year or so, my plants started looking a little pathetic. They would be getting brown spots, dead branches and we didn’t exactly know why. Was it dogs peeing on it? Was it bad soil or not enough fertilizer? Too much fertilizer?
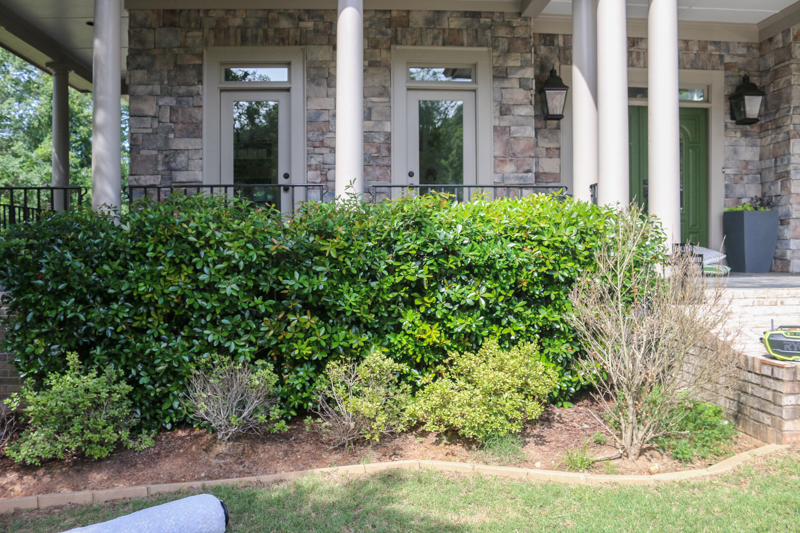
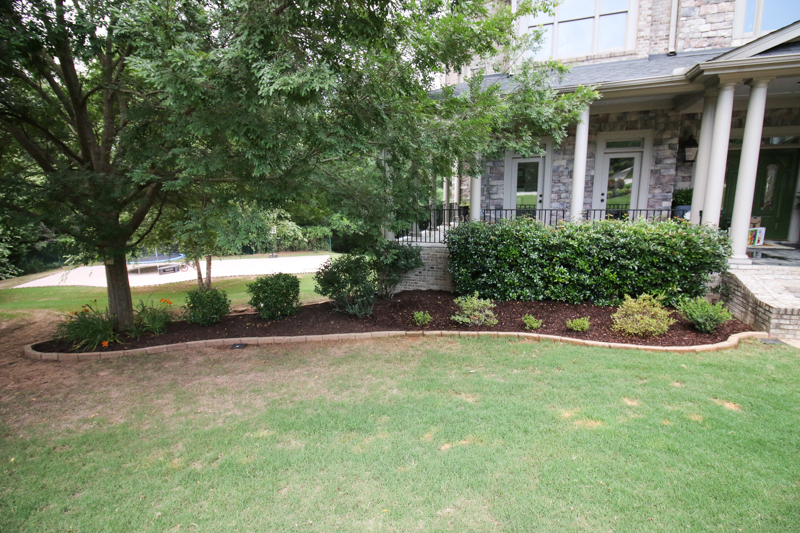
After a little digging, we realized the cause was root rot. It is caused by overwatering…..but we literally never water our plants. So we started watching what would happen when it rained and then we realized the issue. The rain from the driveway would run down toward the house and hit this front island and create a miniature version of the Mississippi river. It would wash away all our mulch, lots of soil and basically make a giant mess. As you can see, it killed one of my front bushes and a few mini azaleas. Boo. Hiss. Throwing rotten tomatoes.
So the best course of action was to remove all the dead stuff and put in a drain. We talked to a landscape designer friend who recommended putting in a drain the entire length of the island and we felt fairly confident that this would solve our issues. Not all of our issues. I mean….there isn’t a solution for insanity and overactive reproduction. Or is there? 🙂
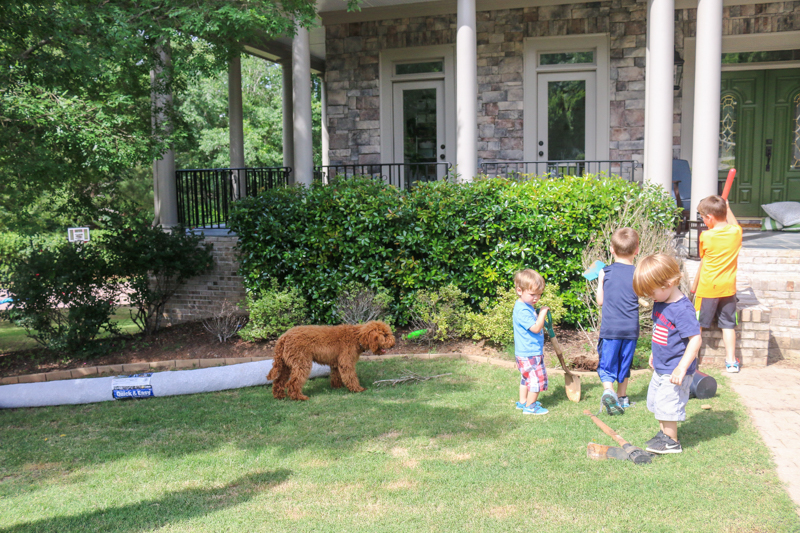
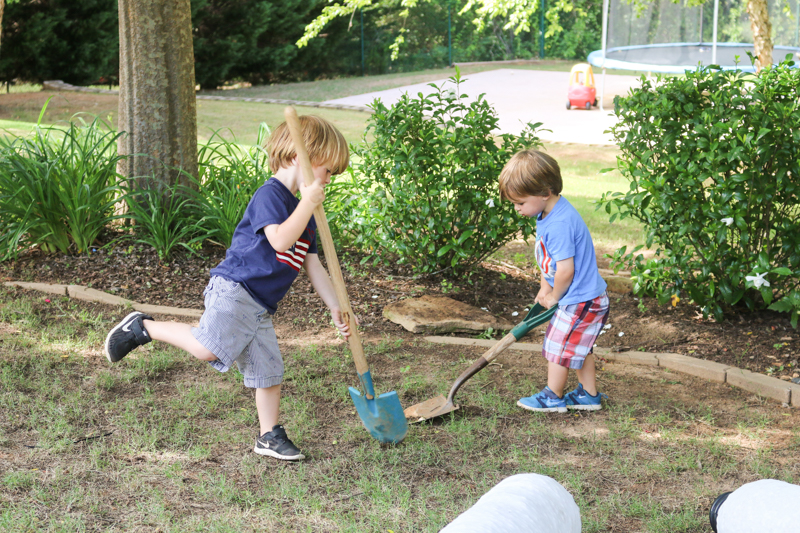
The kids were all about helping….
Gotta love a little leg pop when digging 🙂
My big boys showing that tree who is boss….
This might be my favorite photo ever. Muscles are serious business.
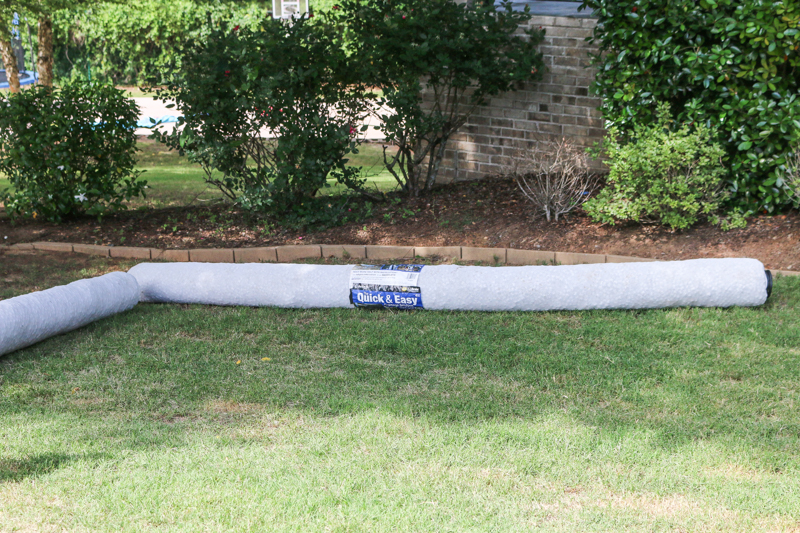
With a bit of investigative work, I realized how big a job it was to put in a french drain. You have to dig a trench, pack it, put gravel down, put a perforated pipe in that is covered with a giant sock and then back fill. So when I saw these all-in-one type drains at Home Depot, I was like DONE. It’s called an EZ Drain and it’s supposedly way way easier. Hence the name.
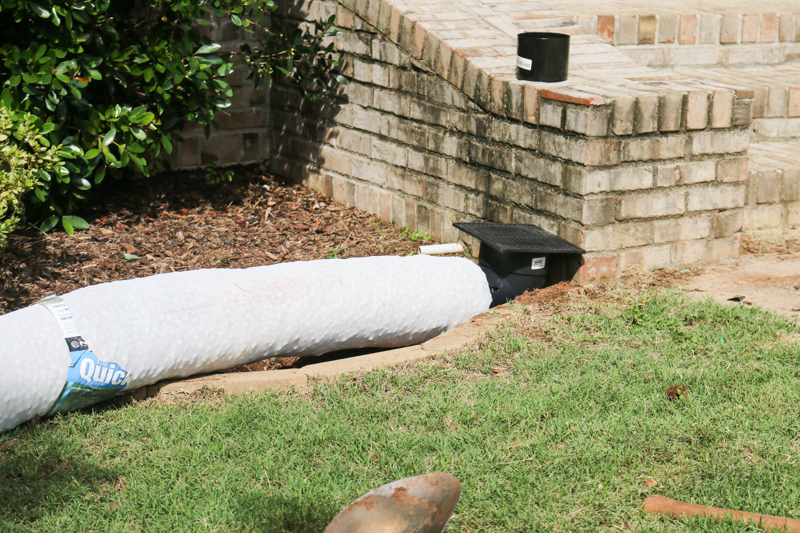
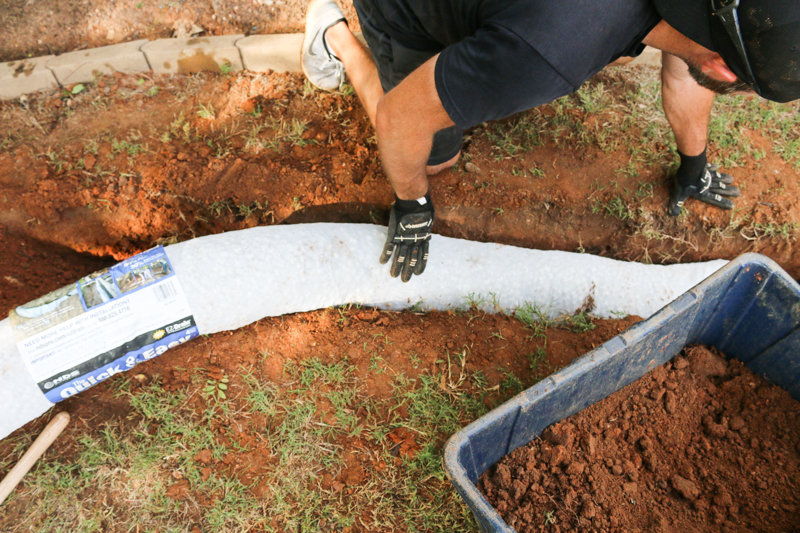
So basically the tag said it is a 4″ drain with a sock already on it holding in the ‘pebbles’ aka substitute gravel. You dig a ditch, throw this in and back fill. No hauling gravel which is basically the worst part.
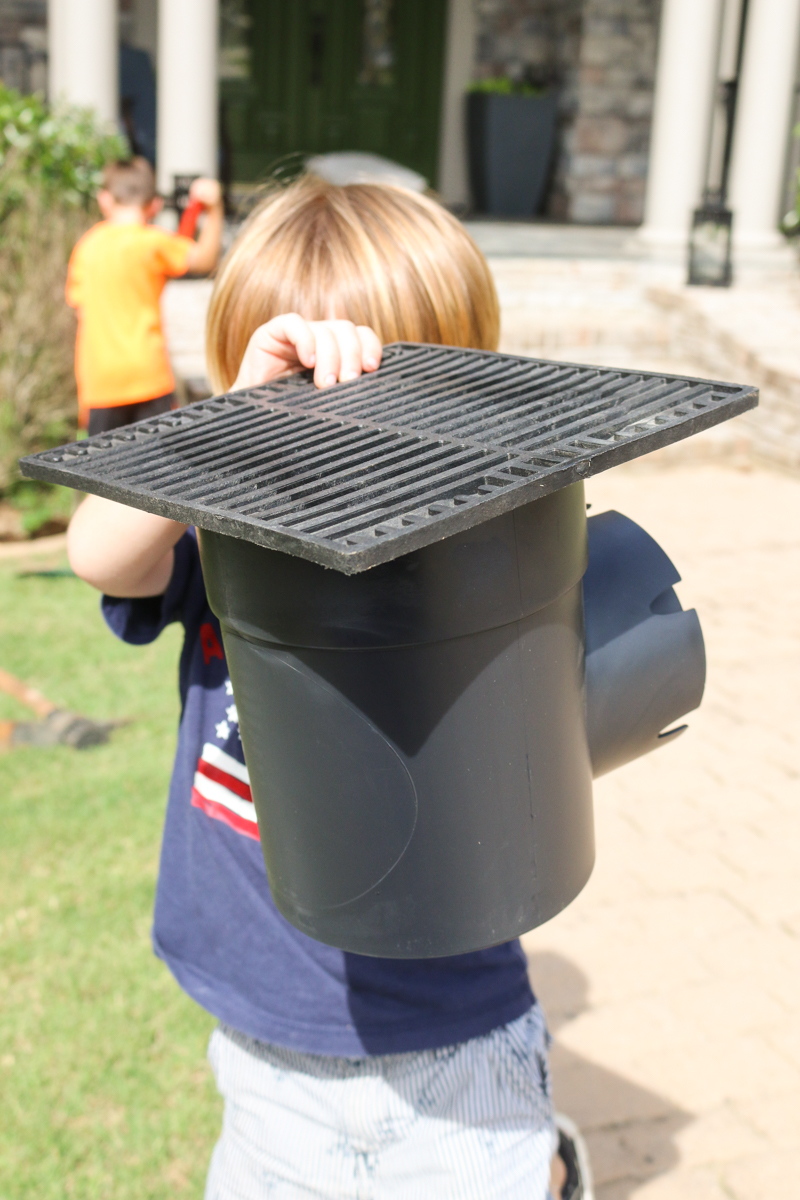
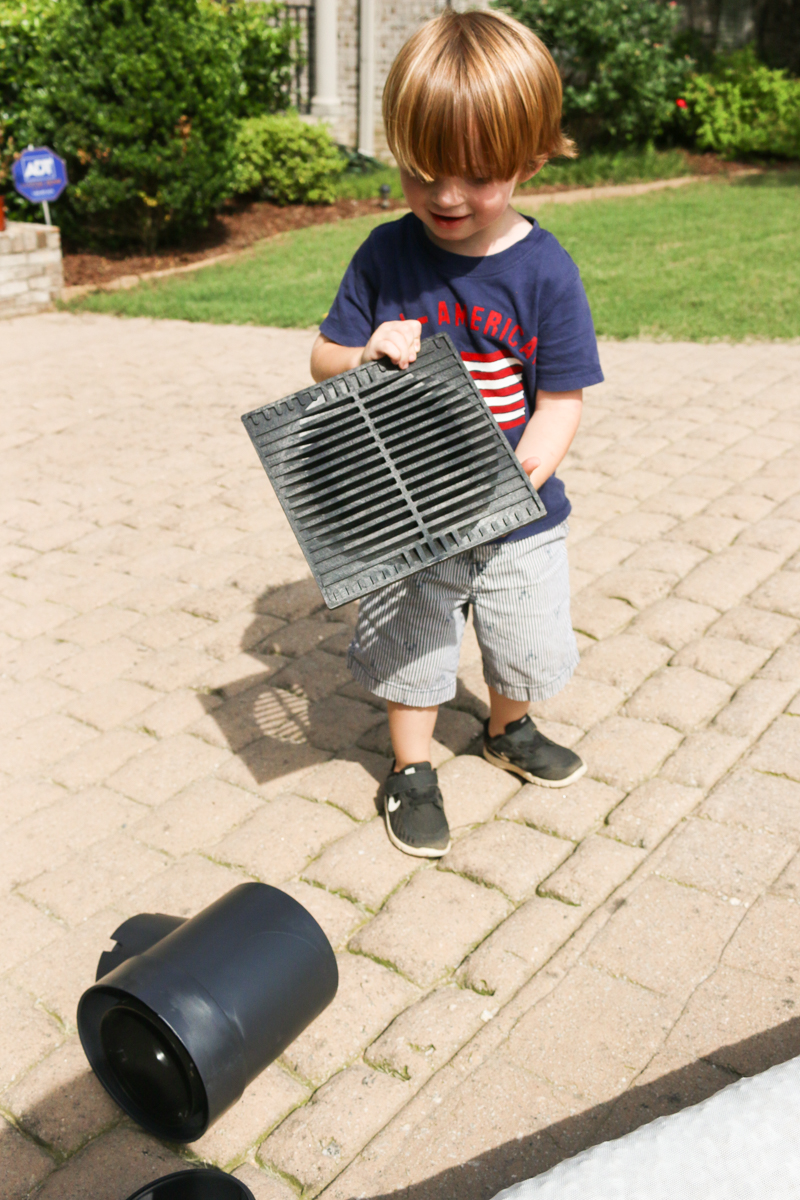
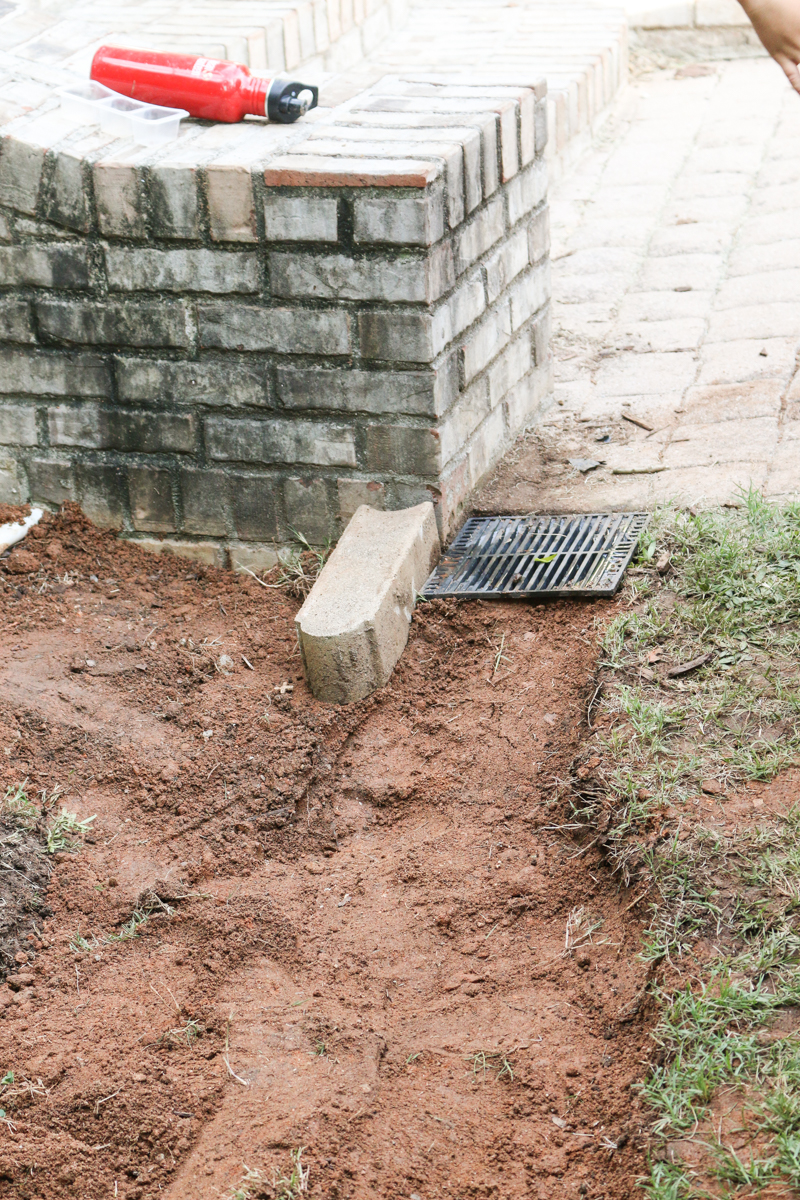
We also got two of these large drains so that the areas where we knew we had puddling, it would drain immediately into the pipe.
LJ has mad drain modeling skills. Also I miss his hair. He got his summer cut and I’m all like “WHO ARE YOU AND Why are you calling me mom?!”
The idea at first was to put the drain next to the stairway. We quickly learned this wouldn’t work.
There was a little bit of planning required because you can’t turn the pipe. It stays pretty straight and thankfully it is on a slope so we just had to keep it under ground to have proper drainage.
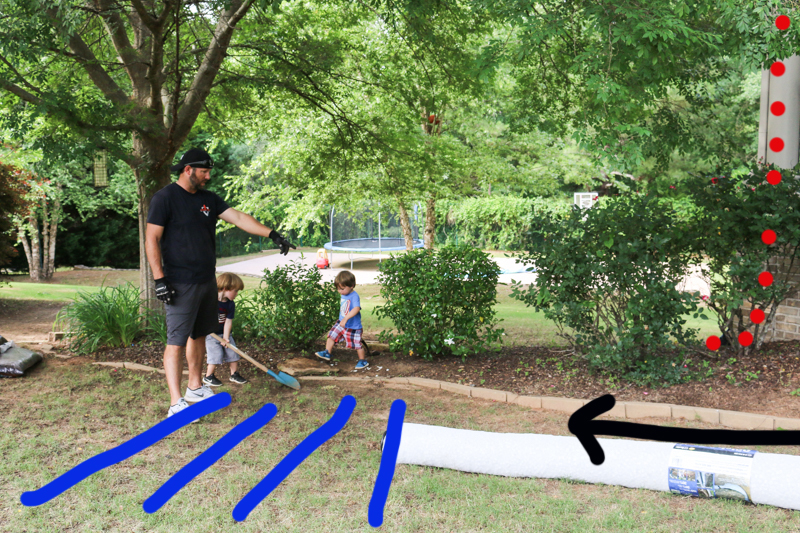
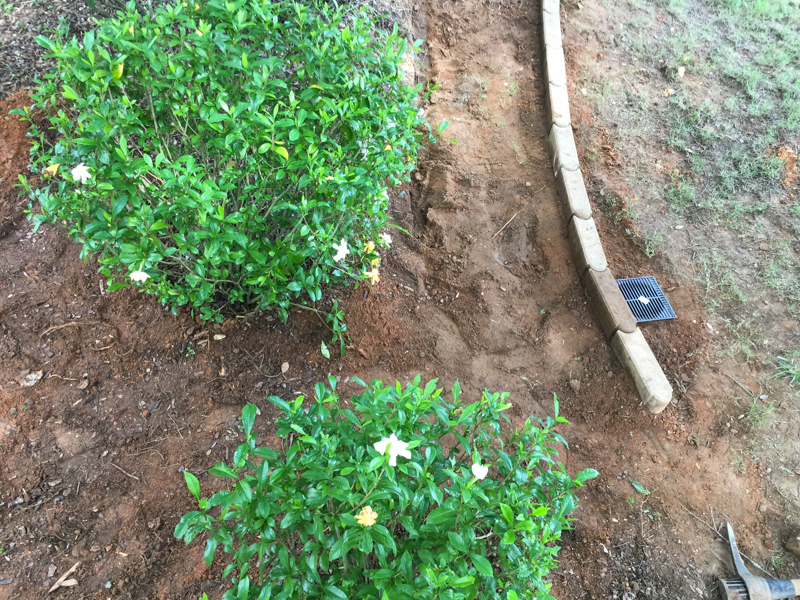
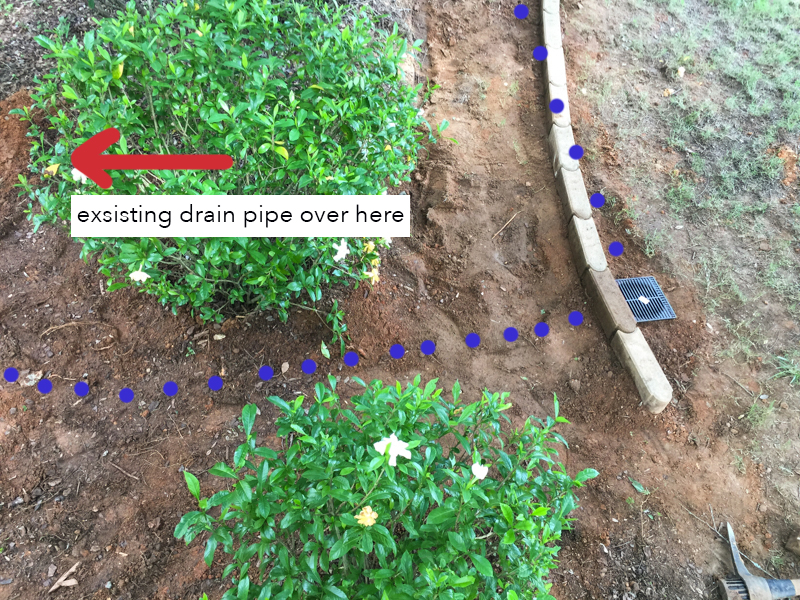
The idea was to put one drain near the stairs and have it continue with the EZ drain along the island parallel to the front of the house (black arrow) and then put another drain near where LJ is shoveling. That way any runoff from the driveway (blue lines) would have a spot to go and we wouldn’t keep losing all our mulch. That second drain would then need to have a solid pipe to connect it to our downspout pipe (red dots) drainage system. Sounds easy right?!
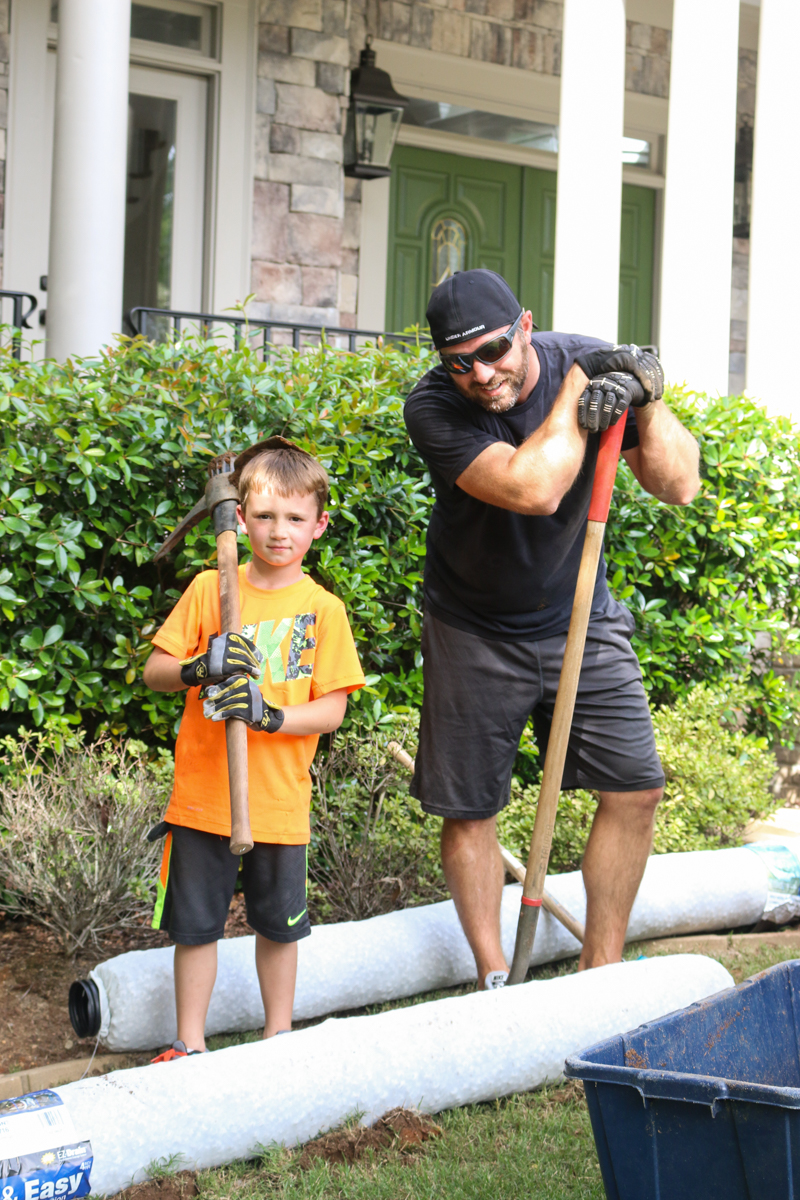
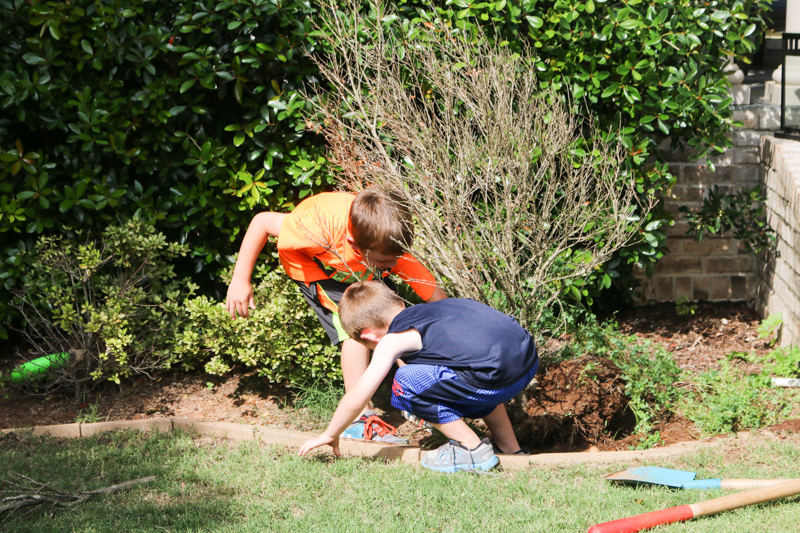
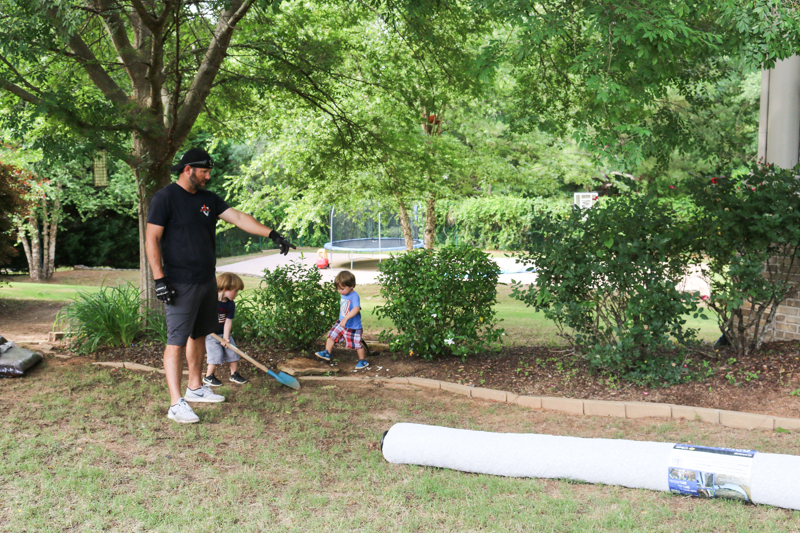
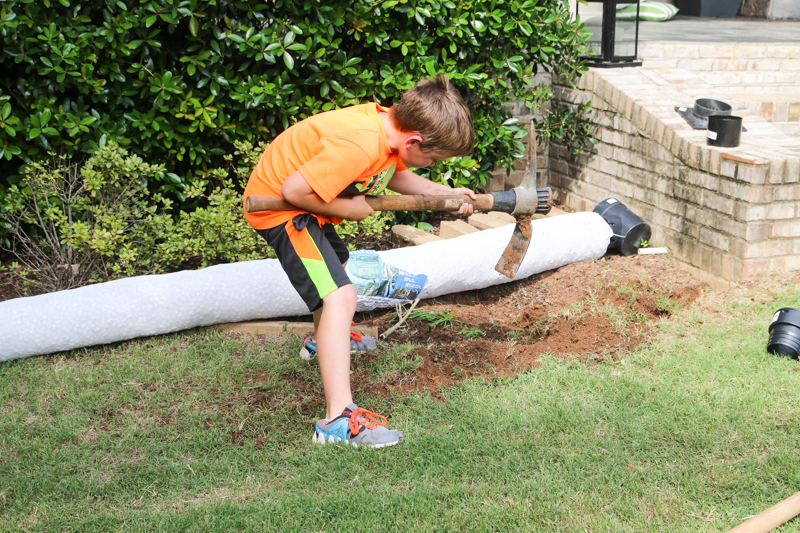
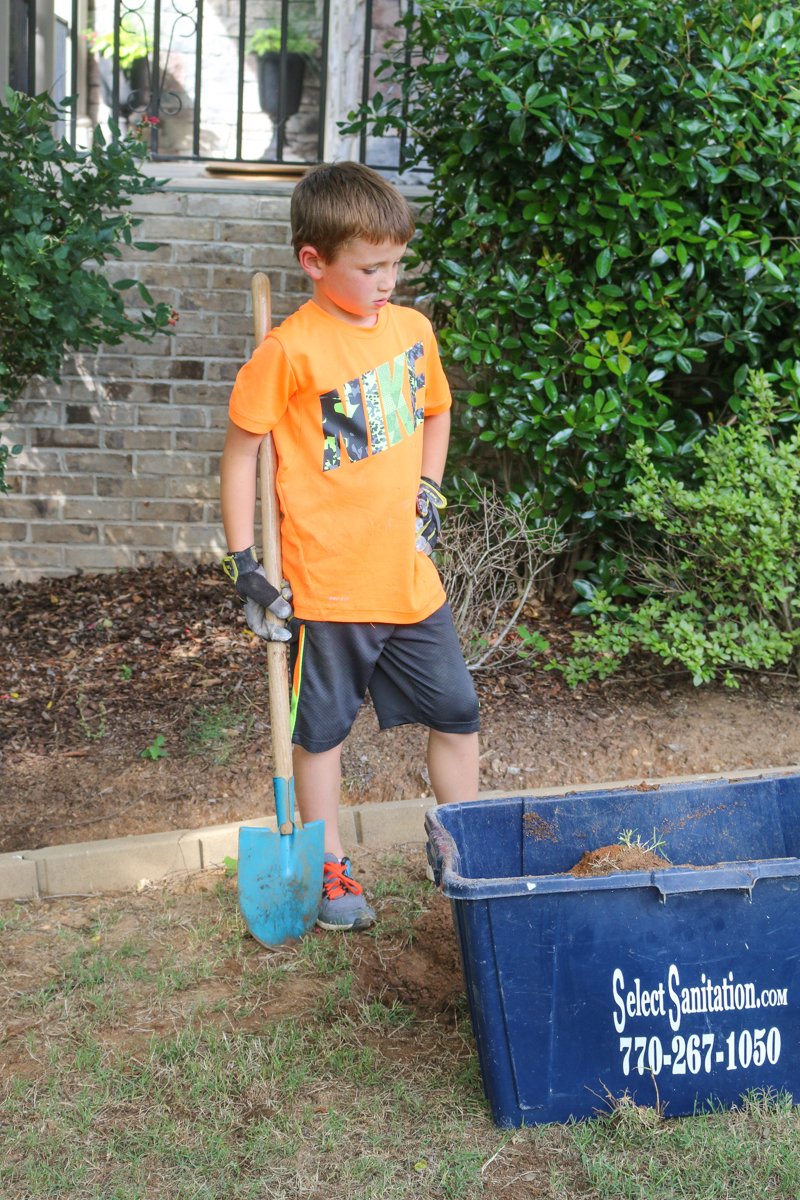
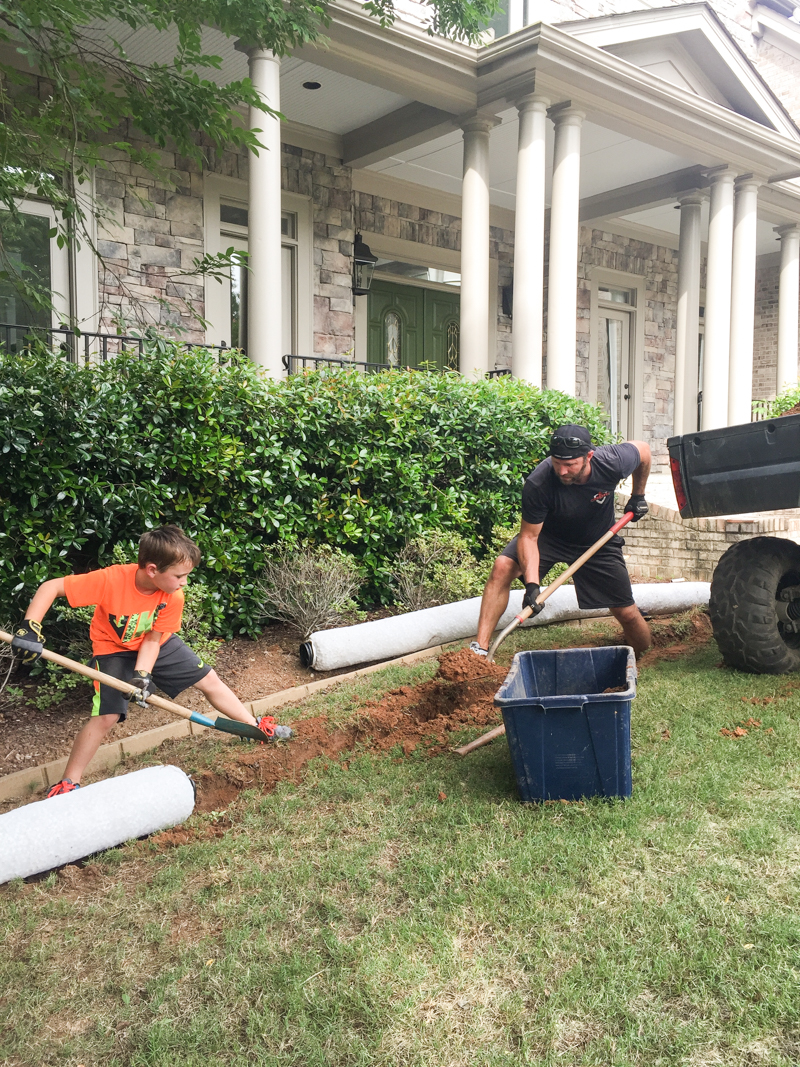
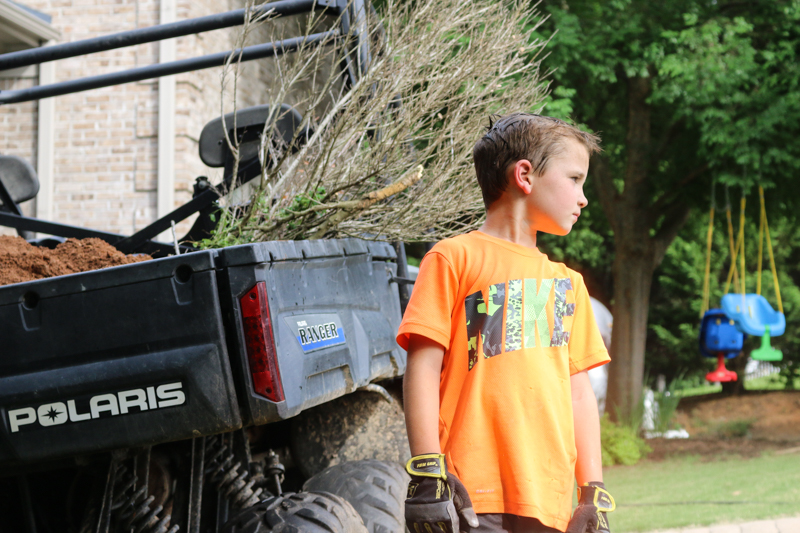
Well the first thing we needed to do was dig. And when I say we I mean…free child labor 🙂
Actually Will asked to help and he was out there giving his all for much longer than we had expected.
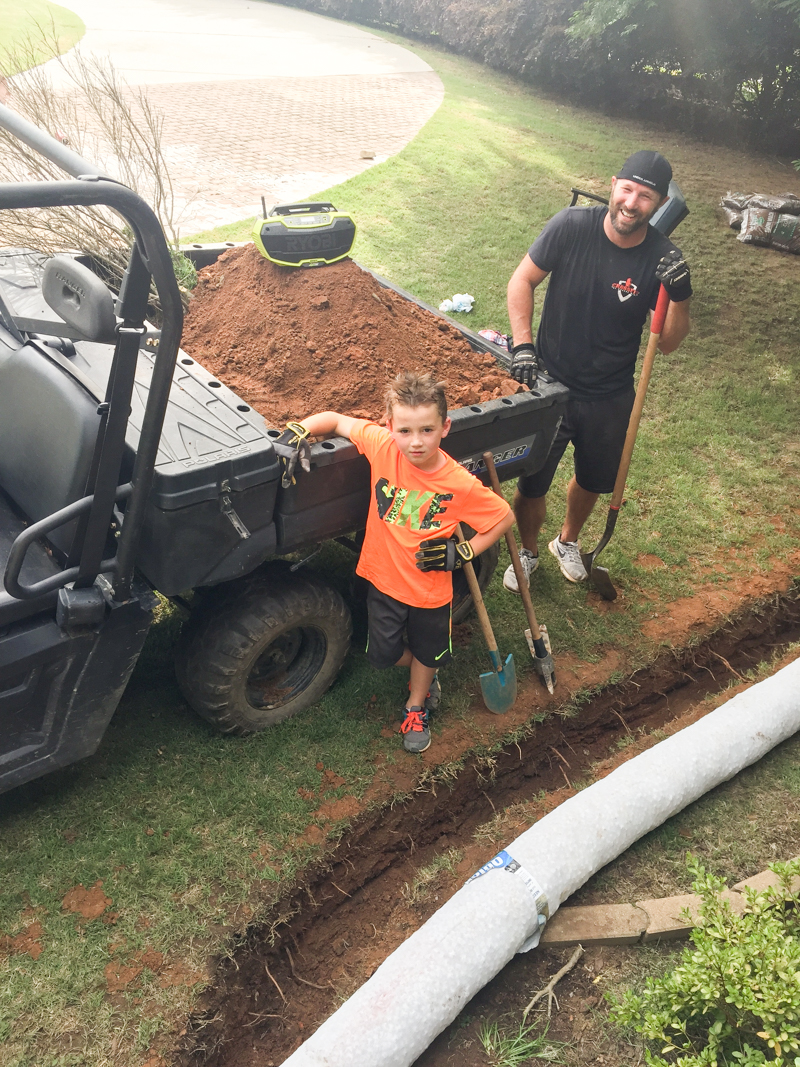
Jeremy kept on saying that he really earned his stripes that day.
Look at that teamwork! How did my baby get so big?!
And afterward, I said ‘let me take a photo’ and Will had to get his hair all spiked and posed just right and told me to make sure I got the angle right….we were laughing because he truly is a ‘professional blogger kid’.
So proud of that little buggar!
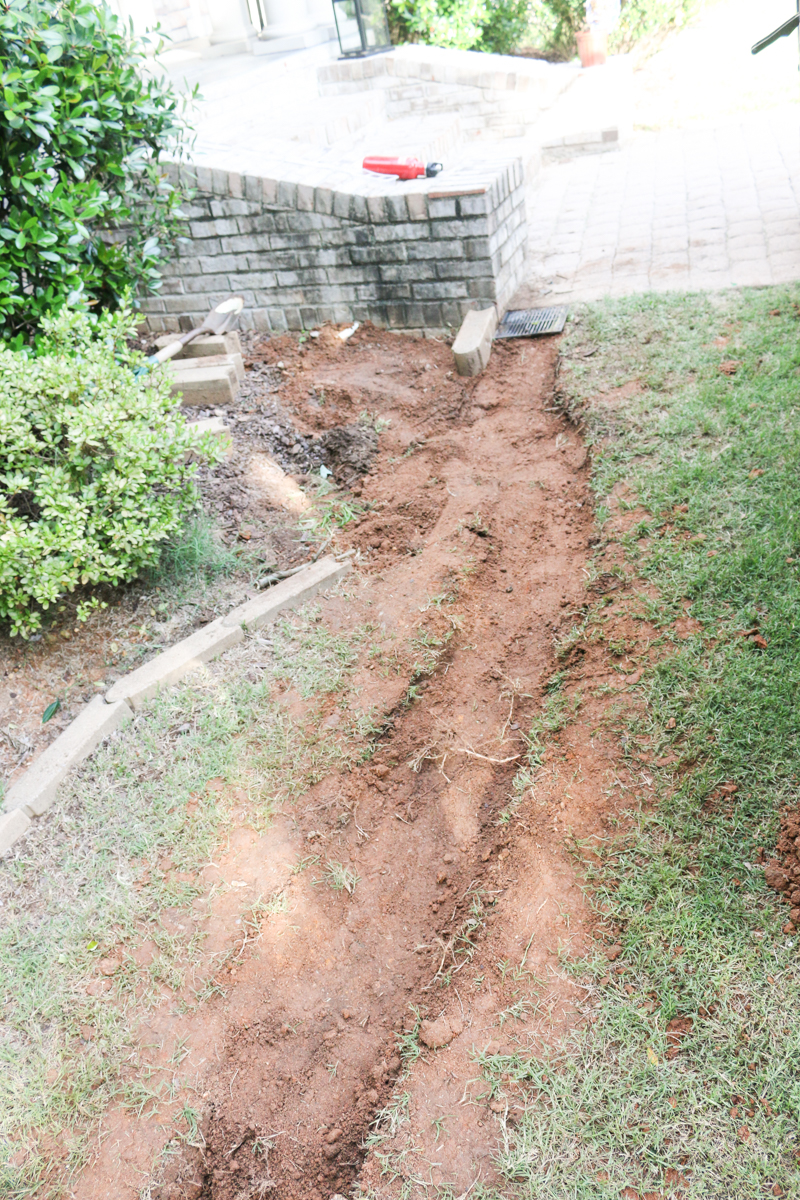
After the ditch is dug, the pipe goes in. It’s not complicated.
The first drain was moved from the side of the steps to the front. It’s not the prettiest solution but we knew that this was best because the puddle that killed our bushes was always starting here. Chop the head off the snake, right?! Or in this case, cut off the river at it’s spring?!
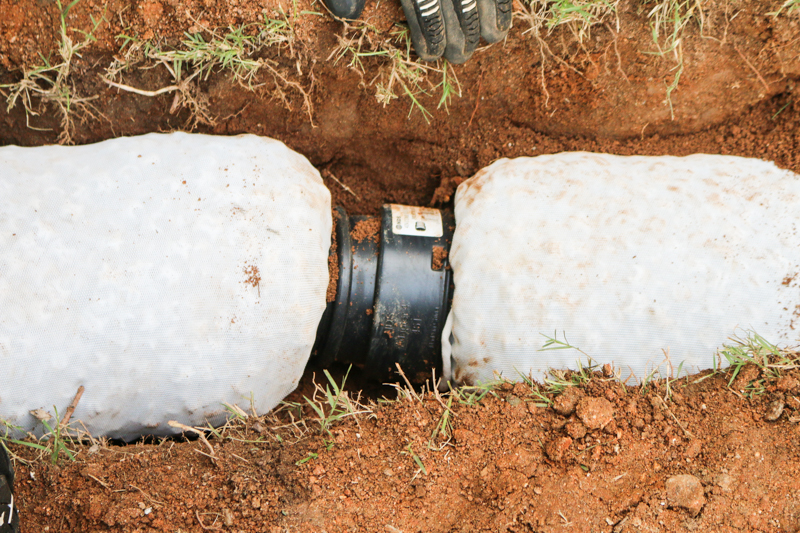
We did have to buy a connector to attach the two drains together….but that wasn’t hard.
And everything got backfilled.
When it came to the second drain, Jeremy dug out the location and connected it to the EZ DRAIN and then moved forward with operation ‘connect to the downspout’.
This is a really confusing part but I will do my best. Our existing downspout has a drain pipe that goes underground all the way to the back yard. We wanted to tap into that so the water from the front would go into that underground pipe and never be up front.
The blue dots from the top of this photo are the EZ Drain….it connects to the second drain…which then will get solid pipe to connect to the existing (bad spelling oops. too lazy to fix it.) drain pipe.
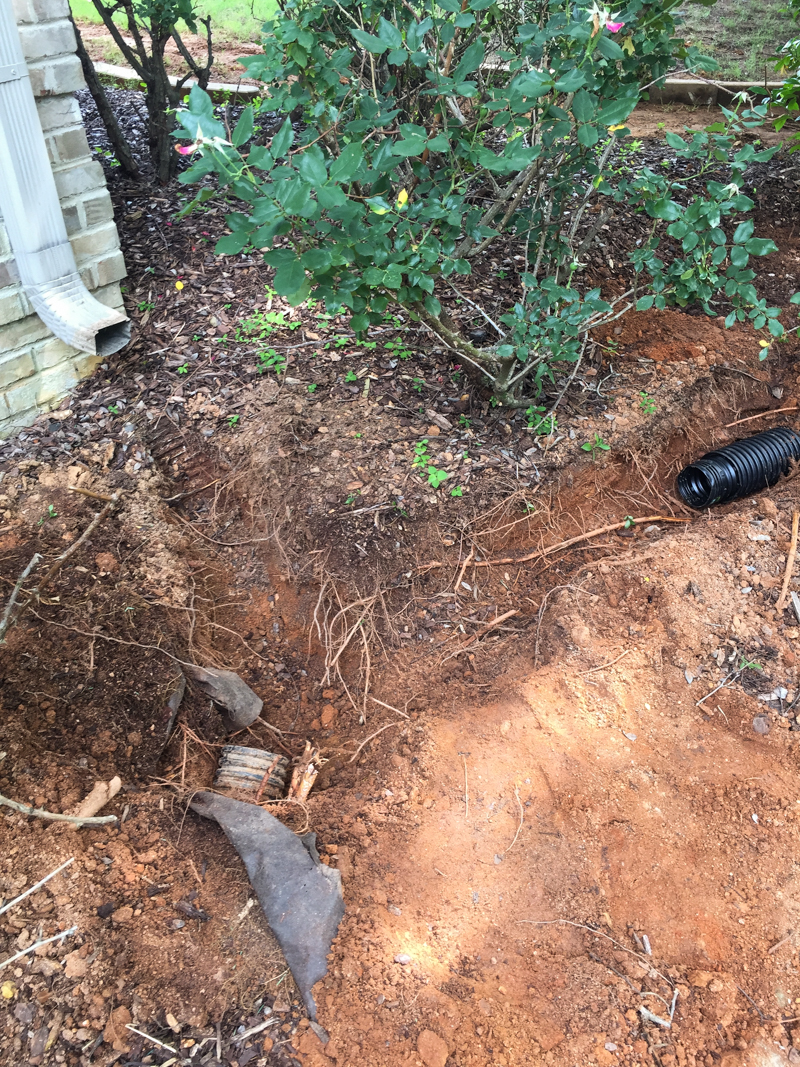
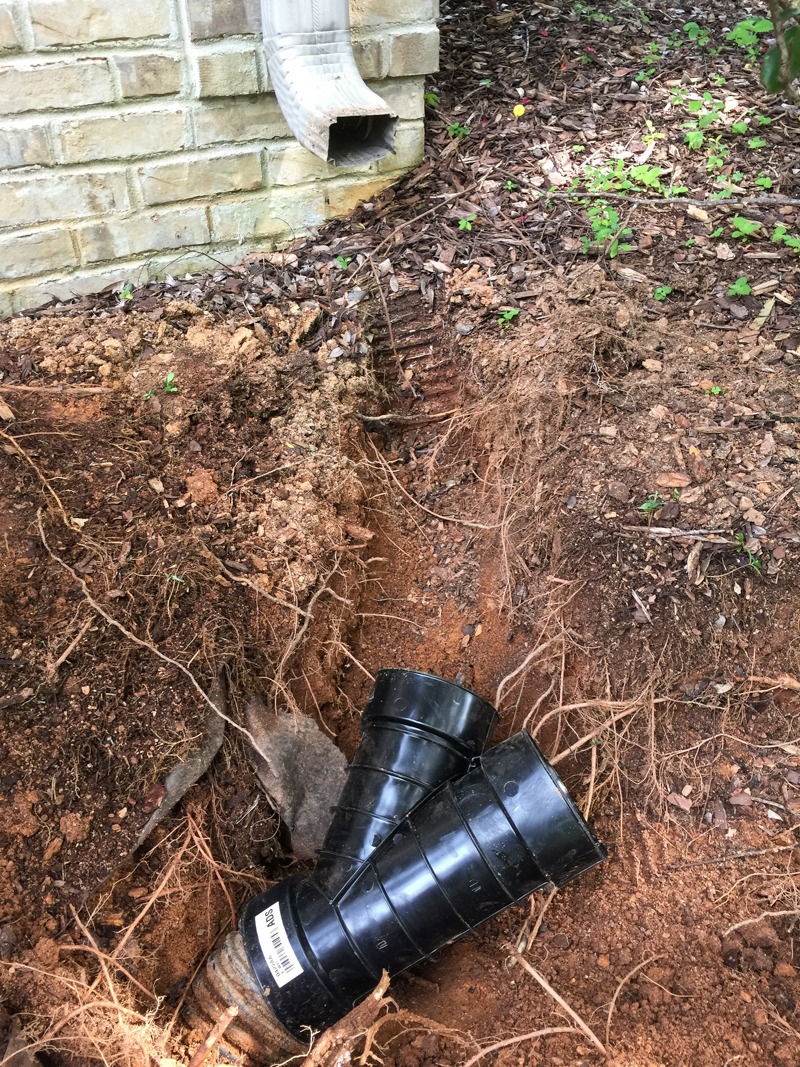
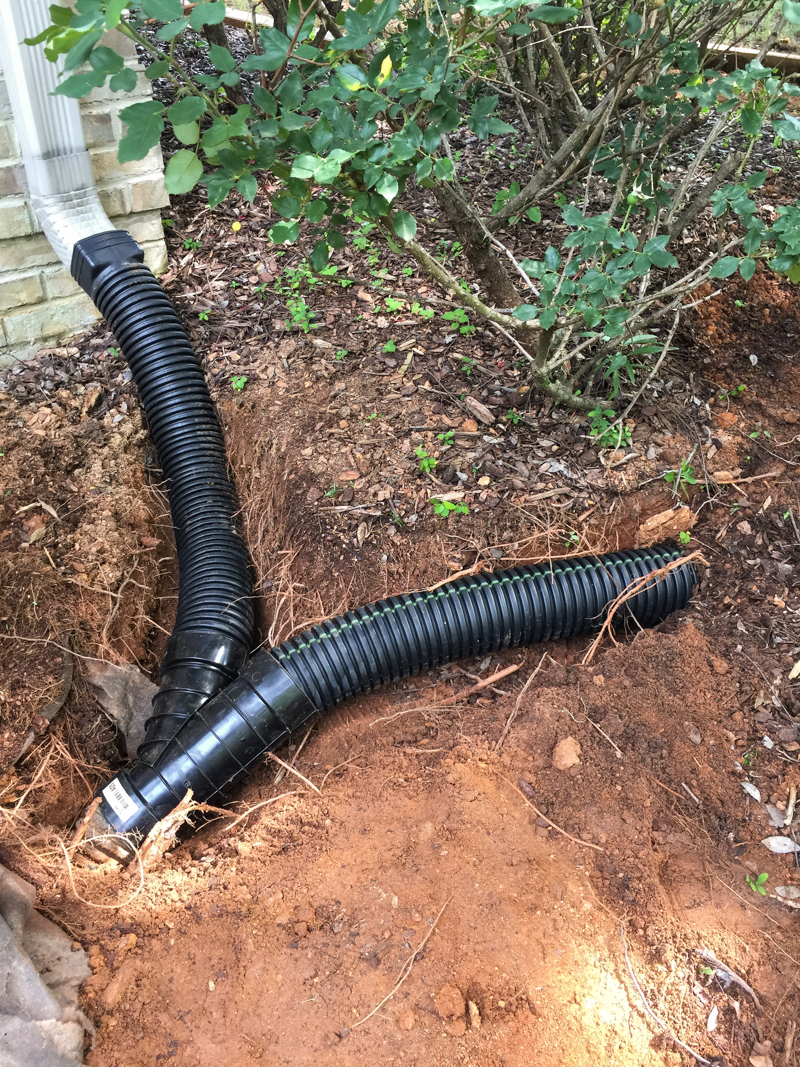
Here is how it will all connect. The downspout on the left used to connect directly with the underground pipe at the bottom of the photo but we wanted to tie in the pipe on the left.
So we bought a Y connection and attached that directly to the underground pipe.
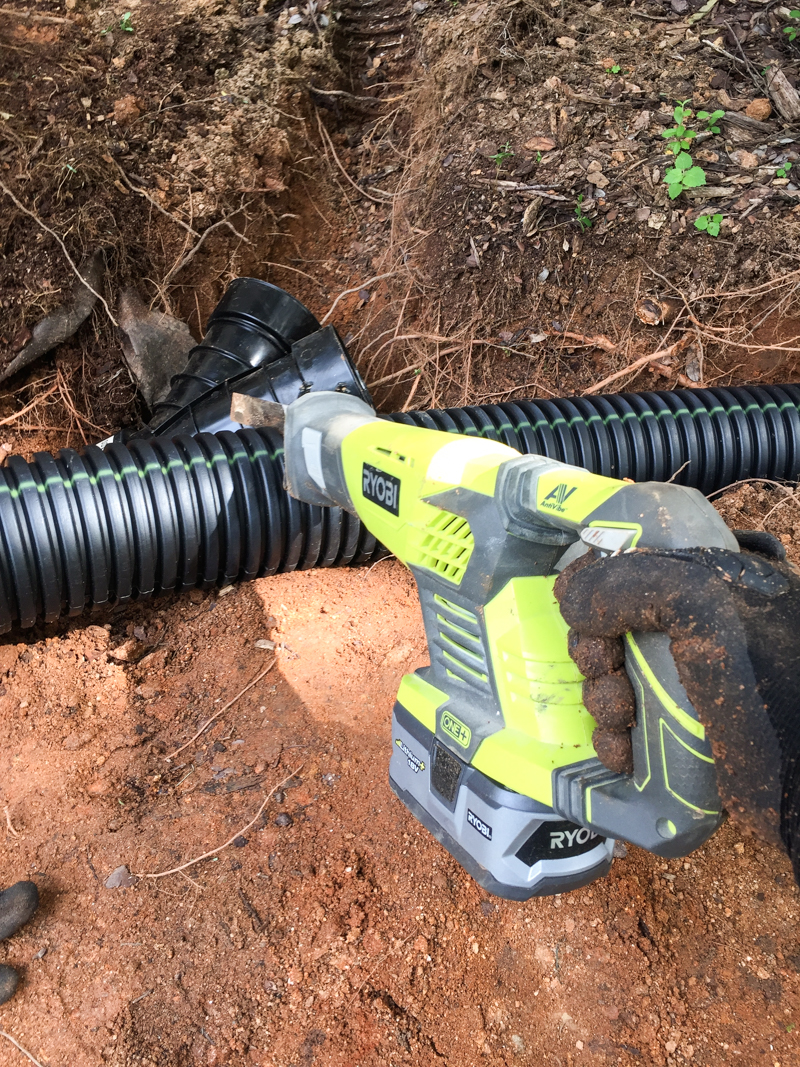
The solid pipe had to be trimmed shorter to connect. Jeremy used a blade for plastic on the sawzall (hey, those are on sale right now!) and everything fit together like a glove.
The down spout was reconnected with new pipe and the new drain tied in. The hardest part was making sure that everything flowed down hill from the second drain.
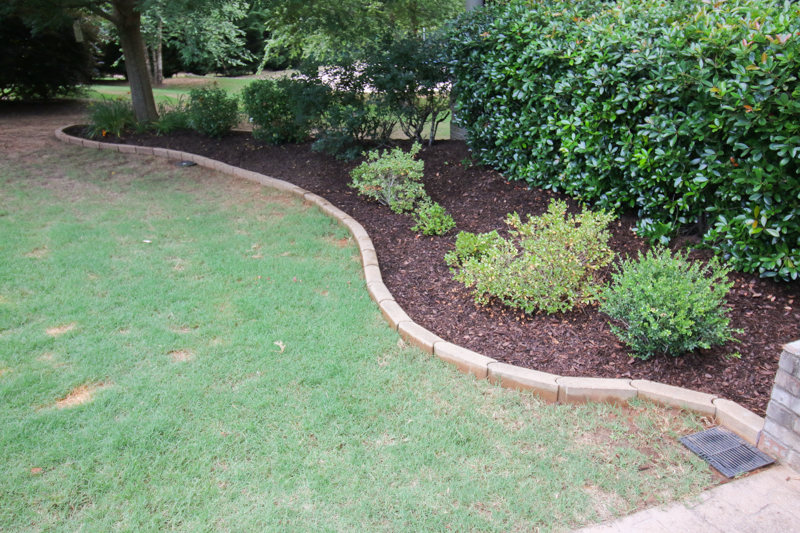
Then Jeremy reset the garden pavers, filled in any low spots, planted some new azaleas and a new holly and BOOM…MULCH.
It already looks so much better with the bigger bed (we allowed for more growing room) and I know that the drains are gonna help tremendously. Now to just get the dog to stop peeing on the front lawn 🙂
So that is our drain story – it took Jeremy about a week to get it all done because the weather is so hot but I think it could have been a two day job if we had all the right fittings and plants. Plus having the drain done correctly will probably help cut down on the mulch wash away later. Fingers crossed!


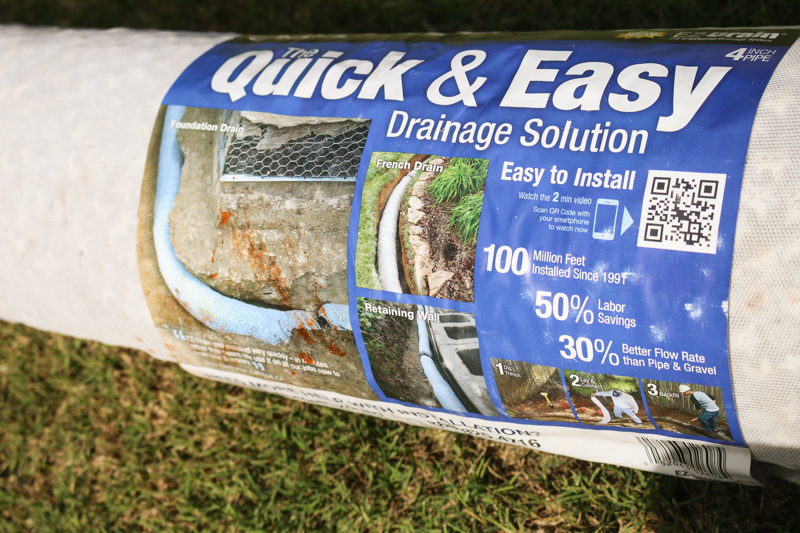


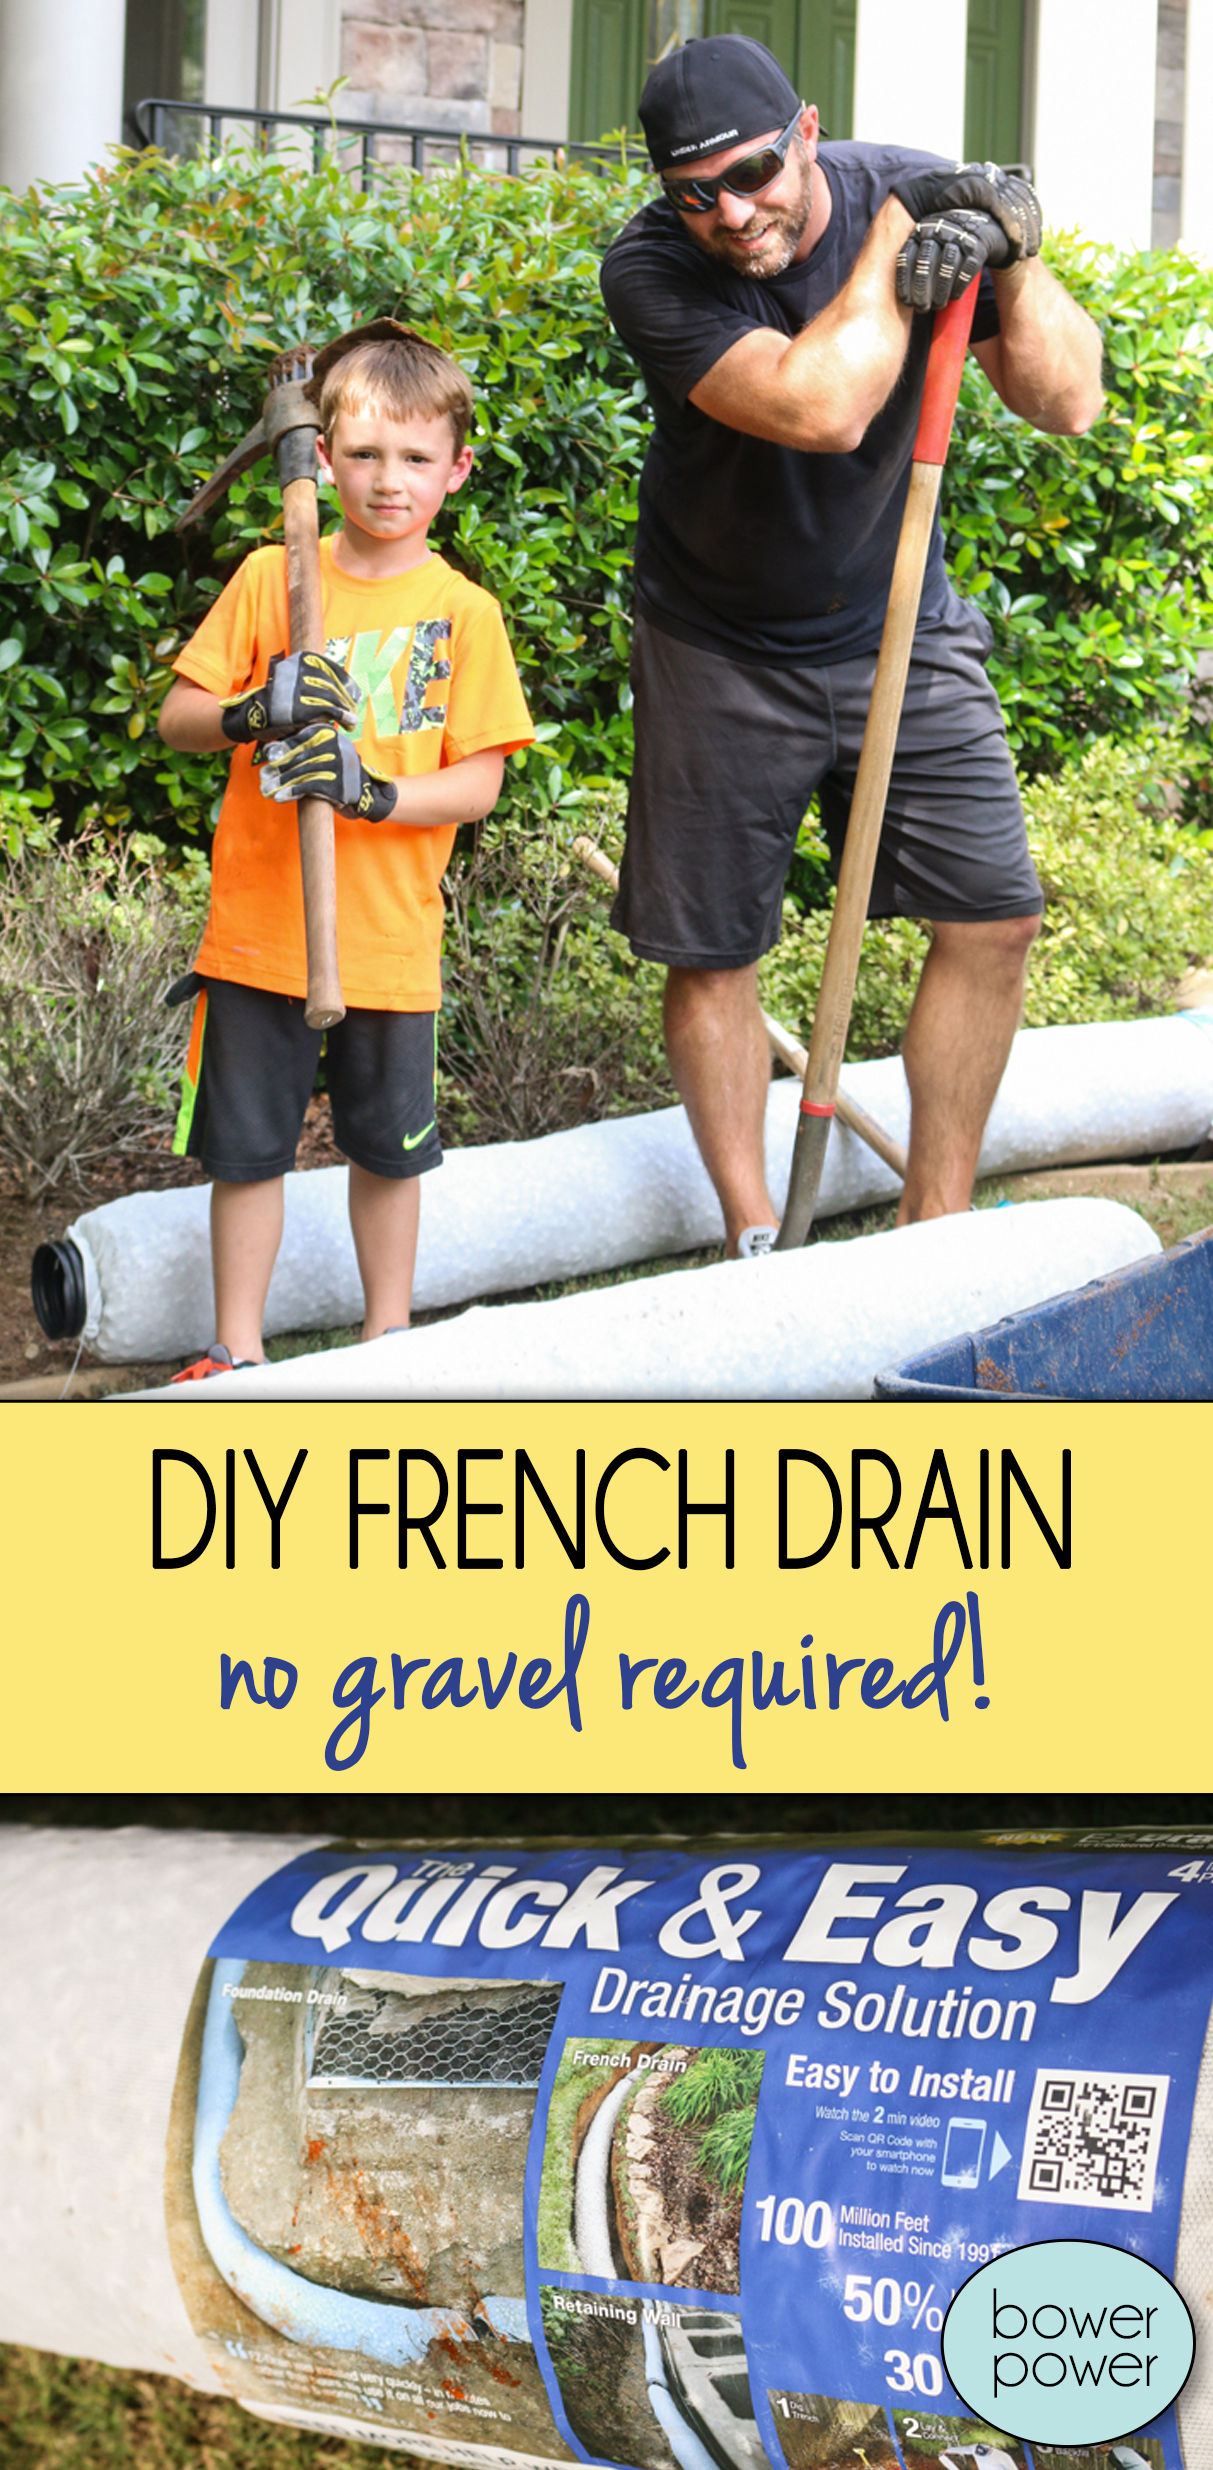
I’ll have to remember these Quick & Easy Drainage Solution pipes when the time comes. We are thinking of adding some retaining walls in our sloping backyard. If we decide to DIY it we will definitely need something like these. But it might be a bigger project then we can handle. Won’t be a project this year so we shall see what the future holds.
If your dog is a female, feed her apples and her pee won’t kill the grass. I don’t know why, someone told me so years ago and it worked like a charm for our pupper. She would eat cores, too. Our three boys treated the sweet girl like an apple core trash can.
I’m confused.
Where does all the water go once the French (EZ Drain) and downspout drains are connected?
I never thought I would be so grateful to see a post about a French drain! Honestly I didn’t even know what it was until about 15 minutes ago! Ha! My husband and I are having the same exact issue with a section of our yard and we’ve been racking our brains trying to figure out how to deal with it, so THANK YOU THANK YOU for this solution! Off to Home Depot we go.
Also, you have some ridiculously cute boys in your house (little and big)! 🙂
The underground pipe goes to the back yard – I did a little video on Instagram stories (i’m @bowerpowerblog) if you are interested in seeing where it comes out.
xo – kb
Thank you! We are having a drainage issue in our yard due to a natural spring. I think this will be the perfect solution.