I’ve been thinking about this dining room for a long time.
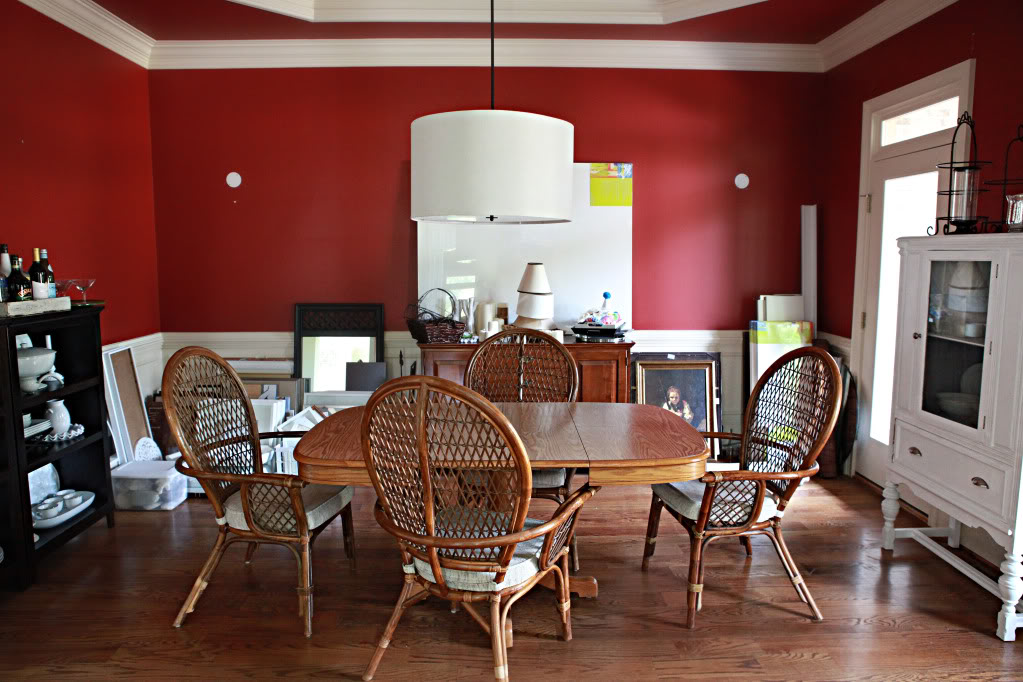
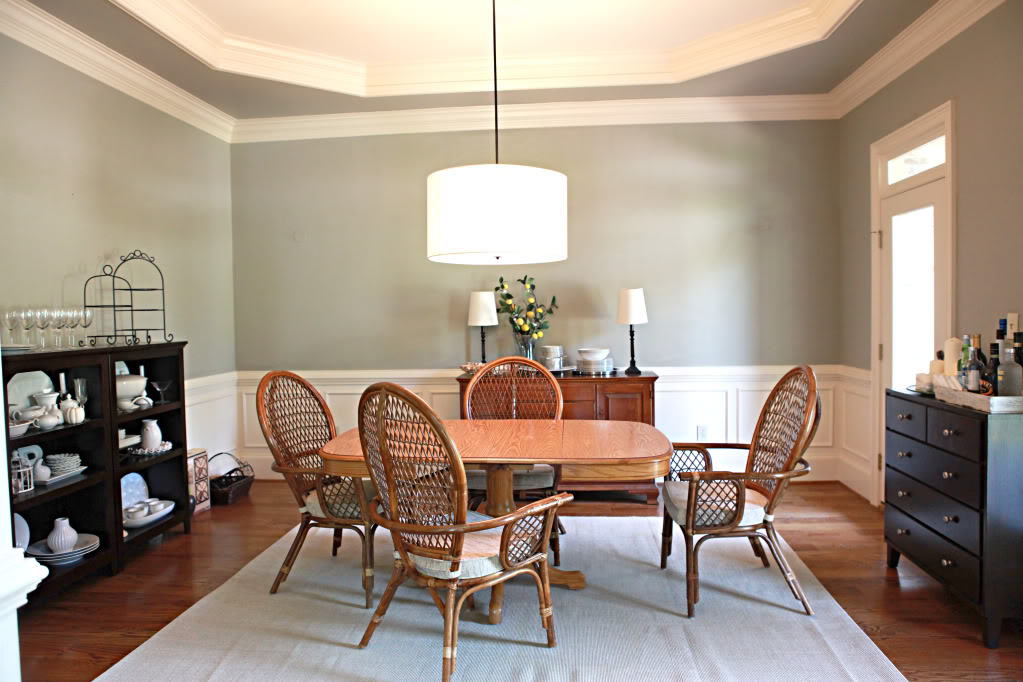
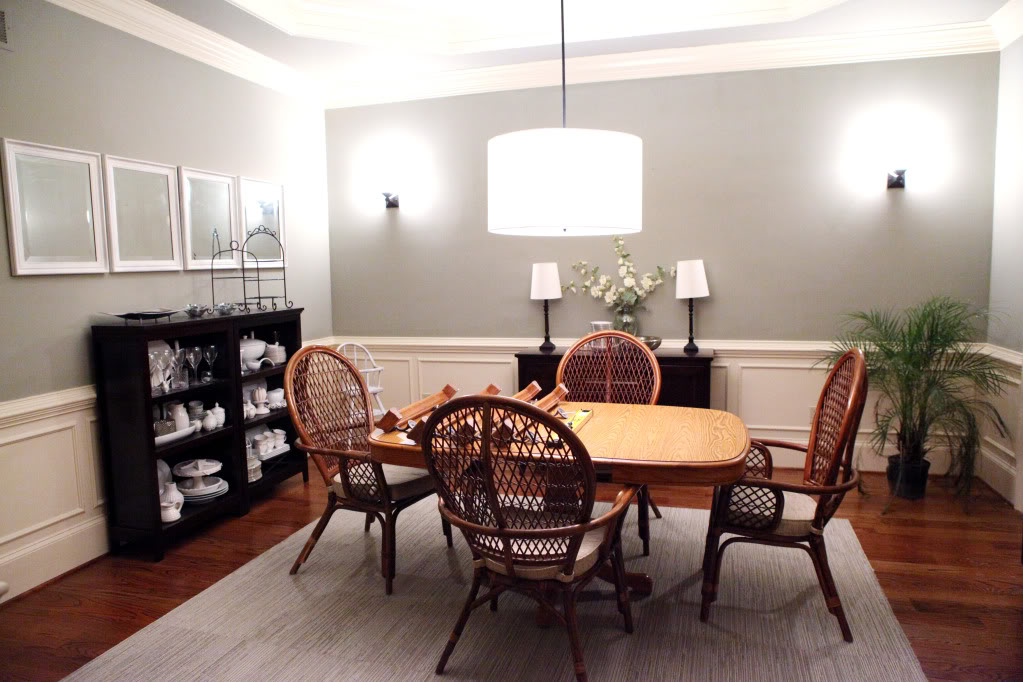
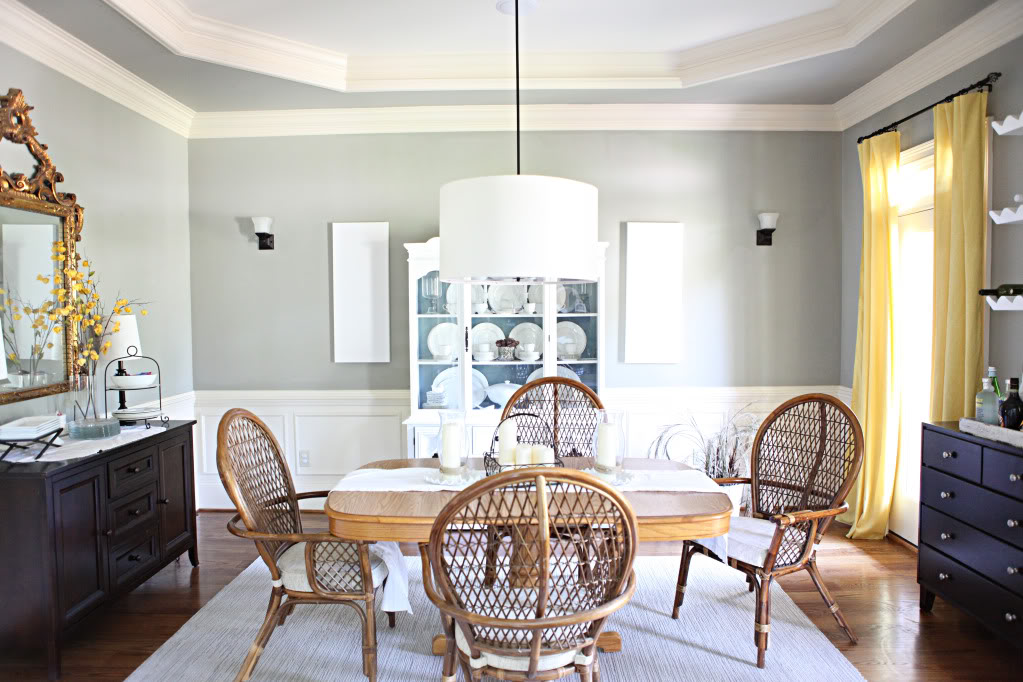
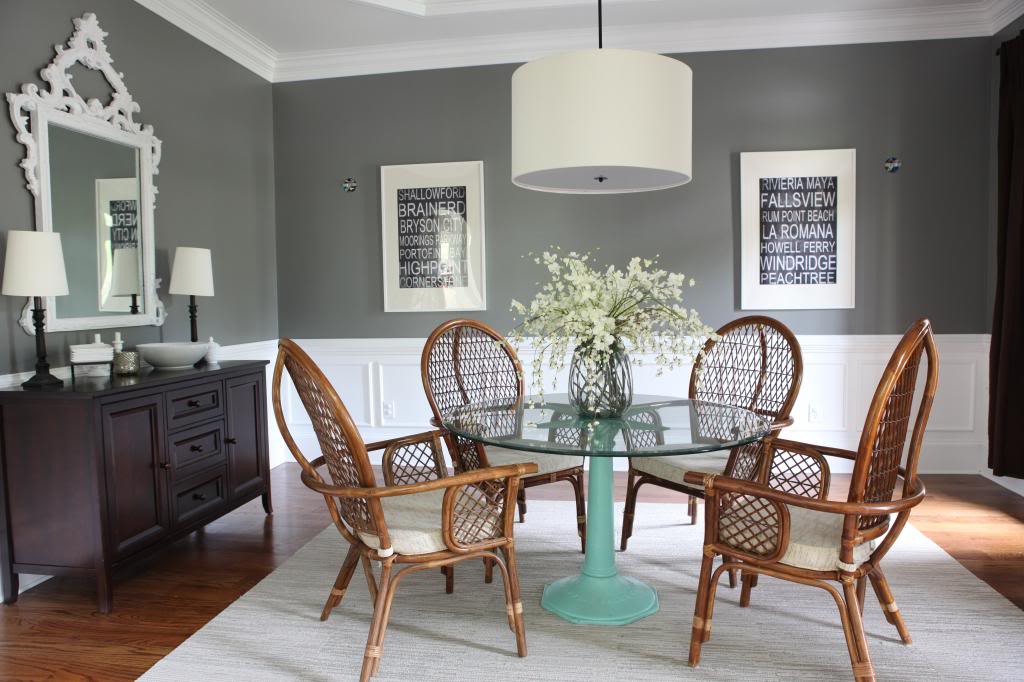
It’s gone through so many transformations….and nothing seems to stick. Long time readers may remember that it was red. I painted it. We added different arrangements of furniture and rugs. Then we hung yellow curtains. A mirror. Then I repainted it. Then brown curtains. We had a round table. Then a real big table. And then we finally got chairs.
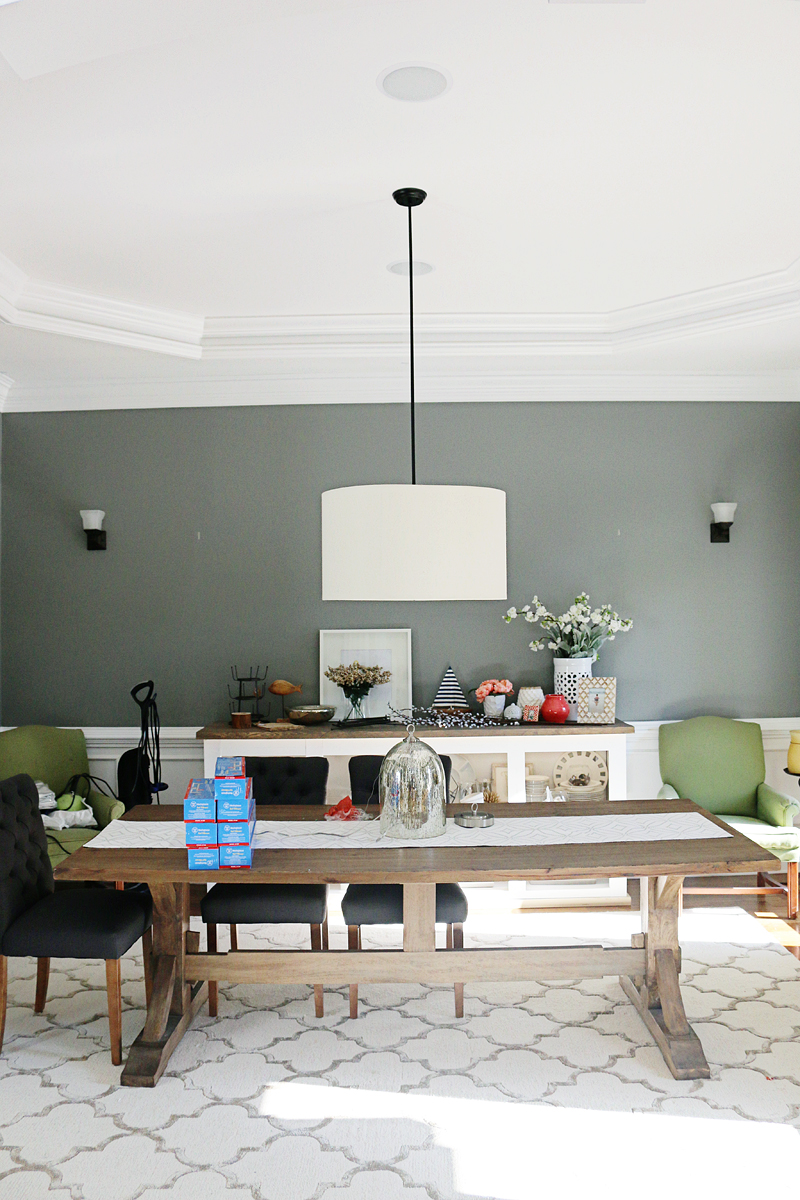
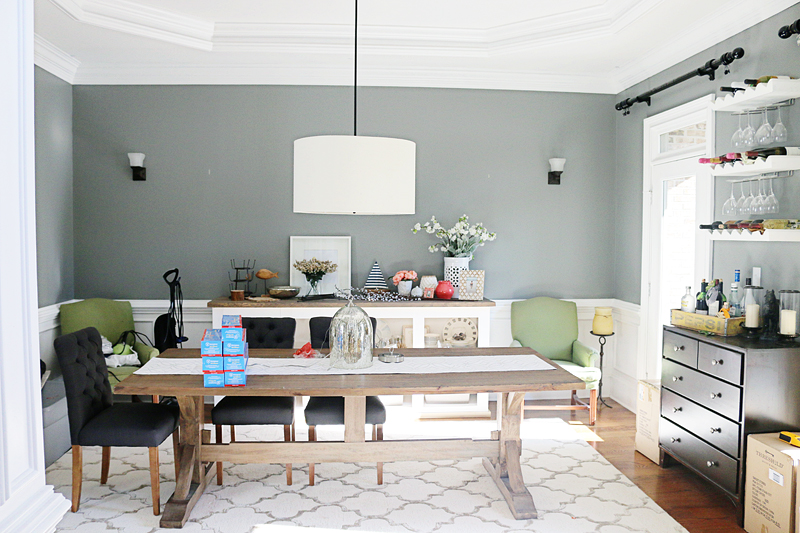
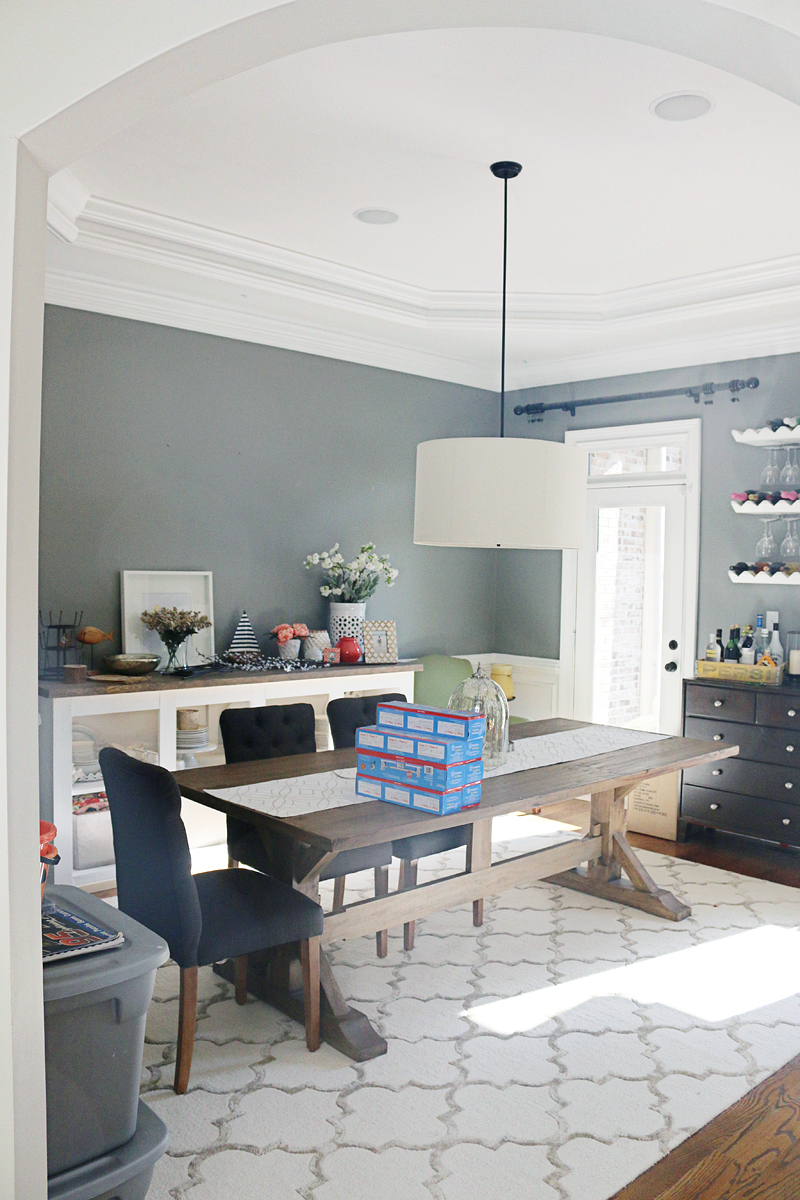
This past year I got a rug and I think it is a definite STAY. Here is the link to that one. (it’s on sale!!!) But the next thing to tackle was the lighting.
I put this simple oversized pendant in there….but it wasn’t fancy enough somehow. I just kept thinking….this is a dining room! Let’s make it feel fancy! Get your dancing pants on! Let’s eat mini foods and drink out of real glasses. Hang something sparkly!
Yes….it sounds like I wanted a disco ball from the ceiling but in all seriousness….a dining room traditionally has a really sparkly and fancy chandelier. At least in my brain it does.
I’m not typically an ornate kinda girl….but I do like simple sparkles. And after much thought….and contemplation….and prayer….and some inverted meditation…..I flipped up the protective clear case and pushed my decision button. Multiple pendants it would be!
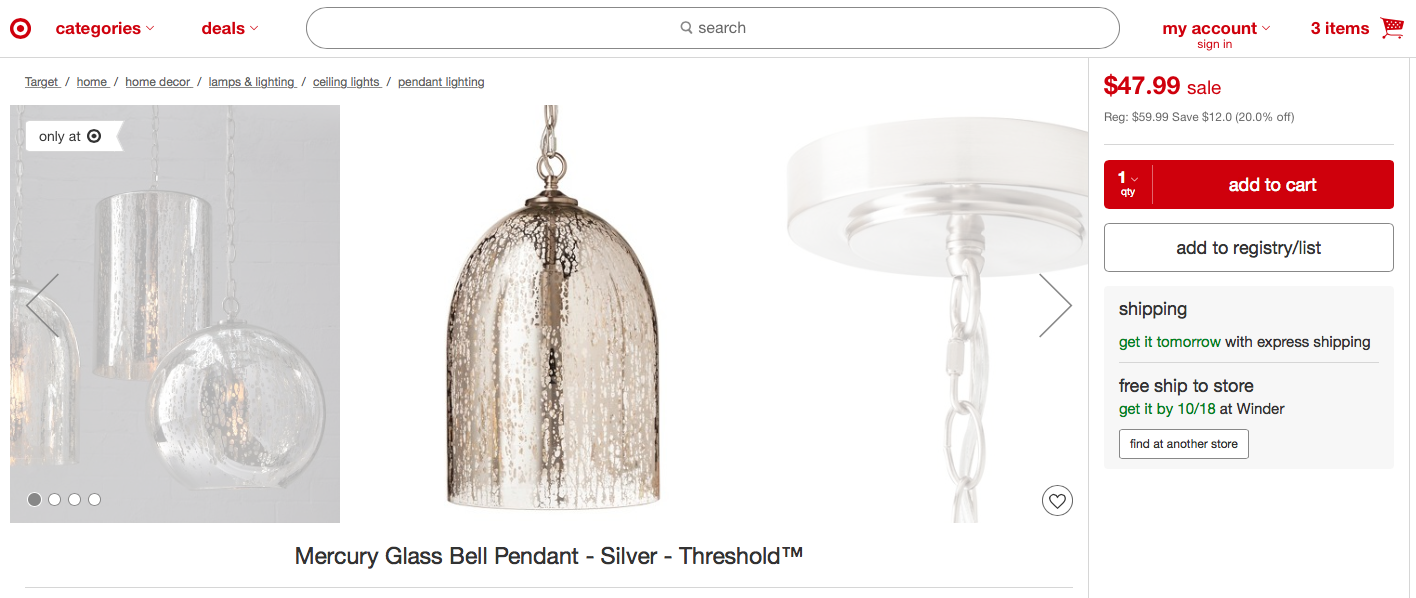
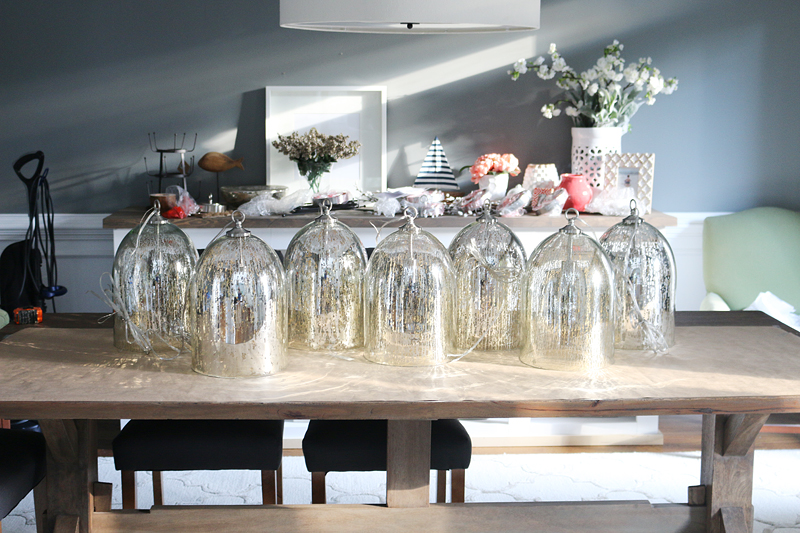
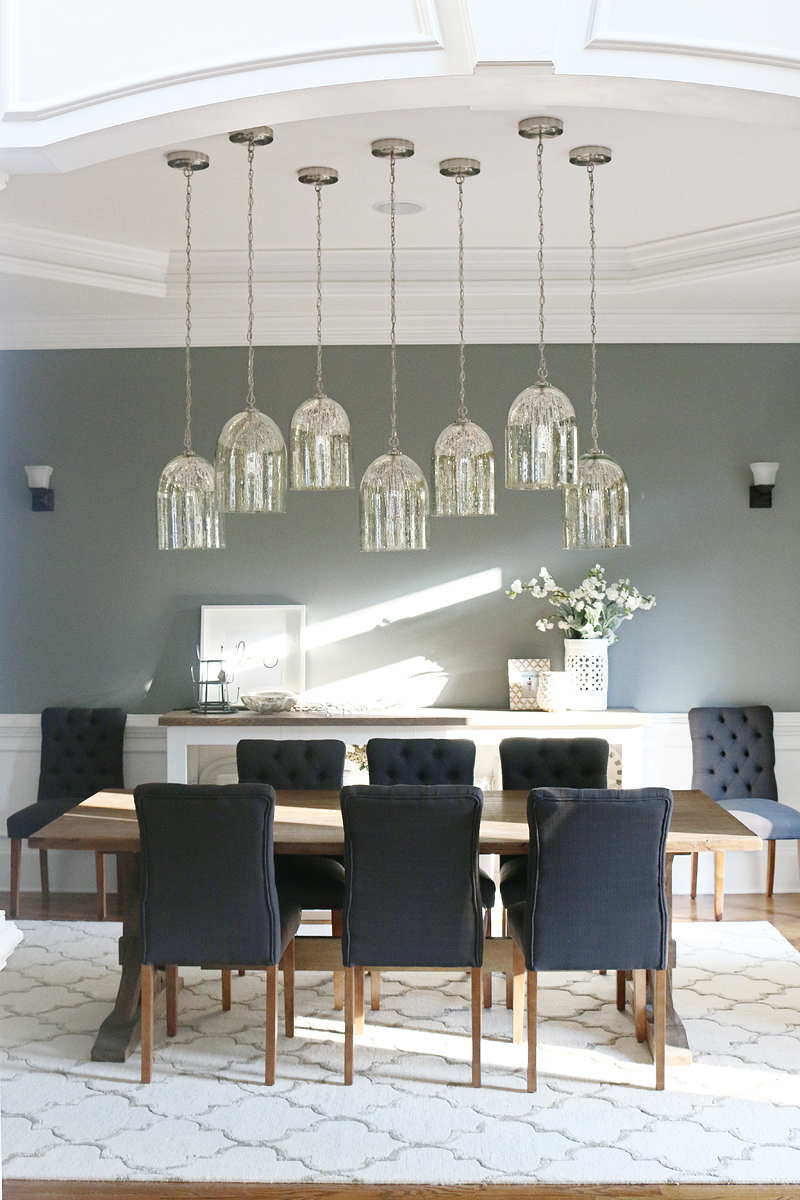
The item I ordered was the Mercury Glass Bell Pendant from Target. It’s on sale for $47.99 and you can get it for an additional 5% off if you use your red card! HERE IS THE LINK. I ordered seven.
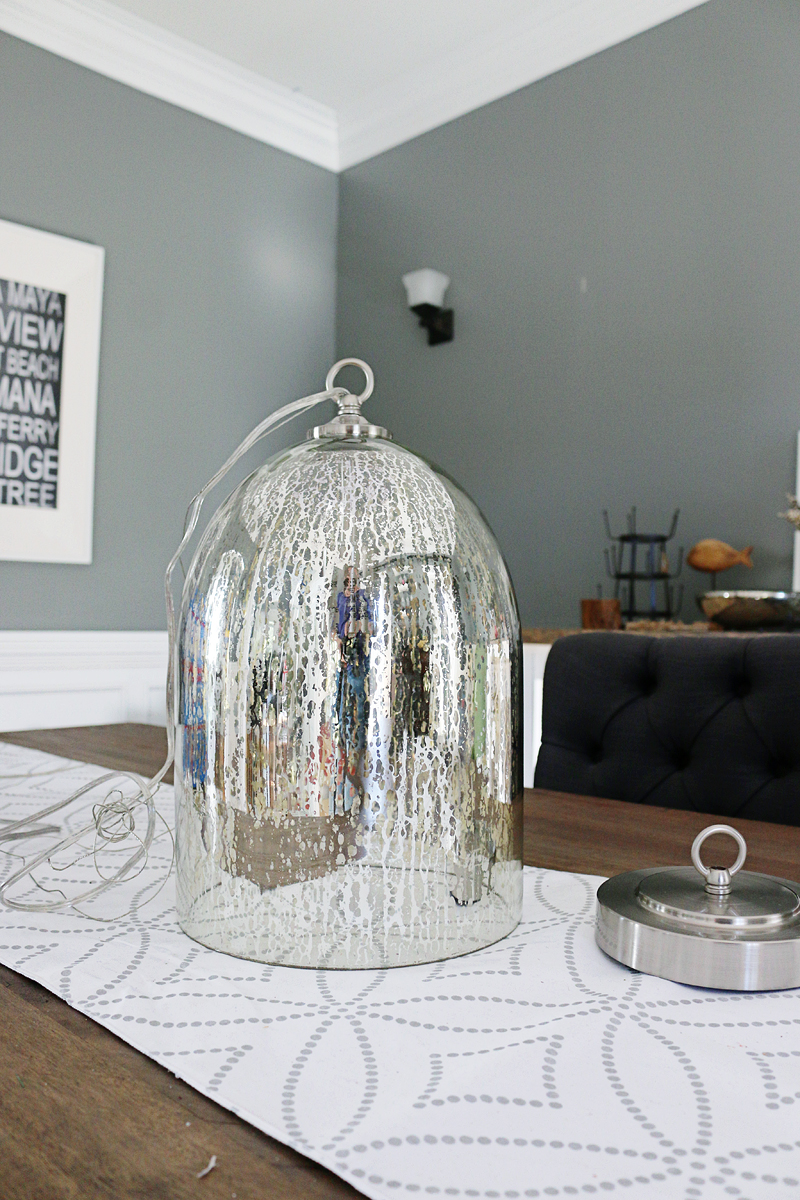
When they arrived, they were definitely more silver than in the photo but I liked it so that didn’t bother me. It was the perfect amount of sparkly and still casual.
This is about the time that I said to Jeremy….our resident electrician….hey babe could you do a little electrical job for me?
And then the eyebrow went up and I had to explain how I needed seven very glass and very breakable pendants hung from our tray ceiling in the dining room. Normally we come up with solutions very quickly. I suggested building a cleat and a cover box and having all the pendants hanging from that. That one got shot down because wood+electrical junctions=code violation in our area. Then I said maybe we could make one out of metal….also got turned down because it wouldn’t contain all the junctions without surrounding flammable materials. In the end, I said….well, why don’t we just install six more electrical housing boxes? If we daisy chained them together, it would all be controlled off one switch. Jeremy said that if we switched the bulbs to LEDs then it might actually work. But we were both sort of terrified at the idea of cutting holes in our ceiling. And when I said sort of, I meant we both had bad dreams where the roof of our house came tumbling down.
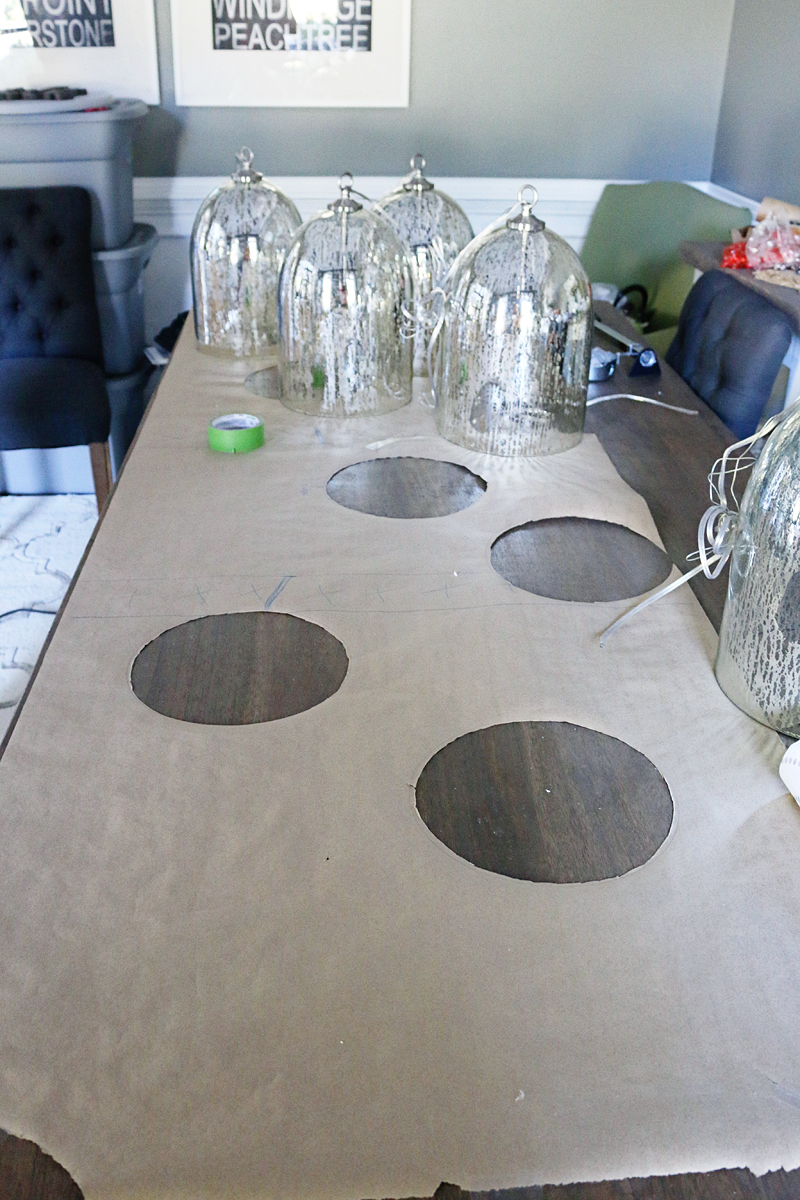
We figured out the best way for us was to just plan it out a million ways to Sunday and make sure we thought of EVERYTHING. We broke out a big piece of paper…..drawing where the ceiling support studs were and then where the electrical boxes would go and all that.
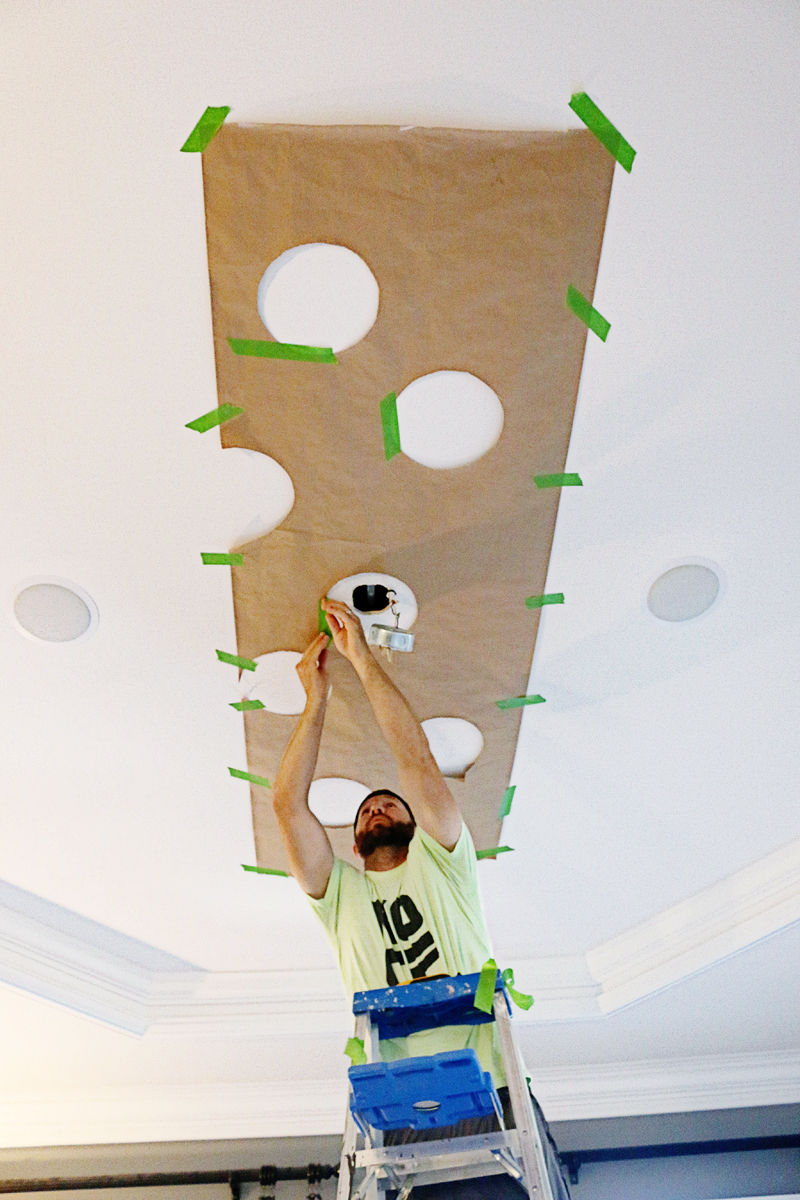
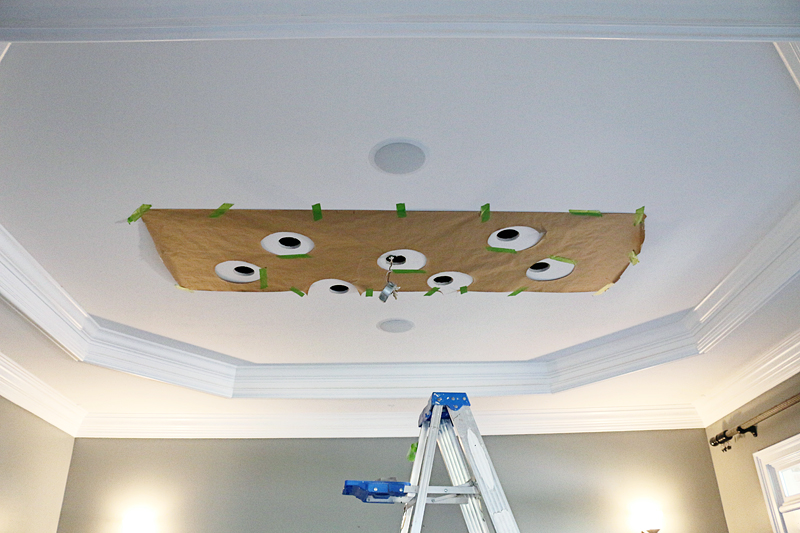
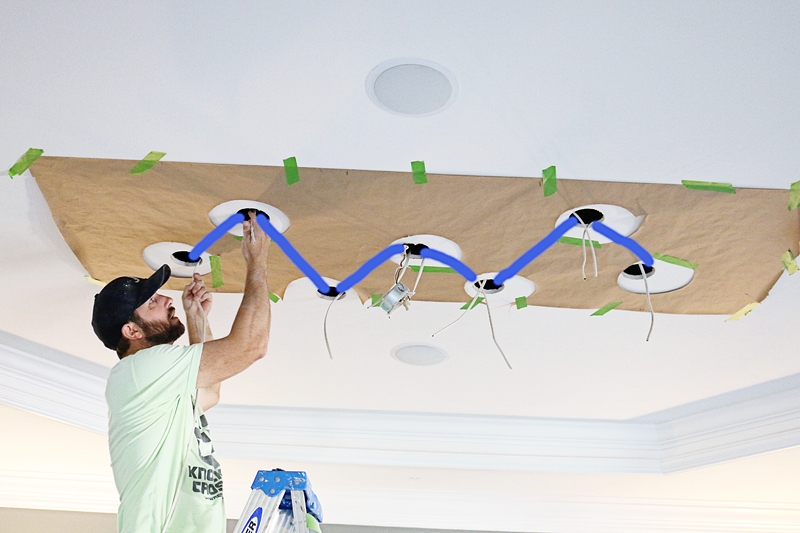
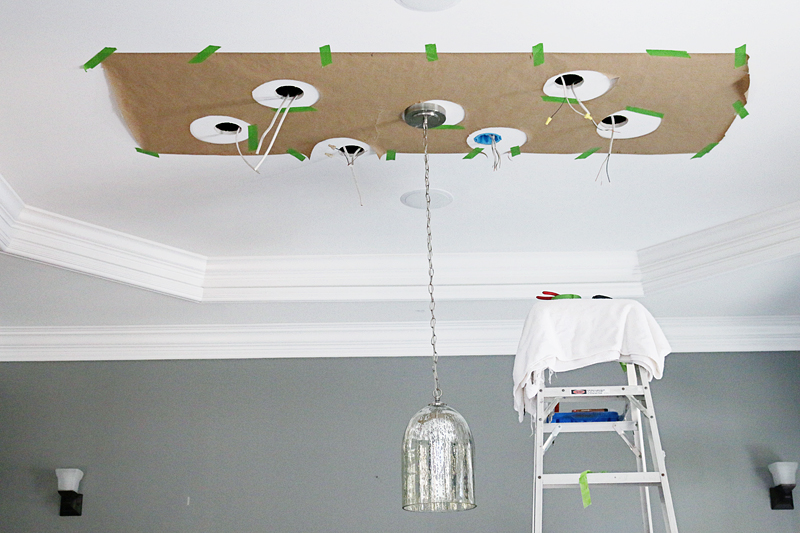
Then we taped the paper to the ceiling using the center hole as our guide and making sure to line up the holes with the tray part of the ceiling. We also made sure that the studs were EXACTLY where we thought they were in the guide.
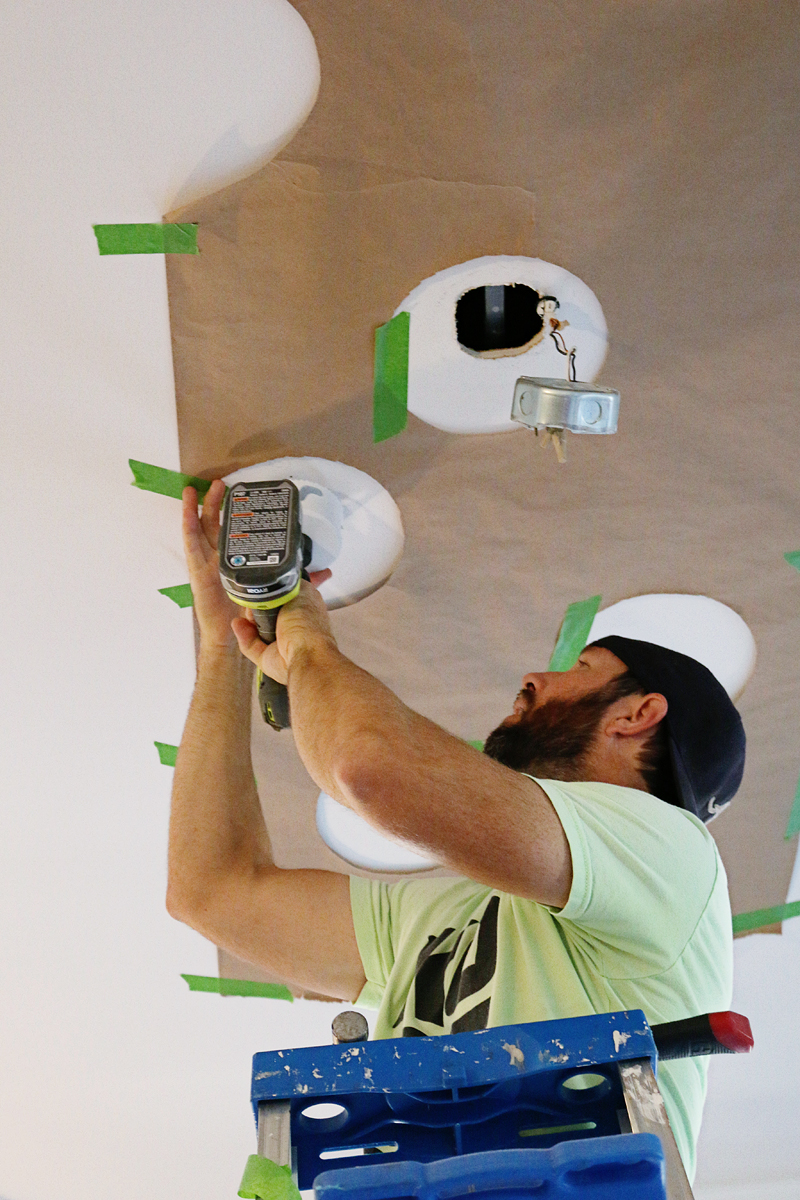
Since there was one stud that was slightly closer than we anticipated, we scooted our paper to line up with the studs and then drilled accordingly. Since our preexisting hole was slightly off center than our ‘guide’, we knew we would need to shift everything else and pray for the best.
Jeremy used a hole saw attachment on his drill to make perfectly round holes.
Sometimes you get the drywall….and sometimes the drywall gets you. Put that on a tshirt etsy.
Also – the most random thing award goes to Jeremy and the brick he found in our ceiling. Just sitting there. I don’t know exactly why….I thought maybe it was a good luck charm or something….I’ve heard of time capsules or even certain herbs but a brick? In a drywalled ceiling?
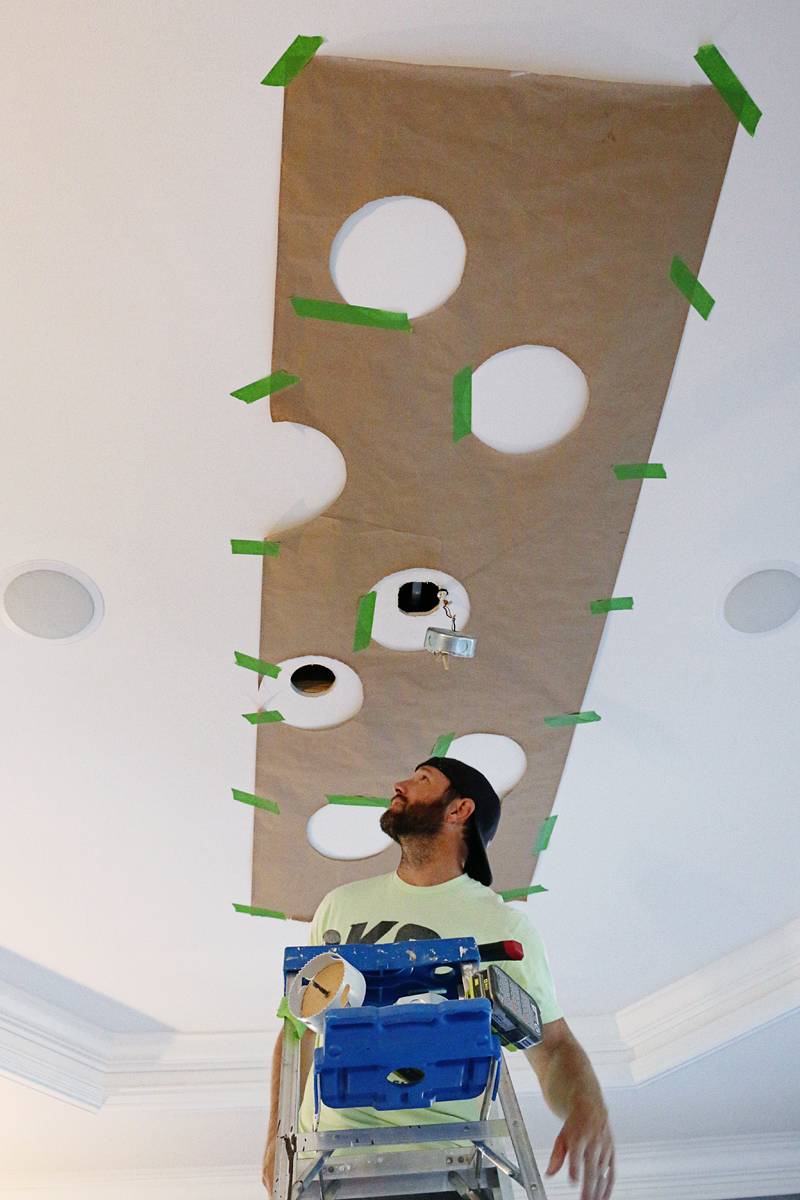
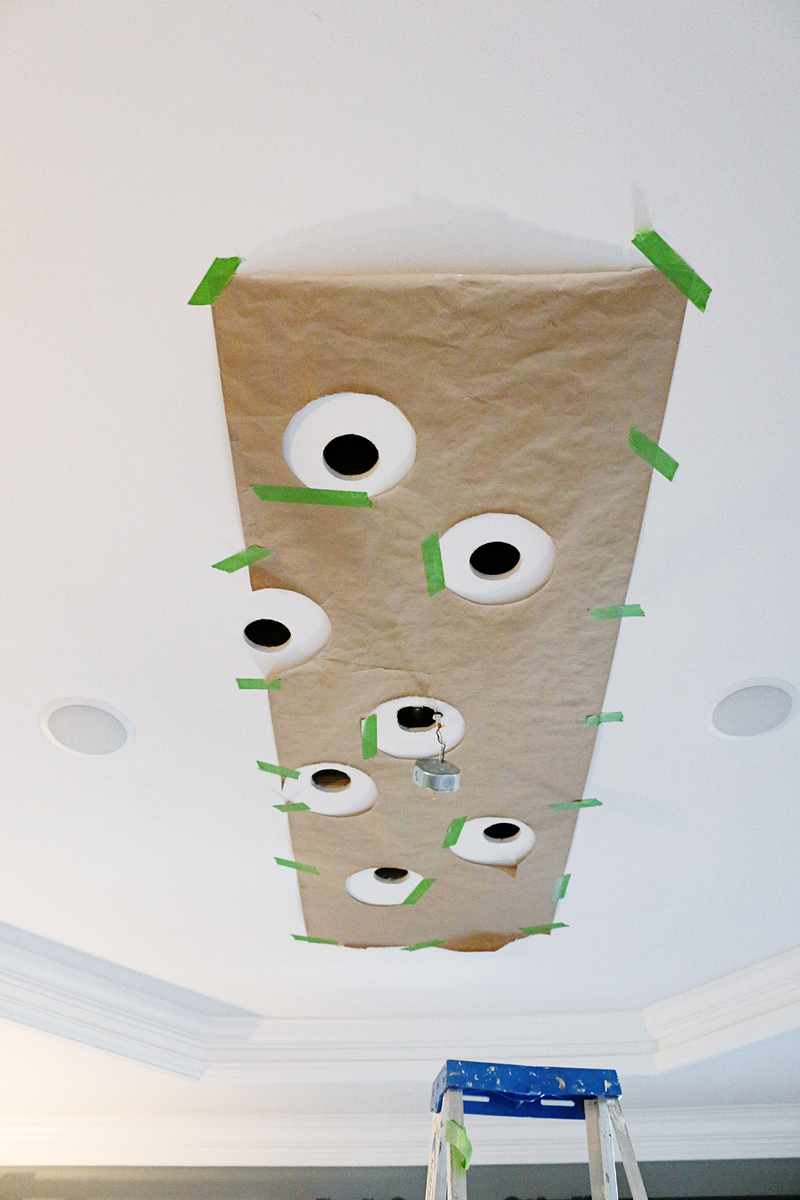
Once the holes were cut and we were sufficiently covered in prayer that this would work, Jeremy went to the store and got six after-construction boxes. These have a weight limit of 10 lbs and we checked our pendants….7 lbs. So we were good to go.
I know the paper looks crooked. We measured the locations of the holes though and we were pretty solid.
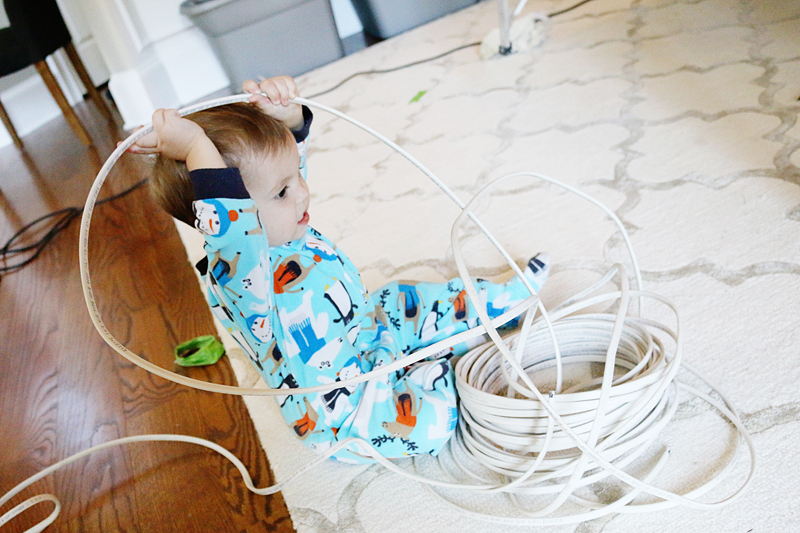
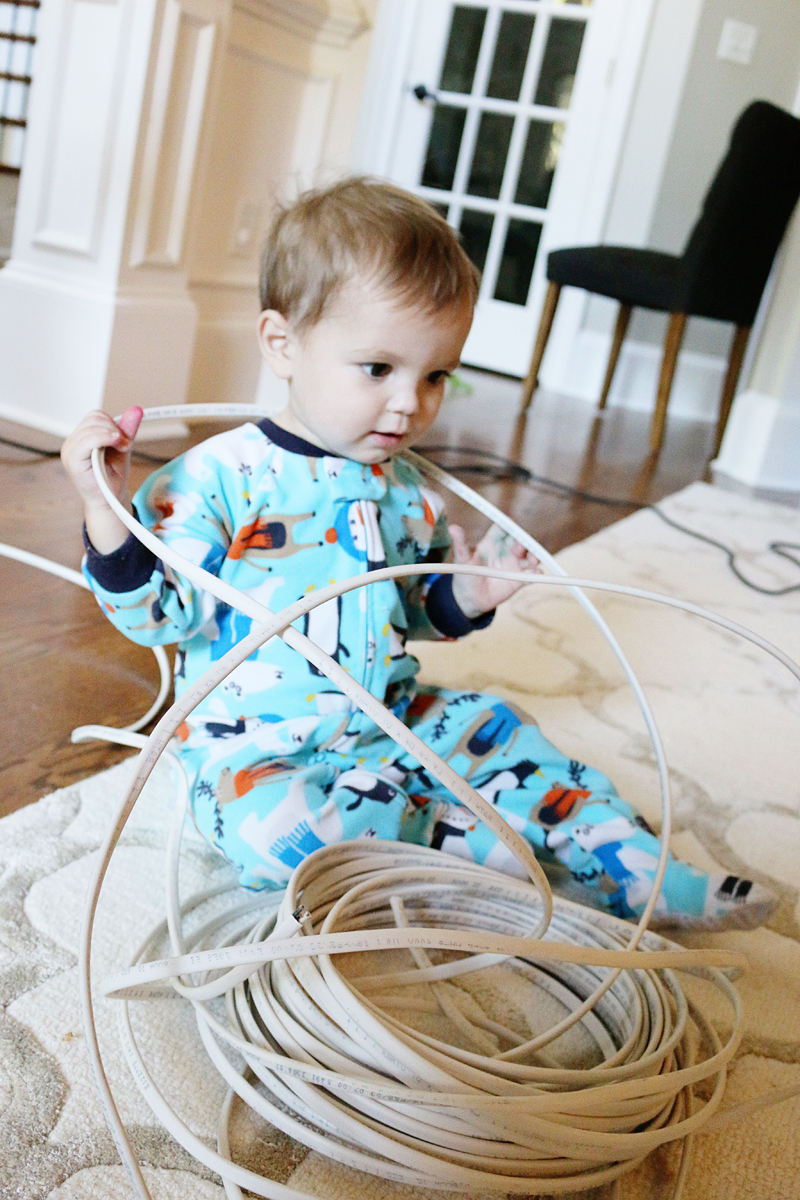
Next came wiring. I wish I could be more helpful but I’m basically less helpful than a baby with a bundle of wire at this point….
oh look!
I do know the basics….like hire an electrician 🙂
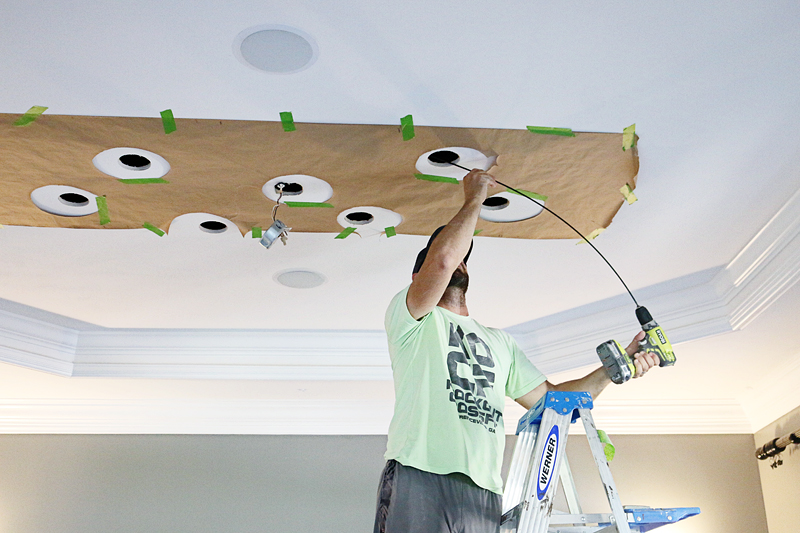
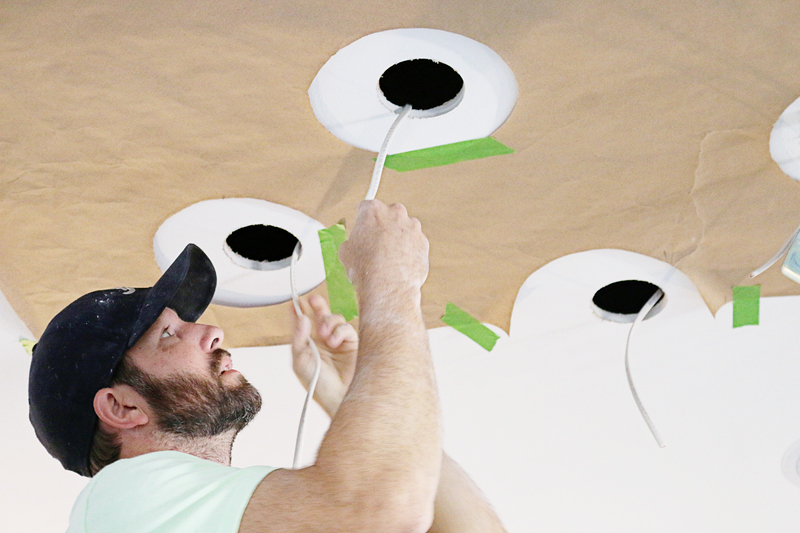
And that Jeremy had to use a flexible drill bit to drill through the studs that were between the holes.
Then he had to fish wire through from hole to hole. These would connect – hot to hot to hot.
And that way the power gets passed from one junction to another.
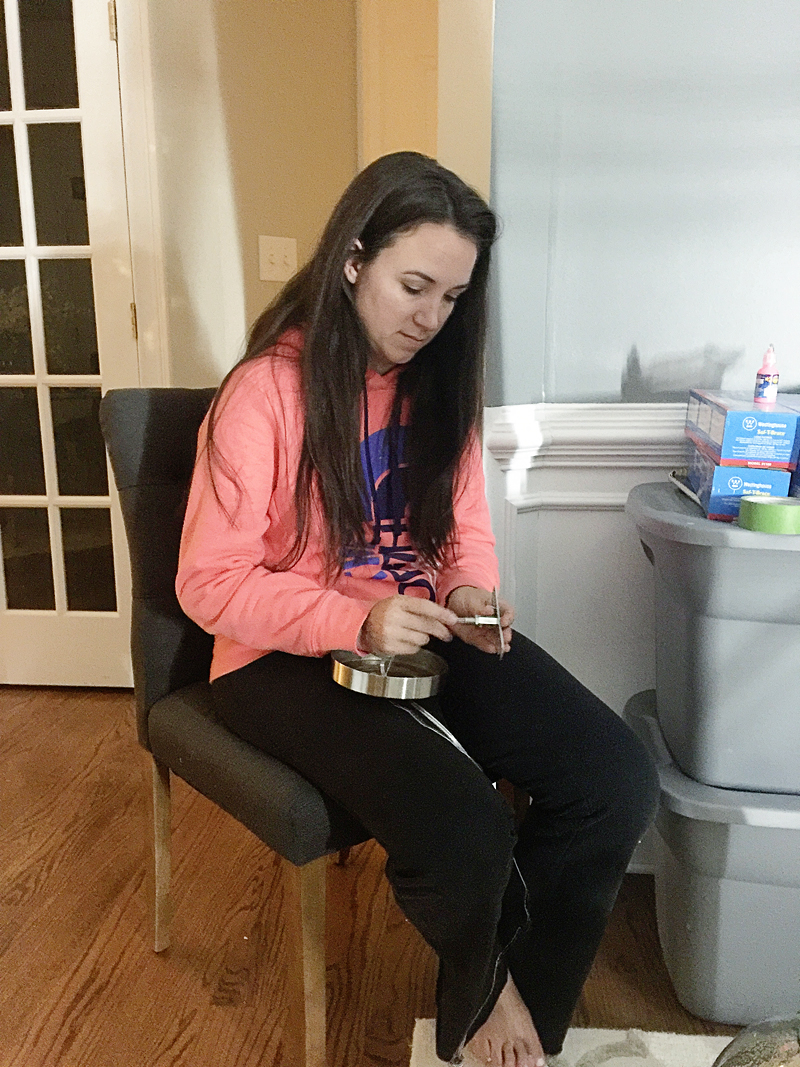
During the time that Jer was wiring everything and installing the boxes, I was busy fixing the pendants to be the correct length and then weaving the wire through the chain so it disappears….
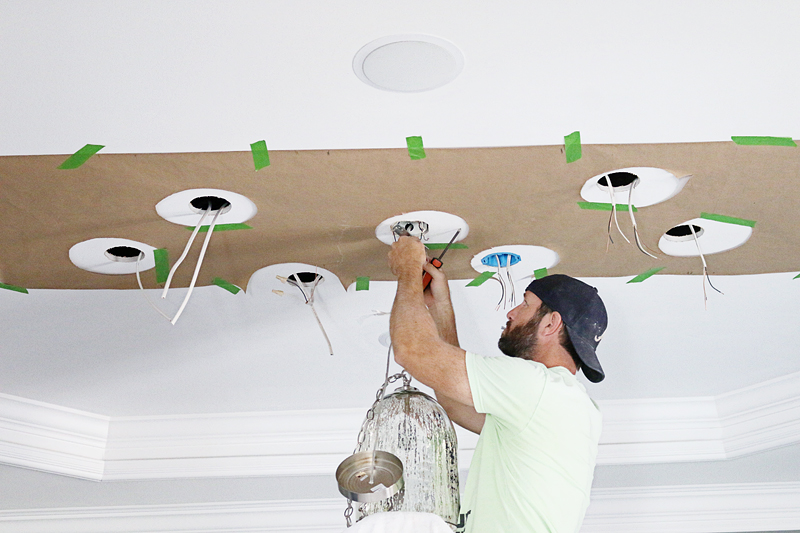
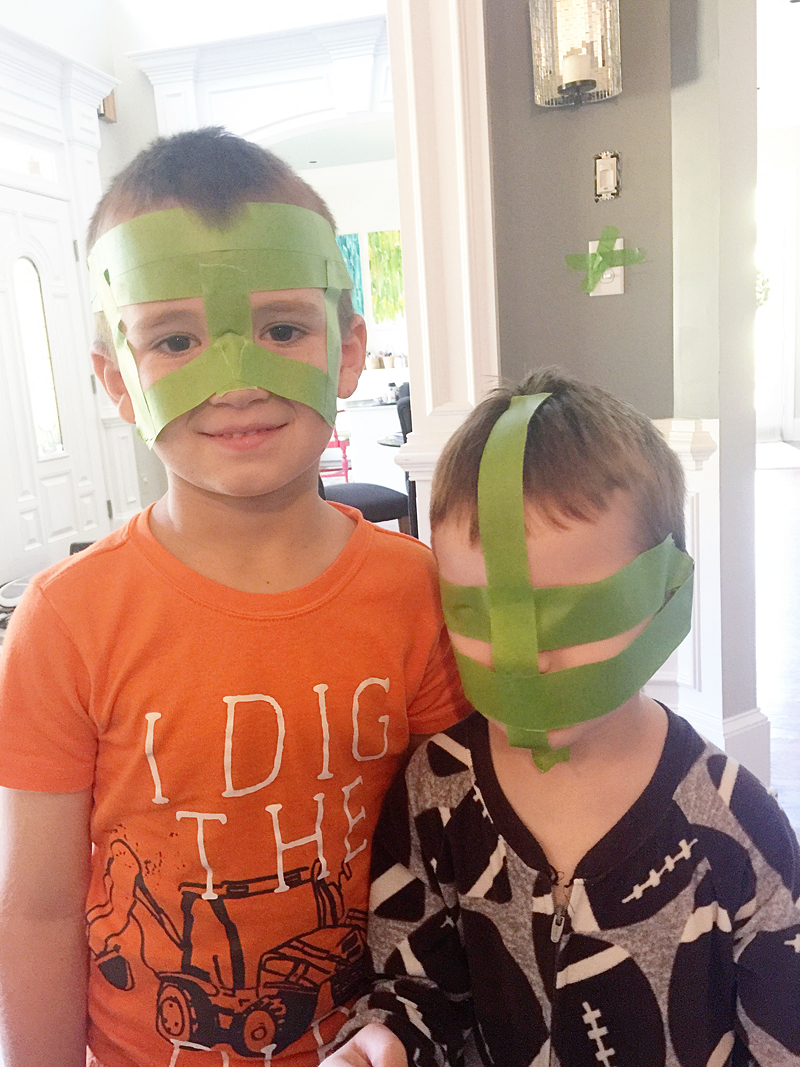
Then Jeremy would install. This was pretty much a two day process because….well….children.
Case in point….
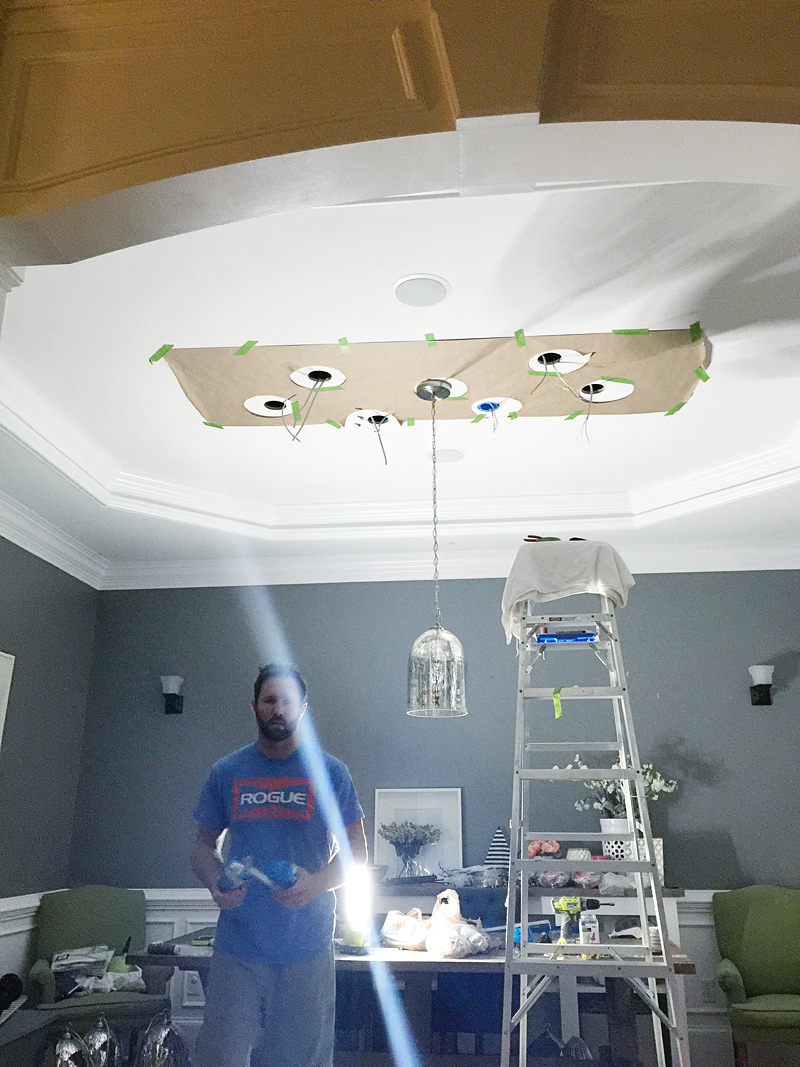
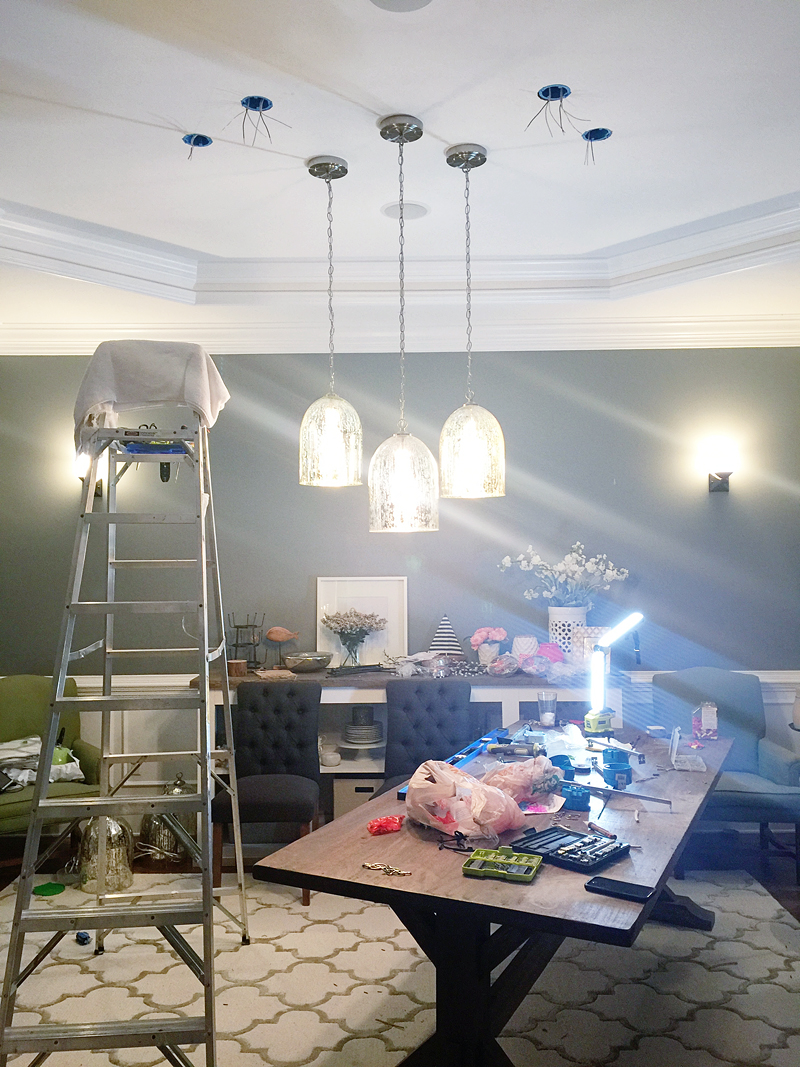
At the end of the first day, we had this much progress….
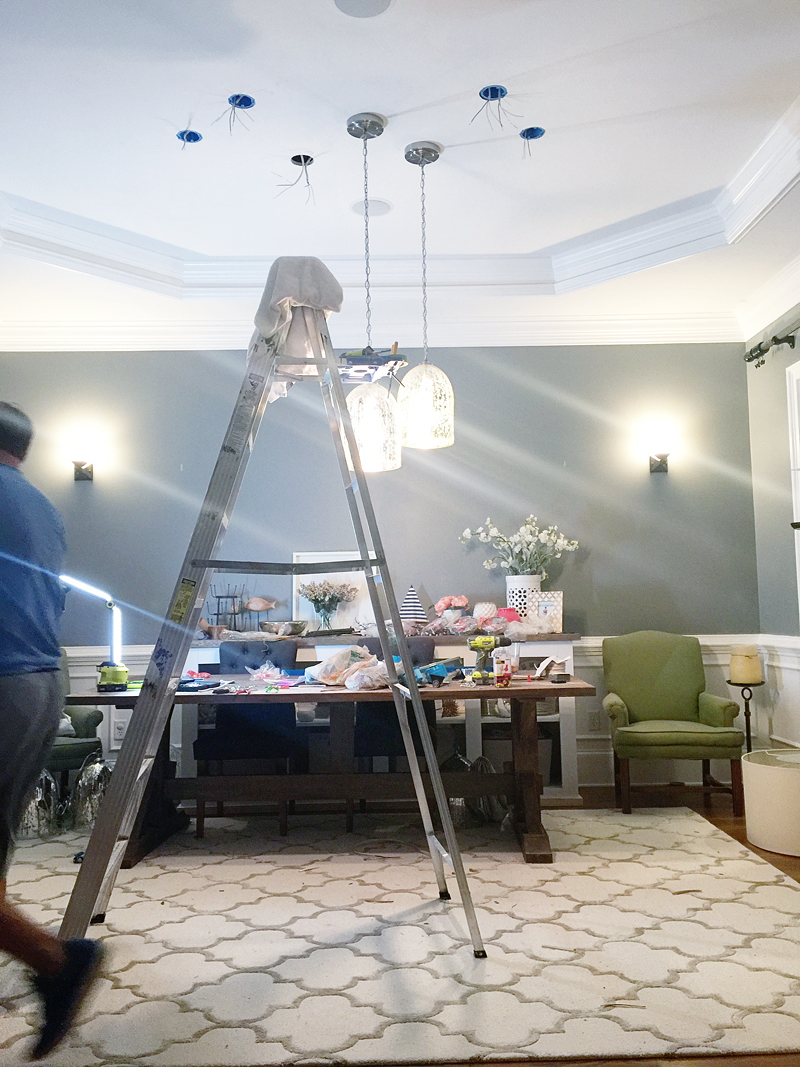
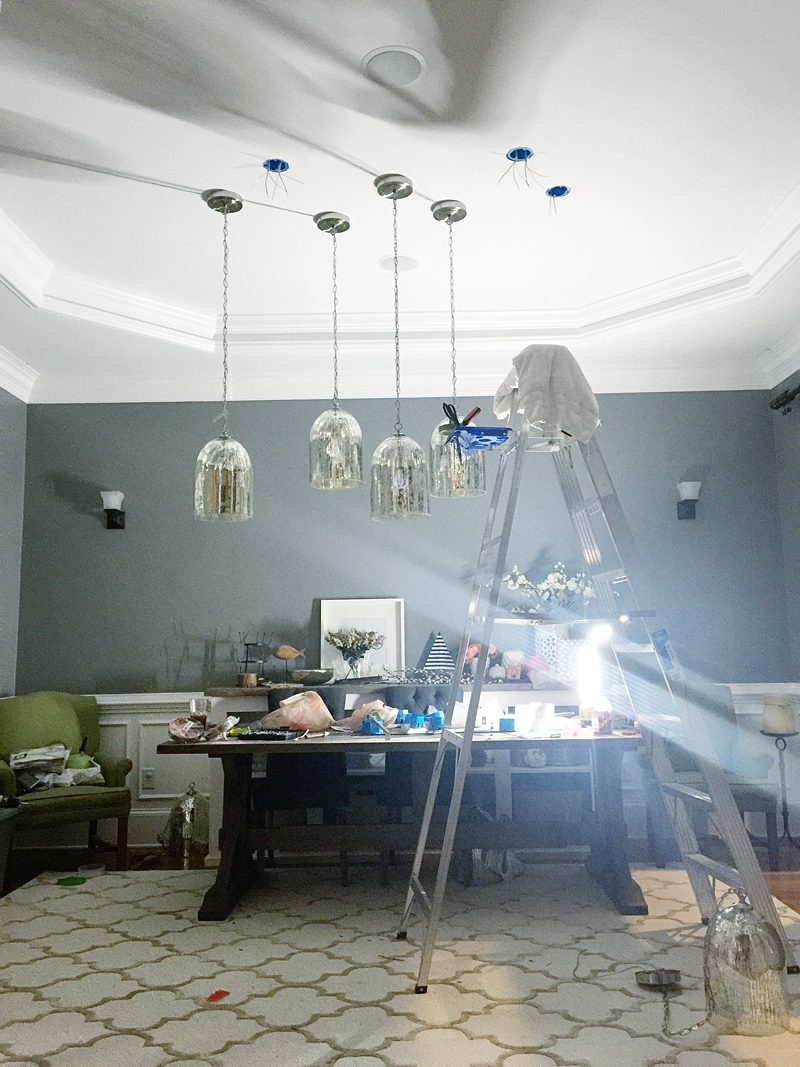
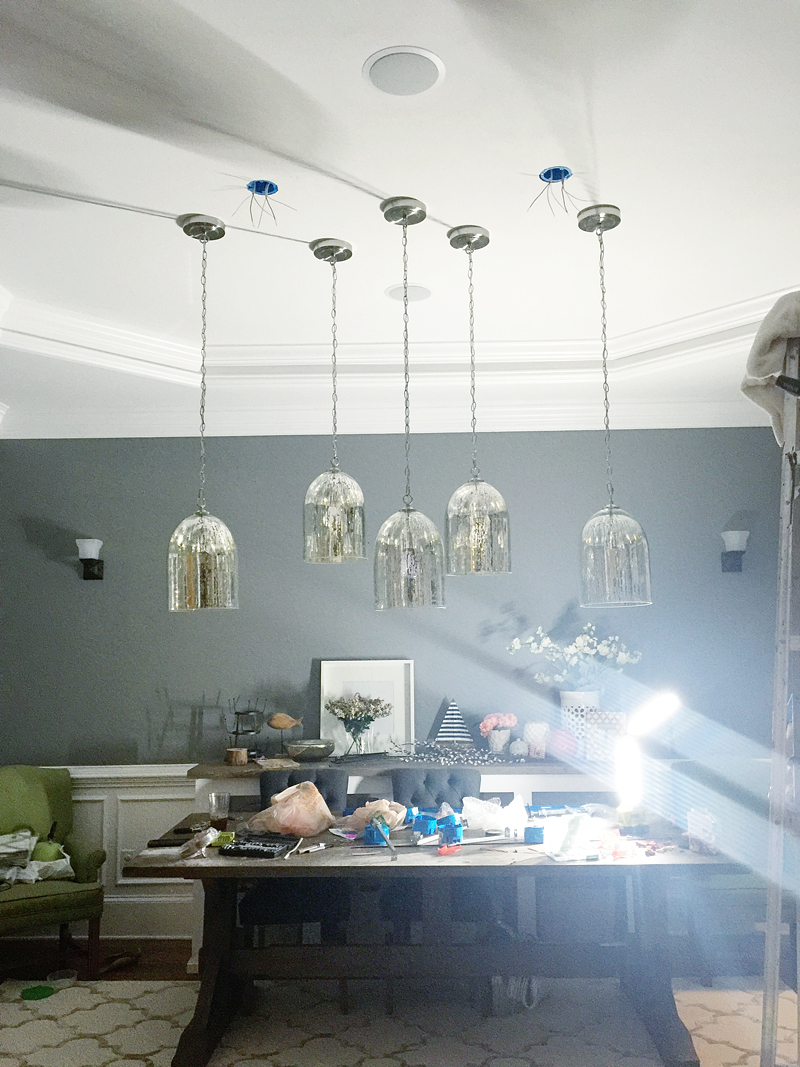
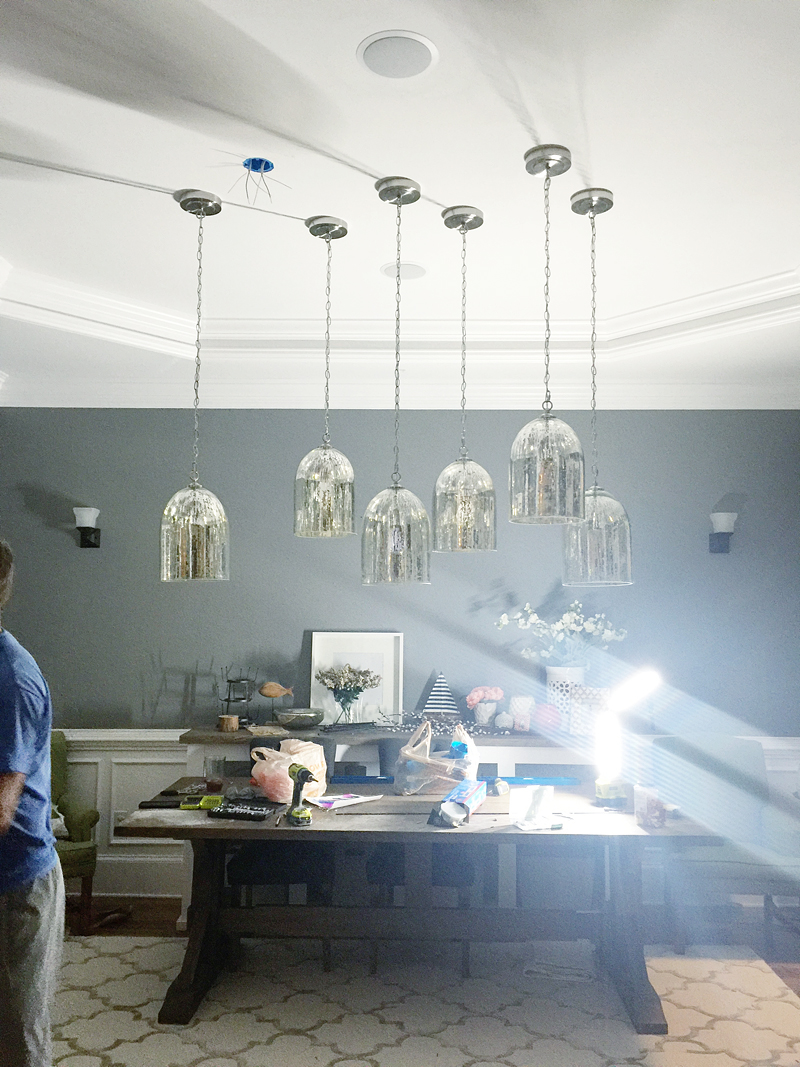
And on day two we picked back up at night. A very special shoutout to Ryobi at this point….without their new work light that is battery operated and makes a tremendous party accessory, this project would not have happened 🙂
Number two….
Number three….
Four….
Wait for it….
Five.
Six and almost done!
And there we have it! All seven up and shining bright like a diamond.
It’s REALLY pretty. I can’t even describe it except to say it feels a little like Christmas when you see twinkle lights. It’s kinda like that.
So the next thing is to hang up some curtains and build some doors for our buffet. Oh yeah…did you notice? I built a top for the desk thing I made for Haven. I know that the pretty routed side is against a wall but I’m okay with it because STORAGE. Maybe I’ll build another one and sell this one because really….that routed design should be shared with the world. But for now…it will be knick-knack storage.
p.s. And because I know I will get so many emails about this…..Here are sources for the items in this room. And the paint color is Benjamin Moore Secret 🙂 Love y’all!





Looks beautiful!
Perfection!!!
Wow, that looks amazing!
x
soooooooooo pretty!
Looks really pretty. Great job and the post title cracked me up.
It looks beautiful! It was kind of looking like a board room, but the pendant lights make it so pretty and definitely a dining room. Great choice!
Oh, I love those…. very pretty.
I LOVE the lights, they look AMAZING!!
GORGEOUS!!! This is really stunning, a real showpiece! I want to see what it looks like from your office, through all of that trim that’s in the foyer!
Also, I was checking out the way you constructed the “buffet” – I think you could actually turn the routed panels into doors without much extra effort. Maybe it’s worth a try?
LOVE how this came out!!! Perfect for your space, and really, you spent less than you even could on ONE fixture!
I love it!!!
Gorgeous! It reminds me of floating candles at Hogwarts! Loooove!
Wow stunning!!! No pic with all the lights on? 😛
That is beautiful. Great idea to hang 7 of them. That amount really fills the space out.
These pendants looks so good and really do dress up your living room! Great job.
Pretty cool. I’d love to see it panned back, so you can see the scale of it with the entire room in view, like the top pictures in the post.
I have two 4-hanging-LED-pendant-lights-each pendants over my kitchen island, so 8 pendants on two elec, boxes. They are really blingy and I think it’s my favorite decorating decision. And they were $89 each at Costco, so under $200.
I love them. They are beautiful!
Love Love Love!!!
This is GORGEOUS Katie! Trendsetting for sure!
Can you give me the source for the white wine shelves? Thanks
Katie, this project looks AMAZING! Great job!!
These pendants look gorgeous! Nice job!
Looking for info on your dining room table? Do you have a post about it? I can’t seem to find. thanks
That was so much work and it looks A-Mazing!!!
Absolutely gorgeous!
This looks incredible! I have never been much of a traditional chandelier person myself, so to me this is the perfect solution. Modern, but just enough sparkle!
They came out AMAZING!!!! Like seriously, I’m drooling over here.
But the title of the post is my favorite part 🙂 Did you buy seven pendants just so you could use that title? Because that is totally something I would do.
This is so pretty! I love the way it looks having all the shiny pendants above the table! I would never have thought of that but it works great! 🙂
WOW!!! I love this. Great job.
This is probably one of my favorite things in your house! I absolutely love it. I too love a fancy dining room. Can’t wait to see what else you have planned for this room!
I absolutely love the new lights! They seriously look like something from a magazine and the project turned out sooo well! When I showed my husband he told me not to get any ideas…where’s the fun in that?!?
Now, for my burning question…Do you recall where you got the yellow drapes in the fourth dining room picture? I have yellow (well, more mustard colored) India’s Heritage drapes in my son’s room and had to have them cleaned because a terrible, horrible, very bad granite company in our area cut my new kitchen counter INSIDE my house without putting up a zip wall or using anything to mitigate the dust so we literally had to have everything cleaned. When I got them back last week they’re a good six inches too short and I need another pair of yellow drapes because high-water drapes aren’t my thing.
You’re the best. Keep doing awesome diy stuff!
Love it! Getting ready to redo our house and looking for sparkles and blingy things that the menfolk can live with. These might just make the cut!
Yes I do. Here it is.
xo – kb
Bahaha! You crack me up 🙂
xo – kb
Sure! I can do that for sure! Maybe when I post about drapes?
xo – kb
Oh dang! I should have done that!
xo – kb
I was thinking that too….but then I’d have to remove that corner trim…and then the board that was routed might crack if I removed it….I think it’s not really worth it in the end if it got damaged. I don’t know. Ask me in like a year 🙂 ha!
xo – kb
Stunning! Just perfect! Can’t wait to see the completed room. Love it!
Yup, I would love to see the same view. They look gorgeous!
All of the heart eyes!
Can you give the source for the white wine shelves? Thanks.
It looks beautiful but my favorite pics are of the kids. Priceless!
I think this is one of the most amazing lighting projects I have seen! LOOOVE!
This is incredible!!! I just sent an email to my husband and said:
You’re going to kill me but this is what I want to do in our dining room. (Then linked to this post. :))
Such cute kid pictures!!!
They are old Pottery Barn. They no longer sell them 🙁
xo – kb
I just made my drapes….just fabric. It’s terrible that the granite company did that! I would have complained for sure because they know how much of a mess that is!
xo – kb
The wine shelves are from Pottery Barn a long time ago….but they no longer sell them 🙁
xo – kb
I have that rug (or one nearly identical…I can’t see the source list) in my LR and love live love love it. Even with young kids its held up so well. I got it on major clearance from Rugs USA. Highly recommend.
I can’t stop drooling!