Ugh! It’s been too long since I updated you on all things in the Pedraza house! We are still not completely 100% finished….we have some finishing touches to do (styling and little details) in this space but I wanted to share with you an update that we did that wasn’t originally on our radar….their foyer….
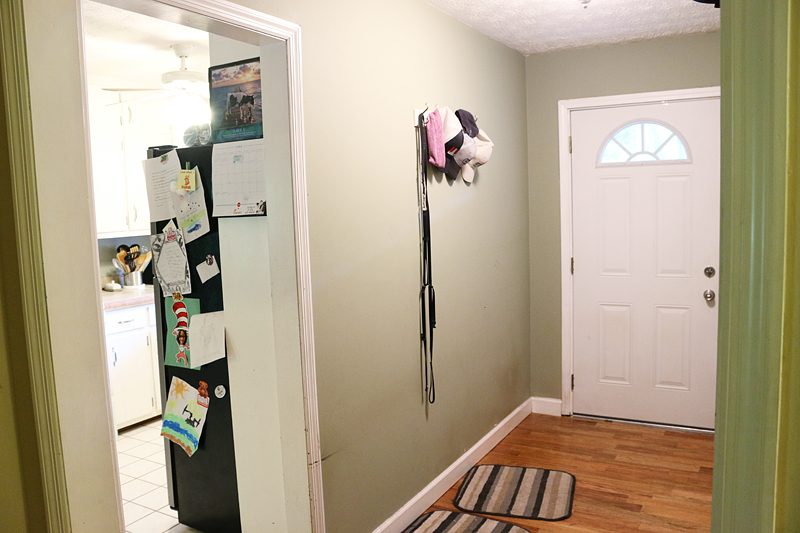
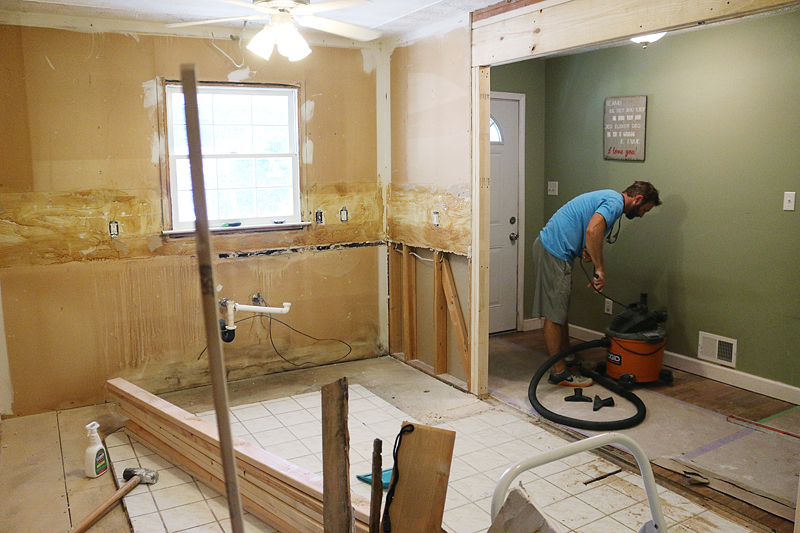
So the befores of the foyer space was just basically a wide hall that was painted green and had one sad little plaque on the wall. It was precious to be sure….but all alone it looked sad and lonely. SO we decided that when we opened up the wall to the foyer (stealing visual space and making the kitchen feel more wide and open), that since the drywall would need repaired on both sides, it was time to repaint and also to give it a little lighting upgrade.
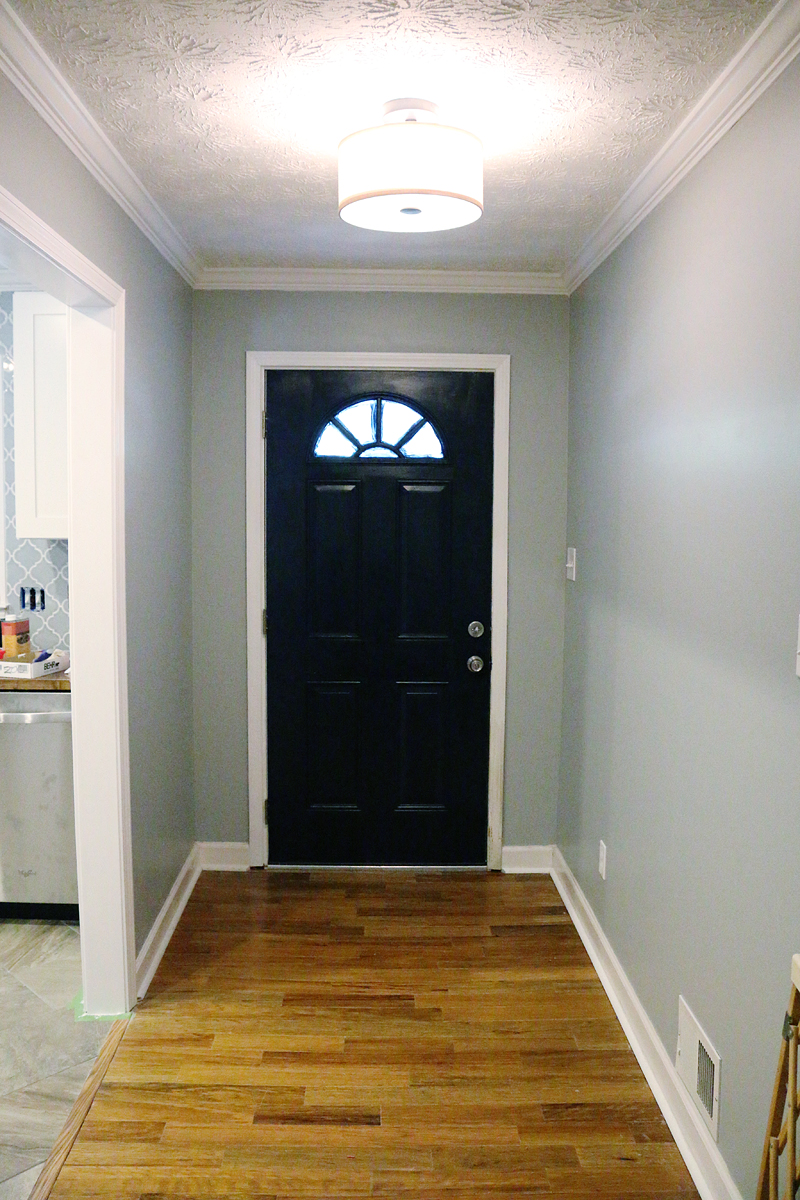
The first thing that we did was fix all the drywall. I say that like “oh no big deal” but let me assure you….drywall is ALWAYS a big deal. And we gotta give major props to Danny Pedraza because he helped rock it out like nobodies business. Then we added crown molding and it gave it such a finished look!
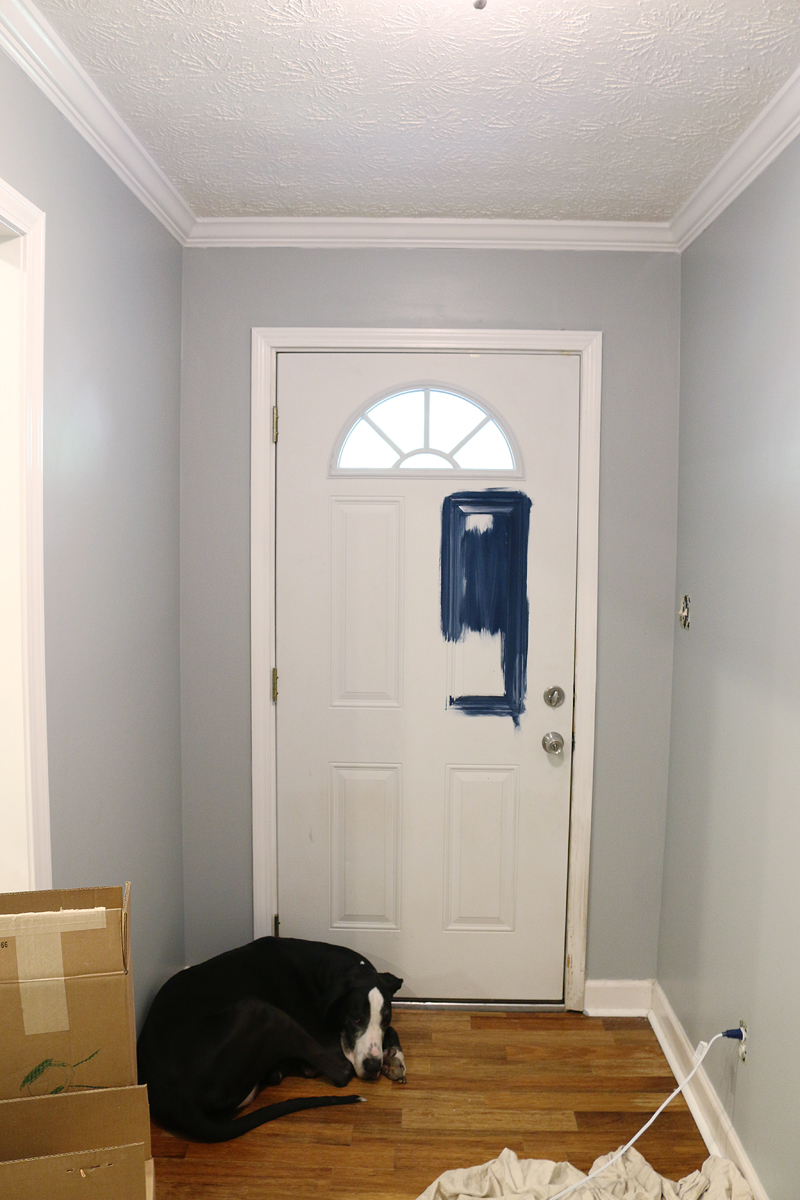
We also added quarter round along the baseboards and let me tell you….this is one of those small finishing touches that looks so amazing. After all that, it was time for paint. This particular color is called Lunar Surface by Behr. It’s a great mid toned silver gray that does not read purpley at all…..more blue silver than green and it was the perfect color to do in the foyer (and we did it in the living space too! More on that later!). Then it came time for the door….which was done in navy and it looks SO FREAKING GOOD.
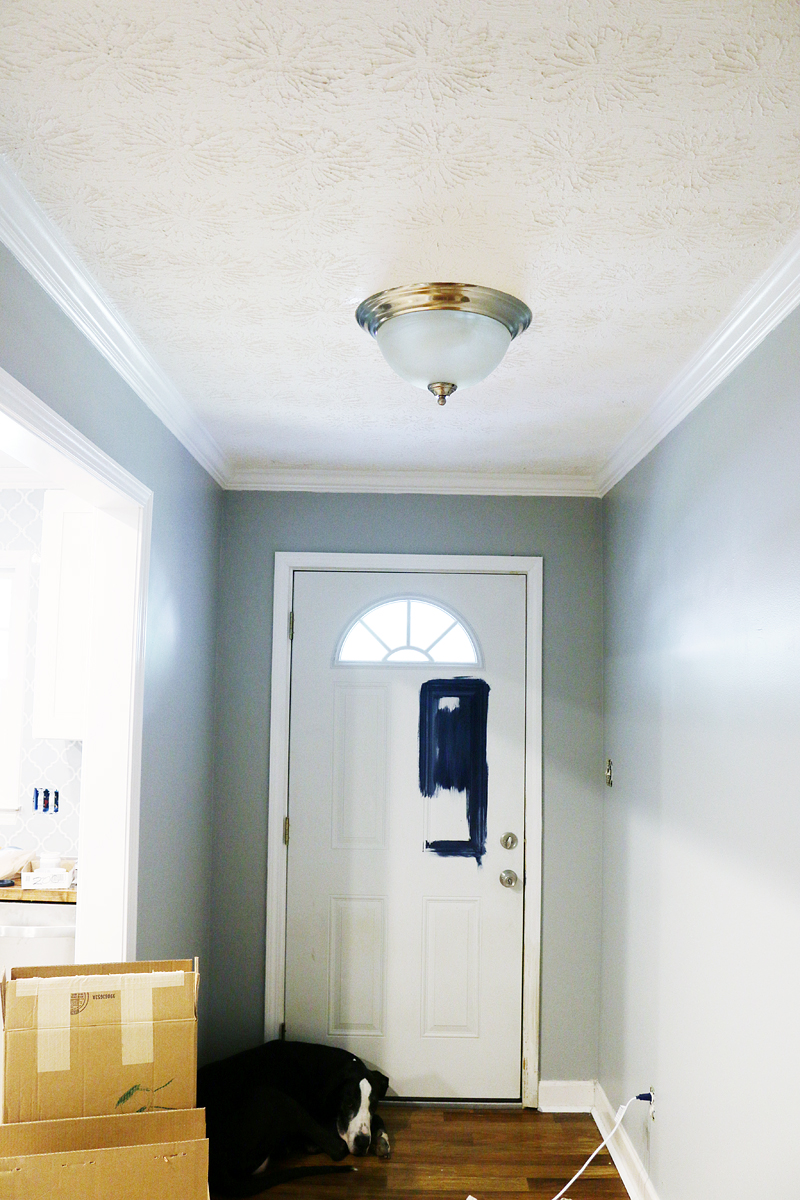
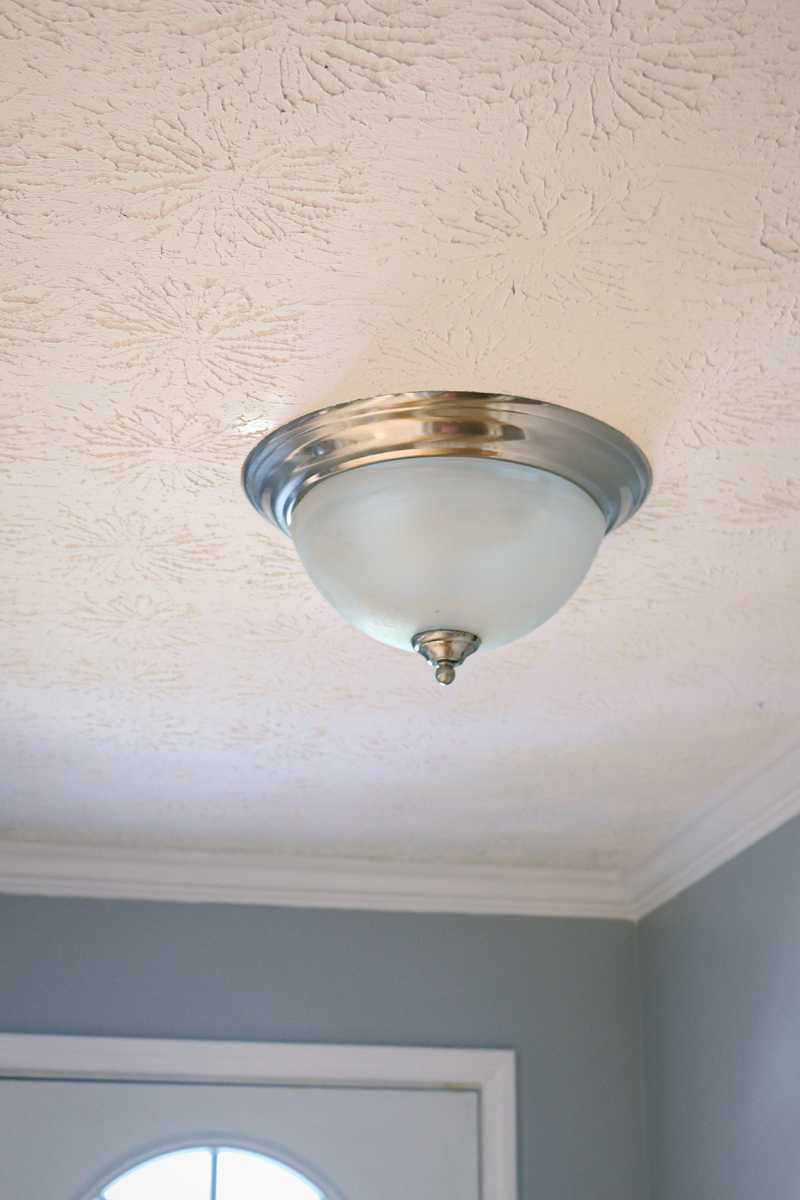
But the real star of the post today is the lighting upgrades. Before the Pedraza’s had this wonderfully oversized boob light. It was not your average sized boob light….it was the Dolly Parton of boob lights.
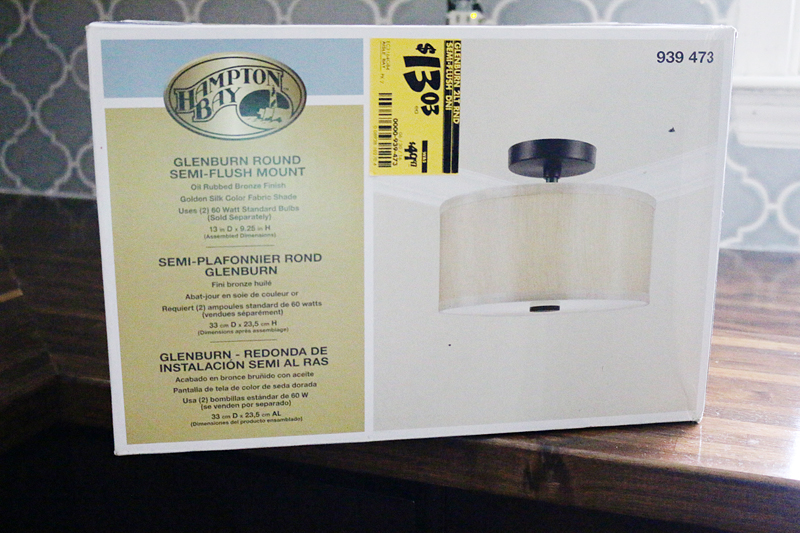
And I was perfectly fine with leaving it unless we found a fixture for a STEAL…..which is exactly what happened. Late one night on our daily Home Depot runs, we saw the big rolling cart filled to the max with all sorts of clearance priced lights and I kinda lost it. Like ugly cry of happiness in the Home Depot aisle. I found this oil-rubbed-bronze goodness and lifted it to the sky in true Lion King fashion while yelling “VICTORYyyyyyyy!” (ok ok that didn’t happen but I was super excited and I may have done a poor rendition of river dance while holding the box).
Yes….you read that right….it’s a $60 light fixture that we got for $13. WHAT!? WHAT!? yes.
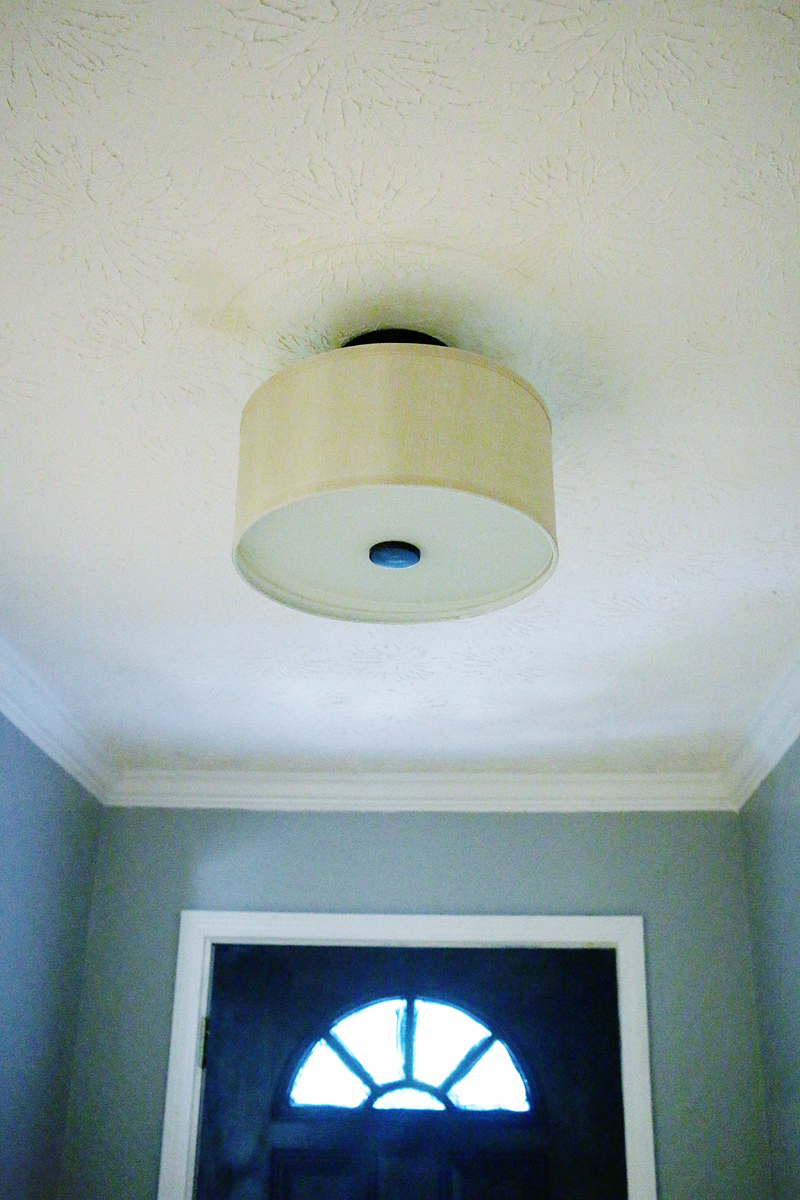
Jeremy got it up and it looks so good. Very polished and softer than the Dolly. Now of course we have to paint the ceiling but that ain’t no thang but a chicken wing 🙂
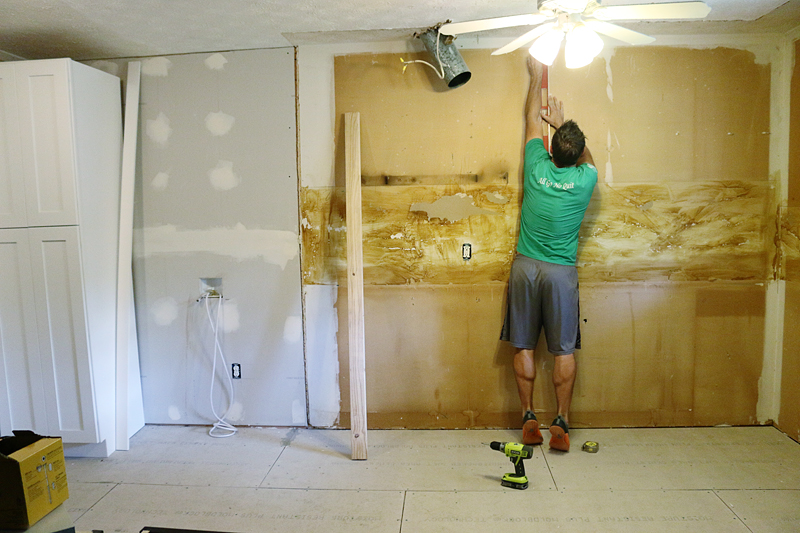
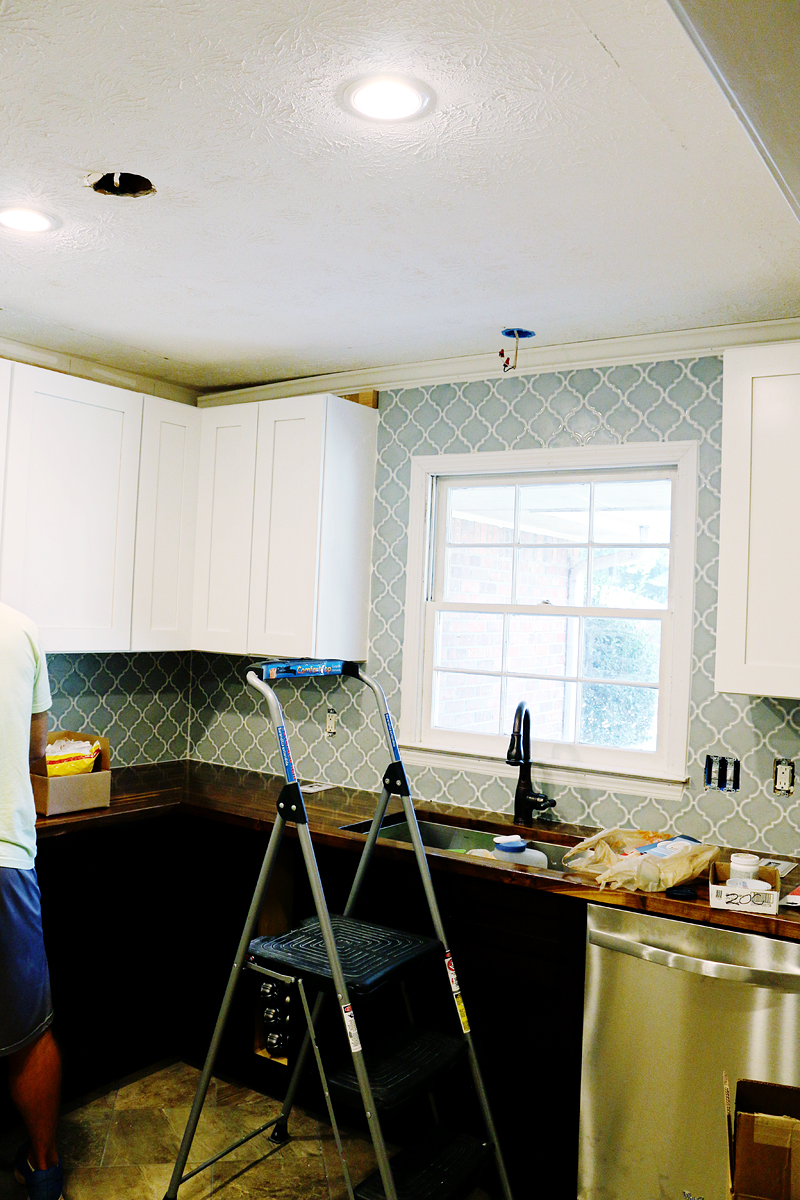
The other lighting updates were in the kitchen. Jeremy took down the old ceiling fan light (the one that was so low that Danny could hit his head on it!) and installed a bunch of can lights instead….
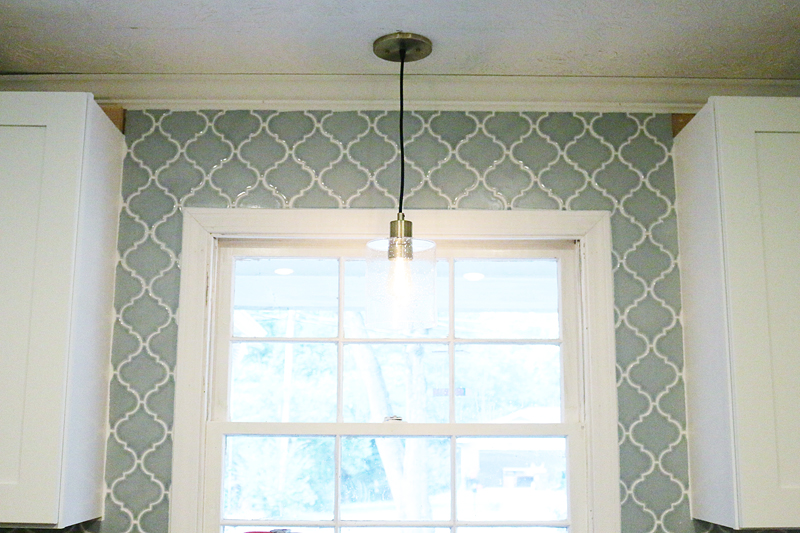
I patched the hole already but you can see the former hole where the fan lived in the picture below. And also, it was time for installing the light over the sink……
Did you just see that sneak peek of the tile backsplash?! 🙂 🙂 🙂
So good right?! More on that soon.
Back to the light. The before of this was one of those bulk-head cabinets that had a light for it over the sink. It was fluorescent (everyone’s favorite. #sarcasm)
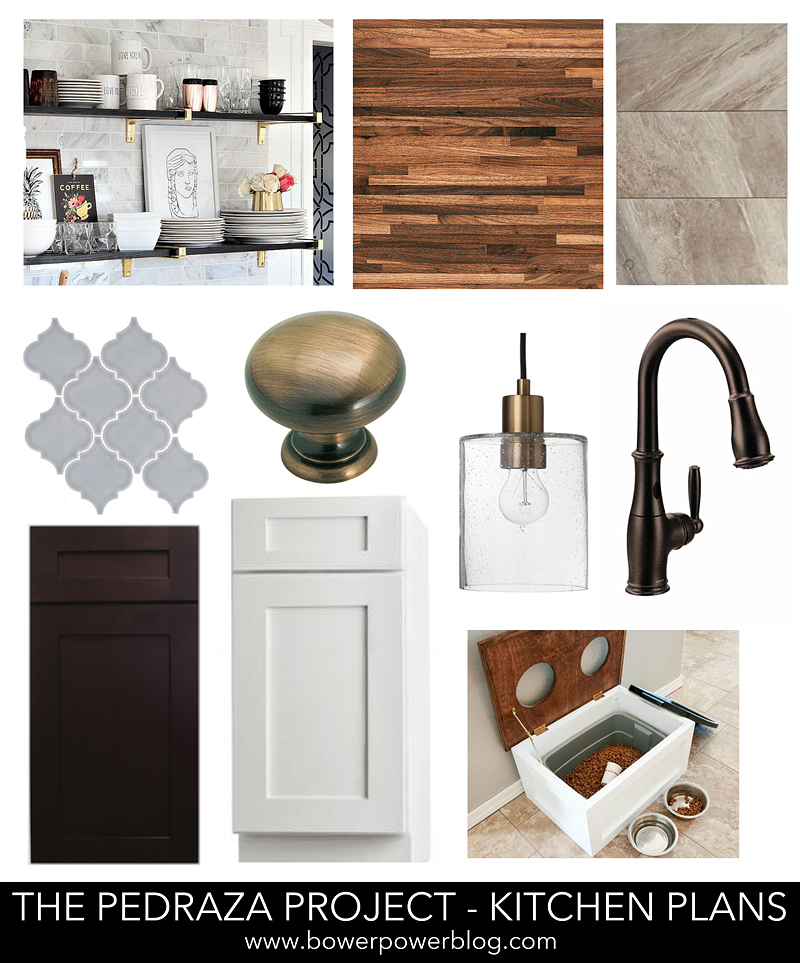
And if you remember our original plan….we wanted to put in a delicate pendant that had a brass finish.
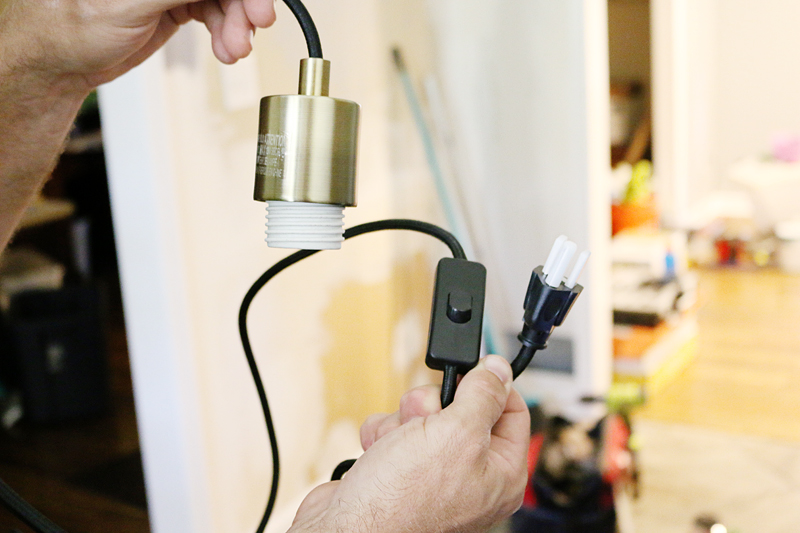
But when it came, I was disappointed to see that it actually was a plug-in style light. Yeah. Womp-womp. It just burns my bacon when I fail to read the details and in this case, it was totally my fault.
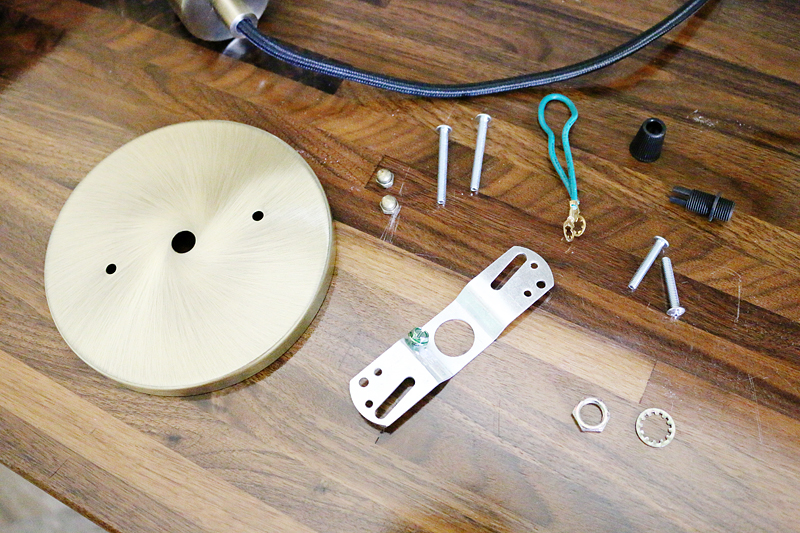
So I quickly hopped online and ordered up this canopy from Amazon and it came a couple days later for us to install with the light fixture…..so the final step was converting the plug-in light to a fixed ceiling mount. Here is how we did it.
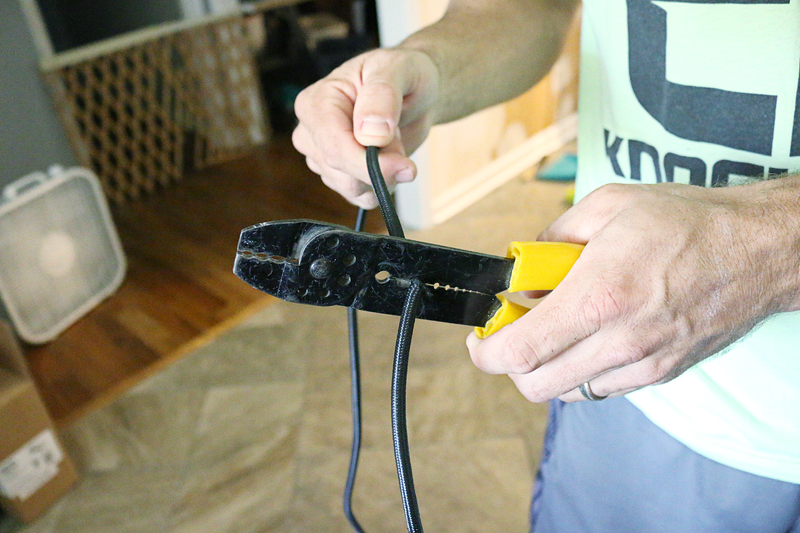
First thing we did was cut off the excess wire. We held up the light in place, determined how much we needed for wiring, added a six more inches (just in case) and then cut off the excess. This included the switch part and left us with a bit of fraided cording and a clean cut set of wires.
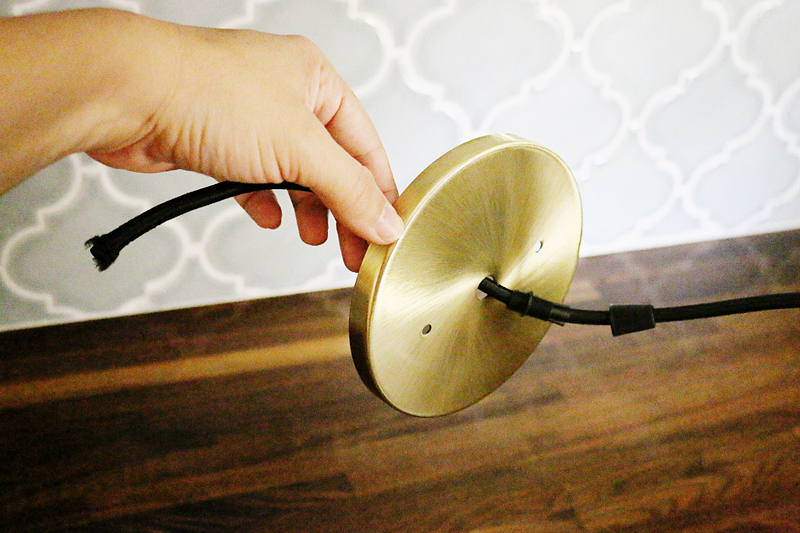
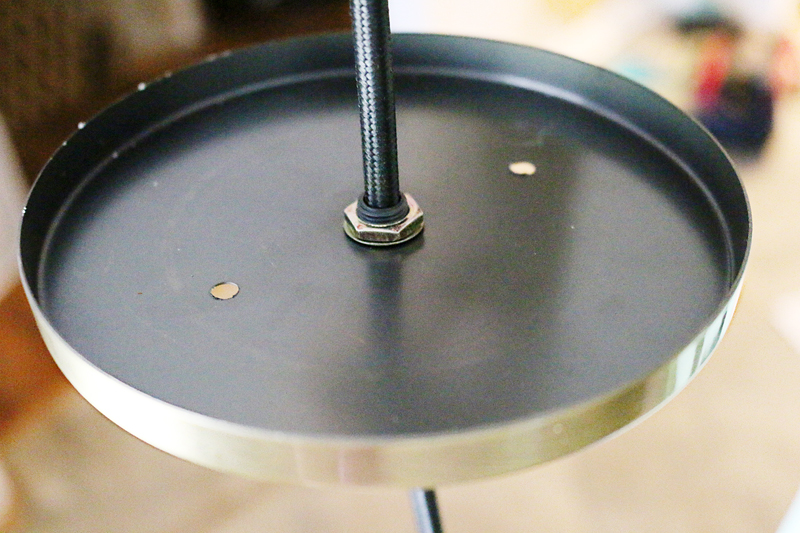
Next came threading the cord onto the canopy. The canopy kit came with the black threading for holding the light to the canopy so those two little black pieces (REALLY IMPORTANT) go on first and then you put the metal canopy on next.
After you determine exactly where the canopy would sit to make the fixture the perfect length….you tighten the nut and washer onto the black threaded piece.
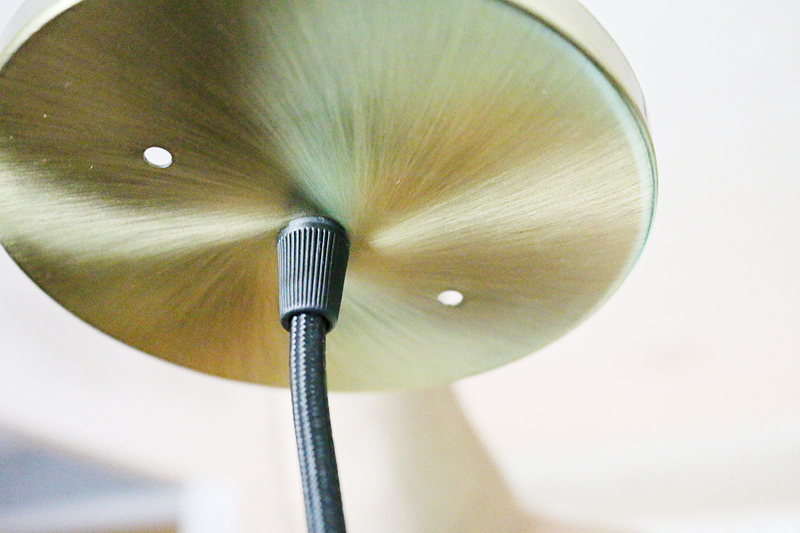
The other side has this black ribbed piece that tightens onto the bottom side of the threaded piece and it makes the teeth tighten onto the cord and locks the metal canopy in place. Now the canopy is officially part of the cord and can bear the weight of the light fixture.
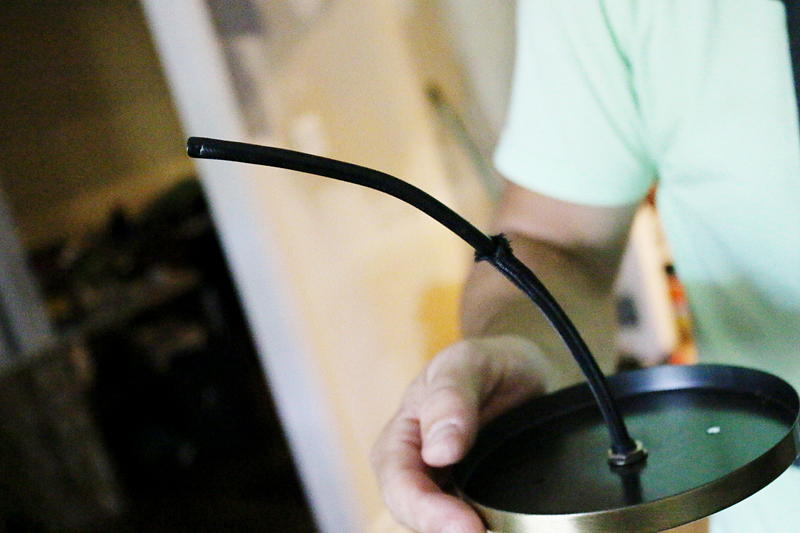
The next part is getting the wires ready to attach to the line in the ceiling. The top of the light fixture looks like this.
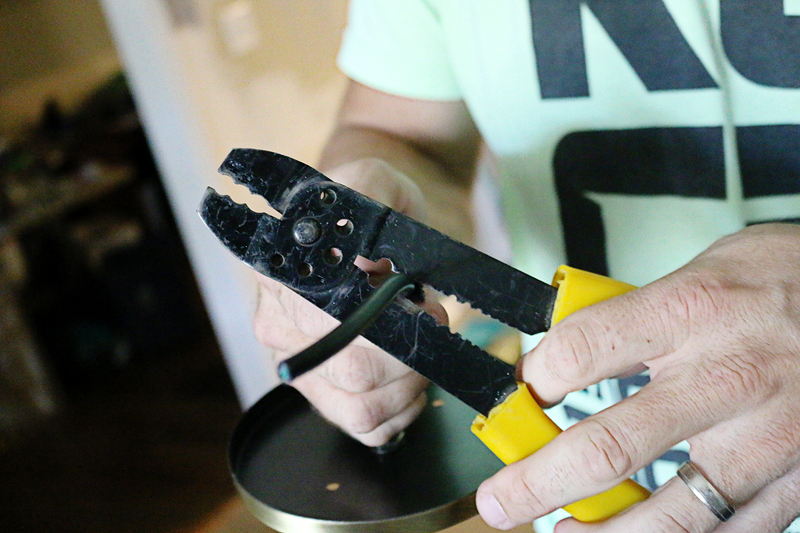
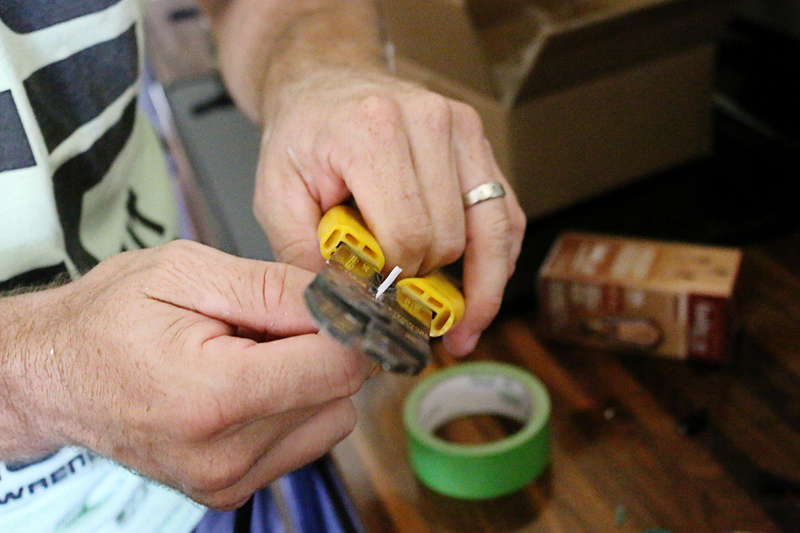
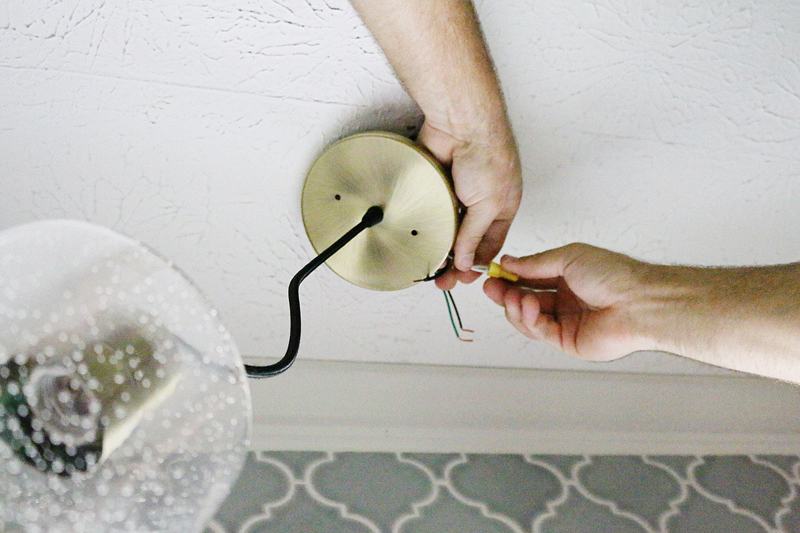
Cut back some of the fabric sheathing and then trim the rubber coating off the bundle of wires.
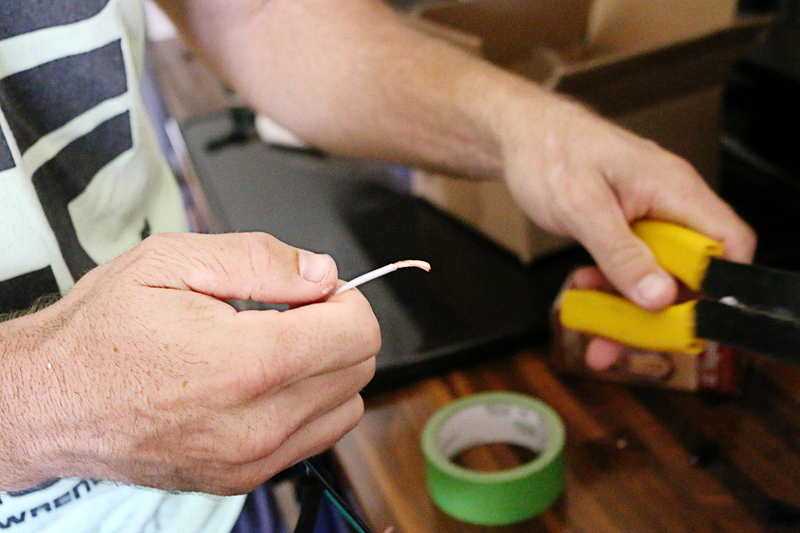
Inside are three wires each with a protective sheath. You want to trim them to an appropriate length (remember all this stuff has to fit in the rough-in box!) and then take the end off the protective sheath. I always say it’s a fingernail length….but that might be dangerous if you have Kardashian nails 🙂
So here it is with a wire with the protective sheath trimmed off….
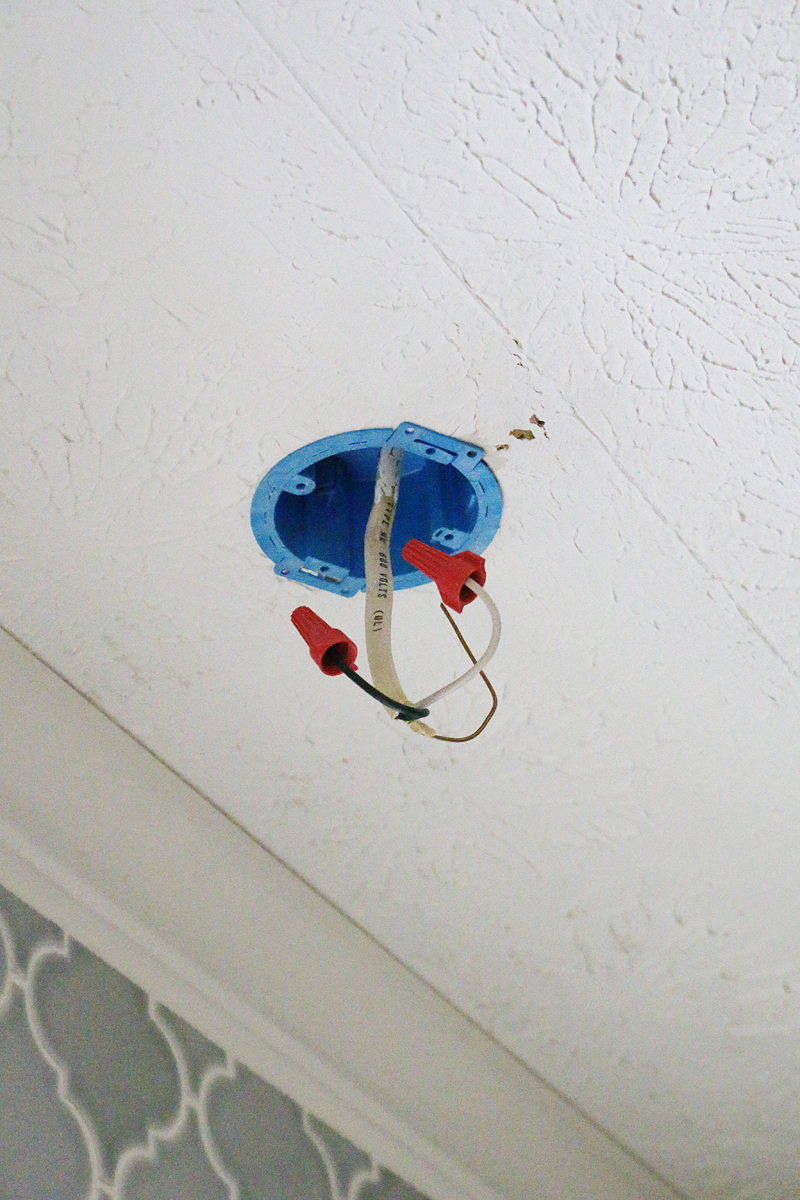
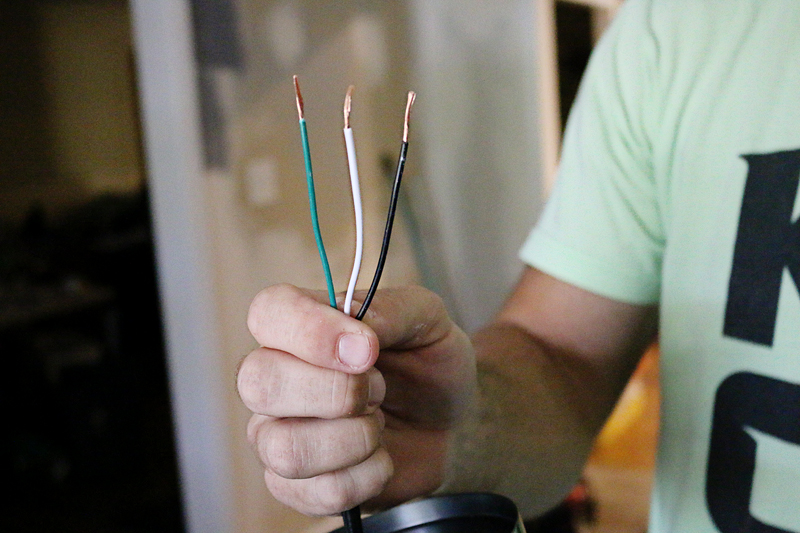
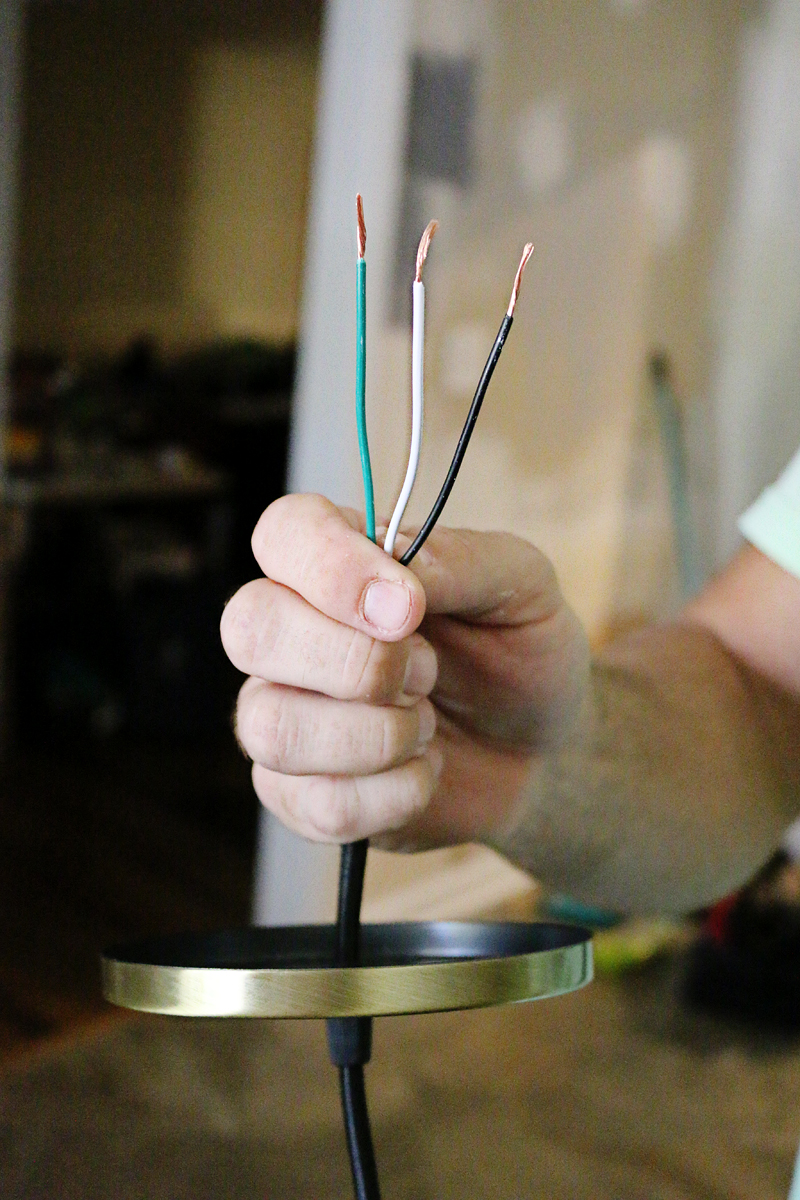
And here are all three wires ready to go…..now you are officially at a point where you can mount the light as if it came to be hardwired! So easy, right?!
Remember to always use common sense and safety precautions when wiring people…..don’t die. I will miss you.
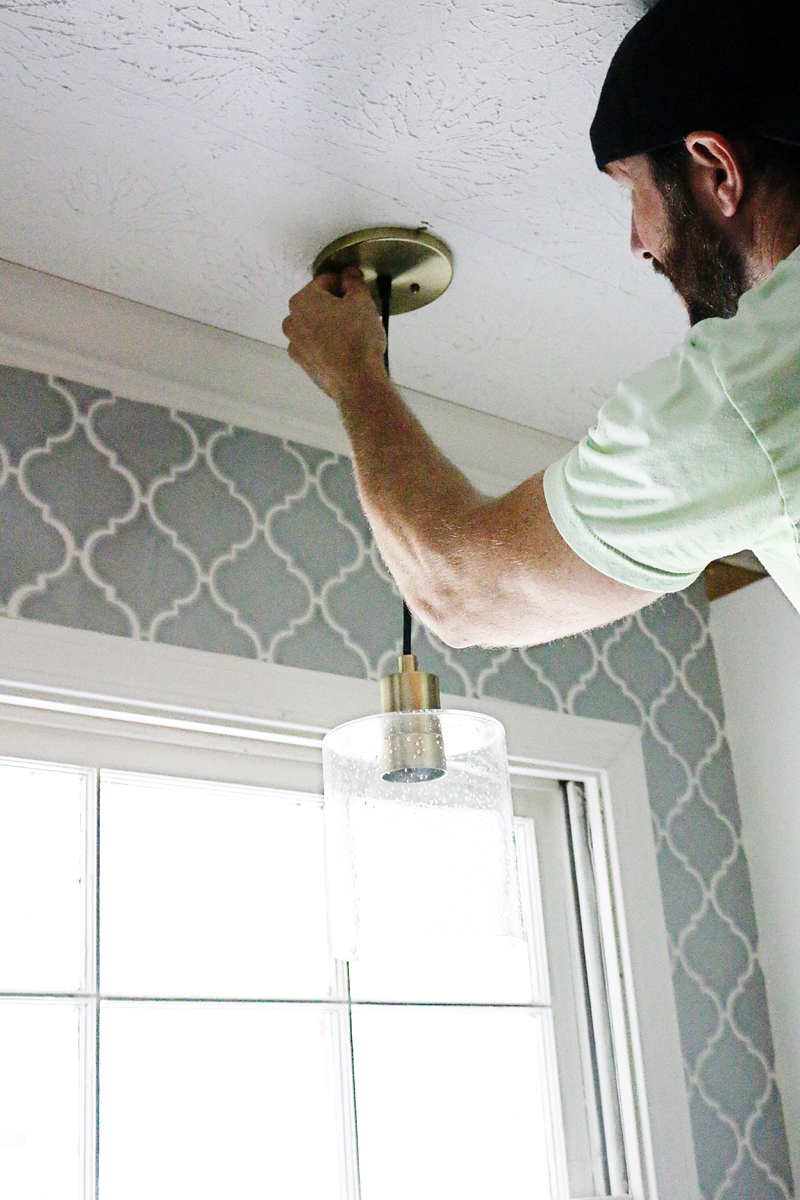
The bracket to mount the light fixture to the ceiling box came with the canopy kit so that made things easy peasy 🙂
Then the wires went hot-to-hot, ground-to-ground and so forth.
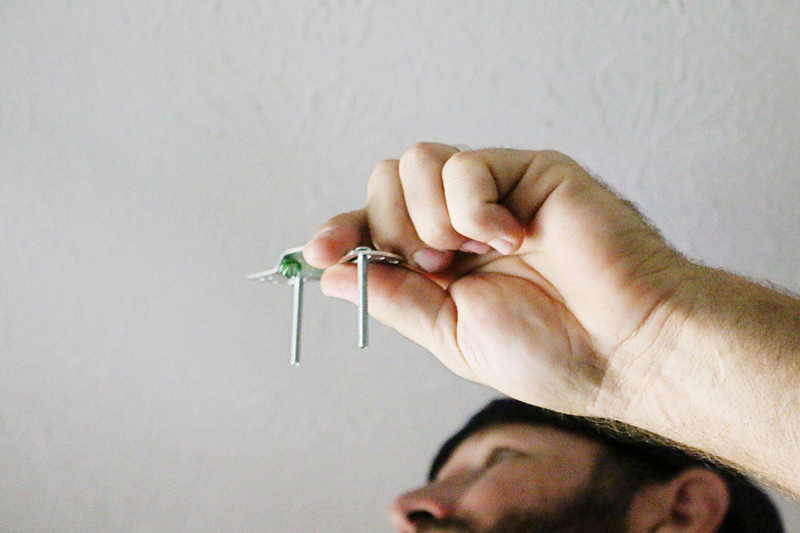
The tiny little caps go on the downward mounting screws and we officially are done with this light install.
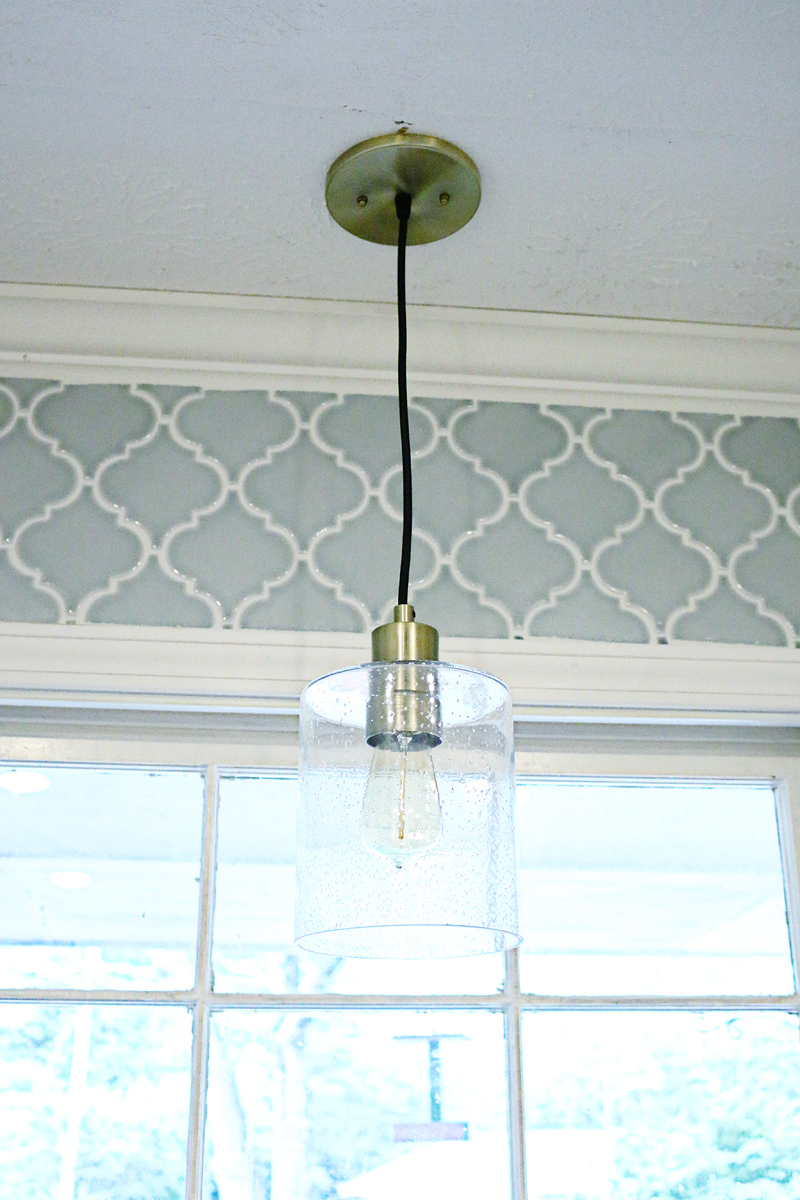
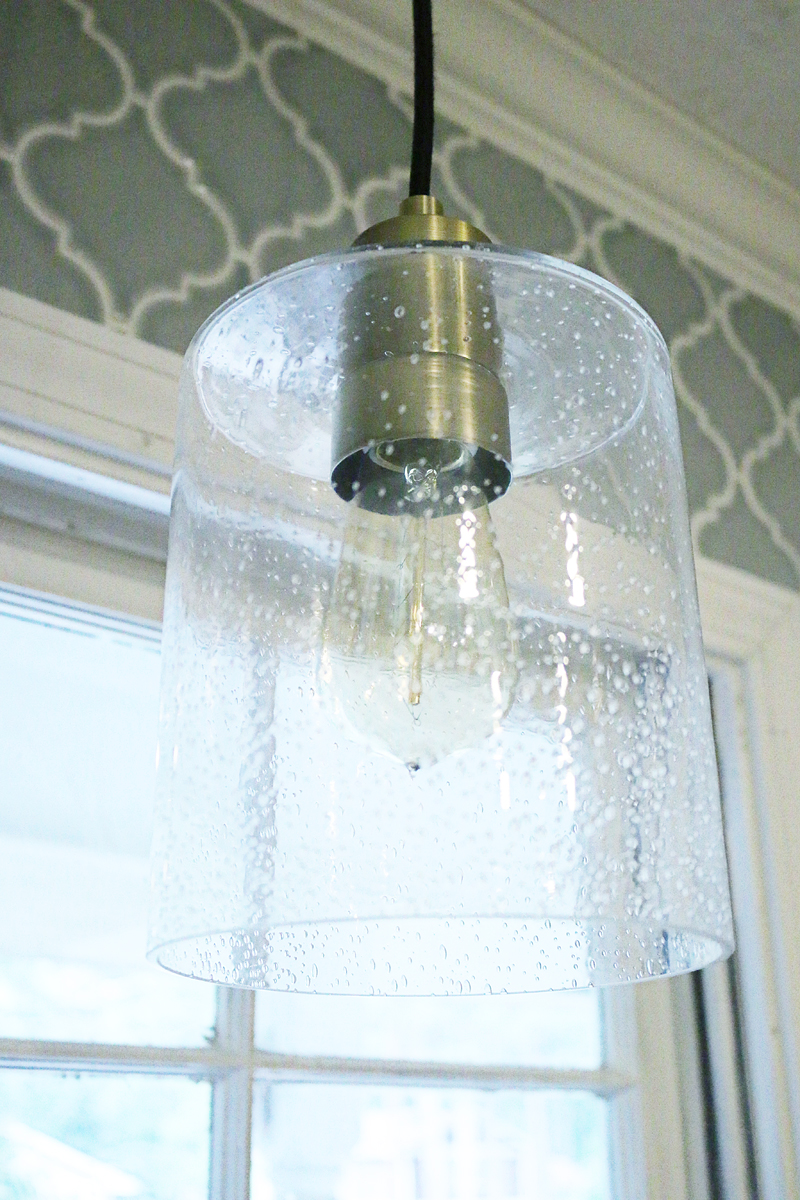
Isn’t it so pretty!?
I love love love the delicate little bubbles in the glass and we went with an amber filament bulb to play up the brass finish.
It’s hard to see lit up in photos but in real life it looks WAY more expensive than a target pendant and it’s perfect for any tight little space in your home. I can’t wait to get some really good photos of this so you can see how pretty it real is.
So there you have it my friends….the lighting updates for this space and be on the lookout for the tile backsplash post – its coming soon and I will share my best tricks for tiling around a window! It’s so tricky 🙂 Hope y’all have an awesome weekend and get out to enjoy some fall weather. I know we are!
I may have just moaned out loud at the tile…it’s gorgeous.
I want the foyer light (like 5 of them) and the backsplash! Can’t wait for the backspash post.
Gah! You make me want to buy a fixer upper every time I see a progress post of anything you do 🙂
That’s weird that Target sells a pendant light with a plug at the end. I have that problem at Ikea all the time, and have converted so many of their ceiling lights. Who has outlets in their ceilings?
Lots of pretties. Just waiting for the final reveal. Side note: are you doing a Katie Halloween costume this year? Or is the Pedraza project keeping you too busy.
I think you should consider “Wonder Woman” because I sometimes wonder, “Woman, how do you do all that you do with four little helpers in tow?”
Loving the new light fixture and the new black paint on the door 🙂
WOW! What a difference painting that front door & changing out the light made. Well done!
Cheers~
Valerie
https://www.oxfordstreetinteriors.com
PS – Love that cute dog in the pics!
WOW…. loving the backsplash and countertop. Can’t wait to see it all. Love the grey color too!
I love the lighting updates, especially the bubbled glass pendant. I have several boob lights that are on my list to change out so I will have to keep my eye on the clearance section at Home Depot!
I now have the teeeeeensiest bit of confidence on hanging our own lights (Handsome Husband has done it twice before) and I just need to see how much it will cost to put a new connector box above our sink so we can hang a beautiful pendant light. One day!
We did free home improvement stuff this weekend.
http://wanderlustingbydesign.com/2016/10/24/ac-units-and-making-our-curb-appealing/
I have 3 plug in Orb lights that I want to hardwire. Your timing is perfect! Thanks.
Wish me luck!
Seriously. Why Target why!?
xo – kb
I want to 🙂
xo – kb
Just looked through your house tour – again 🙂 Are there two boys in each kid room? Why do I think that Weston has two rooms haha. Is Maxie in your room or does he share with LJ… in what I think of as Weston’s nursery?? Why am I dying for updates LOL!
Haha! Two boys in each room….I just haven’t ‘revealed’ the new nursery because I’m waiting on art 🙂
xo – kb
You guys are truly amazing!!!!
Is it really as simple as a coat of paint to make that detailed ceiling look great again?
I think that there may be something wrong with the shop the house post. The only room that has links to products is the deck. all other rooms just show the paint colors. can you please update 🙂
can’t wait for the backsplash post!
Some of it is old caulk that needs to be removed…but for the most part…yes.
xo – kb