Disclaimer – This is a sponsored post brought to you by LIQUID NAILS Fuze*It. All opinions are 100% my own.
Remember our first attempt at making concrete countertops for the basement kitchen?
And it was basically a giant fail for that space?
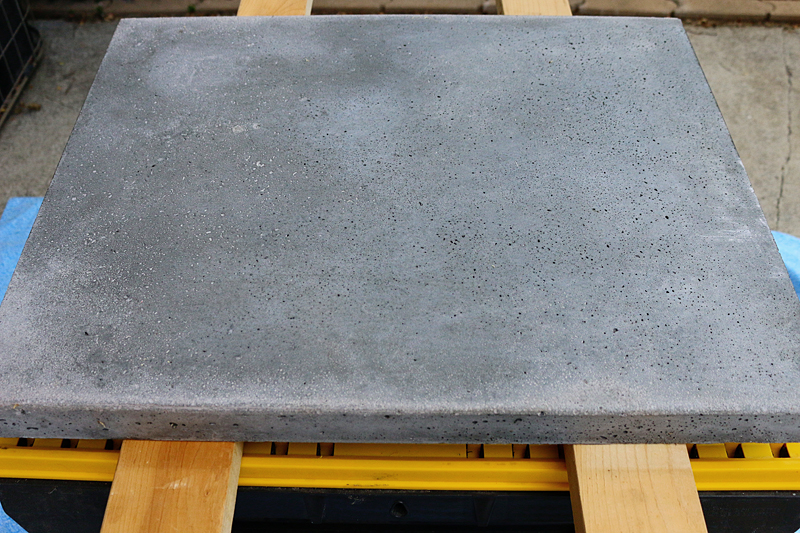
And we ended up with a slab of concrete that was just way too porous for the kitchen?
Well….I always thought it would be perfect for an outdoor side table and this week we were inspired to get that slab out of the basement and into a forever home.
I came up with a super simple design for the base. I wanted it to be as strong as an ox but not spend a whole lot….soooo I looked no further than our scrap wood pile. When we tackled our deck last year and our garden beds this year (more on that soon! promise!) we had a bunch of exterior wood that was perfectly primed for use but too short for most projects. I used MY BRAIN (I know! It was a bit rusty and definitely hurt a little bit later!) and figured out how to use them to make a little side table for our back deck. Here’s how I did it.
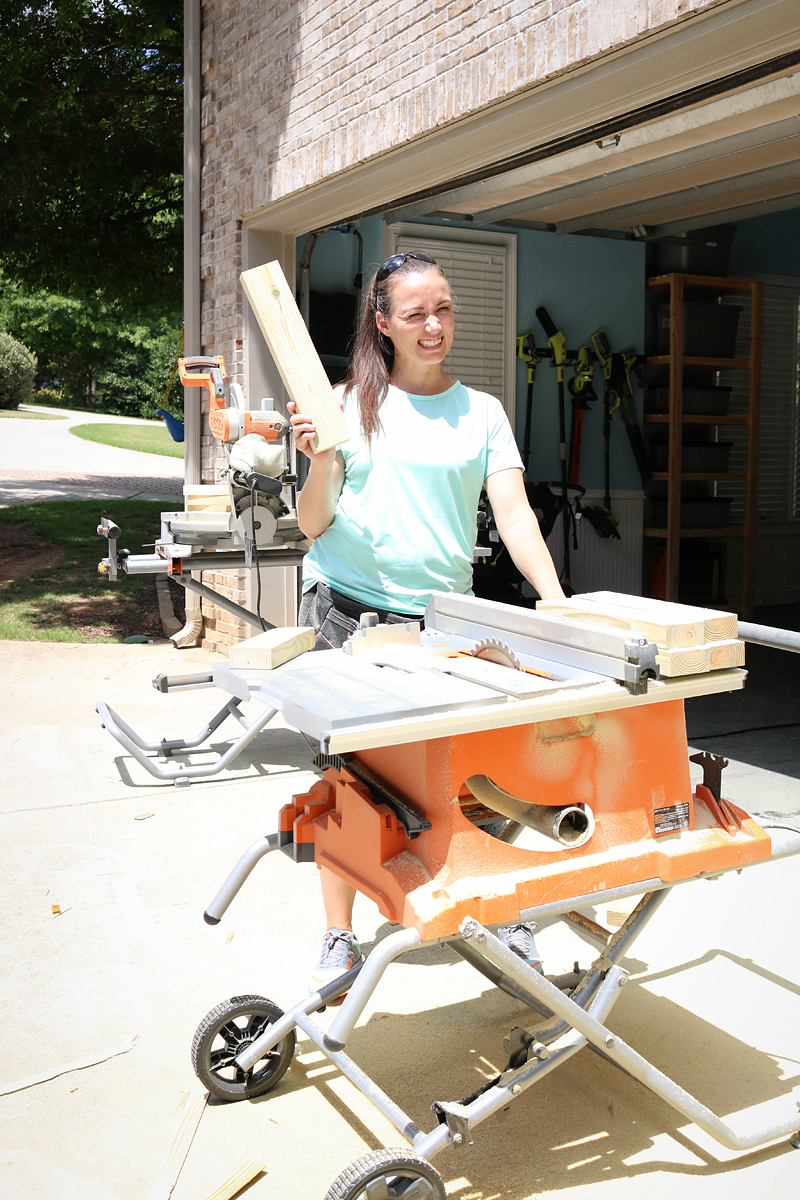
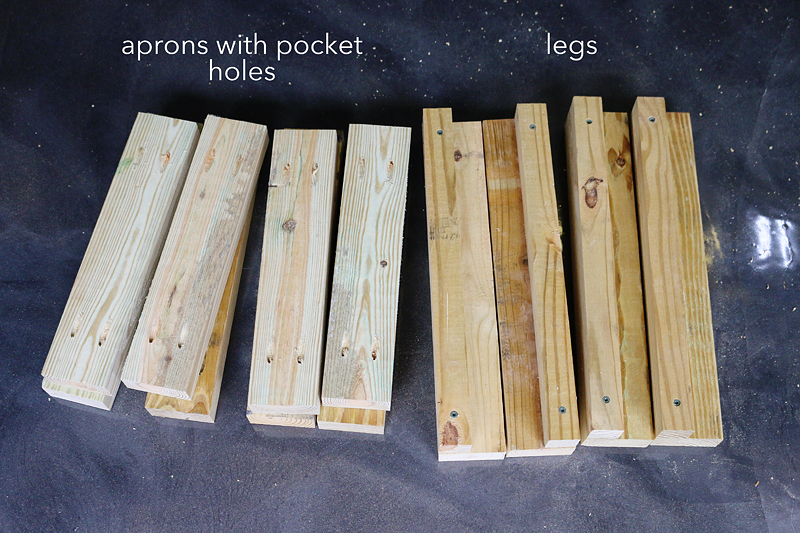
First I gathered up all my pieces of pressure treated 2×4’s (that’s what this entire thing is made from) and ran them through the table saw to get a square cut on the edges.
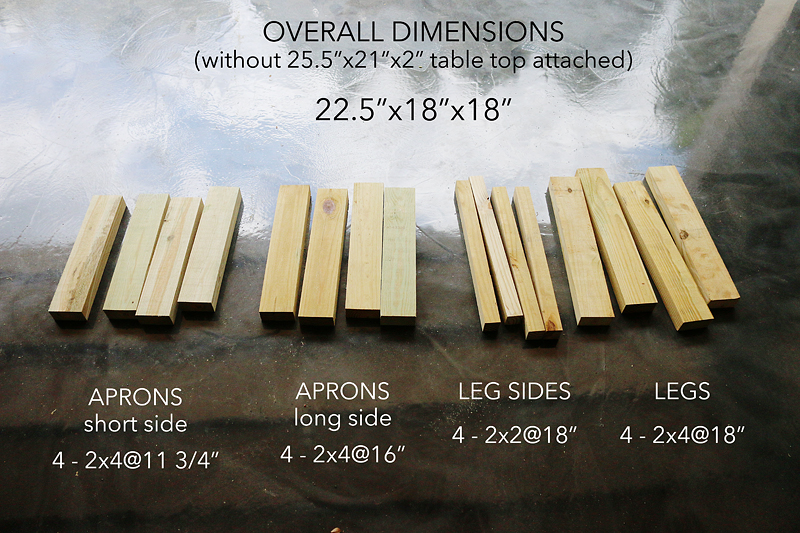
Then I cut them to the lengths I needed. All of the pieces are less than 18″ long (hooray for scrap wood!) and the ones labeled ‘leg sides’ are basically a 2×4 (both sides ripped square) and then ripped in half to make 2×2’s.
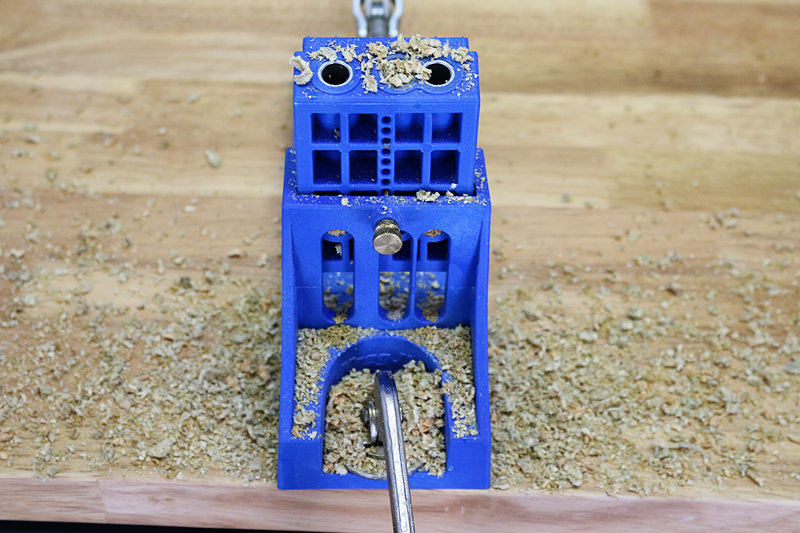
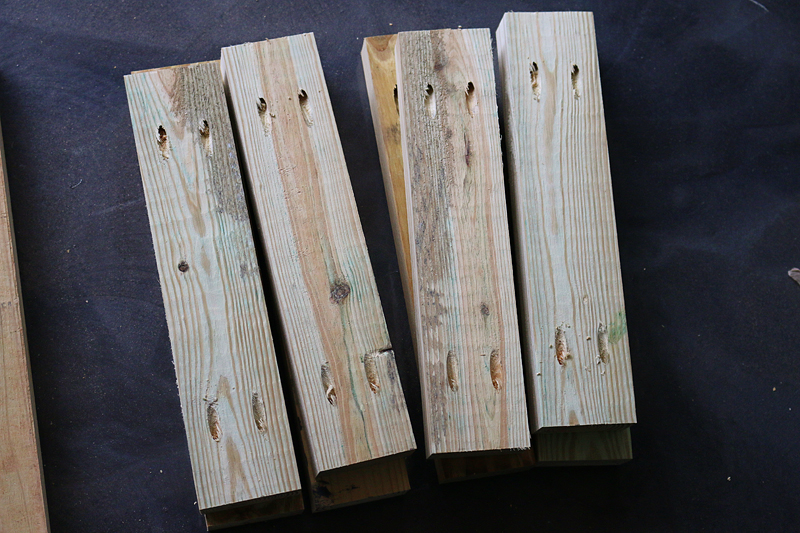
Then it’s time to break out the trusty Kreg Jig.
All eight of the ‘aprons’ are pocket holed on each side. You are almost done!
Then you want to marry your legs and the leg sides. Think of yourself as Mr. Wonderful. (shark tank shoutout!)
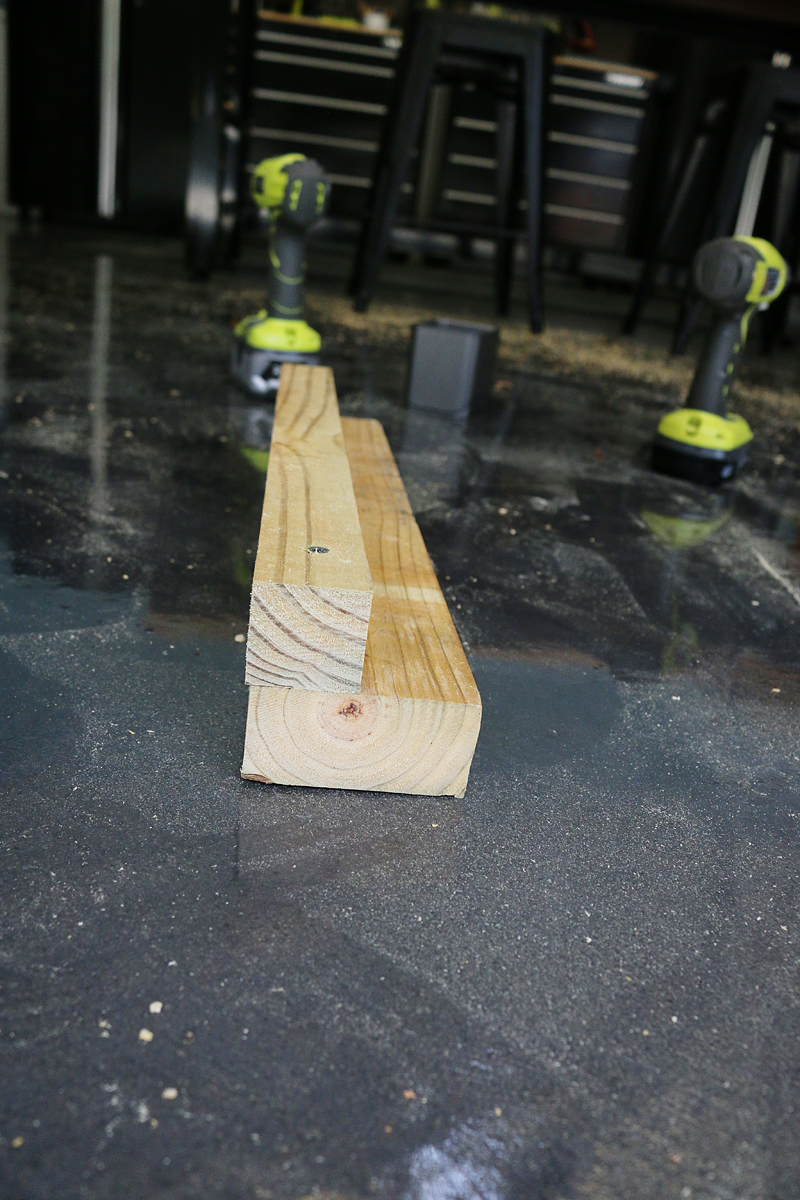
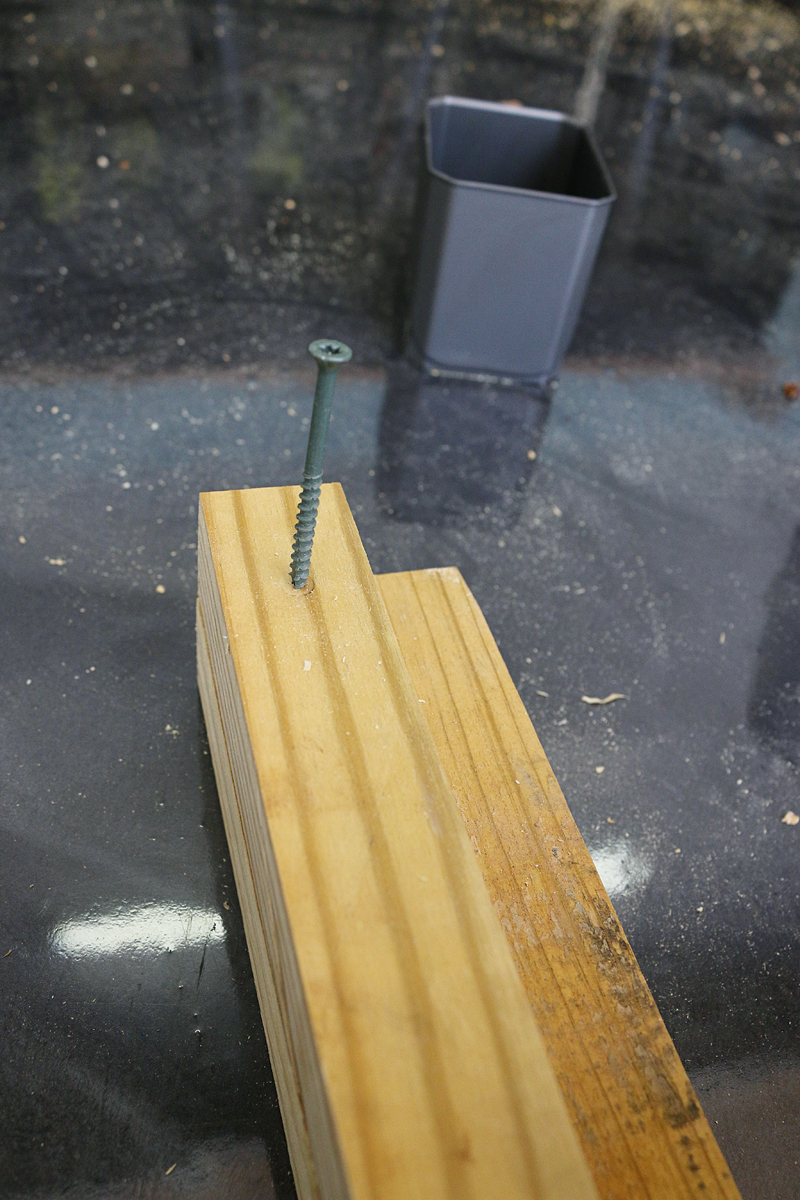
All you do is pre drill a little hole about an inch from the edge down through the leg side as it sits on the leg.
Then you screw them together.
Once you are done with that, it’s sanding and finishing time! See I told you that you were almost done building!
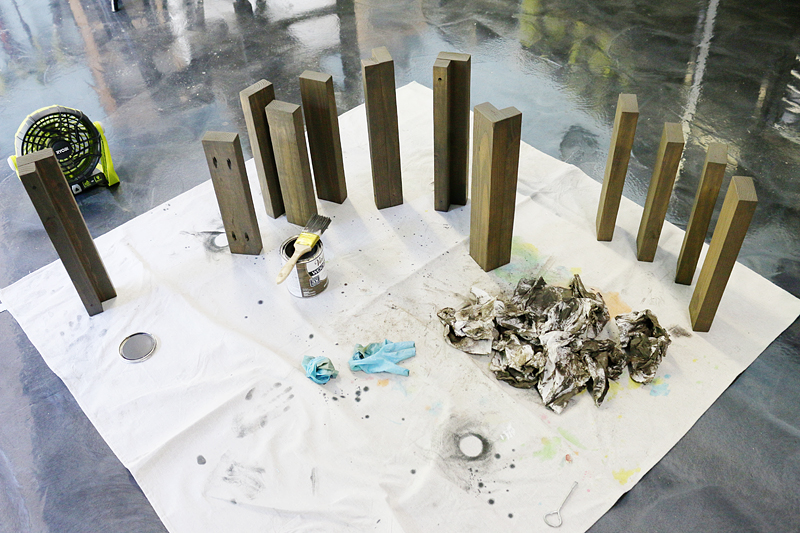
Staining took the longest amount of time for me because I kept getting distracted with the kiddos. It’s like they have sonar or something….they know exactly when there is something messy available for them to get involved with!
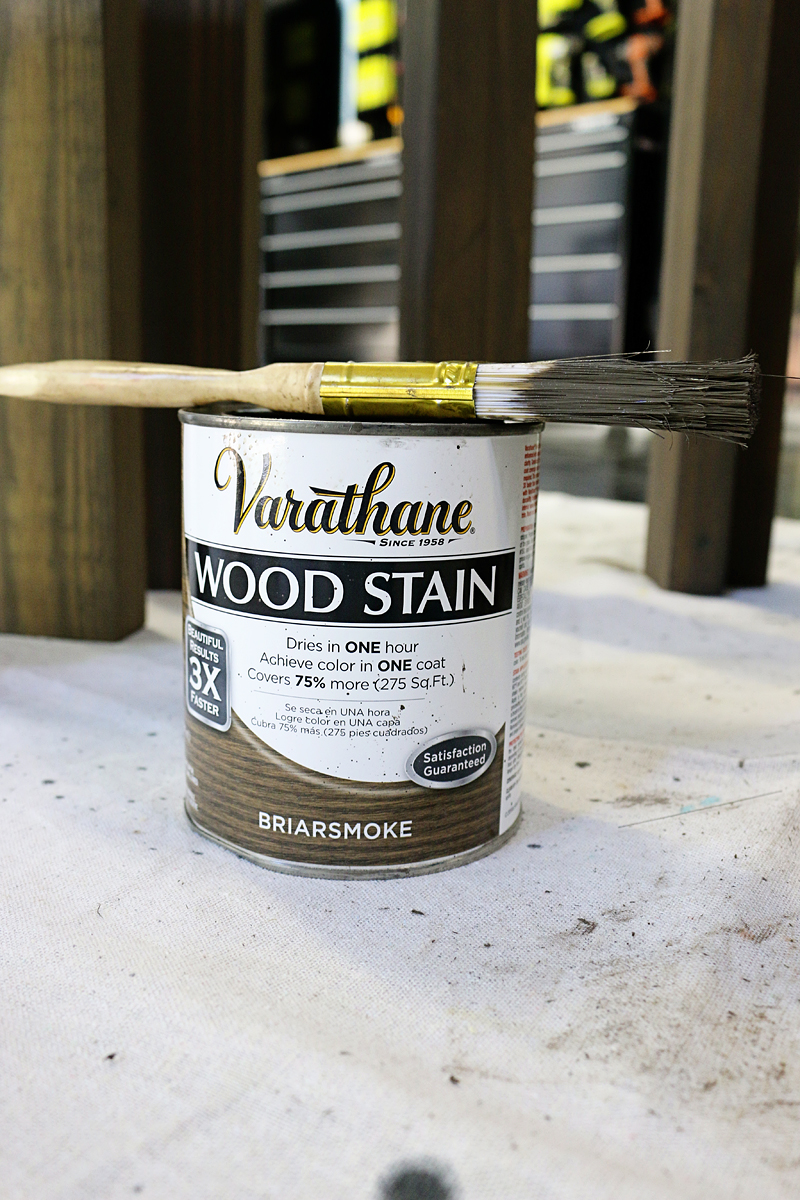
I debated over different colors but Jeremy and I could agree that for now, Rust-Oleum’s Briarsmoke would look good next to the deck color. It’s one of those mid-toned colors that pretty much looks good everywhere.
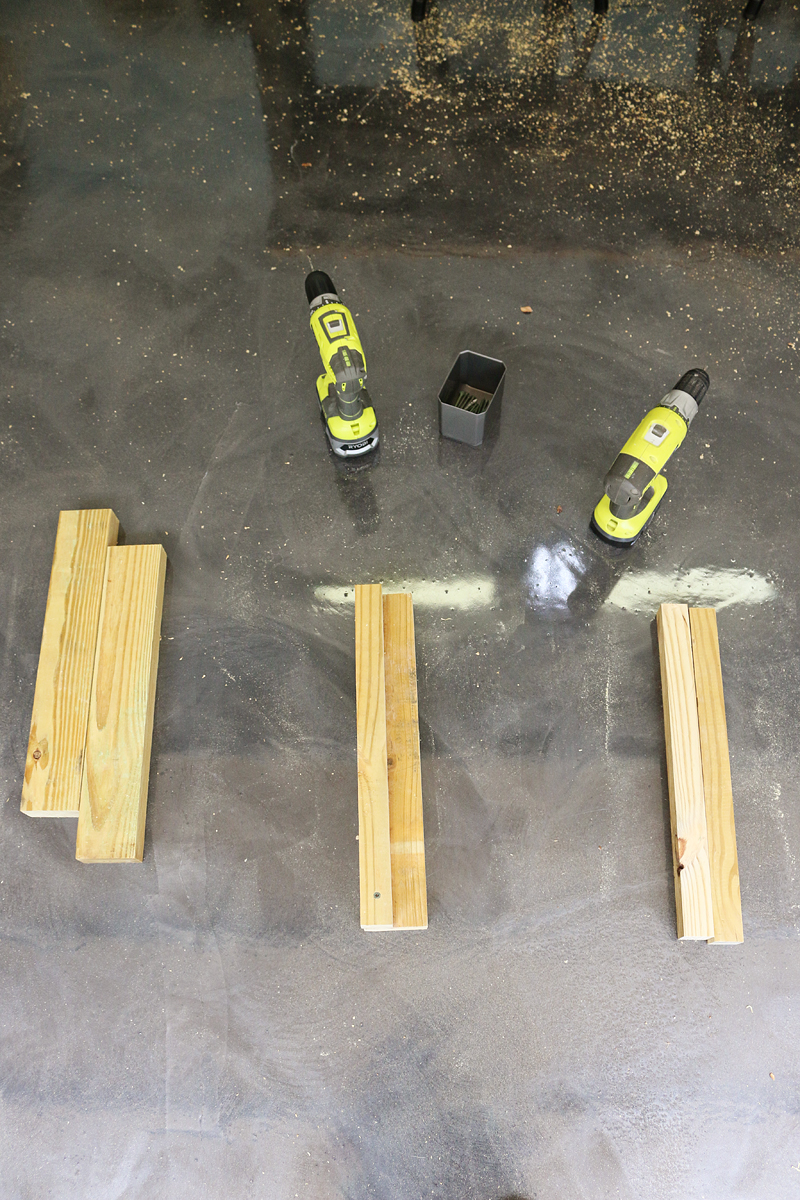
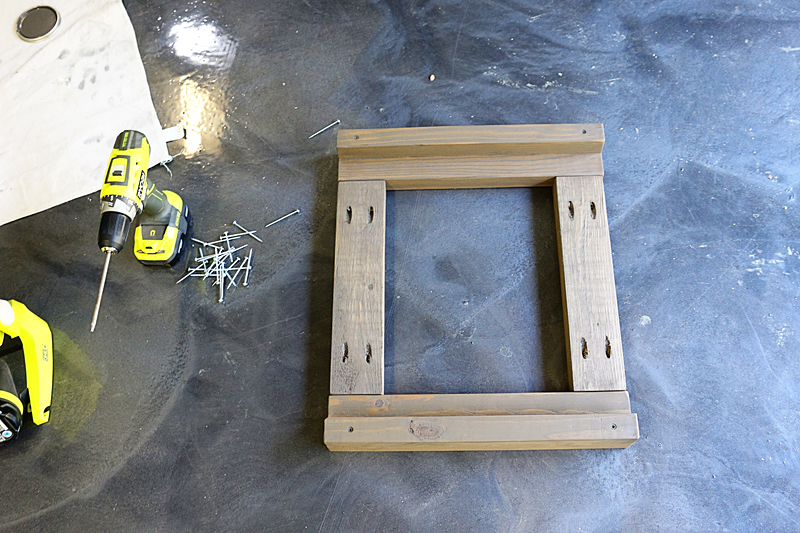
Now here is where it gets ever so slightly tricky. You will want to create a cube. The legs (sideways below) are going to have an ‘apron’ piece on the top and the bottom. The key is to attach your SHORT aprons FIRST. SHORT APRONS FIRST PEOPLE. Don’t do the long ones or you will give yourself a headache.
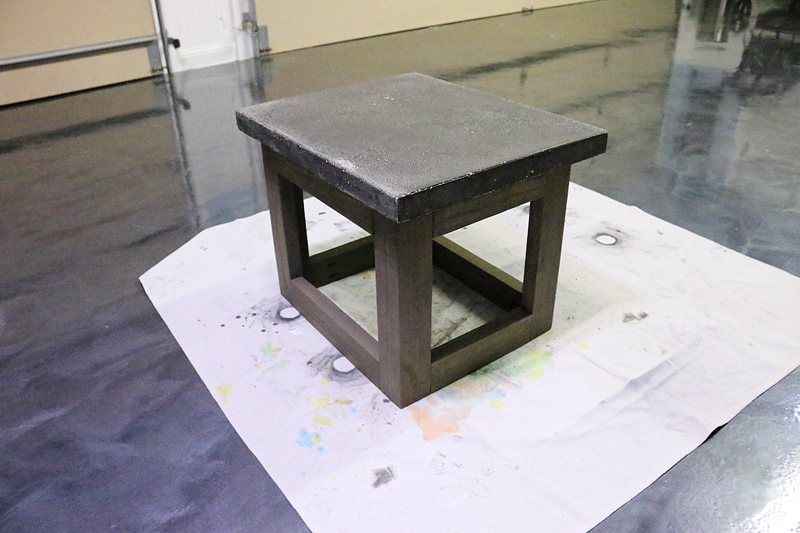
Ta-da! You have a CUBE. Less powerful than a Transformers Cube but also not as stressful. Also feel free to call your table an Allspark and yourself Optimus Prime. At least for a day. It feels really good 🙂
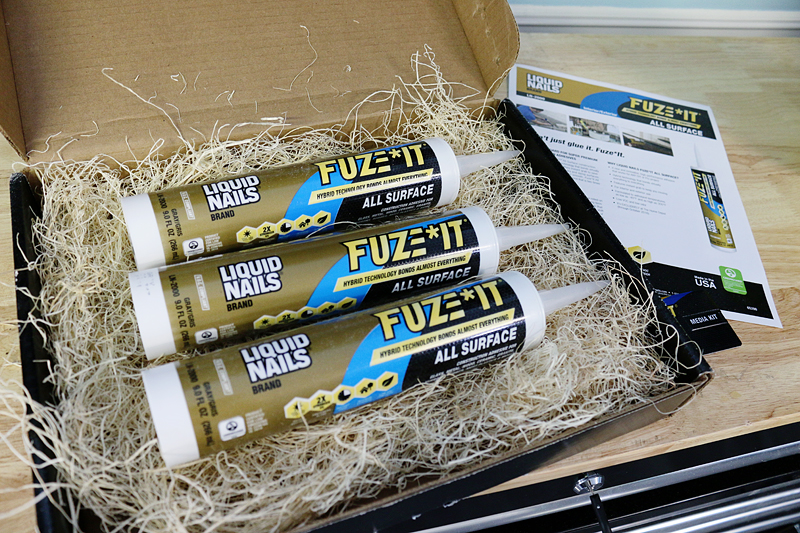
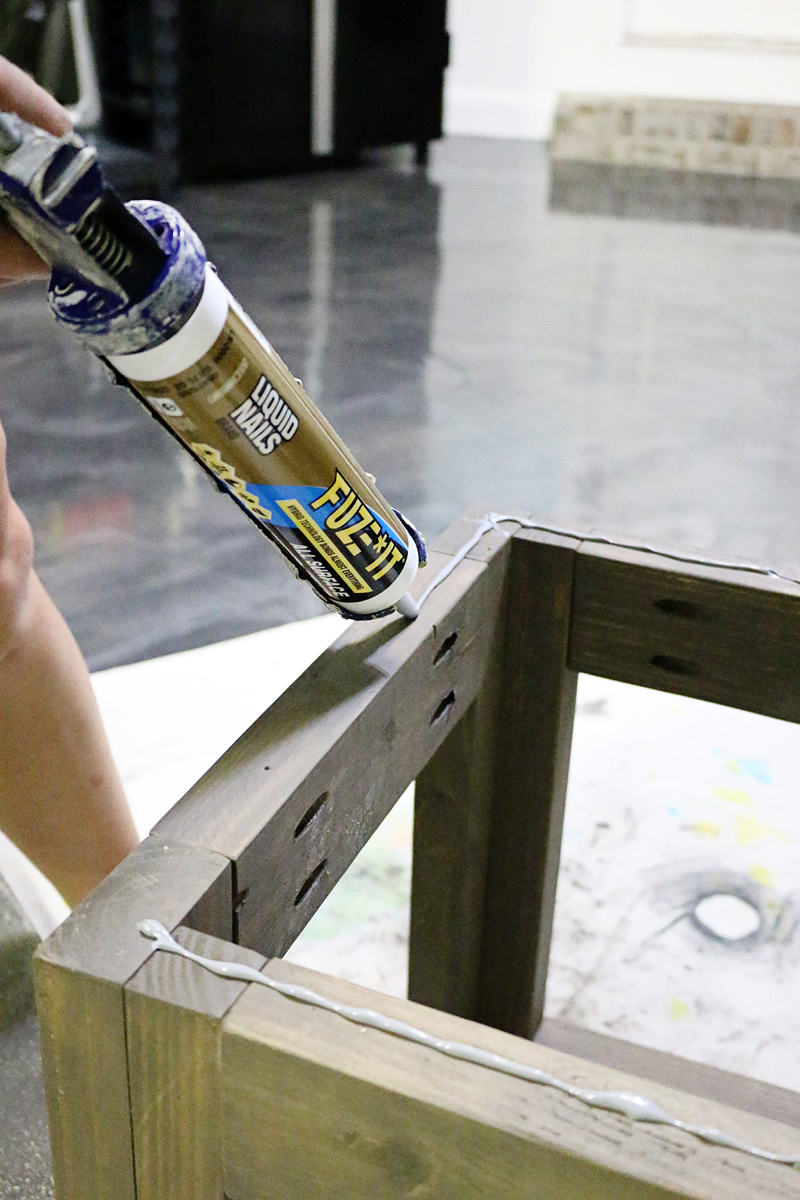
Time to attach the concrete top! This is where you will need to break out your LIQUID NAILS Fuze*It.
Now if you must know….I never knew about LIQUID NAILS until I married Jeremy. We were attaching something in our old house and he broke it out and I was like UM what do you mean it bonds everything?! And it’s true.
We are big fans and have been using it for YEARS.
Here are some of the past projects where we used it….
- Living Room Mantel
- Bathroom Shelves
- Bathroom Countertop installation
- Laundry room cabinet extensions
- Board & Batton wall treatment
- Outdoor stone fix
And now this LIQUID NAILS Fuze*It All Surface Construction Adhesive features hybrid technology that bonds nearly everything to everything. And it great for exterior applications like this table 🙂
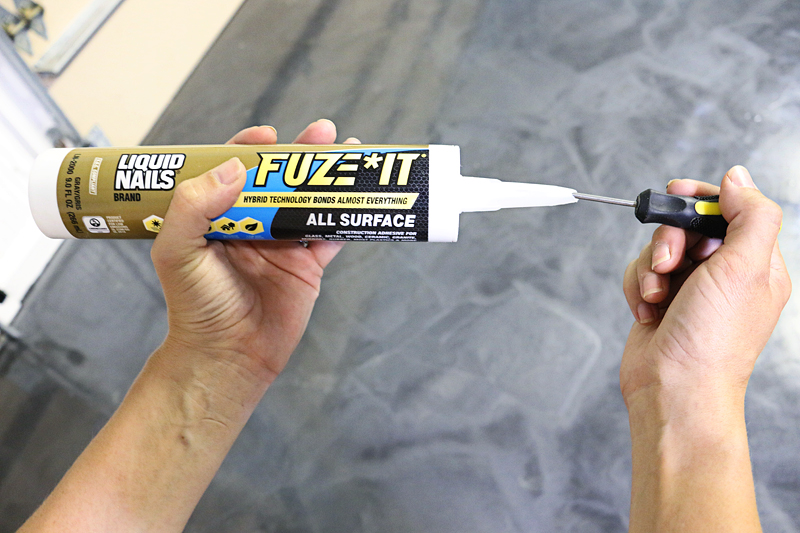
So for all you rookies, you cut the end off at an angle with some scissors. And then you will need a sharp thin object to puncture the seal inside. I use a screwdriver.
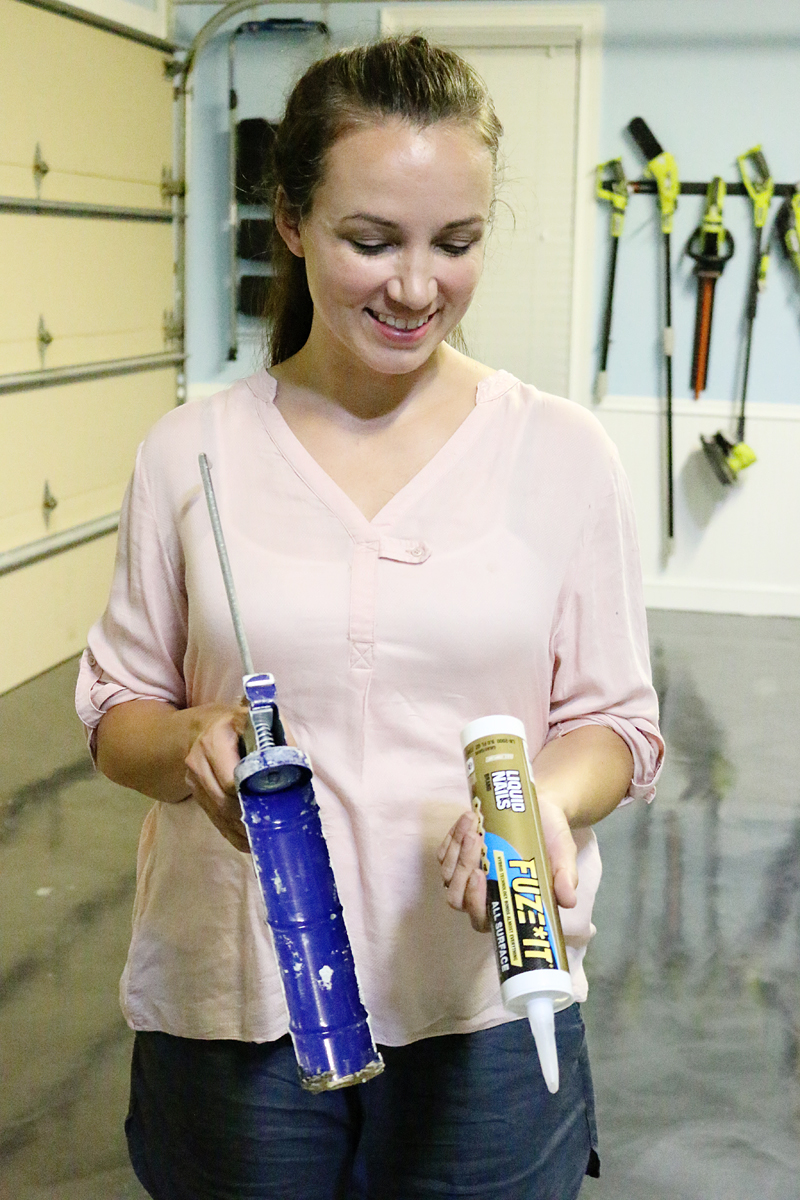
You will load it into a caulking gun and apply pressure till the adhesive comes out. My best tip is to have a paper towel handy for when you are done.
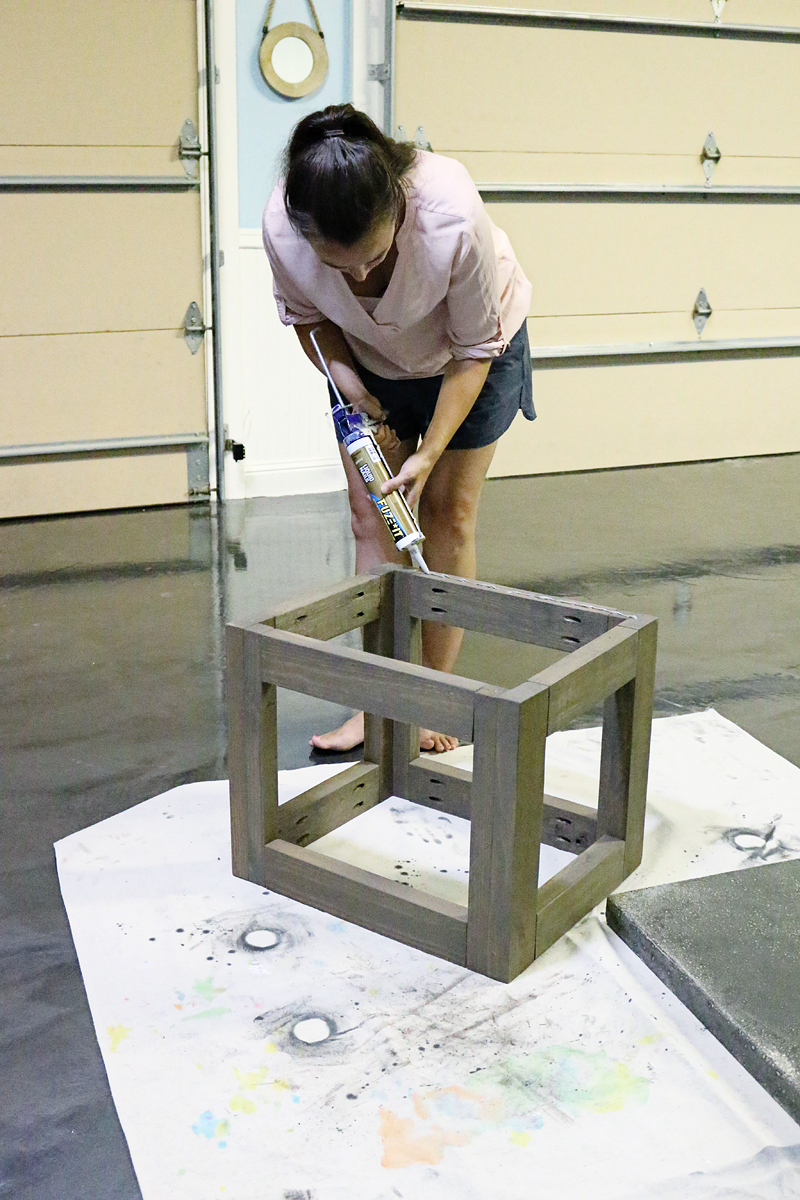
So we applied a bead of glue around the top of the table and an extra little glob in the corners just for good measure.
See how good I am doing!? This is seriously impressive note-worthy work 🙂
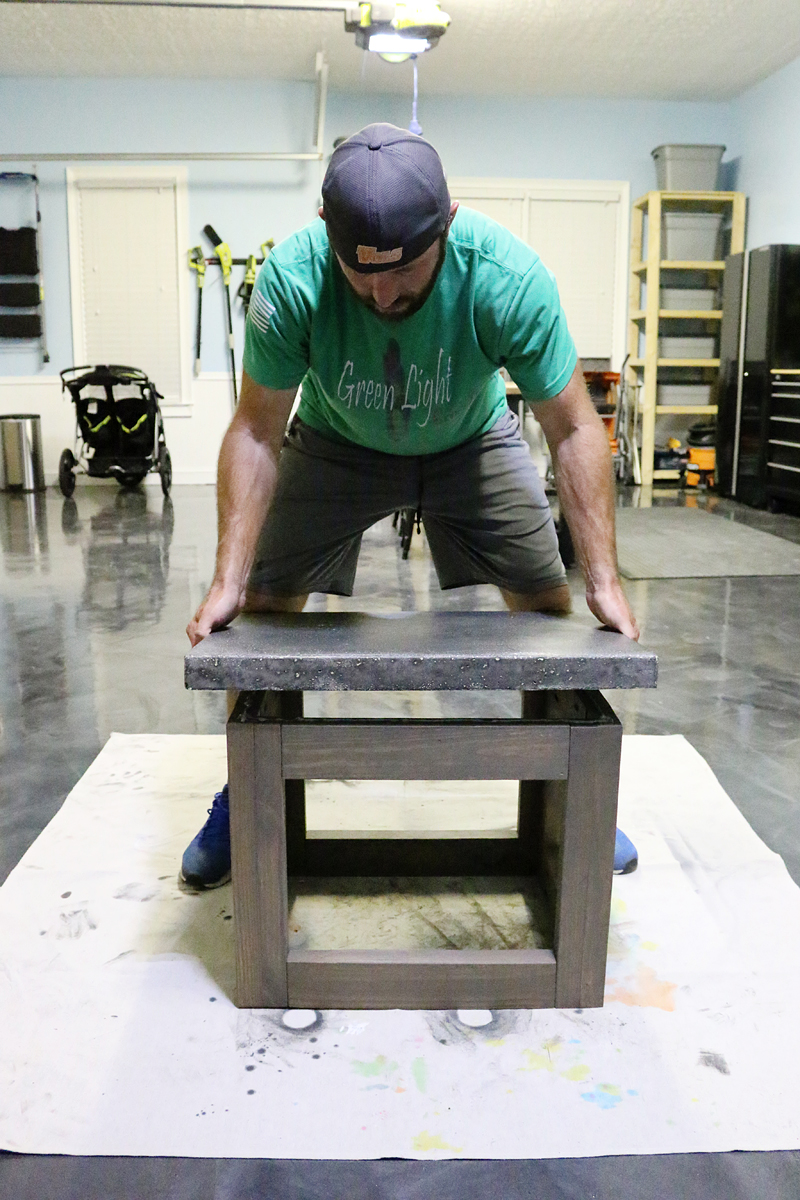
And then the muscle came in to help me with the rest.
The best part is, the table top had an almost instant ‘grab’ so it felt extra strong. And the fact is – we would have A TON more work to try to attach that concrete table top to wood with fasteners so this was amazing to not risk cracking that top.
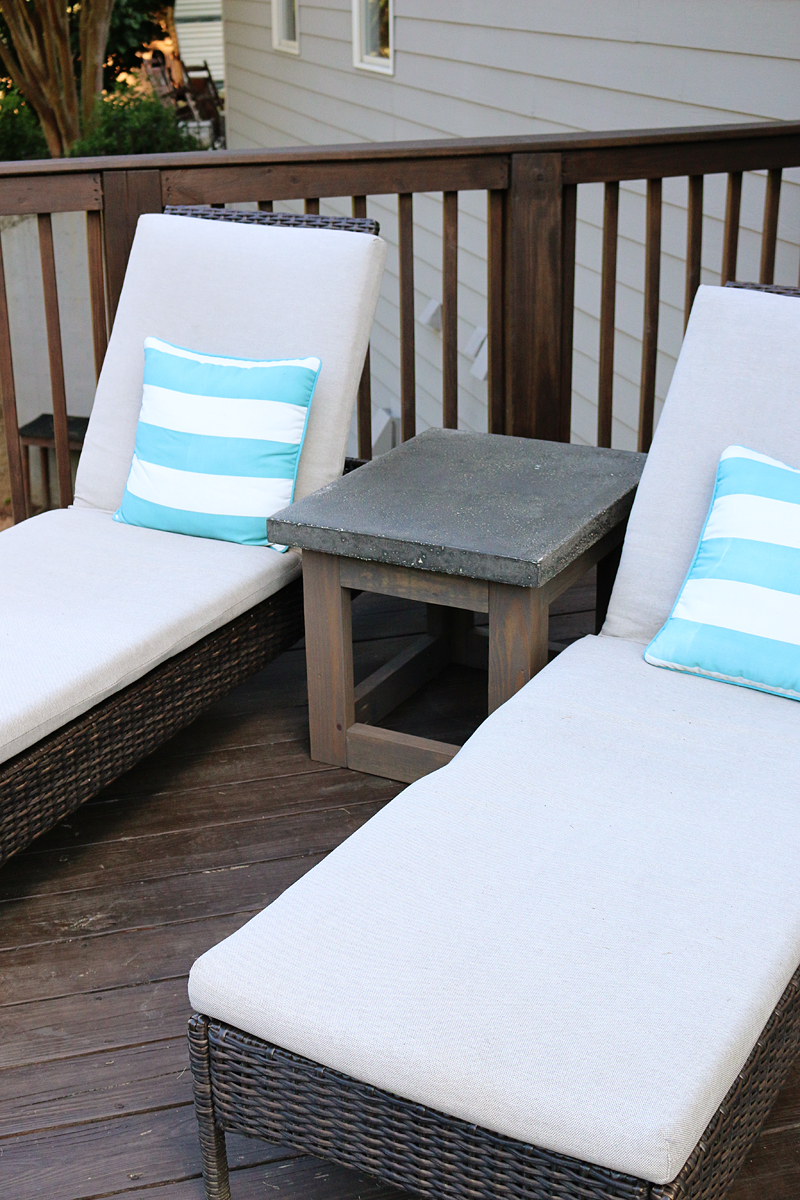
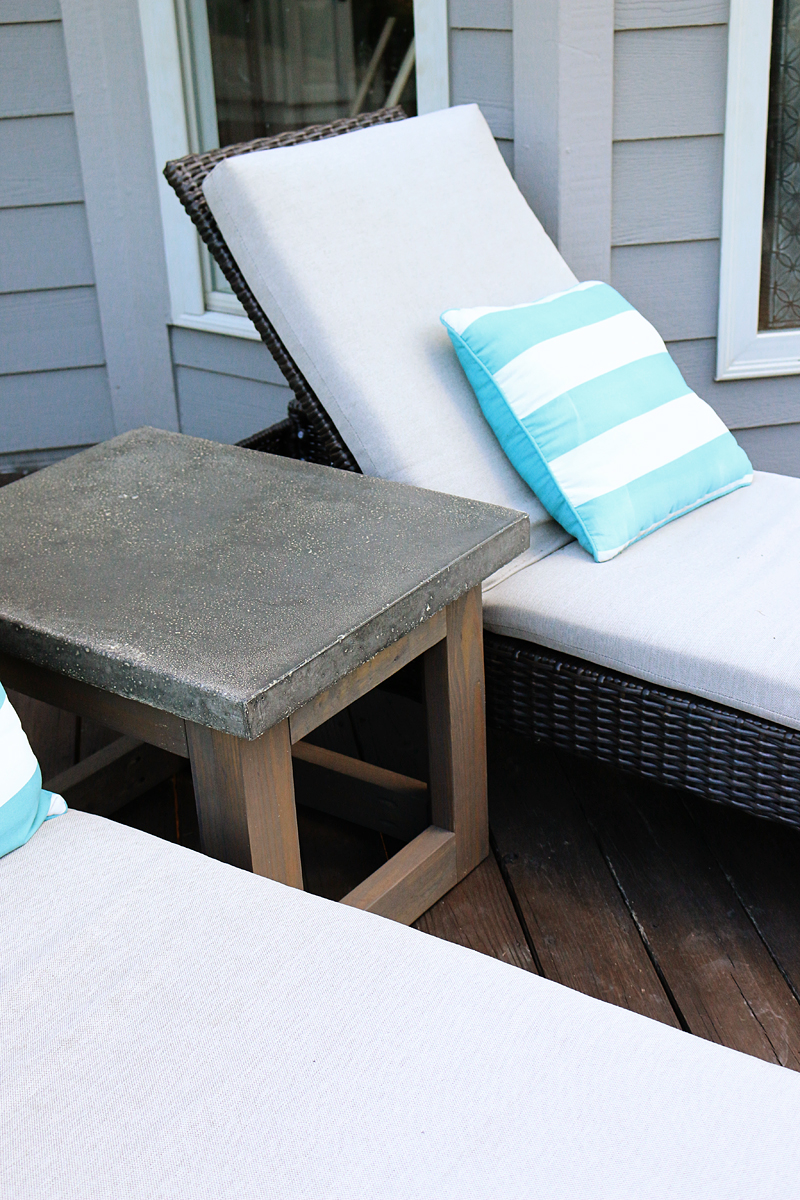
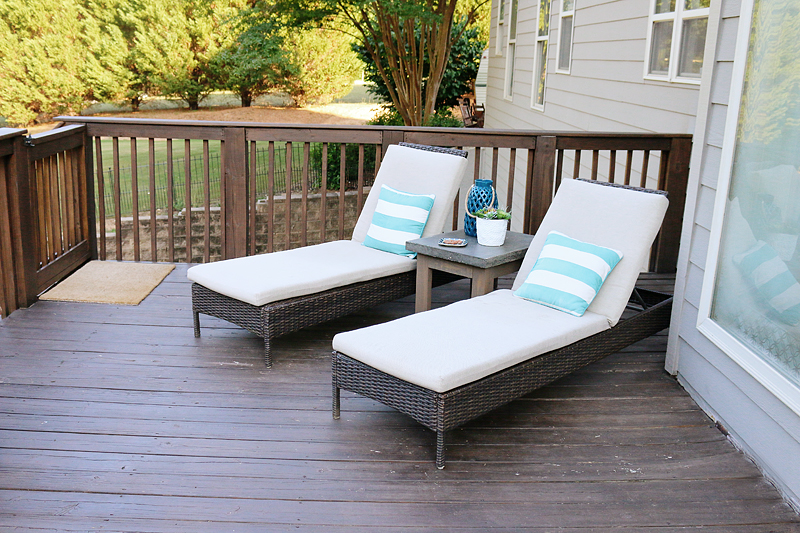
We moved it into place on the deck and it was beyond perfect. I mean….it looks like it was made for that space.
I am loving the texture and the fact that now I can lounge and have a spot for my sweet tea!
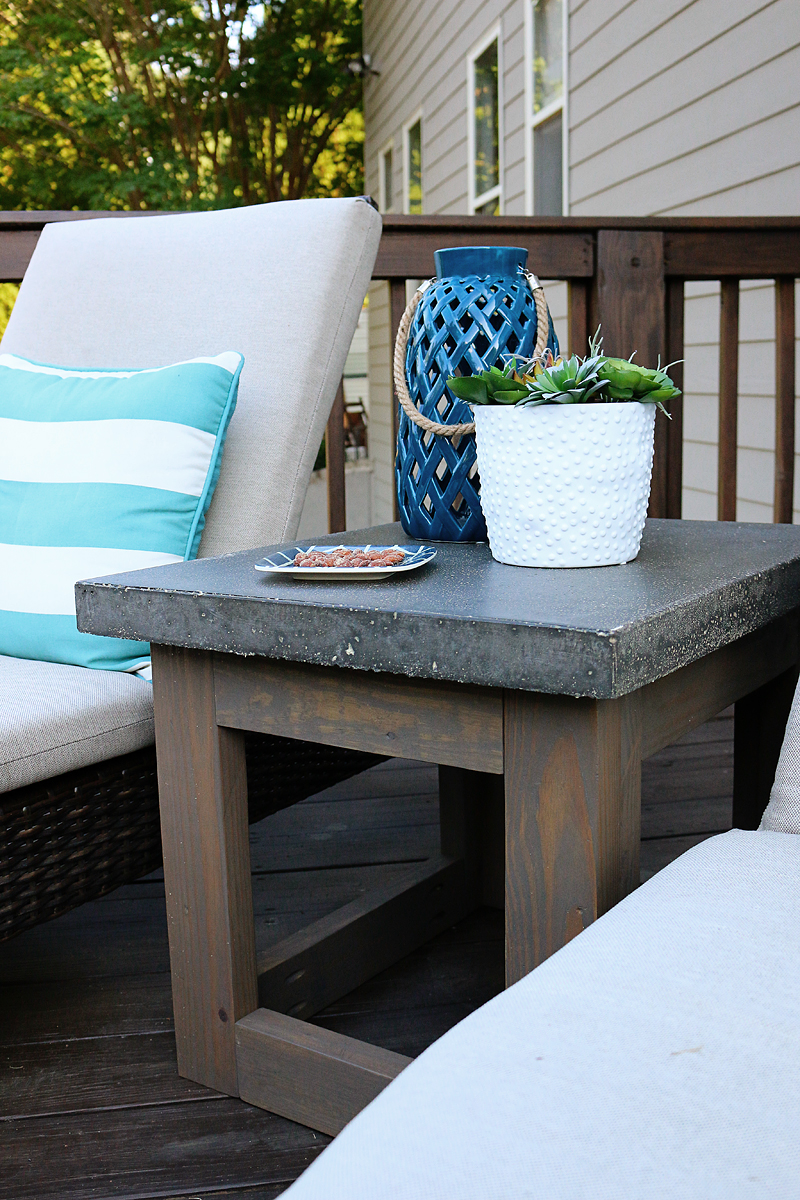
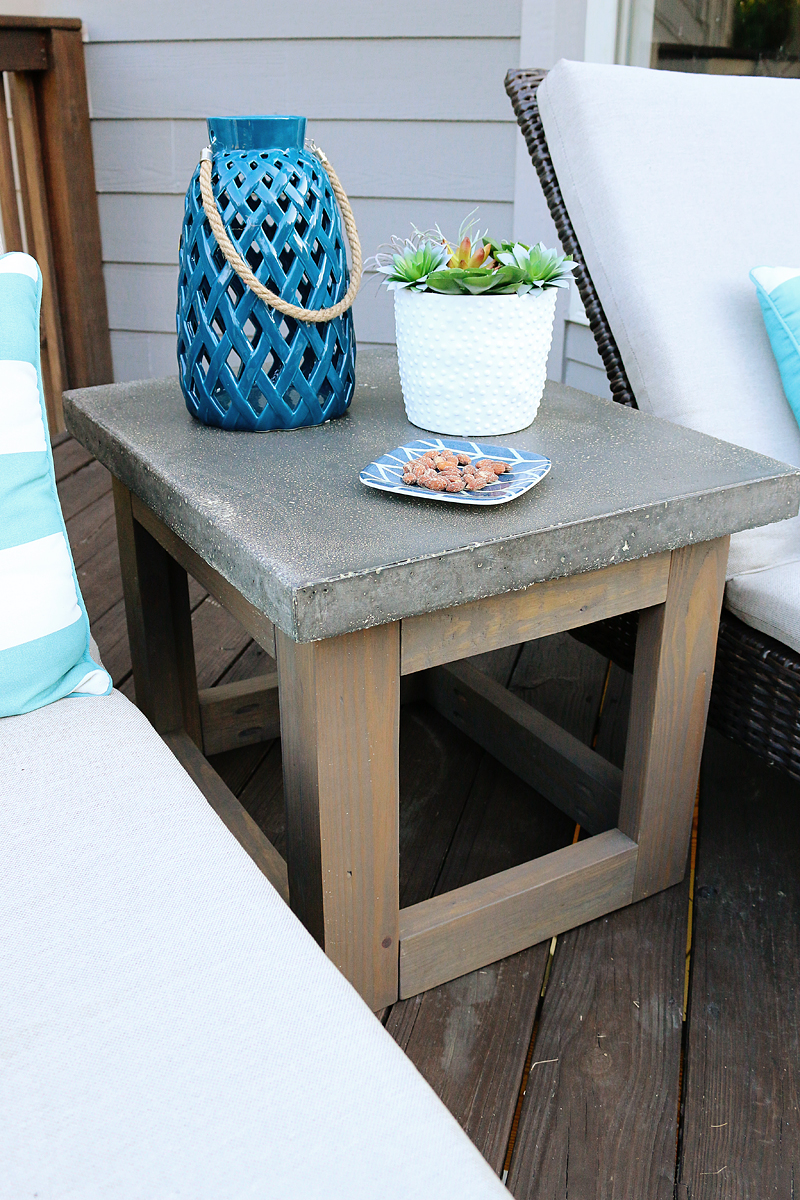
Of course, I immediately styled it up so that you could see how spacious the table was.
Perfect size for a little side table for chaise lounging.
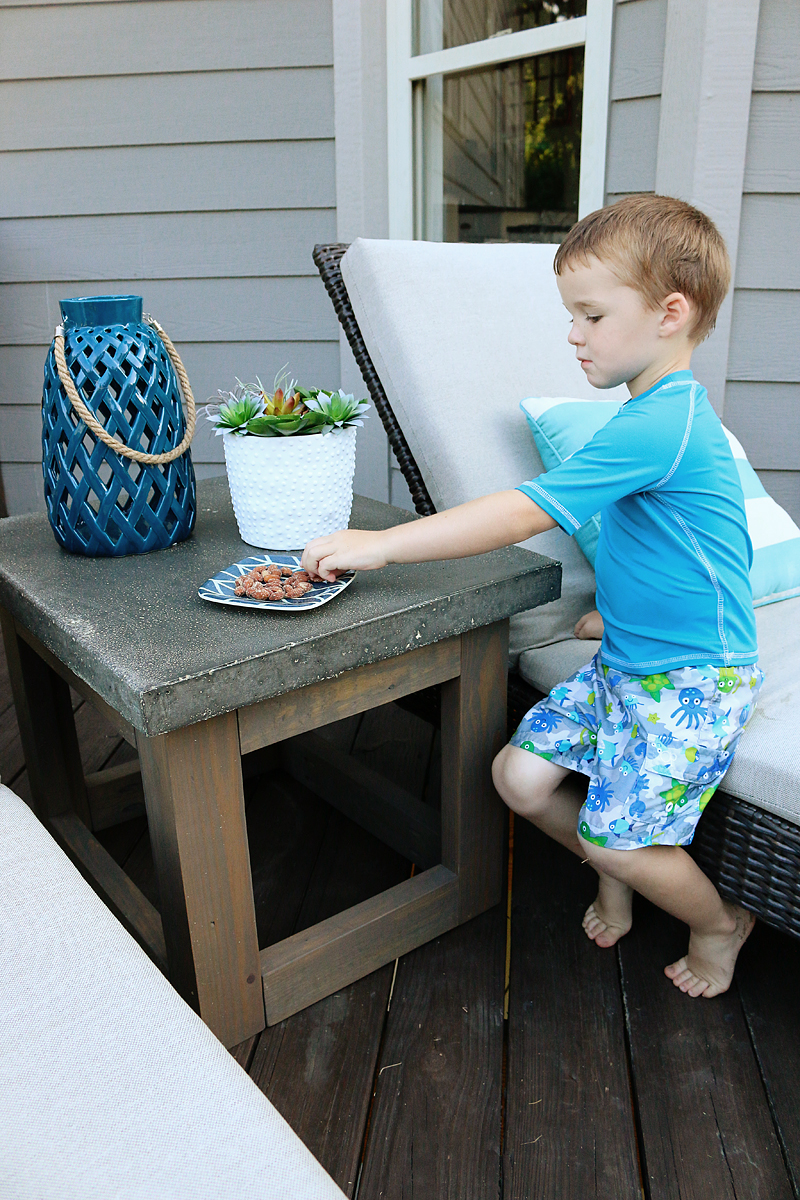
My Munchie stealing my munchies 🙂
And here is the zoomed out view for you guys. Isn’t it great? I think I need a few more things in that back corner….maybe an umbrella or plants or something. What do you think? Any ideas for something behind the chaise?
And a special thanks to LIQUID NAILS Fuze*It for lighting a fire under me to get this side table done. And for making an awesome product! Now off to make our next project!

“Lounge and have sweet tea”, when does that ever happen? In theory, it looks great and functional but you know you will never be alone on that lounge. At least one or two kids will glue themselves to you. And when all the kids are down for a nap, you’ll be busy on another project.
Oh I sit out there in the afternoon and when my girlfriends come over. It’s actually the first part of the yard to get shade! I wish it were every day but ya know…I’ll take once a week 🙂
xo – kb
the deck looks a bit worn there already? how is that holding up? didn’t you just redo that last year?
Nice job! Especially because you used things that otherwise might have been wasted and made something great with it.
I think a big plant could be good in that corner (as long as it isn’t under the eaves so it gets rain and you don’t have to water it yourself ;-). Though if you’d sit there more if it was shaded, perhaps the umbrella would be best…
Very nice. If you need the shade then yes an umbrella. Otherwise some tall greenery would be fab.
Love your use of this! There’s always a place for something and this is perfect! I think it would have looked awesome to have the legs flush with the concrete top, too.
Looks great ! A nice sturdy little table. We get a lot of wind on my back deck so tables get blown over easily. So this easy peasy little table might need to go on my to do list! 🙂
If you didn’t want the holes from the kreg jig showing, what could you do to fix that?
And I would put a bright colorful umbrella behind there!!!
Thanks!!
Did you know that you’re caulk gun probably has a little pointy thing to open the tube? They’re usually at the end, by the dispensing tip, and they rotate out of place. The caulking gun handle has a little cutter built in to it, too! I just learned this and I was amazed 🙂
Ugh! Proofread, Becca! I meant to say “your caulk gun…”
Love it Katie! Well done. We are also sprucing up our garage so we have more room for projects! Now I want a lounge chair 🙂 and some sweet tea! Holla!
xo Melissa
Looks amazing! Love it!
I love the idea of a concrete side table! For behind the chairs, have you thought about building a screen to make your oasis a little more private? http://www.wayfair.com/Screen-Gems-67-x-52-Terrance-3-Panel-Room-Divider-SG-162-SCG1324.html
The table looks awesome and is perfect for that spot! I like your idea of a plant behind the chairs. I’ve seen some potted palm plants in stores lately (Costco in particular). They’re a good size and would give the corner a little greenery. Plus, you could spend the afternoon pretending you’re on tropical beach, which every mama deserves. 😉
I’ll have to look! I did not know that! Thanks for the tip!
xo – kb
Just take a little wood filler and push it in and smooth it out and sand it before staining. It’s really not much trouble to fill those!
xo – kb
I know. That is the problem with regular stain…it usually needs reapplied every two years. Our deck is high exposure too…nothing protects it from the elements and our heat really beats things up. So yeah…I guess I will need to get working this fall 🙁
xo – kb
That came out great! I love how you are not intimidated using a table saw. We have one; but I would need to get some courage up to use it. I love your projects!
Wow – great table base. I’m going to attempt this with a 24×24 paver for the top. Thanks Katie!
that is really sad, especially since you spent so much time and energy fixing it up as i remember. are you considering trex decking in the future? the table looks really good though!
How about a large planter/pot behind the chairs with a tall shepard’s hook in the center for hanging an outdoor lantern? It would be like an outdoor reading lamp between the chairs 🙂
I am very impressed with your finesse wit power tools. Love the table – the ruggedness of the concrete with those great wood legs. Nice work. 🙂
Jeremy keeps asking if I considered Trex so I think it’s on his mind 🙂 it is a hassle to restain every couple years but honestly there are much bigger fish to fry!
xo kb
So smart! Make sure you send me a pic when you are done!
xo kb
Oh I like that idea! You can definitely see whatever I put there in the big window next to the kitchen and a hanging basket would be so pretty!
xo kb
Great step by step guide. I like that you pointed out that the table top felt extra strong. I can see why it’d be nice to have something durable and firm holding food or drinks. I’ll have to think about doing something similar to liven up my backyard.
Sigh. What is the point of me pinning anything from your blog? My whole pinterest board dedicated to “Projects I want to do!” should just be called “Bower Power” and should just be a giant link to your site. LOL.
Aww that makes my day. Seriously did Jeremy pay you to say that? 🙂
xo – kb