A picture of your new baby is basically the best photo ever. Newborn photos capture the beginning of a LIFE. And this innocent pure little bundle of squish should be documented in all it’s pink and soft and wrinkly awesomeness. But I also get that sometimes life gets in the way….you may have forgotten to book your photographer, your baby came at an unexpected time, or your finances just simply didn’t include that photographers fee this month. Trust me. I get it. I also get that you have a very short amount of time to actually do newborn photos….you have about a two week window to do take your baby’s pictures so booking someone last minute can be stressful, expensive and you may not get the results you are after. But I have good news! If you have a decent camera, some basic editing knowledge and the worlds cutest baby (I know you said yes to that one)….you can DIY some very simple newborn photos for you to cherish for years to come. And if you are a newbie photographer looking to hone your portrait skills, infants are amazing to capture….they don’t move fast so no shutter speed issues, you can put them anywhere so you control lighting and they are adorable.
I thought I would offer up a little smorgasbord of newborn photo advice…hence this post with lots of different topics on all things DIY NEWBORN PHOTOS.
First things first – no, I no longer do photography for other folks except family and friends. I love your emails but please don’t ask because it breaks my heart to say no. I literally resisted falling in love with all my clients babies….I always claim to not love other people’s babies until I meet them and then fall madly in love. I blame the thighs. They get me.every.time.
Now let’s talk basics….
EQUIPMENT –
Here is a list of the equipment I recommend for taking newborn photos:
- DSLR Camera (if you are new to photography, a Canon Rebel is an amazing starter)
- 50MM Lens (cheapest and best lens ever for portraits)
- reflector/diffuser
- remote
- tripod
- boppy
- adjustable heating pad
- mini heater
- various blankets (my favorites are this one and this one and of course the faux sheepskin)
You may also need an area of your house that gets lots of light. Think double windows. Glass sliding doors. Or consider outside in the shade. You will also need any of your personal props. Gather those together and consider that each prop may take up to an hour to incorporate and take photos of with your newborn. More on this topic in a second. Then you may also need an elevated surface. You can use a large ottoman, a mattress, a large armchair, or even a coffee table with cushions. You will want to be eye level with the baby.
Now that you have all your stuff…let’s talk about the various newborn topics…
PROPS
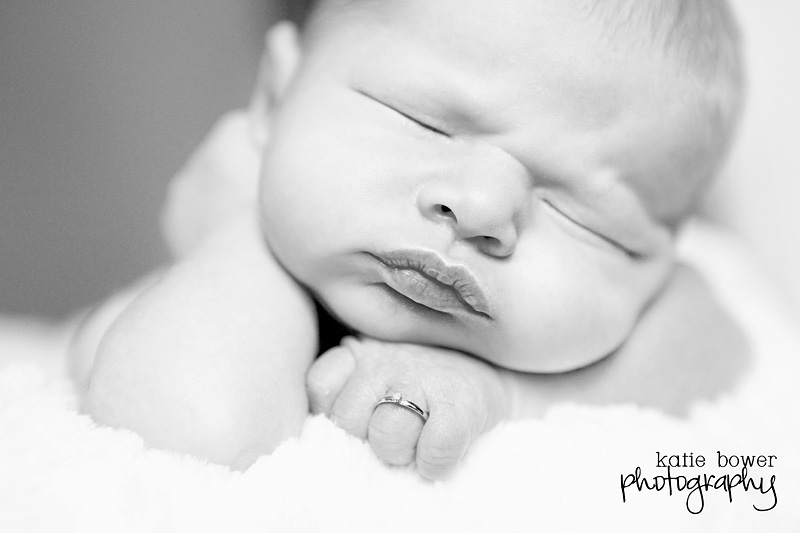
I love personal props. Using things that mean something to you and your family in photos are one very special way of making these items cemented into your babies’ personal history and future. In the picture above, the mom had the tiniest little diamond ring that fit the baby just perfectly.
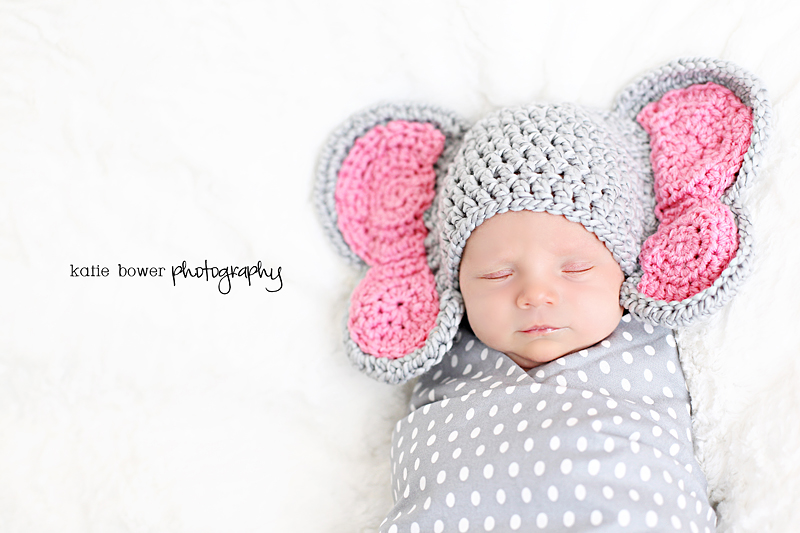
These ears were ordered off etsy and since this family was from Africa…it fit their story in a wonderful whimsical way.
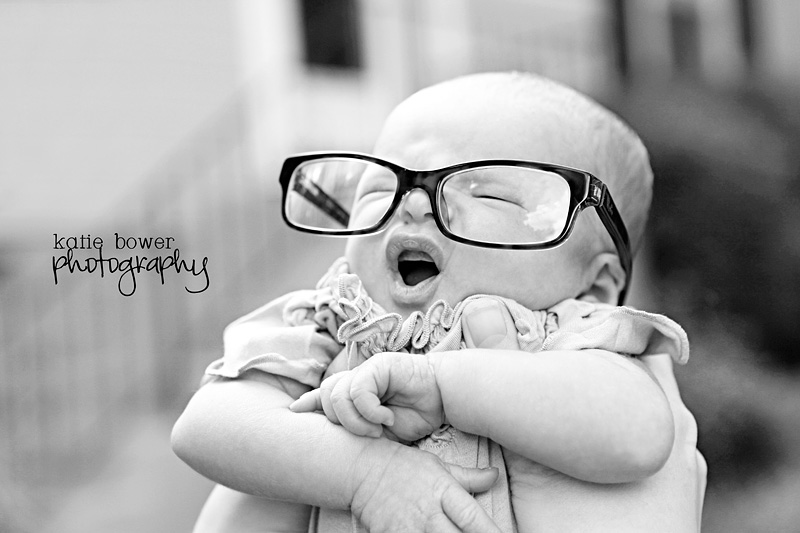
Dad’s glasses? Yes. Always yes.
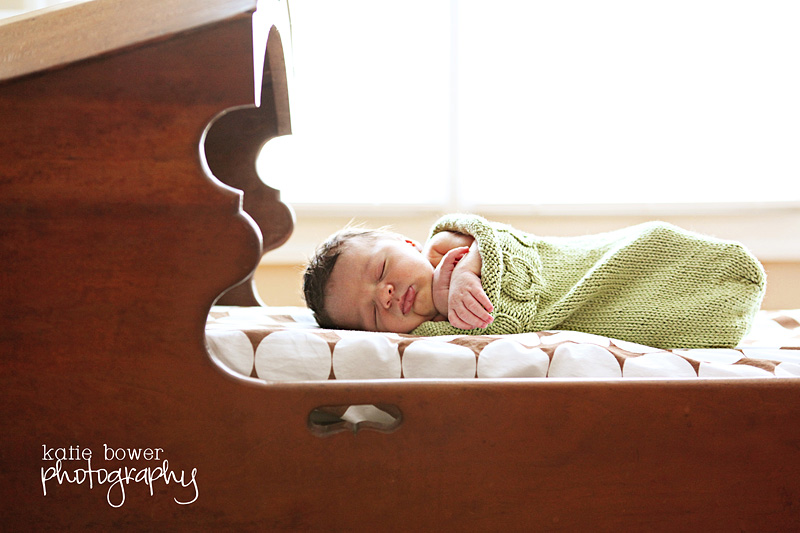
Love this one of a handmade crib that was passed down through the generations. It worked really well by elevating the mattress and placing a small pillow behind baby so he didn’t roll onto his back.
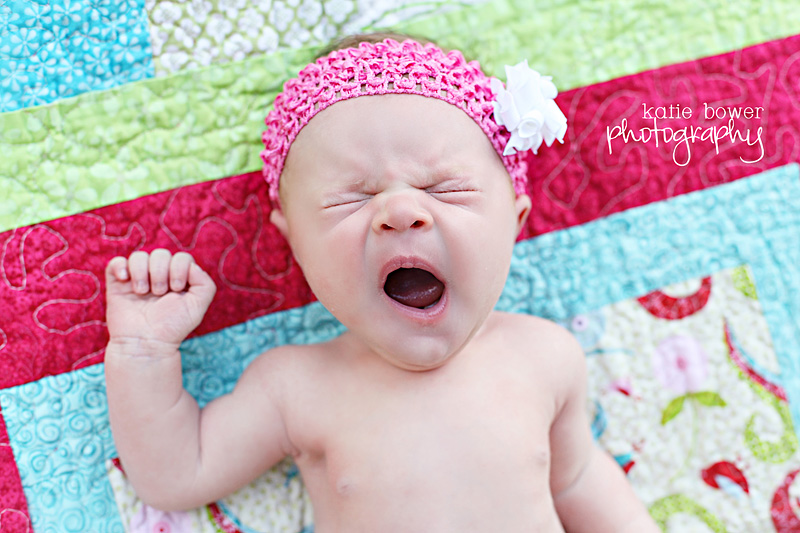
Consider your angles and make sure you are capturing that item in a very purposeful way. You may not want the item to be up front and center but more of a background item. Lots of times people have quilts. If you do not LOVE it, then you may want to just lay baby on their back and capture more infant than blanket. This is a terrible example because the quilt is adorable but you can see what I mean….
And that one leads me to the next newborn topic….
BABY EXPRESSIONS
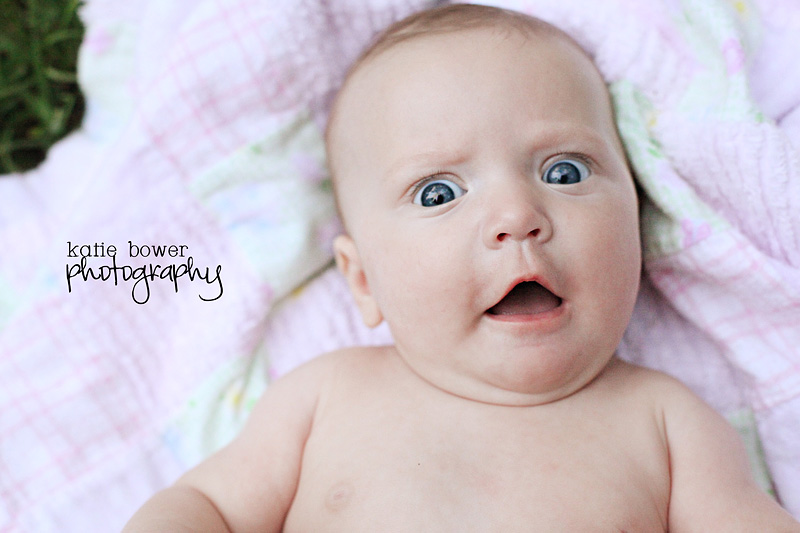
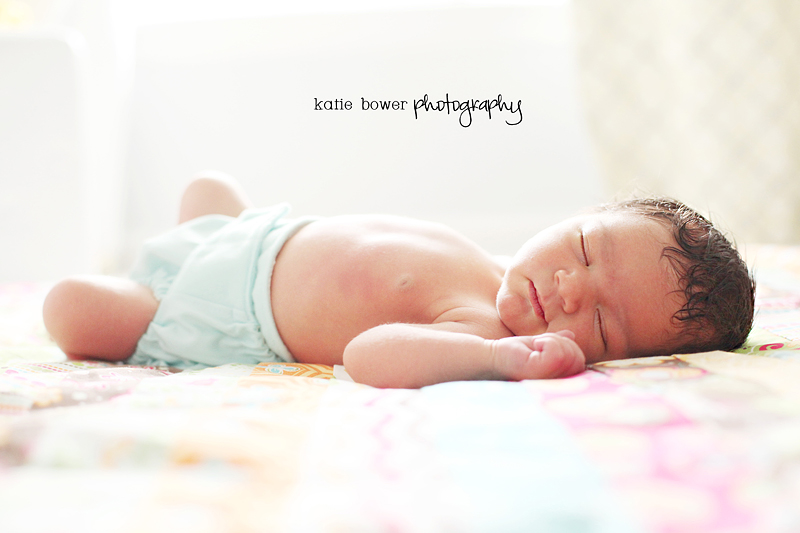
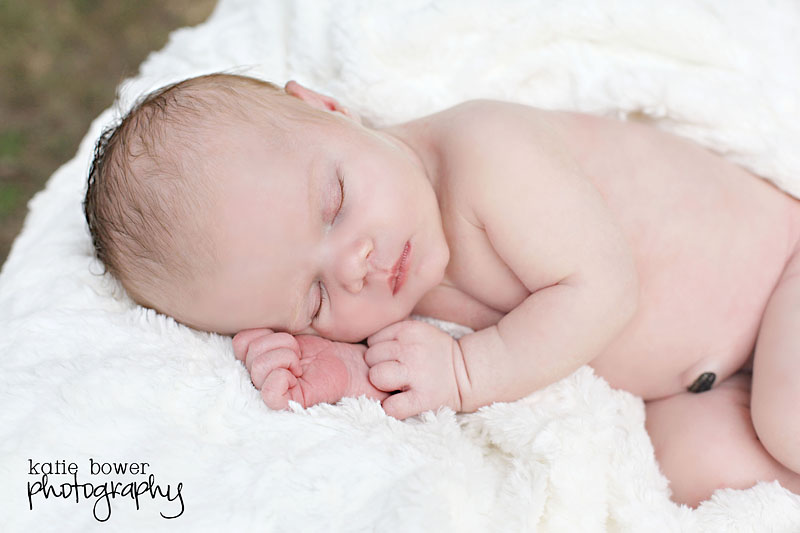
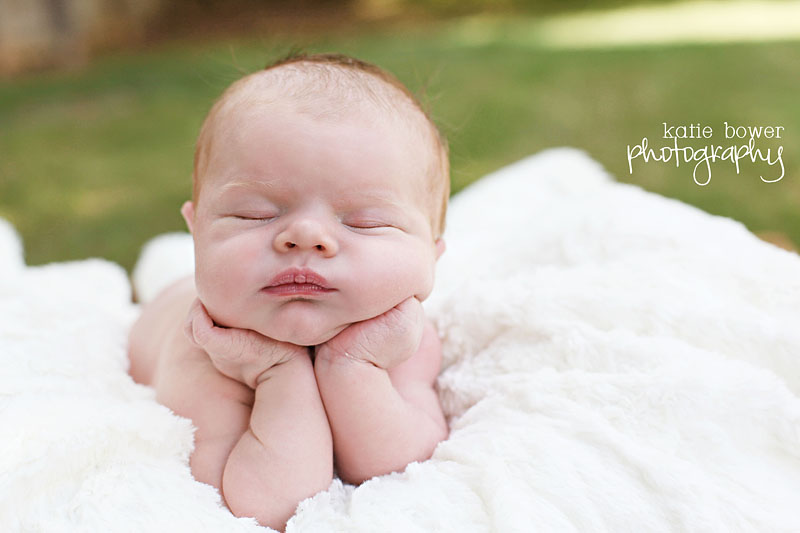
New babies make the best expressions in the whole world. They literally do not filter anything. That means you can capture their exact feelings in that moment. Consider doing a few of what I call “Naked and Afraid” photos….strip the baby down to their diaper or bare booty and lay them on a blanket in a warm environment. Wait for their most unfiltered expression and you can capture some of the best photos.
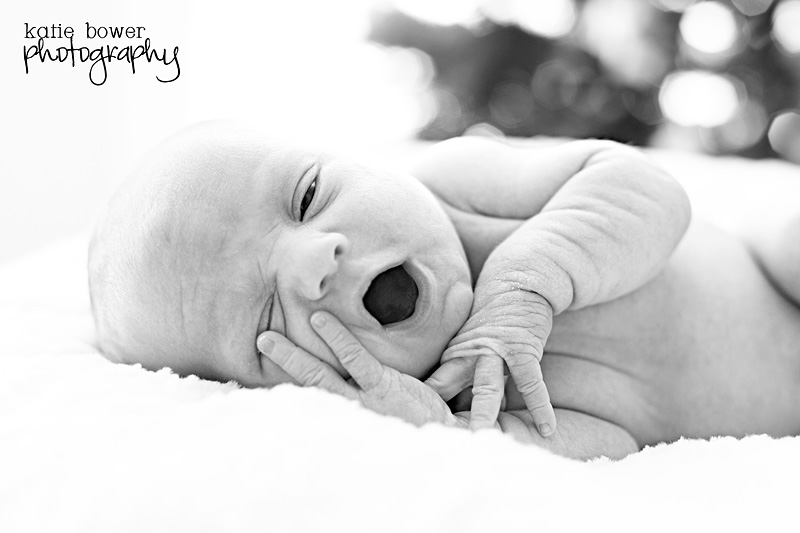
Baby yawns are amazing. Especially when they don’t know what is happening with their hands.
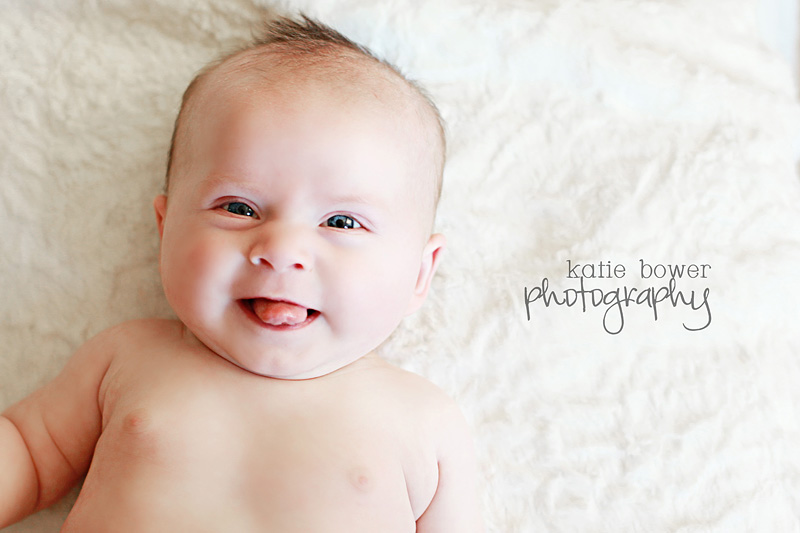
Your baby already making eye contact and sticking that tongue out….make sure you get it!
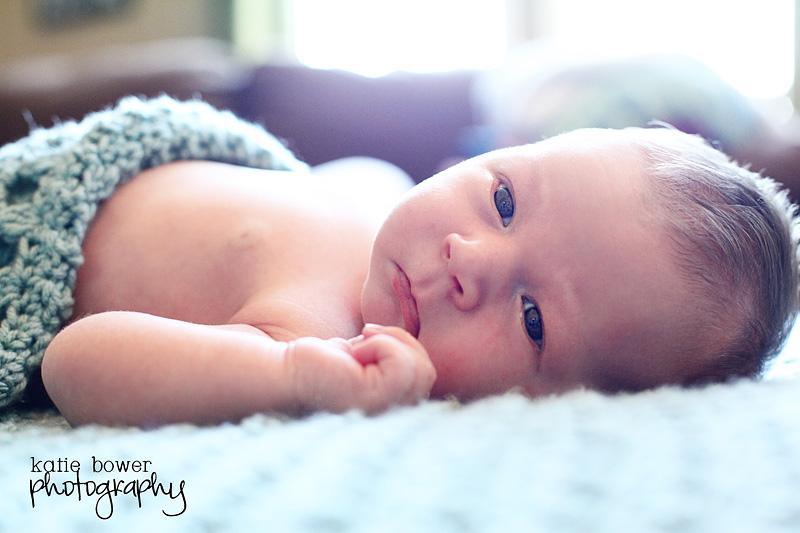
My personal favorite…it’s that moment when they realize they are seeing another human being.
DETAILS
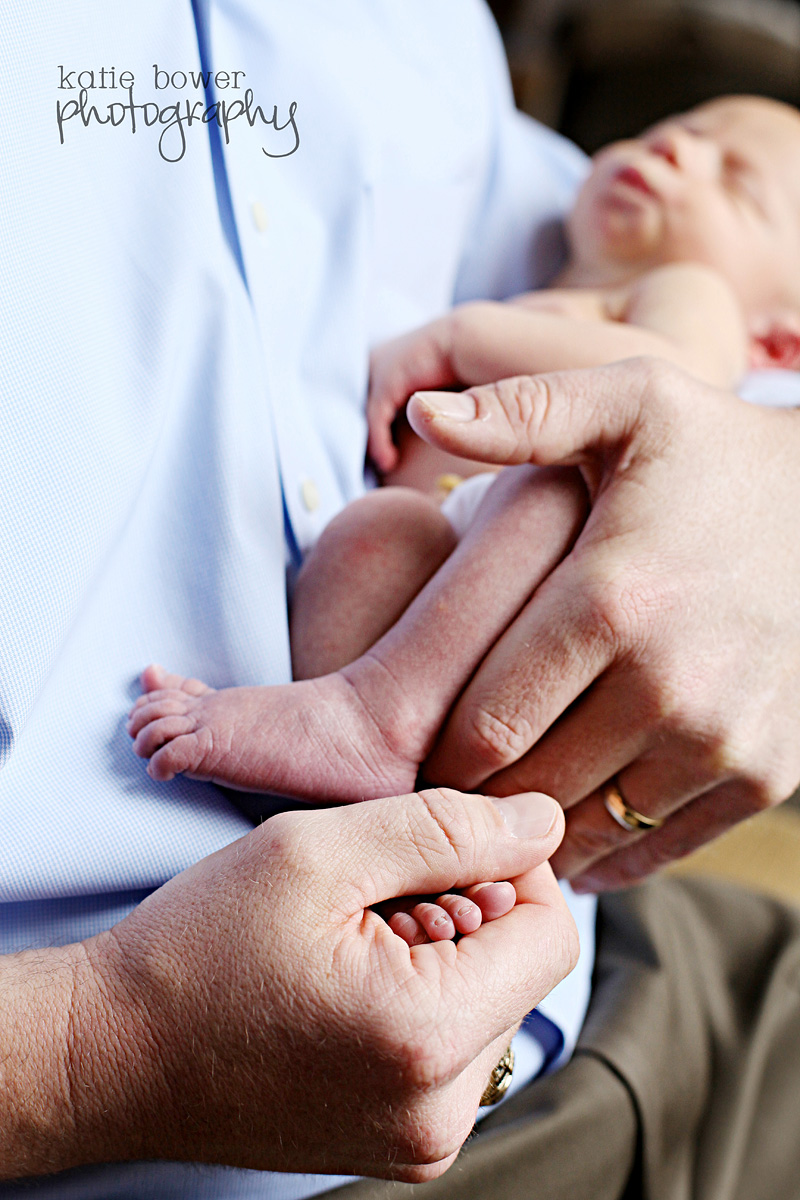
During your own DIY newborn shoot make sure you don’t forget to capture the details of the baby that make them THEM and also ones that may disappear in the future. Those little newborn wrinkles, dimples, and details that are adorable….everything from baby toes…
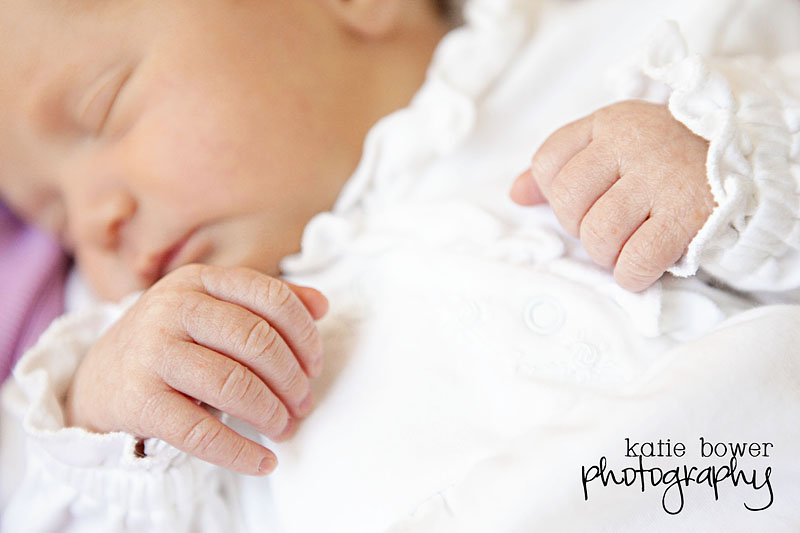
to little hands…
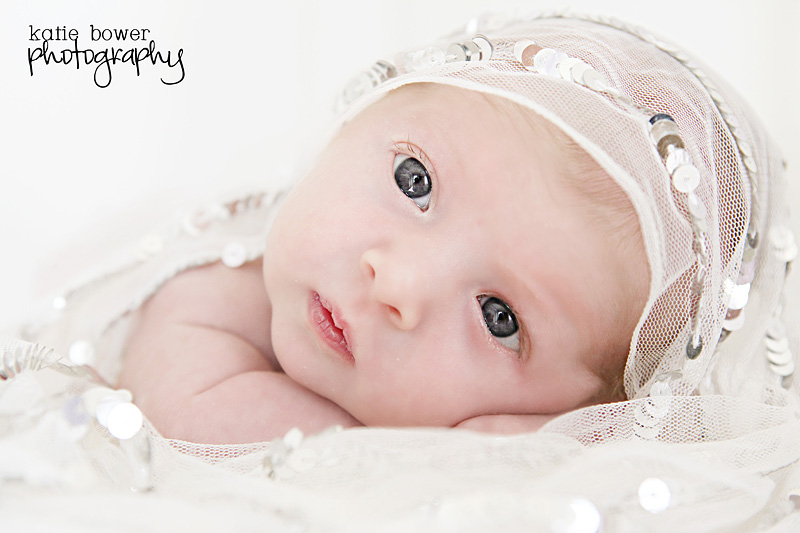
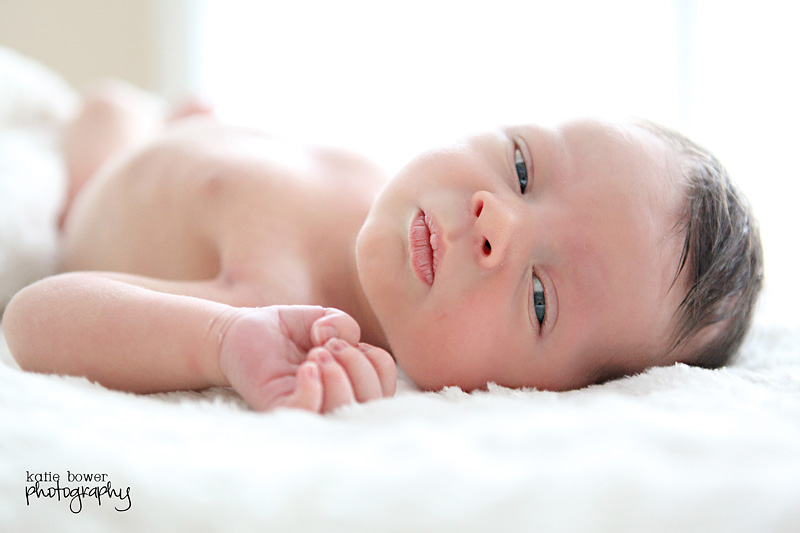
to big bright eyes…
even great hair should be documented!
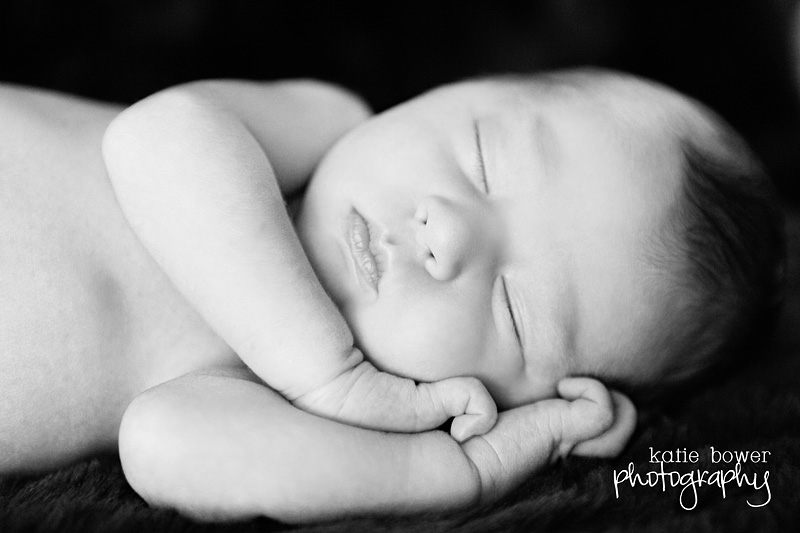
Another thing to consider when doing baby details is getting a big piece of black flannel to use a back drop for making all those little baby hairs and details pop. It gives a very studio feel to photos.
EASY POSES FOR BEGINNERS
If you are a beginner with newborns, realize that your number one asset will be patience. Newborns are like little butterflies…sometimes they land on you and lay perfectly still….other times, they are impossible to contain. If this is your first newborn rodeo, realize that the possibility of poop, pee, wiggles and tears is all there. You will need to let the baby call the shots and you get to help guide them. Here are some super easy ‘poses’….
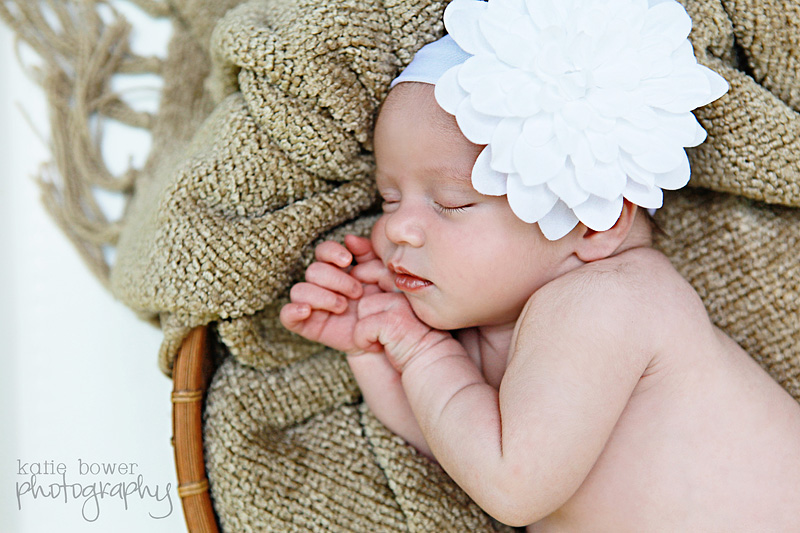
Lay down a blanket and put the baby on it…capture anything 🙂
Backlighting with a baby and lots of unfiltered light…
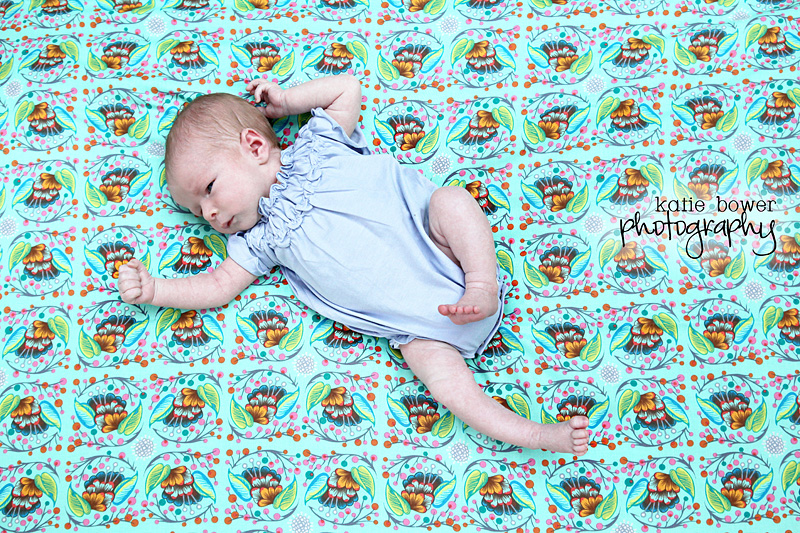
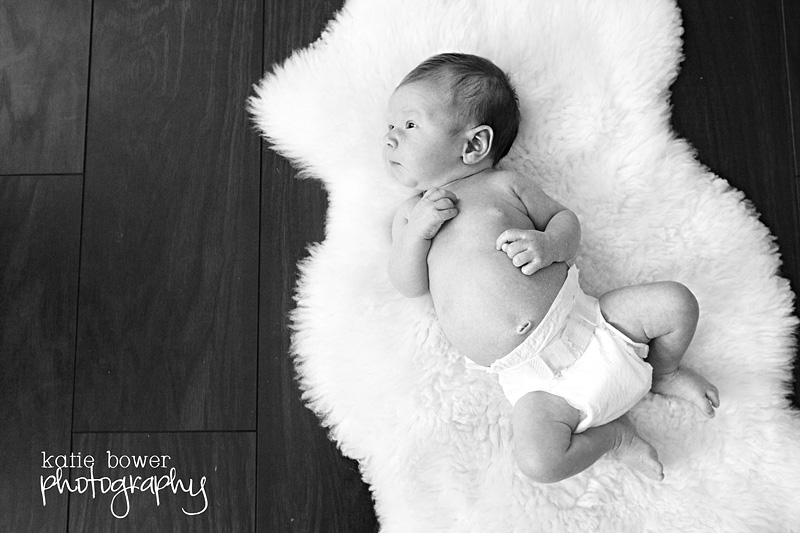
Overhead shot of baby on sheepskin on floor facing open door….
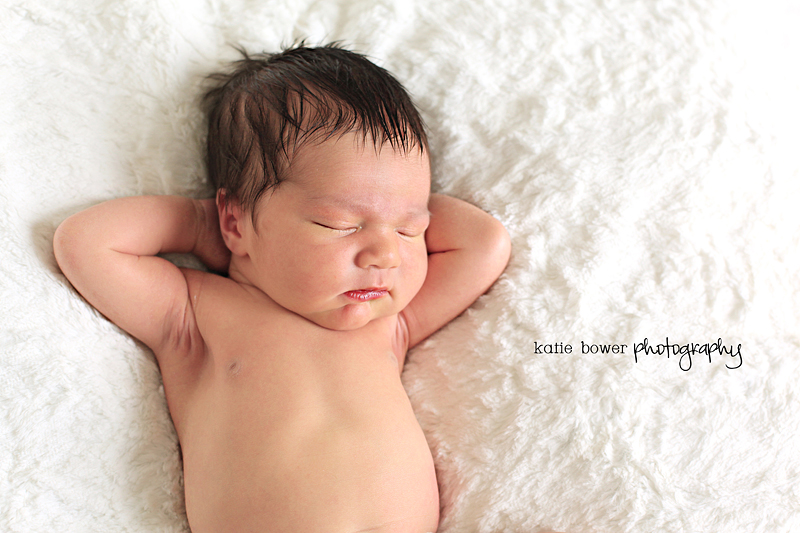
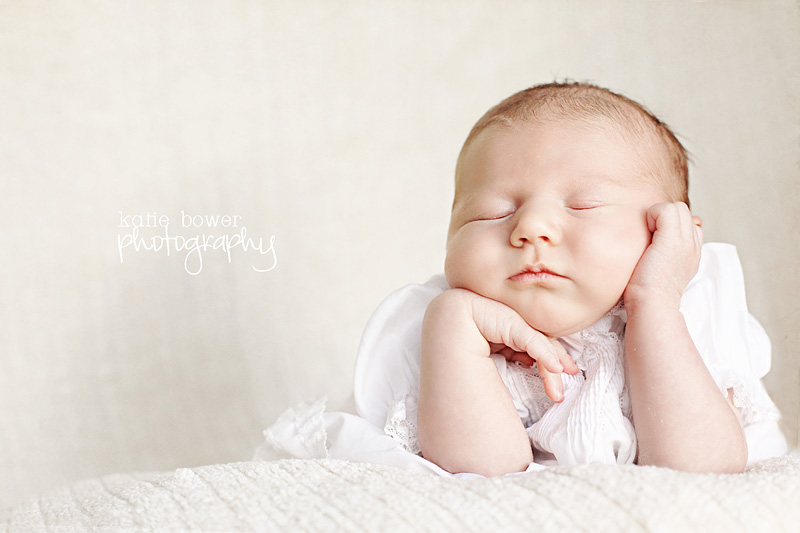
Use the ‘comfy baby setup’ (aka warm environment, heating pad on medium under two baby blankets) and have the baby hands under head facing filtered light.
Comfy baby setup with backlighting and use bounce to reflect light back to baby’s face.
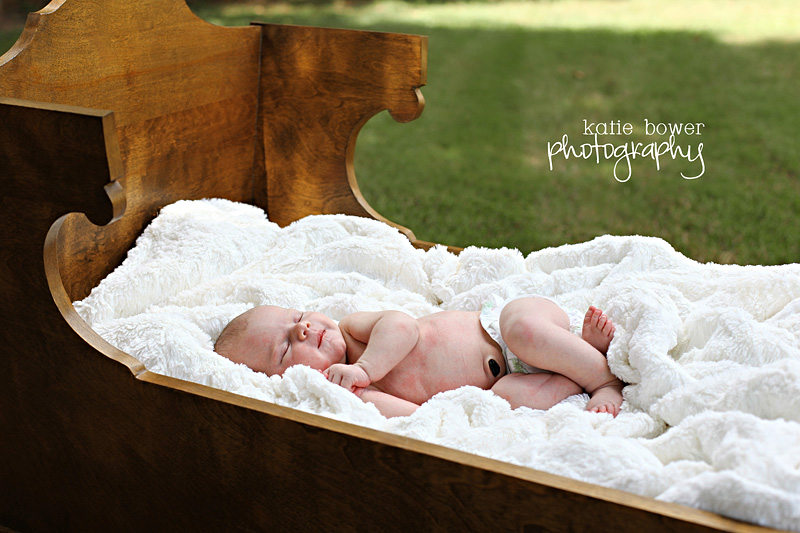
Outdoors with side laying baby, cross ankles and place hands together. Position head so it faces the light.
Low basket with pillow and blanket, lay baby on side in diffused light and use reflector to bounce light to face.
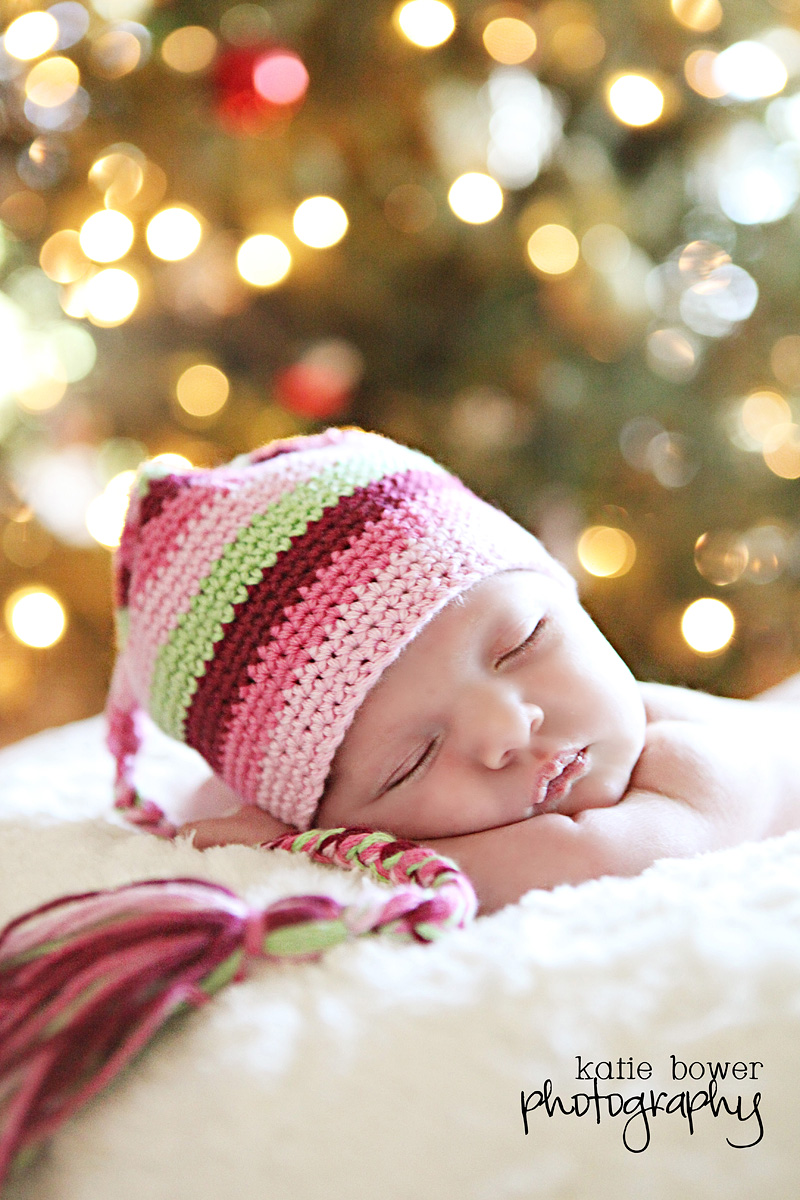
Lay baby on crossed arms on boppy covered with blanket in front of Christmas tree. Or any twinkle lights. Let’s face it…twinkle lights are always a good idea.
SAFETY & MODESTY
Make sure you also consider the following two things when you are taking your DIY Newborn Photos. It is ABSOLUTELY necessary to always make sure that the baby is safe. If the possibility of harm exists – please do not attempt the photo. No photo is worth your babies well being. In situations where the baby is elevated (like the below picture where the baby is on a chair)…make sure your extra helper is holding their bottom half so that they can not roll off or hurt themselves. An extra helper is also great for holding up blankets as backdrops, fetching wipes in case of burps and holding the diffuser. Please do not even consider placing a newborn on top of shelves and doing a stepped back photo. Please do not think it’s okay to balance a newborn in a precarious position. Did my safety first message comes across? I’m hoping you say yes.
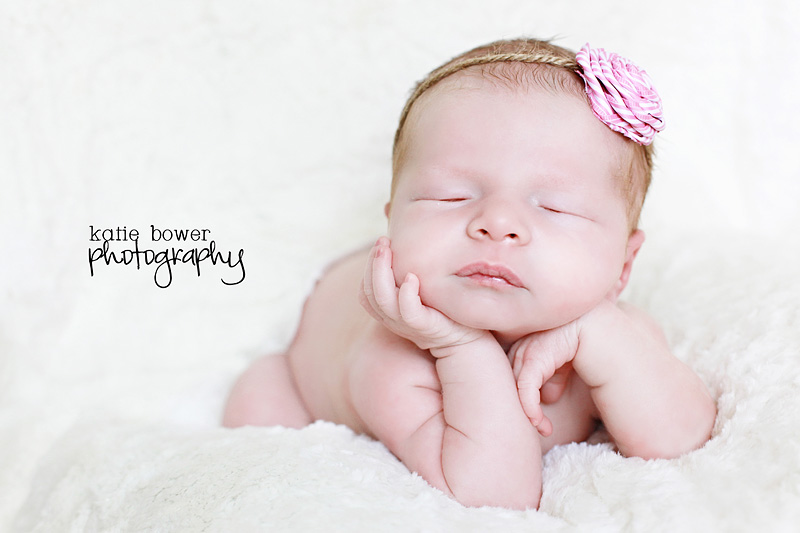
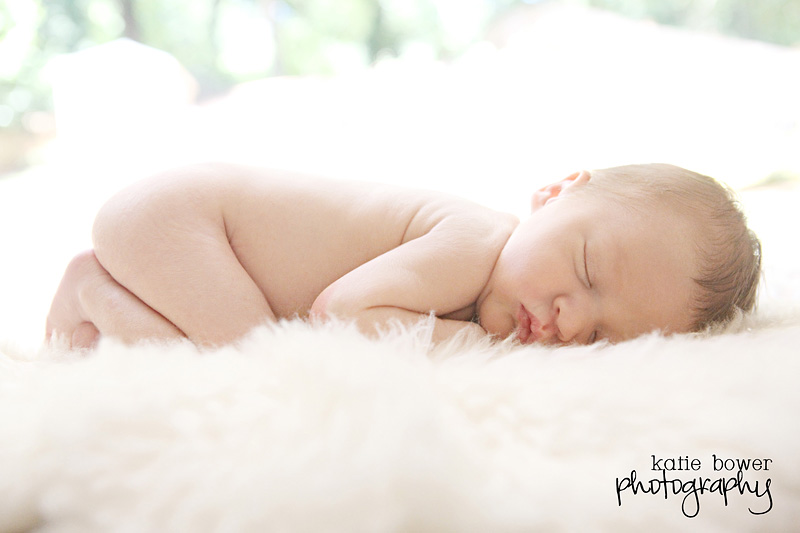
As far as modesty goes….and I get this question a lot….How much is too much? My general rule is to NOT photograph anything that can confirm whether that baby is a boy or a girl. If you can tell from a body part, it is my opinion that you are revealing too much in a newborn shoot. I am one for baby’s butts and think that little newborn tush is the cutest thing ever but if you are anti-booty, you can give the idea of that sweet skin perfection with side action and a little criss-cross legs together posing too.
For that shot above, just simply lay the baby on it’s belly (comfy baby setup) and see which way the baby likes to turn his head. Usually they will tuck their arms under themselves or allow you to do it easily. If their legs are stretched out, hold each leg under the knee and slide them up under the rump and then cross the ankles. You can place your palm at the bottom of their feet and then one at the top of their head and gently make tiny rocking motions until the baby settles naturally into that position, then remove your hands.
PARENTS, SIBLINGS AND SELFIES
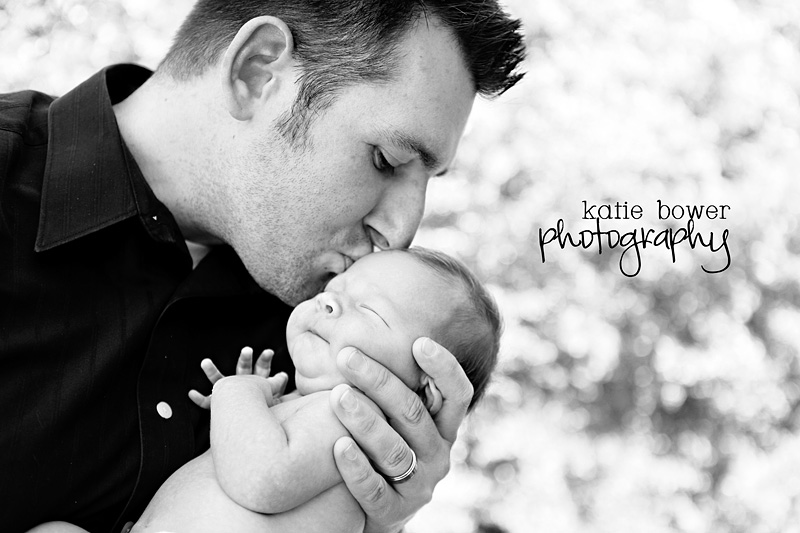
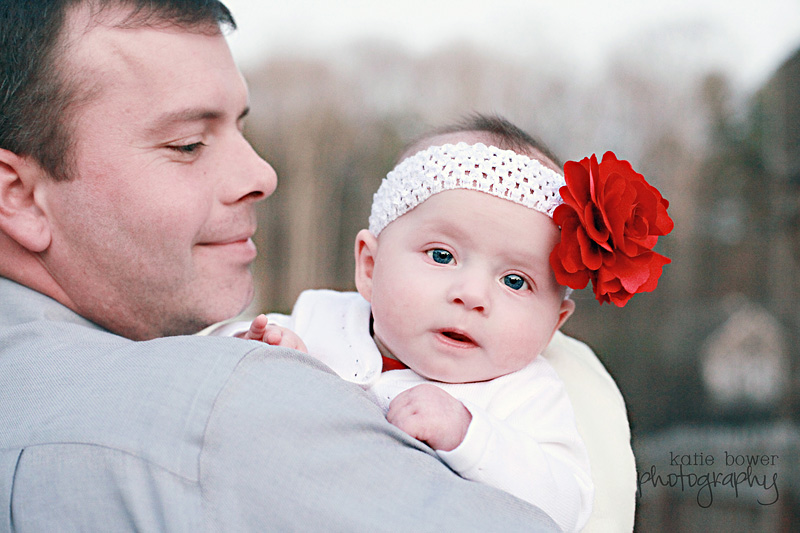
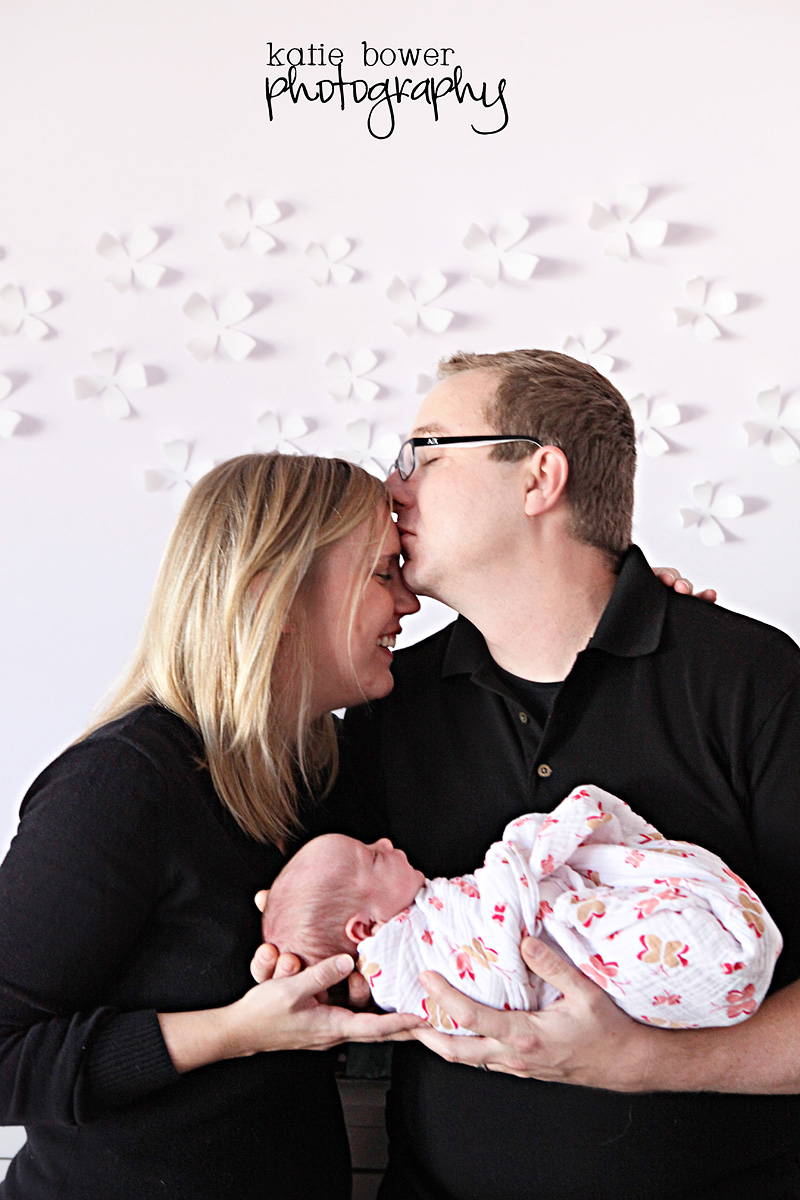
Attempting to DIY your newborns photos will also mean that you might need to be prepared for taking pictures of adults and kids! Dads are especially tricky (most dudes don’t LOVE having their photo taken) and I feel like the best way to get them on board to is pick out a huge array of different inspiration photos and go with those poses. Guys love very specific directions. Some of my favorites are kissing the baby on the forehead, holding the baby’s head with two hands with elbows under the rump, baby up over the shoulder and cradle hold with the shot coming down over Dad’s shoulder.
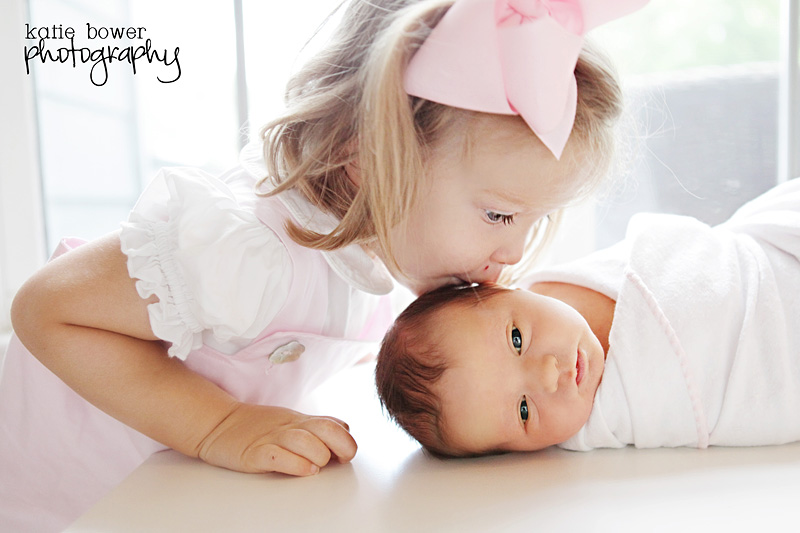
As far as sibling shots go….pick a well lit area and make the baby as comfortable as possible…then allow the child to interact with the baby. Some smaller children may do simple things like point to it’s hair or feel the baby chin or give it a kiss. Older children can hold the infant with supportive pillows or even crouch over the newborn to allow for other interaction angles.
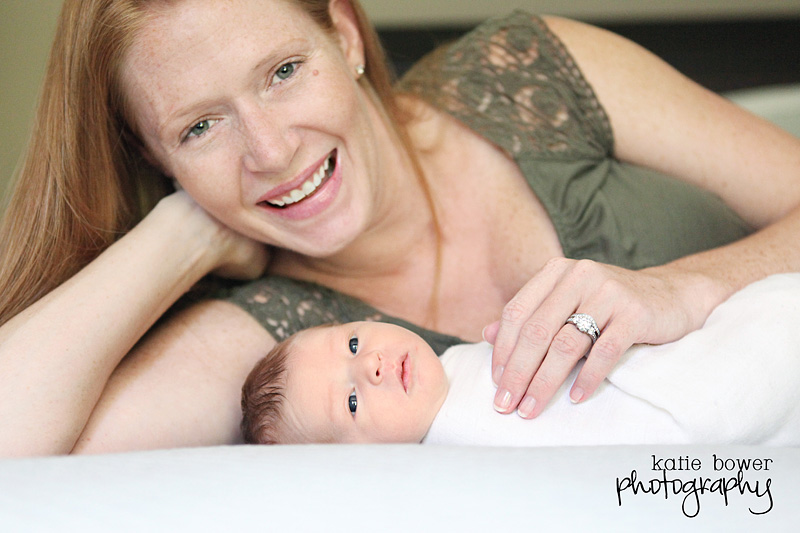
You also will want to get some photos of yourself with the new little one. If your helper is taking the photo or you are doing it yourself with a remote, set up the lighting first and make sure your aperture is set to capture both you and your infants face. This one of mom on a mattress with her new little one is so easy to recreate with a tripod since both her face and the infants are on the same plane.
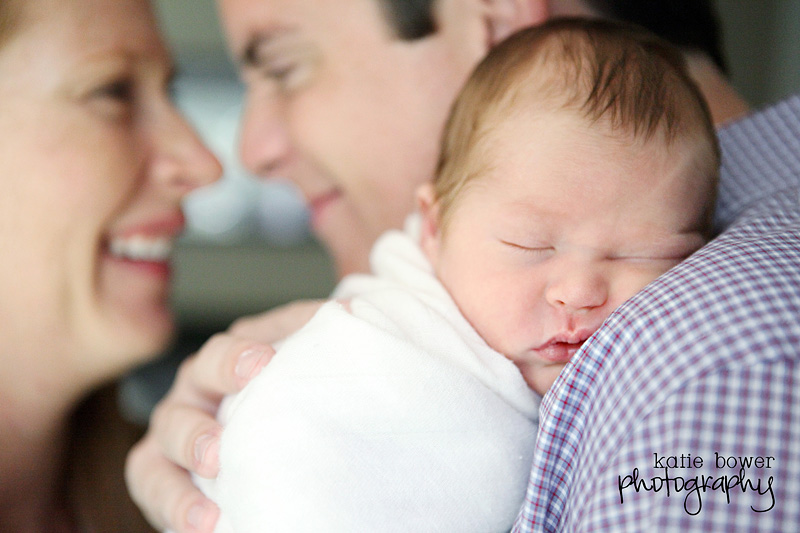
Or having mom and dad in the background and baby in focus is easy with a tripod and remote too….set up dad and baby first, set the timer or have the remote and get in place. You should be able to capture it easily!
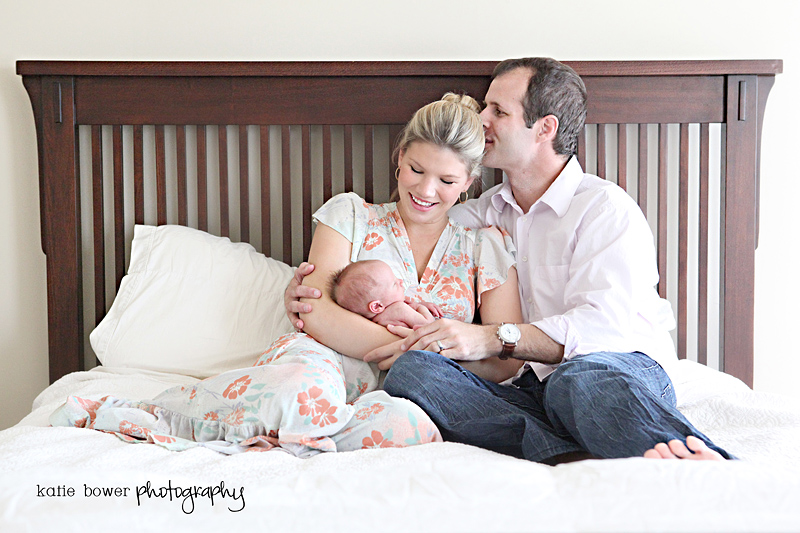
One of my personal favorites is the place where mom lives after having the baby – the bedroom! You can have mom stay still in this shot and have dad jump in after hitting the timer.
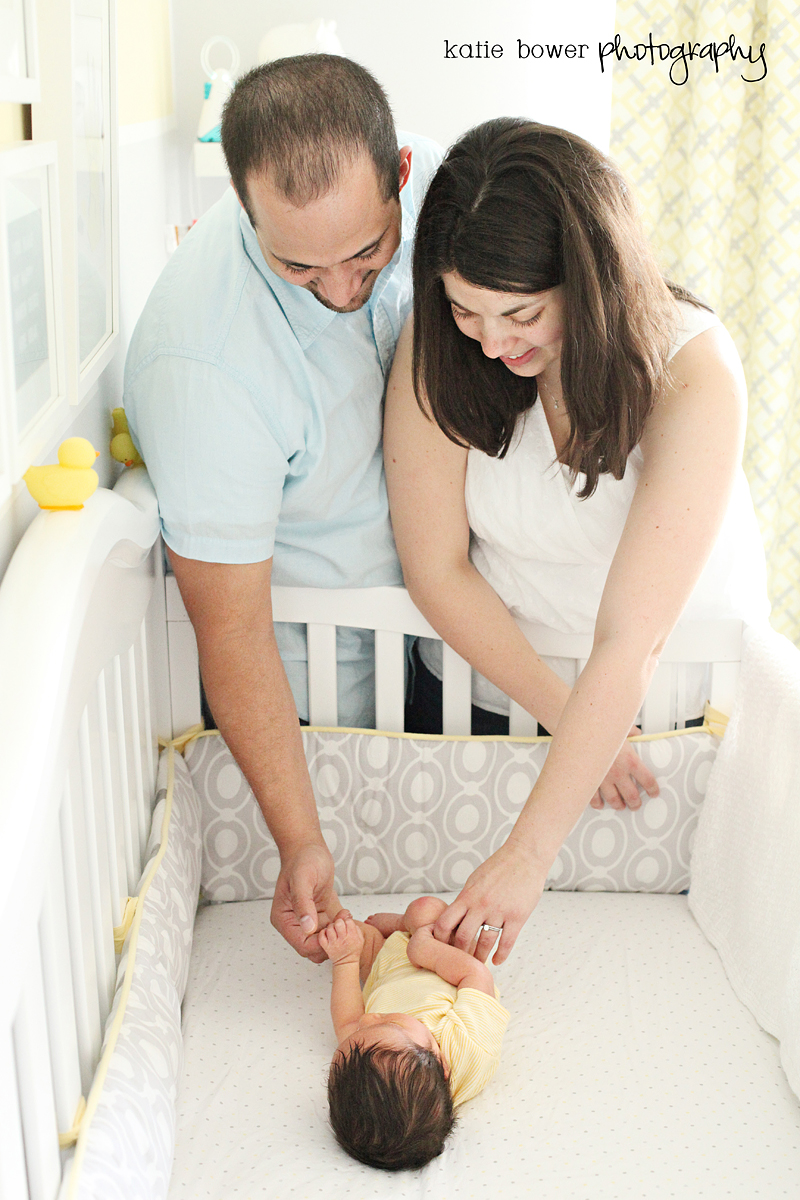
Another favorite is anything in the new nursery. This is a special place that you will want to document and this is a great way to round out the set of close up photos and looking at the camera portraits.
Basically any pose that worked for maternity works also for newborns – just make sure you are loving on someone 🙂
ADVANCED POSING
For more advanced posing – like baby propping by elbows and such – I recommend conquering all the easier posed positions first (like the belly one with the legs under or the headed propped on folded arms) and then working on little details – like being able to calm baby to relax babies fingers and get the baby to hold it’s other hand. Also work on that gentle small rocking motion with your hands to get the baby to relax into a position. That is key.
I personally have never done the photoshop trick where you support the baby’s head with a finger and take one photo then switch sides to take the other picture and clone the finger out….but if you feel more comfortable with that…do it! There are lots of great tutorials on YouTube to show how to do this propped position without that trick.
**A comment today said that a lot of reputable newborn photographers now ONLY recommend any propped or froggy positions with photoshop and complete head support to prevent falling or injury. I definitely think that this is the best recommendation!
And for those of you wondering about editing….here is an old post I did about editing newborns. I hope it helps!
And for other great tips on taking your own photos and the setup for a newborn in a chair….see this old post!
Happy Friday guys! Hope this weekend is the best yet 🙂
Thank you for this post! It is so timely – I’m due with #2 in a month, and planning to do my own newborn shots. I bought a Nifty Fifty at your recommendation and I love it. Can’t wait to put it to use with our new addition!
Are you still doing photography and newborn sessions??
NEVER EVER attempt the “froggy” pose without someone supporting the baby’s head. You MUST use Photoshop and combine the two images. As a professional newborn photographer, I’m disappointed this was made to sound optional. Not one single professional would recommend this. Look up some amazing newborn photographers like Ana Brandt, Kelly Brown, Julia Kelleher…they give free blog tips all the time and they’d DIE to know this bad advice was being shared.
Anyone can write anything on the internet. Listen to the professionals whose livelihood depend on their safety standards. Do the pose wrong, and you’re putting too much weight on the wrists, bruising them or cutting off circulation, a baby can stir and fall out of the pose, either hitting their head or damaging their neck muscles and throat. JUST DONT DO IT.
Hahaha! Nope 🙂
xo – kb
Thank you for sharing this. I have never done the true froggy pose with an infant so I would definitely not know about that. I have learned the propped position from other reputable photographers that do studio newborn pictures and they only ever said that you shouldn’t ever do the propped if the baby could fall out of pose and they don’t recommend doing it on a hard surface other than layered blankets and boppy because of that very reason. But I will definitely recommend that you only use photoshop from here on out!
xo – kb
I had a creeping feeling of dread while I read this post. I kept hoping the froggy pose would be relegated to the “please don’t do this” file, but when I saw that you suggested it be done in one fell swoop (without layering images and brushing out fingers), I felt like I needed to chime in. As the previous commenter said, there are entirely too many bad things that can happen in poses like this. I spent *years* photographing newborns before I felt comfortable and practiced enough to do the froggy pose and that was WITH a fellow photographer as an assistant.
And since we’re on the subject of DIY newborn photography, please–for the love of all that is holy–nobody attempt the hanging baby in a knit hammock shot. It is definitely a multi-step shot that involves image layering. At no point is a baby ever actually suspended from a tree branch.
Thanks for this post!! Great pics. Do you prefer the 50 1.8 or the 1.4? Is the difference that great?
Thanks!!
This was awesome, thank you!
I have both and I like the weight of the 1.4 but honestly the difference is minimal. I don’t know that it’s worth the cost for someone who isn’t taking portraits every day 🙂
xo – kb
What an awesome post! Love this and hope to attempt some of these awesome photos in the future. I love nature photography, but you have inspired me to try something new.
Thanks for the post!
Ohhh Katie. I’ve been a blog reader forever and I have never commented. But this post kills me.
First, as someone who’s worked as a photographer, I’m not sure how you can suggest to mamas that the photos they’ll take will be comparable to a professional photographer. Your images aren’t DIY examples – you worked as a professional photographer. The amount of investment that I’ve put into my training, safety, posing, props, lighting etc isn’t something that someone can emulate with a cheap setup and no knowledge of photography.
Most importantly, there are several safety concerns in this post. I know that you half heartedly updated the post to say that froggy etc maybe shouldn’t be attempted without composite support. Yes. No one should be hoping that a newborn can hold up their own head in these poses – it is absolutely unsafe. The risk is not worth it. Also, please don’t advise people to leave heating pads under naked newborns with a couple of blankets between. Newborns pee all the time and a plugged in heating pad plus pee is a recipe for electrocution.
Part of me just feels defensive because come on, let’s not totally de-value photographers. Another part is incredulous because you were literally a photographer so you actually know firsthand that it isn’t easily possible. Maybe you wrote this to use the affiliate links? I can’t think of why else you’d diminish the safety, posing and skill that professional newborn photographers have and use. Have you not seen the Pinterest fails of people DIY-ing their newborn photos?
TLDR FOR ANYONE READING:
– Professional newborn photogs require more training, time and investment than your average momtog who does family photos – you will get what you pay for. Your baby is only a newborn once – it’s not the time to be cheap because you can never replace these photos.
– Support local businesses (yay!)
– Don’t put a heating pad under a peeing baby – electrocution
– Never put a baby in a glass bowl (I know the jelly beans in a bowl with a baby is cute – hire a pro who has a ton of wooden bowls, etc to use) – impalement when the bowl breaks
– Don’t let babies pose themselves for booties in the air – their arms will lose oxygen quickly if you keep their limbs in certain positions
– Never put a baby in any position where their head will be able to fall and harm their neck/body/spine – use a professional who can composite these images safely)
Katie you are so talented! All of your photos are absolutely stunning. Great tips!
Evelina @ Fortunate House
I definitely recommend that people hire professionals but I also see that sometimes…it just can’t happen. There is definitely no way to compare the pictures (just the same as building a piece of furniture – a DIYers piece is rarely going to have a factory finish!) but I think that people who are in a bind or have no access to a professional could benefit from the tips (I know a lot of people that struggle with their mortgage payment so a $400 session plus prints is out of the question). Also I have consulted a lot of people on the heating pad issue and although not IMPOSSIBLE (nothing is impossible) you can not be electrocuted with a heating pad if pee is there. The wires on majority of heating pads and heated blankets are insulated wires and I would advise you not to make those claims. In fact, some heating pads come with a sponge for wet heat. I definitely am not trying to devalue anyone….but I would say that everyone started somewhere and even pros were beginners at some point. If I had never DIYed Will’s photos out of desperation (I called a ton of different pros who were all booked), I would never have gotten into it myself! I’m not saying you are not worth what you charge…I’m saying that this post might do one of two things….confirm in someone’s mind that they want to do more newborn portrait work….or confirm in someone’s mind that they need to book their professional photographer in time for their little ones arrival so they don’t miss out 🙂 And thank you for all the safety recommendations…I definitely agree.
xo – kb
Katie, you have such a talent and an amazing heart to share the tips you’ve learned from all of your experience.. I treasure the pictures you took of my kids. And I’m grateful for your kindness and calming demeanor during each shoot…especially the newborn one:)
Hi Kelly! I was just thinking about you and how your girls are probably like ten years old now! How are you!? And thank you for your sweet words!
xo – kb
These are truly beautiful. Now I want to go and have like 5 more babies!
What a surprise to read your blog and get to see pictures of my Brinley! I so appreciate you traveling all the way across town and working and less than ideal lighting conditions to take great pictures of our not so newborn 3 month old. : ) And at 5 years old she’s still sticking that tongue out at us regularly!
Aww – doesn’t time fly! Kelly I am so glad I got to take her photos – it was the sweetest not-so-newborn newborn shoot ever 🙂
xo – kb
This post could not have come at a more perfect time. I am expecting my first this October and after doing some research, we just decided this weekend that we wanted to do our own newborn photos. We even went camera shopping and Canon Rebel was number one on the list. Thank you, thank, thank you for this post. I am going to save this and the editing post.
They are great! Caroline (the baby) just turned 5! And I still have a huge canvas of the two of them you took hanging in my wall.
You respond to comments with such grace. Thank you for sharing your heart, your wisdom, your family, your flaws, your joys, etc with the world.
Aww thank you Sara. I am not perfect by any means….I think I am just like most normal folks out there…I just try hard to be nice and I truly love people 🙂
xo – kb