Wahoo! Only a handful of posts left about this space and then we can see that final reveal! Anyone else so excited to wrap it up!? It’s been a long time coming y’all! But let’s not waste any more time and just get to the meat! And when I mention meat, I mean some beefy shelves and a slick new chimney hood ready for roasting 🙂
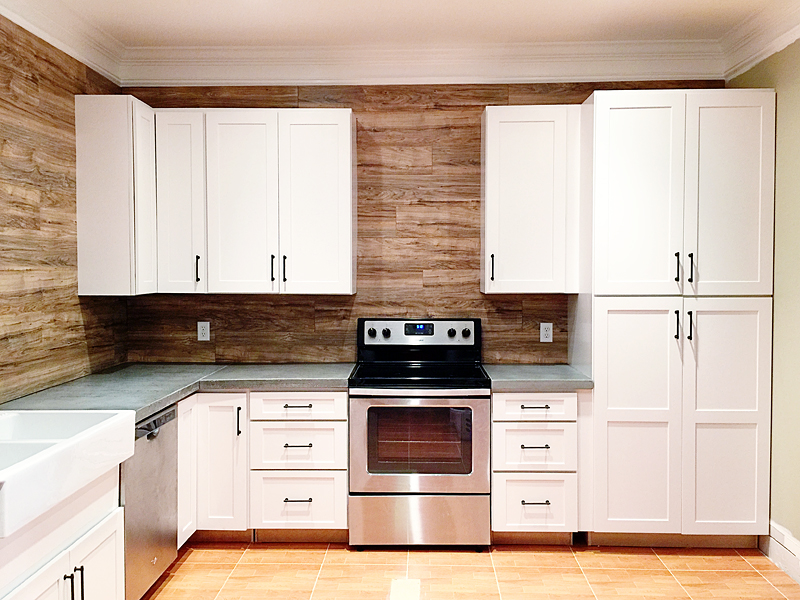
After consulting all of you guys, you said that a ready-to-go chimney hood was the 55% preference. And we heard you loud and clear! This wall is the one we will tackle first today….
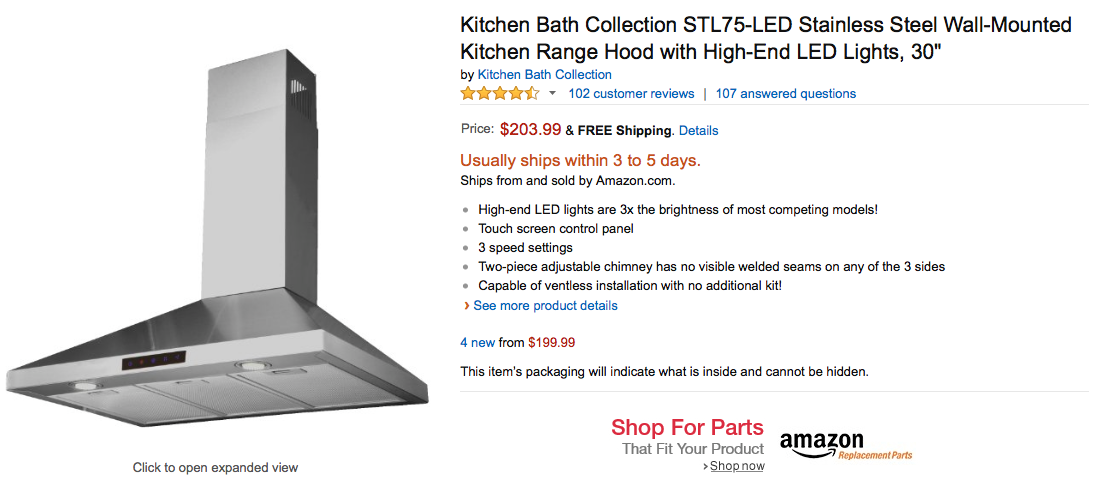
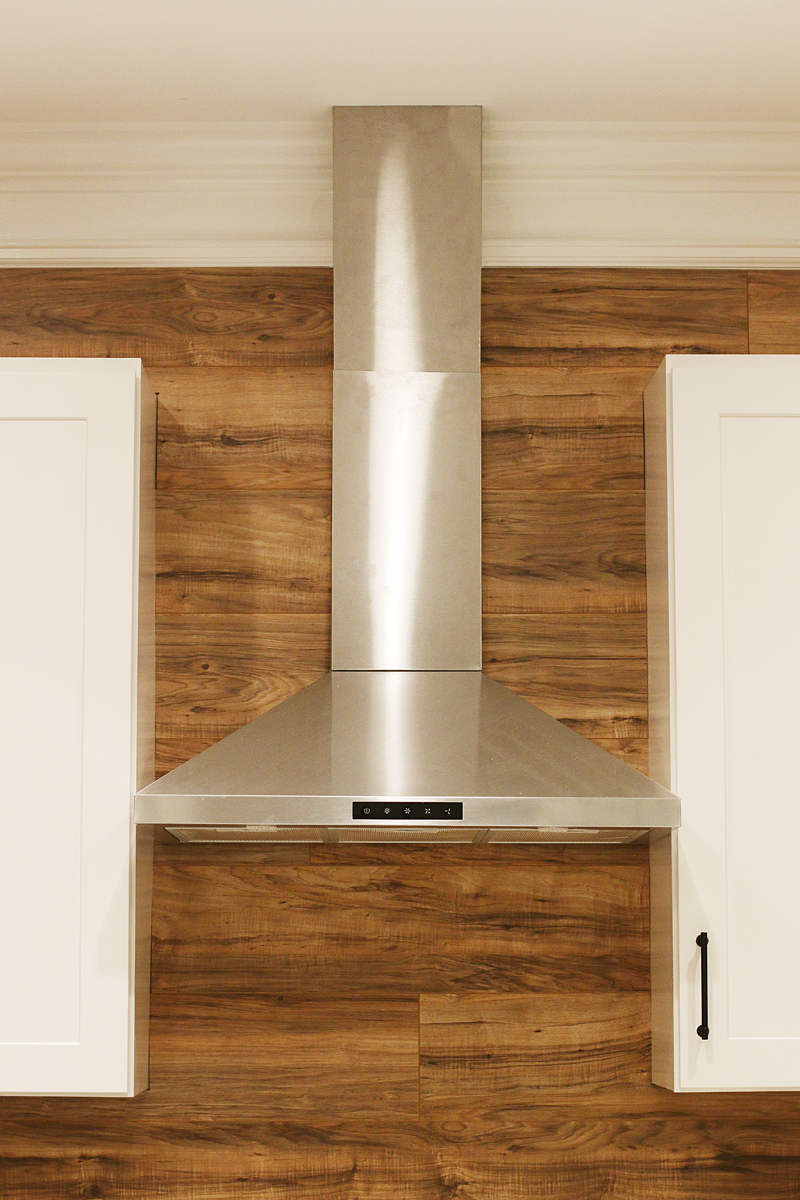
So in the end, we looked at a ton of different options for a ventless range hood and finally we settled on this one….
Right now there is another option that is normally $699 and it’s marked down to $189 so there are good deals to be found! (here’s the link if you are in the market for a new hood).
The key things we were looking for was an adjustable chimney because our ceilings are very tall and we wanted it to run all the way up on all three sides, we needed it to be ventless because this room has no exterior walls to vent to, and we wanted it to be affordable because let’s face it, this is a ‘second’ kitchen for us….we will rarely use it unless we have guests.
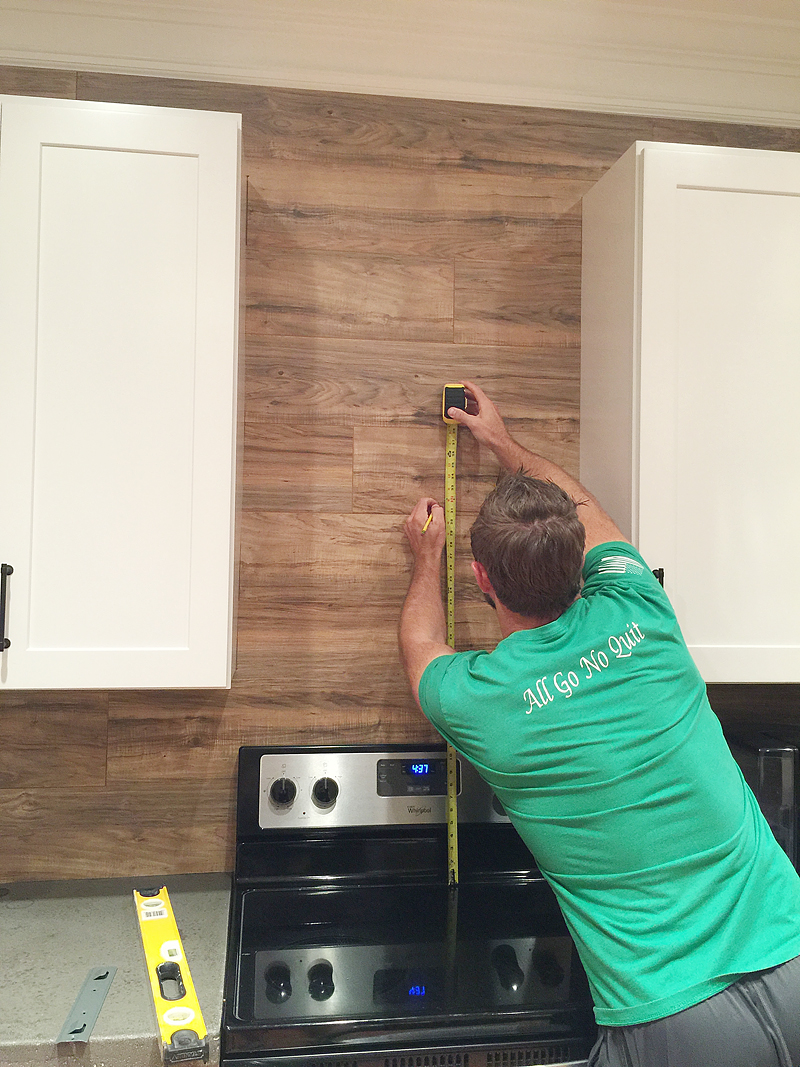
Once the vent arrived, Jeremy pretty much followed the instructions for installation. First you measure 30-36″ above the stove top to mark the bottom of the hood. We decided to go with 32″ because it would still be within reach for a shorter relative (coughmomcough) but allow us to have that chimney reach the ceiling.
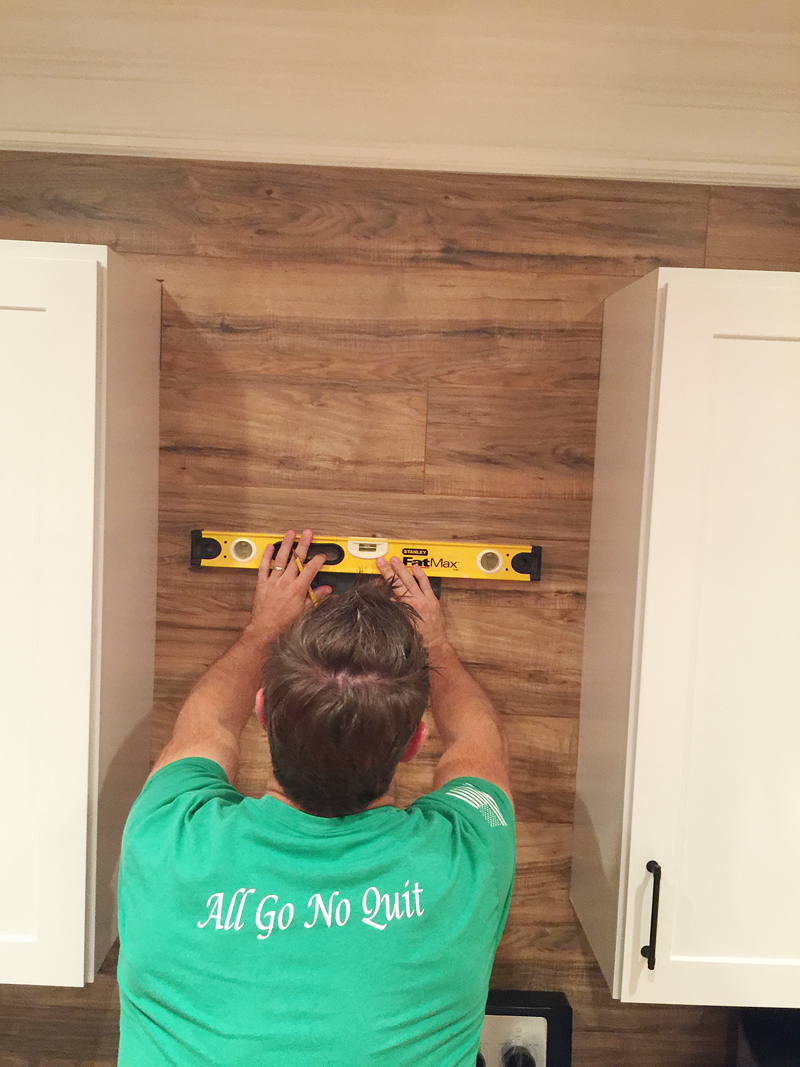
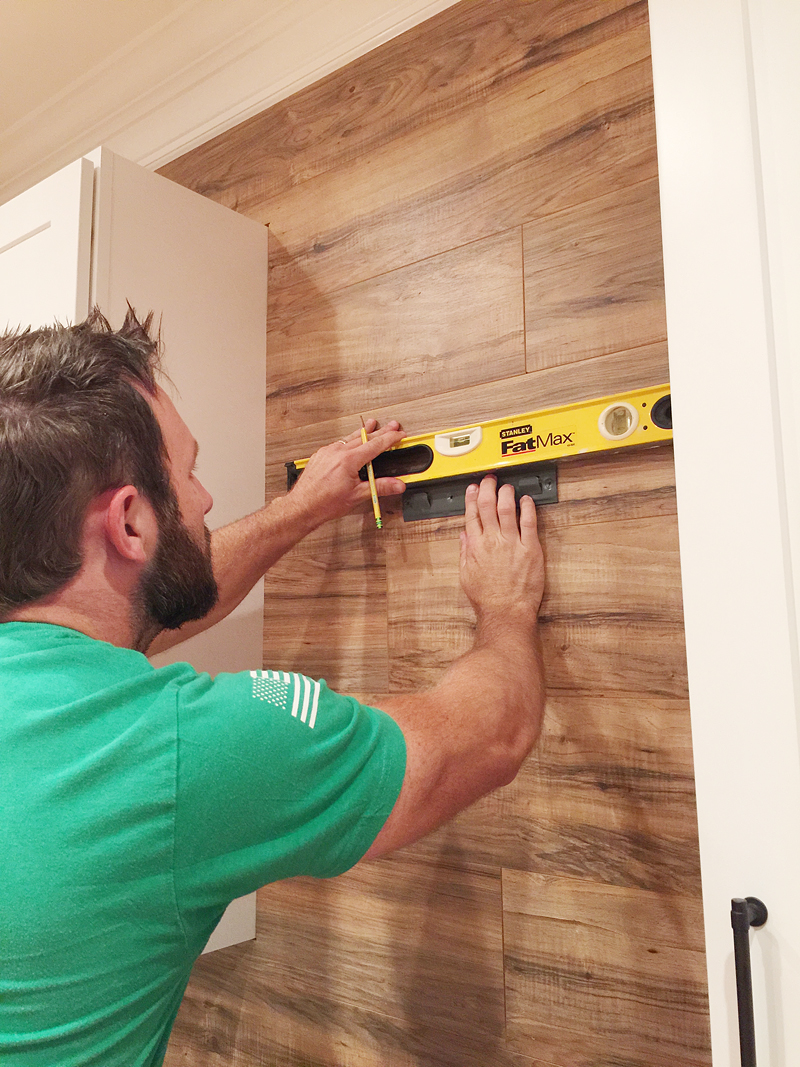
Then the bracket to support the hood needs to be installed.
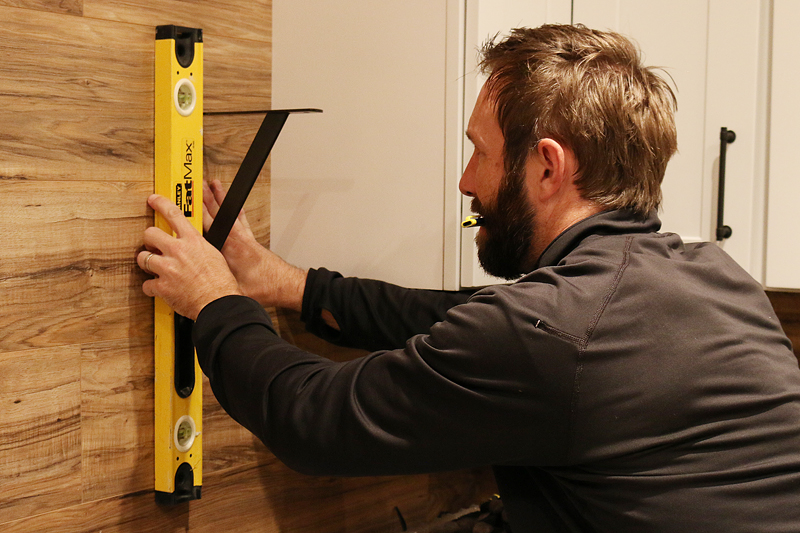
Jeremy just aligned the bracket with a level and marked the holes.
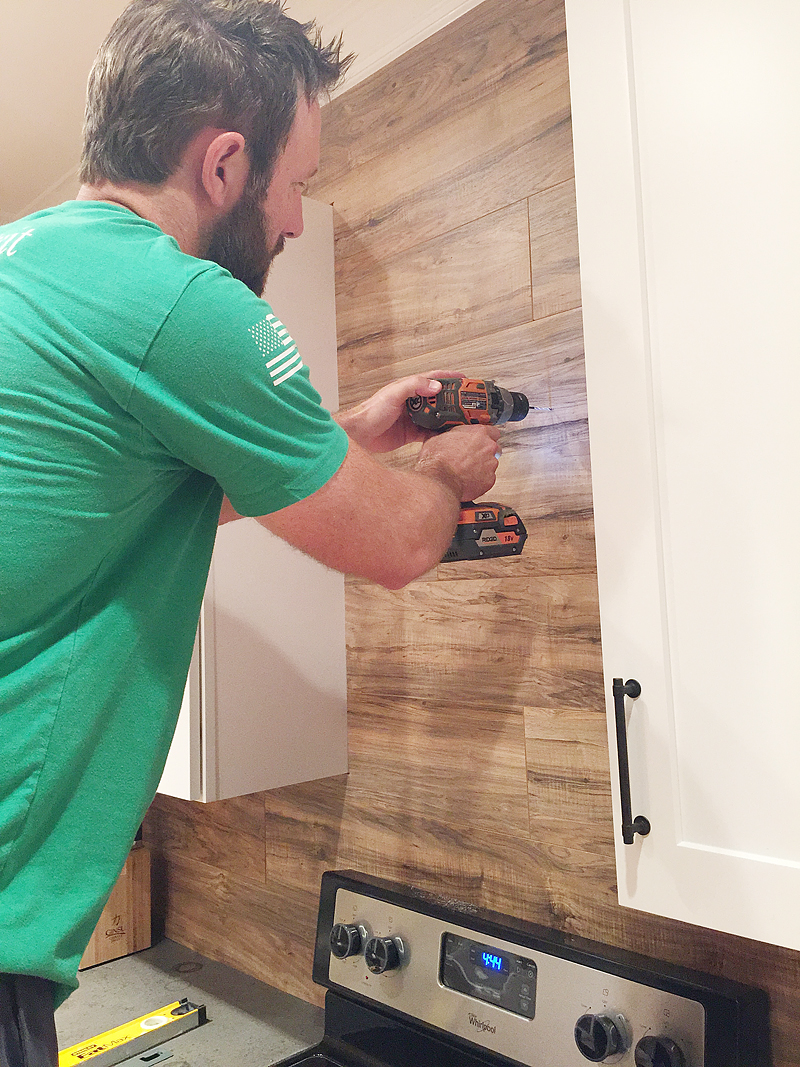
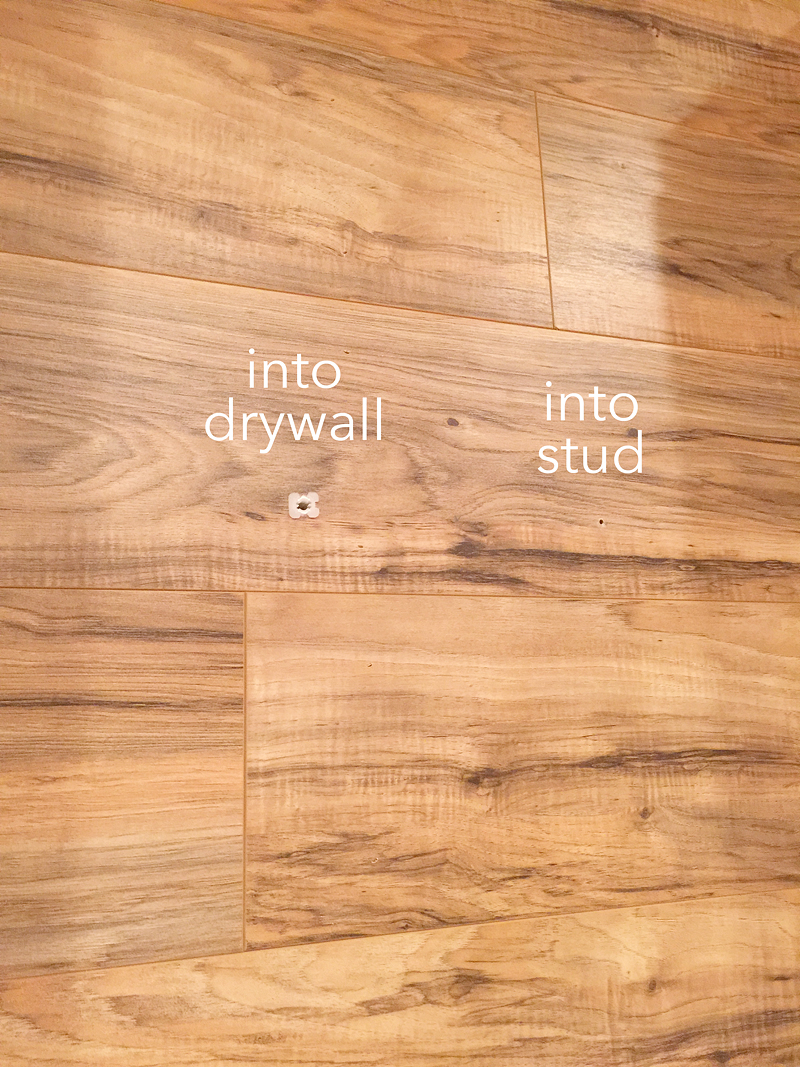
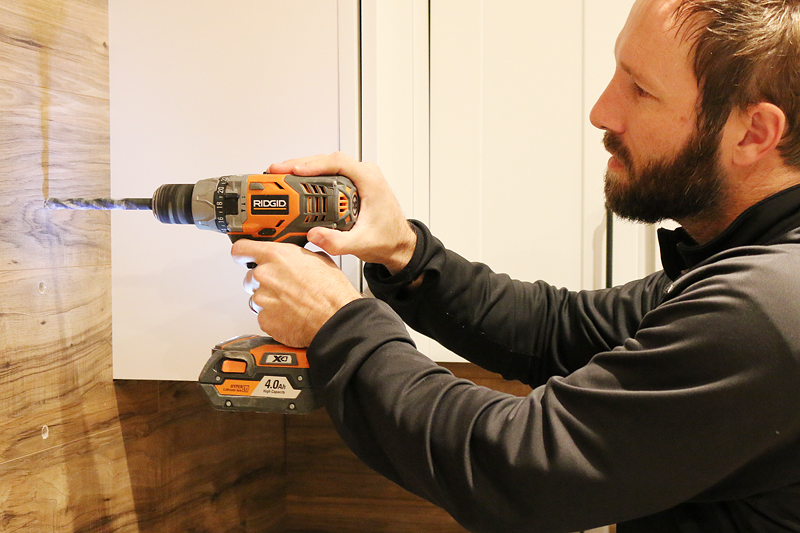
Predrilling is always a good idea because then you can see if you have a stud or just drywall.
In our case, we had one stud that aligned with the bracket hole and one area of drywall that needed a wall anchor.
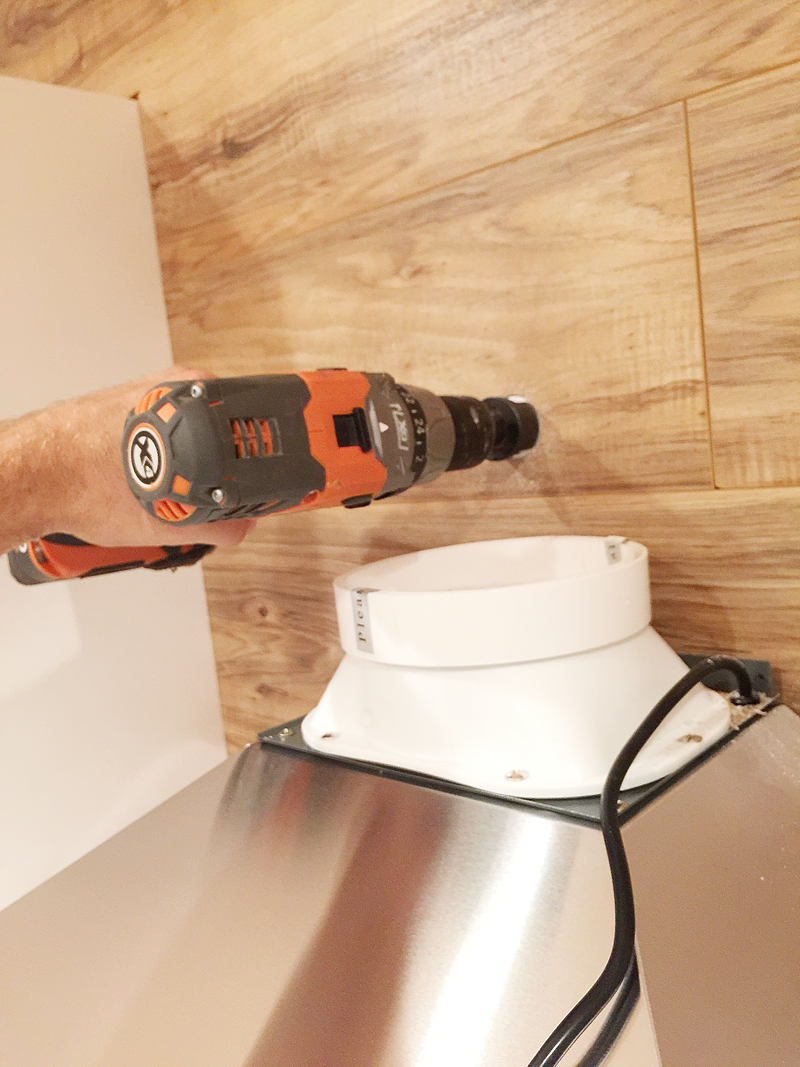
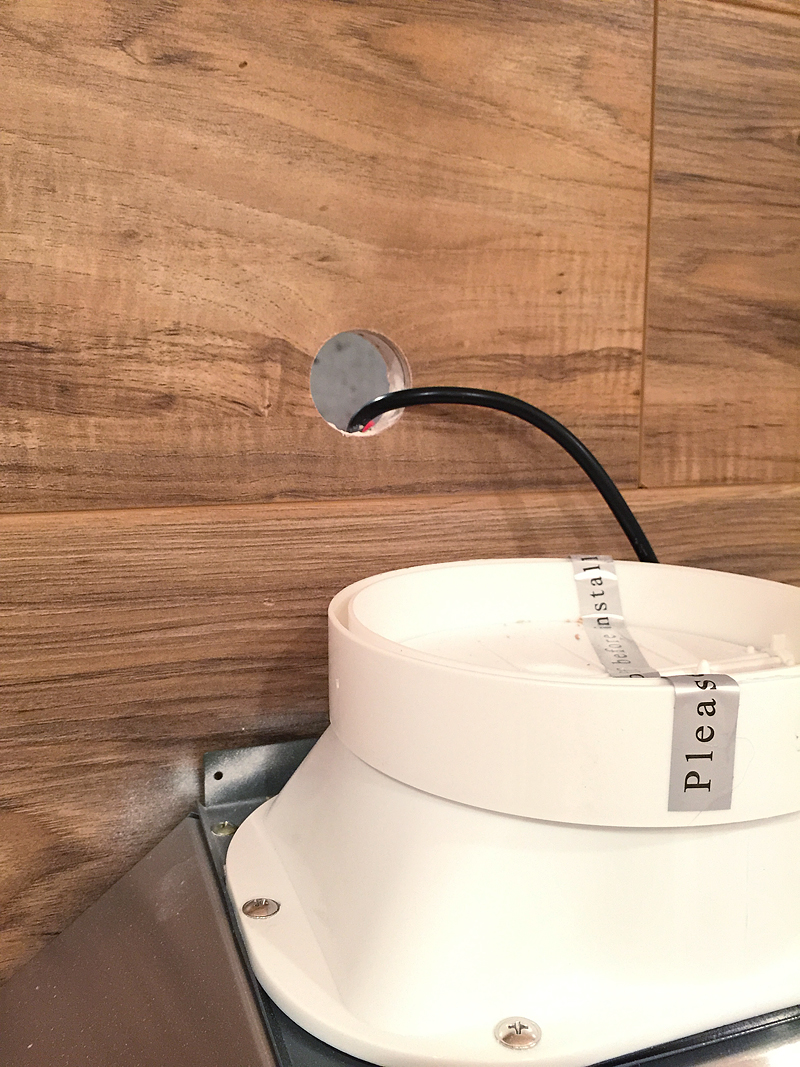
Once the bracket was screwed in, Jeremy hung the lower part of the hood and started on the steps to get it hooked up. This required him to drill a larger hole for a wire. It’s important to drill that hole where it will be hidden in the future!
Then the wire to plug in the hood goes through the hole and to the outlet he installed on the other side of the wall.
Jeremy then popped on the first part of the chimney hood to see how things looked….
So shiny! Now at this point we could have completely called it a day, grabbed a Sonics Happy Hour Slush and basked in the reflective rays from the new hood. BUUUUUUTTTT……we wanted it to go to the ceiling……because we are high maintenance like that….and we like the idea that even if it’s not functional, it should fake it like when your mom drew blue boxes on the back of your Walmart off brand Keds. That really happened by the way 🙂
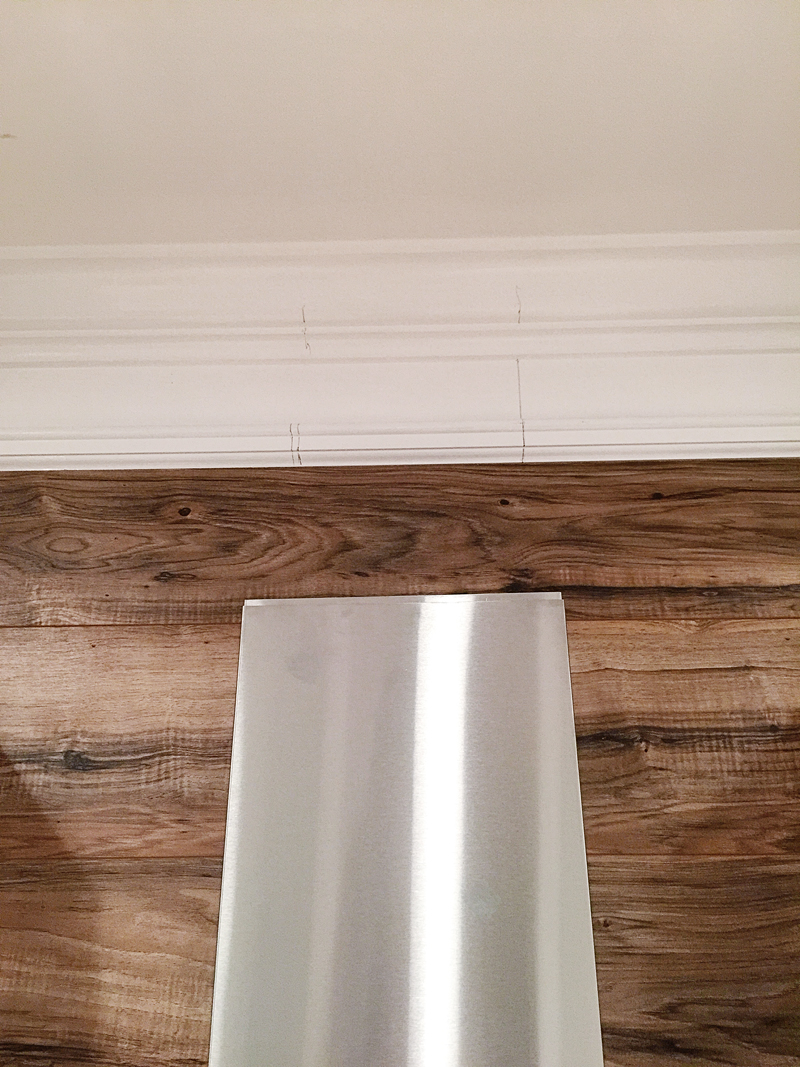
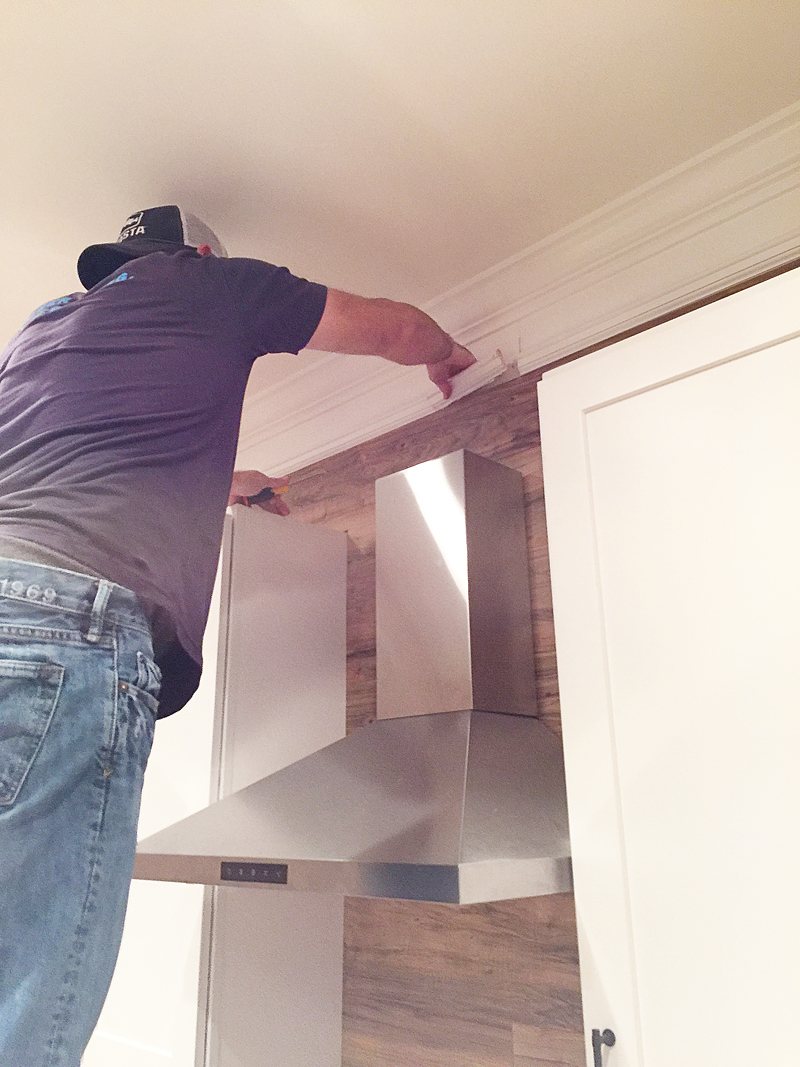
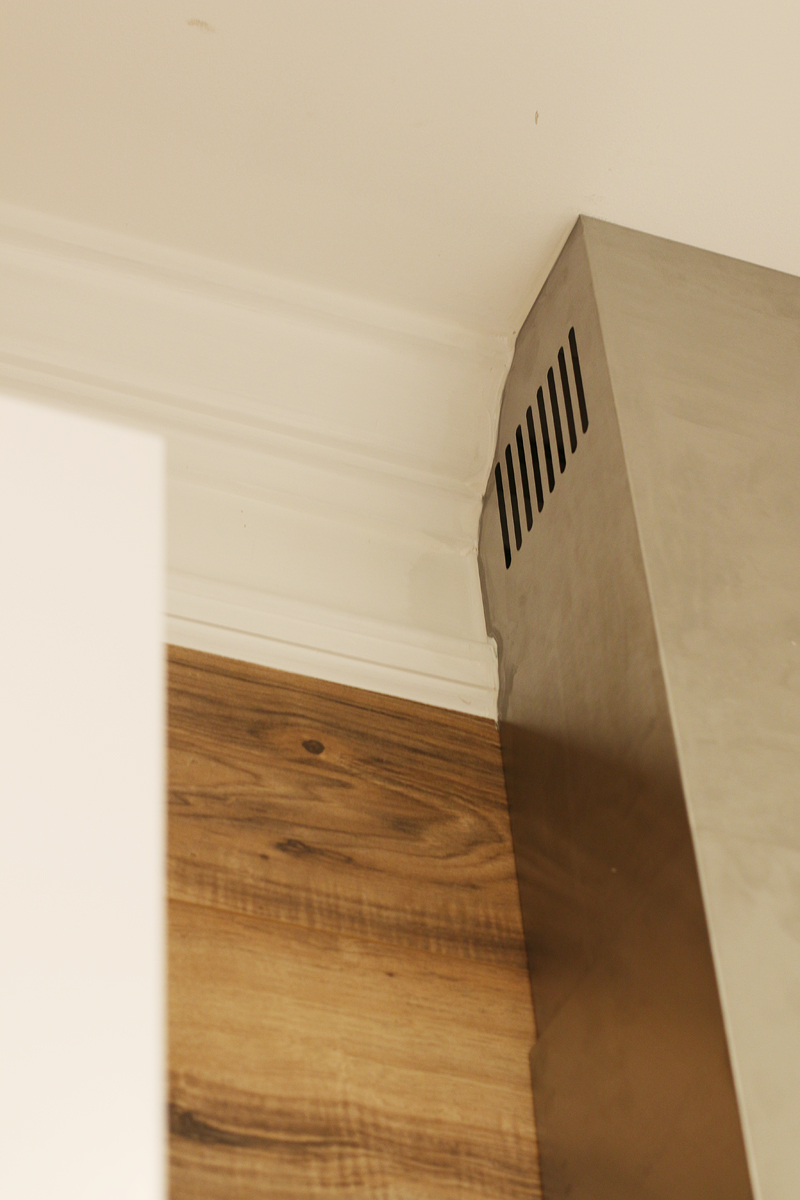
So we continued on. First we got the additional chimney sleeve and slid it up till we could mark the lines on the crown molding…
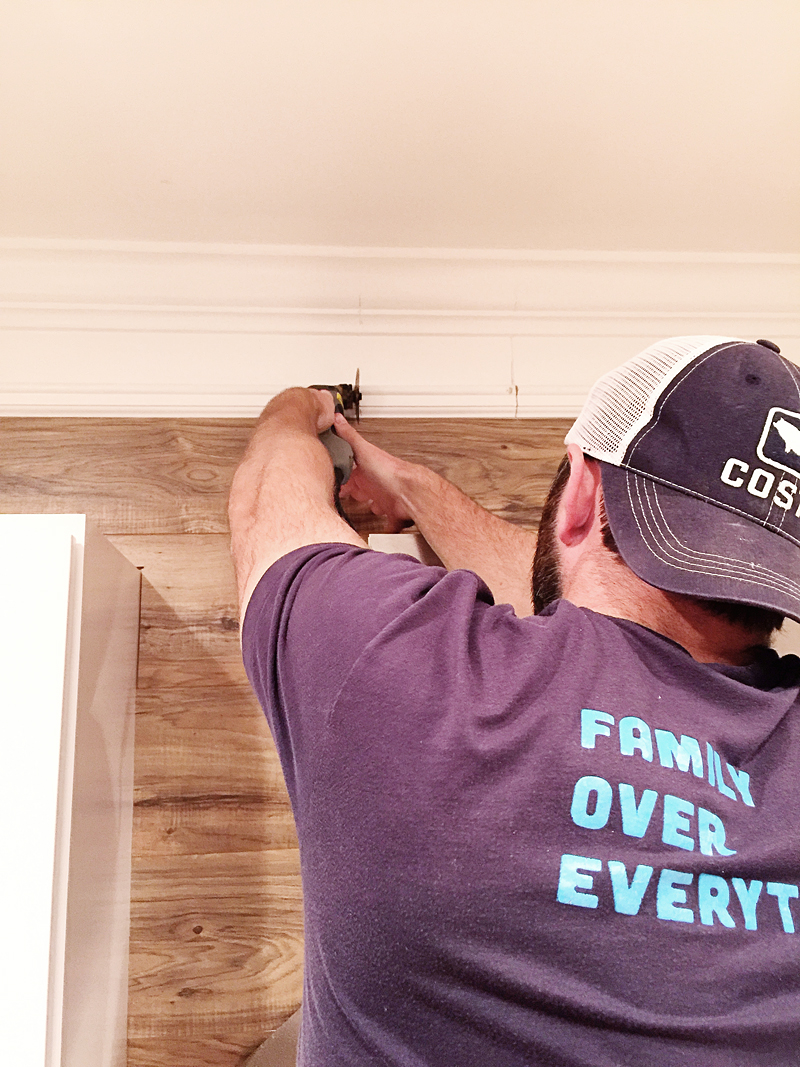
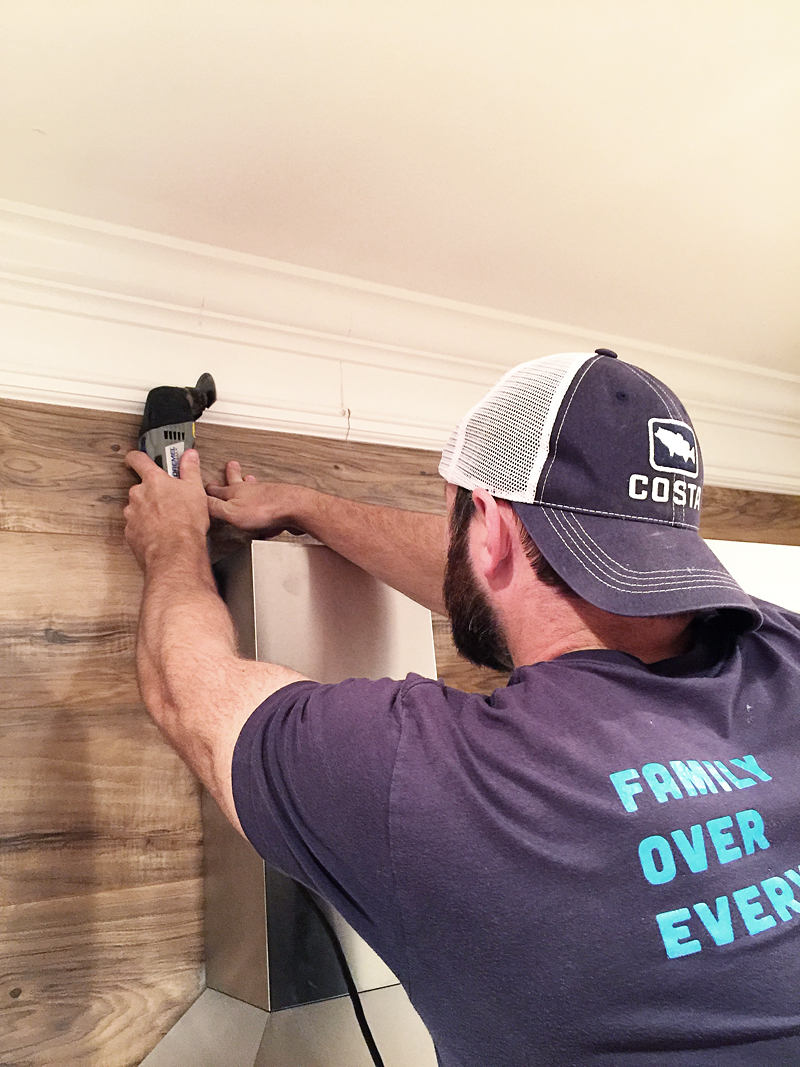
Then Jeremy cut into the molding with a Roto-Zip tool while I nervously ate EVERYTHING in the corner (I was surprise-pregnant, I was nervous, it was a perfect storm of emotional eating and it was glorious.)
I should just show you about an hours worth of him cutting this molding because seriously – that is how long it took. I think I lost a year of my life that day.
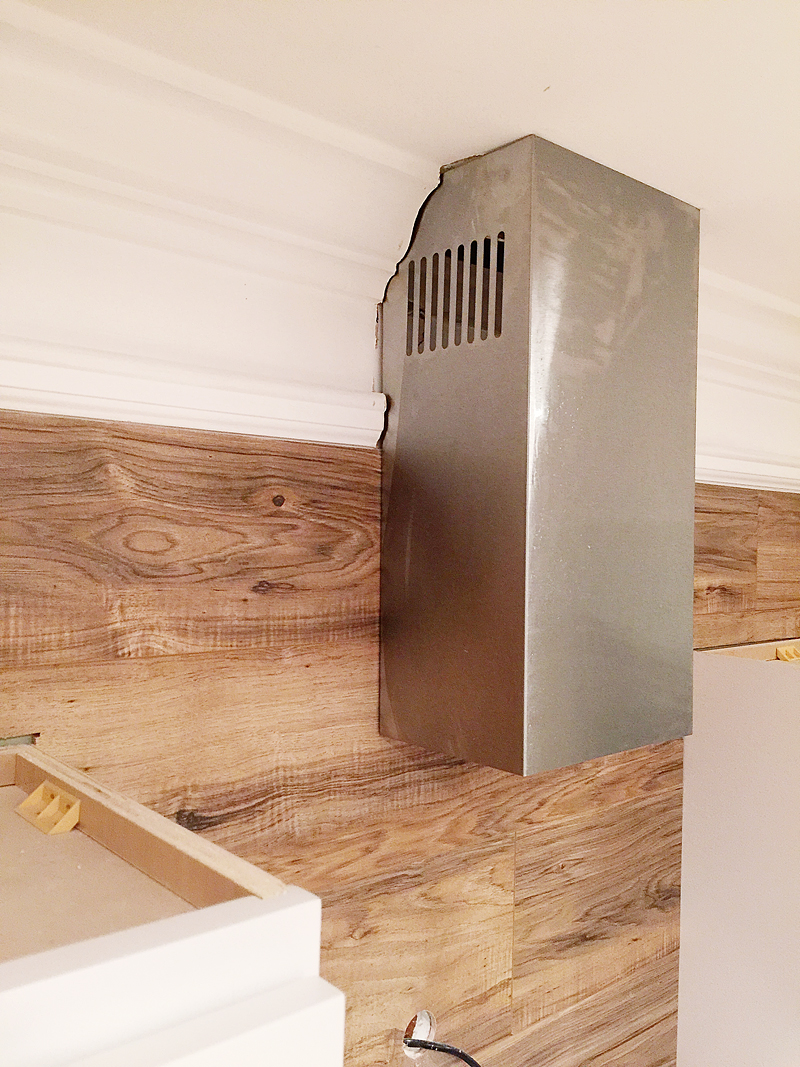
Finally everything was cut enough for Jeremy to peel off the extra trim work and see the drywall.
And once all the extras were removed, he could slide the chimney into place and I could finally put down the bag of Cheez-Its. (ok ok I didn’t put it down…)
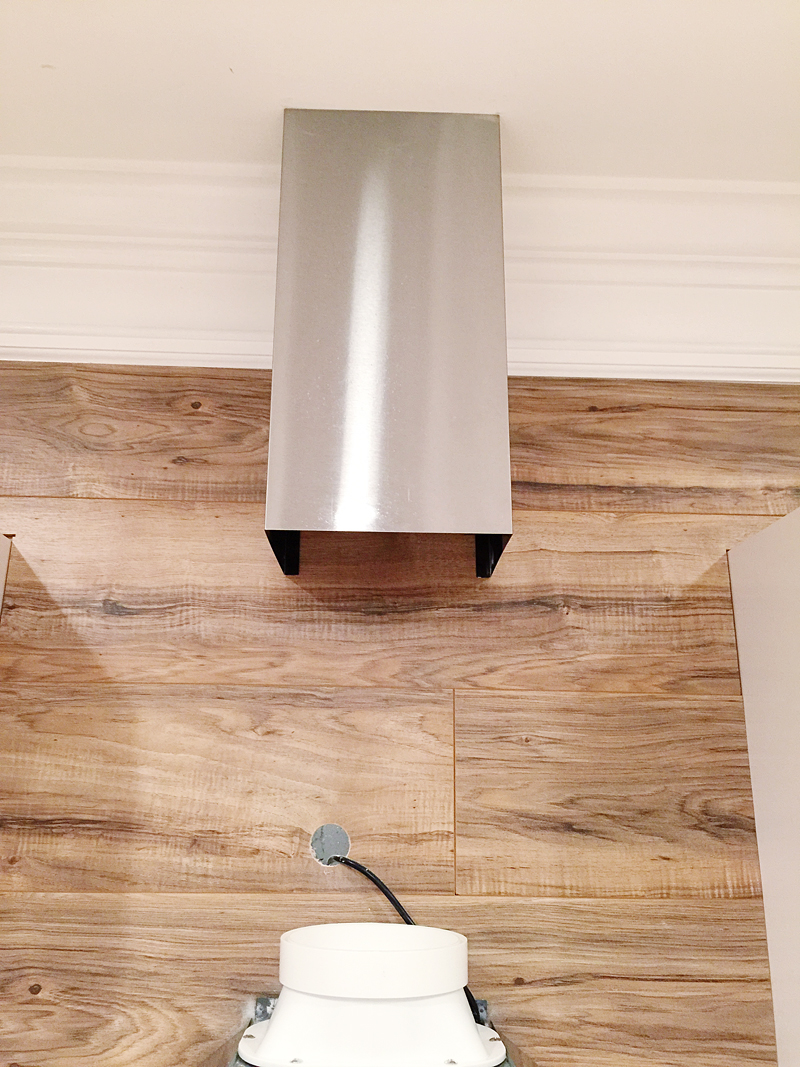
He mounted the sleeve with some screws from the other side of the wall and we were ready for full installation.
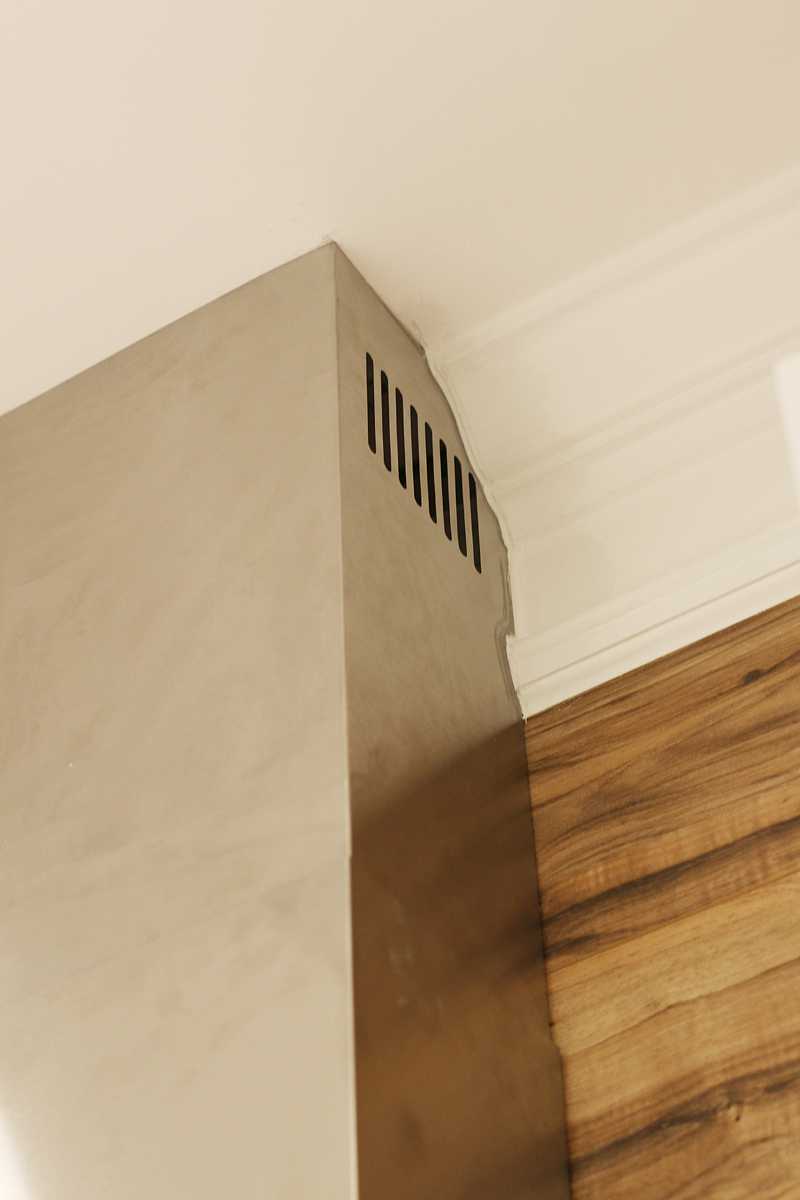
Once everything was in place, I used some caulk and filled the gaps between the crown and the hood….
But do you see how fantastic that looks?! Amazing, right?! So glad that we did the ready-to-go because it was so easy! Also it reminds me of the hood we did in our first house and that makes me happy 🙂
Hood DONE.
Moving on.
Shelves!
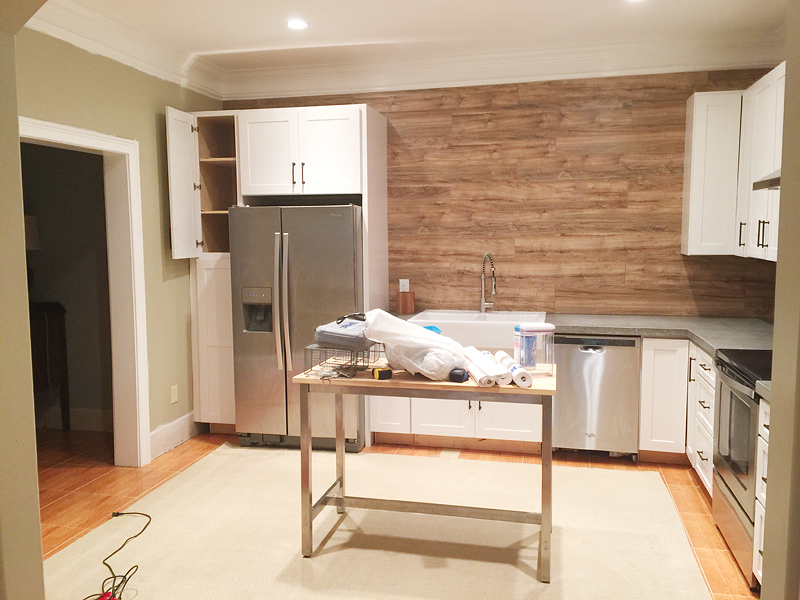
Okay so it was always in the plan to do open shelving above the sink area. Most of the time when you have a sink, you center it on a window….but seeing as how a window would look directly at a cinderblock wall, we decided to just think of this more like an industrial style kitchen where things are meant to run FAST and everything is out in the open.
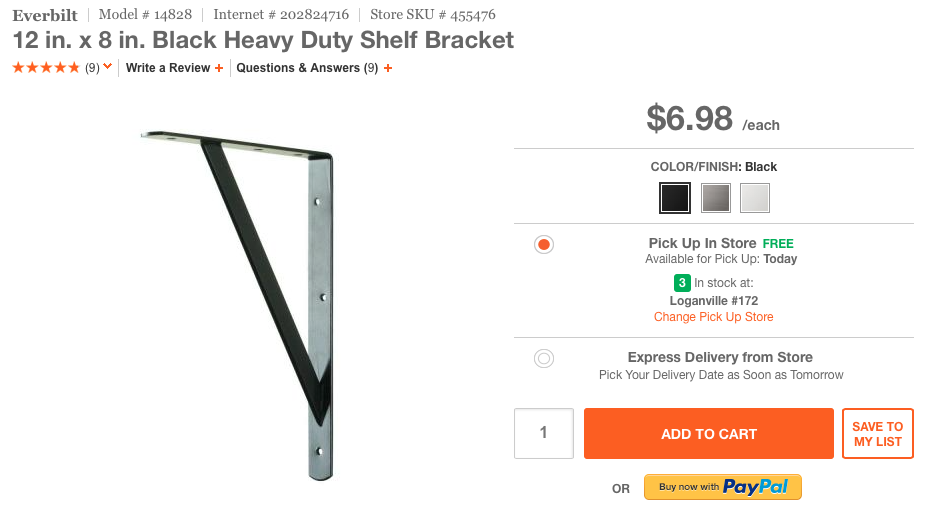
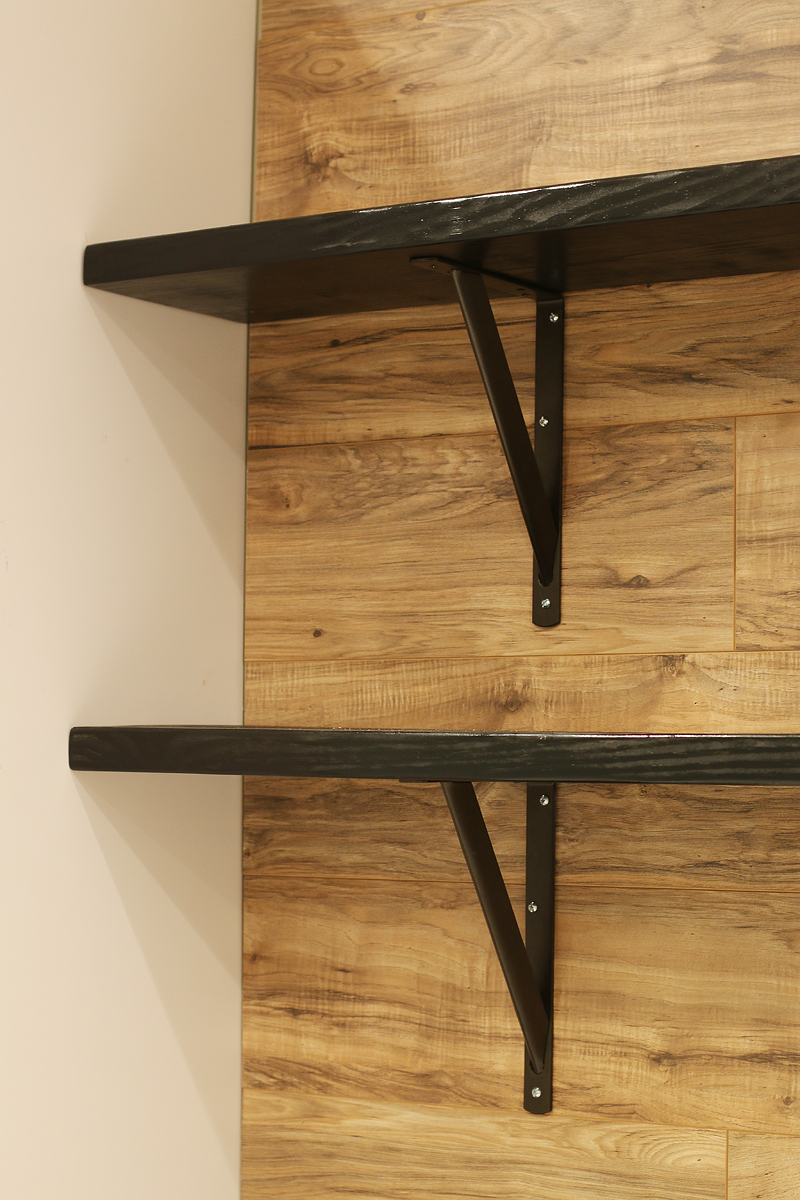
I went with some very simple shelf brackets that I picked up at Home Depot and they were the cheapest ones I could find that would support a 2×10 wood board.
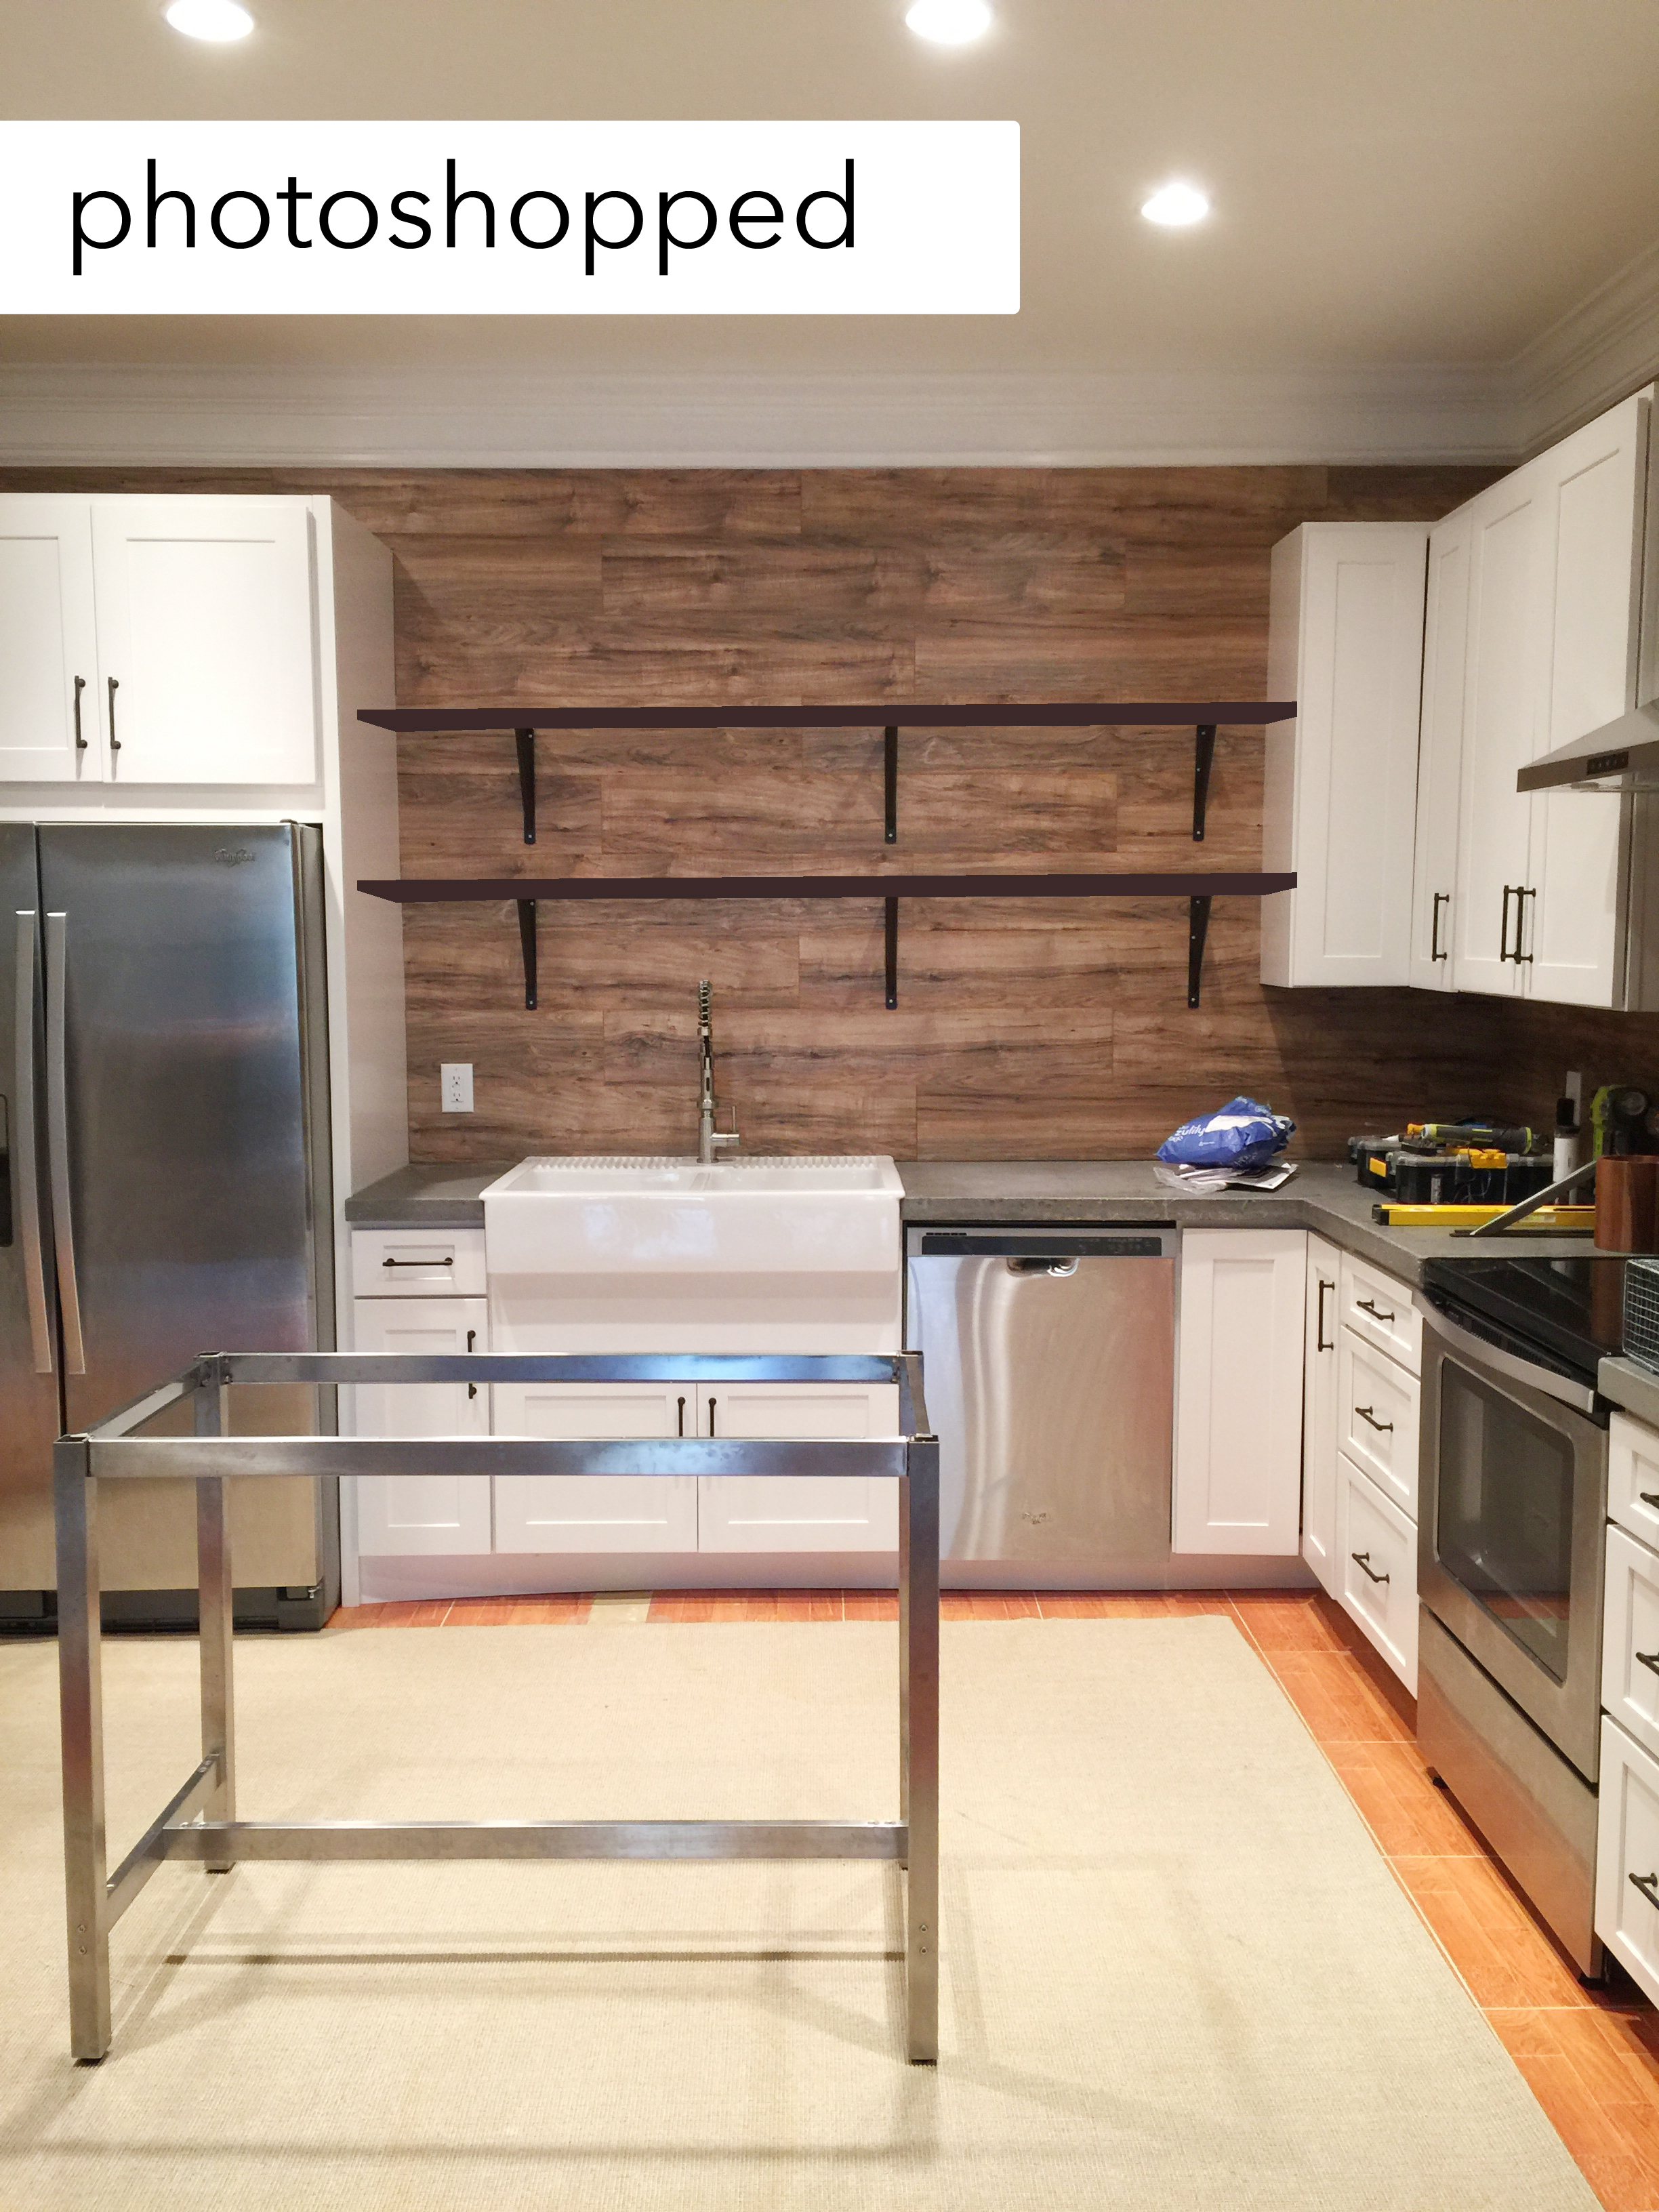
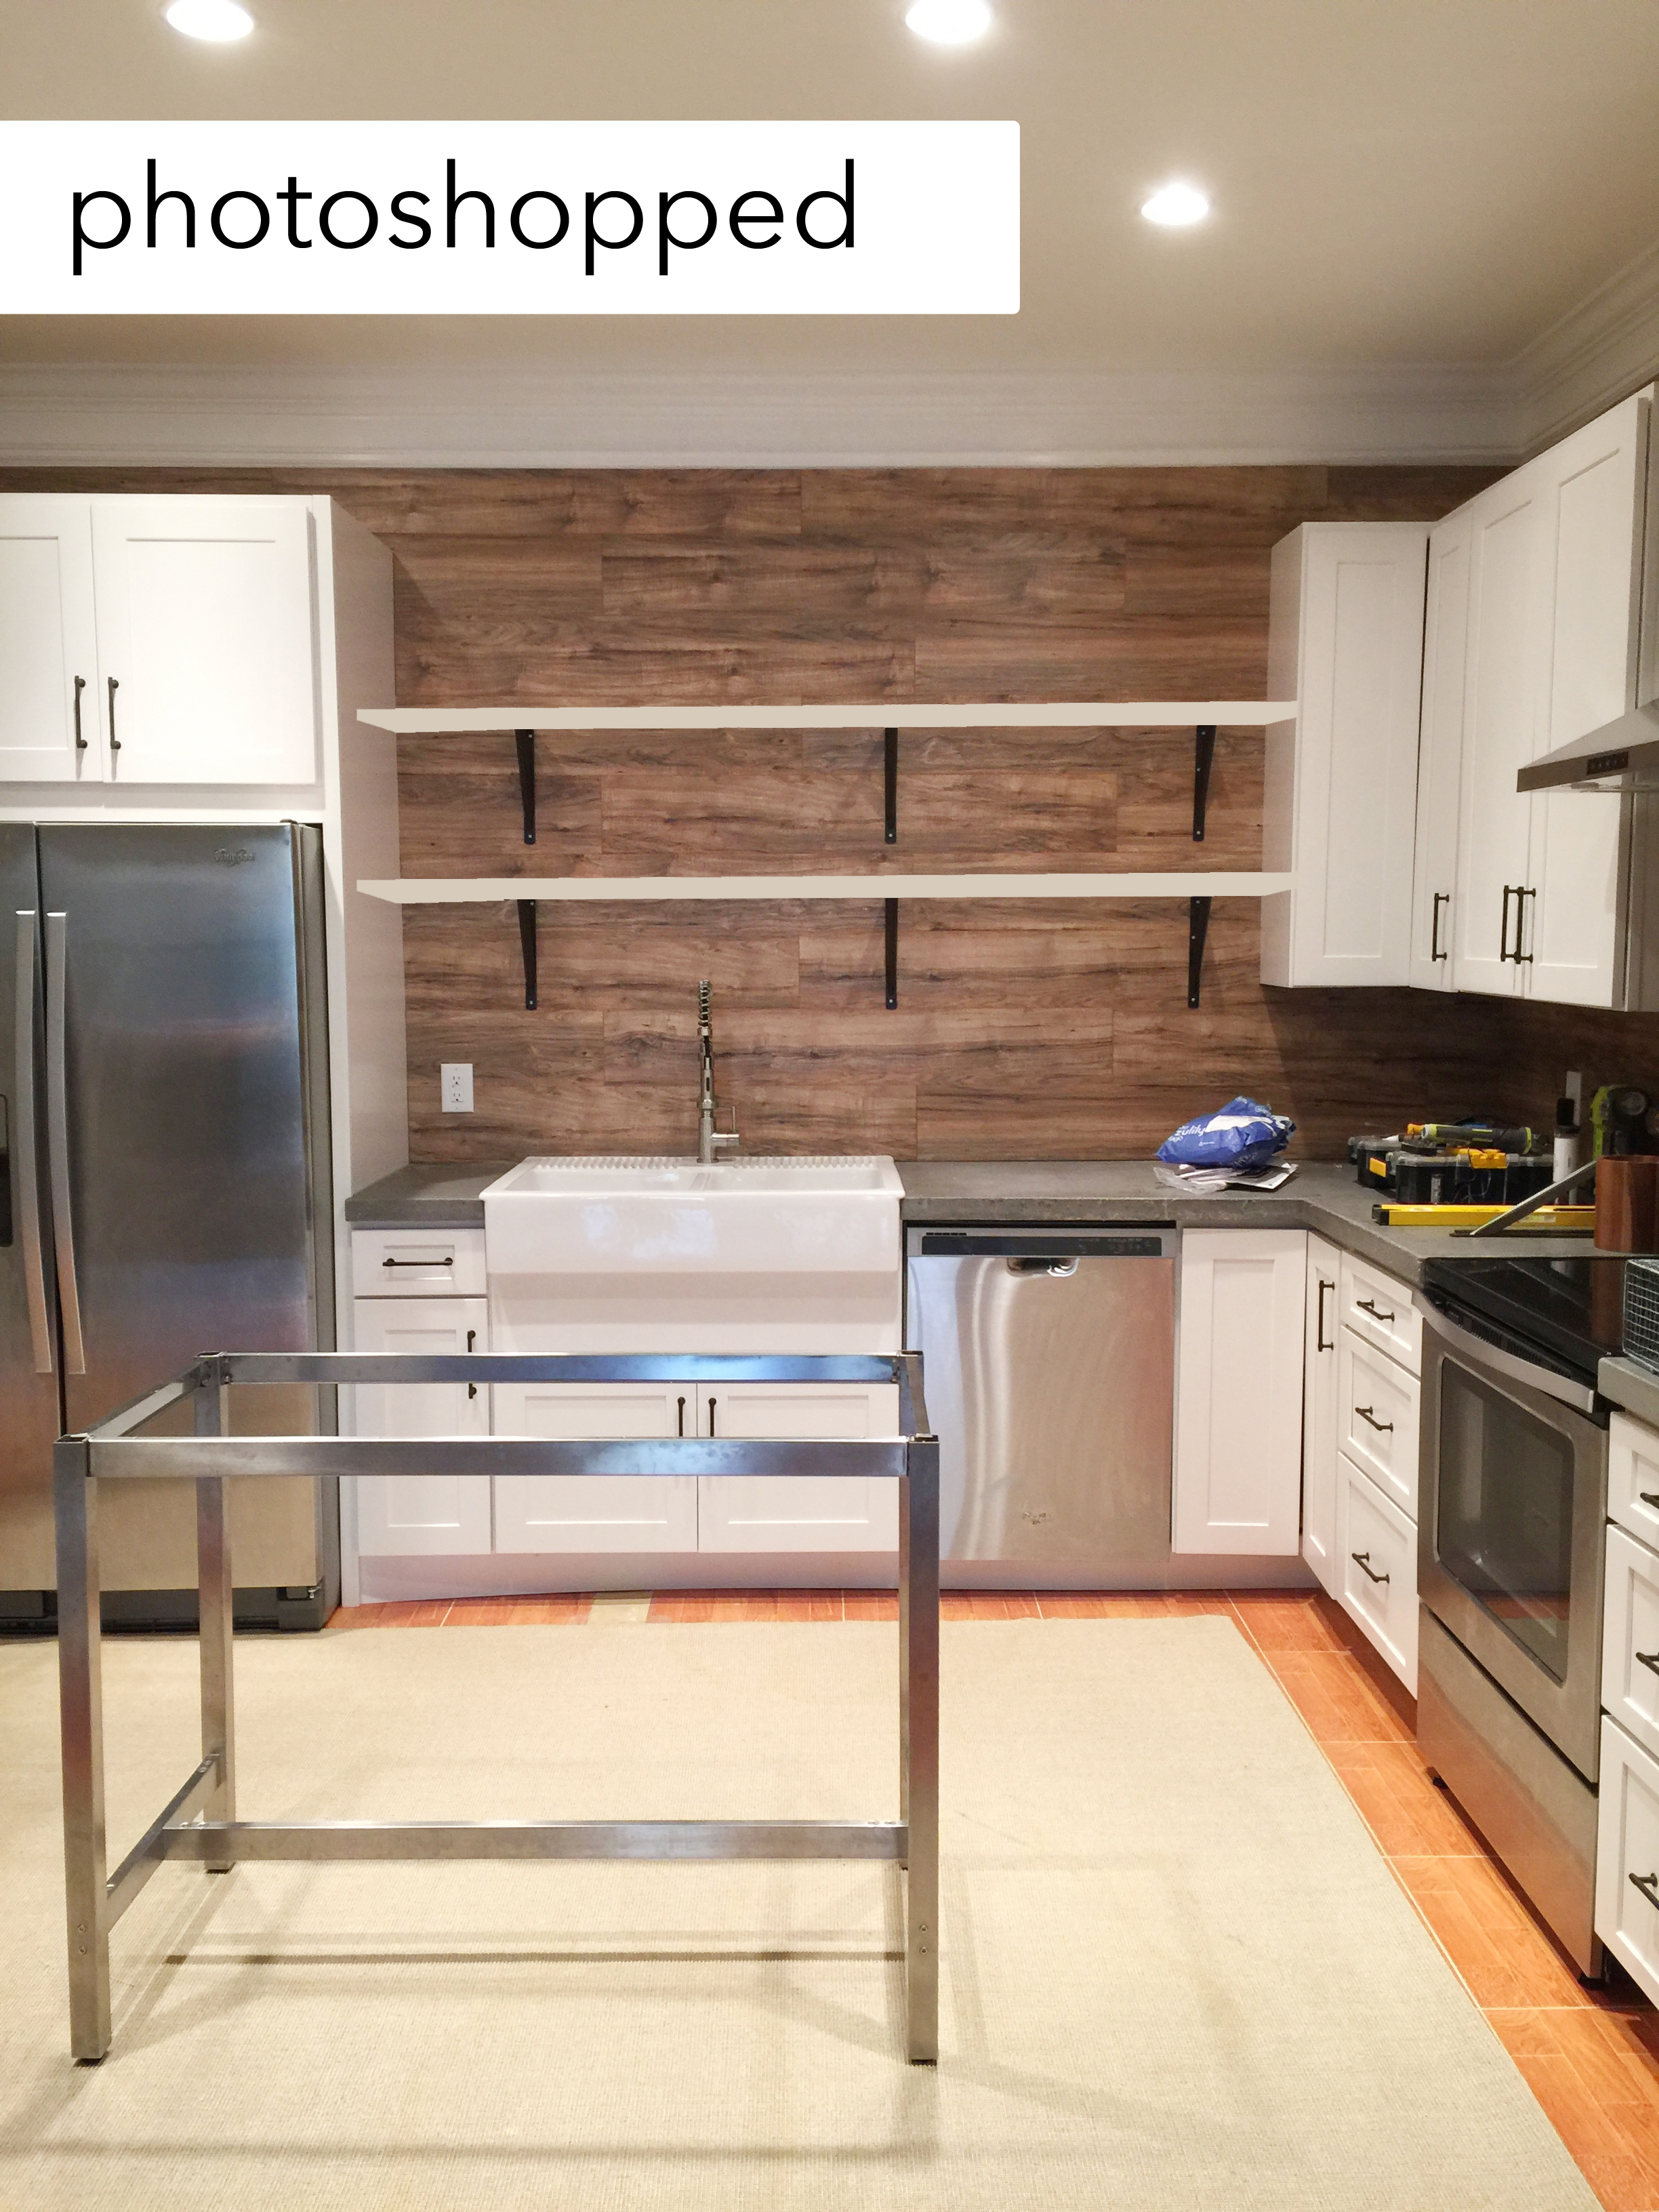
And then I got to photoshopping to see what color I wanted the wood shelving….black or white?!…
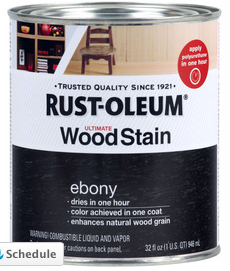
The white seemed too distracting and busy somehow (even with them empty) so I went with black. I grabbed the boards and sanded them down before adding Rust-Oleum’s Ebony wood stain and a few coats of Gloss polyurethane.
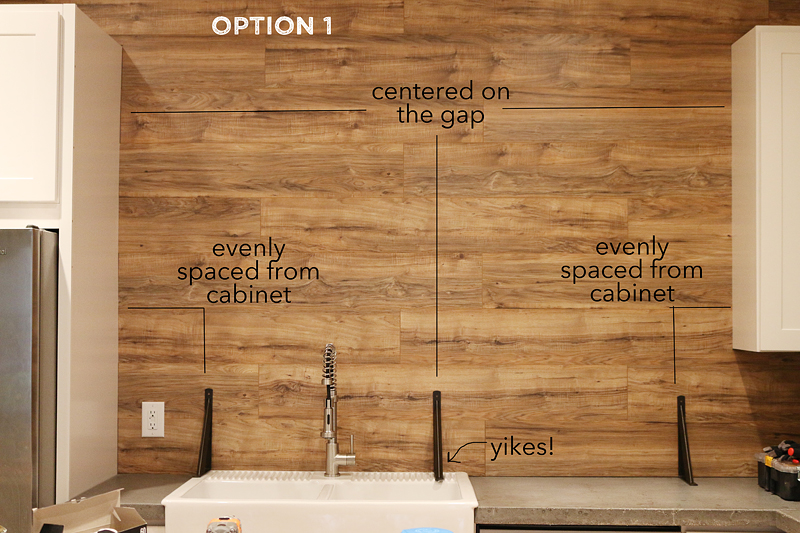
But then came the hard part….figuring out where to put the brackets. Our first option had the middle bracket centered on the big gap (so it would be smack dab in the center of the board) and the two other brackets evenly spaced from the ends to prevent sagging. But it seemed weird that it lined up with the sink on one side and not the other.
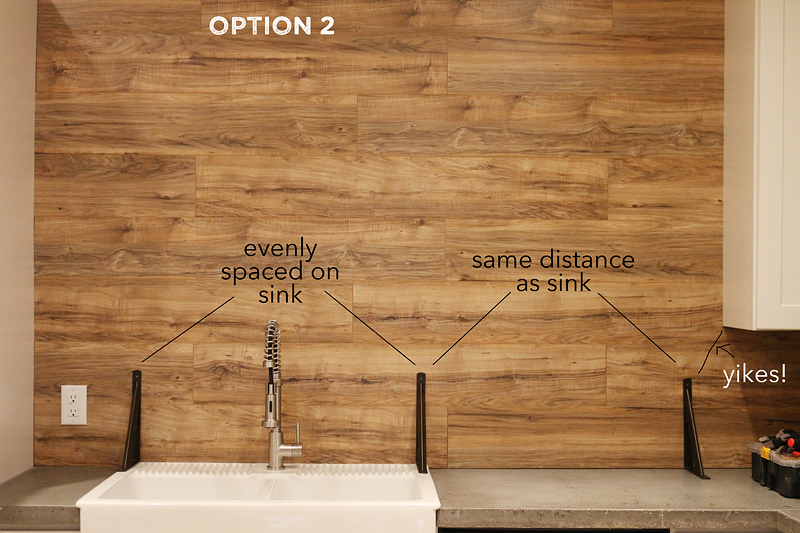
Option two was to align it on the sink and then use the same distance for the third bracket. This threw me for a loop because it seemed weirdly close to the cabinets on one side.
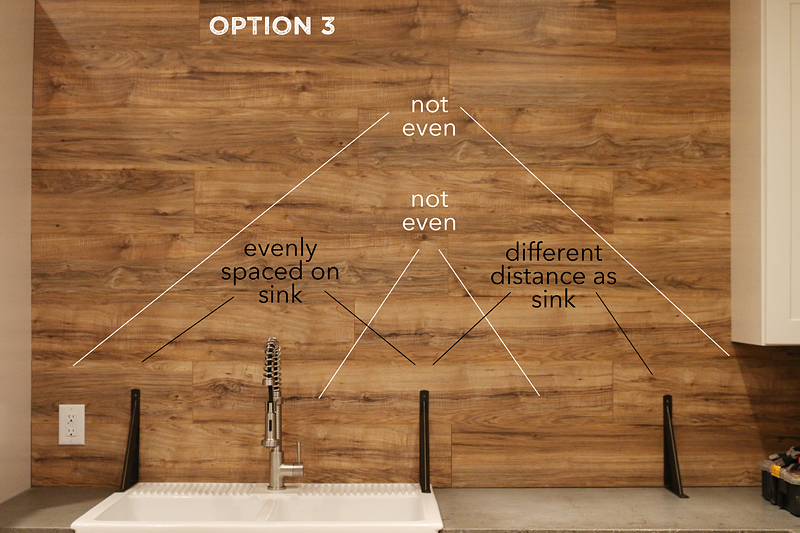
Option three was basically center it on the sink and then eyeball where it should go on the other side. Now in general, I am a big believer in NEVER JUST EYEBALLING IT. I like to have careful measurements and then do an eyeball check. But whenever I just throw it up there, I am never super happy with the placement.
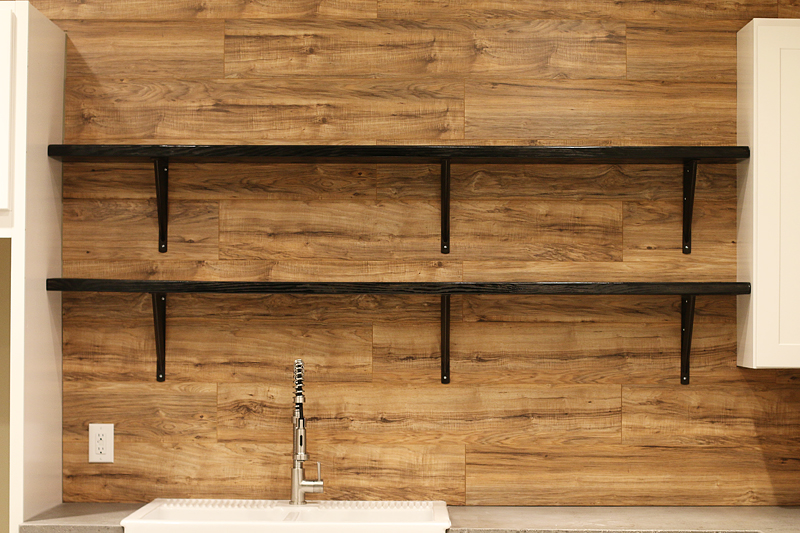
In the end, we stared at it for about an hour (it was probably more like a couple minutes but a baby was probably screaming so that makes everything feel longer)….and we chose the third option. It just seemed like the most natural and since our eyes couldn’t really tell the difference between the spaces, it just worked. Jeremy lined everything up so that I could still reach that first shelf and the second should would be higher (useful for display items and infrequently used things).
Then he drilled his holes for the anchors….
Anchors in. Brackets screwed in. Shelves on and attached.
At the end of the day, we are super happy with the way they turned out. Very industrial. Very well supported (that’s Jer’s thang) and they look beefy and beautiful.
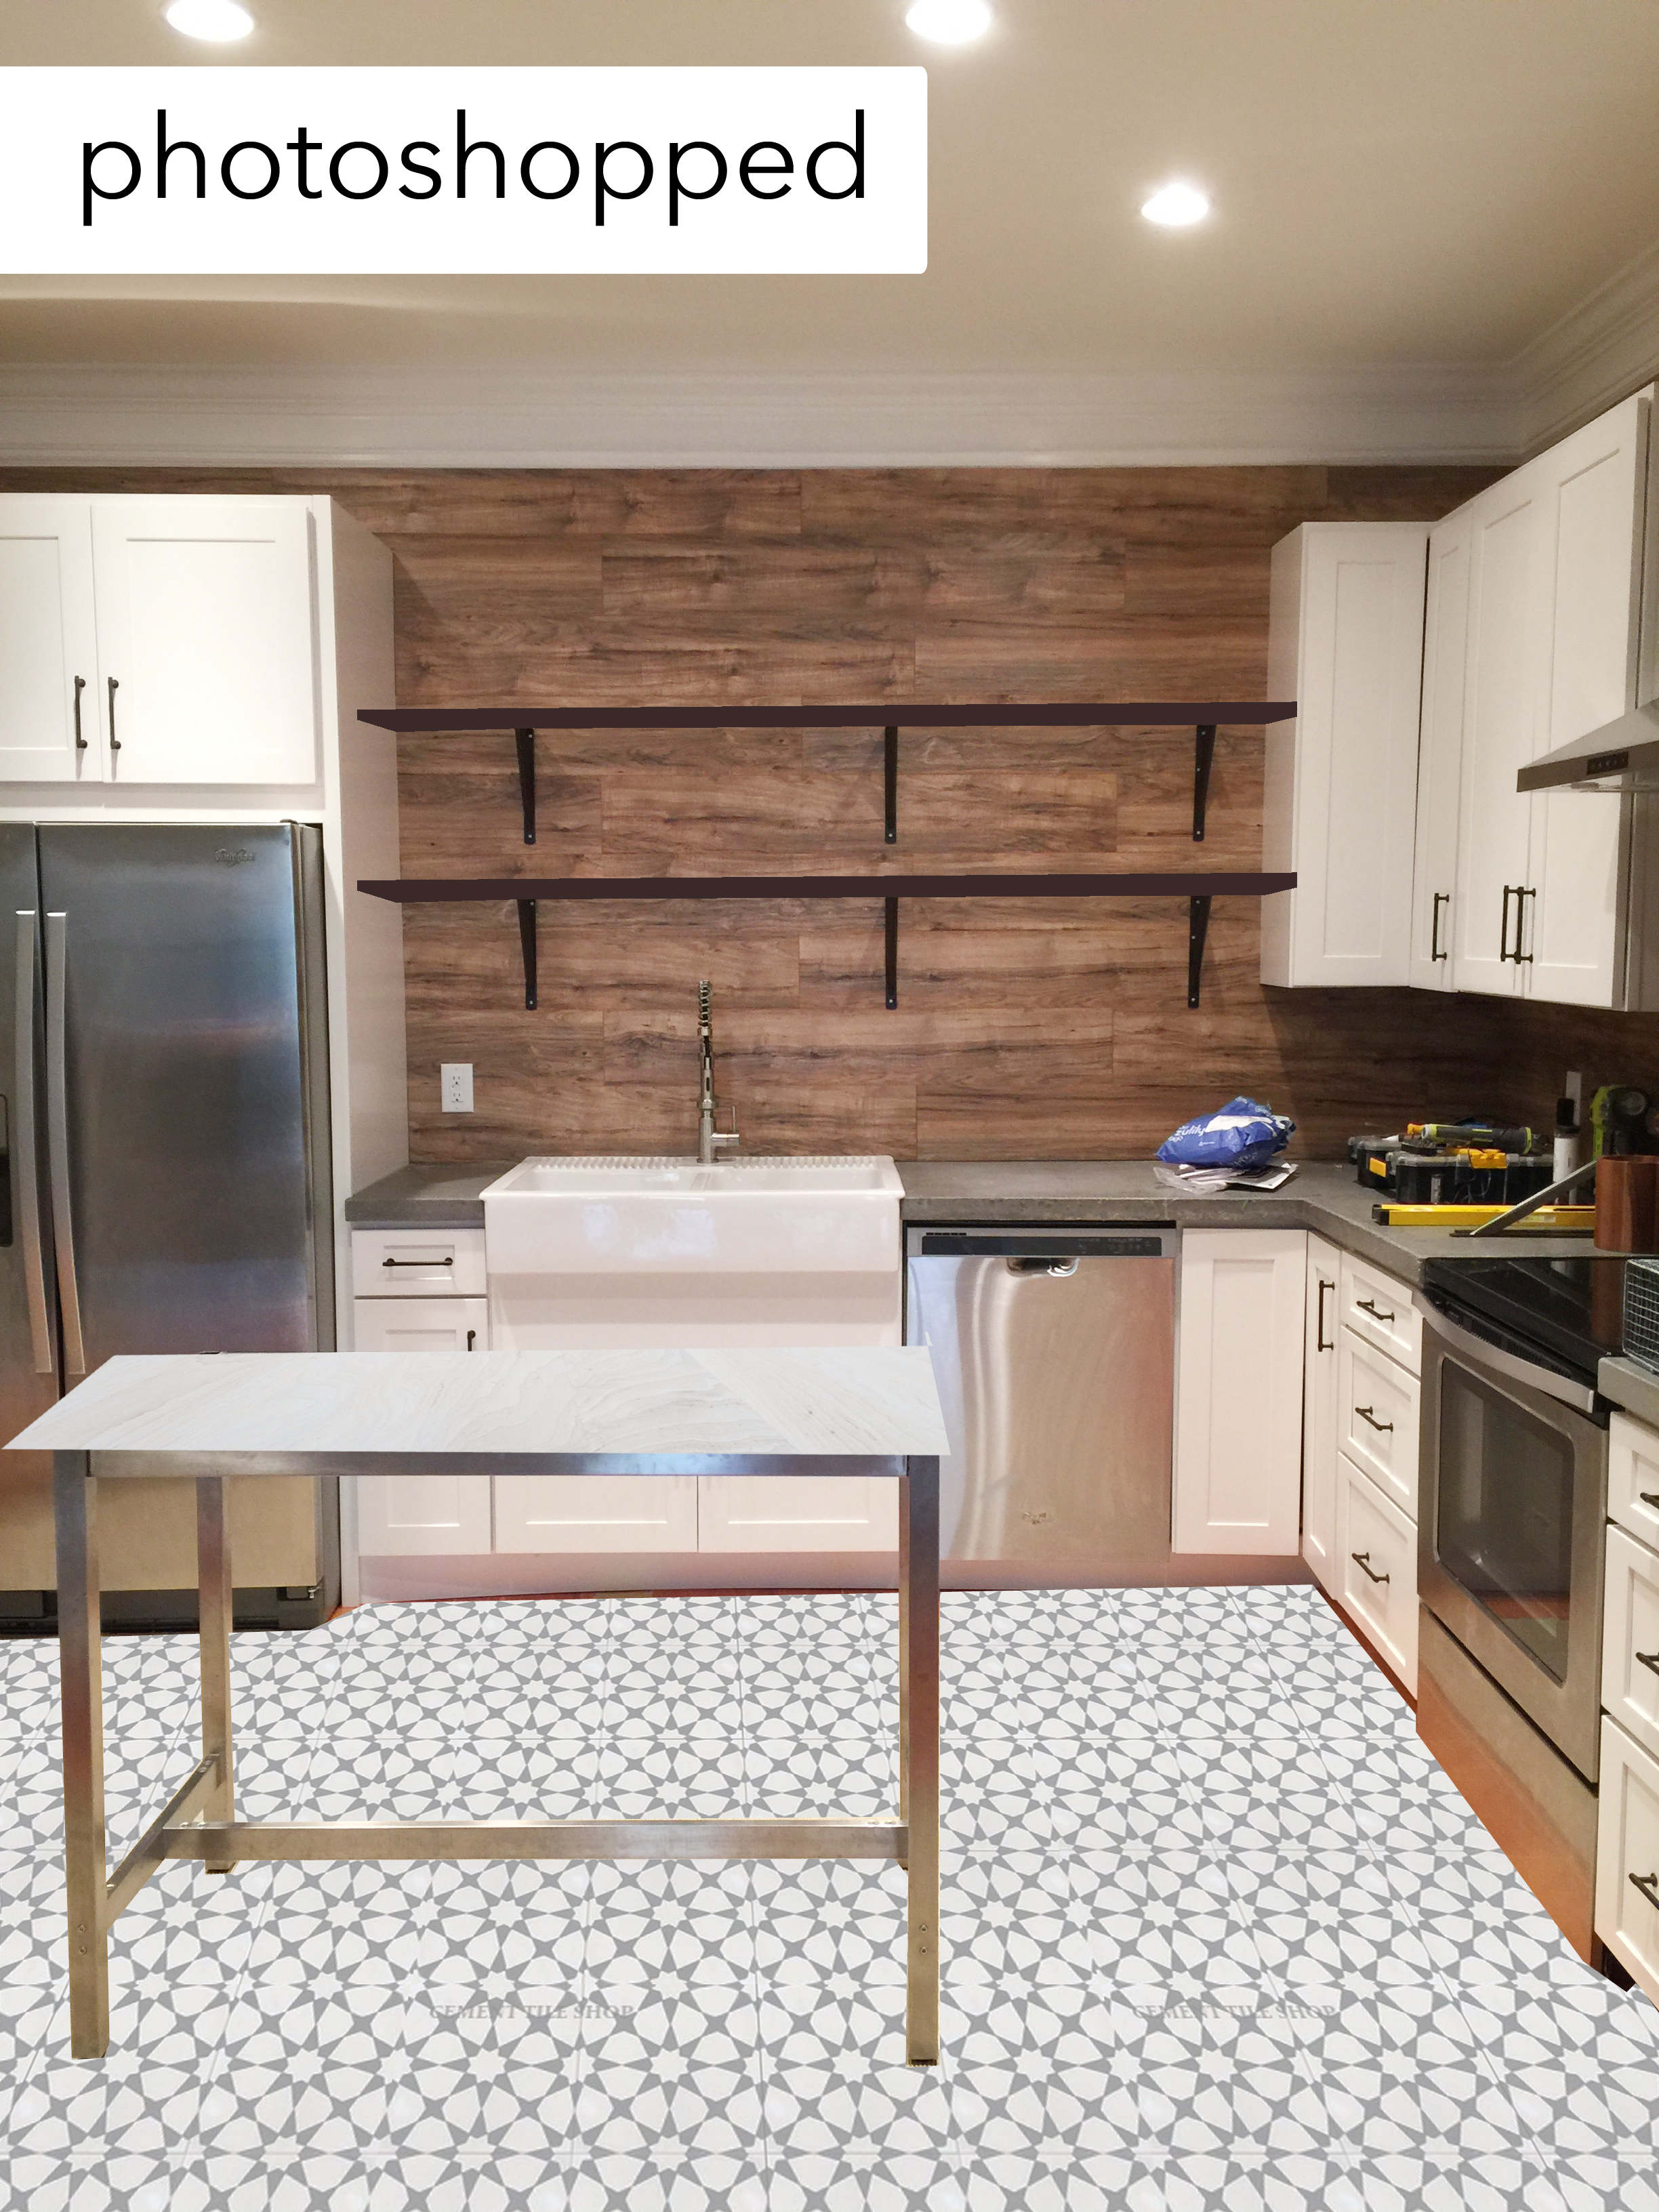
And then that leads me to the floor. When we decided to put the laminate up as a backsplash, we knew that it was a risky decision design-wise….but we also figured that people put this stuff up all the time as accent walls and most people love hardwood floors – so we wanted to switch things up for the floor. So normally we put a tile backsplash and wood floors….and this time we are trading the two finishes and hopefully turning out with a gorgeous space. I looked at a ton of different options and finally we had settled on concrete tiles. I fell in love with patterned floors when I saw this on Dwell years ago…and I loved Jenna Sue’s tile flooring and wanted something similar with black/white and gray. Here is her tile in our space….
Do you see where we are going with this now?!
It was a complete first for me – working with concrete tile but hopefully in the end, you will love it. BUT FIRST….before we get into all that….I need to show you a piece I was working on for the other corner of this room…it’s a shelving unit for a bunch of kitchen stuff. I literally can not wait to show you! It’s gonna be so fun and you will definitely want to build one yourself.
p.s. If you would like to catch up on past basement kitchen posts – here are the links….

Excited to hear about the new tile! The open shelves look great! 🙂
What kind of anchors do you use? We have some shelves and even put some anchors in (Like your coffee station shelves) and they sag.
This looks awesome so far! I’m surprising myself with how much I love the wood backsplash. I can’t wait to see what the concrete patterned tile looks like installed.
PS. I love how you write. I’m constantly finding myself LOLing throughout your posts.
Love the flooring – can’t wait to see it! Where is the cabinet hardware from?
I love this kitchen! I think flopping the wood and tiles was a wise move. It looks amazing!
Is the table in the middle of the room a permanent kitchen island-type thing or just there to hold materials while you work? Just curious since I don’t think you mentioned it.
Amazon! Isn’t it perfect?! Here is the post about it.
xo – kb
We love Toggler bolts. They work wonders! Here is a link!
xo – kb
It’s actually going to be a moveable island. We found the metal base and wood top at Ikea clearance and we are gonna finish it to play nice in the space.
xo – kb
You guys are so handy, I am in awe of your skills. I know the point of this post was the kitchen, but the real show stopper for me was Jeremy’s “family over everything” shirt…. Where can I buy it???
Cement tile FTW! 😀
Will the tile just be in the kitchen area of the basement? Excited to see how it all looks!
Yes! We want to do a floating laminate over the rest of the tile!
xo – kb
So great!!! It’s really coming along. Can’t wait for floors Katie!
Can’t wait to see the end result, it looks lovely!
xx
This is looking amazing! I can’t believe this is the kitchen in your basement, I hope to have mine look like this and it is the only one in my house :/ I love the mix of light cabinets and the wood walls. Gorgeous!
Can’t wait to see the tile! The wood really does make the room stand out – not the typical white Pinterest kitchen!
My wife and I love the hood look, but looking at the install, it looks like you did not vent externally? Is that correct?
Also, mentions online (Amazon and others) mention it is quite loud and perhaps vibrates a lot. Have you found this to be the case.
I do love the project and look of this kitchen.
Ray
It does install ventless meaning that it works similar to a regular vent that doesn’t need an exterior wall. And yes it does have a louder volume than the one in our first house but not much louder than our upstairs kitchen hood which is vented. Hope that helps!
xo kb
Awesome. I just wanted confirmation from non-vented install.