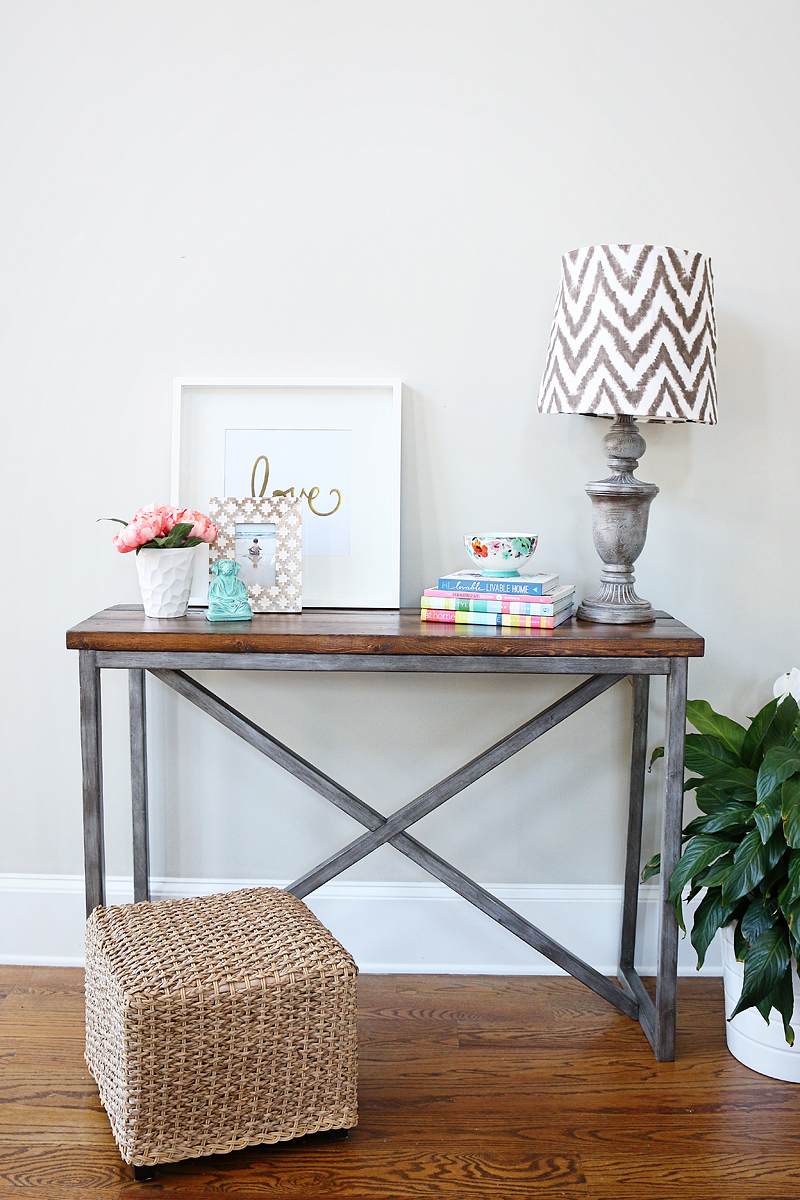
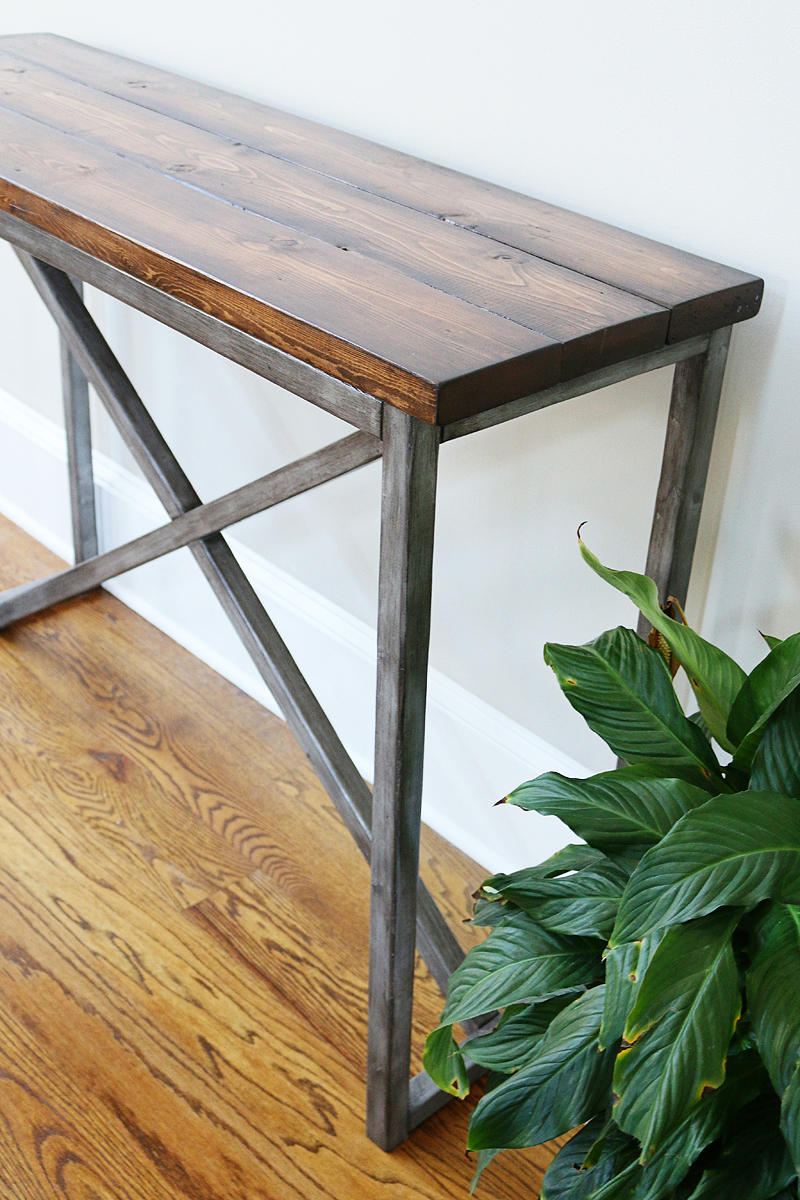
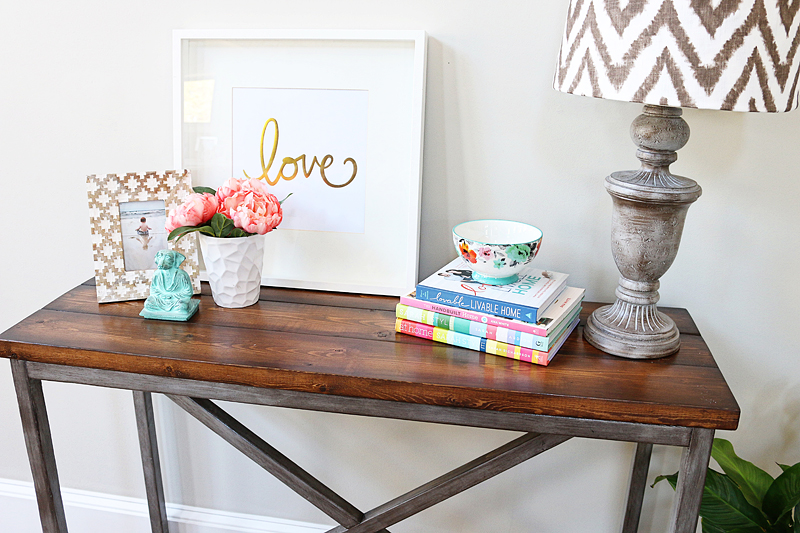
Finally! It’s here! I know you guys have been patiently waiting and I am so excited to bring you the building plans for my x-based console table. It looks a little like this….
After seeing this Salvaged Boatwood Console table from Restoration Hardwood, I fell in love. like in a Notebook kinda way. like I must be with this table or I might never live fully again kinda way. Ok…yes, I was dramatic about the table. But seriously…some people cry when they win American Idol….I get misty eyed about home related items. and about my kids. and anything that involves chocolate, salt or butter. Let’s move on before I start raiding the pantry.
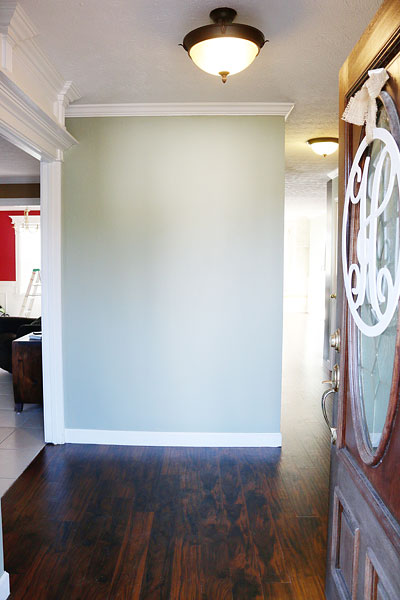
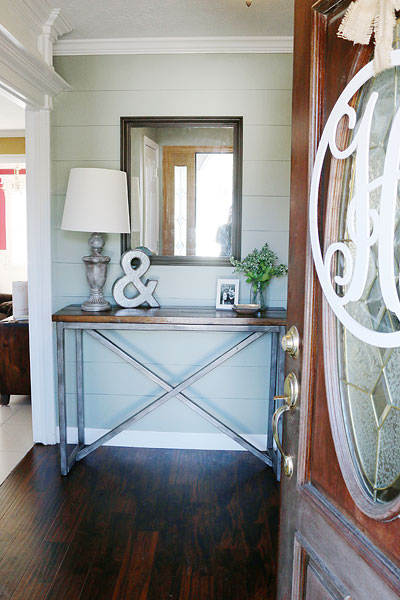
I styled up the table in my house before taking it to my brother’s house for his 30th birthday present. I gave him that complete foyer makeover and took the blah before (yes I can say that because there was absolutely nothing in this space) to a very cozy and complete after….(READ THE WHOLE POST HERE)
The table is extra tall compared to other consoles and I made it to fit his space exactly so you can tweak yours if you are short and need it smaller. The style is super versatile and I think it could go with a variety of rooms whether you like more farmhouse, industrial or modern….all the more reason you should build it today!
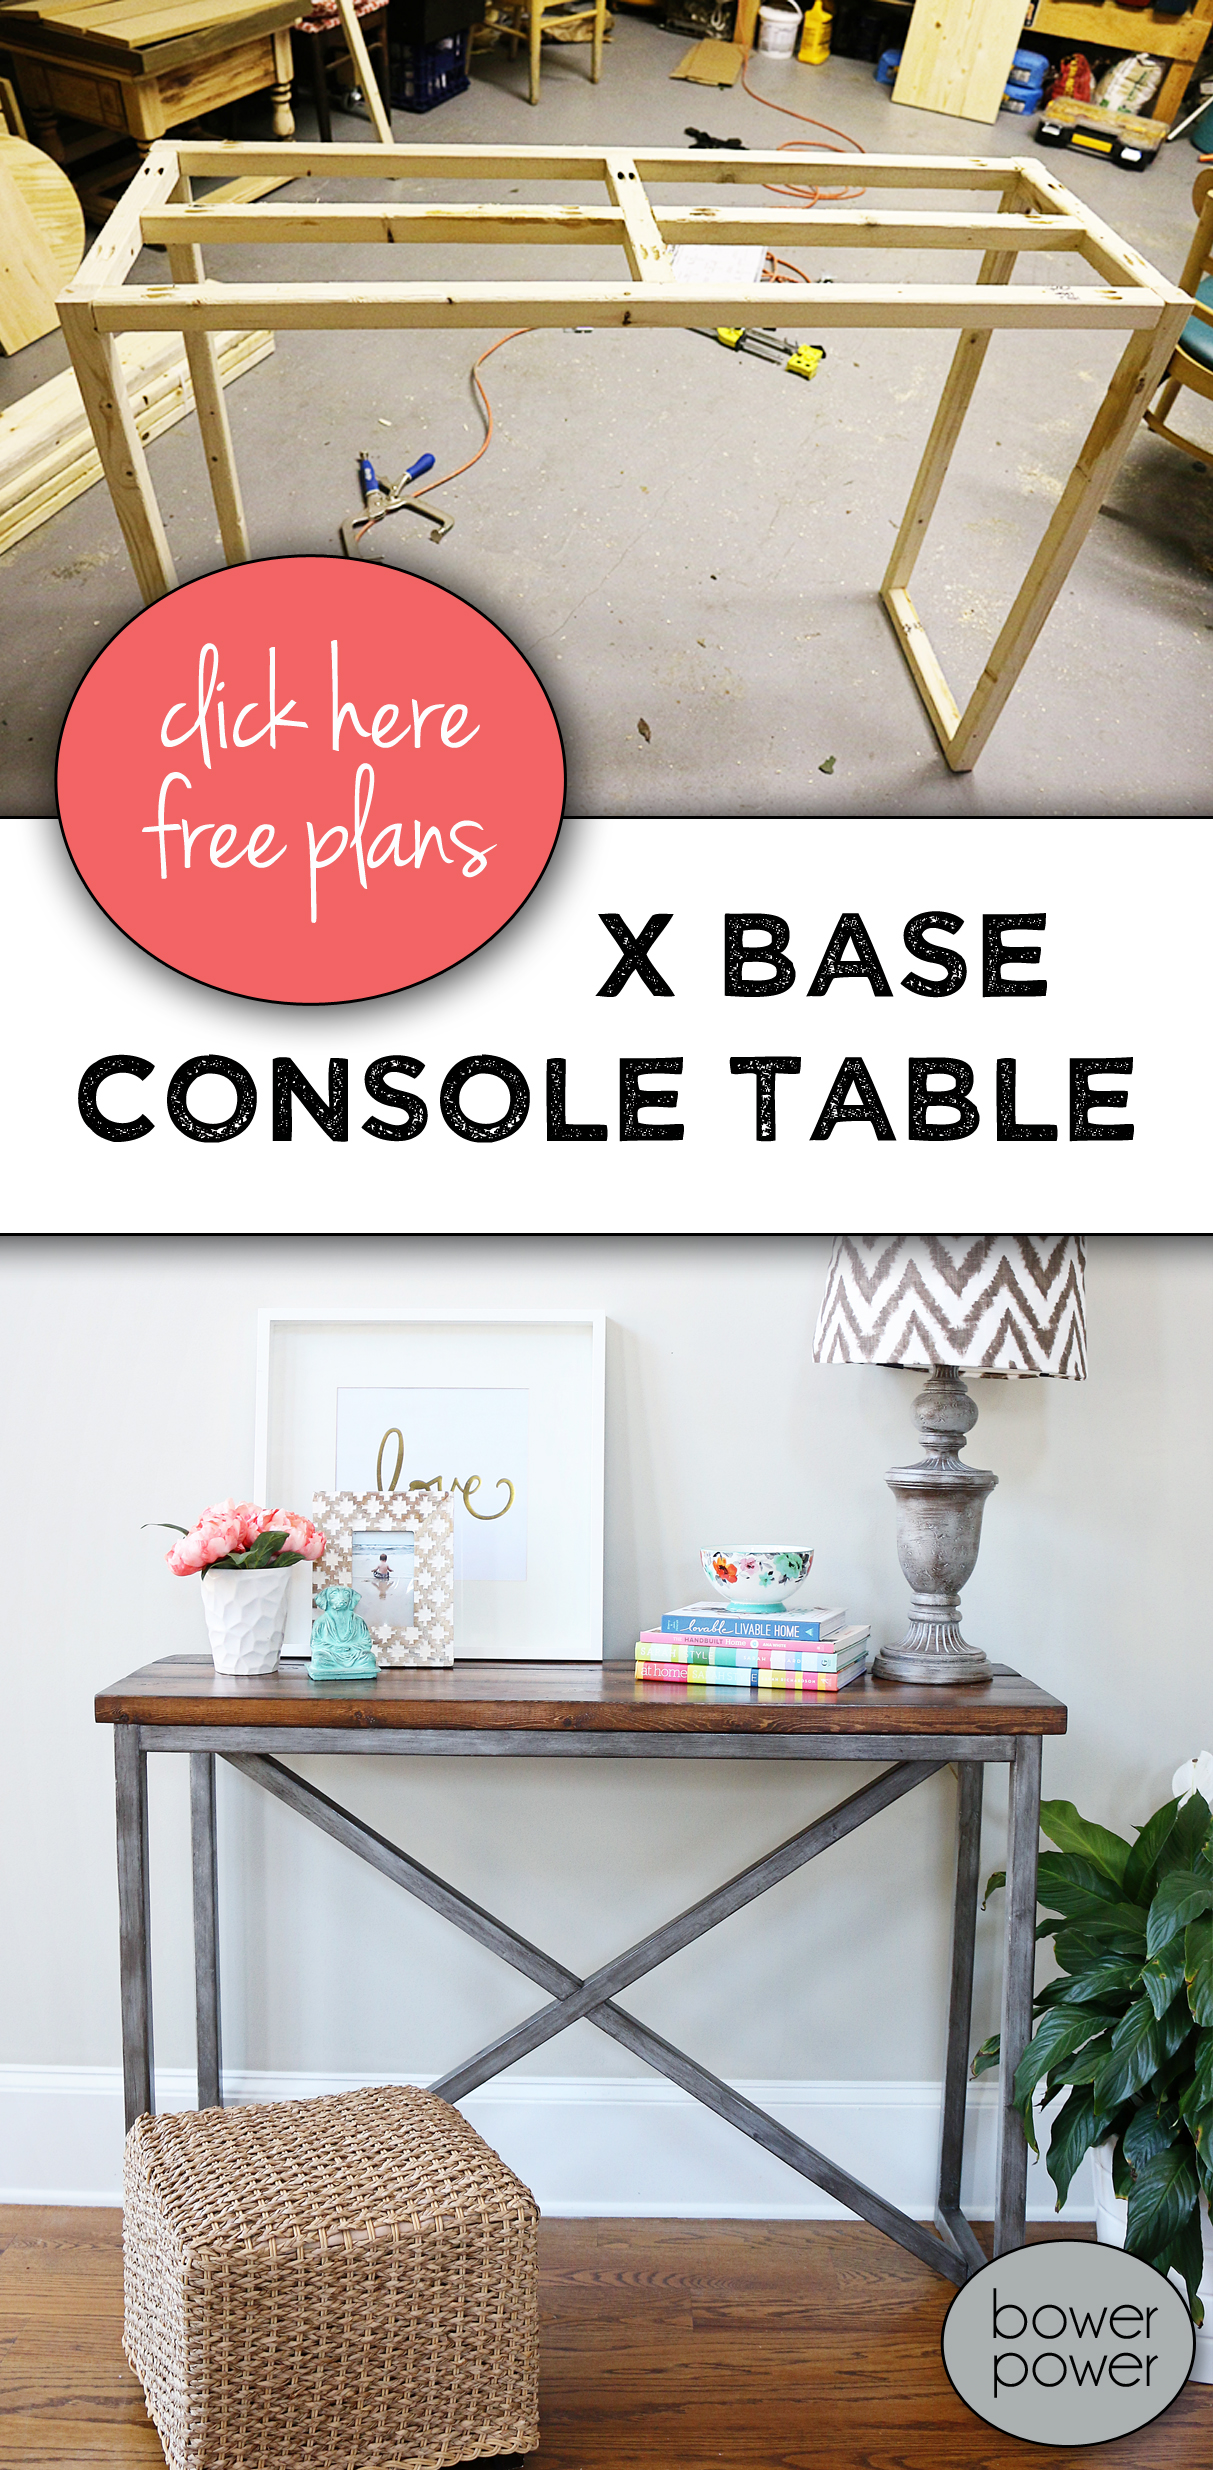
X BASE CONSOLE TABLE Plans
And it only cost me about $25 in lumber…as opposed to the price tag on the inspiration piece which was $970 on sale. That’s right…go ahead and pocket that extra $945. Or you can just send it my way. whichever 🙂
I actually did the whole thing a little backwards….I started off with a picture and I just started building according to what I needed instead of drawing up the plans first.
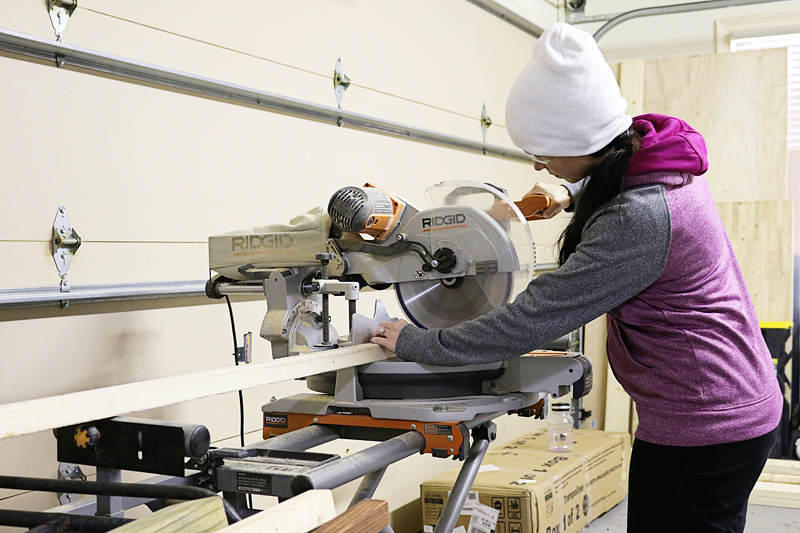
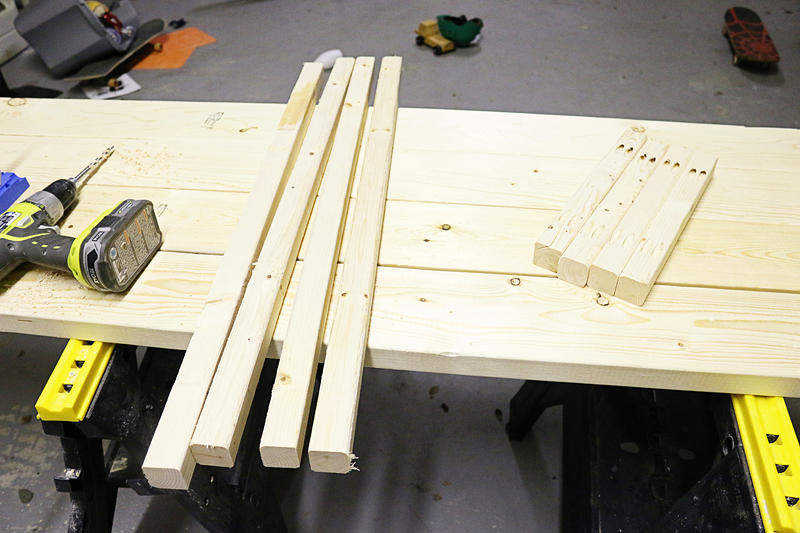
The whole process is super simple and requires 5 2×2’s and some 2×6’s. First you need to cut your legs….
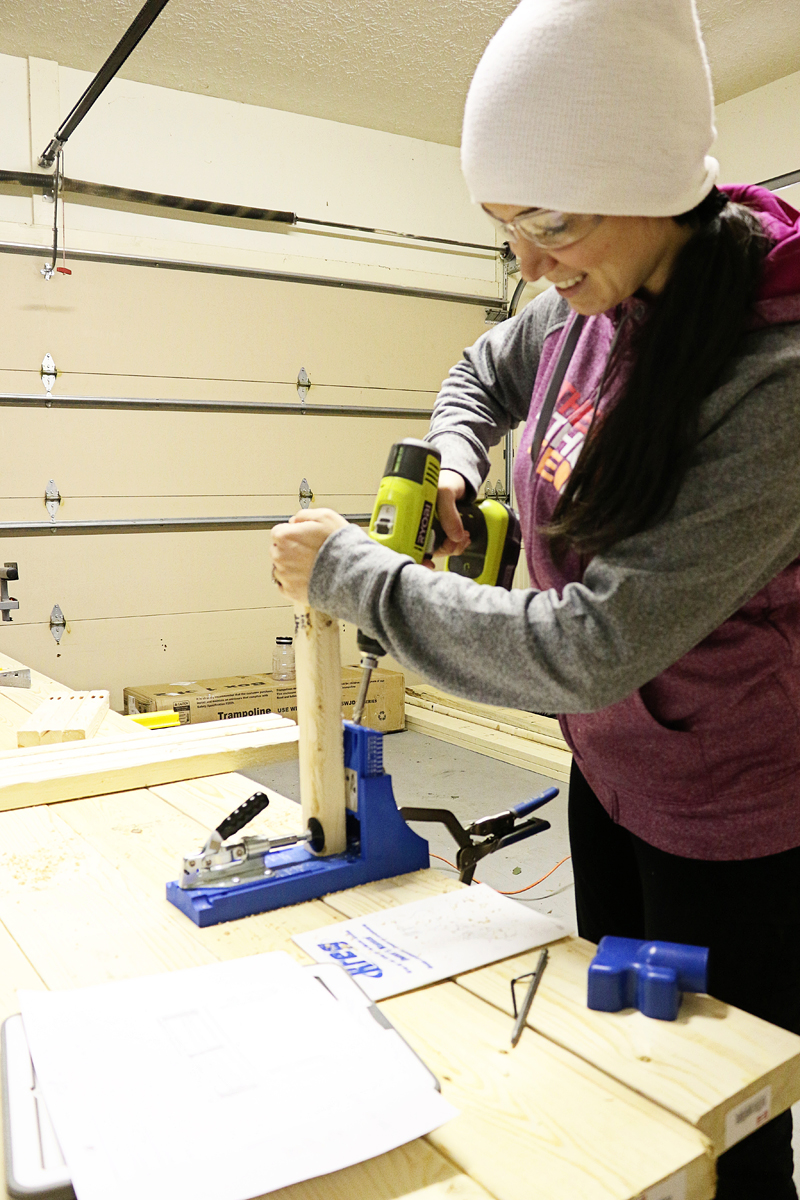
I got a legit Kreg Jig for Christmas and basically I am a pocket hole fool.
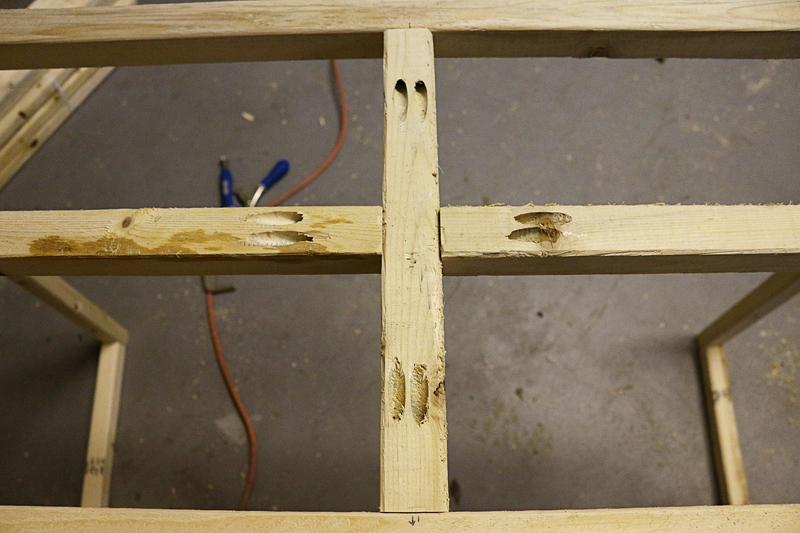
These are all pocket holed together to form squares and have the pockets hidden on the top and underside of the legs.
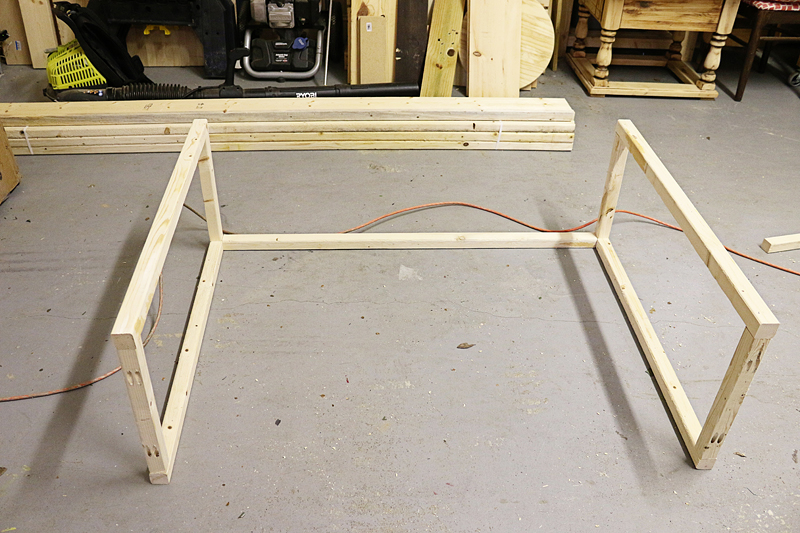
After you get your legs cut and pocket holed you will screw them all together.
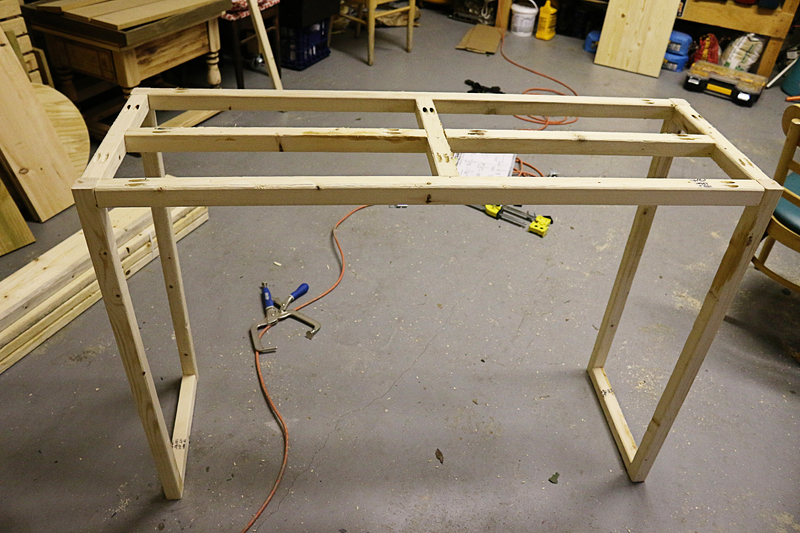
Then you build the carcass (the framework which supports the top and the X).
So the square at the top is the most important part and you will want to make sure you check for square as you go. The top supports the planked top and it also gives you something to attach the X base to. That X is not the thing that is supporting the table…the legs are so that is why it is important to make sure those are square and not warped.
The center cross in the middle of the carcass will be attached at center and then you attach the sides of the cross.
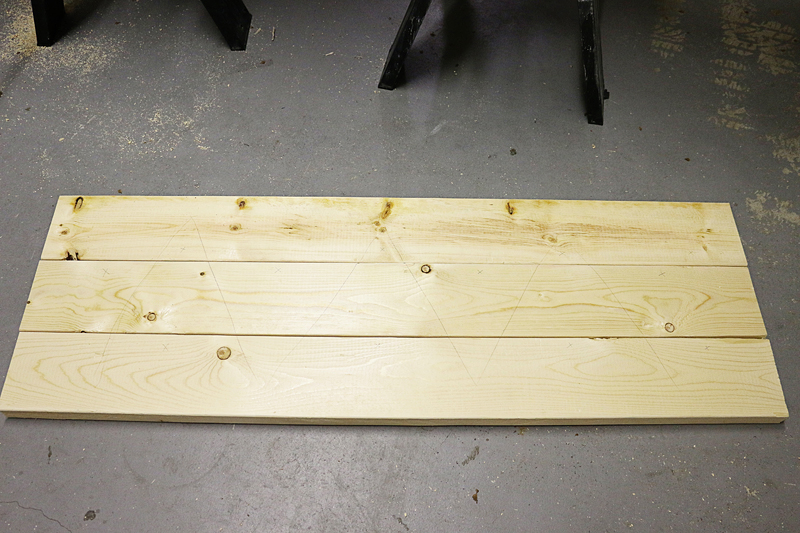
Then it is time to make the planked top. I watched this video done by my friend Ana White on tips for making planked tops and it was really so helpful and informative. If you haven’t seen it, it is worth watching.
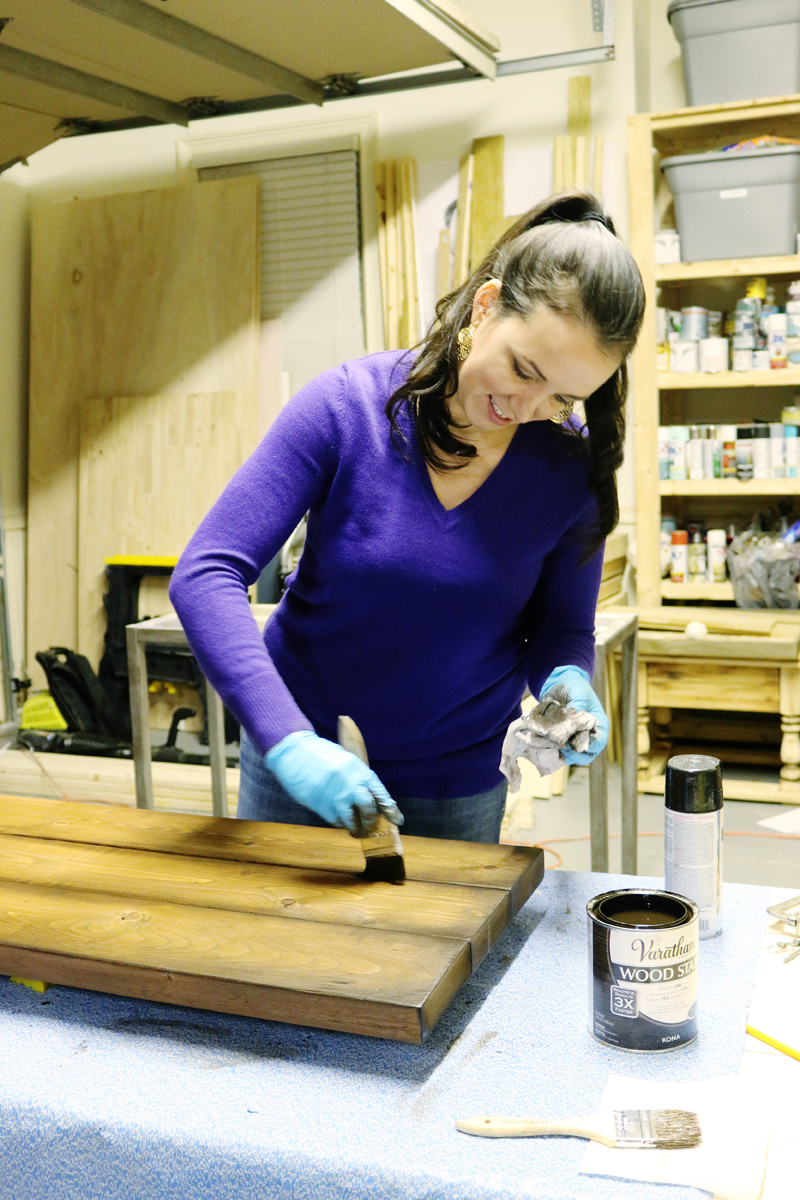
After I cut, marked, pocket holed, glued, and screwed the planked top together, it was time for sanding and finishing.
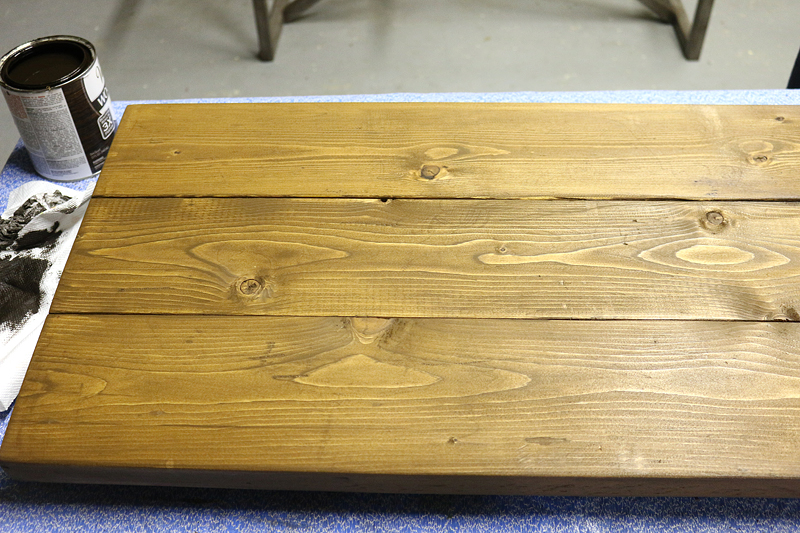
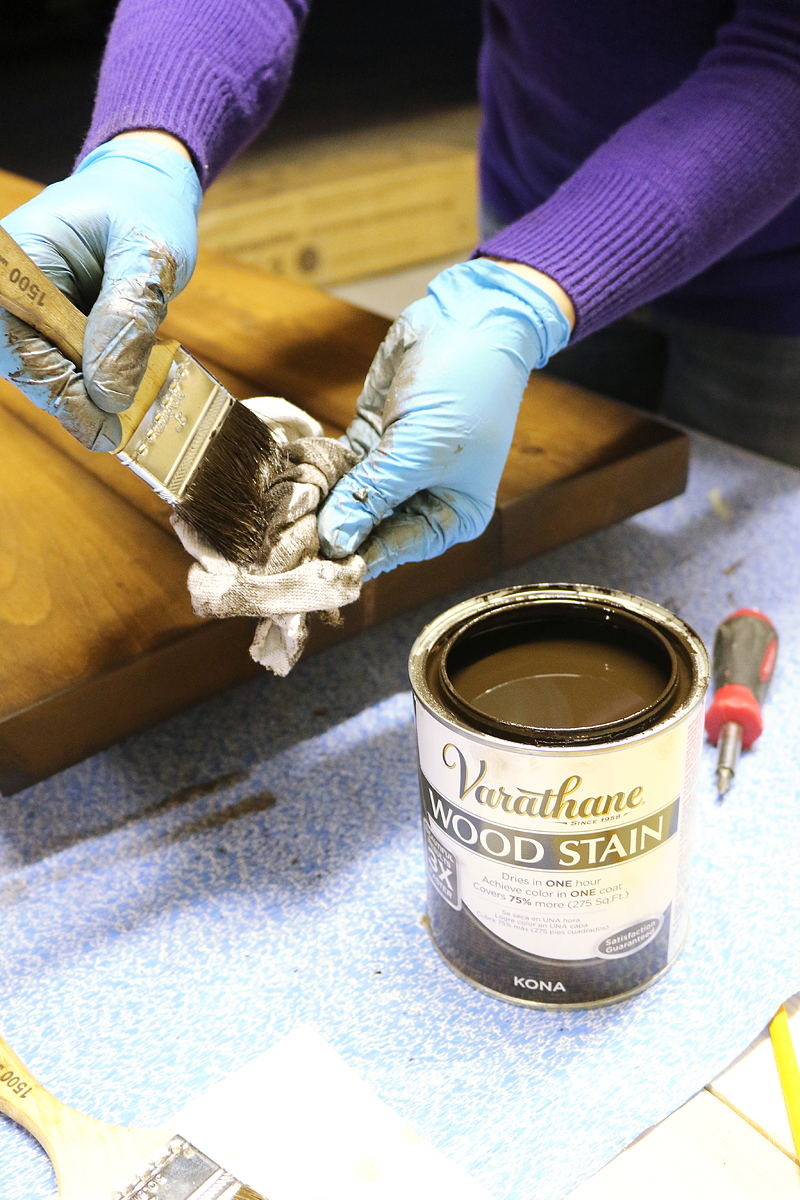
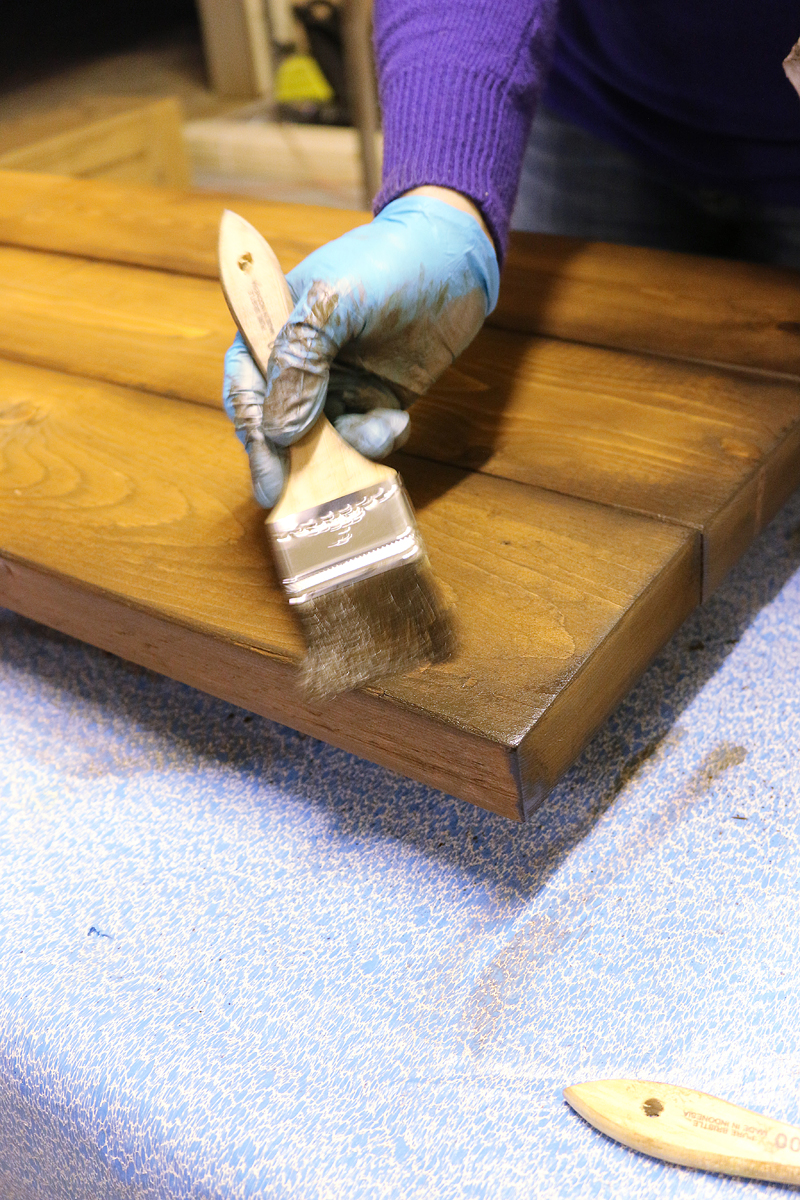
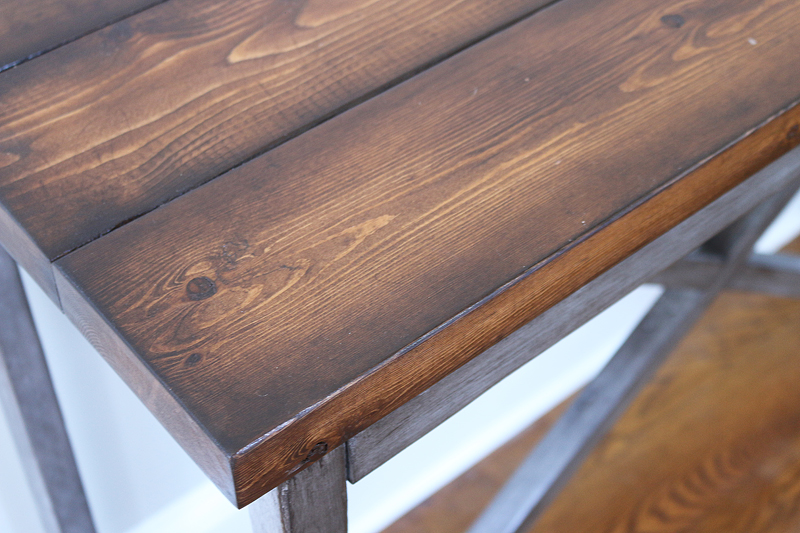
I decided with this piece to do the metal look on the base and then make the top a warm wood color. The stain color is Early American by Rust-Oleum and then I did dry brushing with Kona stain on the seams and edges to give it that finished look.
I truly believe that the part that makes this piece look like a million bucks is the dry brushing.
I did that post about dry brushing and you can read all about it by clicking here.
So the base is wood but I got it to look like metal by using Metallic Spraypaint by Rust-Oluem and also did a rubbing technique with stain. It is similar to dry brushing and using a chip brush helps to apply the stain accurately but then you must rub it in while the stain is still wet to get a aluminum frame look. I will do a more in-depth post about that later.
I recommend sealing this with a couple coats of Rust-Oleum Triple Thick polyurethane. I used gloss but I can see how it would look good with semi-gloss too.
Also – that love print? It’s gold foil and you know me and gold foil right now are like BFF….well, that print was one dollar. ONE DOLLAR. It is in the scrapbook paper section at Hobby Lobby and it is usually $2 but it was on sale with their 50% off sale. I love it and it’s perfect for this week, right?!
So there you have it folks – the full building tutorial.
X BASE CONSOLE TABLE Plans
It’s such a simple build and for $25, you can literally build it and give it away to any relative as a birthday gift. And then you will get the award for awesomest person ever. It will happen. This table will change your life 🙂 Happy Building y’all!
Thank you Jesus…errrr….Katie!!! I cannot wait to build this with my husband for our hallway!!!! I love your blog!!
I can’t believe it only cost $25 – you make it sound like something I could actually do, too! It could be so easily customized with paint, stain, etc. Very nice!
This is so great! I think the link to Ana White’s video is missing. 🙂
PS – Happy birthday!
Great project – thanks for sharing! Where is the basket weave stool from? Have been looking for something very similar.
This looks really good – definitely a successful execution of your vision. I’ll tell you why I really like this…
This post caught my eye because I saw a $$$$ unique bookcase featured in some beautifully designed rooms (http://images.anthropologie.com/is/image/Anthropologie/21265038_020_b?$redesign-appcat$) – don’t remember where the first one was but it was used in front of this beautiful and huge window and just perfectly to scale and just overall drool-worthy. It stuck out so much that I was amused to see World Market’s reproduction while browsing one day (http://www.worldmarket.com/images/misc/videoThumbs/37023.jpg).
That is until last week when I caught up on Emily Henderson posts and read through her criticism of the faux-industrial trend – I wondered if this bookcase (either version) fell under that category since that was totally the look of the World Market one I saw in person. In fact, I think the bookcase in the photo Emily uses is from World Market and I remember it had the same treatment on the metal as the round version.. Emily definitely gives her thumbs up on using the pieces sparingly, as you have successfully done with your vignette, but the whole concept itself has just been fun for me to follow along with.
So the reason why I like your table is because the shape of it is so classic that when you want to get rid of the faux-industrial treatment, you’ll still have a really beautiful piece of furniture because of the style of table you’ve gone for. Down the road I could see a faux-wrought iron approach working really well or even just painting it all white or using stain. Just seems really smart.
Ha aaaaand now back to work.
Best,
I can’t wait to see how to do the aluminium part! And hurray for Kreg Jigs!
Oops! I will fix that right now!
xo – kb
It’s interesting that whole discussion about the faux-industrial trend…I think that’s the great thing about finishing furniture yourself – the style possibility options are endless!
xo – kb
I got it at Target years ago!
xo – kb
Thank you 🙂
xo – kb
Thank you for the tutorial. Can you give a few more details on how you made the “X”? Which angles you had to use, lengths of pieces, how you attached it, etc. Looking forward to trying this one!
Maybe I missed it…or am not good at interpreting plans…but how did the X part go on the table? Thanks.
What a cute setup! Love it!
Rabecca http://www.midnightburnout.com
The longest part of the X is cut and attached to the ‘cross’ of the carcass at the top and then also at the bottom (see the plan steps for reference) – it is a good idea to cut one end and then measure and cut the other angle. Then you pocket hole the other two parts of the x and attach those to the center and top & center and bottom. Does that make sense?
The angles are based on 55 degrees at the part where it attaches to the carcass and 35 at the center but I recommend measuring, marking and cutting according to your own boards because there can be quite a bit of warping with 2x2s.
xo – kb
Definitely read the plans. It has the lengths in the cut list but you need to also measure, mark and cut as you go because there could be warping with boards this small. The longest part of the X is cut and attached to the ‘cross’ of the carcass at the top and then also at the bottom (see the plan steps for reference) – it is a good idea to cut one end and then measure and cut the other angle. Then you pocket hole the other two parts of the x and attach those to the center and top & center and bottom. Does that make sense?
The angles are based on 55 degrees at the part where it attaches to the carcass and 35 at the center but again…I recommend measuring, marking and cutting according to your own boards.
xo – kb
Thanks, Katie. I completely missed the link with the full plans when I read the post (twice). Oops! 🙂
I love me some Sarah Richardson too- I noticed the books on the table 🙂 She’s my #1 designer here in Canada.
I love this table. I’m going to need to go buy a Kreg now.
Looks awesome! Are you posting how you did the legs to make them look like metal? Thanks!
Yes! We have a video already filmed!
xo – kb
Is there a way to make this awesome table without using pocket holes? We don’t have a tool for that and they seem to be quite expensive :/
They aren’t that expensive – you can get the R3 Jr (it’s the one we used for years before splurging for the normal sized one) and it is less than $40. Plus – most plans you can find online recommend a jig. If you decide to not get a jig, you can definitely build this with exposed screws.
xo – kb
Just putting my own two cents in, I hope Katie doesn’t mind! 🙂 I’m going to be making this table (I LOVE IT KT!) with dowel joints. I have the kreg jig, and I absolutely love it for certain things, but when I came across this video: https://woodgears.ca/joint_strength/pockethole.html in a woodworking forum (and after reading about all the hate pocket hole joints get from pro woodworkers) I decided I’d try out dowel joints. I am certainly noooooot a woodworker!! Just a home DIY-er. But a quick read about dowel joints looks like they’re easy enough to do with a dowel and tenon kit. I bought this one on Amazon for $11: http://www.amazon.com/gp/aw/d/B0055HPZF8/ref=sr_ph_1?qid=1455712544&sr=sr-1&pi=AC_SX236_SY340_QL65&keywords=1/4+dowel+kit&th=1&psc=1 The only other things you’d need are extra dowels (the kit only comes with a few, make sure the size matches the ones in the kit), wood glue, and clamps. You’d need to modify the order of the plans somewhat, since the top center support or the X won’t be able to be attached last, and allow for clamping and drying time.
Anyway, not hating on pocket hole joints, they’re the shizz. Just another method that might be helpful!!
This is very helpful. And I think that there are definitely many ways to skin a cat….err…build this table! I would love to see yours when you are done!
xo – kb
I went to Hobby Lobby today to try and find the Love Print. I looked up and down the paper aisle and all the aisles around it. I’ll be okay if I can’t find it, if it’s all gone, but I am not willing to give up just yet. Can you please tell me exactly where you found it? Was it in the loose single sheets section? Thank you so, much. I love the table and am looking forward to making it for my home.
It was in the loose paper section. I found it on the top row at my hobby lobby if that helps.
xo – kb
Thanks, it does help. I don’t think ours has it.
Where can I find the silver paint/stain video?
Here you go!
xo – kb
Greetings from California!
Ok so I just spent the past hour on your youtube and you’re just adorable. My husband and I do so many projects and almost all of our woodworking together and I just love finding other couples that do it too. You have a beautiful family too!
Aww thank you Jennifer! So nice to virtually meet you!
xo – kb
Love love love your blog! I am in the process of building this table, and noticed that the plans show a material list of 2 x 6’s for the top, but then the PDF plans show 1 x 6’s for the top. ?? I used 1 x 6’s 😉 Now I’m kind of wishing I had used the 2 x 6’s so that the dry-brush finish would be more prominent in the space between the planks… But I’ll do it anyway! 🙂
I’m so sorry about that error! I paid someone to do the plans so it was definitely an oversight on my part.
xo – kb
When I click on the link to see the plans it doesn’t work!
Its a pdf – it should open right up!
xo – kb
Hi there… Love this! Do you have the video Posted yet?
The finish tutorial? Here you go.
xo – kb