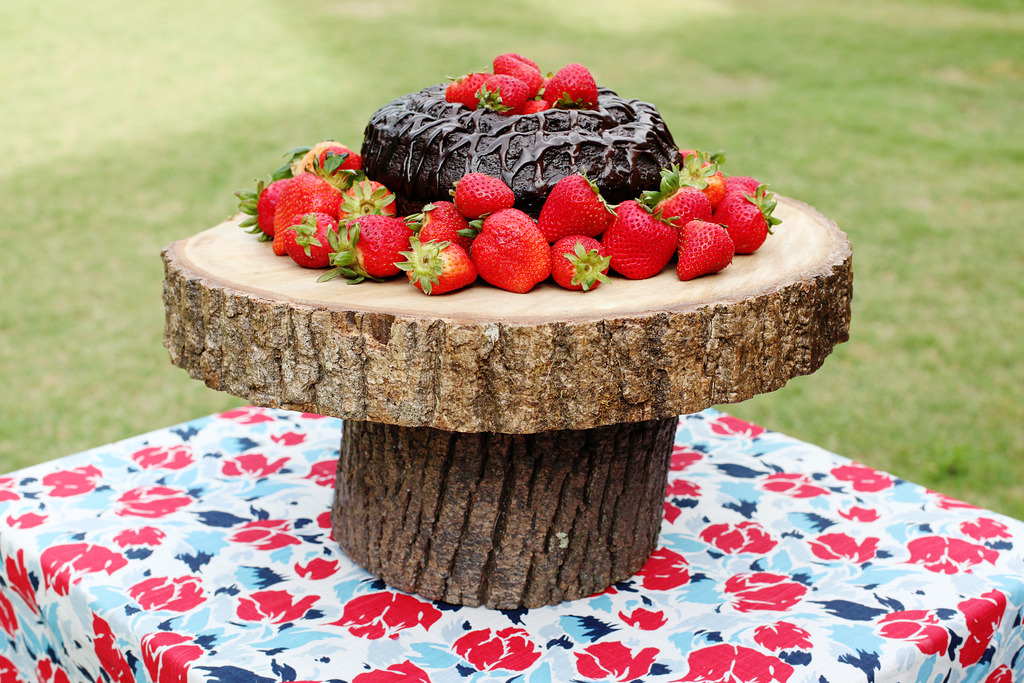
My baby brother is getting married this weekend! Ahhhh! I am so excited for him and his soon-to-be-bride Jessica! I thought in celebration of their nuptials, I would share some fun DIY WEDDING themed projects. Isn’t that fun?! This first one is something that you probably have seen ALL over Pinterest. A cake is just not a cake unless you chop down a tree first. Number one ingredient people! That should be a Chopped show challenge….make a cake with this tree.
We have a lot of woods and we are at the beginning stages of cleaning that up (when I say “beginning stages” I mean…we haven’t started). Our neighbor (whom I affectionately call Super Larry) however has done an amazing job with his wife of cleaning up theirs. For those of you that don’t have woods or are city dwellers or don’t live here in the south, cleaning up the woods is basically removing the pine tree saplings, the poison ivy, clearing any fallen trees and any invasive plants that kill good trees (kudzu being a big one here!). We don’t clear out animal homes (we love our critters!) and we really hate seeing these big trees fall but if you happen to have one that does, make sure to get a slice for your cake plate! Our neighbors were nice enough to let us get some from their wood stack for our project.
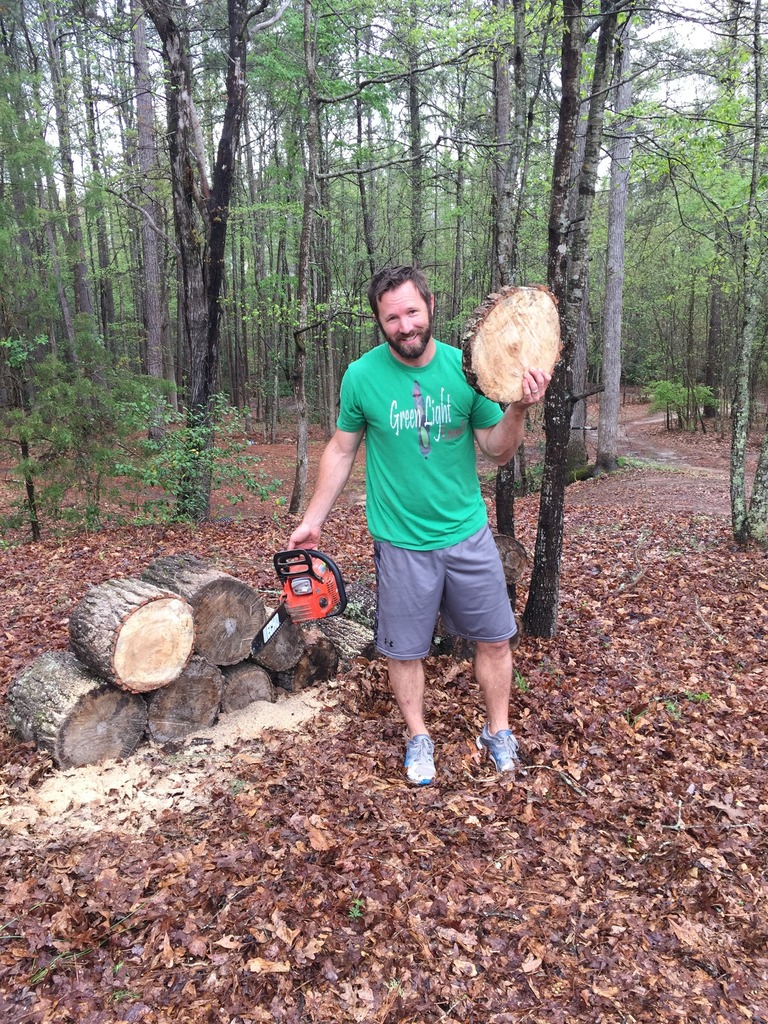
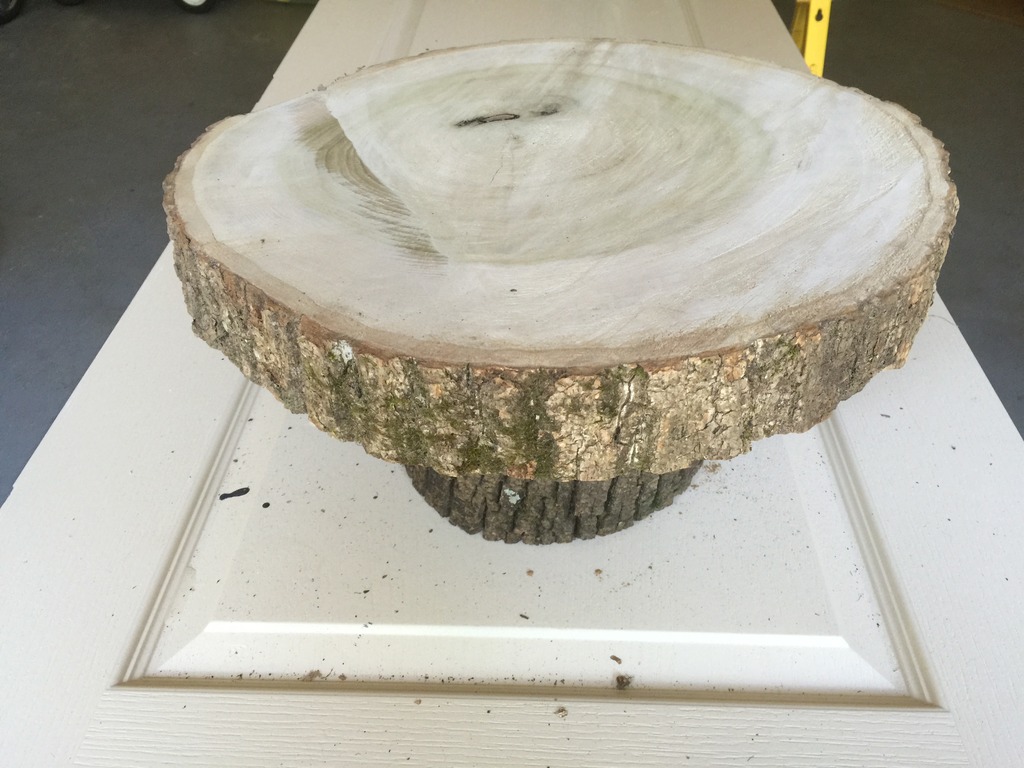
The first thing you need is two slices….one that is about 16″ in diameter and about 3″ thick and one chunk for the base that is about an 8″ diameter and about 6″ tall.
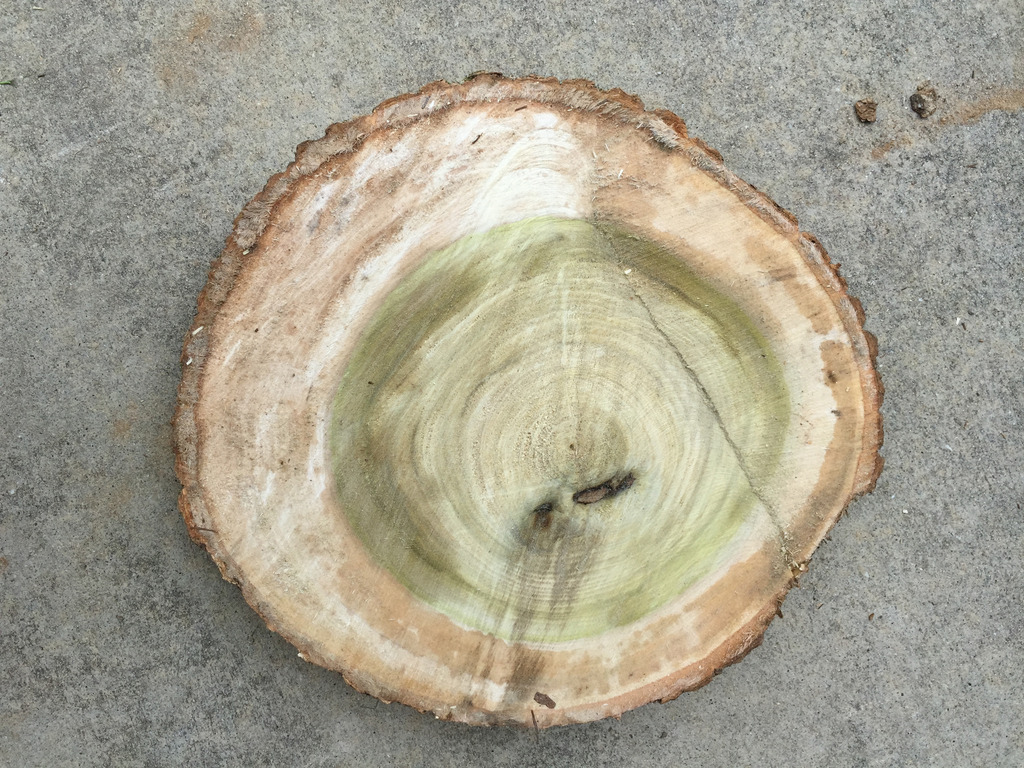
Sand the top of the plate part….we used a belt sander with the lowest grit we could find and then progressively worked till it was smoother. Be careful of the edges…you don’t want to loose the bark part because that is where the personality is all at!
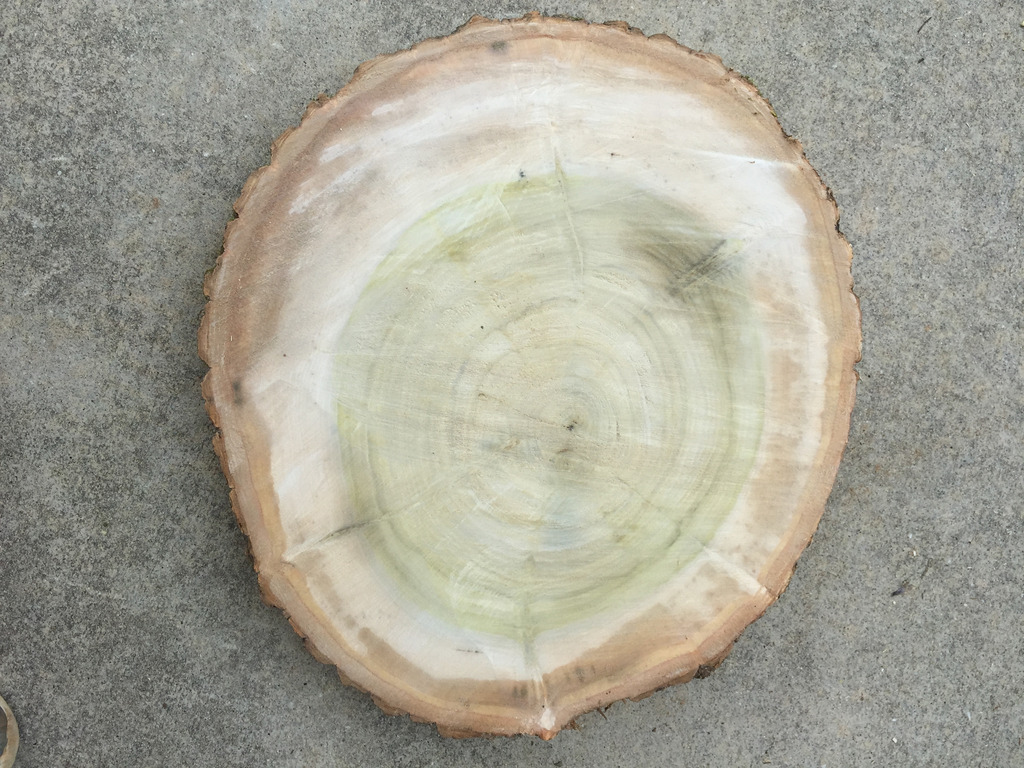
When you are done, make sure to double check for levelness. If it’s not level, first try twisting the top around to see if there is an angle it could lay that would make it level…if need be, cut the base with your chainsaw.
Now we tried to use wood glue and that was an epic fail. Don’t try it. And make sure you let these bad boys dry out for a long time in your garage. Then after they are ready, get a dowel screw. Here is the one we used….
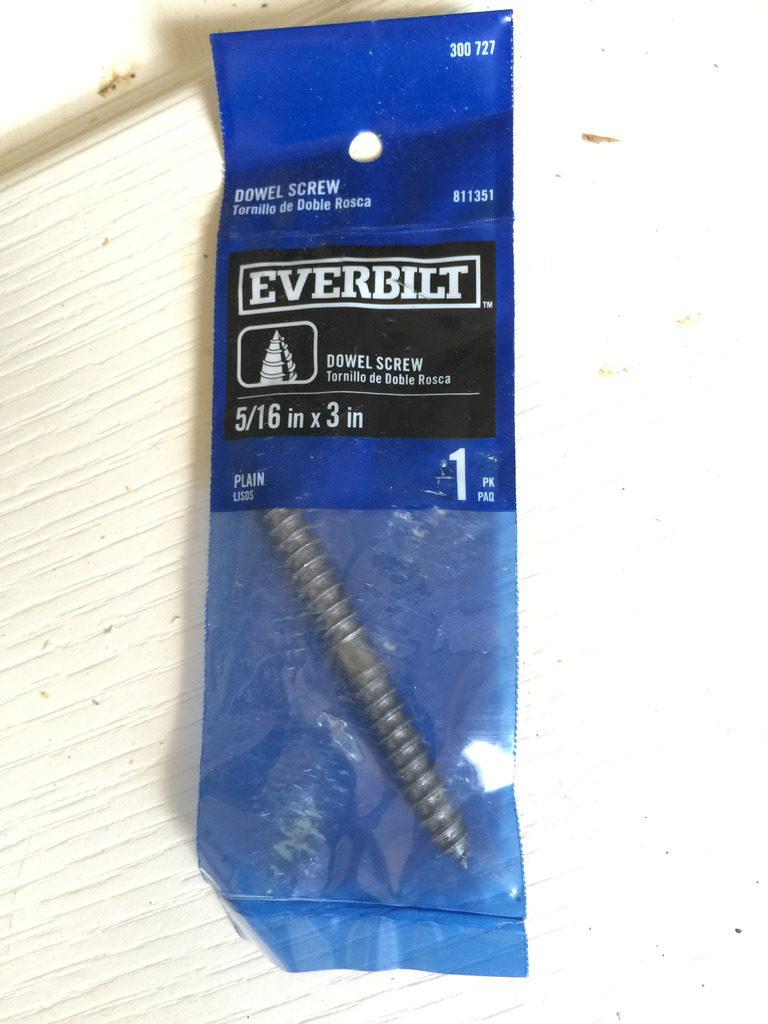
Predrill into the underside of both your top plate part and the top of the base….then just twist the base part down.
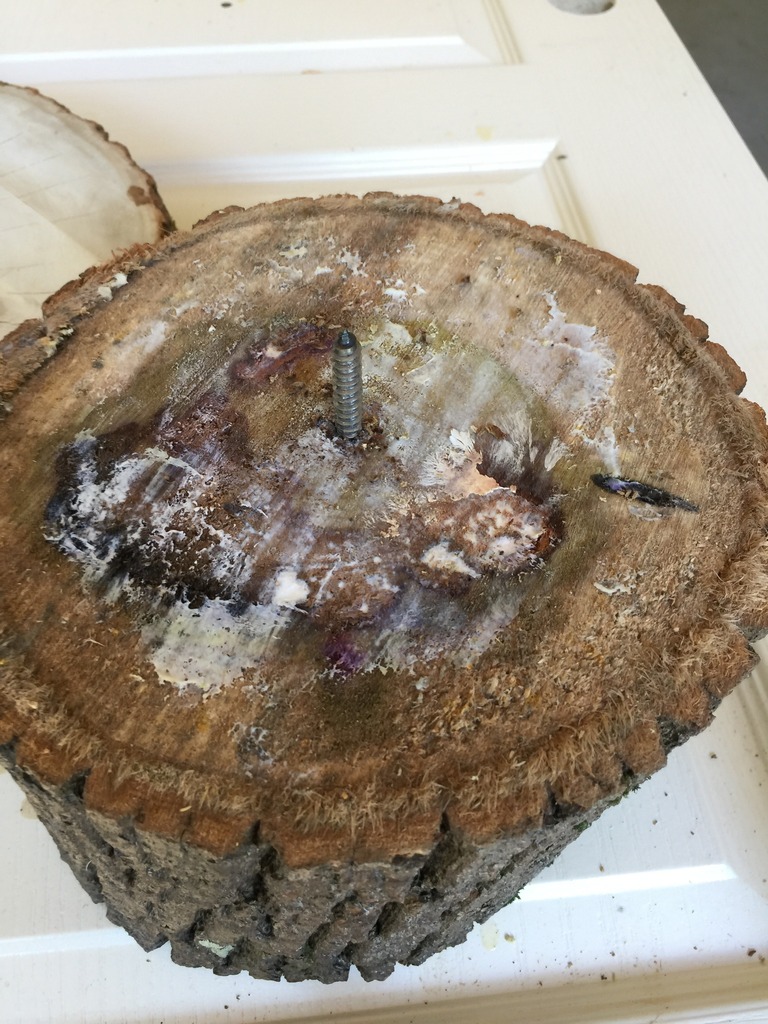
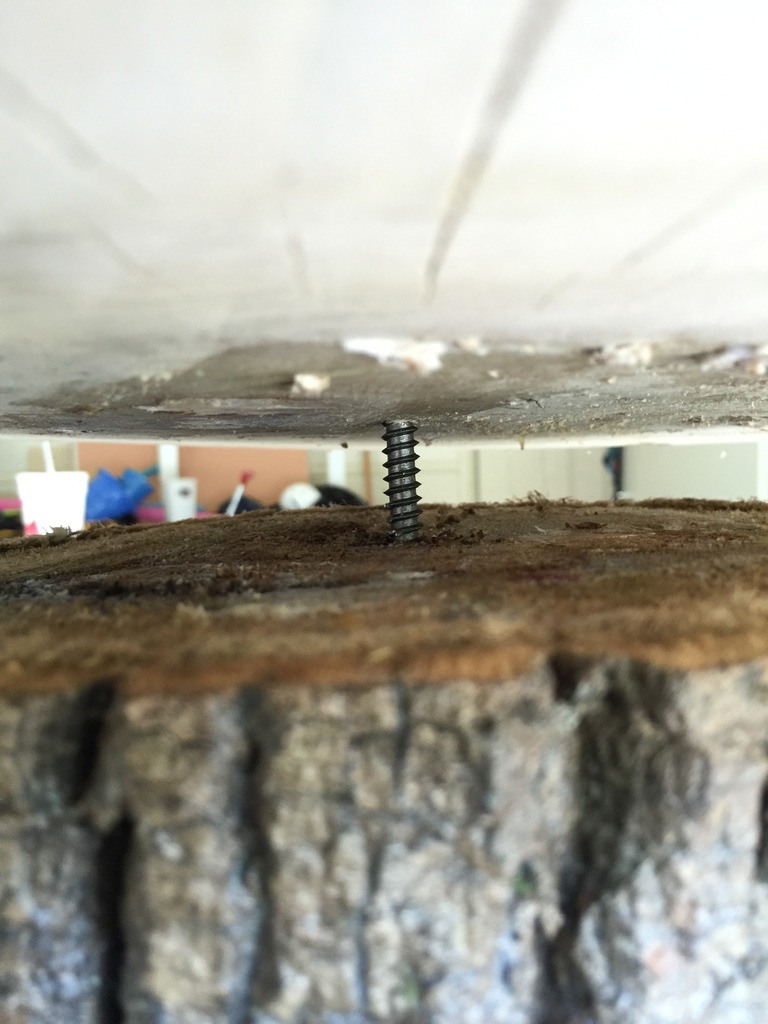
Once the screw is in the base, the plate part gets aligned with the predrilled hole and you can twist it down and together. It will require a lot of force at the beginning.
Then comes sealing the entire thing. I used Rust-Oleum’s satin polyurethane. The wood is going to suck the poly up like crazy. It took me at least two little cans of the poly to do the entire thing.
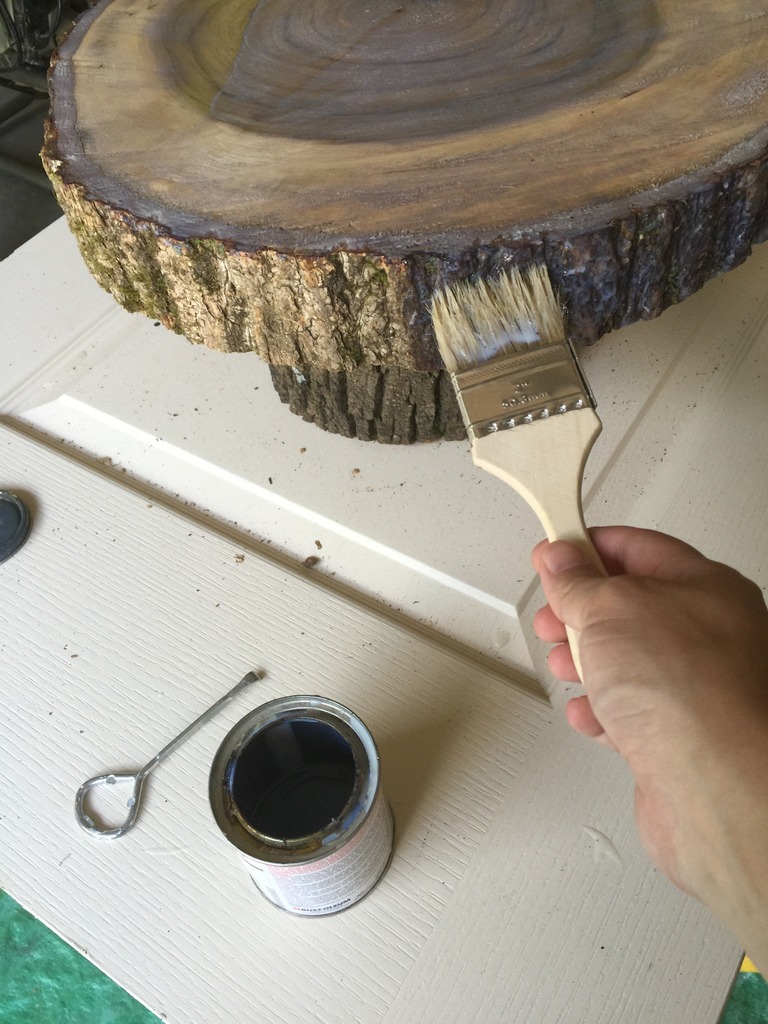
At first it will look crazy and weird colored but when it dries, it will be food safe (per the FDA poly is food safe as long as you don’t cut or score the polyurethane layers).
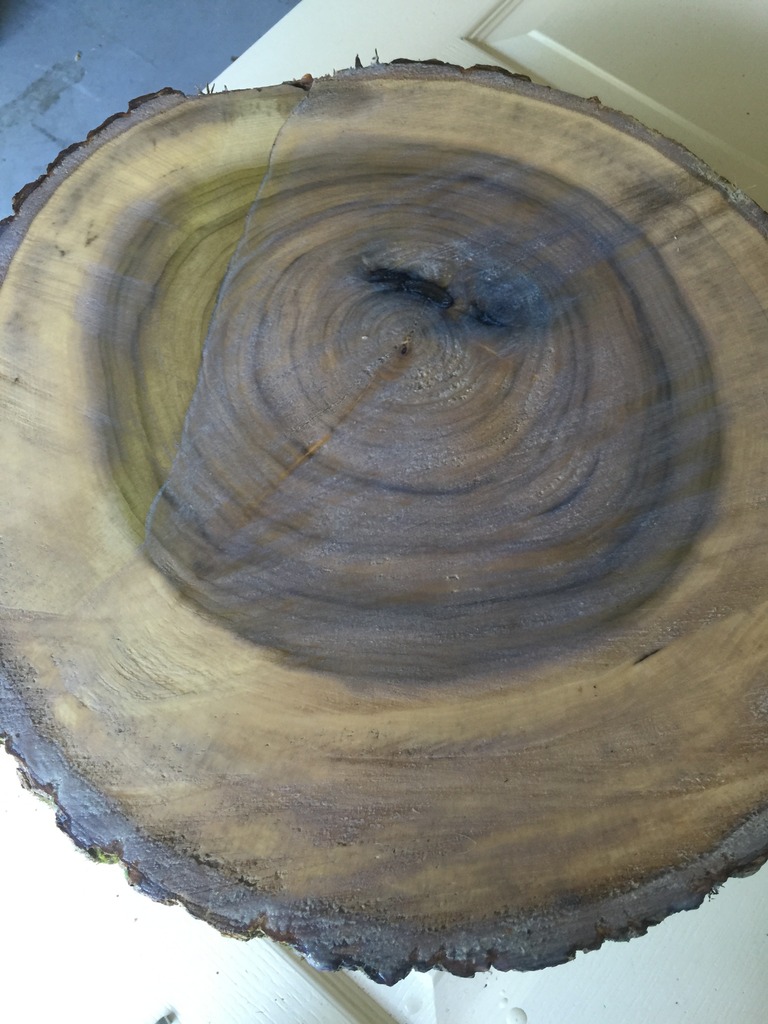
I covered the entire thing with multiple coats and when it dried, it looks so good. This is such a cheap way to do BIG cake plates!
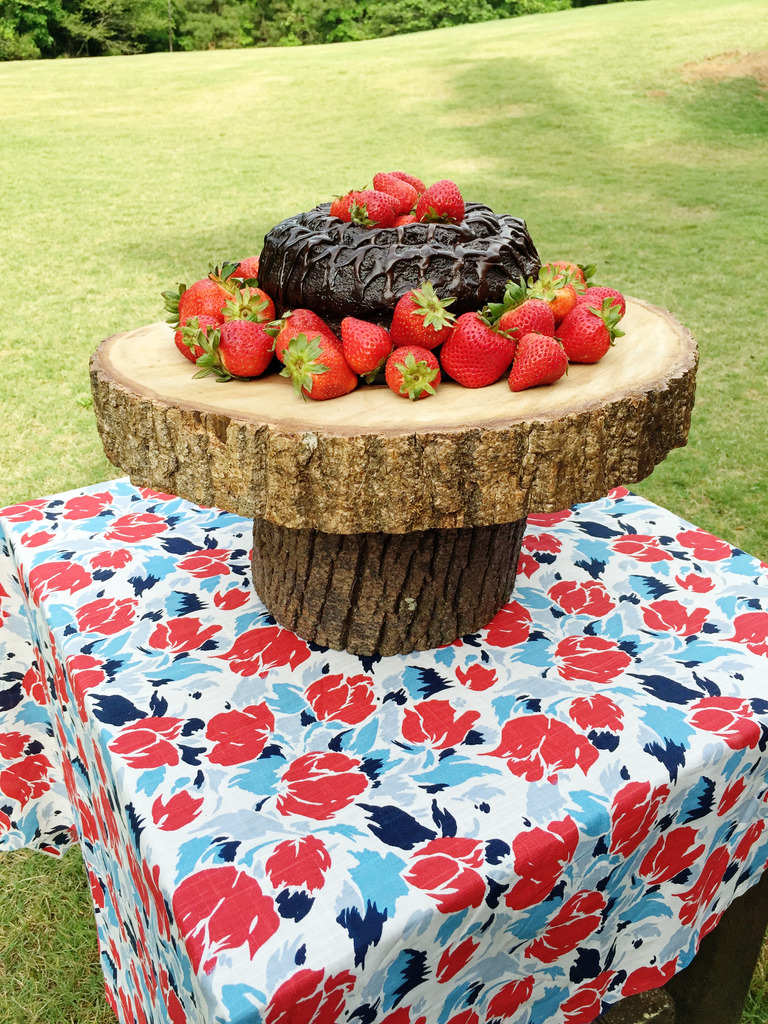
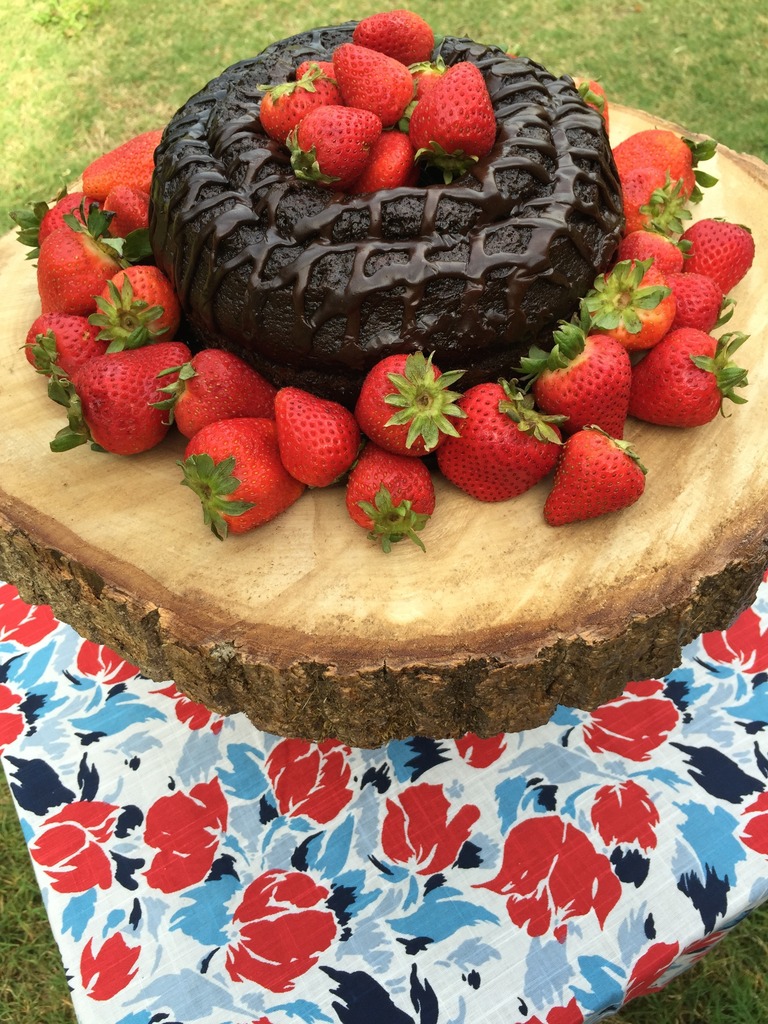
And let’s face it….any project with cake involved is pretty much awesome no matter how it turns out, amIright?!
Now off to wrap a present for that brother of mine and iron a bazillion little matching clothing items for the wedding! Oh and gotta practice those dance moves….can’t let my MC Hammer get rusty 🙂
I’m really going to come off as a debbie downer here, so sorry in advance. You mentioned that it’s food safe unless it’s cut or scored; won’t it be scored when you slice the cake? Maybe if you had the cake on a cardboard circle that was exactly the same diameter as the cake, it wouldn’t be an issue. Either way, it’s definitely cute!
oh my goodness this is such a simple/ genius idea Kate!
So cute! So to cut and serve the cake do you slide it off the platter onto something else?
Congratulations to your brother! That cake stand is amazing. Have fun at the wedding!
Well that is true! I think in most cases, the cakes come on cardboard…just makes it easier for decorating, right?! I could be wrong. And in the case of this cake (which was completely store bought) it is on the plastic bottom and I just covered it with strawberries 🙂
xo – kb
I would just make sure you have a cake cardboard under it! It’s usually a round cardboard piece that is used to transfer the finished decorated cake to the plate. You can keep it under there and then cut the cake on that.
xo – kb
I used wood circles as the cake stand for our groom’s cake…and then I started seeing them everrryyyywhere. I’ve taken credit for starting the trend. Now I have one hanging on my wall with antlers attached and one with my fruit bowl sitting on it. Favorite. Decor. Ever.