In our guest room, I had this blank wall that was a total conundrum. So big! So blank! So what the heck does a blogger do?! Decorate all the things!!! Get my bedazzler! Make a washi tape mural! Glue succulents to the entire thing!
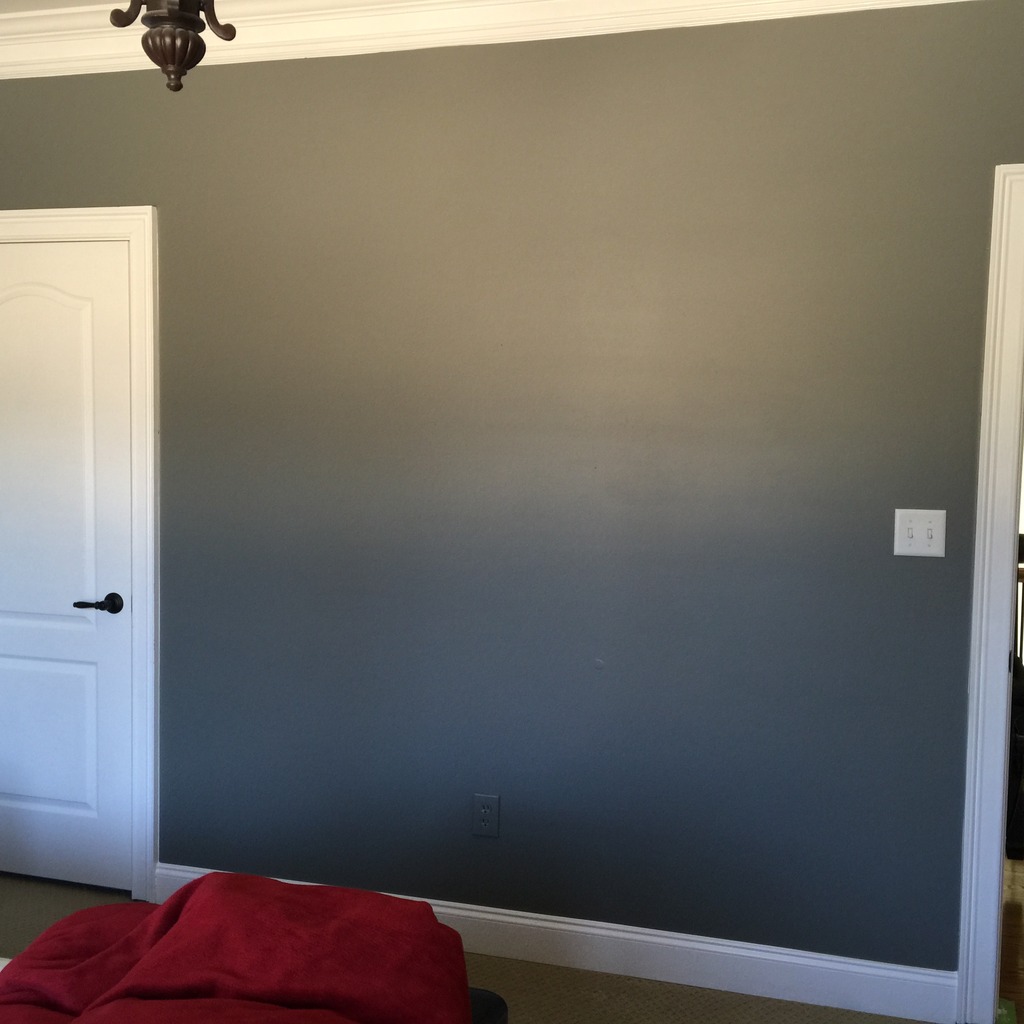
Seriously though…it was big enough that I couldn’t leave it blank….but it could not have anything too deep like a console table or a bench.
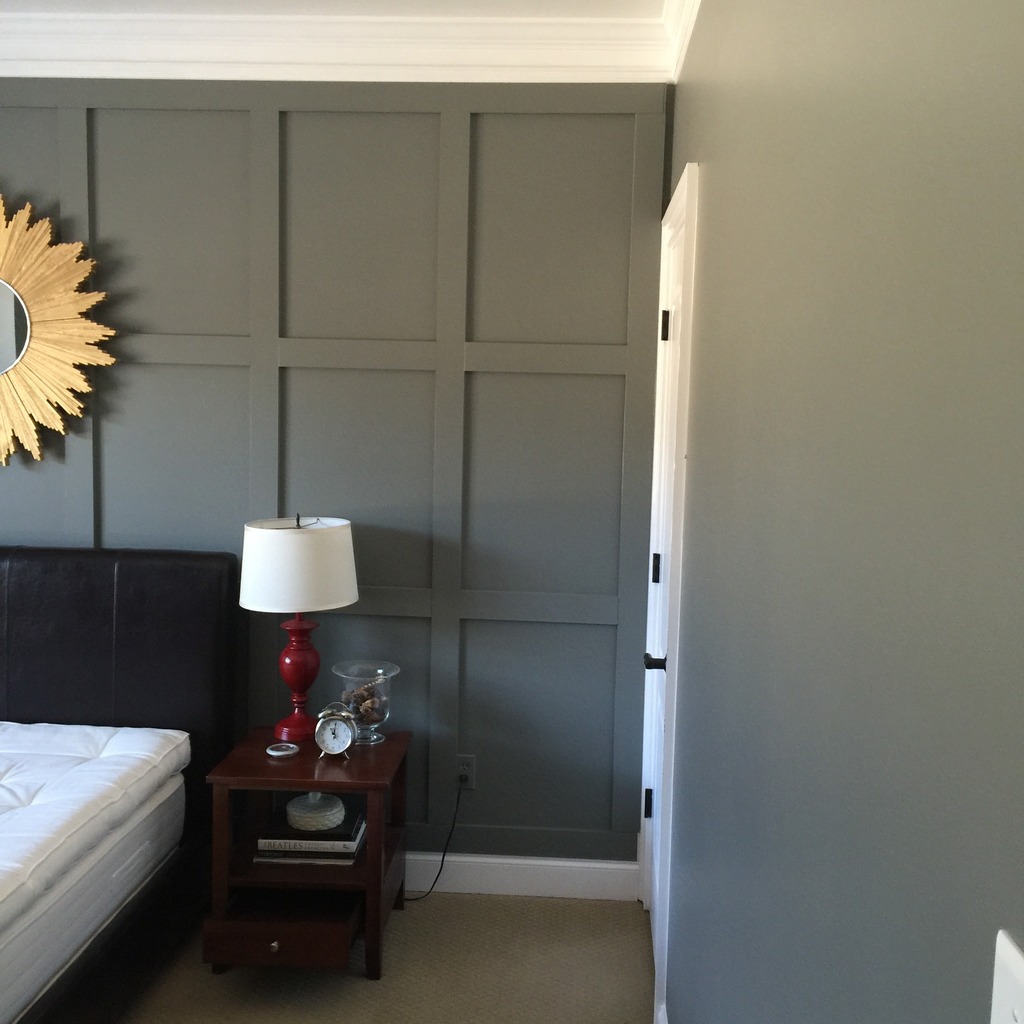
Here’s another angle so you can see what I mean. I wanted at least three feet around the bed to be cleared (there are recommendations out there about that kinda thing…here’s a random website that talks about it!) so I could add something shallow but not anything deeper than six inches or so. I went back and forth about adding picture ledges (is it original enough? Do I already have enough picture gallery areas in my house?) and finally decided to make some easy narrow ledges and stain them to match the furniture and do some photos that were non-people (no guests want to see my kids smiling at them when they are laying in bed….creepy!).
The building plans are super easy….
2 – 1×4’s and 1 – 1×2….attached together with glue and screws and then stained. For more step-by-step help, check out my friends Ashley & Whitney’s post.
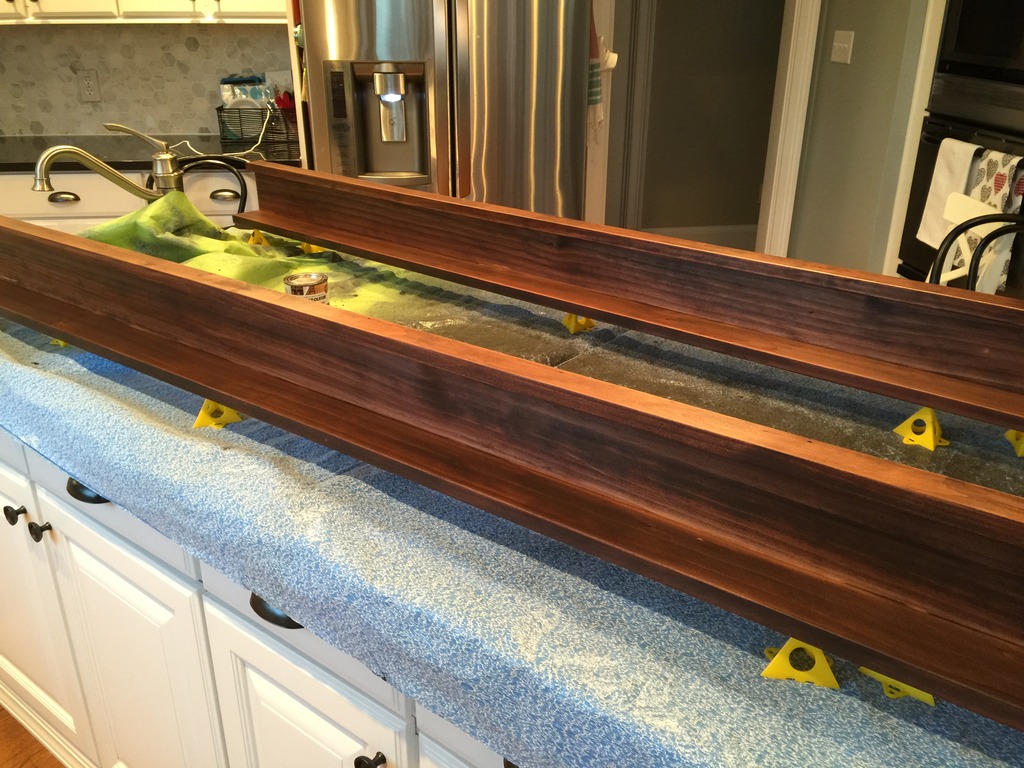
Then came time to stain. I went with the Rustoleum Carrington stain color. It was more red than Dark Walnut and matched the furniture we had going on in the guest room.
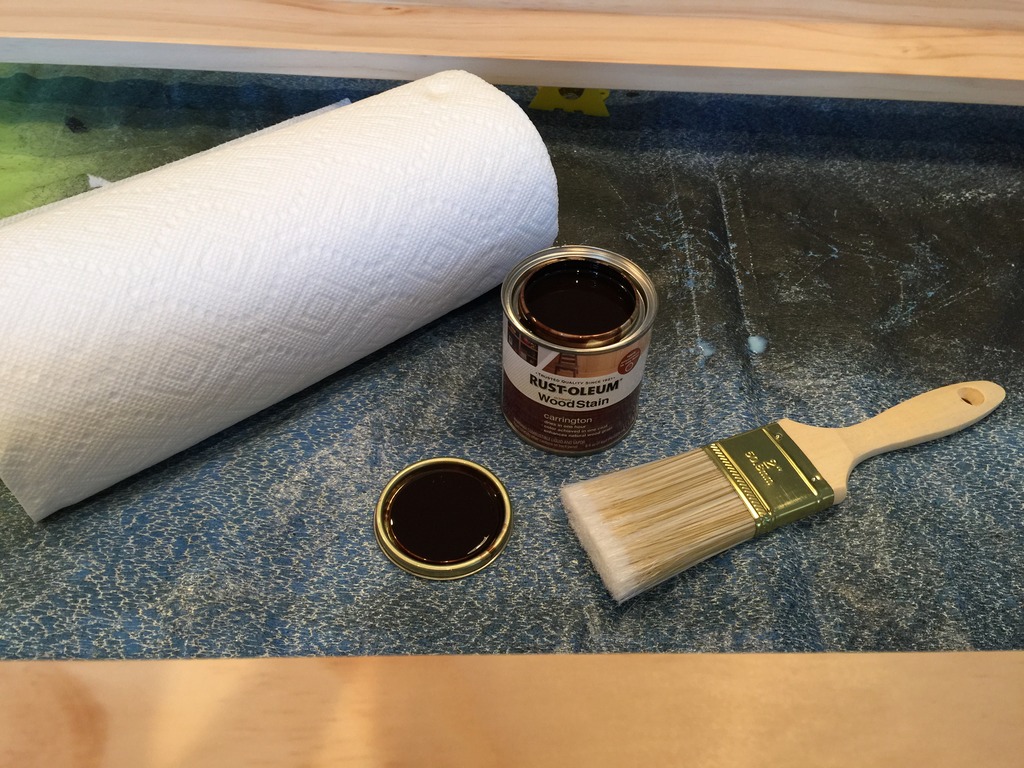
I love staining wood. It’s so easy and instantaneously gratifying. Painting is fun too…but something recently about staining is just FUN. I discovered these dollar store brushes and they are perfect for this kinda job. They don’t get holes easily like foam brushes and still get that perfect coverage.
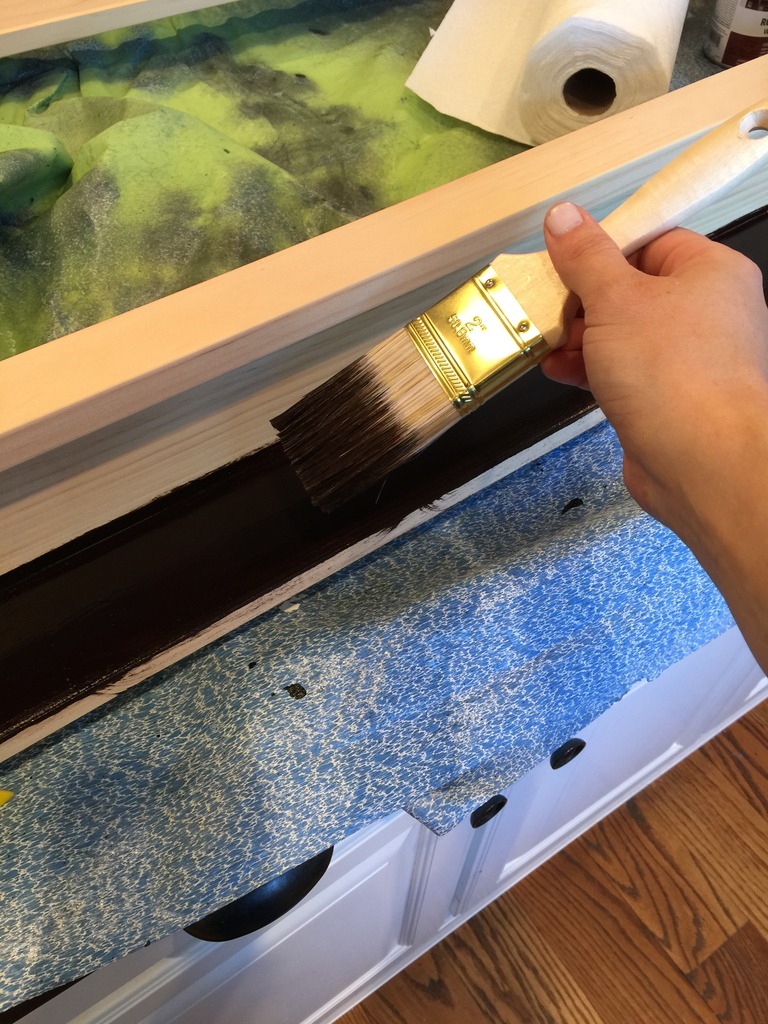
It’s important to blend stain evenly so if you can do the whole six foot length at once…do it….I did mine in two foot sections so it wasn’t too dark.
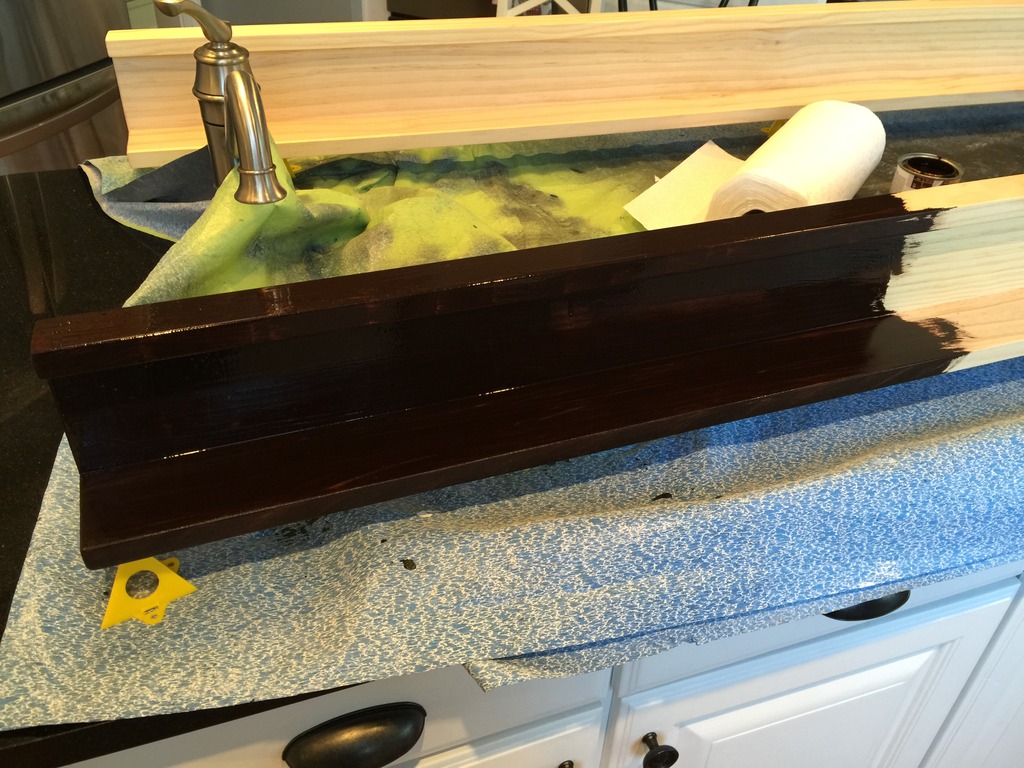
You can blend with the paper towel….just rub the excess away and boom…that deep red color is so rich and beautiful.
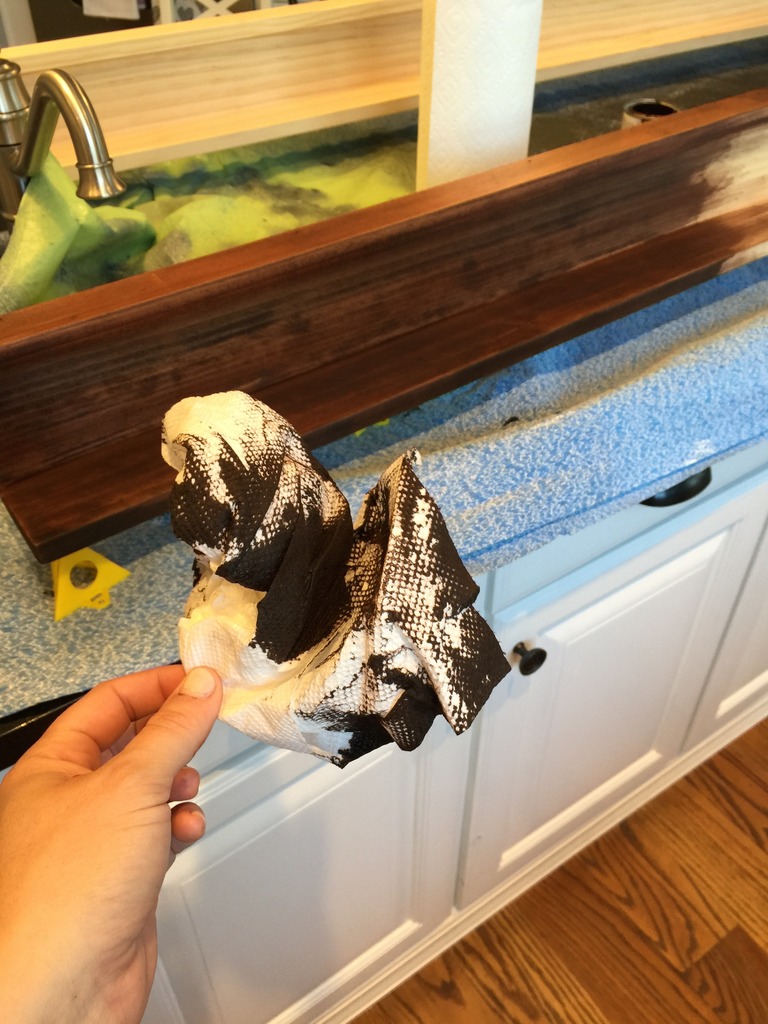
I started recently using those little yellow support pyramids. I love them. Jeremy thinks they are the coolest thing ever. They were a couple bucks but help get that project off the table top and allow you to stain more evenly and don’t let the project stick to your drop cloth!
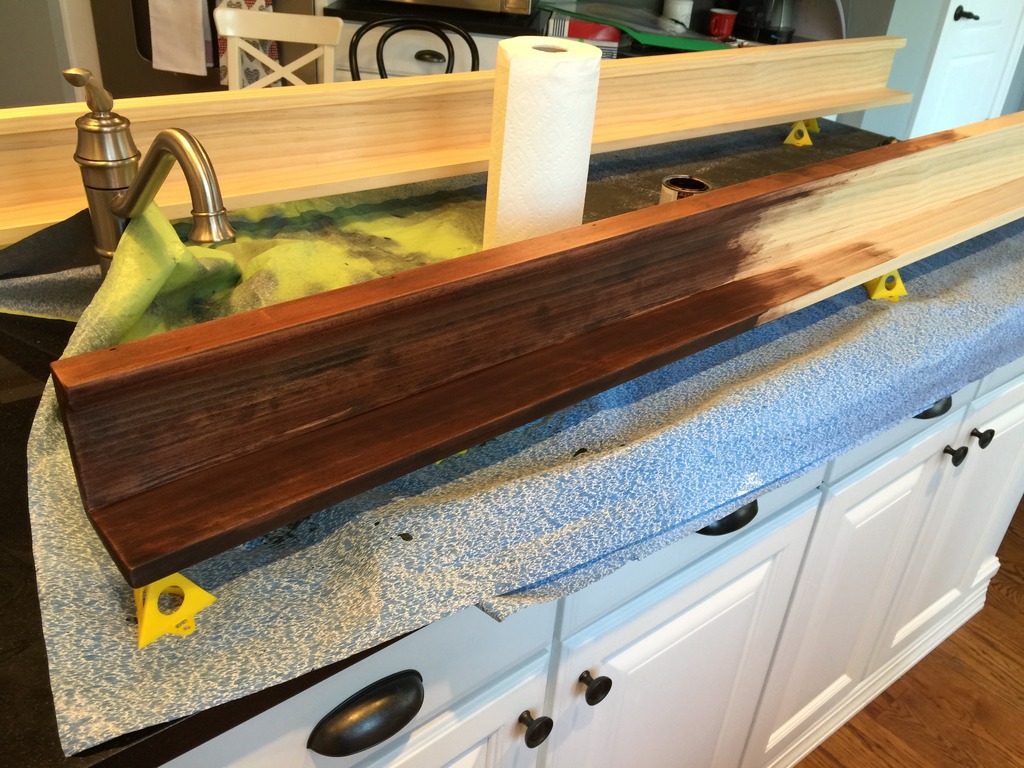
I did one coat of stain…three minute wait time on each section.
The way I get super smooth factory finish on furniture is with polyurethane. You can use water based kinds or other urethanes based on your needs but I like these little samplers of Rustoleum poly because I can do a job quickly and not have to lug around an entire huge jar. I like to call them ‘project size’ because one will get you through an entire project and you don’t have to worry about storing a huge can.
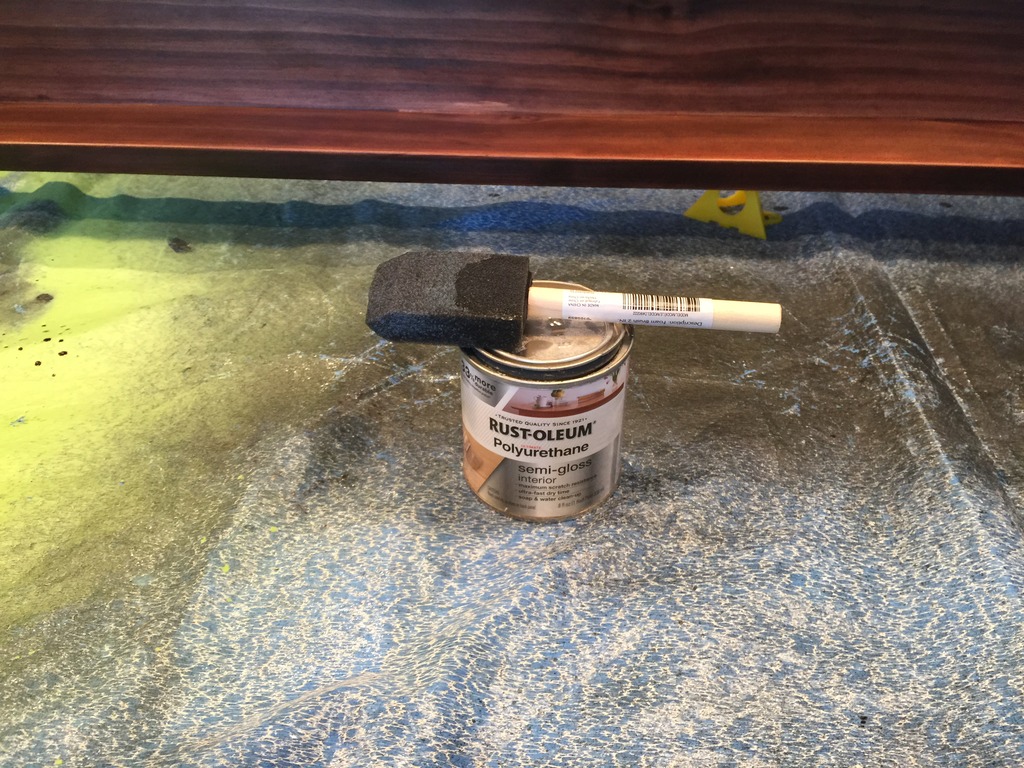
So there are different ways to do the finish…some people like using triple thick poly but I don’t think the finish is as smooth. I like to do multiple thin coats with sanding between. You have to use the highest grit count sandpaper….400 or over.
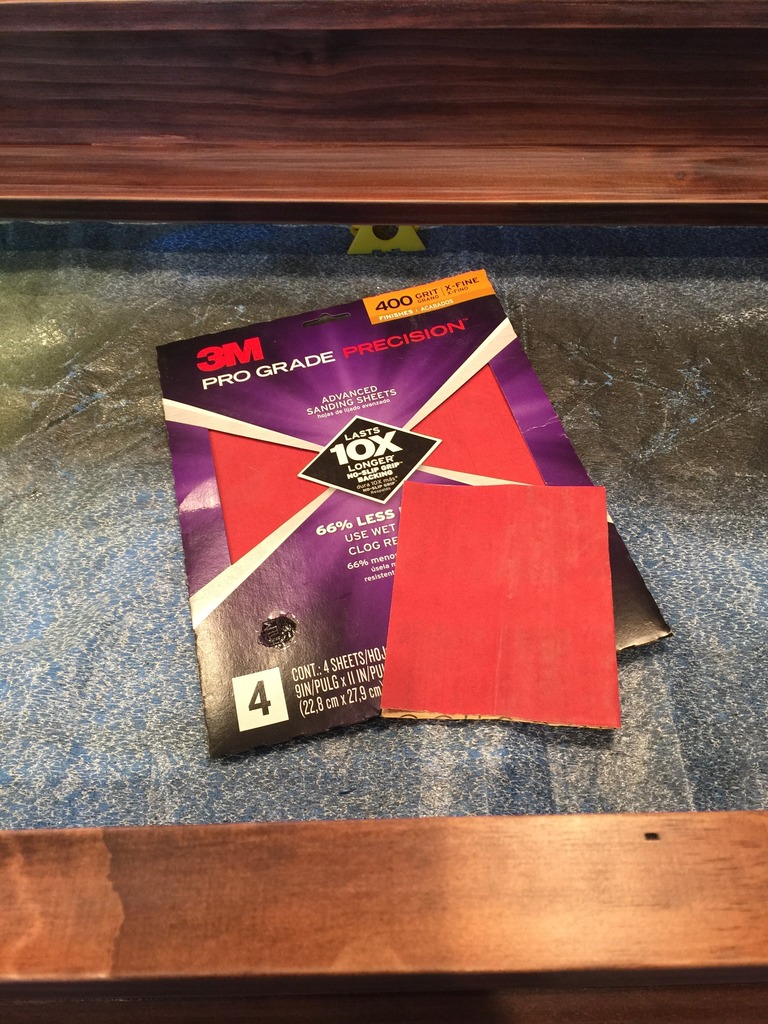
Basically you brush the poly on…let dry….wipe quickly with 400….clean off the dust with a paper towel or tack cloth….and then repeat. I do it at least three coats of poly….sometimes more depending on the wear the piece will get. It’s not the most glamorous thing ever and it consumes so much time but in the end, it’s so worth it. It’s easier to clean, holds up better and looks more professionally-made. Also…this photo of LJ cracks me up…whenever I wear him in the back carrier, he likes to ‘lay back’ and look up….we call it ‘belly stretching’ 🙂
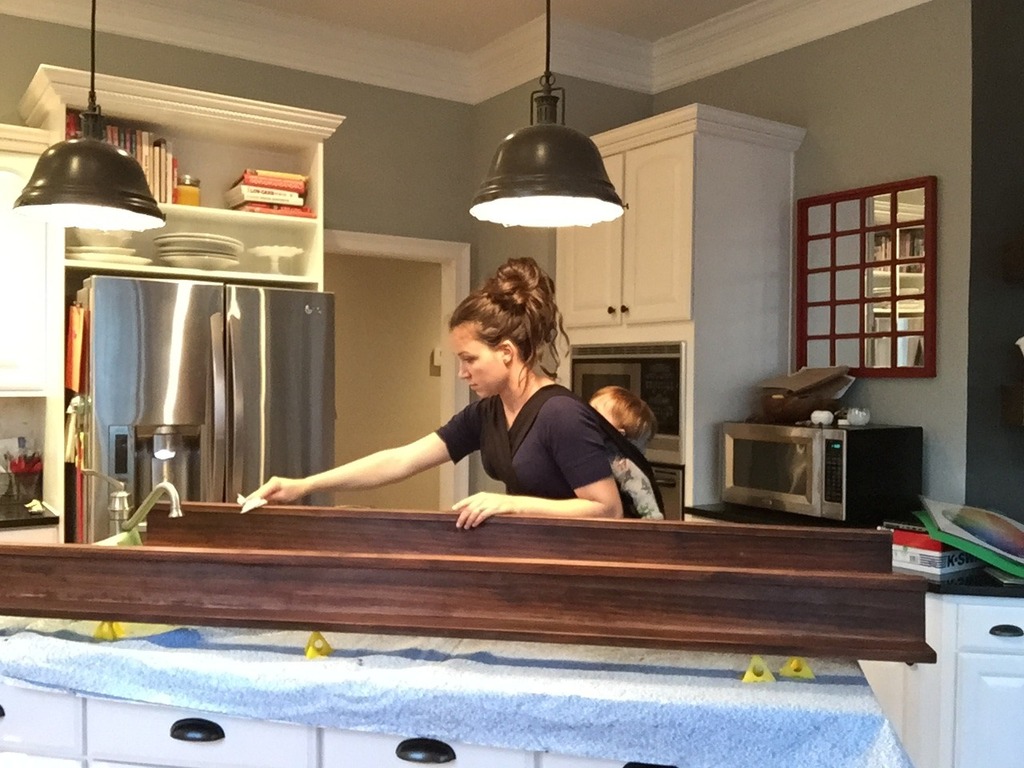
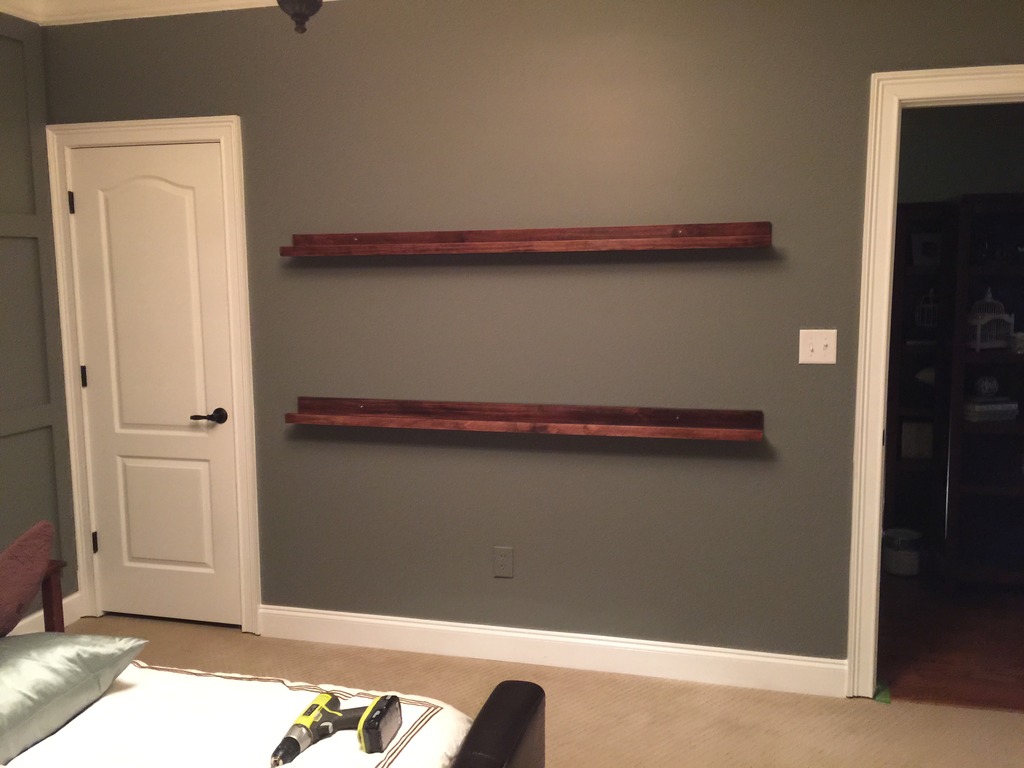
Installation was super easy. We used the wall mounting laser level and got the placement of the bottom shelf first.
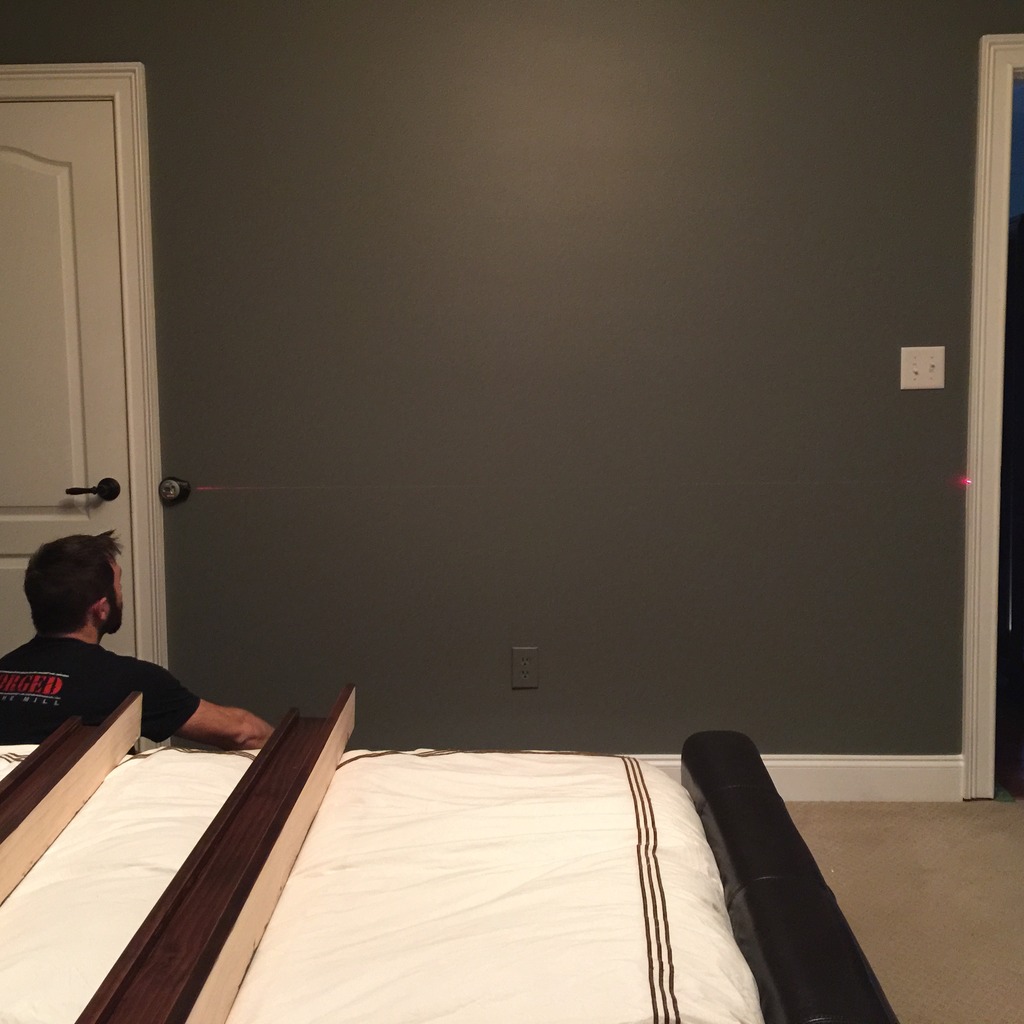
The bottom ledge is hung 37 1/2″ from the floor to the bottom of the shelf and the top one is 63 1/2″ from the floor to the bottom of the shelf.
Jeremy would hold it up and we attached it directly to the studs.
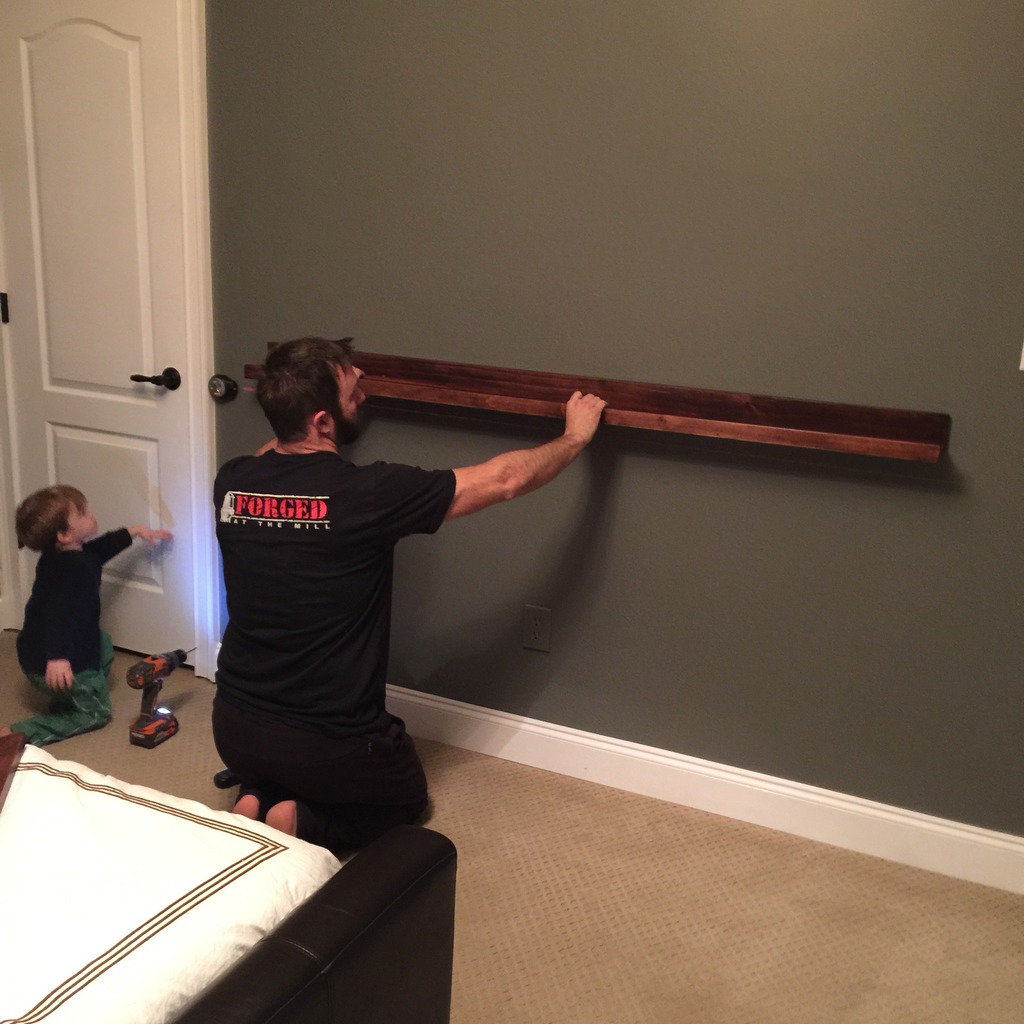
I went to Michaels during a big sale on frames and I got buy one get one free plus twenty percent off my total. All the frames were expensive ones with glass and nice wood frames….a first for me and my Ikea habit 🙂
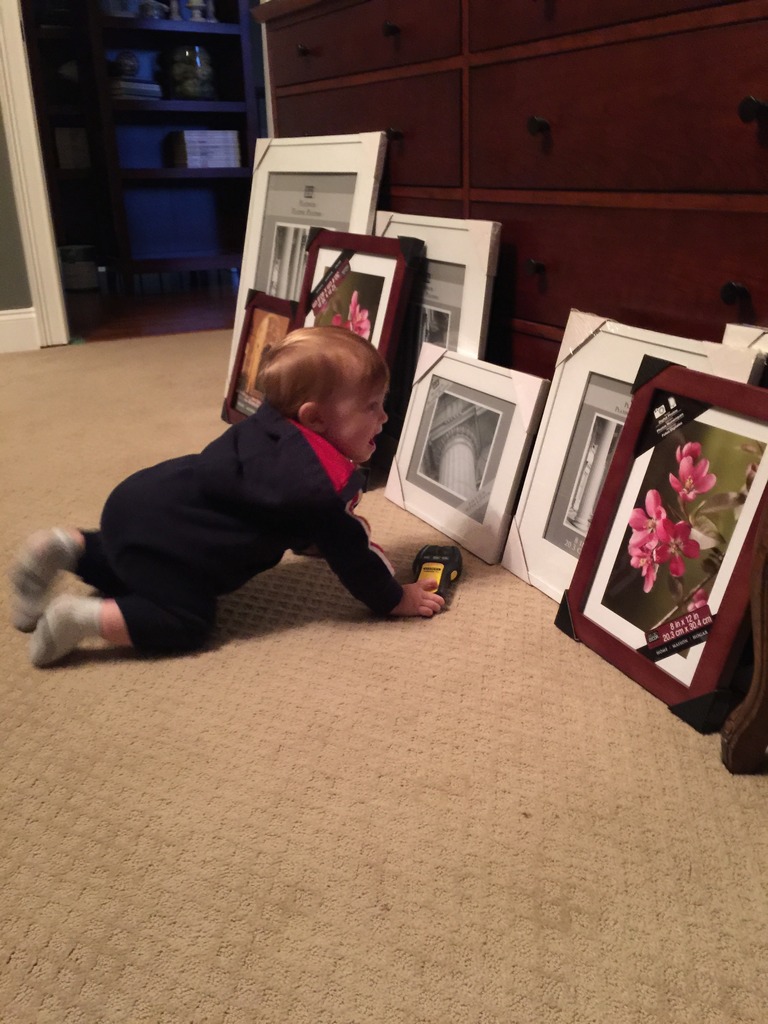
We spaced the second shelf based on the tallest picture frame and left a little space.
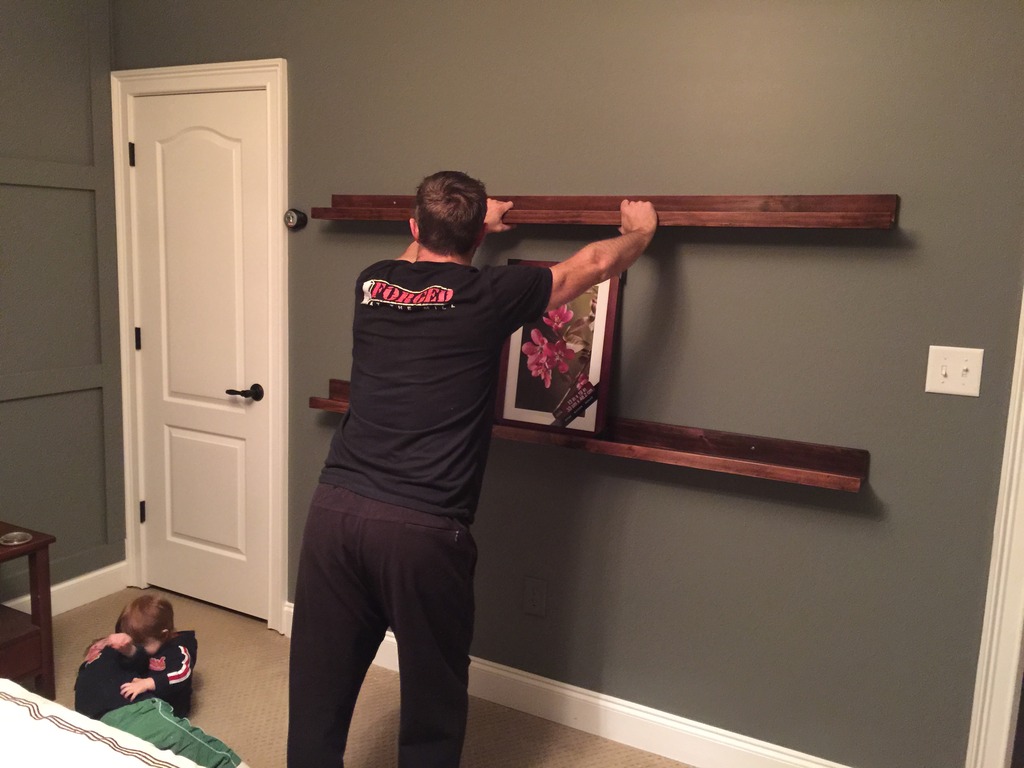
LJ and Weston are constantly wrestling. It’s adorable and frustrating at the same time.
Anyhoo….the screws we left exposed but we could have easily painted them or used a french cleat to hang the shelf. I didn’t care if the screws showed because the picture frames would be in front of them.
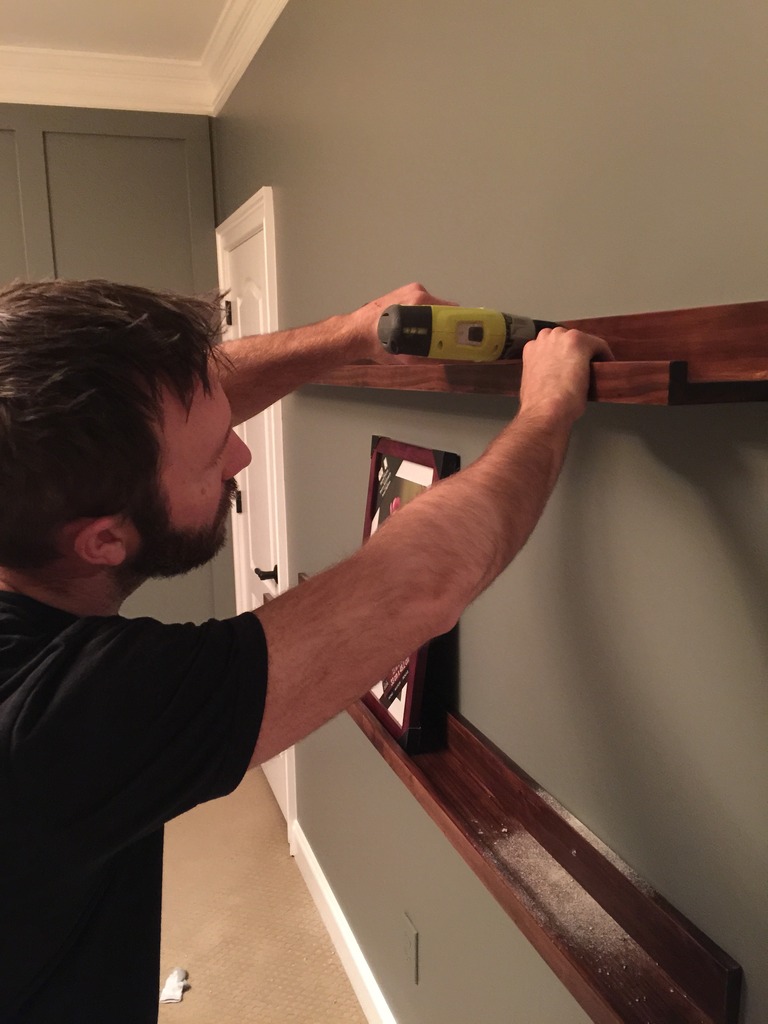
Finally! Success!
I arranged the frames and LOVE it. Like serious infatuation.
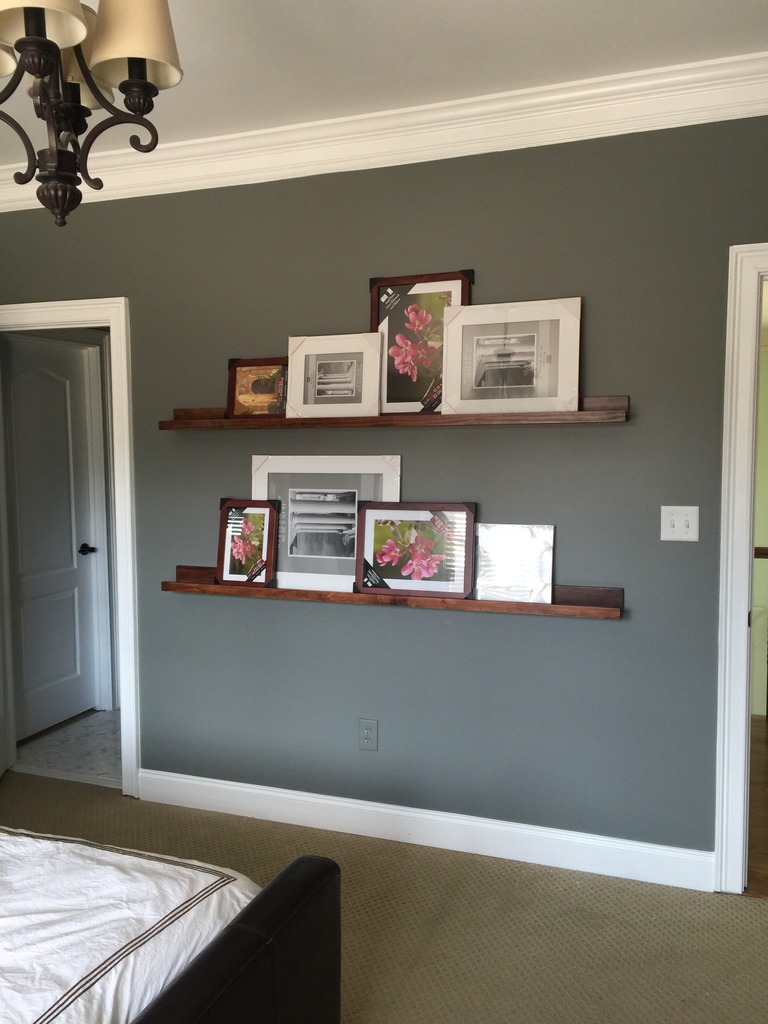
It really helps balance the stuff on the other side of the room. I think the accent wall is great but with a giant open space next to it, it seemed like too much going on. Now, I feel like the room isn’t too heavy on one side and too light on the other.
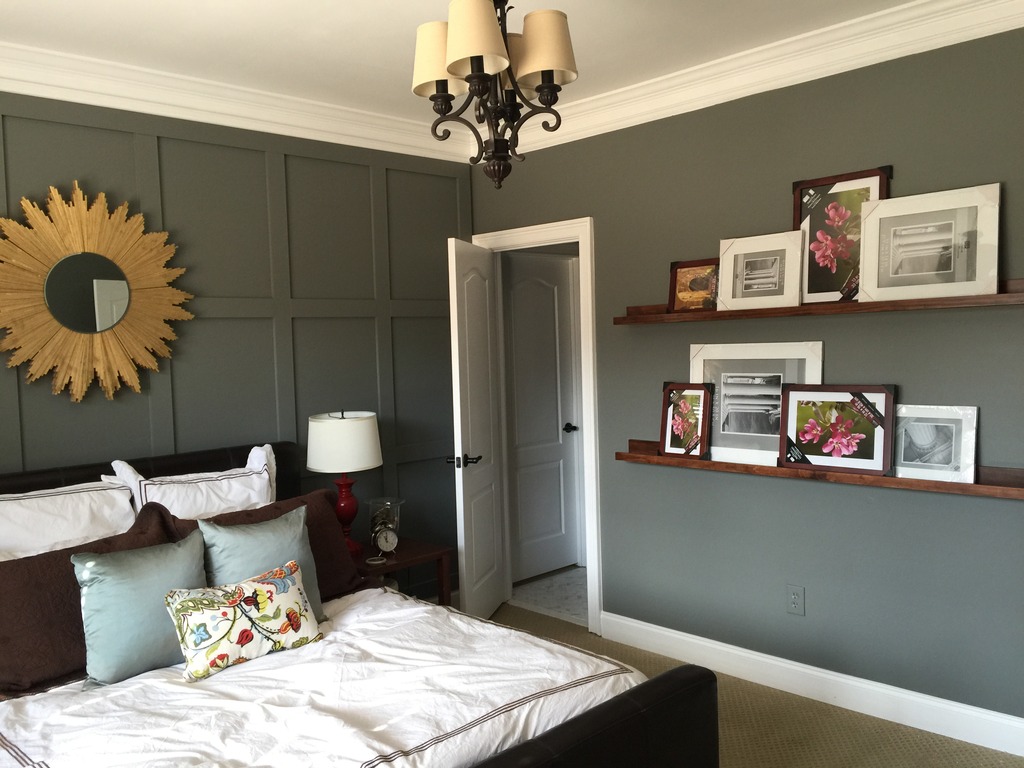
Okay…so I know that it’s hard to appreciate the ledges with the frames that are filled with randoms….
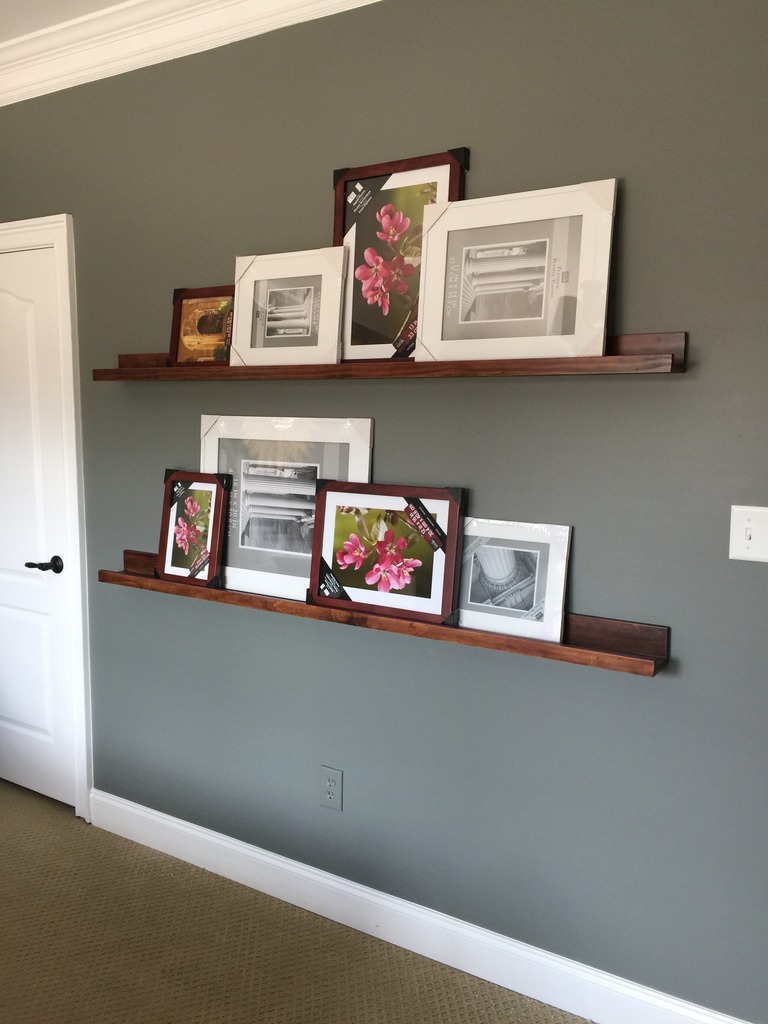
So here is one with it filled with printed photos of my non-people pics. I went with the theme of doors (I still need to take one more door photo for the bottom one of the boat!) and I love that they are interesting but not too creepy but still so personal. Anytime we travel and I see an interesting door, I snap a photo so each one really invoke good memories for me. You can see here how beautiful the shelves turned out. They are a great blend and look completely store-bought!
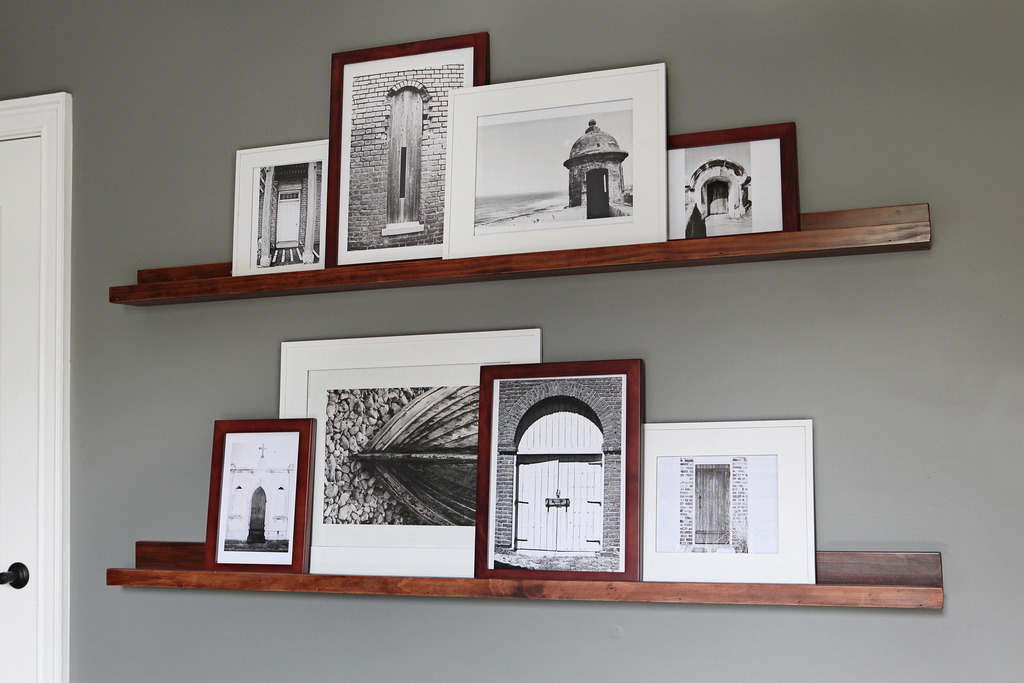
So strike that task off my list….shelves that are shallow but beautiful. Kinda like me. Just kidding. I’m not beautiful….and only shallow when it comes to things that matter 🙂
And if you are looking for similar projects, check out these past shelving posts….
Update : Looking for more info on something you see in our house? We have a Shop the Bower House page with paint colors and links to accessories, furniture and decor!


I love these! I made two of these for my bedroom wall a few months ago. It was a busy wall with traffic so could not have a lot of stuff on it. I keep pictures of my kids smiling on it. Less creepy when it is your own kids. I have to say I am now so happy I read your site! For many reasons, but with the introduction of those little triangles, wow! I have been a heavy diy-er for a while and never knew of those little triangles, mindblown!!!!! Thank you so much! I just had to sand and re-stain a piece of wood because the stain dripped and stuck to the drop cloth. On my way to buy some now!
Very cute. I think I’d put color pictures in there but I like color.
They look almost identical to the shelves I bought at Ikea for $10-$15 each, but mine are white. Yours are probably longer, too. I like using leaning shelves because you can move art around without patching holes and repainting and making new holes.
Gorgeous, as always! I love the ideal of using the photos of doors for the display. Where did you find the yellow pyramid supports? Thanks!
Love the shelves! And LOVE checking something off the to-do list!
Gluing succulents to the wall reminds me of Trading Spaces with Hildi. Here is my favorite the fake flowers glued to the bathroom wall!
https://www.google.com/search?q=trading+spaces+%2B+hildi+glued+wall&es_sm=93&biw=1680&bih=865&source=lnms&tbm=isch&sa=X&ei=f65HVeKHJMe0ggSMrID4Cg&ved=0CAkQ_AUoAw#imgrc=mofK07z8STmkkM%253A%3BIGhyelIh0efQ1M%3Bhttp%253A%252F%252Fwww.jessieweaver.net%252Fwp-content%252Fuploads%252F2012%252F03%252Fhildisflowerbathroom.jpg%3Bhttp%253A%252F%252Fwww.jessieweaver.net%252F2012%252F03%252Fhelp-settle-the-painting-feud-or-how-trading-spaces-warped-my-mind%252F%3B490%3B312
I really like the mixture of white frames with the wood frames, I never would have thought that would look good.
Did you spray paint the outlet cover plate and socket or did you order them somewhere colormatched to your paint?
Brilliant!
Pinning this. Looks easy but great. My kind of project. I might do mine with a lip in front also to help keep heavier frames from sliding off (I’m thinking of mine as a rotating art gallery)…
With one baby on board and one in back. you look like a mommy possum taking up carpentry as a hobby…
A really CUTE mommy possum, of course.
Love the shelves! They balance the room nicely. We have a few shallow spots like that in our house, so it’d be a good idea for me to look into!
Looks great and I love your photos!
I love the way this turned out! And love the black and white! And I chuckled at the last minute arrangement switch between the last two photos in this post 🙂 tee hee
I was all googly eyed when I saw the shelves but those photos are gorgeous! What a beautiful way to create balance.
Hey Katie,
These shelves look great and I love the “non people” pictures. Where do you print your photos (of people and of doors)? I have had some not so great results from popular online sites so I am looking for a new place with great prices and quality!
Random question — the throw pillow in the front on the bed… did you sew that and if so do you remember what the fabric was called? 🙂 Love the shelves!
looks great! Your door pictures are beautiful and I think I may be looking at doors differently now. Also, I love your starburst mirror. I crushed on it in the past and I keep hinting at my husband to make me one. Your house is beautiful. 🙂
I have seen them at most home improvement stores…and I think you can get them on Amazon too 🙂
xo kb
I just paint them the same color as the wall and then spray with satin poly to seal and protect 🙂
xo kb
I bought it ages ago at TJMaxx. Sorry I can’t be more helpful!
xo kb
Mpix is where I get most pics printed 🙂
xo kb
Love the shelves! Did I miss (or forget) your tutorial for the other wall, I want to say board and batten but I don’t think that’s right? Love the whole room!
Not beautiful?? You are drop dead gorgeous! And can work a messy bun like no one’s business! Nice shelves too btw 😉
Hi Katie, Your guest room is so very beautiful! What color of paint is on the walls and the woodwork?
So nice! Thanks!
,
Hi! What kind of wood did you use to build these shelves? We tried staining last weekend with a dark stain like this and after about 10 coats it was nowhere near this dark. It’s like the wood refused to soak up the stain no matter what we did. Any advice?
The walls are Benjamin Moore’s Secret and the trim is the bright white untainted paint in semi-gloss.
xo – kb
That’s what I call it 🙂 Here is the link to that tutorial!
xo – kb
Just regular pine…sometimes wood doesn’t absorb stain regularly, especially new wood…have you tried a conditioner first? Was there a pre-existing finish on the wood?
xo – kb
Love the picture of you with your son in the sling. I like to see a mom doing her thing and caring for her child at the same time.
Love the non people picture idea. The shelves look great! I’ve always wanted to do some “floating” shelves, so I may have to try this!
How do you like your woven wrap? We LOVE wovens!! 🙂 I love being able to do back carries. It was hard when we had the Moby because you can only do front carries with it.
That wall color is gorgeous.
OMG, I remember that episode. She drove me crazy with her ridiculous ideas!
There is a lip in the front of them so no sliding happening there.
Leave the boat pic! I love when things are just one off, it spices it up. Beautiful photos, it’ll really make your guests feel like they’re traveling. Our 3 boys wrestle constantly too, no matter where we are. It’s just what they do. As a girl and only child, I was baffled by this. Oh, life with boys! 😉
I love that you actually “do” projects when you are prego! It kind of drives me nuts when people think they can’t lift a finger while pregnant (unless of course there is a real medical reason, then rest on and take care of that baby)
Love the update. And now I think I will unpack our pictures tonight to hang… after almost 2 years. Don’t judge.
Unrelated: http://www.lookhuman.com/design/75830-one-never-discusses-the-size-of-their-fabric-stash
I love this, it looks great! I do the same thing on vacation. My husband makes so much fun of me for my obsession with interesting doors and snapping photos, hehe. At least I’m not alone 🙂
Looks GREAT!!
Thanks for sharing your staining/polying tips! I am intimidated by stain- I’ve stained raw wood and previously finished wood on two separate projects, and I had (user) issues with both. And I sanded between poly coats and never ended up with a factory finish. I’ll keep trying!
Your guest room looks great, and I love the door-themed pictures. And now I am determined to wear my next kid so I can accomplish more (I’m certain my 13 month old wouldn’t be a fan of it. It probably helps to start ’em early in those carriers.)
I have been racking my brain for something for our living room. it’s a strange space, adjacent to the kitchen…but not a lot of character or charm. i’ve been looking at console tables, but it’s a busy little walk way, and something made me not pull the trigger…i think this idea is perfect! i wish i could make these, but i think i’ll buy them made and put them up. looks really great on your wall!
Hi! Can I ask what size the largest white frames are? I’ve been looking for plain white frames that are larger than 16×20″ forever!
Thanks!
This is actually not a woven…it’s a soft structured carrier that can be worn backwards (if your boobs can take it!). It’s called the Moby Go. Here is the link to how it works.
xo – kb
Just so you know…this is a soft structured carrier and it can be great for bigger kids! I know Weston will still let us wear him at certain times (like activities that take a lot of walking!). Just thought you might be interested 🙂
xo – kb
We all used to wrestle too when we were little (four of us, two boys, two girls) but I don’t remember doing it THIS young! Them boys are crazy!
xo – kb
The biggest white frame holds a 16×20 print but is obviously larger than that.
xo – kb
Looks really nice and the door photos are great. Check and Check!
Thank you so much for the idea and tutorial! Your shelves look amazing, and I love the door photos! What a great way to display your talent in your home, and add some interest to that blank wall. Beautiful job!
I love how your shelves turned out! Even better than Pottery Barn! They make a great statement. I would love to try this project, but am not handy at all. The part that has me most worried is how to hang them up. How many screws did you use per shelf? Did you use anchors, too? or just straight into the studs? Did you center the screw between the top and bottom of the back piece of the shelf? These are the little details that I can never figure out! Thank you!!
We love Toggler wall anchors (you can get them at Home Depot or Lowes) and they are AWESOME. My crazy stability obsessed husband swears by them for drywall. We actually used screws directly into studs and yes, in the center of the back piece of the shelf.
xo – kb
Love the pictures! I Might start taking pictures of doors.
Interesting. I have shallow shelves in a walkway in between living room/entryway and I’ve been staring at them trying to figure out what to put on them. They’re not deep enough for books and… well I’m a book person. So it wouldn’t occur to me to put anything but books on shelves. I was googling for ideas for what other purpose they could have. Pictures. Oooooh! I get it.
My friends have pointed out about our family home. I don’t have any pictures or art work up even after six years. In theory, I like art and photos of my family. In practice, there’s a part of me that’s waiting to be informed we’re moving again and dislikes personally investing in spaces. I’m probably not going to get around to it.
Just made these! Thanks for the tutorial! What brand of laser level are you using? Do you recommend it? Thanks!
Yes! It’s a Ryobi and it sticks to the wall with suction and makes everything super easy!
xo – kb
What are the measurements I would need to build the shelves at half the length?
You would need the following to build two shelves at half length….
4 – 1×6 @ 3 ft
2 – 1×2 @ 3 ft
Happy Building!
xo – kb
I know this was posted forever ago but I’m wondering how high up from the floor you hung your bottom ledge. We are hanging some ledges and I can’t decide how high up to hang them. Thanks!
Let me measure and I’ll repost this comment 🙂
xo – kb
Bravo! Great look, great tutorial! I learned about the little yellow things and the tripod fan is AWESOME!! You are such fun to follow- and I like you even more since you did a piece on yurts, which we have talked about trying out..AND you’re in GA too!! Thxxx
Aww thank you Teri! We Georgia girls gotta stick together 🙂
xo – kb
What height did you hang these ledges? And how far a part??
This is such a great idea! I was looking for a shelf idea for above my soon to be head board and I think this is perfect! Everything in my room is black, so we’ll most likely paint the shelf black instead. Great tip!
The bottom ledge is hung 37 1/2″ from the floor to the bottom of the shelf and the top one is 63 1/2″ from the floor to the bottom of the shelf.
Hope this helps!
xo – kb
What is the name of that beautiful green gray paint color?
It’s called Sea Salt from Sherwin Williams!
xo – kb
I’m interested in making shelves similar to these. I was wondering if you knew the weight capacity of the shelves?
No I don’t! I know that they are fairly sturdy because you can glue and screw them together and the back is into studs. But that’s all I know 🙂
xo – kb
What color is the walls
They are Metropolitan by Benjamin Moore 🙂
xo – kb
What paint color do you have on your bedroom walls??
This bedroom has Benjamin Moore’s Secret. It’s also in our dining room!
xo – kb
I love this. Can you tell me what size picture frames you have on each shelf? I just hung shelves similar to yours and am trying to figure out picture frames sizes.
I will try to update the post with the sizes when I get home! Great question though!
xo – kb
Hi.
loved your post.
Do you mind telling me where you got your golden starburst mirror? Love it!
Thanks,
Navi
Hi Navi. I made it. You can see how I did it here… https://www.bowerpowerblog.com/2011/12/star-of-wonder/
Really like these shelves. Have made 4 over the last while. I added a simple piece of trim to the front for a bit of texture and painted them to match the walls. Two are staggered over my couch with pics and some tiny vases and small glass bottles filled with old buttons. Also have one each in the two stair wells. that empty space you stare straight at as you walk down the stairs. They are flat, not angled, in my house. Pics on the one and various vintage/antique items on the other.
Super cute! May I ask what color your walls are?! I love that color for our master bedroom!
It’s Secret by Benjamin Moore 🙂
xo – kb