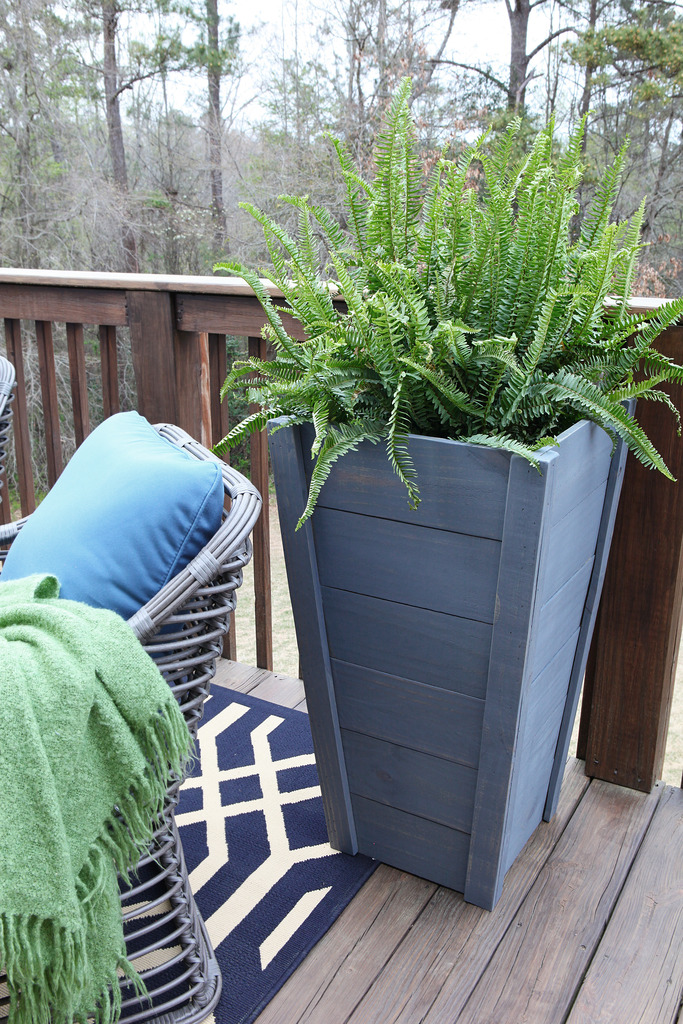
I gotta admit that when we saw how awesome these tall planters turned out that I got weirdly possessive and didn’t want to share the plans. I think it has to do with the fact that other people online are always claiming “HEY THAT’s MINE!” and trying to copyright weird things and getting up in arms if designs are similar….I’m looking at you Taylor Swift….and then I got my panties untwisted and realized that dude, we are on the internet to SHARE. So that is what I am doing….sharing. And I hope you are inspired to build these at home because they are pretty darn awesome.
Also…this is your sneak peek for the big deck reveal that is happening tomorrow here and on the Home Depot blog. (ahhhhhh!!!!!)
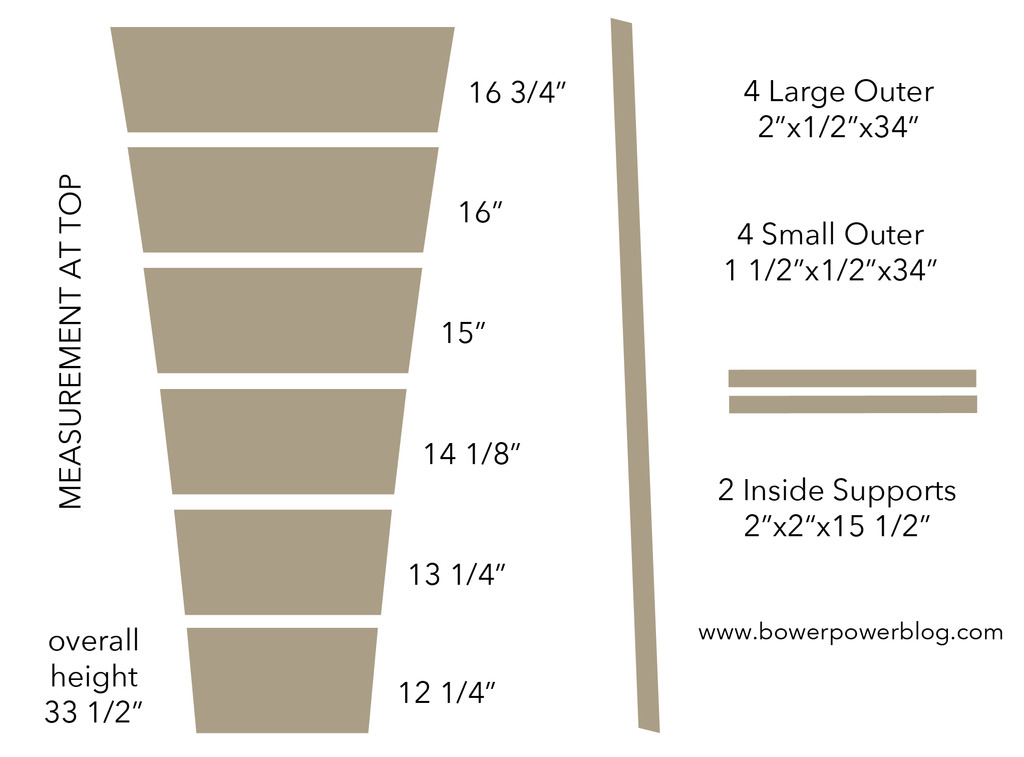
First, here is your very fancy cut list….the measurements for the boards is the top measurement….so you can assume that for the first board it is 16 3/4″ long at the top and it is cut to be 16″ at the bottom.
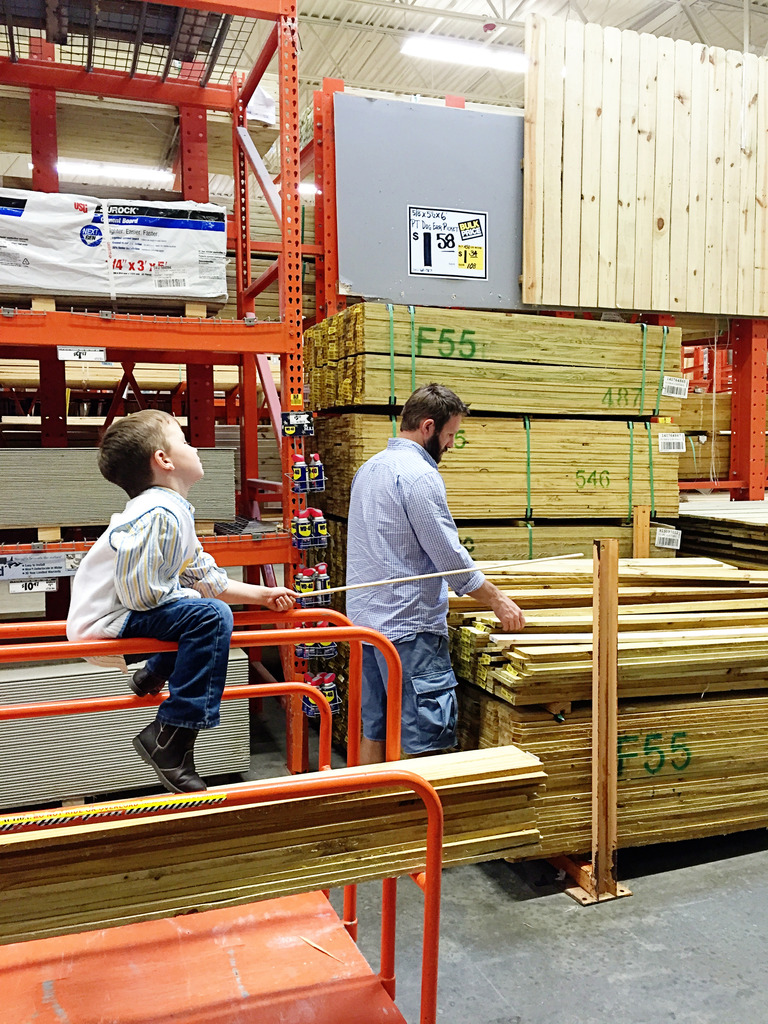
For the lumber, we used some scrap 2×2’s (we could have used the scraps from the other lumber) and then for each planter, we bought 8 dog ear pickets at $1.58 each (total $12.64).
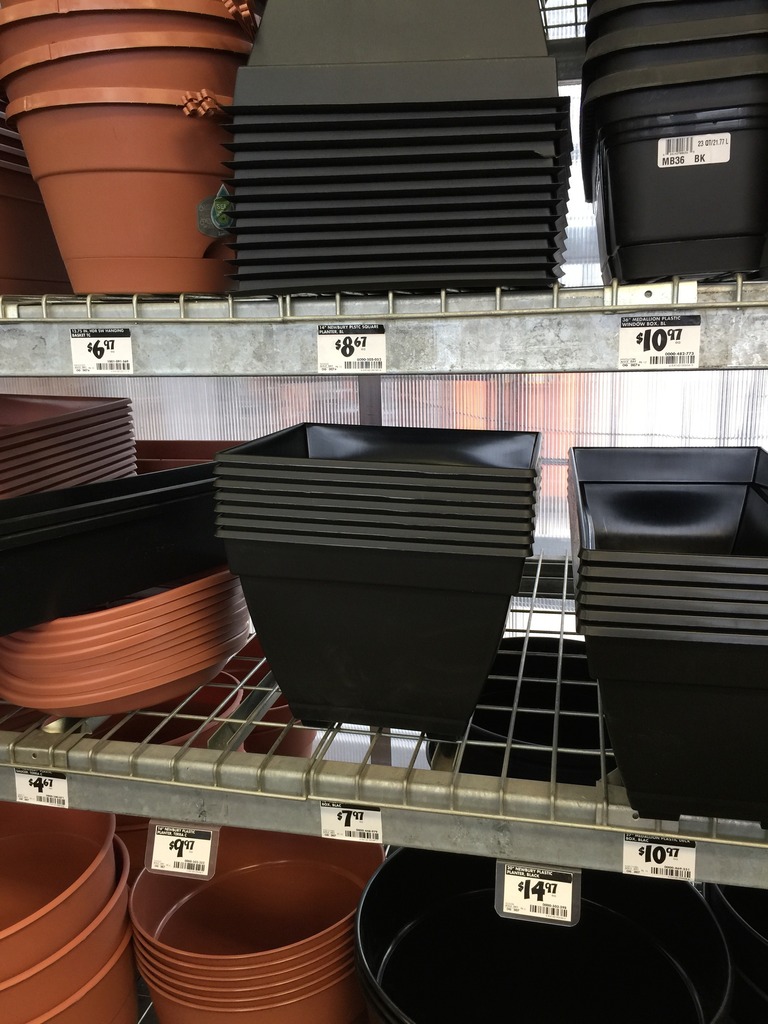
You will also need a square plastic planter. The one that fits these plans is just under $8 and is 15in square 24 QT pot that says Dynamic Design on the bottom. Make sure you use your coupons for competitors (Home Depot matches competitor coupons!)….we got an additional 10% off and it makes our total $18.55 per planter (does not include stain that we already had and screws/glue and tools). That is definitely a price I can get behind!
Okay…so since we were trying to figure out how to build these, I will just share that you want to line up your boards on the ground and pretend that you will cut out each side. We made the first side and figured it all out for you but it is still helpful to lay it all out. My recommendation is to lay out the boards, mark the 16 3/4″ at the top of the top board and then mark 11 1/4″ at the bottom of the bottom board and draw straight lines connecting the ends of the two lines.
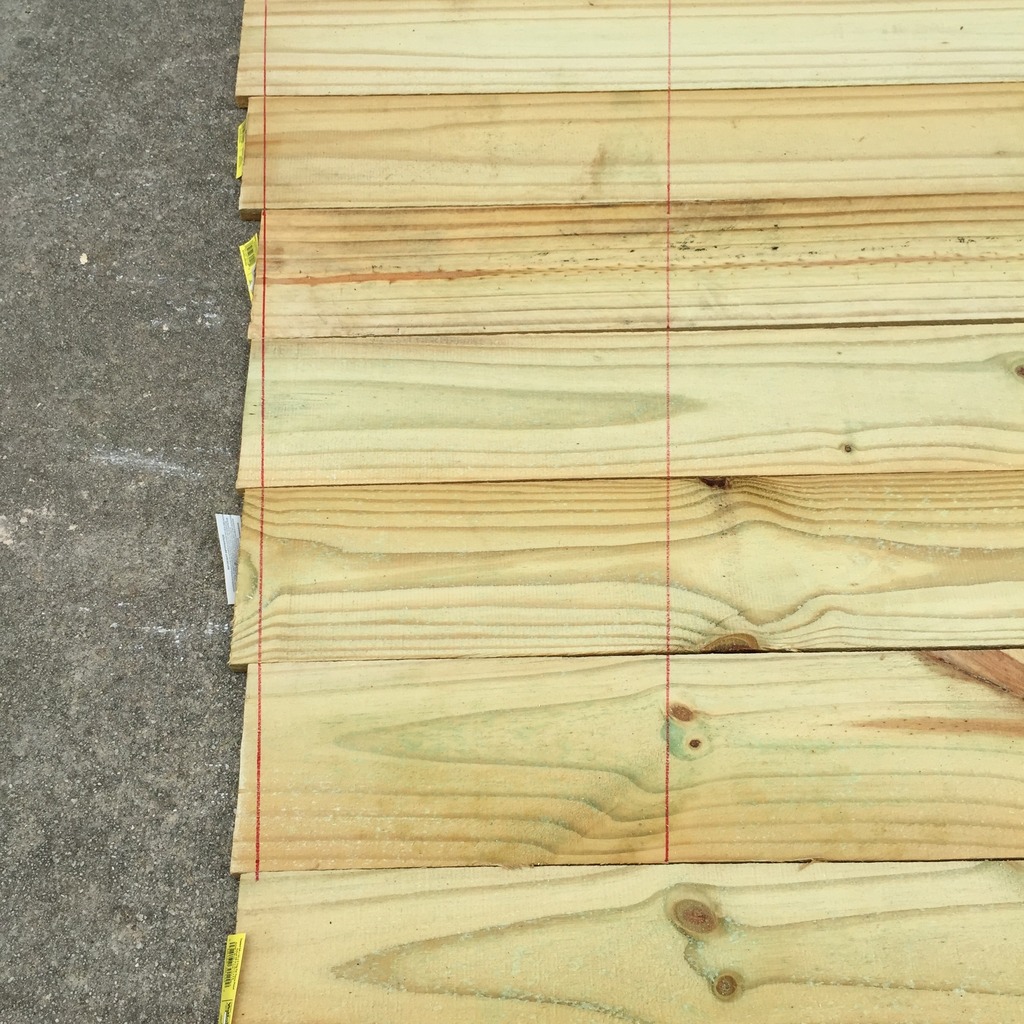
We cut each one separately and when we lined them up on the miter saw, we found out the angles.
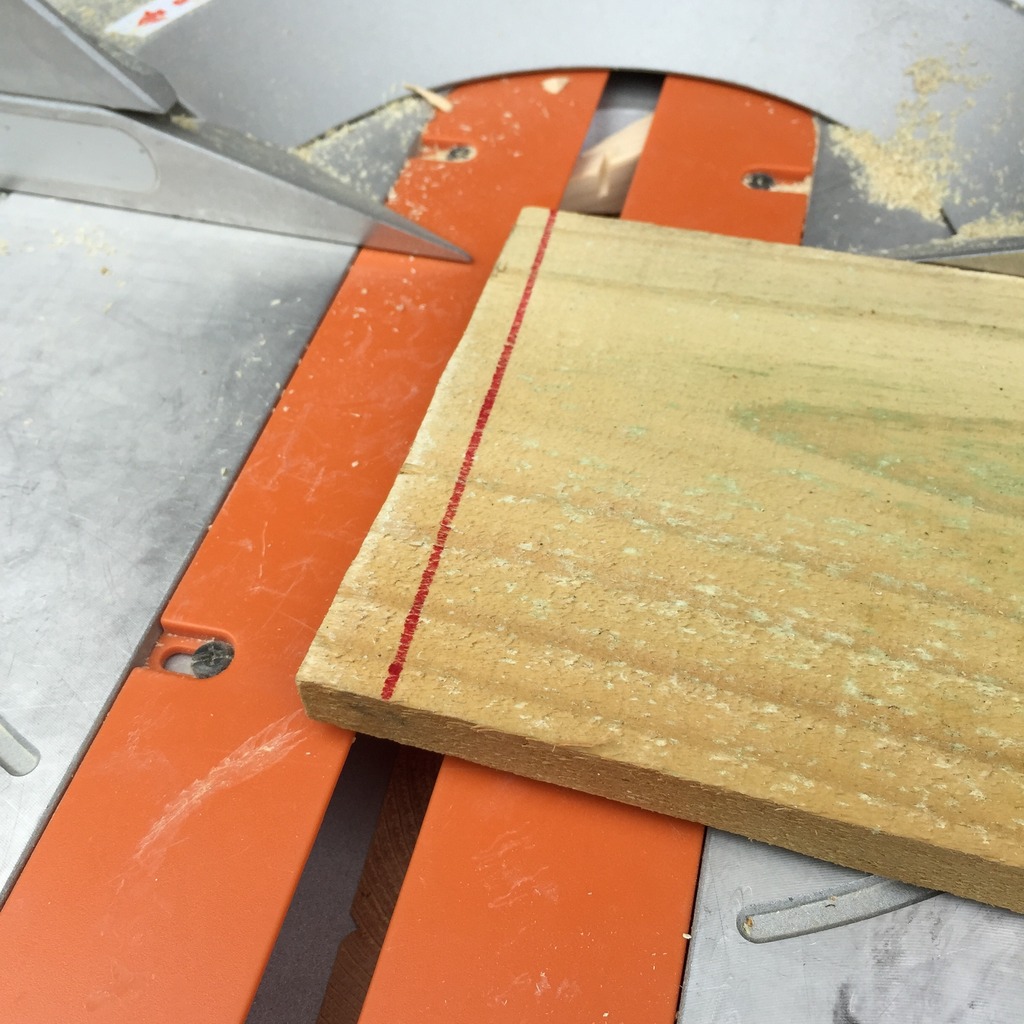
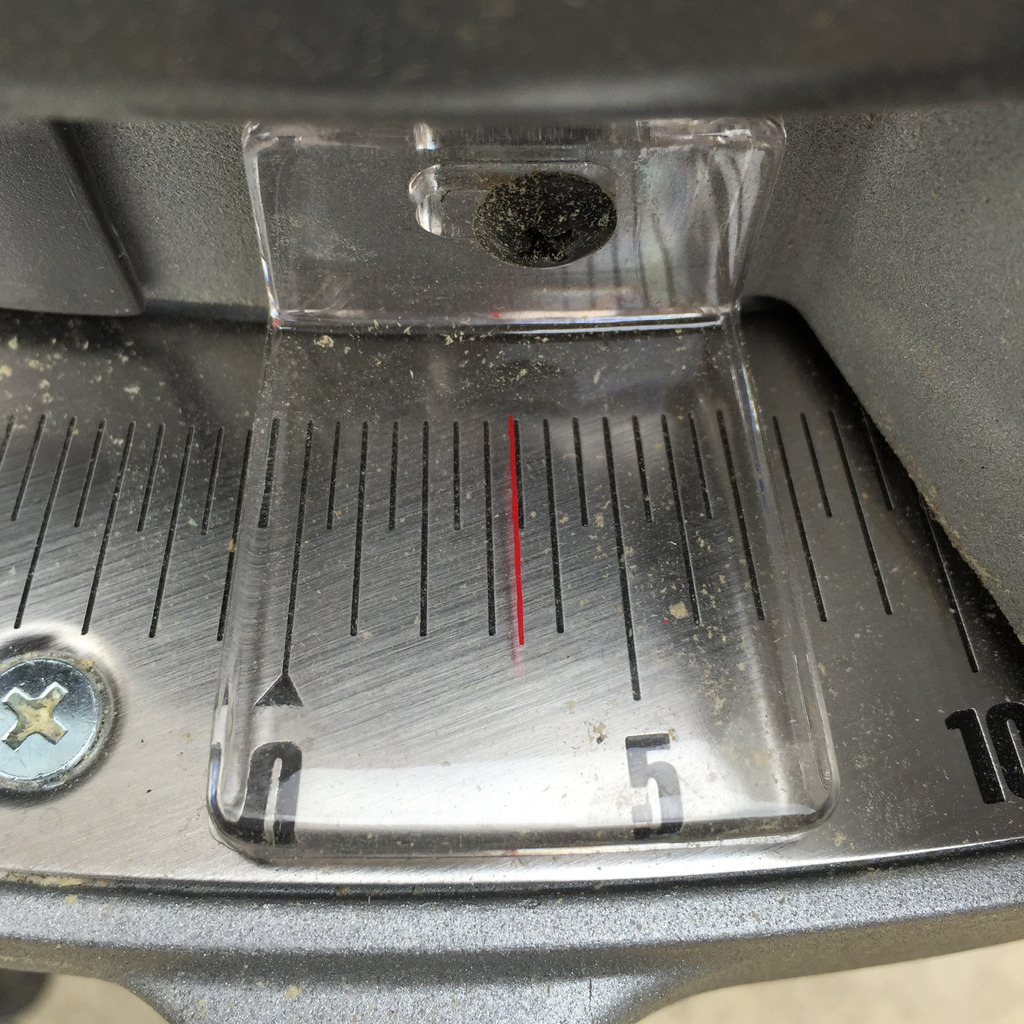
It was a slight 3.5 degree angle for each end.
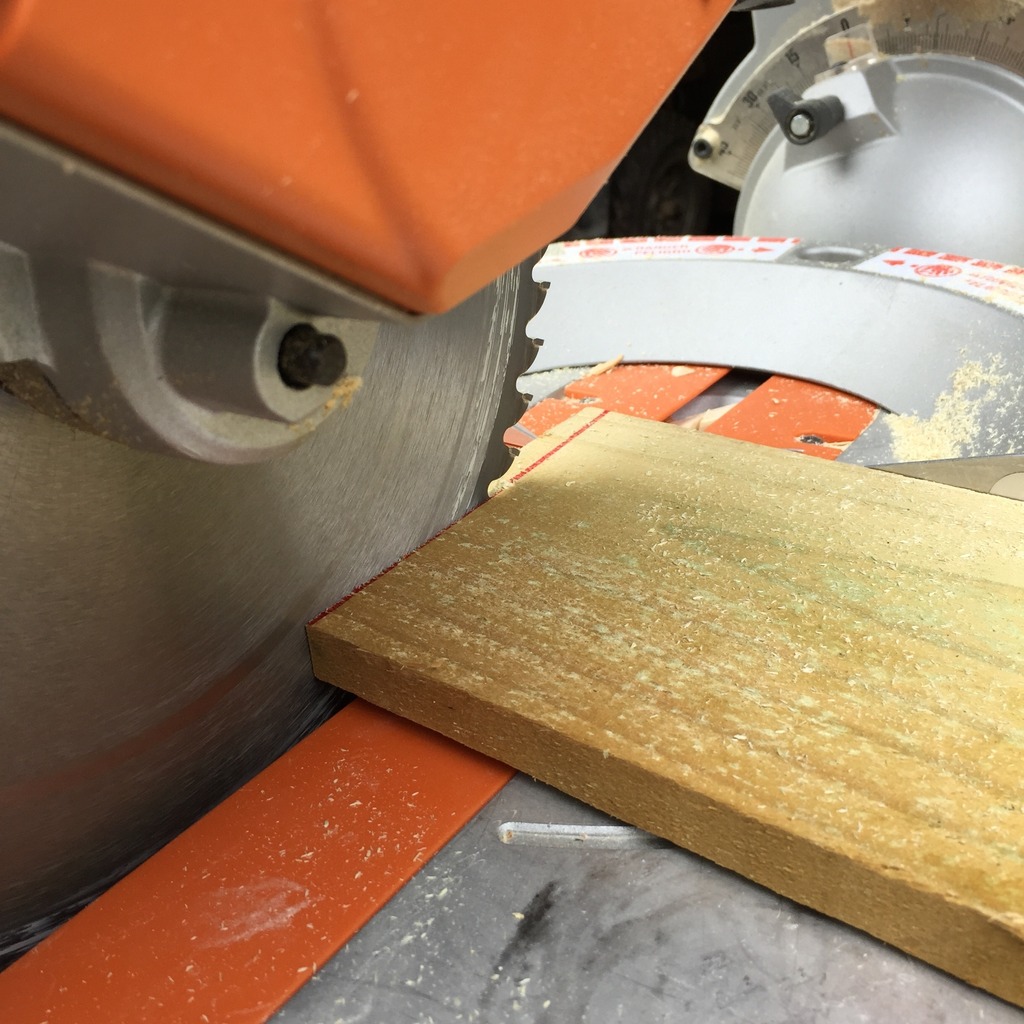
Okay…so go ahead and cut your boards and make sure the boards for all four sides are equal.
Next you will build the stackable squares. You will need wood glue and a brad nailer.
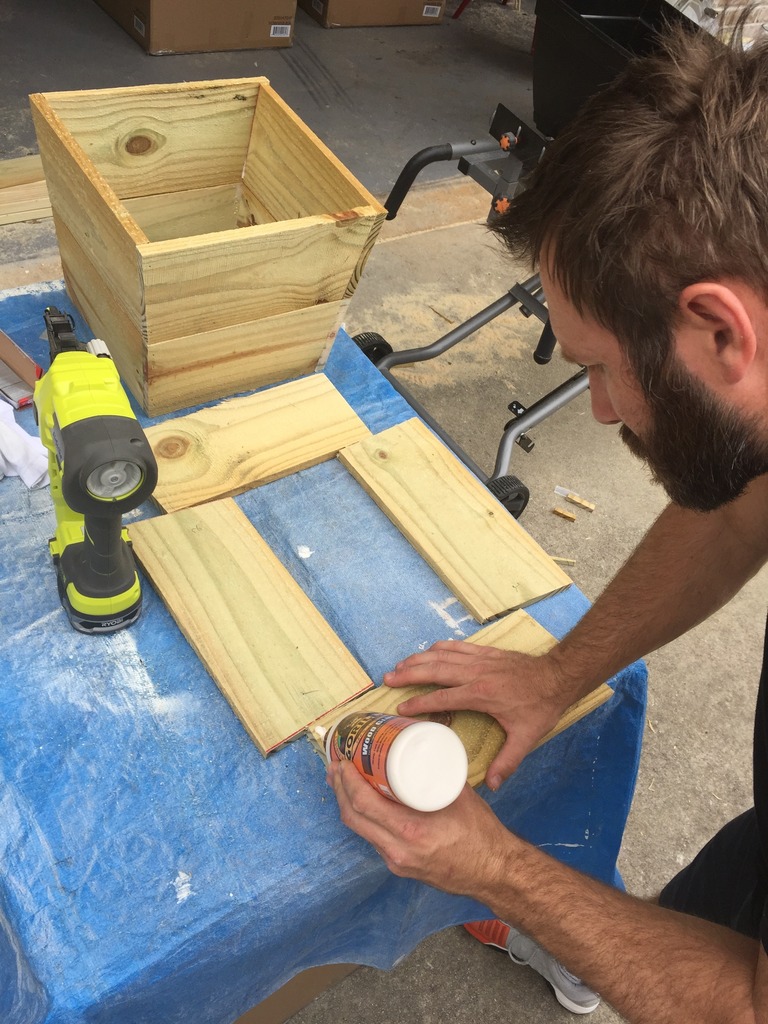
Glue goes on the edges and then use a brad nailer to put the picket squares together.
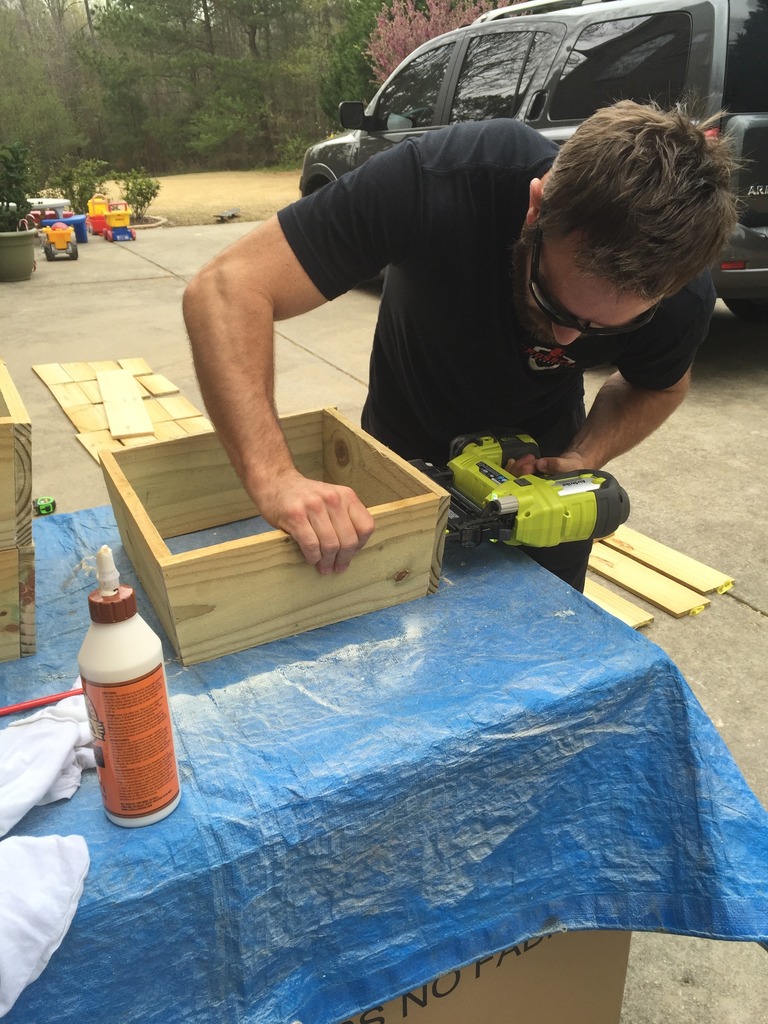
Note that the sides are all the same length so that in order to get a equal sided square, you have to do the overlap, underlap assembly. For each board, one side overlaps it’s neighbor and one side underlaps it.
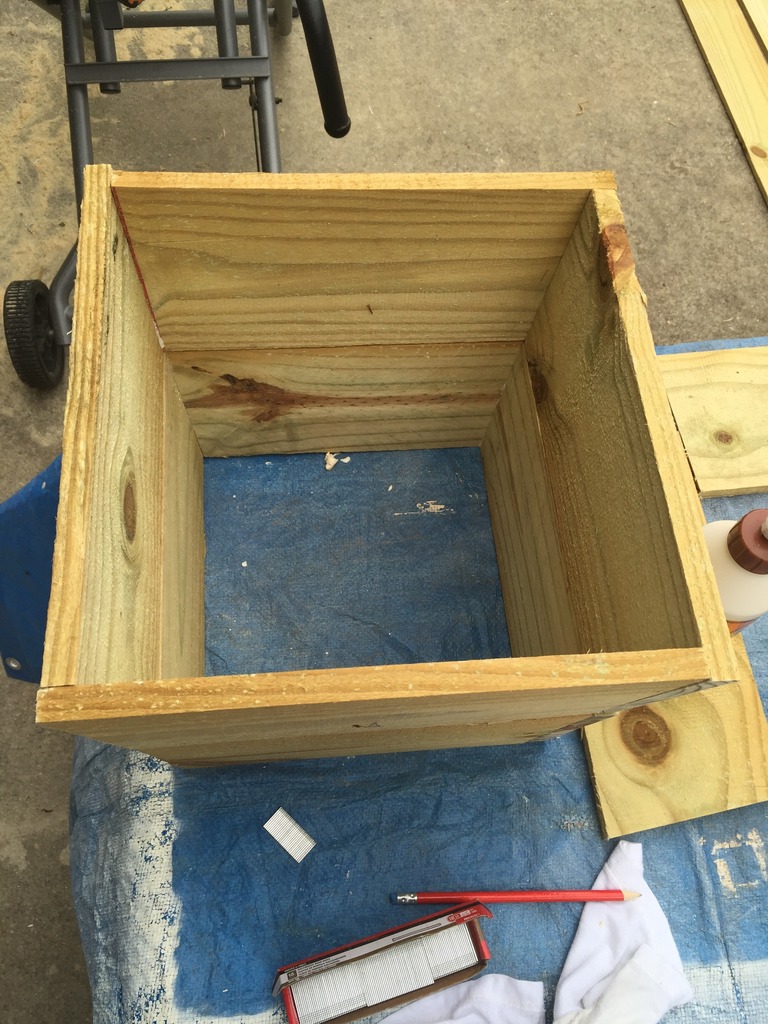
Once you have your first few squares built, the assembly should be FAST.
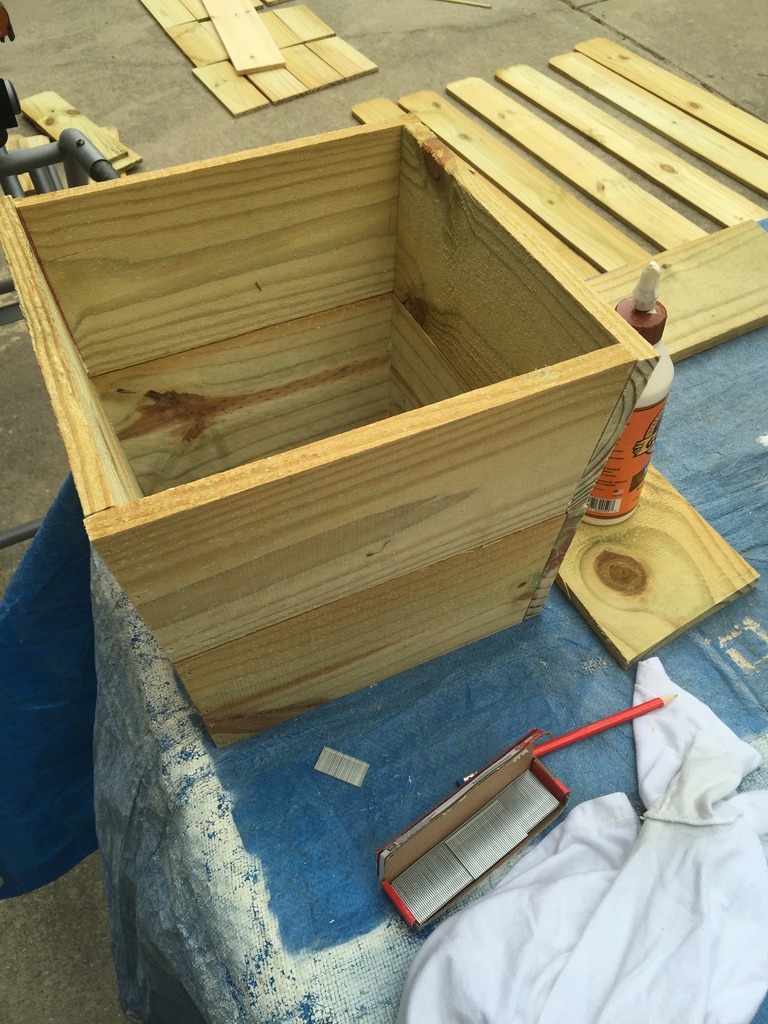
Here it is with all six stackable squares. Next you will need to rip a few of the pickets to the right size and cut them down to fit the length of the planter.
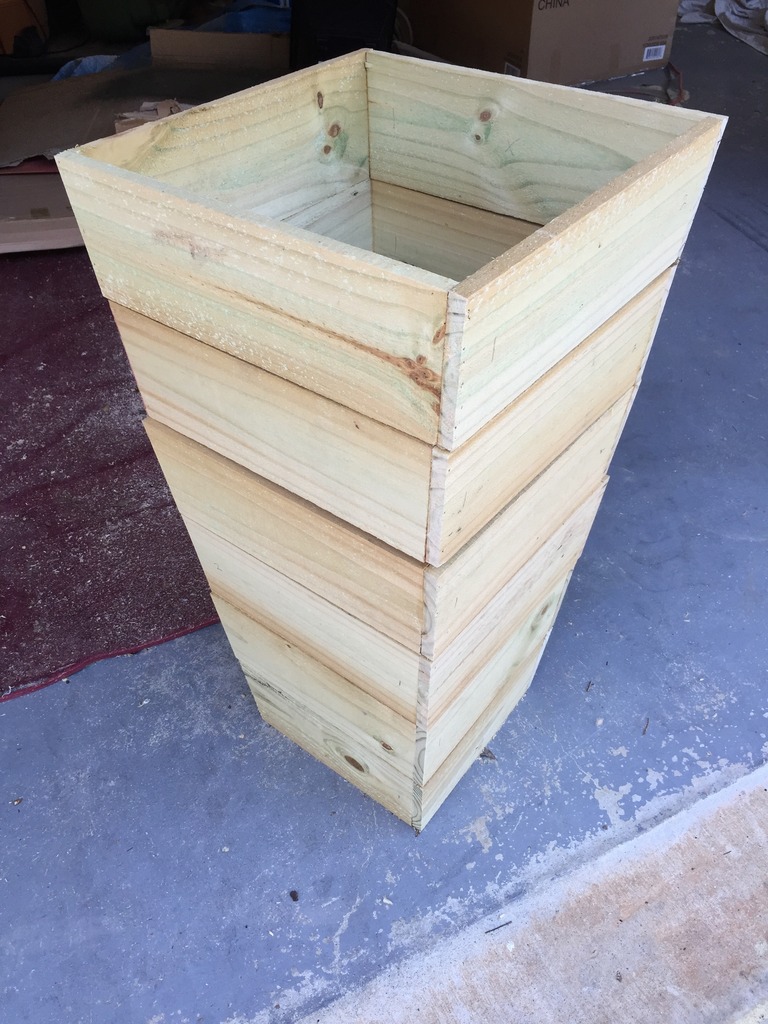
Add some glue on the back of those outer pieces as well. These are what holds the squares together.
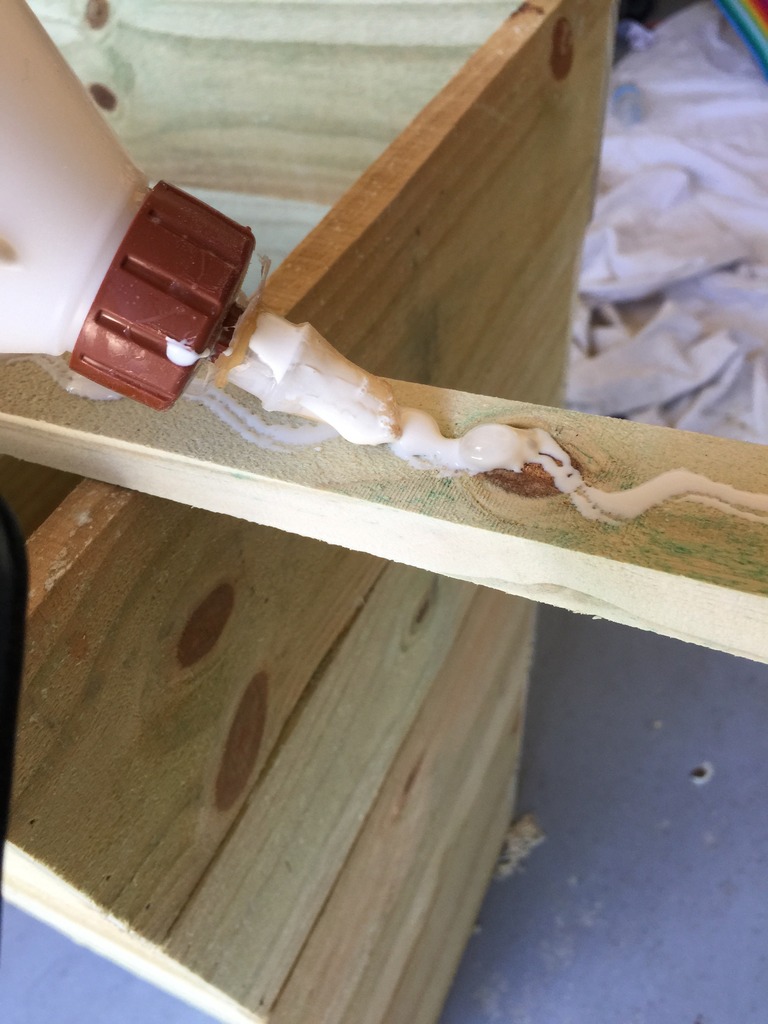
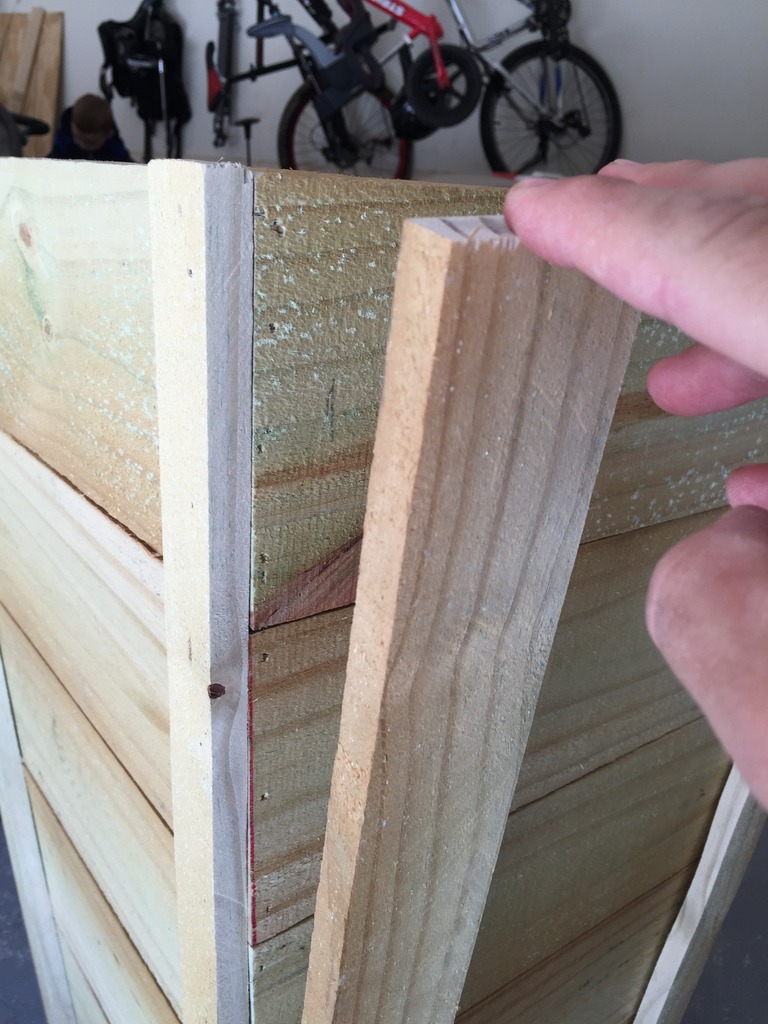
Then brad nail that in place. The thinner outer pieces will go on two opposite sides and the fatter outer pieces will go on the other sides and overlap the thin pieces.
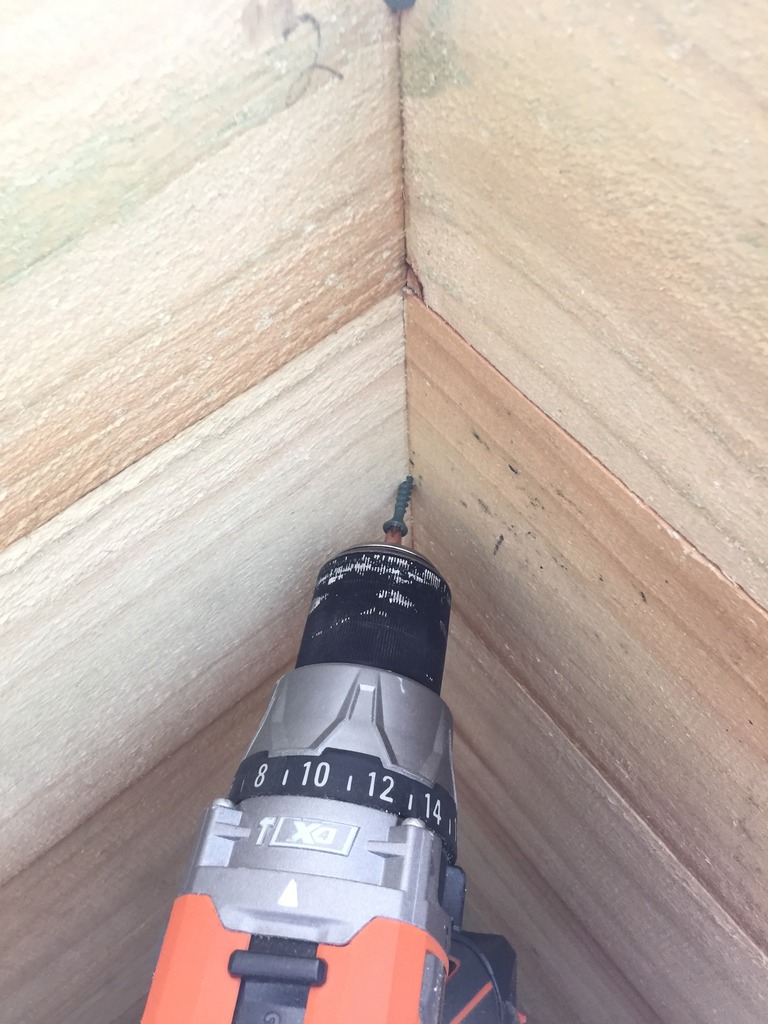
Jeremy was concerned that the outer pieces might warp or something so he clamped them all together and then drove in a couple screws from behind.
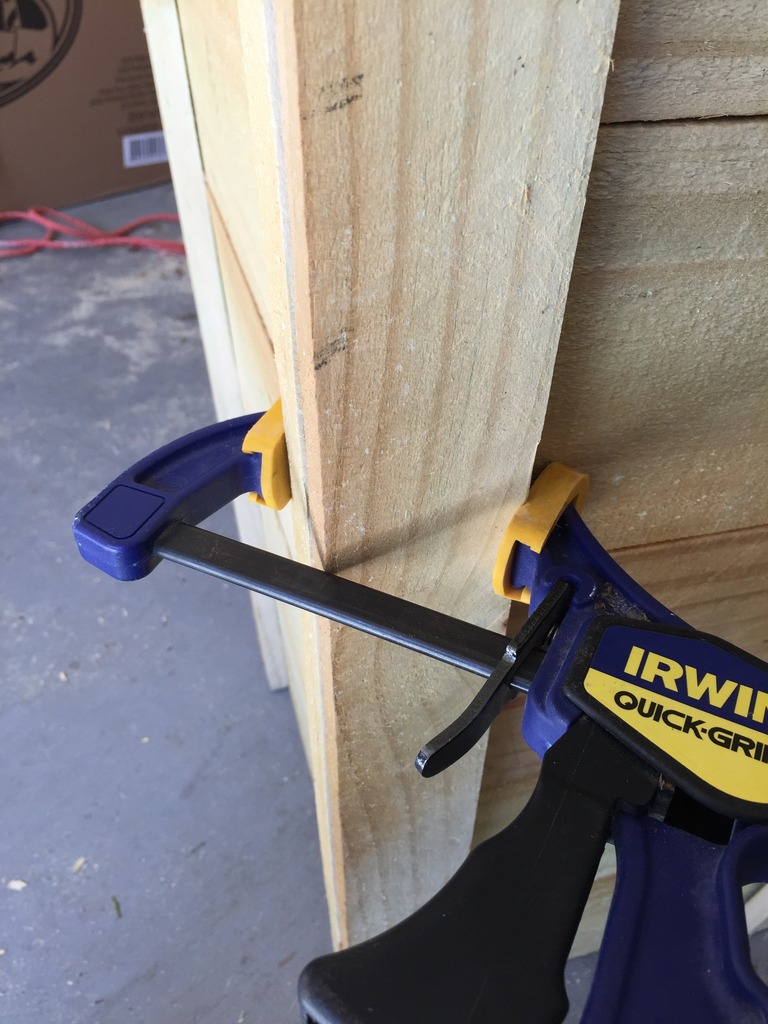
It was at an angle so that he could make sure it was secure.
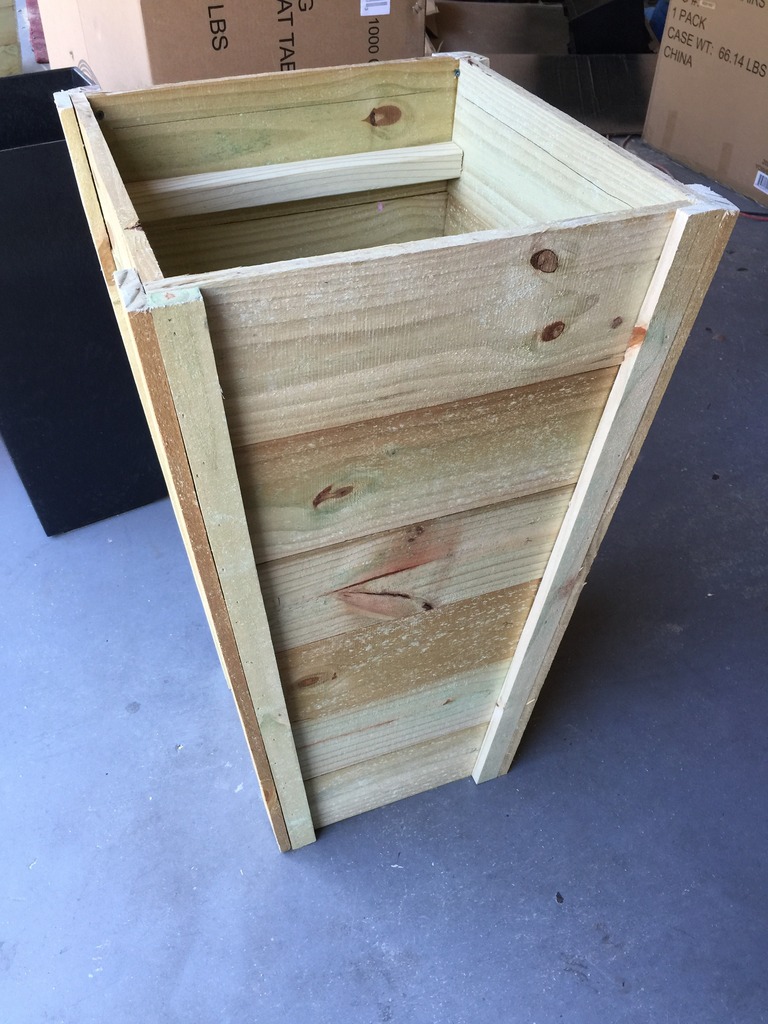
So this is what it looks like from the outside….see those fat outer pieces overlapping?
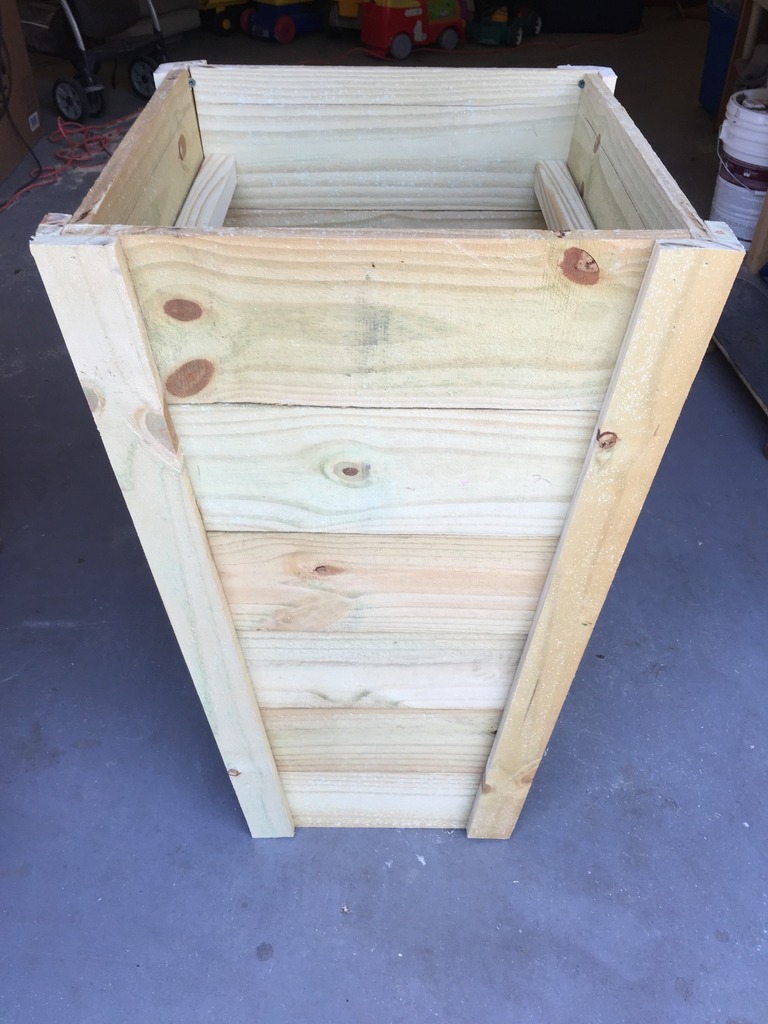
And this is the side with the thin outer pieces….more seams so it would be the sides. If you were really into wood working, you could miter the sides all the way down on both pieces and create a mitered corner but that wasn’t worth the time or energy for us.
Inside the box are the supports for the pot. Filling up this entire planter would be a complete waste of money and materials….but popping in a box and having it rest on the supports is the perfect solution. It is easier to move this way too. We didn’t even screw in the 2×2’s…just let them rest on the sides.
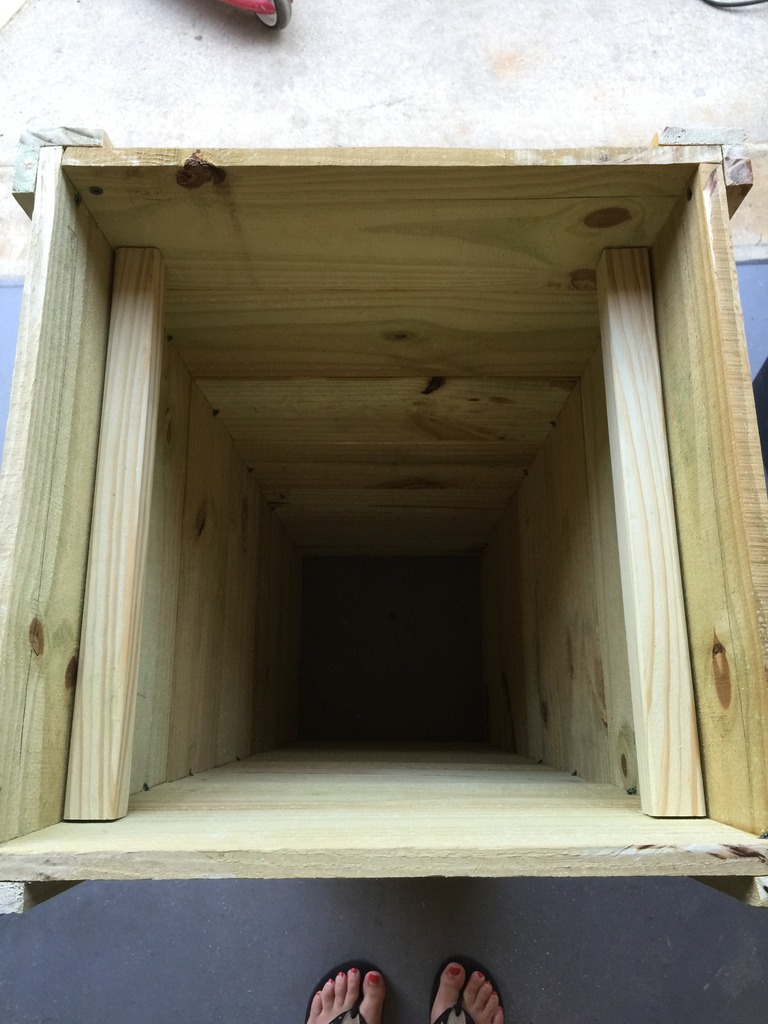
The planter box goes in next and the lip of the box rests on the planter supports. It will recess about 1 1/2″ from the top leaving the perfect amount of room for plants!
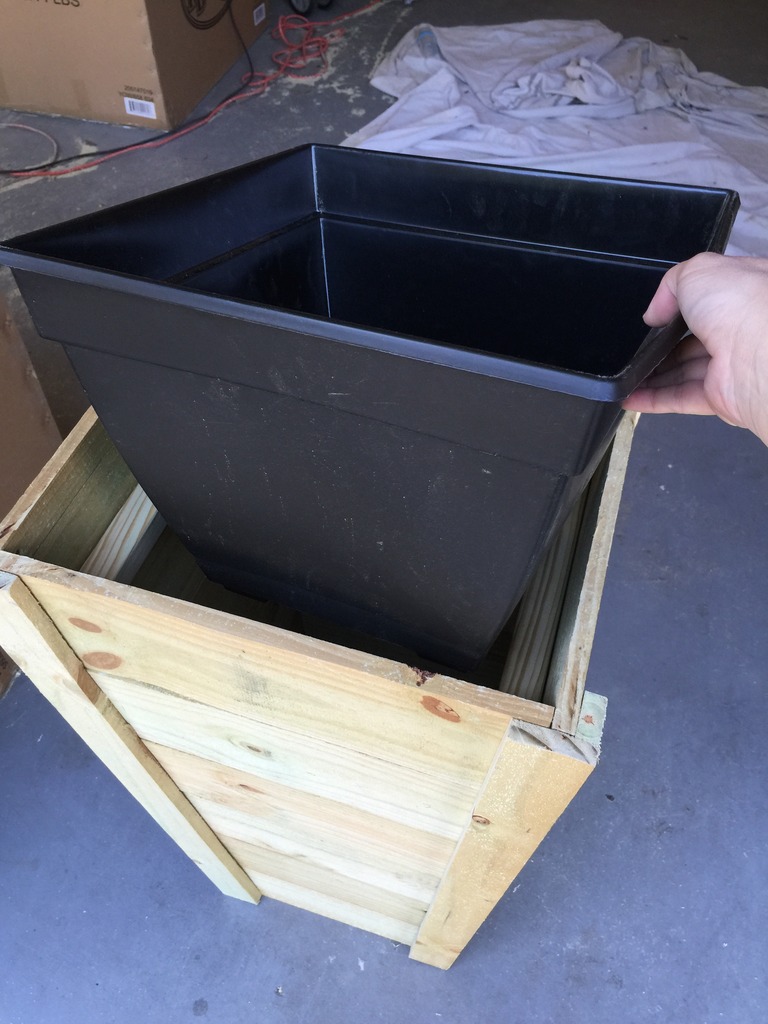
The wood planter isn’t actually the planter at all…it’s more like a sleeve that holds the pot up. Smart, eh?!
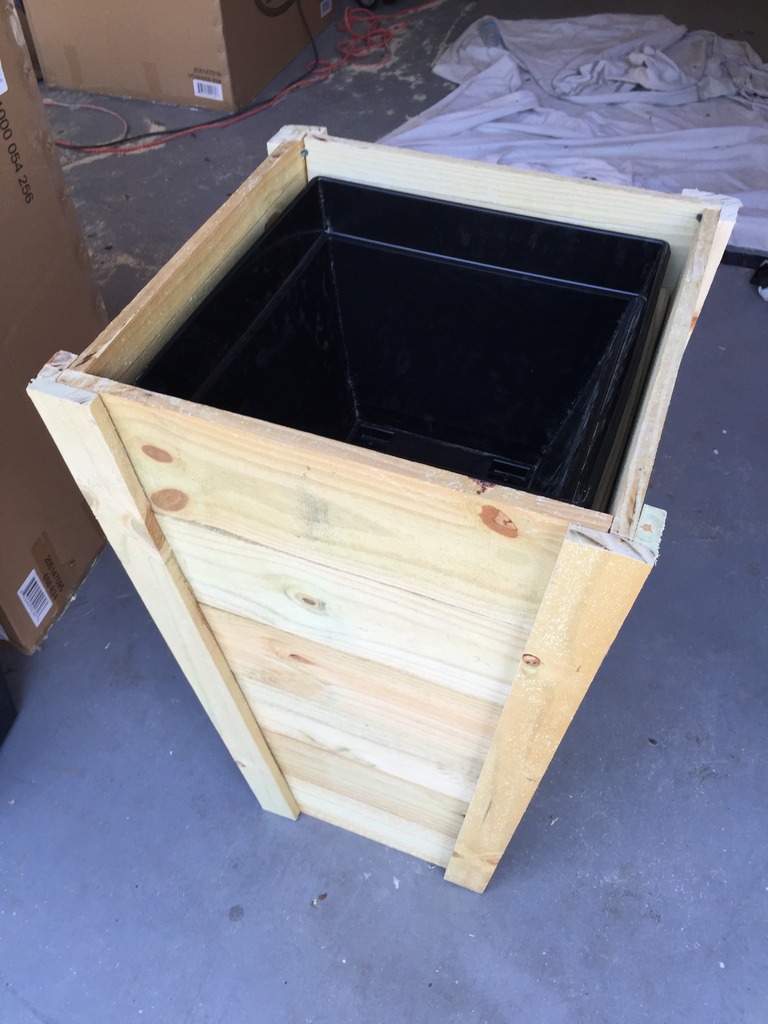
Here they are when the plant is inside. After you build it, just sand it down with 80-120 grit, wipe with a damp cloth and then you are ready for stain. I used Rust-Oleum’s Weathered Gray (it looks more gray blue than a pure gray).
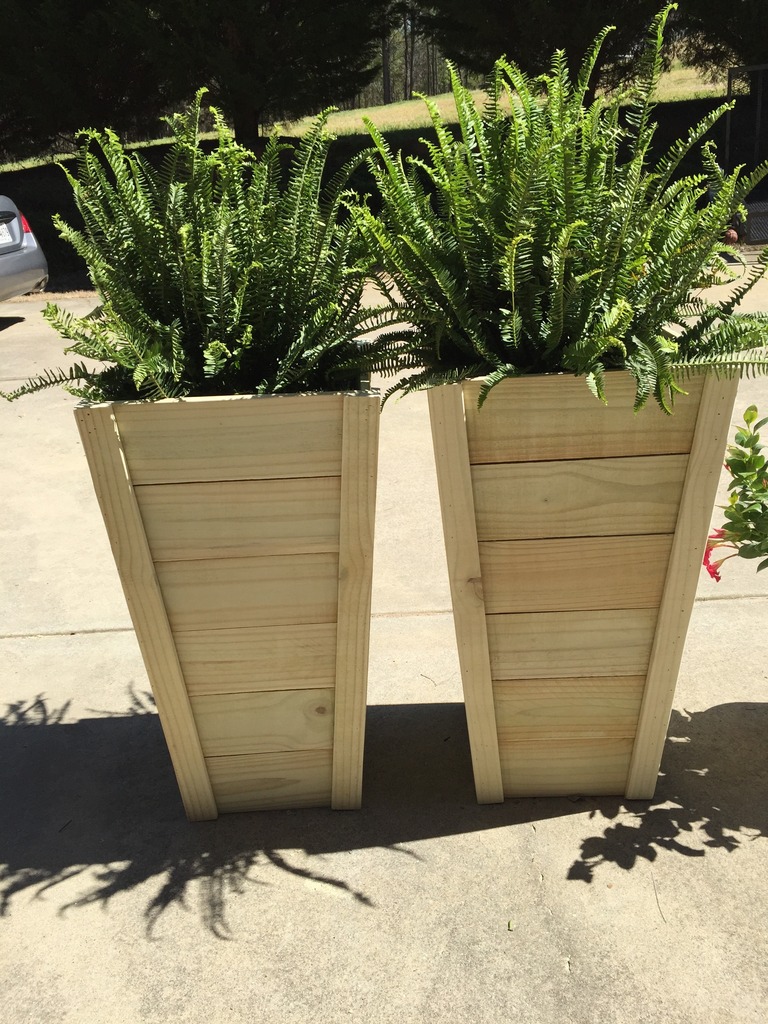
I haven’t decided if I want these to be weathered even more or if I should preserve the finish with a spar urethane. I guess I’ll decide that soon. Either way, I love the way they turned out. They are simple and stately but not too traditional.
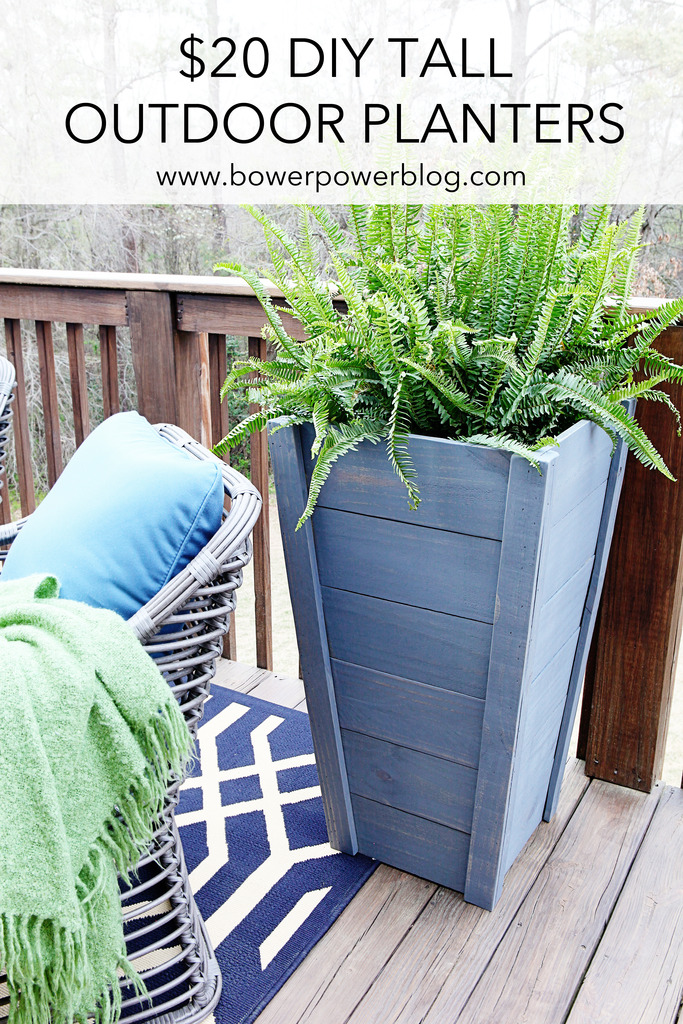
Now who is ready to see more patio!? (I gotta admit, I am raising my own hand!) I am so excited to share it with you and if this rainy weather would go away, I would actually get to enjoy it! ha! Now while you wait, go get some fence pickets and build some planters….they really are the perfect Mother’s Day gift.
And for more of the Deck Diaries – check out these old links…..
Pressure Washing (with a time lapse!)
Update : Looking for more info on something you see in our house? We have a Shop the Bower House page with paint colors and links to accessories, furniture and decor!

How gorgeous is that!? This would actually be amazing to try to plant sunflowers in – imagine how tall they’d be! Thanks for sharing.
1. Love the picture of Will riding the cart with his reigns!
2. This planter is amazing
3. Love the grey color!
‘Tis Our Life Blog
Those are beautiful! Great job!
I love that you posted these planters plans today. They are beautiful! And I’m sure they compliment your deck well… can’t wait to see your reveal! I wanted to build planters like these last weekend, but couldn’t find plans for a tapered box. So, we went another route. They’re ok, but not quite what I had in mind. I’ll finish those up this weekend, but then I’m going to build these too! Thanks for sharing.
These are great!!
haha…i hope taylor swift gets her panties untwisted and realizes, sharing is caring!
just wondering if you had to drill holes in the bottom of the wood planter so that excess water from watering the plants could drain out?
Hey!!!
I think I’m going to give these a try. I am terrified of our woodworking tools but I think you might have coaxed me out of my DIY shell with these. Nice easy instructions, thanks!
No. These pots are not holed out…yet…so there is nothing that drains….although a quick pop of a screwdriver could change that. Also…there is no bottom to the wood planter…so there is nothing to drill wood-wise.
xo – kb
These are freaking genius KB! I love the use of cheapo fence pickets!! I’m going to have to borrow these plans for my front porch. 🙂
I built an herb planter box a few years back as part of the Pinterest challenge you and Sherry used to do. 🙂 I could have totally made it way cheaper had I used the fence pickets… May have to revisit that one!
Can’t wait to see the deck tomorrow!
Love them!
These are awesome! It’s so hard to find substantially sized planters that aren’t SO much money. They make such a great statement. Good work!
LOVE these! So pretty, yet functional. Keeping with the sharing theme (ha), what plants are those? I like how they’re kinda scraggly looking, but still controlled….if that makes sense. 🙂
Ooh I love it!! Great job!
I can’t wait to see the rest of the Deck. 🙂
They are sun-ferns. They get upright in the sunlight but also thrive in shade and get more droopy and loose!
xo – kb
I love these! I just may make these myself as a Mothers day gift to myself. 🙂 I have a spot right in front of my front porch columns where small, pathetic pots sit now. This would fancy up my front porch area. We all need more fancy in our life. I love the picture of one of your boy’s sitting on the wood in the store. I have so many pictures of my kids doing just that. They love the home improvement store trip, if the little car cart is available. If not it gets ugly fast with my three kids. I am waiting for all of our DIY raised kids to grow up and rebel by buying everything new, from the display of a store, and do nothing to it but have people come and deliver the furniture. My youngest is all about helping and doing things around the house, the other two just might be the rebels.
You guys are so crazy talented. These look phenomenal! Can’t wait for the whole reveal tomorrow!
Seriously, you really make it look easy.
Did you put a weight in the bottom to keep them from tipping? They look great, by the way!
Love the stain on these. If you make these and plan on painting, be sure to let pressure treated wood season (dry out) before painting.
Nope they are really sturdy. Will ran full force into one and he fell, it didn’t. The diagram shows it to be taller and skinnier but in real life it’s got a sturdy base.
xo kb
I have to admit when it comes to what I’d call a proper D.I.Y (thats anything involving a drill!) I’m a bit scared of taking it on.
However these look so lovely and with clear instruction I think I might be able to tackle it for my own decked area 🙂
Thanks!
theeverydaylifeofrachel.blogspot.co.uk
These planters are to die for! I need to call up my BIL to make these for me. The Ferns are perfect in them too!!
Ok dumb question. I am going to make these this weekend for mothers day gifts. the measurement on you board are those at the widest part?
Yes. The widest part is the measurement I noted. The smallest size on the top board is the biggest size on the next one down….get that?!
xo – kb
I finished 3 of these last weekend! I used the 14″ square planter and didn’t use the bottom set of squares. They are amazing! Thanks so much for sharing your design.
Love the way they look! I’m thinking about making these this weekend. Quick question in the picture where you drew the lines in red, are the lines in an angle because it looks like they run parallel to each other. Great job! Thanks for sharing!
no way anyone built a replica of these planters with these plans. Lots of things missing!
You definitely need some basic woodworking skills to replicate….but honestly – these aren’t too hard.
xo – kb
They aren’t parallel – but I see what you mean. Go by the cut list for the best lines.
Hope this helps!
xo – kb
LOVEEEEEEEEEE!
Built two of these this weekend. Not difficult at all. Ended up using 1×2 and 1×3 for the trim pieces and mitering some 1x3s to make a “collar” for the top so that the pots sit flush with the top of the planter. Thanks so much for the plans! My neighbors are all asking me to make them some.
Yay! I’d love to see pics! Tag me on instagram @bowerpowerblog so I can applaud your planters too!
xo – kb
These look amazing. I have a question, the diagram shows the trapezoid shape but when cutting if your measureing from one side wouldn’t only one side be angled? How do you get the other angle? Maybe i missed a step or its a rather silly question.
Oh I see what you are referring to….it’s an illusion of camera angles. You will want to have angles on both sides technically speaking.
xo – kb
Hi there I just bought some wood and I’m going to try and make these as a father’s day gift. I, too, am struggling with only one side that I’m measuring being angled. I am not good with math and I’m completely new to woodworking. If you have any advice or know what I’m doing wrong please let me know. These planters are so awesome, thanks for sharing!
They aren’t straight on one side…both are slightly angled. I know the photo looks like it but it was perspective trick.
xo – kb
If one doesn’t have access to a brad nailer, would you recommend using finish nails? If so, what length nails? Also, the screws that were used from the inside to secure the outer trim, what length should they be and how far apart were they spaced?
Hmm…I guess you could if you set your nailer to not sink them as far as normal. Brad nails tend to have a bigger head than finish nails so it sits on the outside better and doesn’t sink in as far. I always say go twice the depth of the board in terms of length…so if you are working with a 1″, you will want something at least 1.5″ because a 1″ is actually 3/4 and 3/4×2 is 1.5″. Does that make sense? And the screws you will want to use 1.5″ inch.
xo – kb
Hi, could you please tell me what type of wood you used and if it is treated? Thank you
These are from cedar fence pickets and most cedar is not treated but is perfect for outdoor applications because it doesn’t shrink or warp.
xo – kb
Love these! I’ve just cut my wood but realized that I set my saw at 0 instead of at a slight angle. Do you think I need to recut or could I assemble without the angle?
Also, how are the different tiers connected? Once you build the first square, how is the next level of square fastened to the first one? Thanks!!
So you cut each piece with the top being longer and the bottom being longer? And the different tiers are stacked and then the outer trim connects them all.
xo – kb
Can you provide a list of supplies and measurements to make these
What size Brad nails did you use
Thanks
we used 1 3/4 brad nails along with wood glue and exterior screws. All the supplies and measurements are listed here:
https://www.bowerpowerblog.com/2015/04/20-tall-planters/
xo – kb
For two planters do you need 8 Boards or 16?
16. Sorry. I wasn’t clear on that. You need 8 boards for each planter.
xo – kb
Thanks for your sharing.
this is exactly what i was looking for! thanks for posting this!It looks fantastic:)
I may be missing it, but I’d like to know what length the 2×2 planter box supports should be.
So, I tried to make these this weekend, and I have to say the instructions were really confusing once you got into it. I’m assuming you measured from a centerline of the board (i.e. so that the 16 3/4 was split evenly to the left and the right, and so on down to the bottom), and that’s how you got an angle on both sides. From the instructions, and as a VERY inexperienced woodworker, it seemed that I was to line up all the boards, and from the flush end (the right), measure my two lengths, and draw a line between. This left me with a straight edge on one side. I completely screwed up my box, as I attempted to jury rig an angle on the right hand side too. I’m going to redo these using the “measure from center” approach detailed above, but you might want to clarify your instructions some. I was super excited about this project too! They’re gorgeous, when they work. You might also want to mention that you need a table saw for the ripping. I just used 1 x3 and a 1×2 that I think will eventually work. Thank you for sharing these plans though!!
That’s a great point. Sorry for any confusion. We are just normal at-home-learn-as-we-go DIYers so figuring out how to explain things is really tough! But I’m eager to learn and I’ll have to clarify more!
xo – kb
My husband and dad made these for my front door this weekend and they turned out amazing! I wish I could post a picture to show you. We added trim pieces to the top and along the bottom to finish all the edges. Thank you for the instructions!! Now my only dilemma is figuring out what color I want to stain them 🙂
I would love to see them all finished! If you have instagram, tag me and I can celebrate with you 🙂
xo – kb
I finished one planter yesterday, made with my minimal skills. Everything was done with a circular saw, just measured carefully, and ripped the long parts very carefully, and it looks great.
Since I didn’t have any way to set angles for each box side, I just measured the top, drew a line down with a T-square on each side of the measured line, and halved the difference for the top to bottom measurement from each bottom side. This centered the bottom measurement, created the proper angle, and was easy to cut with the circular saw.
I like the color you used, you mentioned it was Rust-Oleum brand. Can you please tell me the exact color, and if it was a spray can or regular paint?
Thanks for the great plans!
Best,
Steve
It’s a stain in a can 🙂
xo – kb
I’m so glad you shared! Now, let’s see if I can get my hubby to help me (as in do it for me!)
Loved this project. Finished this weekend. Made a couple of mistakes but was able to figure it out. I want to make a couple of more this weekend!
https://photos.app.goo.gl/LvZW5aJWBXWUEzQm1
My first example was a bit disappointing as the boards were not all the same length. On my next example I used the bottom of the piece above to mark as the longer measurement for the next level. I also tacked four boards on top of each other as I cut each level that made sure all four pieces were the same size. I also used construction adhesive instead of wood glue. I used 1×3 cedar to make a top rail to give it a finished look. Stained the corner pieces and top rail in Cherry and painted the boards dark green to match the shutters on my house.
I actually just finished two planters. I followed the plans and have no prior skills. I borrowed saws and a brad nailer from my dad and figured it out! I’m happy with how they turned out and I can’t wait to get them in front of the house in the morning! Thanks for sharing!
Really?! That is awesome! I’d love to see them if you wanna shoot me a picture on Instagram!
xo – kb
I love the look of these planters. I’m giving them a try right now. I’ve made all my cuts, but the individual boxes aren’t lining up. They are much bigger (maybe by an inch). So there’s an inch overhang all around. I’m curious, did I buy the wrong fence posts? They are 3.5″ wide.
Now that I’m thinking through this more. 6 boxes @ 5.5″ wide would in fact bring the height to 33 inches.
I’m wondering if I can still use these boxes, just add more boxes in between the sizes I’ve already made. Do you know?
Thanks again for sharing these plans!