I’m not the Chuck Norris of tiling. Not even close. Although I may pretend I could roundhouse kick a pallet of marble, I would end up probably face down with a twisted ankle and an overextended groin muscle. So I gotta admit that I was really intimidated by this tiling project. The fact is….tiling an entire shower is a big job. A really big job. A really big job that I have never done before. I’ve done lots of floors. Four different backsplashes. Two fireplaces. But no showers. And the last time I attempted subway tile, my thumbs swelled up like two keilbasa’s attached to my hands. I wish I were kidding.
Do I think anyone could do this? Yes. I honestly do.
Do I want to do this again anytime soon? I need probably another year to recover. Then maybe.
Am I super proud with how it turned out? Youbetchabottomdollah.
So here was the plan….we demo’ed the bathroom, installed new backer board, waterproofed everything, and now we had to put the new tile back in. The walls of the shower and the curb would be getting a honed marble subway tile. Honed is not shiny whatsoever. And this particular tile does not have a built-in-spacer. A lot of subways do…but not this kind…it was a straight edge with a sharp corner. The floor was also honed marble but in a smaller herringbone pattern. The floor tiles came in sheets of 12×12 which makes it really easy to install.
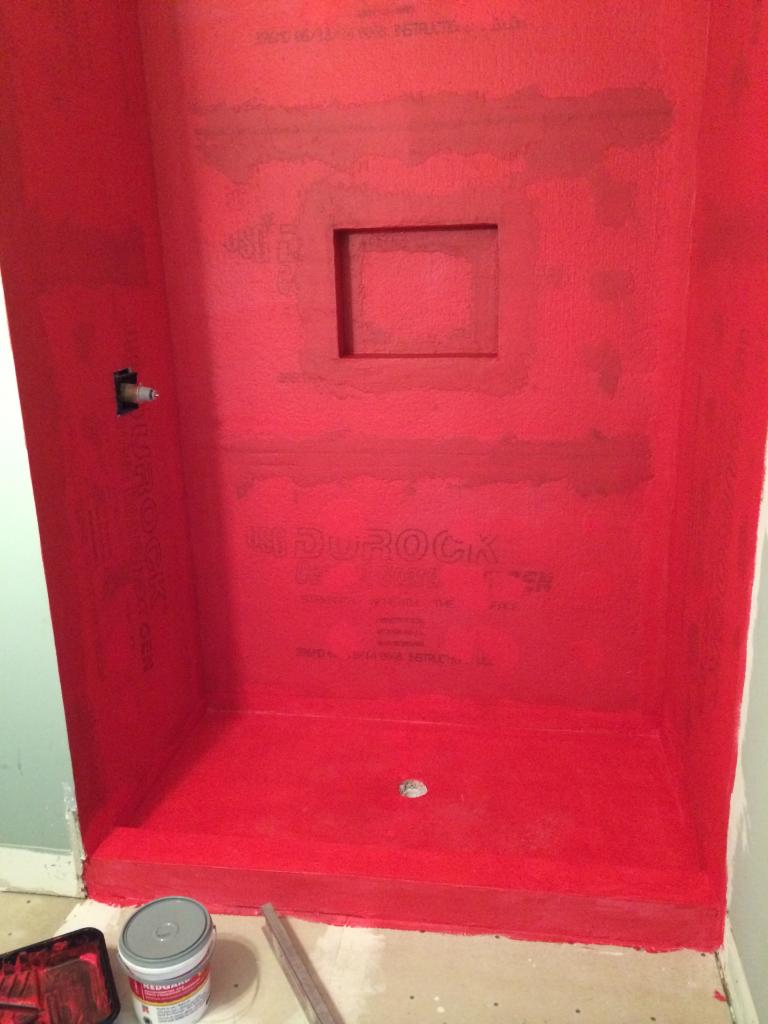
Here is the shower as we started…
First thing we did was lay everything out and sort it. Obviously I’ve said this before when it comes to the tile process…I just like showing this photo…

Now normally what you do is install a ledger board. It will give support to the first row of wall tiles allowing you to tile the walls first but still have the wall tiles butt down onto the floor tiles. Basically you want the water to be able to run off the wall tiles straight onto the floor tiles and if you tile the floor first, then you have to walk on it and potentially ruin the tile job you just installed. So you install wall first….on a ledger board. I didn’t do that because we were being filmed and I needed to have 24-36 inches of tile done so that the camera wasn’t getting a rear end shot the entire time. I didn’t want to install a ledger that low because it would have messed up my waterproofing and so I took the calculated risk of putting the first row of tiles on the floor.
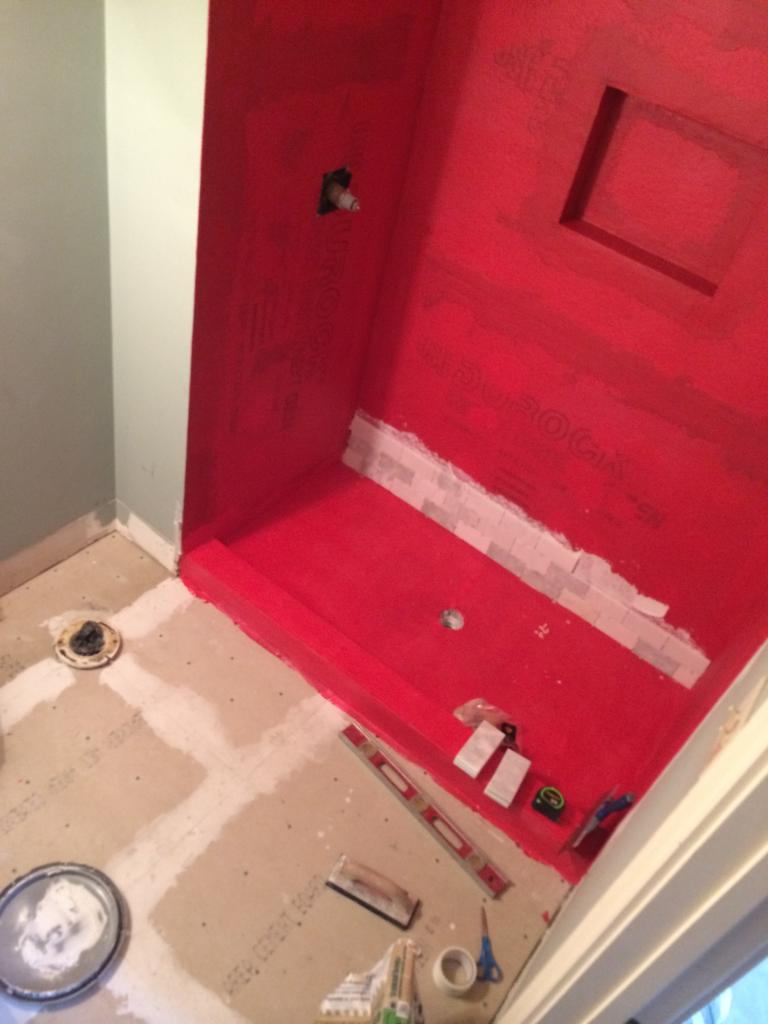
Marble (at least this tile) is crazy heavy and I only wanted to install about three feet of it at a time because I didn’t want it to sag or pull away from the wall. So my plan was to tile three feet, then 24 hours later, the camera man came back and shot more installation video, and then I would do another three feet. And then another three feet. Etc. Etc. until the shower was done. Not that three feet is something small….it would take about two hours per foot…so that’s six hours per day.
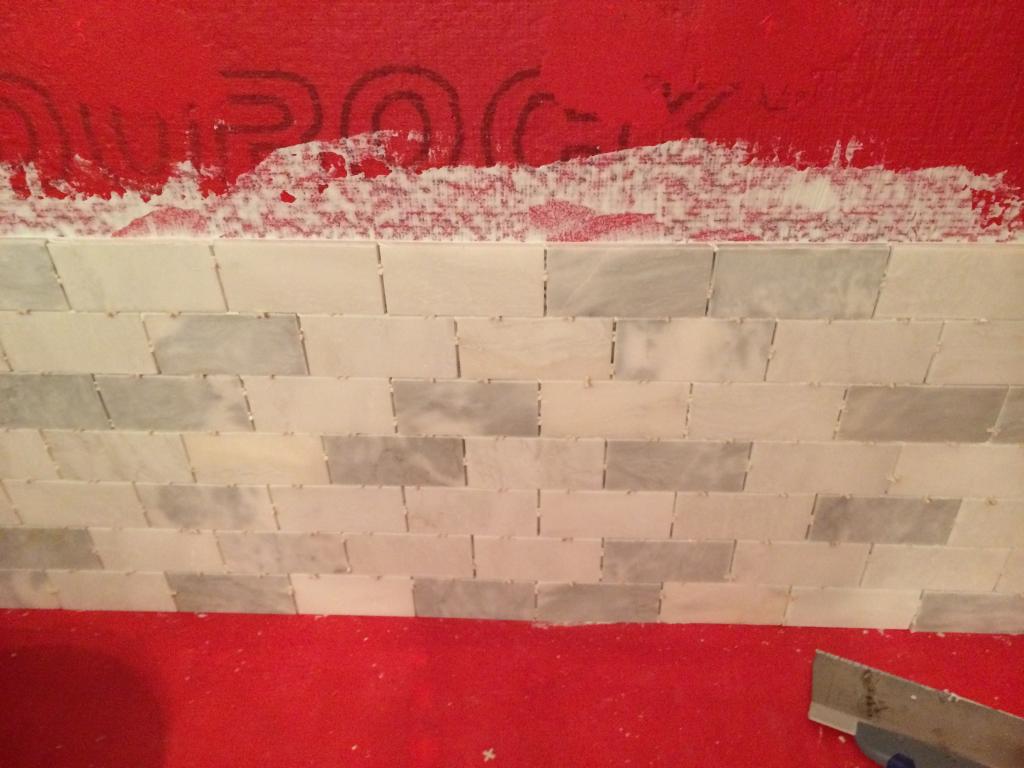
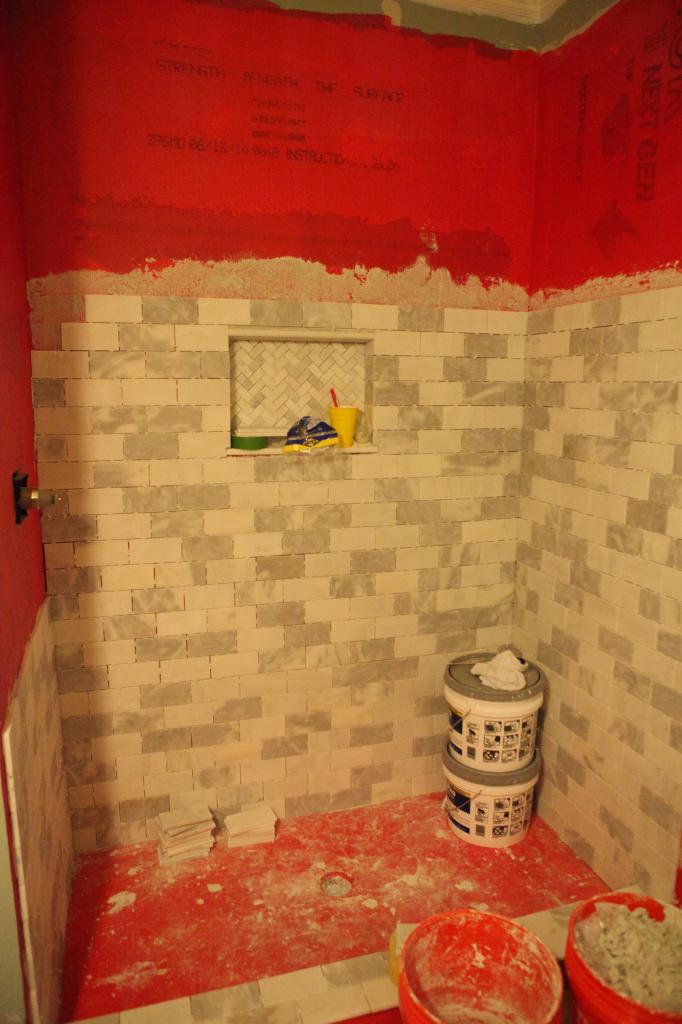
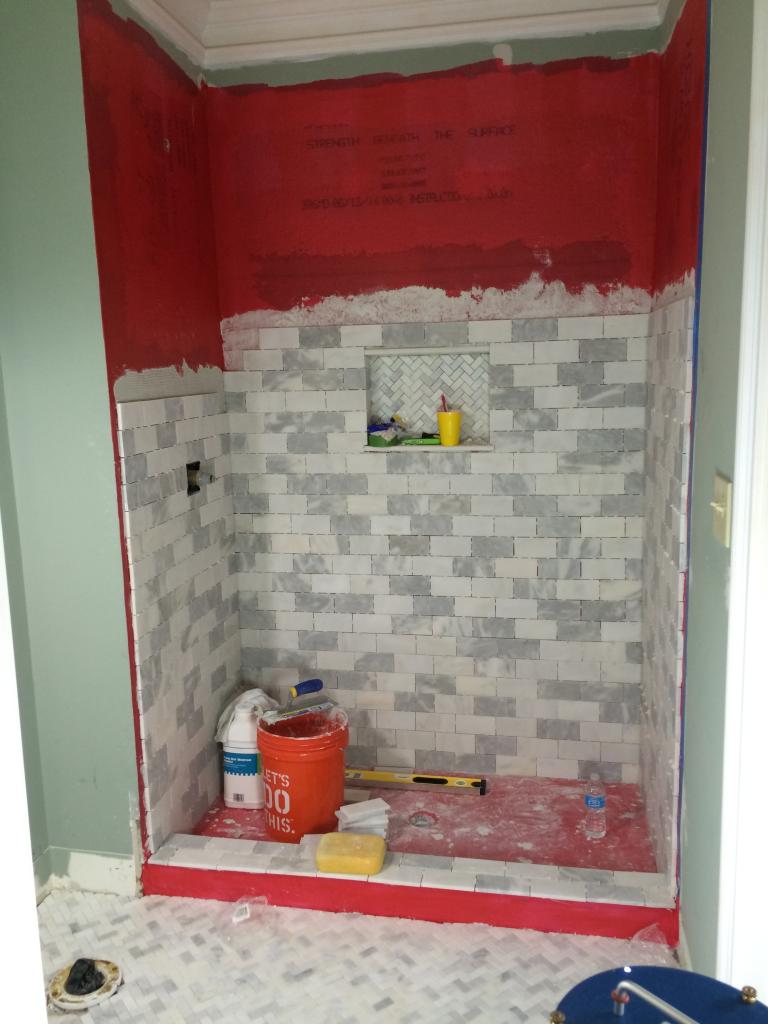
This is about where I was when the Home Depot people filmed me installing the tile. You can also see that I did the niche and a portion of the floor. I had to do those also for the video but they ended up not using that footage. Everything was done out of normal order just because we were on a tight scheduling time frame. I’m sure that it would have taken a pro much MUCH less time but I probably would have complained about something if I hired this out.

It was really nerve-wracking to have to explain how to tile while tiling and keeping it short and sweet. I am not a very concise person….I tend to ramble especially when I’m nervous so this was a real challenge.
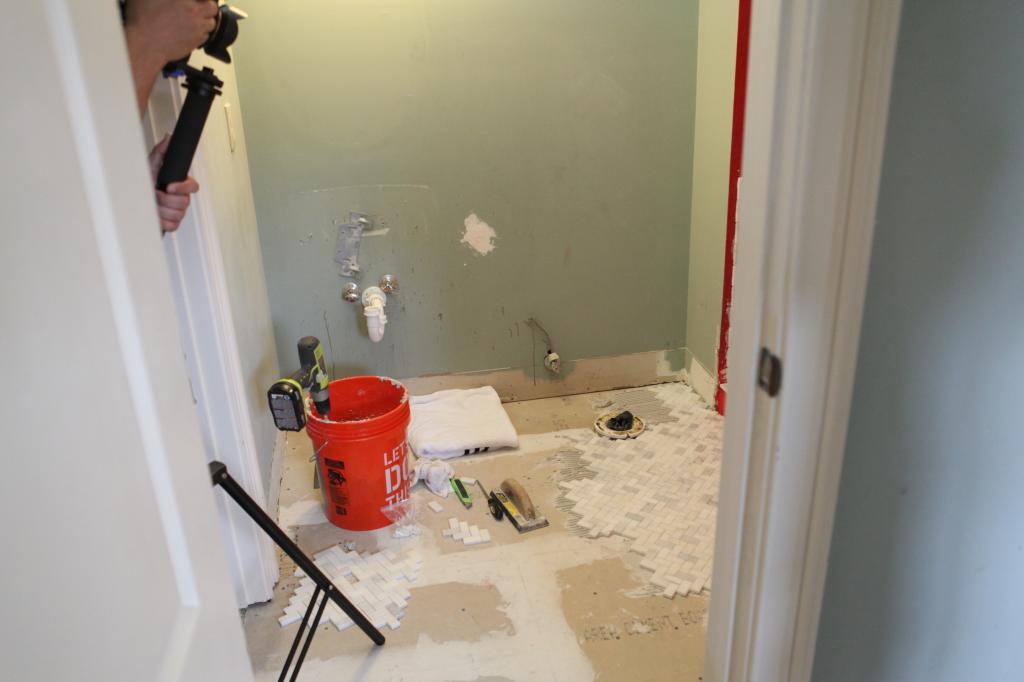
On the tiling day, they had a handheld camera (you can see him peeking out of the closet below) and they also mounted a camera above the doorway. Every time I tiled, I had to go in there, press the start button and go to work. Then when I was done, I pressed it off.
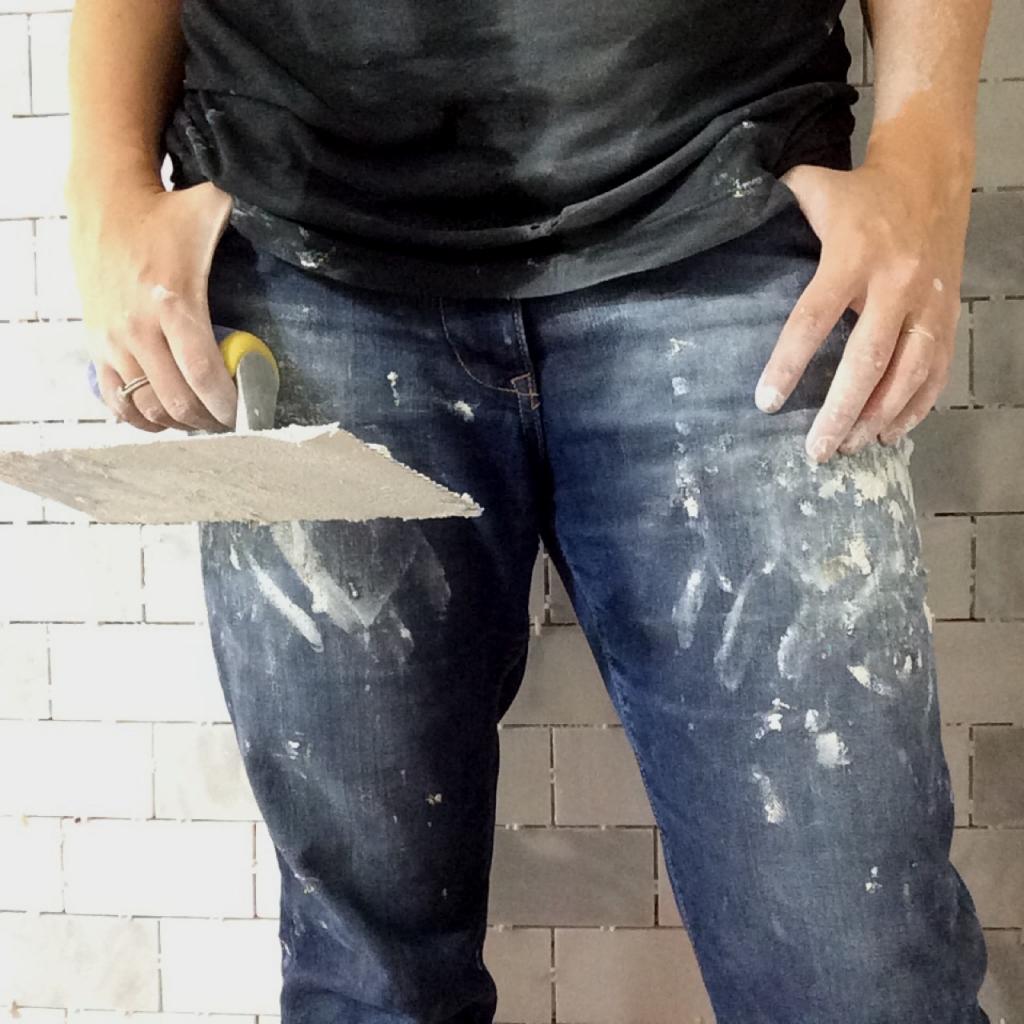
Being filmed also meant that I had to wear the same outfit for the entire project. That means that every day I tiled (it took me about a week to do it all), I wore the same black shirt and the same jeans. Jeremy would watch the boys for me after a certain point in the day and I went into the bathroom and put on the same dirty and heavy clothes. By the end of the week, the jeans weighed like two tons with all the marble dust and dried mortar on them.
Here’s the real kick in the literal pants….it ALL washed out. Yup. I can wear those jeans like they are brand spanking new. (well, they were never new….I bought them at Goodwill). Isn’t that shocking?!
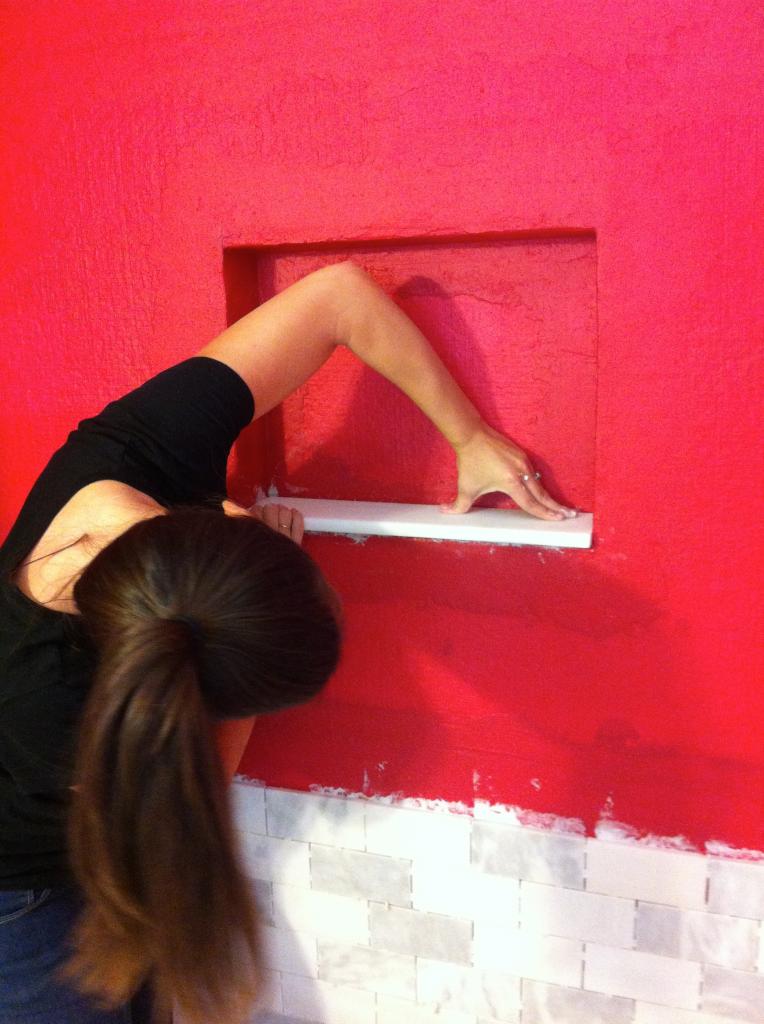
The biggest part of the tiling job that had me stumped was the niche. I just couldn’t source a honed piece of solid marble without it costing a small fortune. Finally I decided to take a risk and hone a marble threshold myself and cut that in half. It was under $20 and the honing actually WORKED. Once that was installed, we were able to center everything else around it.
After Will ate dinner, he would sometimes come in and sit on a bucket and talk to me. I found about seventeen million photos on my phone later of the project, me working, details, and a bunch of selfies. I know he is just four and probably not the most engaging conversationalist but that little dude made my nights so much less tortuous. I hate working alone and I had a hard time in my “marble coffin” because I couldn’t even hear what was going on with the boys. I just missed them a lot.
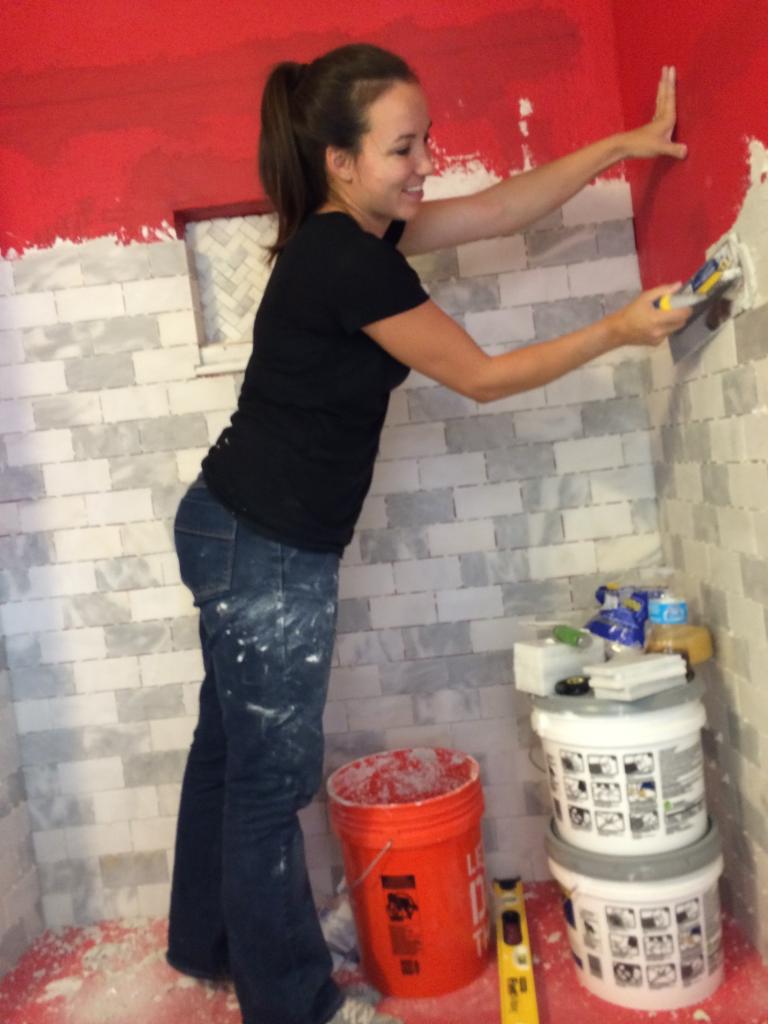
Also…the kid takes pretty decent pictures of action 🙂
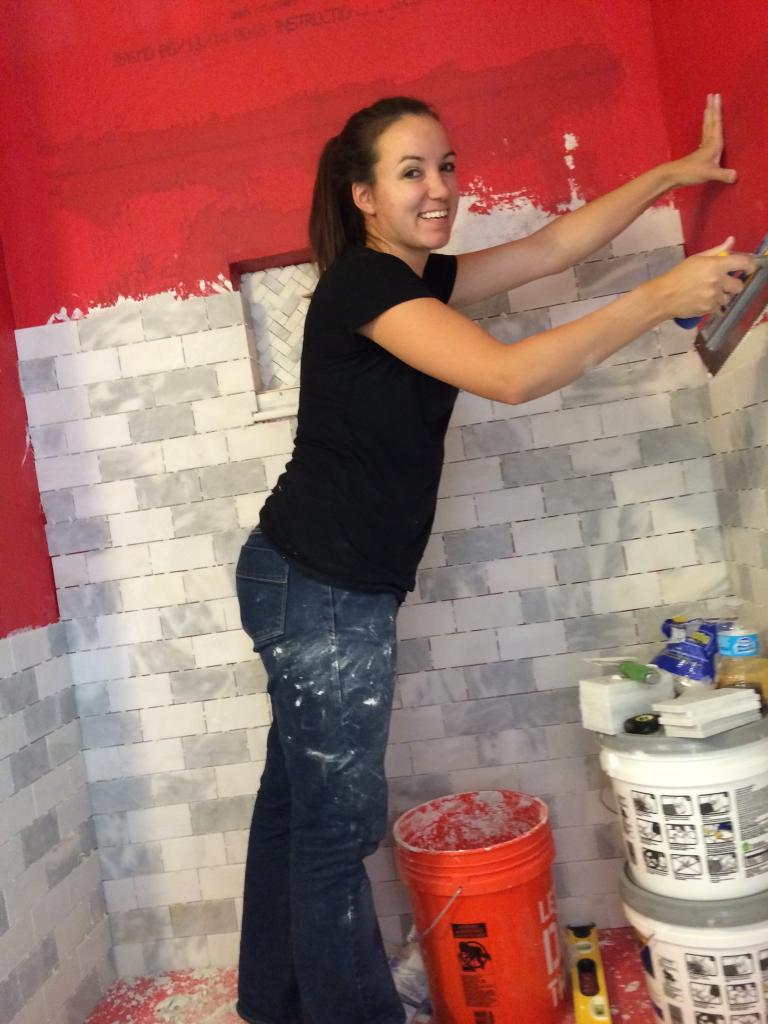
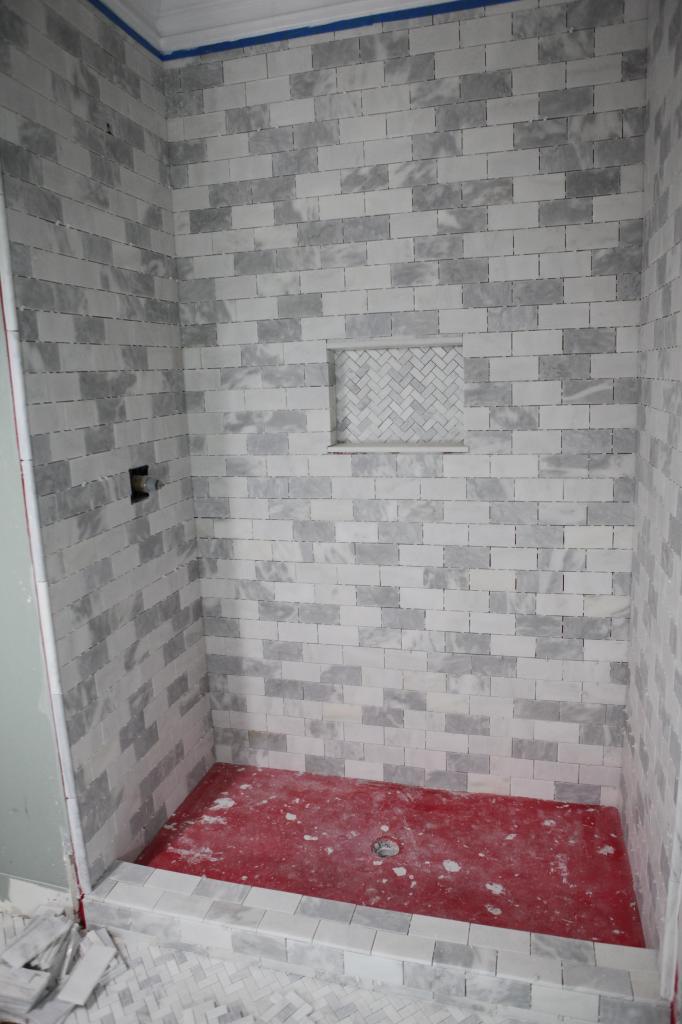
I was really picky about the tile I used because I have seen some tile jobs where they didn’t pay attention to the color variation and the patterns. I tried to make it as random as possible but not have a big gray spot or a big white spot….just a really solid mix.
Ta-da!
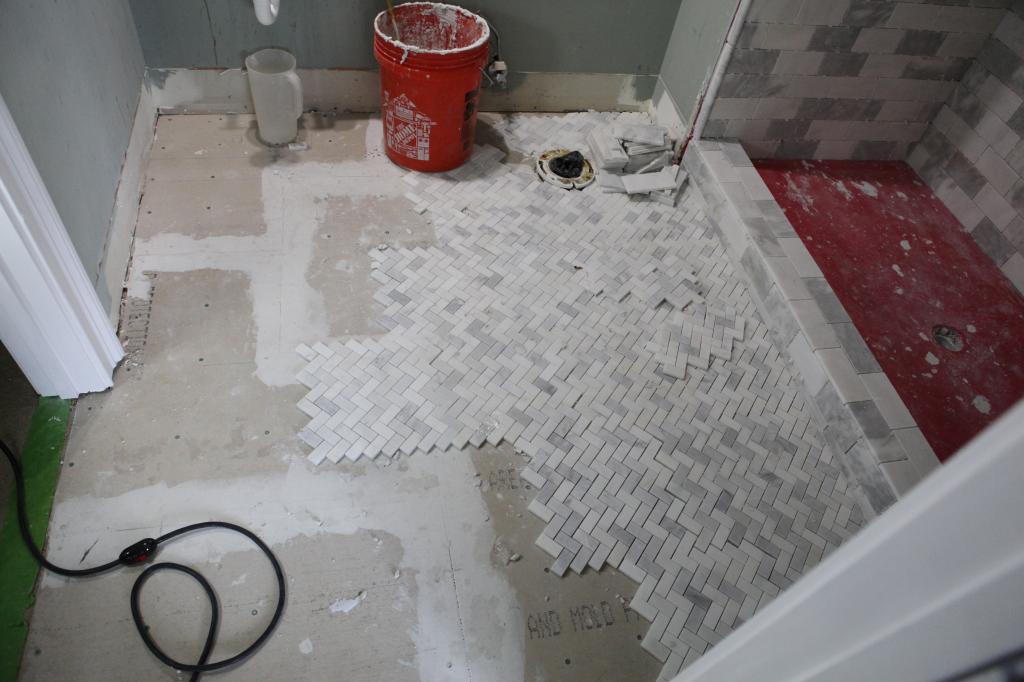
Now time for the weird moments….the floor….I was installing that after the curb was dry….and it was getting the herringbone. Since the space wasn’t perfectly square, it was crazy to have to cut an angle into tiles that laid on an angle. It was nuts. Honestly I was in full adrenaline mode that I don’t know how I did it.
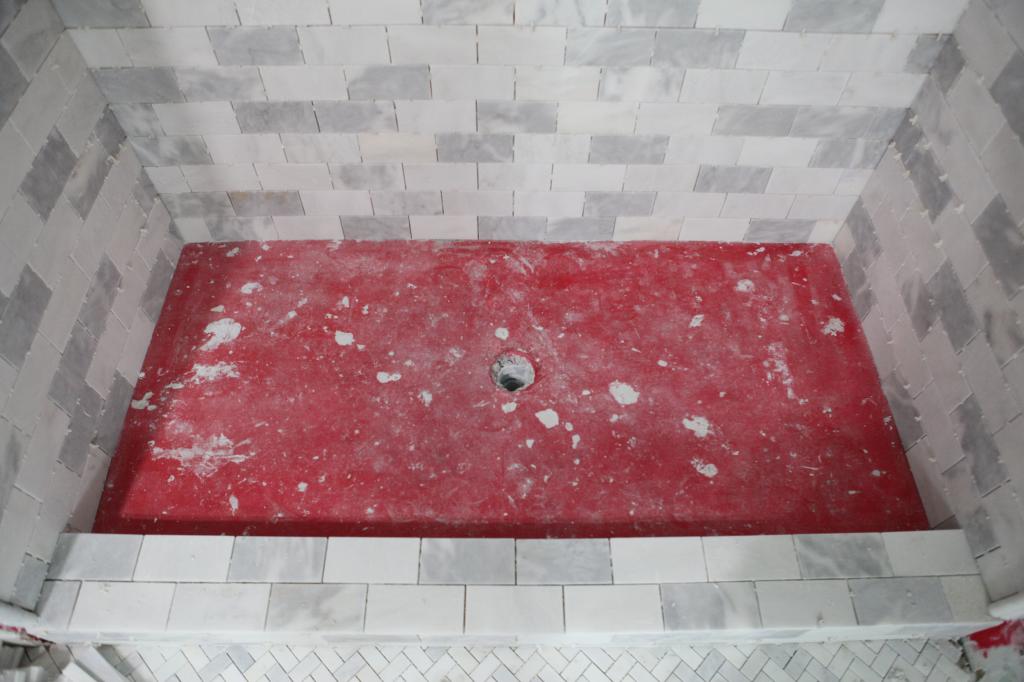
Cutting out for the shower head…..just cut little “piano keys” and then knock out the ones you don’t want to create your little hole.
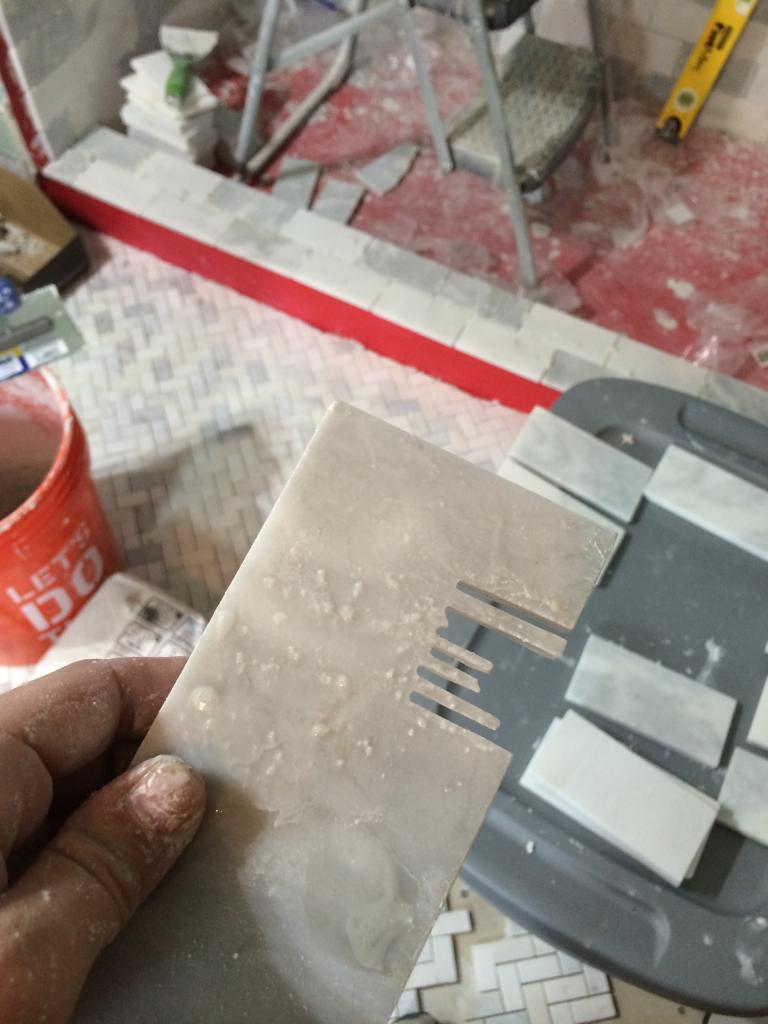
The edge was a last minute decision. Somehow in the chaos we completely forgot to order the edge tiles so we had those rush delivered and I think they are super simple and just what the bathroom needed.
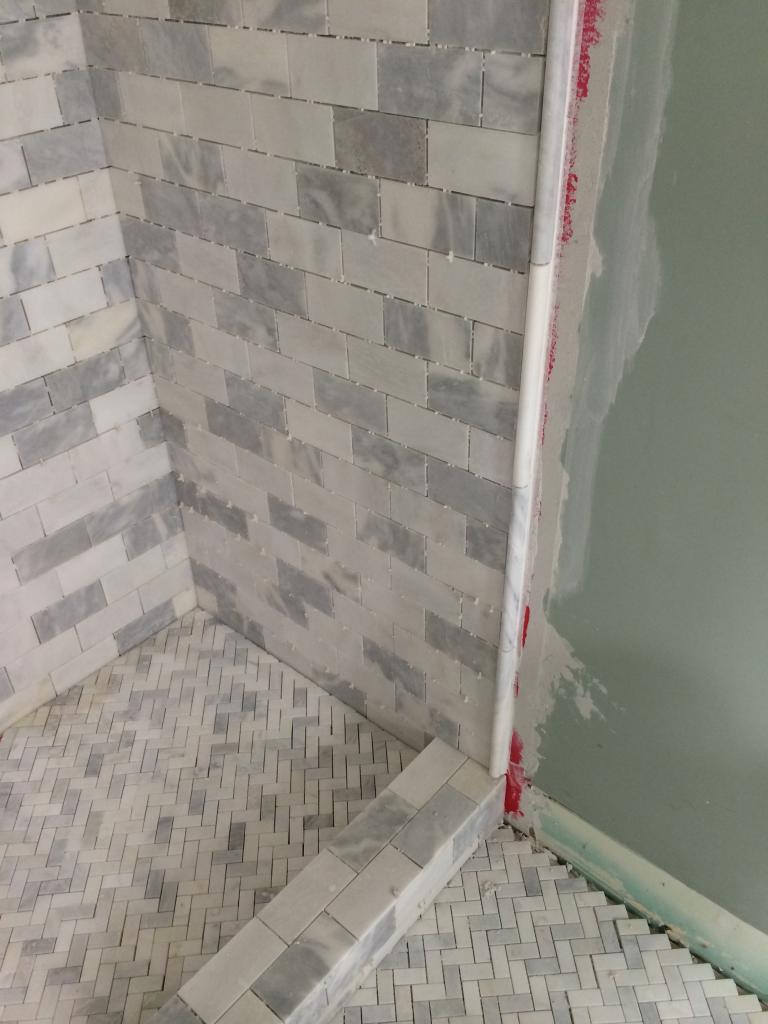
The spacers. OH dear the spacers. It took both Jeremy and I a full two hours to remove all the spacers one Sunday afternoon. The boys were down for naps, Will was playing with the neighbors and we looked like we had major arthritis afterward. Our hands were so gnarled after using the needle nose pliers for that long, it was crazy. BUT we had perfectly spaced tiles and they were ready for grout!
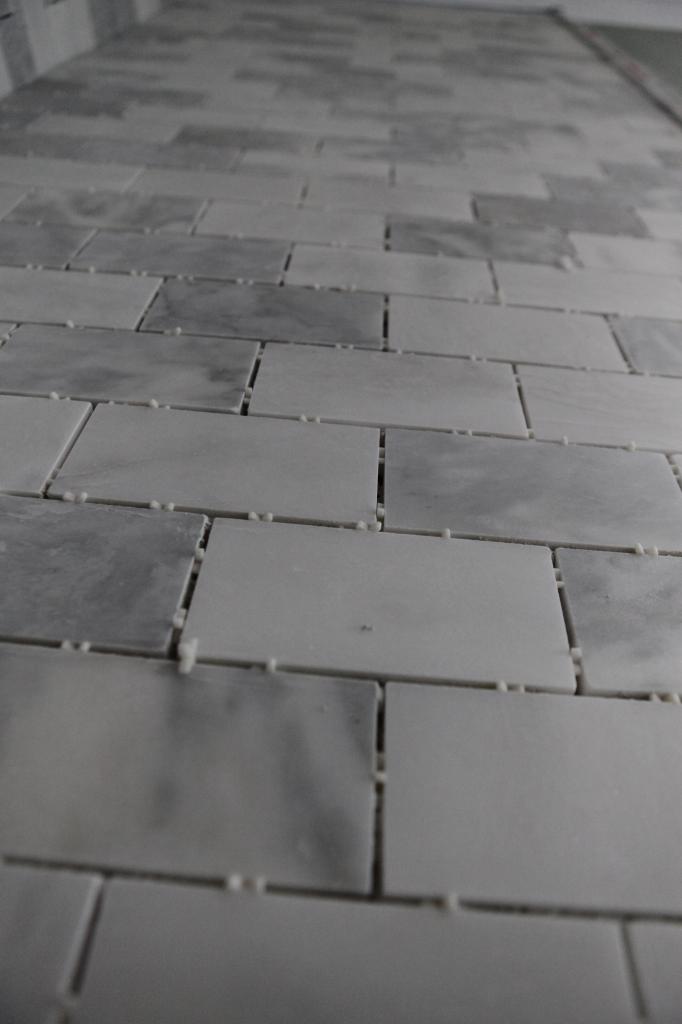
Last but certainly not least is our drain situation. Most standard pipe drains are round. This 2″ version on the left is pretty standard. But I wanted to do a square drain for two reasons. One – I didn’t want to make round cuts….too hard! And B – I didn’t want a round drain with a square shower head. I thought it would complement the shower head if the drain was also square. So I bought this adapter kit.
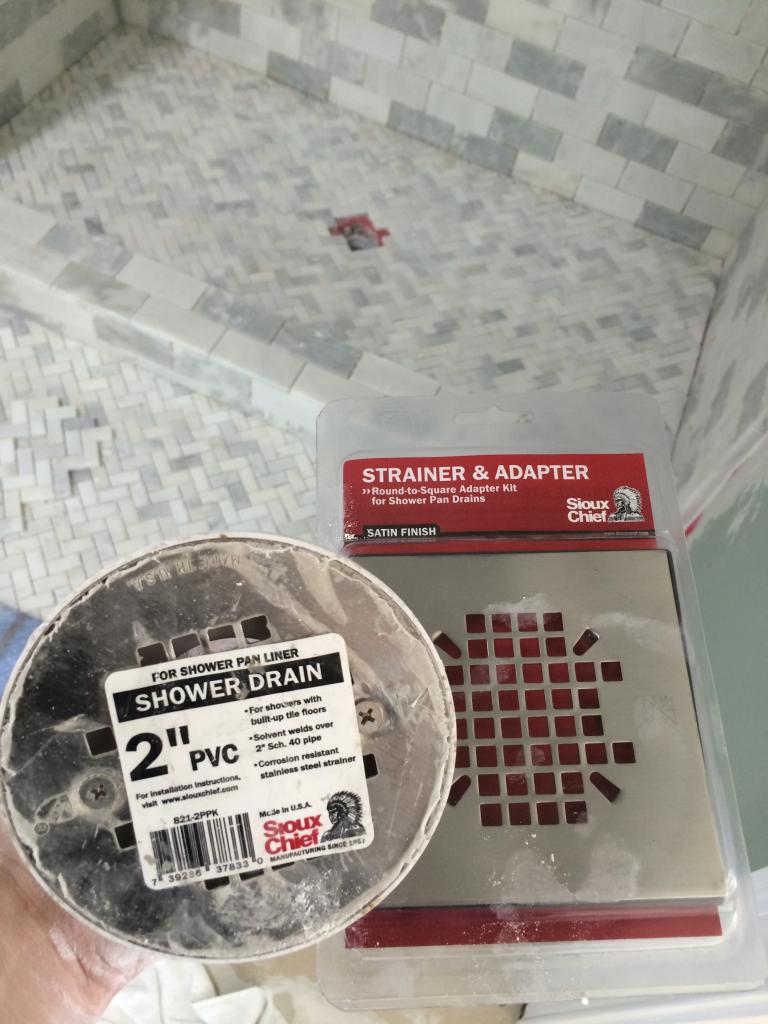
The first thing you do if you want to make the switch is take the top plate off the round drain.
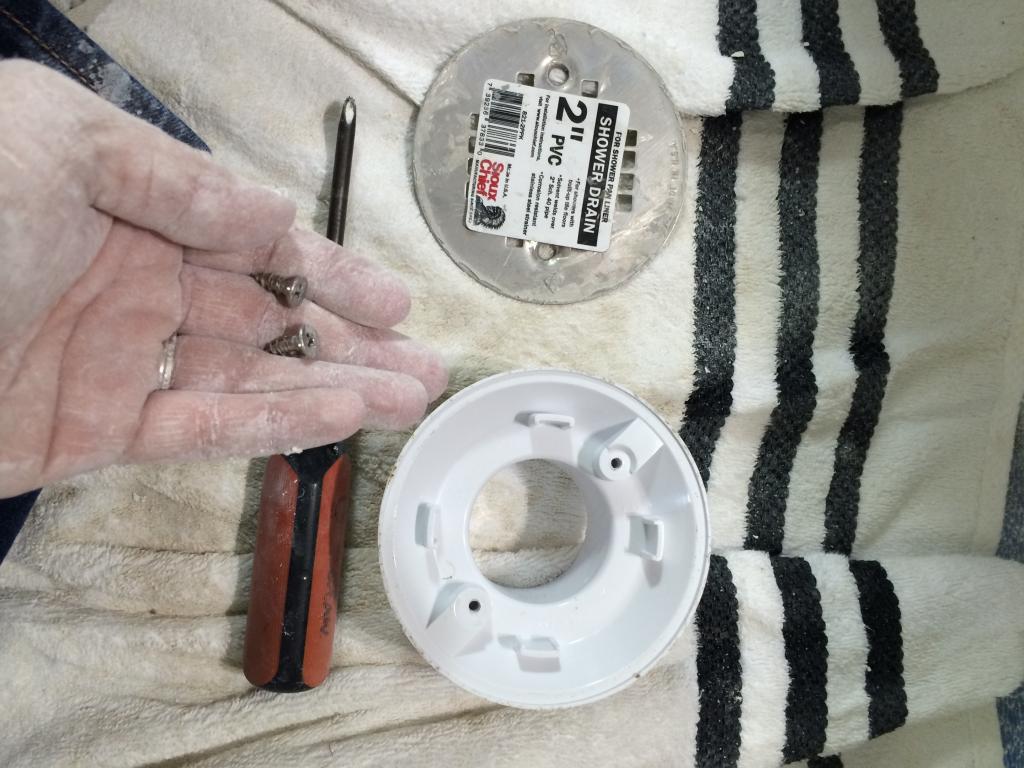
You need this bit because it fits in the round hole…
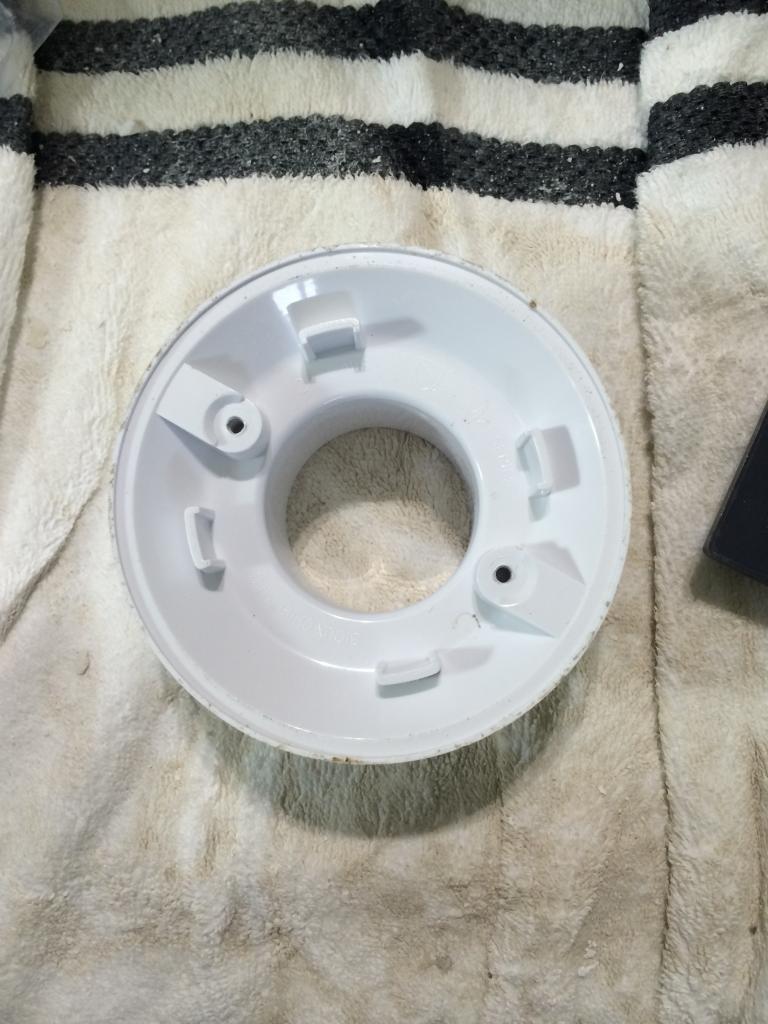
Then you fasten your square adapter kit to the round drain with the two screws.
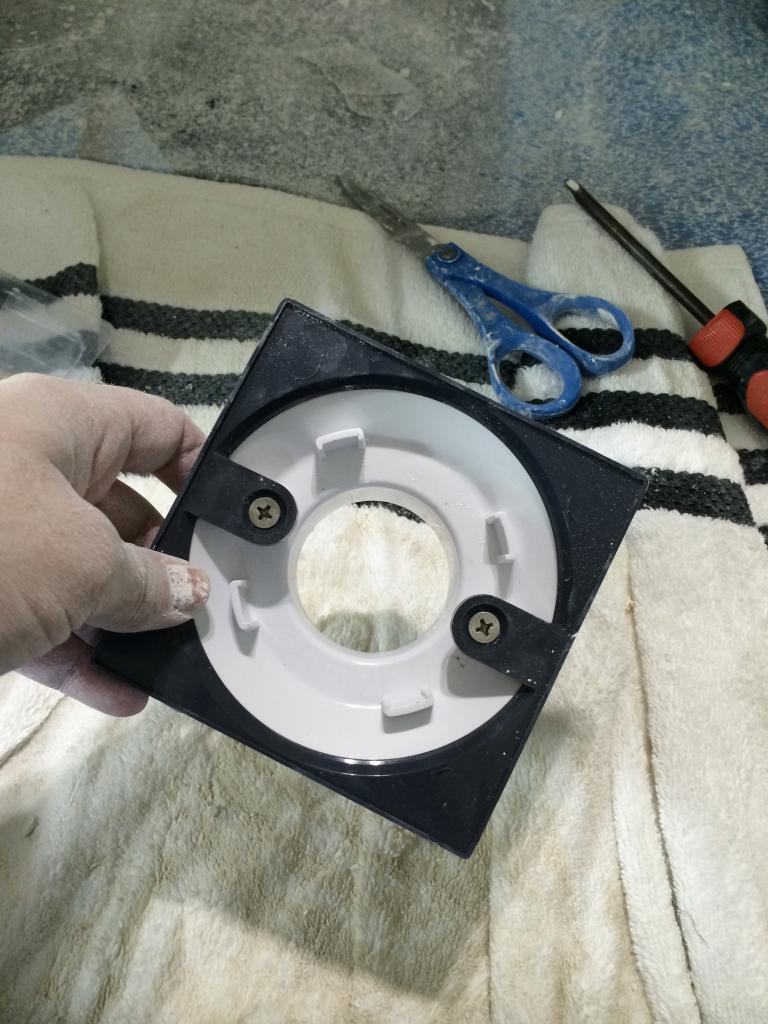
This entire thing gets twisted into the drain pipe so that the top of the adapter kit is flush with the top of the tile. I would even say that it wouldn’t hurt if it was slightly lower….but not higher because you will be walking on this thing and you don’t want it to hurt your toes.
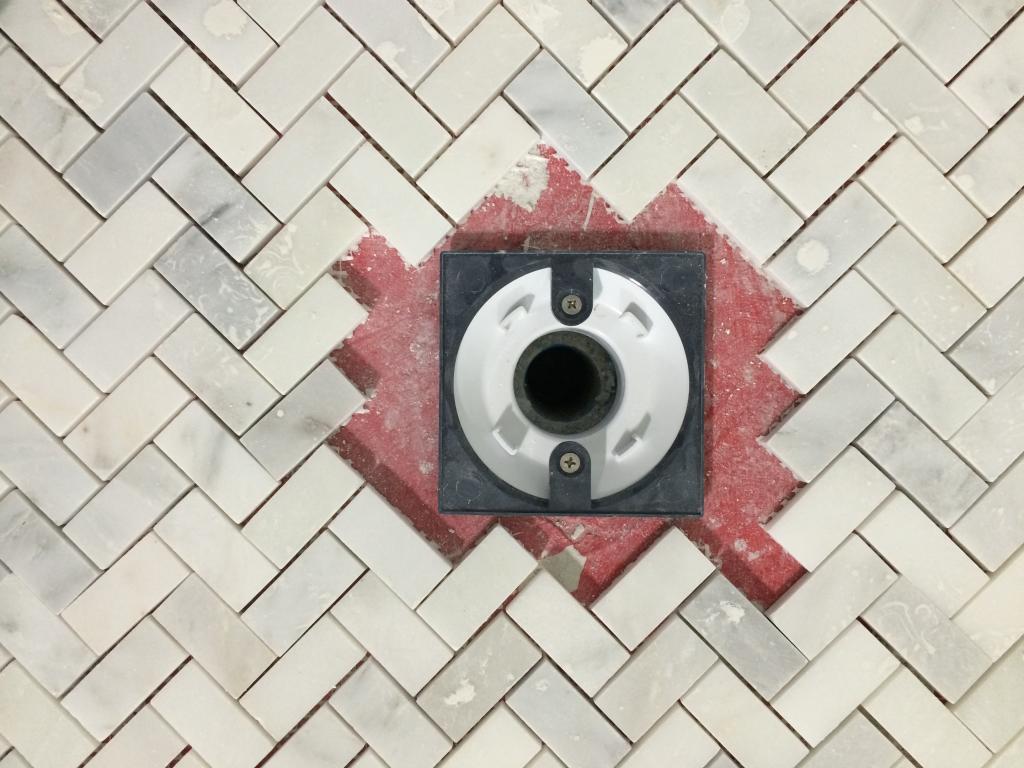
Then you tile around it. It actually is a lot easier to do the square cuts. Grout like normal.
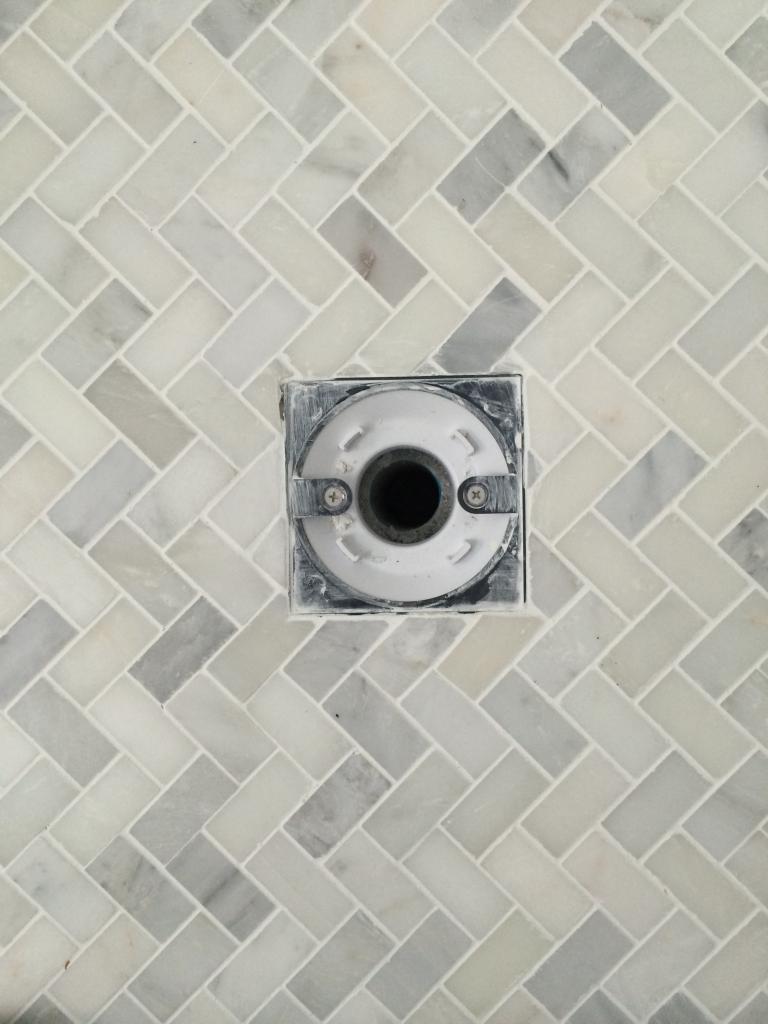
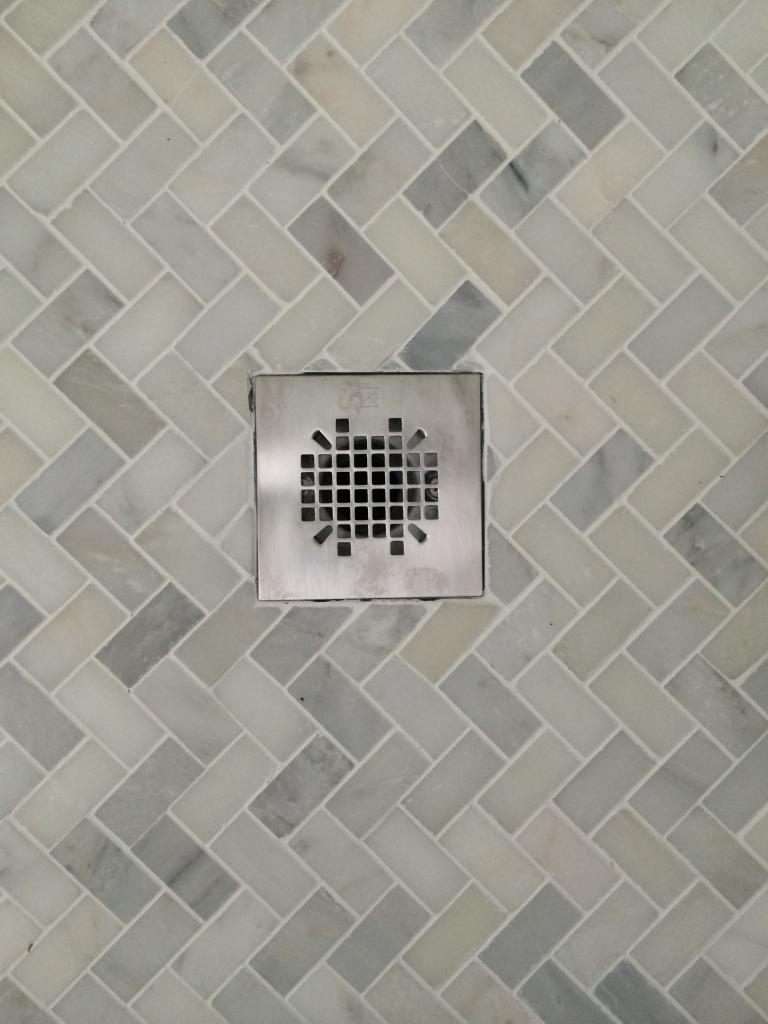
Then you can pop the square drain plate over the entire thing and add sealant (not pictured). It’s super easy. Just be warned….I don’t think Home Depot carries these yet in oil-rubbed-bronze. I don’t know why. I have written a letter. Not really but almost.
Here’s a little fun fact…I didn’t take any photos of me grouting. If you want to watch the finished video of the tiling process….here she is….
Oh and that is me demonstrating grouting for the video….but the grouting and sealing process was already complete. So here’s a little secret….we staged it with toothpaste 🙂 That’s right….I am smearing white toothpaste on my new tiled wall. Isn’t that funny?!
For those wondering….here’s the link to the wall tile we used, here’s the link to the floor tile and here is the drain.
That was a huge tiling job. Good work! It did make me chuckle when you said you hate working alone though. There’s nothing this introvert likes better. I love my children dearly, but give me a clear few hours of alone time to dig into a project and I’m in heaven. It leaves me utterly refreshed (no matter how physically exhausting the work) and ready to dive back into parenting.
Holy crap that seems like a lot of work but it was obviously well worth it. The shower looks beautiful.
You just spilled major deets, staging and grouting with toothpaste! What?! This looks amazing! All of those little tiles, eeek lots of hours.I am tired looking at it all. We just got done tiling our laundry room and found out our whole back wall is at an angle. Fun times. We thought our cuts were wrong with the tile or we were laying them at a angle. Nope, just the professionally, passed inspection wall from the house builders. That herringbone tile has my heart, it is gorgeous! I think we will be using these tiles as our laundry room back splash. Maybe a little fancy, but I am using it regardless. Will takes great action shot pictures, I need to put my kids to work and be the official photographer. I don’t have a TV crew helping me out 😉
It looks great! I can’t wait to see the end result! We are doing a mini-makeover on our bathroom, but it doesn’t involve tiling. I am not sure that I am as brave as you to do it myself 🙂
http://www.designbyrobinsnest.blogspot.com
Katie!!! That is crazy beautiful!!! You were so amazing! You didn’t sound rambly-orblabbery at all, just great. Jer looked great, your space looks amaaaaaazing and you must be so darn proud. Go KB! ! !
Wow! It looks great. Also, I’ve been reading your blog for many months now and I didn’t realize that you had a southern accent until watching the video. You DO live in the south, it had just never occurred to me. Now when I read your blog, I’m going to read the words to myself with a southern accent tee hee.
WOW! You made this look and seem so simple. Great job, your shower is beautiful.
Looks wonderful! Is there a particular pattern to this? I love the variations in the tile!!
Paige.Rose
Fun Fact: I had NO idea your guest bedroom had a closet!!! I don’t know how I have missed that in the over a year I’ve followed you day-by-day and the days I spent scrolling thru your archives!! Hahah!
There wasn’t any real pattern…just whatever looked good to my eye!
xo – kb
This is so impressive, Katie! I love the finished product! Will you please explain (or do a post on) the finishing touches of the shower? I’m especially interested in understanding how it meets up with the crown moulding at the top. In these pics it looks like there’s a little strip of wall left open but in the final pics it doesn’t. What am I missing? Thanks!
I understand your pain!! We just did our master shower and used glass subway tile. What a pain in the butt to cut, but it now looks oh so beautiful.
I had this grey wall tile pinned to do my main bathroom in, so I am glad I got to see what the final product looks like. What color of grout did you use?
Katie – WOW. Seriously dude. That was a crazy huge undertaking and you did it with 3 littles?? You’re officially nuts for taking this on, you know that right? I’m just so impressed….rock on, mama!
Kudos to you! I like reading your posts about this, but honestly, it makes my stomach knot up and I feel overwhelmed, ha ha! This is something I would never try on my own! We want to demo (one day) all the tile in the downstairs of our home that runs through our kitchen, entryway, hallway and breakfast nook (it’s all thin, ceramic tile that so many have broken over the years). But it makes my stomach hurt thinking about all the mess, and underneath it is the tile boards/grates that have been glued to our original flooring…makes my stomach hurt.
Beautiful…but boy those tiles are pricey! Will we get a budget breakdown?
It looks beautiful, you did a great job 🙂
It turned out beautifully. Great job, Katie! You have every reason to feel very proud. Thanks for the links to the items used. I will definately keep them in mind.
Yes. I will definitely do that…maybe Friday?
xo – kb
I just used the whitest white that they had at Home Depot.
xo – kb
I would have to crunch the numbers still but I think that the entire thing cost right around $5000. We did receive a budget from Home Depot since they were filming the entire thing but unfortunately we had to pitch in because we have champagne taste 🙂
xo – kb
I so love this bathroom! I love the look of marble, and the different sizes and patterns keeps it interesting, but not busy. Perfect!
And can I just say I love the fact that–at least to me–the square drain looks like an upgrade, but in actuality, it made the job easier (as far as tile cutting). Brilliant move!
It looks amazing, Katie, and I can’t believe you did this all!! Loved the video and the tiles…gorgeous!!
Wow – that looks great! I am trying to convince my husband that we can tile the backspash in our kitchen ourselves. I am going to use this blog post as evidence that it DIY tile can turn out well!
Wow!! This is amazing!! Great job!
It is absolutely gorgeous! Did you do a lot of measuring when you planned the niche to make sure it would allow for a full tile below it when you started from the floor? My in-laws have a really poorly tiled (in the sense of the layout) niche in their guest bathroom shower & it bugs me every time I see it – tons of weird tile cuts & nothing lined up.
A backsplash is SUPER easy. Tell him that you can buy everything premixed and you literally won’t be able to mess up the process!
xo – kb
That was honestly a happy accident. I did plan for the tile to hit dead center on the niche both vertically and horizontally but didn’t expect the full tile thing to happen.
xo – kb
Sounds lovely. Thank you!!!
This is awesome.
I remember reading once that you “could watch Jeremy mop all day” (I feel the same. About my man – not Jeremy…that would be weird). I feel like you tiling is legit the girl version of a boy mopping.
Katie–based on how your bathroom turned out, we chose the same marble herringbone tile for our laundry room. I love it! But…I finished grouting yesterday, and the haze is pretty gross. How did you dehaze after grouting? I’m getting mixed signals from my online research, because of the marble, and I’d love to know what you did. And maybe what sealer you used? 🙂 Thank you for any help!!!
Brittney
We used a marble specific cleaner that we had for our backsplash in the kitchen. I also have used a clorox wipe before for dehazing and it works pretty awesome.
xo – kb
Hi Katie! Love the bathroom redo. We have recently started finishing a bathroom in our basement and I want to tile the shower walls with regular white subway tiles (with some fancy tiles for the niche). We are almost ready to put the Redgard on, but it says on the bucket not to install tile with premixed tile adhesives and use a polymer modified mortar instead. Just curious what you used? Thanks!
We used a mortar….that is important!
xo – kb
Thank you for sharing your gorgeous bathroom and how you accomplished it all! You mentioned you used a marble threshold you found for $20. Where did you find it? I have been looking for one to use in as a threshold from my bedroom to new bathroom and can only find the 80s cultured marble. Any suggestions?
And thank you so much for sharing your lives and projects!
Home Depot. It was polished so we did have to hone it. You can read about that here.
xo – kb
Awesome bathroom Katie! My wife and I went with the same floor tile but are having trouble deciding which grout color to go with. I was curious, do you recall the color grout you used? A bright white or an off white (Snow?)
It was bright white…the whitest one they had.
xo – kb
We used this same tile in our new shower – sadly it shows a LOT of scratches. Did you seal it with a Natural Stone sealer or the type that makes it look a bit shinier and deeper in color? The shinier blends the scratches away but that does eliminate the “honed” “matte” look. I’m so torn …and we are doing it today.
Ours is honed. Is yours polished? Did you use a sanded grout? That could have scratched your tile. We definitely don’t have any scratches but like I said…honed 🙂
xo – kb
Love the room! This has been an inspiration for my powder room that we are working on this week! But i’m concerned about the tile adhesive to use on the floor tile, is there a special one needed for the honed marble? It’s going over Hardie Backer board – please help!
From all my research – thinset is thinset and you only use that on the floor. Adhesive (or mastic) is harder to work with and it is for walls and floors because it is harder to work with but can support those vertical surfaces that have lots of weight. Does that make sense?
xo – kb
Yes, thanks! I was concerned if marble needs a special type of thinset/adhesive but sounds like it doesn’t? I also have a marble top for our vanity and i’m researching what type of adhesive/glue for that and read horror stories of contractors using the wrong item and staining the marble! Still haven’t figured out the type I have to use on that – lol.
Just look at the package of thinset/adhesive to see if it works with stone…most do! And yes – the marble top is different when it comes to glue but really, the biggest threat to your counter is staining from the top….a sealer will help tremendously!
xo – kb
I’d like to know if you sealed your wall and floor tile? If so, what sealer did you use?
Also, will the white grout yellow over time?
I used a sealer that is specifically made for marble and I seal both the grout and tile at the same time. I need to do it every year. And if it is not done, yes it could yellow.
xo – kb