Considering that Christmas is over and we all are SUPPOSED to be doing the whole dreaded put-away thing now, let’s just call these planters. These are not Christmas tree planters….no. It could very well be a Valentines day or Easter or Summer planter. If we were on Hobby Lobby time…these would be Back-to-School planters. No offense Hobby Lobby…I love you.
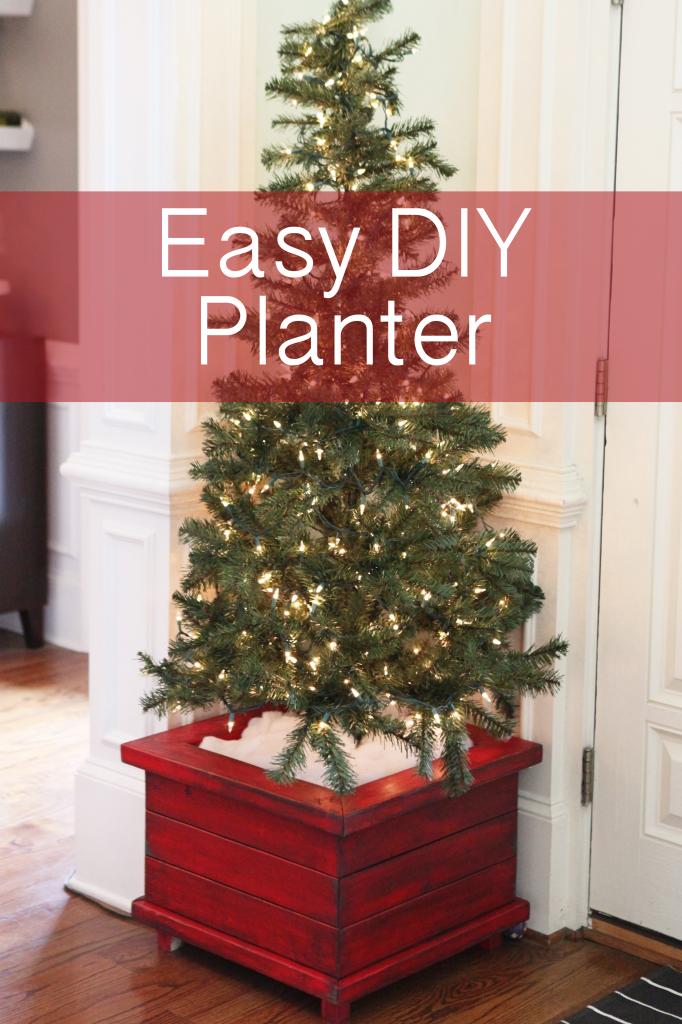
This tutorial is pretty easy…but it requires very specific assembly. If you aren’t into reading directions (coughJeremycough) then basically it’s your funeral. That’s right….you will die. If you are interested in making these for outside, remember to use exterior wood. We plan on using these only inside for our little foyer trees. We bought the 5′ unlit trees at Walmart and they were $20 each and their assembled bases fit perfectly inside. I am sure that you could use these also inside for potted plants (just slip the pot inside) or other artificial topiaries. You could also add small casters to the legs making them easy to move around.
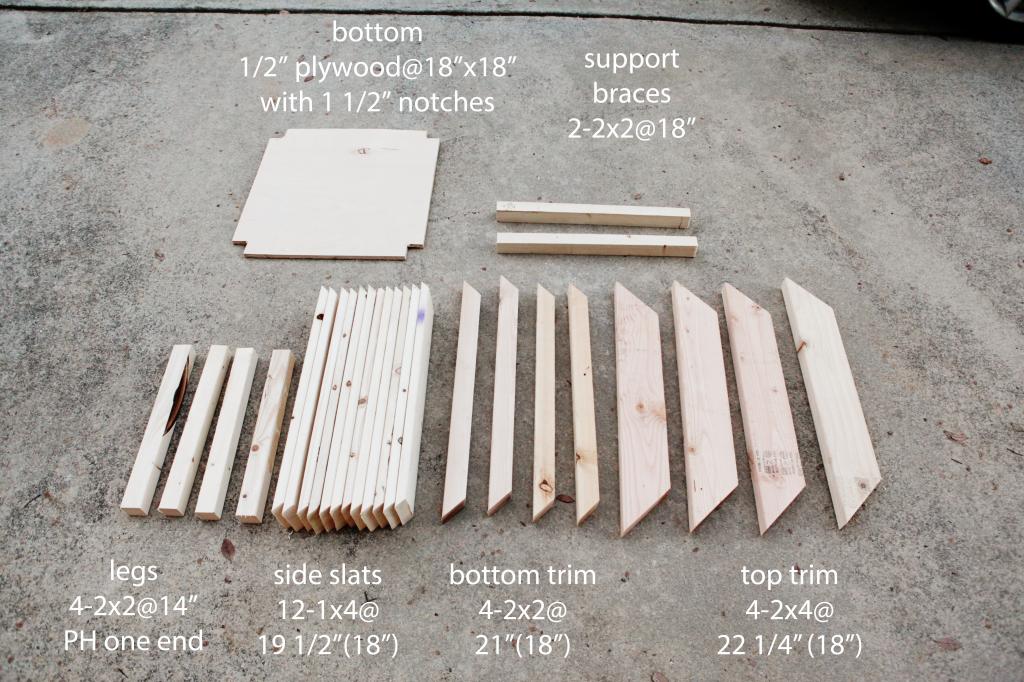
Since a lot of the cuts are mitered, I included the inside and outside lengths for each board. All the cuts are 45 degrees because we are making a box.
The weird thing about this project is the pocket holes. We don’t have the giant Kreg Jig (my sister got it for Christmas and I am super excited to see what she does!)…so we just use the little one and it works fine. For the top trim, we did pocket hole the ends (we have no idea if this is the proper way but it worked).
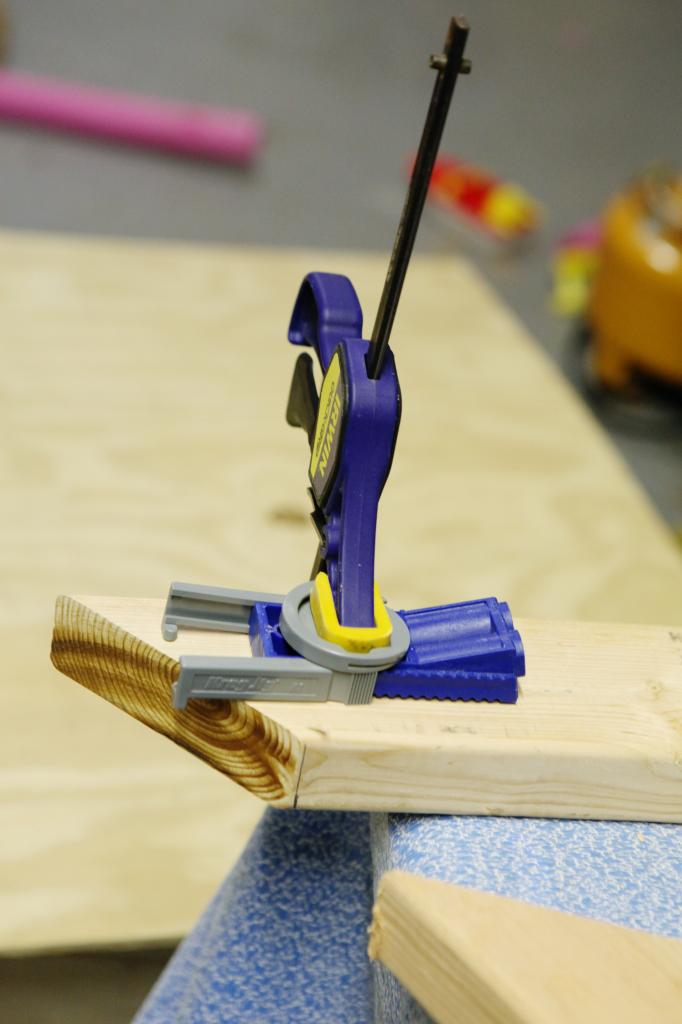
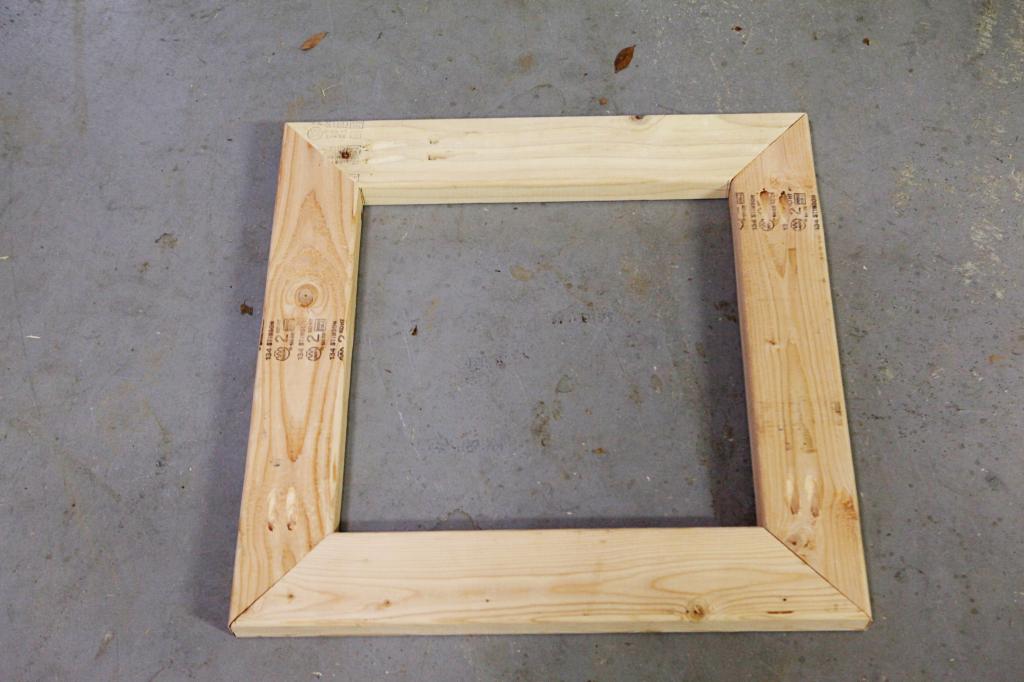
And then we assembled that together.
You can also brad nail your side slats to the legs. Make sure that the legs have the pocket holes at the TOP of the 2×2. We simply laid out two legs and laid the slats on top and boomboomboom. We have the Ryobi brad nailer and it is worth every single penny. Seriously. If you have any Christmas cash and you don’t have it already….get it. now. It will change your building life.
So after all the slats are nailed to the legs, it will look like the box below on the right. Then comes time for the bottom trim.
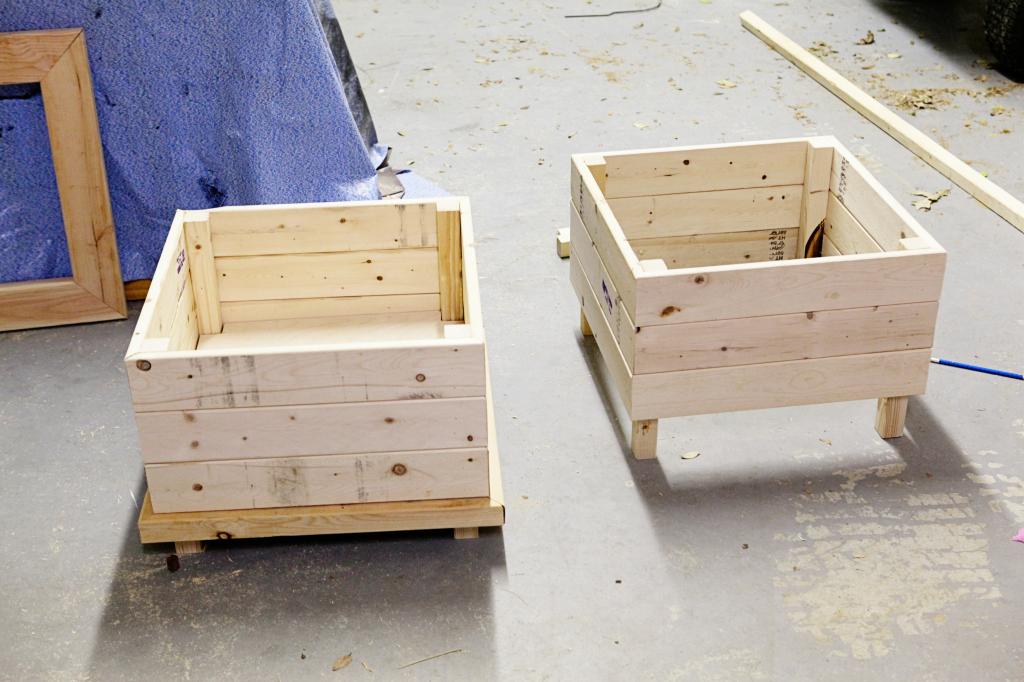
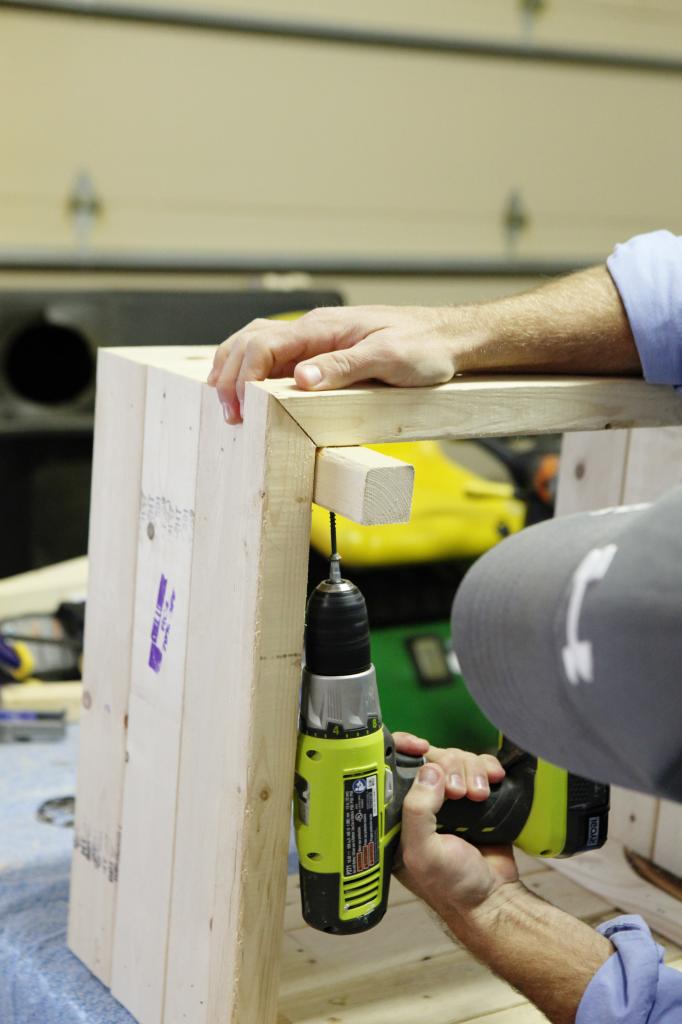
Jeremy added that with some screws from the inside. Just remember to stagger them so you don’t end up hitting the last screw.
Okay…so here’s where things get weird. Like on Lost when the polar bear showed up. Dang I miss that show.
So flip the entire planter over and your pocket holes in the legs now should be facing down.
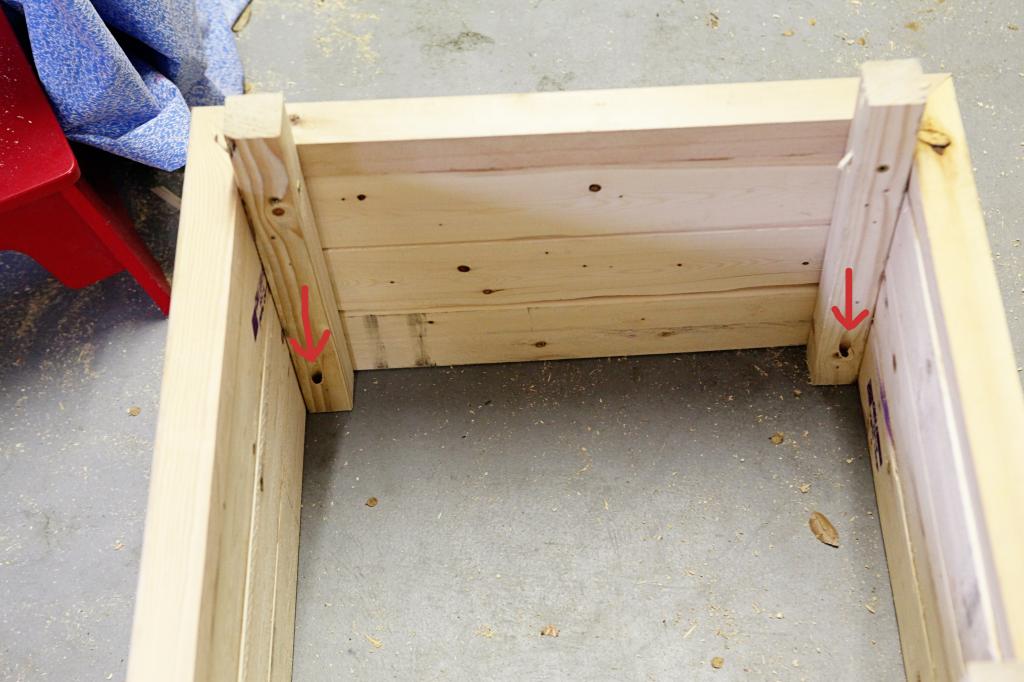
Attach the top with the pocket holes…just make sure you line up the corners of the top to the legs first.
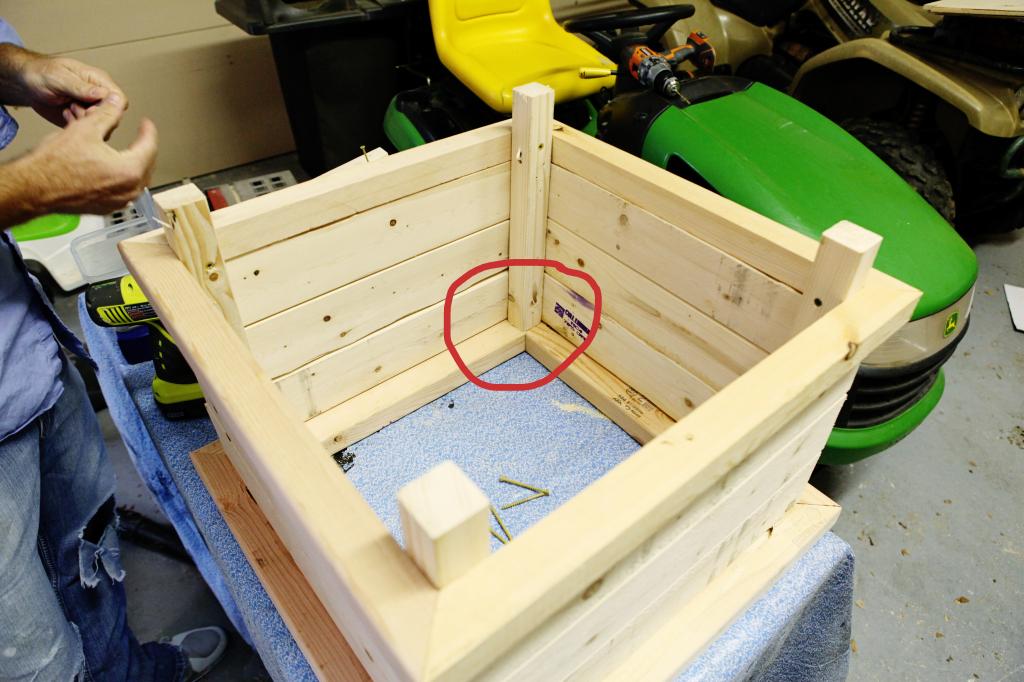
Then as it is flipped over, slide in the plywood bottom.
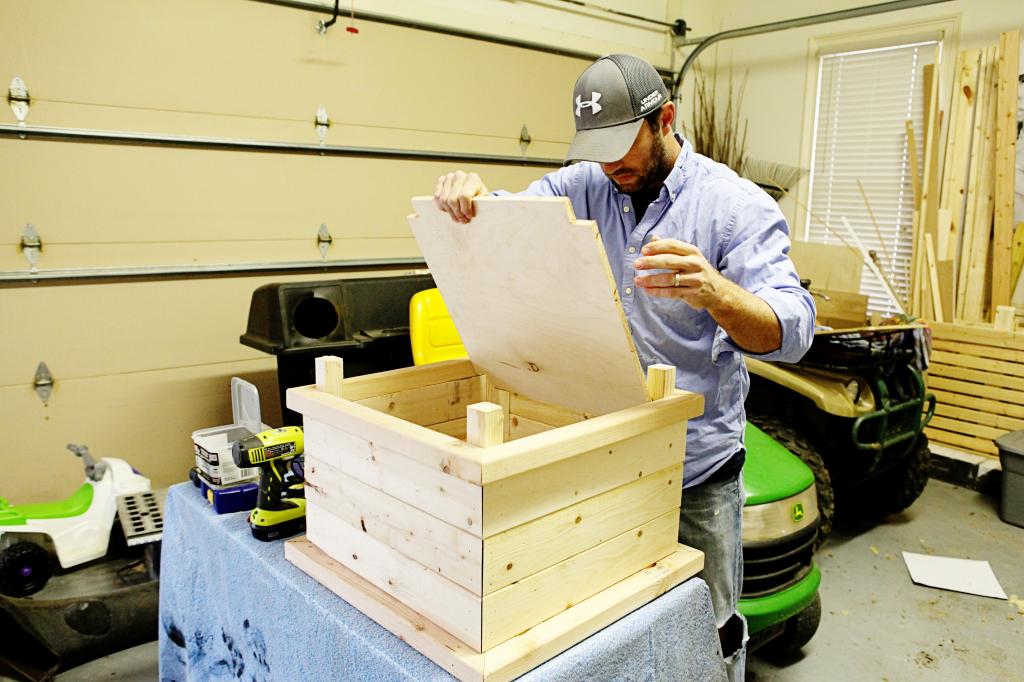
Time to add the supports for the bottom. These two boards hold the plywood in place so that it’s not falling out when you flip it upright. Screw those into the legs at the height you want the base to be. If you want your trees or pot or whatever to be higher….attach these two boards farther away from the bottom.
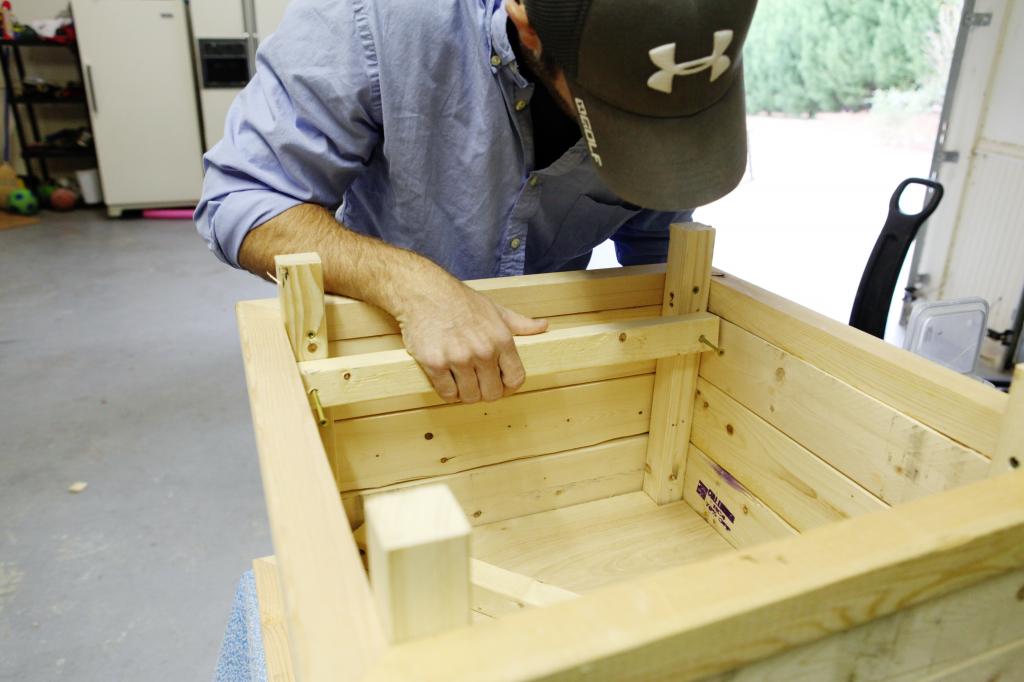
This is what it looks like before you flip it over.
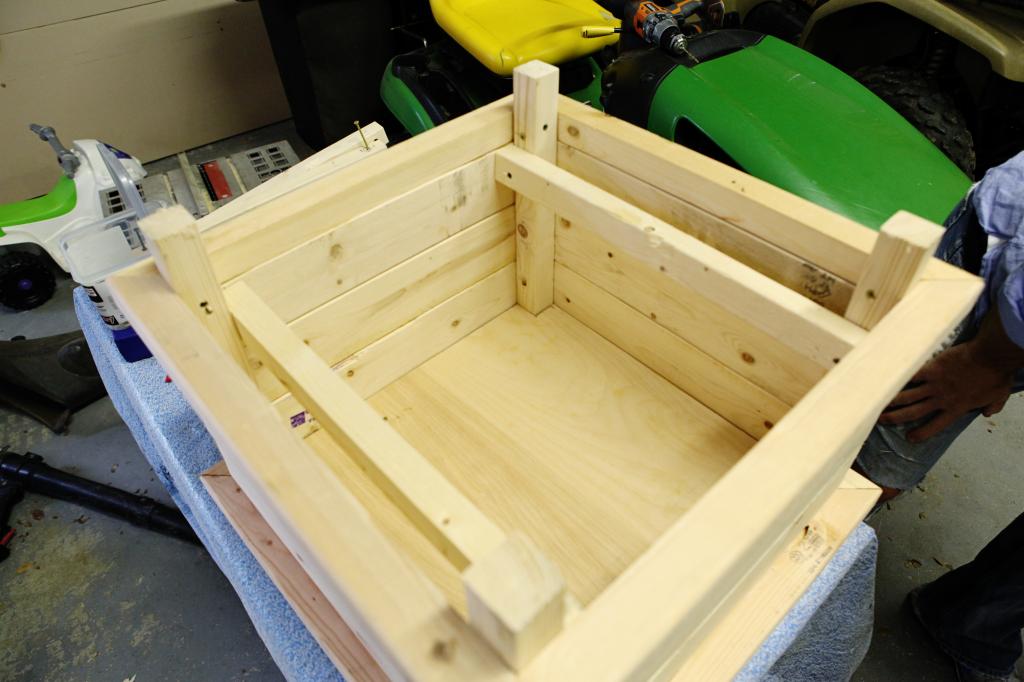
Time for this tutorial to get exciting…flip and push.
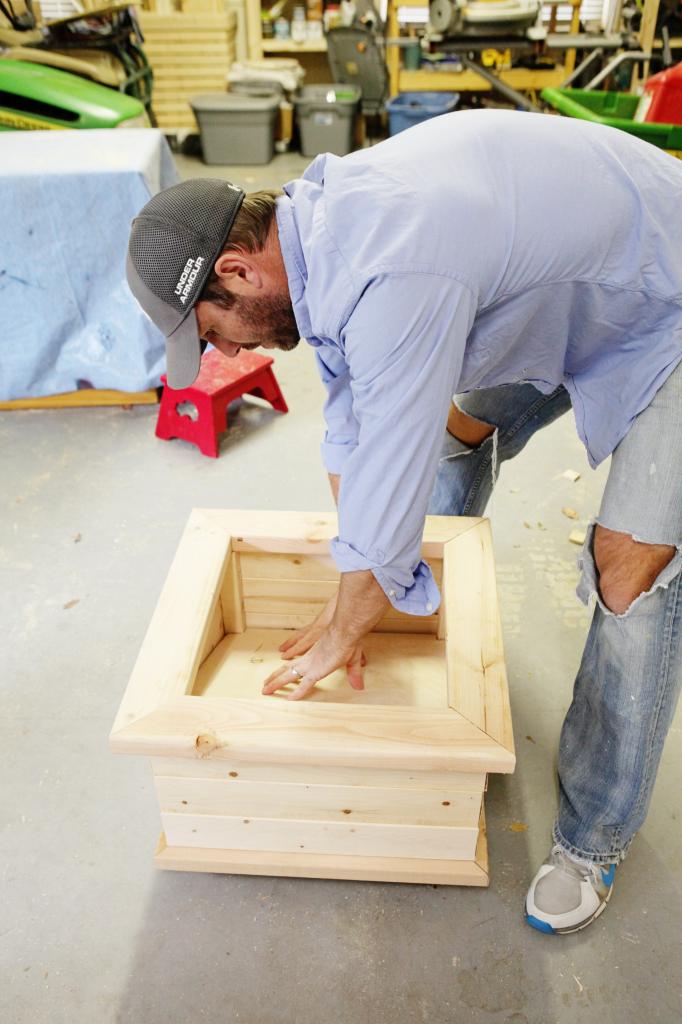
To finish them off, they got completely sanded on any outside bits. Wait. Let me just write down these in step-by-step directions (I don’t include dry times…let er dry…or else!) because I always get questions….
- sand exterior with 60 grit sandpaper (we use this sander
)
- sand exterior with 120 grit sandpaper
- sand exterior with 220 or higher grit sandpaper
- wipe everything down from dust
- paint entire exterior with Glidden semigloss paint and primer in one (color – Candy Apple) – 2 coats
- sand edges with 120 grit to rough them up
- mix Behr Faux Glaze with black semi gloss oops paint (50/50 mix…you don’t need a lot)
- paint glaze on one side
- wipe glaze off with paper towel (if the glaze won’t remove to your liking, then paint more on in that area and wipe immediately)
- apply first coat of Minwax Polycrylic in clear satin
- sand VERY lightly with 440 grit
- apply second coat of Minwax Polycrylic
- DRINK TO YOUR MASSIVE SUCCESS!
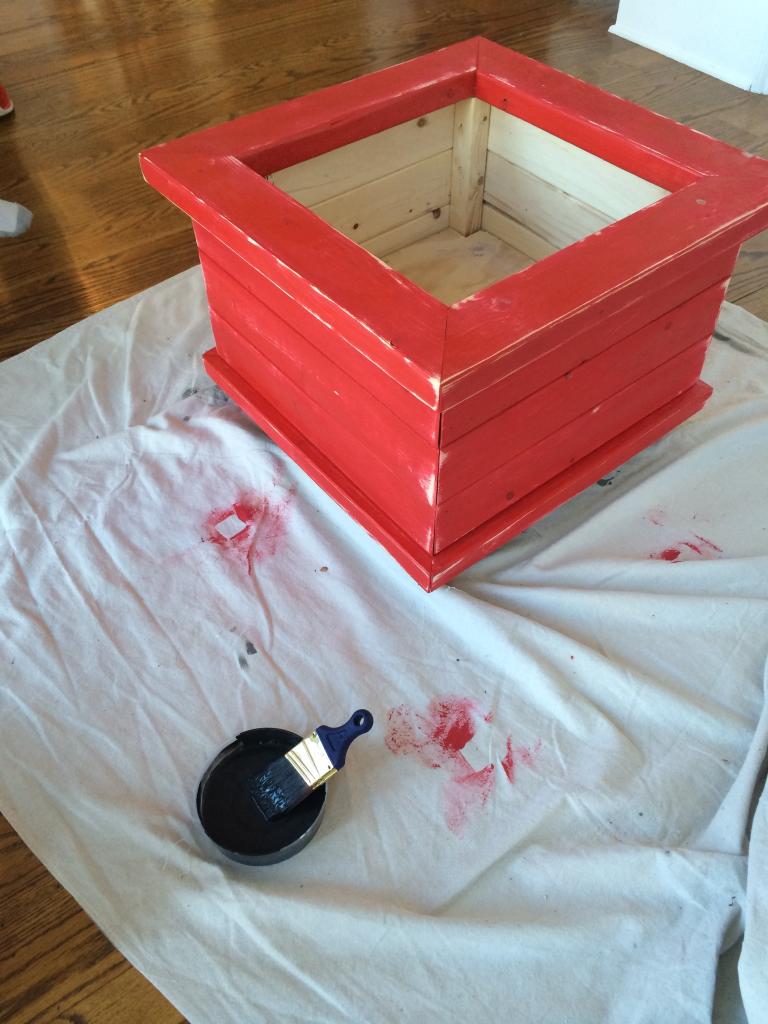
Obviously I like a lot of rustic glaze look on these but if you don’t, just wipe them down sooner after applying the glaze.
After they were dry, I popped the tree inside and then took some fiber fill and fluffed it around the base to make it look like snow.
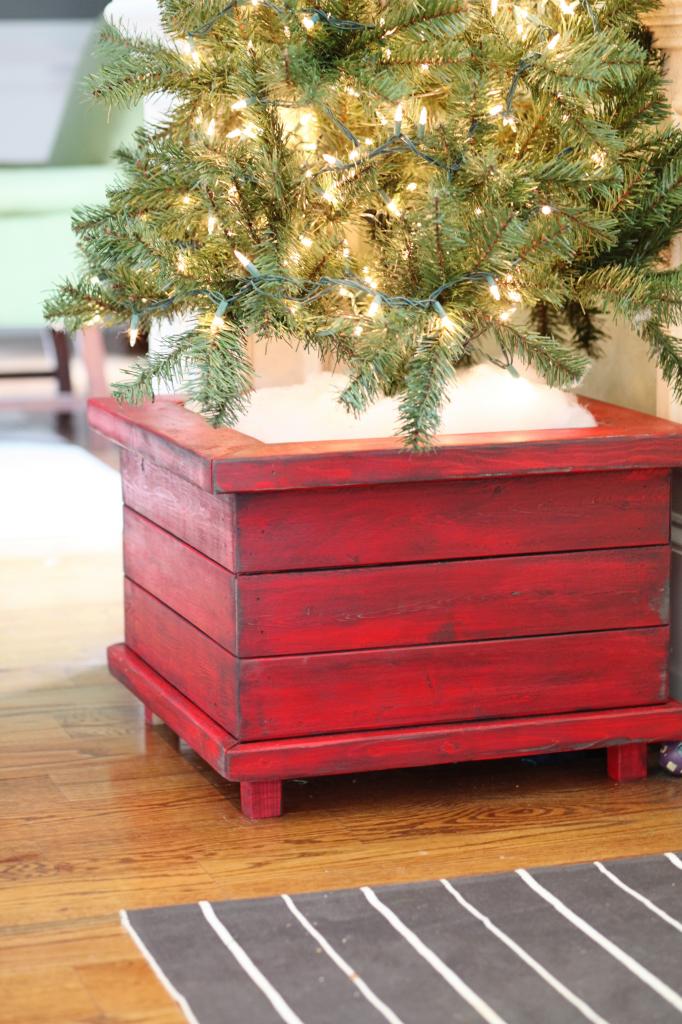
I don’t know how much these would cost because we used scrap wood from our garage towers but we did have to buy the paint and a couple 2×2’s….so it will cost at least $20….let’s just say that. I’m guessing if you already had painting supplies and sandpaper and plywood…it would probably be in the neighborhood of $20 each. I’m totally pulling this estimate out of my ears.
Happy Building!
Plllllleeeeaaaasssssse open an Etsy shop and sell these! I want them so badly, but I am so not handy (nor is my hubby, and he will admit that). Love them!
That planter is super cute! Now all I need is to find some time….easier said then done! 🙂
Love these little guys. I haven’t made any myself but I converted one I’d had (very similar) outside for years. I reinforced the sides (they’d gotten a little rotten over time), added a bottom with rollers and a flip back lid with a piano hinge. I now have a cool side table for my front porch for seasonal display and under the lid, a supply of de-icer for the slippery steps in freezing weather.
Your same basic shape with lid could be a side table or with pad, a stool. Make several and your boys could hold races up and down the hall. And you’ve got the bonus of hidden storage! Planter, side table, stool or toy … multi-use!
I love these! Glad I am not the only one that has random wood and what not sitting around for projects. Men, don’t like reading instructions or giving them. If my husband builds something and I ask for details so I can create a tutorial for my blog he gives really, REALLY, short and simple ones. A man of few words does not create a blog! I think I may do something very similar to this for two planters on my porch this spring, I just need to wait for the snow to melt :(.
Sooo this is a great idea and I love it, but I have a completely off the wall question. It actually goes back to your breastfeeding post. See I’m a first time mommy to a 9 week old little lady. We love her so much, but this time is really hard. Like hard hard. And we tried soooo long for her. I know this is so off topic but I’ve been in a haze and would have commented back on your other post except I lost my brain right around then. But, I love your blog and visit it daily on my phone for just a moment to myself. And I can tell how much you love being a mommy and I look to you for all kind of inspiration but also in the mommy department. I’m just wondering if you could find it in your heart to do a post about what the first 3 months were like for you with 1, 2, and, 3 and compare. And how it gets better and better. At this point we are looking for a light at the end of the tunnel….we are looking for more happy baby time and less hour up hour down fussy here fussy there etc. We know being parents is tough but I’m always asking people when they felt like the truly started enjoy their little people. Right now I’m getting 30 mins here and there of happiness (with a lot of distraction and play) and the rest is kind of fussy or sleeping. I’d love to get your experiences so that maybe I can see myself having another kid one day. 😉
I love this planter… so easy and elegant. Thanks for sharing!
You guys are so handy, I love it! I seriously don’t know where you find the time!
Oh man! It sounds like you are going through what I did with Will! You are doing great and it will get better! Will was so unhappy…and I blamed myself mostly and we just wanted to sit down and sleep and be able to make him happy! I know that it is hard and try not to compare because it will get you down even more (trust me, I know!). I saw a little improvement right around the three month mark with Will and he would get easier from there on. I say that it’s always even harder when it is your first because sometimes they are just bored. When it gets bad, try to find her thing. Will’s was going outside and sitting in this rocking chair and watching cars. It only worked for the crying about 75% of the time but that was enough to make sure we were out there, rain or shine!
Good luck girl…you are a good mama!
xo – kb
I love the planter and this site! And Christine Williams comment about her sweet baby brought me back many years ago .(Our oldest child will be 33 this year!) We tried so long to have our first child and we were ecstatic about it. Greg had his nights and days mixed up and really thought sleeping was optional. Katie is right about finding out particular little ways for calming. Greg enjoyed car rides, and standing up rocking him a certain way that seemed like dancing. Your doing great! Things will definitely get better and just remember to take time for yourself, though that is difficult to think of now and keep your sense of humor. We went on to have three more. (Good golly, Miss Molly) And I have to say that my life is blessed loving such a wonderful man I married and raising such caring children.